
Beginner's Classic Apple Pie

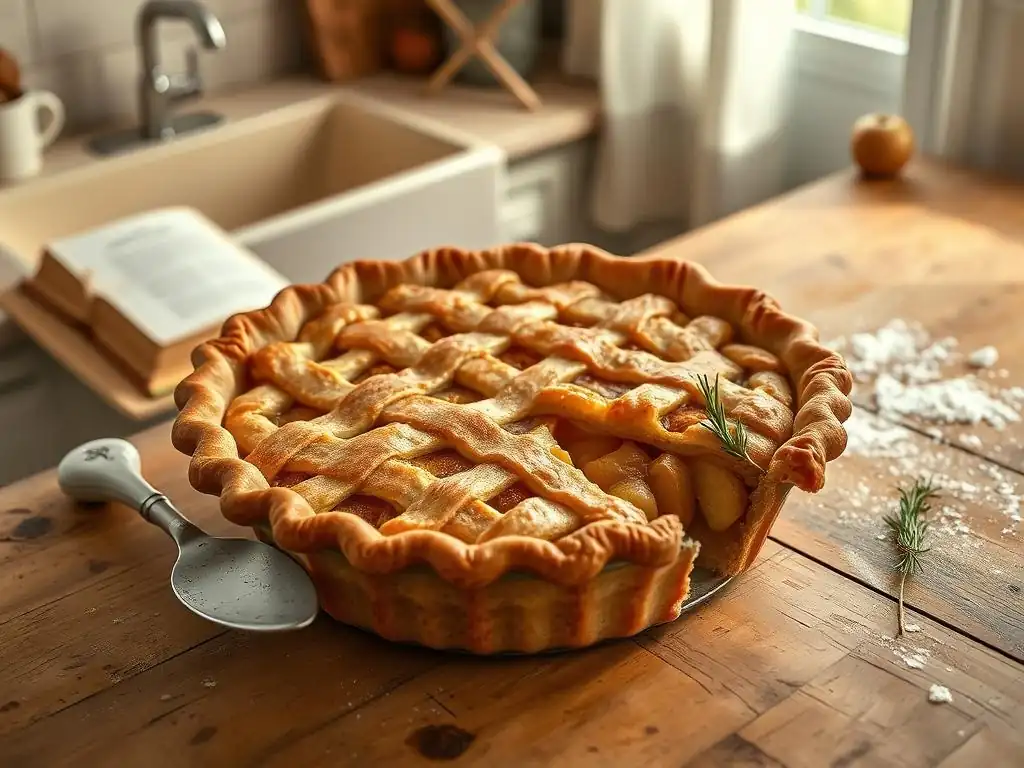
Welcome to BakeWithEase, your trusted guide to unlocking the joys of baking! Ever dreamed of creating a warm, delicious apple pie but felt intimidated? This is where that dream becomes reality. Today, we’re diving into an easy beginner apple pie recipe that's so simple, you'll be amazed at the results. But that's just the beginning... what secrets lie within perfecting that flaky crust and achieving the perfect apple filling? Keep reading to discover how!
- Easy Beginner Apple Pie Recipe: BakeWithEase's Classic Guide
- Bake a Delicious Apple Pie: Your First Baking Project
- Gathering Your Ingredients for the Easiest Apple Pie
- Step-by-Step: Making the Easy Apple Pie Crust
- Preparing the Apple Pie Filling: A Beginner's Guide
- Assembling and Baking Your First Apple Pie
- Troubleshooting Your Beginner Apple Pie
- Storing Your Homemade Apple Pie
- Variations on the Classic Easy Apple Pie Recipe
- Frequently Asked Questions
- Final Reflection: The Sweetness of Simple Beginnings
- Unlock Your Inner Baker: Make This Apple Pie Your Masterpiece!
Easy Beginner Apple Pie Recipe: BakeWithEase's Classic Guide
Bake a Delicious Apple Pie: Your First Baking Project
Welcome to BakeWithEase: Your Guide to Simple Baking
Welcome to BakeWithEase, your friendly corner of the internet dedicated to making baking accessible and enjoyable for everyone. We believe that anyone can bake, and our mission is to provide you with simple, clear instructions and helpful tips to build your confidence in the kitchen.
Whether you're dreaming of flaky pie crusts, soft loaves of bread, or perfect cookies, you'll find a welcoming community and easy-to-follow guides right here. Starting with an easy beginner apple pie recipe is a fantastic way to dip your toes into the world of baking, offering rewarding results that look and taste impressive but are surprisingly manageable.
Our guides break down potentially intimidating processes into simple, actionable steps. We focus on fundamental techniques that form the backbone of many baking projects, ensuring you develop a solid foundation. This easy beginner apple pie recipe is specifically designed with the novice baker in mind, minimizing complexity while maximizing flavor and success. We'll walk you through every stage, from preparing the ingredients to achieving that perfect golden crust, proving that baking a delicious homemade pie from scratch is well within your reach.
Why Apple Pie is the Perfect Beginner Baking Recipe
Apple pie holds a special place in baking because it's incredibly forgiving and the results are universally loved. Unlike delicate pastries or finicky breads, variations in dough consistency or filling ingredients often still result in a perfectly enjoyable dessert. It teaches you essential skills like making pie crust, preparing fruit fillings, and understanding baking temperatures, all within a single, satisfying project. Mastering an easy beginner apple pie recipe provides a tangible accomplishment and encourages you to explore more complex bakes in the future.
Furthermore, the ingredients for an easy apple pie are readily available in most grocery stores, and the required tools are standard kitchen items. There's no need for specialized equipment to get started. This accessibility, combined with the relatively straightforward process of mixing dough and assembling the pie, makes it an ideal starting point for anyone new to baking. It's a project where small imperfections often add to the charm of a homemade treat, making it a low-pressure, high-reward endeavor for your first significant baking attempt.
Gathering Your Ingredients for the Easiest Apple Pie
The Best Apples for a Beginner's Pie (and where to find them)
Choosing the right apples is key to a delicious pie filling. For a classic apple pie, you want a mix of apple varieties that offer both tartness and sweetness, and importantly, hold their shape relatively well when baked. Using only one type can result in a filling that's either too mushy or lacks depth of flavor. A popular combination often recommended for beginners is Granny Smith (for tartness and structure) mixed with a sweeter, slightly softer apple like Fuji, Honeycrisp, or Gala. This blend provides a balanced taste and pleasing texture.
You can find these common apple varieties in the produce section of any major grocery store. Look for firm, unblemished apples. If you visit a farmer's market, you might find even more varieties like Northern Spy or Rome Beauty, which are also excellent pie apples. Aim for about 2 to 2.5 pounds of apples for a standard 9-inch pie. This amount typically yields enough slices to create a generous, slightly domed filling that won't shrink too much during baking.
Essential Baking Supplies for Perfect Pie Crust
While you don't need a professional bakery's worth of tools, a few essential items will make preparing your easy beginner apple pie recipe much smoother. You'll definitely need a 9-inch pie plate; ceramic, glass, or metal all work, though glass allows you to see the bottom crust browning. A large mixing bowl is necessary for both the dough and the filling. You'll also need a rolling pin to roll out the pie crust dough evenly.
Other helpful tools include a pastry blender or fork for cutting cold butter into the flour (or you can use your fingertips), measuring cups and spoons for accuracy, and a sharp paring knife or peeler for preparing the apples. A pastry brush is useful for applying an egg wash or milk wash to the crust for a golden finish. Having these basic supplies ready before you start will streamline the process and help ensure success with your first easy apple pie.
Simple Ingredients List: Your Shopping Checklist
Here is a simple checklist for the ingredients needed for this easy beginner apple pie recipe. We've kept the list straightforward, using common pantry staples and fresh produce.
- [ ] All-purpose flour: Approximately 2.5 cups for the crust, plus extra for dusting.
- [ ] Granulated sugar: About 1/2 cup for the filling, plus a tablespoon or two for sprinkling.
- [ ] Brown sugar: Approximately 1/4 cup for added depth of flavor in the filling.
- [ ] Cold unsalted butter: About 1 cup (two sticks), cut into cubes, for the flaky crust.
- [ ] Ice water: Approximately 1/2 cup, possibly a little more, for the pie dough.
- [ ] Apples: 2 to 2.5 pounds (a mix of varieties like Granny Smith and Fuji is great).
- [ ] Lemon juice: About 1 tablespoon, to prevent apples from browning and brighten flavor.
- [ ] Ground cinnamon: Approximately 1 teaspoon.
- [ ] Ground nutmeg: About 1/4 teaspoon (optional, but recommended).
- [ ] Salt: A pinch for the dough and about 1/4 teaspoon for the filling.
- [ ] Egg or milk (for wash): Optional, for a glossy crust.
Having all your ingredients measured and ready before you begin, a technique known as "mise en place," is a great habit for beginner bakers and makes tackling this easy apple pie much less stressful.
Step-by-Step: Making the Easy Apple Pie Crust
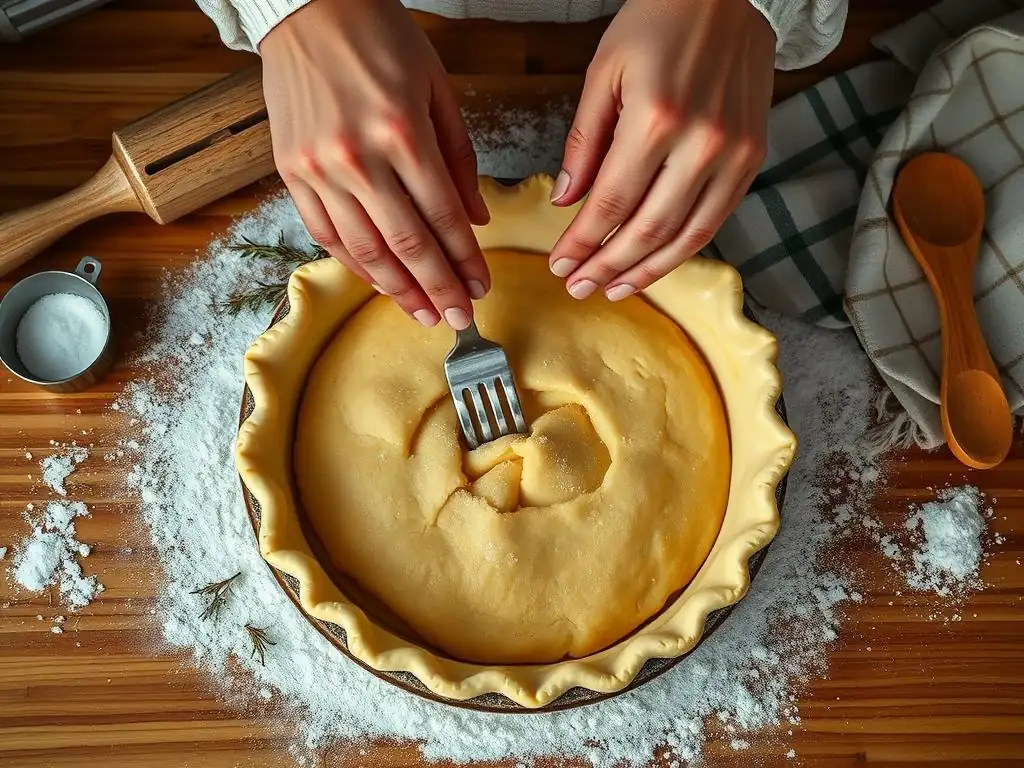
Mixing the Dough: Achieving the Right Consistency
The key to a flaky pie crust in any easy beginner apple pie recipe is keeping the ingredients, especially the fat (butter), very cold and not overmixing. Start by combining the flour and salt in your large mixing bowl. Cut your very cold butter into small cubes, about 1/2 inch in size.
Add the butter to the flour mixture. Using a pastry blender, a fork, or your fingertips, quickly work the butter into the flour until the mixture resembles coarse crumbs with some pea-sized pieces of butter still visible. These larger butter pieces are crucial; they will melt during baking and create steam, separating the layers of dough and resulting in flakiness.
Next, gradually add the ice water, one tablespoon at a time, mixing gently with a fork or your hands after each addition. You want to add just enough water for the dough to come together when you press a piece between your fingers. Be careful not to add too much water, as this can make the crust tough. The dough should look shaggy and slightly dry, not wet or sticky. Once it just comes together, divide the dough in half, form each half into a disc, wrap them tightly in plastic wrap, and prepare for the next crucial step.
Chilling the Dough: Why it's Crucial for a Flaky Crust
Chilling the pie dough is a non-negotiable step for a truly flaky crust in your easy apple pie. Once you've mixed the dough and formed the discs, place them in the refrigerator for at least 30 minutes, but ideally for 1-2 hours. This chilling period serves several important purposes. First, it allows the gluten in the flour to relax. Overworking the dough can develop gluten, leading to a tough crust. Chilling helps reverse this, resulting in a tender texture.
Secondly, chilling solidifies the butter again. Remember those pea-sized pieces of butter? Keeping them cold and solid ensures they melt slowly and create those coveted pockets of steam during baking, which is the secret to flakiness. Trying to roll out warm or soft dough is also much more difficult; it will be sticky and hard to handle. A properly chilled dough is firm and easier to roll, making this part of your easy beginner apple pie process significantly simpler.
Rolling the Dough: Tips for a Perfect Pie Crust Circle
Rolling out pie dough can feel intimidating for beginners, but with a few tips, you can achieve a great result for your easy apple pie. Lightly flour a clean work surface and your rolling pin. Take one disc of chilled dough from the refrigerator (keep the other one chilled). Place it on the floured surface and begin rolling from the center outwards, rotating the dough occasionally and adding just a little more flour underneath or on top if it starts to stick. Aim for an even thickness, about 1/8 to 1/4 inch thick.
Roll the dough into a circle large enough to fit your pie plate with some overhang – typically about 12 inches in diameter for a 9-inch pie plate. Don't worry if it's not a perfect circle; rustic is charming! If the dough becomes too soft or sticky while you're rolling, carefully slide it onto a baking sheet and pop it back into the refrigerator for 10-15 minutes to firm up before continuing. Patience here will pay off with a smooth, even crust.
Transferring the Dough: Getting the Crust into the Pie Dish
Once your first dough circle is rolled out, it's time to get it into the pie plate. This step can be a little tricky for beginners, but there are a couple of easy methods. The most common way is to gently roll the dough circle loosely around your rolling pin. Then, position the rolling pin over one edge of your pie plate and gently unroll the dough, letting it settle into the bottom and up the sides of the dish.
Alternatively, you can carefully fold the dough circle in half, then in half again (into quarters). Lift the folded dough and place the point in the center of the pie plate. Unfold the dough, letting it fall into the dish. Whichever method you choose, gently press the dough into the contours of the plate, ensuring it fits snugly against the bottom and sides without stretching it. Stretching the dough can cause it to shrink back during baking. Leave the excess dough hanging over the edge for now; you'll trim and crimp it later after adding the filling.
Preparing the Apple Pie Filling: A Beginner's Guide
Peeling and Slicing the Apples: Uniformity is Key
Preparing the apples for your easy beginner apple pie filling is a straightforward process, but uniformity in slicing is important for even cooking. Start by peeling your chosen apples using a vegetable peeler or a paring knife. Once peeled, core the apples. You can use an apple corer, or simply cut around the core with a knife. Next, slice the apples. Aim for slices that are roughly the same thickness, about 1/4 to 1/2 inch thick.
Consistent slice thickness ensures that all the apple pieces cook through at the same rate, preventing some pieces from being mushy while others are still too firm. Once sliced, place the apples in a large bowl. Adding a tablespoon of lemon juice to the slices and tossing gently will help prevent them from browning while you prepare the rest of the filling ingredients. This step is quick and easy but makes a noticeable difference in the final texture of your easy apple pie.
Mixing the Filling: Spices and Sweeteners for the Best Flavor
With your apples sliced, it's time to mix in the flavorings that will make your easy beginner apple pie truly delicious. Add the granulated sugar, brown sugar, cinnamon, nutmeg (if using), and salt to the bowl with the apple slices. The amount of sugar can be adjusted slightly based on the sweetness of your apples and your personal preference, but the amounts listed in the ingredient checklist are a good starting point for a balanced flavor profile.
Gently toss everything together with a spoon or your hands until the apple slices are evenly coated with the sugar and spice mixture. As the mixture sits, the sugar will start to draw out some of the moisture from the apples, creating a syrupy base for the filling. This simple step infuses the apples with classic warm spice flavors and sweetness, essential for that comforting, familiar taste of a homemade easy apple pie.
Preventing a Soggy Bottom: Tricks for a Crisp Pie Crust
A common challenge for beginner bakers making an easy apple pie is preventing a soggy bottom crust. Fortunately, there are several simple tricks you can employ. One effective method is to pre-bake or "blind bake" the bottom crust partially before adding the filling. This involves lining the bottom crust with parchment paper, filling it with pie weights (or dried beans/rice), and baking it for about 10-15 minutes at the instructed temperature until the edges are set. Remove the weights and paper and bake for a few more minutes if needed, then add the filling.
Another technique is to brush the bottom crust with a thin layer of egg white or melted butter before adding the filling. This creates a barrier that helps seal the crust and prevent moisture from the apples from soaking in. Additionally, ensure your oven is properly preheated to the correct temperature; a hot oven helps the bottom crust cook quickly before it becomes saturated.
Using a metal or glass pie plate can also help conduct heat more efficiently to the bottom crust compared to some ceramic dishes. Combining a couple of these methods significantly increases your chances of achieving a crisp bottom crust in your easy beginner apple pie.
Assembling and Baking Your First Apple Pie
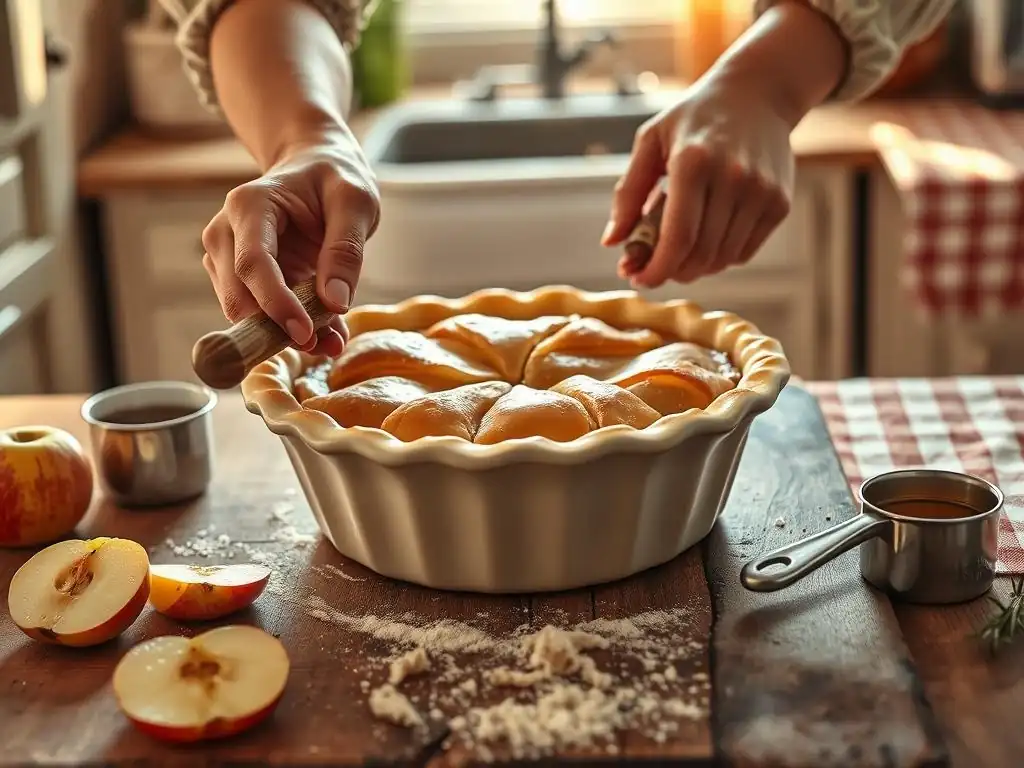
Filling the Pie: Creating a Dome of Deliciousness
Once your bottom crust is ready (either raw or partially blind-baked, depending on your chosen method), it's time to add the prepared apple filling. Spoon the apple slices into the pie plate, arranging them as you go. It might seem like a lot of apples, but they will cook down significantly in the oven. Pile the apples slightly higher in the center, creating a gentle dome shape. This accounts for the shrinkage and ensures your baked easy apple pie has a full, generous filling rather than a sunken center.
Pour any accumulated juices from the apple mixing bowl over the top of the fruit in the pie plate. These juices, thickened by the sugars and potentially a little flour or cornstarch added to the filling (optional, but helpful for thickening), will create that wonderful syrupy consistency when baked. Distributing the apples evenly ensures each slice of your easy beginner apple pie gets a good amount of fruit.
Topping the Pie: Lattice, Crumb, or Solid Crust?
For your easy beginner apple pie, you have several options for the top crust, ranging in complexity. The simplest is a solid top crust: roll out the second disc of dough just as you did the first, drape it over the filling, trim the edges, and crimp them together with the bottom crust. Remember to cut several vents in the top crust with a knife to allow steam to escape during baking; this prevents the crust from puffing up or cracking excessively.
A lattice top is visually appealing but slightly more involved. It requires cutting the rolled-out dough into strips and weaving them over the filling. For a beginner's first easy apple pie, a solid top or a simple crumb topping might be less daunting. A crumb topping, made from flour, sugar, butter, and sometimes oats, is simply sprinkled over the filling and requires no rolling or crimping, making it an excellent alternative for maximum ease. Choose the topping that feels most comfortable for your skill level.
Baking Time and Temperature: Achieving Golden Perfection
Baking your easy beginner apple pie requires the right temperature and sufficient time to ensure the crust is golden brown and the filling is bubbling hot. A typical temperature range is 375°F to 400°F (190°C to 200°C). Baking at a slightly higher temperature initially (like 400°F for the first 15-20 minutes) can help set the bottom crust before lowering the temperature to 375°F for the remainder of the time. This often helps with the soggy bottom issue.
The total baking time for a standard 9-inch easy apple pie is usually between 50 and 70 minutes. You'll know it's done when the crust is a deep golden brown color, and you can see the filling juices bubbling up through the vents in the top crust (or around the edges if you used a crumb topping).
If the crust edges start browning too quickly before the rest of the pie is done, you can loosely cover the edges with strips of aluminum foil. Using a baking sheet placed under the pie plate is also a good idea to catch any drips.
Cooling and Serving: The Final Touches for Your Easy Apple Pie
Once your easy beginner apple pie is baked to golden perfection, it's crucial to let it cool properly before slicing. This is perhaps the hardest part – resisting the urge to cut into that delicious-smelling pie immediately! Allow the pie to cool on a wire rack for at least 2-3 hours, and ideally longer, even until it's just warm or at room temperature.
Why the wait? As the pie cools, the filling continues to thicken and set. Cutting into a hot pie will result in a runny, loose filling that spills out. Cooling allows the starches and sugars in the filling to gel and firm up, giving you clean, beautiful slices. Serving your homemade easy apple pie slightly warm is delightful, perhaps with a scoop of vanilla ice cream or a slice of cheddar cheese, a classic pairing.
Troubleshooting Your Beginner Apple Pie
Common Mistakes and How to Avoid Them
Even with an easy beginner apple pie recipe, minor hiccups can occur. One common issue is a tough crust, which usually results from overmixing the dough or adding too much water, leading to excessive gluten development. To avoid this, mix the dough minimally until it just comes together and add ice water cautiously, just until the dough is cohesive. Another frequent problem is uneven baking; rotating the pie halfway through the baking time can help promote even browning of the crust.
A runny filling is also a common complaint. This can happen if the apples release too much juice during baking or if the filling wasn't thickened adequately. Using a mix of apple varieties (some that hold shape) and potentially adding a tablespoon or two of flour, cornstarch, or tapioca starch to the apple mixture before filling can help absorb excess moisture. Ensuring the pie bakes long enough for the filling to bubble and thicken is also key.
My Pie Crust Cracked! What Do I Do?
Don't panic if your pie crust cracks while you're rolling it or transferring it to the pie plate! This is a very common occurrence, especially with a tender, flaky dough. For an easy beginner apple pie, small cracks are easily fixable. If it cracks during rolling, simply press the edges back together or patch the crack with a small piece of excess dough, gently smoothing the seam.
If the crack happens after you've transferred the dough to the pie plate, use a piece of the leftover dough scraps (you'll have some from trimming the edges) to patch the area. Wet your finger slightly and moisten the edges of the crack and the patch piece, then press the patch firmly onto the crack, smoothing the edges to blend it in. These patches are often barely noticeable after baking and are a perfectly acceptable fix for your first easy apple pie.
The Filling is Too Runny! Help!
If you've baked your easy apple pie and let it cool properly, but the filling is still too runny when you cut into it, it's likely due to insufficient thickening agents or not baking long enough for the starches to activate and juices to reduce. While you can't fix a runny filling after baking and cooling, you can learn for next time! Ensure you're using a good blend of apples and consider adding a thickener like flour, cornstarch, or tapioca starch to the apple mixture before baking.
For future easy beginner apple pie attempts, make sure the pie bakes until the filling is visibly bubbling vigorously through the vents. This bubbling indicates that the juices are reaching a high enough temperature to thicken. If you suspect your filling might be too juicy before baking, you can toss the apples with the sugar/spice mixture and let them sit for 15-20 minutes, then drain off some of the excess liquid before putting the apples in the crust.
Storing Your Homemade Apple Pie
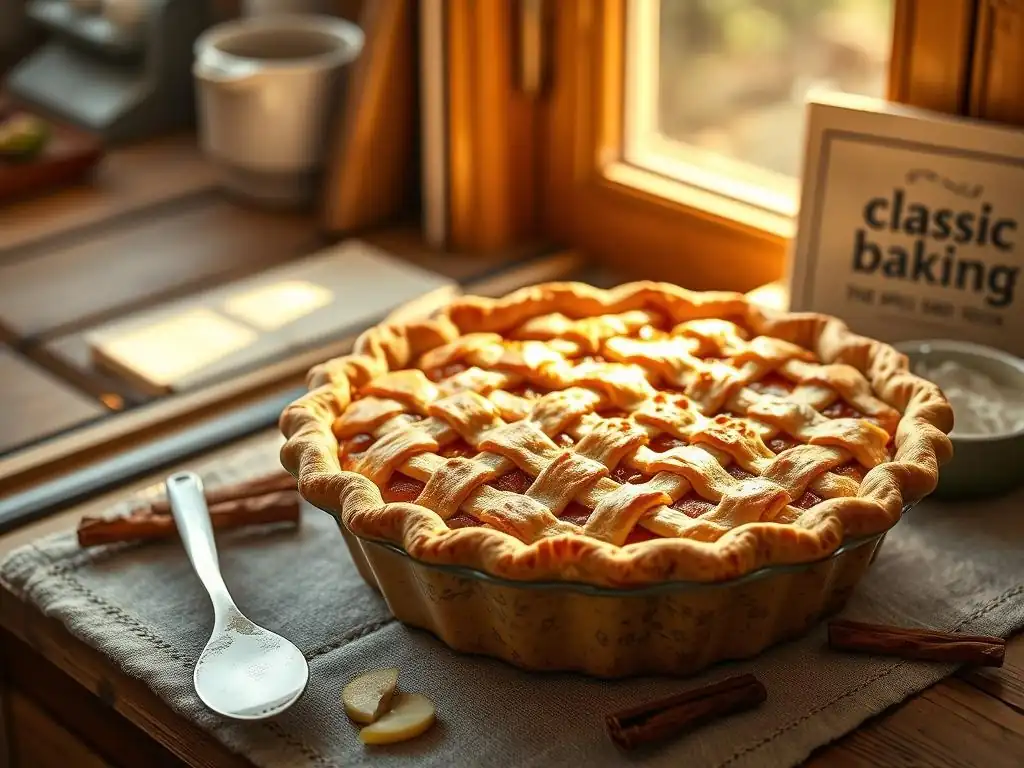
Keeping Your Pie Fresh for Days
Proper storage helps keep your delicious easy beginner apple pie tasting great for several days. Once the pie has cooled completely to room temperature (this is important to prevent condensation), cover it loosely. A pie dome, aluminum foil tent, or plastic wrap can be used. Avoid sealing it too tightly, especially if the pie is still slightly warm, as this can trap moisture and make the crust soggy.
A baked apple pie can typically be stored at room temperature for up to 2 days. For longer storage or in warmer climates, it's best to refrigerate it. Wrap it tightly in plastic wrap or place it in an airtight container. Refrigerated apple pie is generally good for up to 4-5 days. When ready to serve refrigerated pie, you can enjoy it cold, or gently reheat individual slices in a microwave or oven.
Freezing Apple Pie for Later Enjoyment
Freezing is a fantastic way to preserve your easy beginner apple pie for future enjoyment. You can freeze a baked pie or an unbaked pie. To freeze a baked pie, allow it to cool completely. Then, wrap it tightly in plastic wrap, followed by a layer of aluminum foil, or place it in a freezer-safe container. Label with the date. Baked pie can be frozen for up to 3-4 months. To reheat, unwrap and bake from frozen in a preheated oven (start around 300-325°F / 150-160°C) until heated through, which may take 45-75 minutes.
To freeze an unbaked pie, assemble the pie (including the top crust and vents), but do not bake it. Wrap it extremely well in plastic wrap and then aluminum foil. Freeze for up to 3-4 months. To bake from frozen, remove the plastic wrap and foil and bake directly from frozen in a preheated oven (you might need to increase the temperature slightly or bake longer than usual). This method is great for having a fresh easy apple pie ready to bake whenever you need it!
Variations on the Classic Easy Apple Pie Recipe
Adding Caramel or Salted Caramel
Elevate your easy beginner apple pie by adding a layer of caramel! You can drizzle about 1/4 to 1/2 cup of store-bought caramel sauce over the apple filling before adding the top crust. This adds a rich, sweet, and slightly chewy element that pairs wonderfully with the tart apples. For a salted caramel twist, use salted caramel sauce or sprinkle a pinch of flaky sea salt over the caramel layer.
If you're feeling a bit more adventurous after mastering the basic easy apple pie recipe, you could even make your own simple caramel sauce from sugar, butter, and cream. However, for a beginner's variation, using a high-quality jarred caramel sauce is the simplest way to introduce this delicious flavor dimension without adding significant complexity to the recipe process itself.
Spiced Apple Pie: Cinnamon, Nutmeg, and More
While our basic easy beginner apple pie recipe includes cinnamon and optional nutmeg, you can easily enhance the spice profile for a warmer, more complex flavor. Consider adding a pinch of ground cloves, allspice, or cardamom to the apple mixture along with the cinnamon and nutmeg. Start with small amounts (like 1/8 teaspoon of each) and adjust to your preference in future pies.
You can also add warmth by including ground ginger or a splash of vanilla extract to the filling. These additions complement the apples beautifully and deepen the overall flavor. Experimenting with different spice combinations is a simple way to customize your easy apple pie without changing the core techniques, making it a great next step after baking your first successful basic version.
Apple Crumble Pie: An Easier Crust Option
If making a double pie crust feels like too much for your very first baking project, or if you simply prefer a different texture, transforming your easy beginner apple pie into an apple crumble pie is a fantastic option. Prepare the bottom crust and apple filling as instructed. Instead of rolling out a top crust, prepare a simple crumble topping.
A basic crumble topping consists of mixing flour, sugar (white or brown), and cold butter together until crumbly. You can add oats, nuts, or spices like cinnamon to the crumble mix for extra flavor and texture. Simply sprinkle this crumble mixture evenly over the prepared apple filling in the bottom crust.
Bake as directed, keeping an eye on the crumble topping to ensure it doesn't brown too quickly (tent loosely with foil if needed). This variation simplifies the process by eliminating the need to roll and place a top crust, making it perhaps the absolute easiest version of an apple pie for beginners.
Frequently Asked Questions
What makes this apple pie recipe easy for beginners?
This recipe focuses on simple techniques and uses readily available ingredients. It also includes step-by-step instructions with clear explanations.
What kind of apples are best for this beginner apple pie?
We recommend using a mix of apples for the best flavor and texture. Granny Smith provides tartness, while Honeycrisp adds sweetness.
Can I use a store-bought pie crust for this recipe?
Absolutely! Using a store-bought pie crust significantly simplifies the process for beginners. Just be sure to follow the instructions on the package.
How do I know when the apple pie is done baking?
The crust should be golden brown, and the filling should be bubbling in the center. A knife inserted into the filling should come out with slightly softened apples.
What's the best way to store leftover apple pie?
Store leftover apple pie in the refrigerator, covered, for up to 3-4 days. You can also reheat slices in the oven or microwave.
Final Reflection: The Sweetness of Simple Beginnings
The seemingly simple act of baking an apple pie holds a surprising depth, connecting generations through a shared culinary tradition. More than just a dessert, it's a gateway to creativity, a testament to the power of readily available ingredients transformed into something truly special. This recipe, designed for beginners, aims to unlock that potential for everyone.
The enduring appeal of apple pie lies not just in its deliciousness, but in its ability to evoke feelings of warmth, comfort, and connection. It's a dish that transcends cultures, appearing in countless variations across the globe. The act of sharing a slice, whether with loved ones or enjoyed in quiet solitude, fosters a sense of belonging and contentment. The best things in life are simple,
a sentiment perfectly embodied by this classic dessert. This recipe, I hope, has helped demystify the process, making this cherished tradition accessible to all.
Now, I invite you to roll up your sleeves, gather your ingredients, and embark on your own apple pie adventure. Don't be afraid to experiment, to personalize the recipe, to add your own unique touch. The true reward lies not just in the perfectly golden crust and the sweet, spiced filling, but in the journey of creation itself. Let the aroma of cinnamon and apples fill your kitchen, and savor the satisfaction of bringing a little bit of homemade happiness to your table.
Unlock Your Inner Baker: Make This Apple Pie Your Masterpiece!
Thanks for joining us on this delicious journey into classic apple pie! We hope you’ve gained the confidence to tackle this baking icon. Now it’s time to roll up your sleeves and get baking!
- Bake your own masterpiece: Gather your ingredients and follow the recipe – we know you can do it! This is your chance to create something truly special.
- Share your creation: Snap a photo of your finished pie and tag us on social media – we’d love to see your baking success!
- Explore more easy-to-follow recipes on BakeWithEase.com for even more baking adventures.
Ready to transform your kitchen into a haven of warm apple pie goodness? What’s your favorite twist on a classic apple pie recipe?