
Easy Mini Pies You Can Bake Today

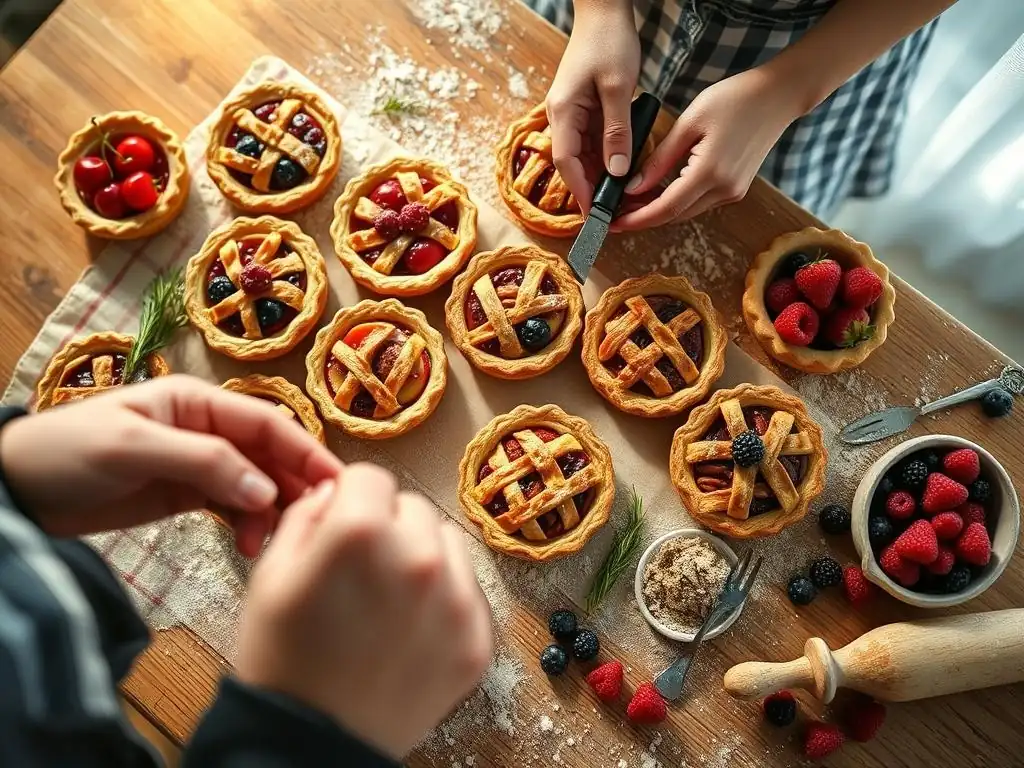
Welcome to BakeWithEase, where delicious baking becomes achievable for everyone! Curious about creating delightful, single-serving treats that are both impressive and surprisingly simple? You're in the right place. Dive into our collection of easy mini pie recipes and discover how to bake perfect, bite-sized pies that will impress your friends and family. Intrigued? Let's get baking!
- Delicious Mini Pies: Simple Recipes for Beginners
- Introduction to Mini Pie Baking
- Mastering the Mini Pie Crust
- Delicious Mini Pie Filling Ideas
- Baking Your Mini Pies
- Tips and Tricks for Beginners
- Conclusion: Enjoy Your Homemade Mini Pies!
-
Frequently Asked Questions
- How easy are the easy mini pie recipes on BakeWithEase.com?
- What kind of crust is typically used for easy mini pie recipes?
- What are some popular filling options for easy mini pies?
- Can I customize the easy mini pie recipes on BakeWithEase.com?
- Where can I find the easy mini pie recipes mentioned on BakeWithEase.com?
- Final Reflection: The Sweet Simplicity of Mini Pie Perfection
- Bake Your Delicious Mini Pies Today!
Delicious Mini Pies: Simple Recipes for Beginners
Introduction to Mini Pie Baking
- Why mini pies are a great starting point for new bakers.
Mini pies offer a manageable canvas for testing Easy mini pie recipes without committing to a full-sized dessert. At just 3–4 inches in diameter, these bite-sized delights bake faster—often in under 25 minutes—letting you practice crust technique and filling consistency in quick succession. With six mini pies fitting on a single sheet pan, you can experiment with multiple flavors in one batch, perfect for tasting sessions or sharing at small gatherings.
Beyond speed and variety, mini pies help beginners master temperature control and portion sizing. When you preheat your oven to 375°F (190°C) and observe how a small pie crust browns in just 20 minutes, you gain insights into oven hotspots and timing—skills easily transferable to larger pies. Portion control also means less waste: if one batch doesn’t turn out perfect, you’ve only used a handful of ingredients rather than pounds of apples or cherries.
Mastering the Mini Pie Crust
Essential Ingredients for a Flaky Crust
- All-purpose flour, cold unsalted butter, ice water, salt, sugar.
- Explanation of how each ingredient contributes to a flaky crust.
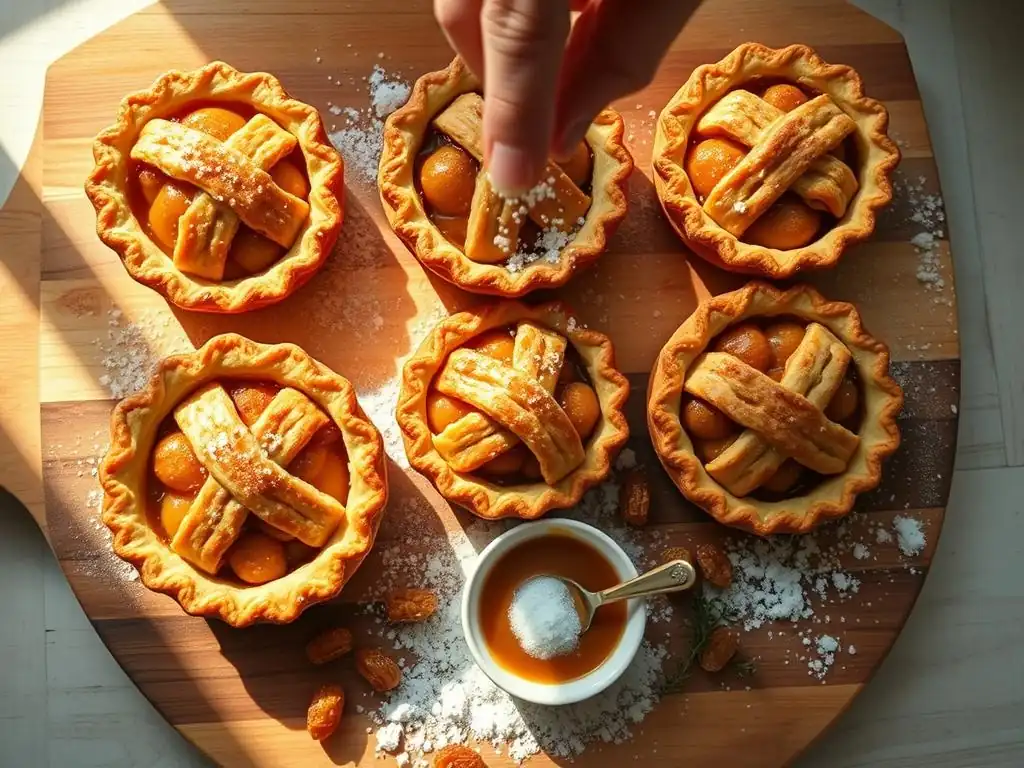
All-purpose flour (about 2½ cups or 312 g) provides the gluten network essential for structure, while cold, cubed unsalted butter (1 cup or 227 g) introduces layers that puff up during baking. The ice water (3–5 tablespoons) binds the dough without melting the fat too quickly. A teaspoon of salt enhances flavor, and a tablespoon of sugar aids browning and adds a hint of sweetness.
Flour hydration should be around 30–35% by weight to prevent toughness. Keep butter at 40°F (4°C) or colder; if it warms above 50°F (10°C), it will blend completely and produce a mealy texture rather than distinct flaky layers. Resting the dough in the refrigerator for 30–45 minutes helps relax gluten strands and maintains that all-important cold temperature before rolling.
Making the Pie Dough from Scratch: A Step-by-Step Guide
- Detailed instructions for combining ingredients and chilling the dough.
- Tips for handling the dough to maintain its flakiness.
- In a large bowl, whisk together 312 g flour, 1 tsp salt, and 1 Tbsp sugar.
- Add 227 g cold butter cubes, then use a pastry cutter or two knives to cut in until pea-sized bits remain.
- Drizzle in 3 Tbsp ice water, tossing lightly with a fork until the dough holds when pressed.
- Gather into a disk, wrap in plastic, and chill for at least 45 minutes in the fridge.
Handling tips:
- Work on a lightly floured surface to prevent sticking without overloading the dough with flour.
- Keep your hands cool—wash with cold water before handling.
- Roll in one direction, lifting and turning often to avoid tears.
// Sample dough consistency check
press dough: holds shape but feels pliable
if too crumbly: add 1 tsp ice water
if too wet: dust with 1 Tbsp flour
Chilled dough that stays between 40–50°F (4–10°C) produces the best layers, resulting in an inviting golden-brown crust with minimal shrinkage.
Store-Bought Crust Options
- Discussion of refrigerated and frozen pie crust options.
- Tips for using store-bought crust to achieve a homemade taste.
If you’re seeking shortcuts, brands like Pillsbury™ refrigerated pie crust and Trader Joe’s™ frozen sheets are reliable. Refrigerated crusts tend to be softer and more pliable, while frozen rounds often yield a flakier result—provided you defrost them in the fridge for 20–30 minutes.
To mimic homemade flair:
- Brush the surface with beaten egg white and sprinkle a pinch of sugar for sparkle.
- Dock the bottom crust lightly with a fork to prevent soggy spots.
- Flour your rolling pin and surface to gently thin the dough by 1–2 mm, rather than stretching it.
Delicious Mini Pie Filling Ideas
Classic Fruit Fillings: Apple, Cherry, and Blueberry
- Apple Mini Pie Filling: Recipe using cinnamon, nutmeg, and lemon juice.
- Cherry Mini Pie Filling: Recipe using fresh or frozen cherries and almond extract.
- Blueberry Mini Pie Filling: Recipe featuring fresh blueberries, lemon zest, and a hint of spice.
Apple Filling (makes six 3″ pies):
- 1 lb Granny Smith apples (peeled, sliced ⅛″ thick)
- ⅓ cup granulated sugar
- 1 tsp ground cinnamon
- ¼ tsp ground nutmeg
- 1 Tbsp lemon juice
In a saucepan over medium heat, combine apples, sugar, spices, and lemon juice. Cook 5–7 minutes until the mixture thickens. Cool to room temperature before filling crusts.
Cherry Filling (6 pies):
- 12 oz pitted cherries (fresh or frozen)
- ¼ cup sugar
- 1 Tbsp cornstarch
- ½ tsp almond extract
Toss cherries, sugar, and cornstarch in a bowl. Transfer to a skillet on low heat and stir until the glaze becomes translucent—about 4 minutes. Off heat, stir in almond extract and cool.
Blueberry Filling (6 pies):
- 8 oz fresh blueberries
- ¼ cup sugar
- Zest of 1 lemon
- Pinch of ground cloves
Combine ingredients in a saucepan over medium-low heat, stirring gently for 3–5 minutes until berries burst and the juice thickens. Remove from heat and let cool before spooning into crusts.
Creamy Fillings: Chocolate and Coconut Cream
- Chocolate Cream Mini Pie Filling: Recipe using dark chocolate, heavy cream, and vanilla extract.
- Coconut Cream Mini Pie Filling: Recipe using coconut milk, shredded coconut, and a touch of rum extract.
Chocolate Cream (6 pies):
- 4 oz 70% dark chocolate, chopped
- ½ cup heavy cream
- 1 tsp vanilla extract
Heat cream until it simmers, then pour over chocolate in a heat-proof bowl. Let sit for 1 minute, then whisk until smooth. Stir in vanilla and chill 1–2 hours before filling.
Coconut Cream (6 pies):
- 1 cup full-fat coconut milk
- ½ cup heavy cream
- ¼ cup shredded unsweetened coconut
- 2 Tbsp sugar
- 1 tsp rum extract
Simmer coconut milk, heavy cream, and sugar until slightly thickened (3 minutes). Remove from heat; whisk in shredded coconut and rum extract. Refrigerate at least 2 hours for a set, silky texture.
Savory Fillings: Spinach and Feta
- Spinach and Feta Mini Pie Filling: Recipe using spinach, feta cheese, ricotta cheese, and herbs.
Savory Spinach & Feta (6 pies):
- 1 cup fresh spinach (roughly chopped)
- ½ cup crumbled feta
- ¼ cup ricotta
- 1 small garlic clove, minced
- 1 Tbsp chopped fresh dill or parsley
- 1 egg (beaten)
Sauté garlic and spinach in 1 tsp olive oil for 2 minutes; remove excess liquid. In a bowl, combine spinach, feta, ricotta, dill, and beaten egg. Season with salt and pepper. This filling cooks through in about 20 minutes at 375°F, giving a creamy, tangy result.
Baking Your Mini Pies
Preparing Your Mini Pie Pans
- Greasing and flouring recommendations for preventing sticking.
- Using muffin tins for uniform mini pie shapes.
To ensure effortless removal, brush each pan with melted butter or use a nonstick baking spray dusted with flour. For metal tartlet pans, line the bottoms with parchment circles; for muffin tins, nonstick liners can work, though they may prevent crisp bottoms.
Muffin tins are ideal for uniformity: each cavity yields a perfect 3″ pie, and the rim helps the crust hold its shape. If you prefer deeper pies, opt for 4″ fluted tart pans; just adjust bake time by +3–5 minutes.
Assembling and Filling
- Instructions for cutting and shaping the dough, and adding the filling.
- Techniques for crimping and decorating the edges.
- Roll chilled dough out to 1/8″ (3 mm) thickness on a floured surface.
- Use a 4″ round cutter for a 3″ pan—this ensures a ½″ overhang.
- Press dough into each pan, patching holes with scraps.
- Fill each shell to ¾ full—fruit should peak above juices, creamy and savory should level with the rim.
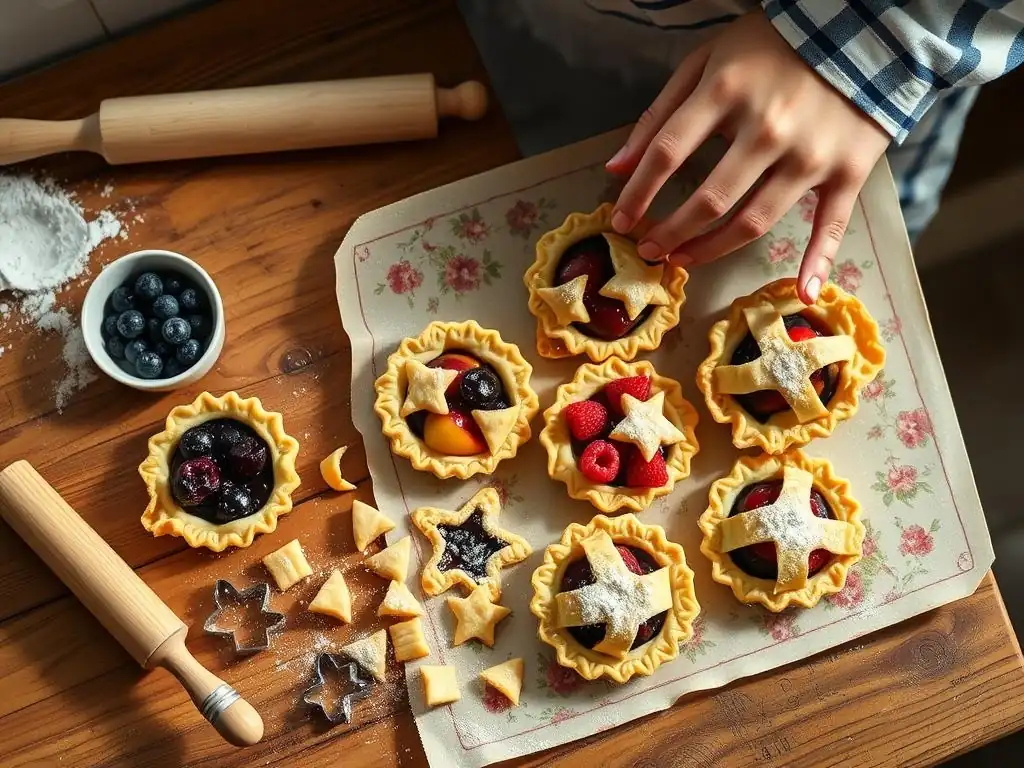
- For tops, cut dough into strips for lattices or use small cutters for decorative shapes.
Crimp edges by pinching between thumb and forefinger or pressing with a fork. Brush all crusts with beaten egg wash ( 1 egg + 1 Tbsp water) for a golden, glossy finish.
Baking Time and Temperature
- Recommended baking temperature and time for golden crusts and cooked fillings.
- Tips for checking for doneness and adjusting baking time.
Preheat to 375°F (190°C). Bake fruit pies for 20–25 minutes until crust edges turn golden and filling bubbles through vents. Creamy and savory pies often require 18–22 minutes; watch for lightly browned tops and set centers (you can jiggle the pan—if filling wobbles only slightly, it’s done).
If the crust browns too quickly, shield edges with aluminum foil strips or a silicone crust shield after 15 minutes. For deeper or wetter fillings (e.g., cherry), add 3–5 minutes to the bake time, checking every 2 minutes to prevent burning.
Tips and Tricks for Beginners
Troubleshooting Common Problems
- Solutions for preventing soggy crusts, cracked tops, and overflowing fillings.
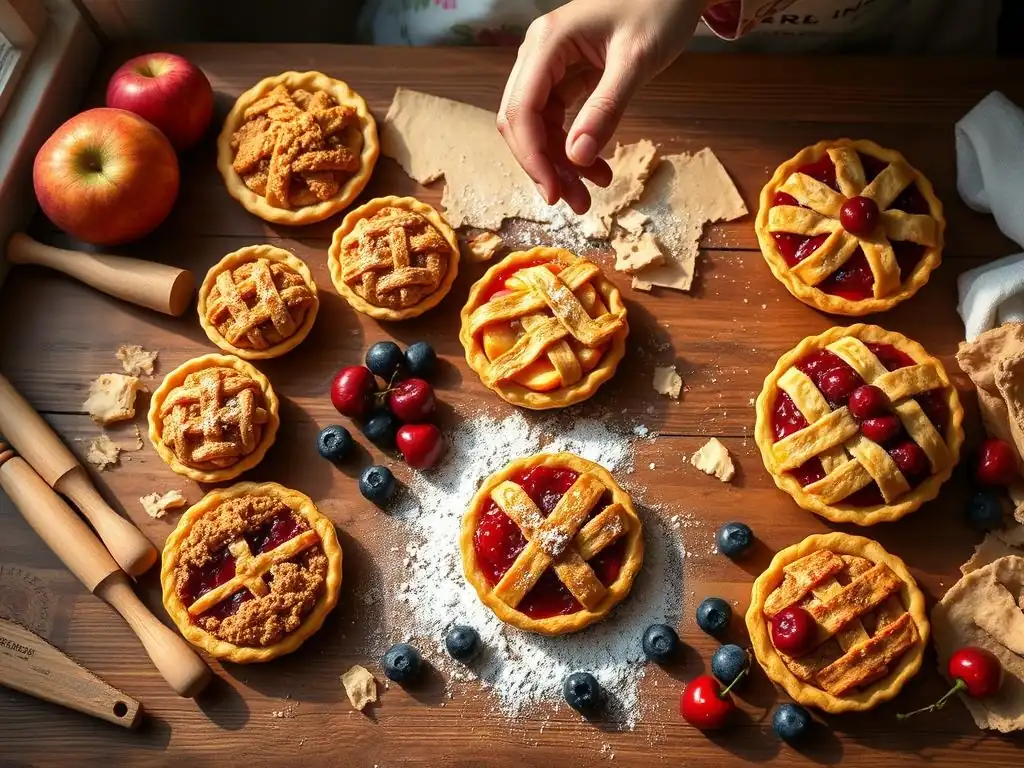
• Soggy bottoms: Blind-bake crusts for 5 minutes at 350°F (175°C) with weights, then fill.
• Cracked tops: Ensure creamy fillings cool slightly (5 minutes) before entering hot oven to avoid sudden surface tension.
• Overflowing fruit: Thicken with an extra ½ tsp cornstarch per cup of fruit, and fill shells just ⅔ full to allow bubbling room.
Storing Baked Mini Pies
- Recommendations for storing leftover pies at room temperature or in the refrigerator.
Freshly baked mini pies can sit at room temperature, covered loosely with a clean towel, for up to 24 hours. For longer storage, place in an airtight container and refrigerate for 3–5 days. Reheat at 300°F (150°C) for 5–7 minutes to refresh the crust’s crispness.
To freeze, wrap cooled pies individually in plastic and aluminum foil; freeze for up to one month. Thaw overnight in the fridge, then warm in a 325°F oven for 8–10 minutes before serving.
Serving and Garnishing
- Ideas for serving with whipped cream, ice cream, or fresh fruit.
Top warm fruit pies with a scoop of vanilla bean ice cream or a dollop of freshly whipped cream flavored with 1 tsp powdered sugar. Garnish coconut cream pies with toasted coconut flakes and a drizzle of caramel. Spinach-feta pies pair beautifully with a spoonful of tzatziki or a sprinkle of chopped sun-dried tomatoes.
“Small pies, big smiles”—let your creativity shine with every crust crimp and filling swirl!
Conclusion: Enjoy Your Homemade Mini Pies!
- Review of the ease and flexibility of mini pie baking.
- Encouragement to experiment with different flavors and crust variations.
Mini pies embody the essence of Easy mini pie recipes: quick, customizable, and endlessly rewarding. Whether you’re exploring fruit-filled classics, decadent chocolate bites, or savory brunch treats, these petite pastries accommodate every culinary curiosity. Armed with simple ingredients—flour, butter, and a splash of creativity—you’ll master the art of mini pie baking in no time.
Embrace experimentation: swap apples for pears, stir in cardamom instead of nutmeg, or top custard pies with edible flowers. At BakeWithEase.com, we believe that the journey to becoming a confident baker begins with one small slice at a time. Happy baking!
Frequently Asked Questions
How easy are the easy mini pie recipes on BakeWithEase.com?
The easy mini pie recipes are designed to be beginner-friendly, using simple instructions and readily available ingredients. You'll find step-by-step guides to help you along the way.
What kind of crust is typically used for easy mini pie recipes?
Most easy mini pie recipes utilize a pre-made pie crust for convenience, or a simple homemade crust recipe. The focus is on ease and speed for busy bakers.
What are some popular filling options for easy mini pies?
Popular fillings include fruit fillings like apple, berry, and cherry, as well as chocolate and custard options. The recipes emphasize using easy-to-prepare fillings.
Can I customize the easy mini pie recipes on BakeWithEase.com?
Absolutely! The recipes are designed to be a starting point, encouraging bakers to experiment with different fillings and crust variations. Personalizing your pies is highly encouraged.
Where can I find the easy mini pie recipes mentioned on BakeWithEase.com?
You can find all the easy mini pie recipes by navigating to the 'Pastries' section or using the search bar on BakeWithEase.com. Look for recipes tagged with 'mini pie'.
Final Reflection: The Sweet Simplicity of Mini Pie Perfection
The enduring appeal of pie, especially in its easily manageable mini form, speaks volumes about our desire for comfort and connection. These bite-sized delights offer a perfect blend of convenience and deliciousness, making them ideal for busy weeknights or impromptu gatherings. Their versatility allows for endless creative exploration, from classic apple to unexpected savory combinations, proving that sometimes, the smallest things bring the greatest joy.
The impact of simple recipes like these extends beyond just satisfying our taste buds; they foster a sense of accomplishment and creativity in the kitchen. Baking, even on a small scale, can be a deeply therapeutic activity, a moment of mindful creation in our often-hectic lives. As Julia Child wisely said, Find something you're passionate about and keep tremendously interested in it.
For many, that passion lies in the simple act of baking, and these mini pies offer an accessible entry point to that joy.
Now, I invite you to consider your own culinary adventures. Will you try your hand at one of these easy mini pie recipes today? Perhaps you'll experiment with different fillings, crusts, or even presentation styles. Let the joy of baking, the satisfaction of creating something delicious, and the simple pleasure of sharing your creations with loved ones inspire you to embrace the sweet simplicity of mini pie perfection. The possibilities are as endless as your imagination.
Bake Your Delicious Mini Pies Today!
Thank you for joining us on this delightful baking journey! We're thrilled you took the time to explore the world of easy mini pies, where every bite is a taste of happiness. Now that you've been inspired, it's time to bring that creativity to the kitchen.
Here are some simple steps to get you started:
- Gather Your Ingredients: Choose your favorite filling—fruit, chocolate, or even savory! Head to the kitchen and collect what you need to whip up your mini pie masterpiece.
- Share the Joy: Invite a friend or family member to join you in your baking adventure. Cooking together adds a sprinkle of fun!
- Experiment: Try out a unique flavor combination that you haven't thought of before. Who knows, you may just discover your new favorite mini pie!
As you bake, remember: what flavor will inspire your next mini pie creation? We can’t wait to hear your delicious ideas!