
Simple Basic Apple Tart

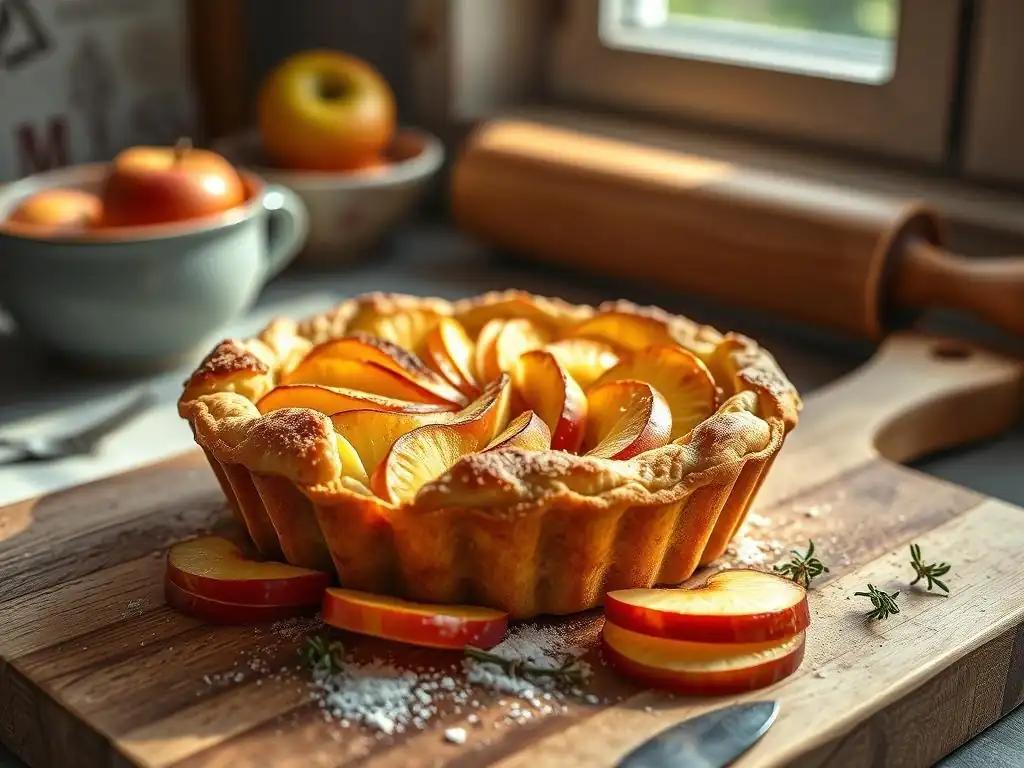
Welcome to BakeWithEase, your kitchen companion on the journey to baking bliss! Ever dreamt of creating a show-stopping dessert without the stress? You're in the right place. Today, we're diving into a classic that's surprisingly simple: an easy apple tart recipe. Get ready to unlock the secrets to a perfectly flaky crust and a sweet, spiced filling that will impress everyone, even if you're just starting out. Ready to bake? Let's get started and discover how effortless baking can truly be!
- Simple Basic Apple Tart: An Easy Recipe for Beginners
- Introduction to Easy Apple Tart Baking with BakeWithEase
- The Easiest Apple Tart Recipe You'll Ever Make
- Step-by-Step Guide: Making Your Simple Apple Tart
- Variations and Add-ins for Your Easy Apple Tart
- Tips and Tricks for Baking the Perfect Simple Apple Tart
- Troubleshooting Common Apple Tart Baking Issues
- Enjoy Your Homemade Easy Apple Tart!
- Frequently Asked Questions
- Final Reflection: The Enduring Allure of the Simple Apple Tart
- Unlock Your Inner Baker: Make This Apple Tart Today!
Simple Basic Apple Tart: An Easy Recipe for Beginners
Introduction to Easy Apple Tart Baking with BakeWithEase
Welcome to BakeWithEase, where we believe that baking delicious treats should be accessible and enjoyable for everyone. This article is designed to guide you through making a simple, basic apple tart, a classic dessert that's surprisingly easy to master. Forget complicated techniques; our focus is on clear, straightforward steps that guarantee a beautiful and tasty result, even if you've never baked a tart before. Let's dive into the world of easy apple tart baking together!
Why This Simple Apple Tart Recipe is Perfect for Beginner Bakers
This easy apple tart recipe stands out as an ideal starting point for anyone new to baking tarts. Unlike multi-layered cakes or intricate pastries, a basic apple tart involves fundamental techniques like making a simple dough and preparing a fruit filling. The process is forgiving, allowing for minor imperfections without compromising the final outcome. You'll gain confidence working with pastry and fruit, essential skills for countless other baking adventures.
Moreover, the ingredients required for this simple apple tart are readily available in most kitchens or local grocery stores. You won't need exotic spices or specialized equipment. We focus on pantry staples like flour, sugar, butter, and common apples. This accessibility reduces potential barriers and makes it easy to jump right in and try this easy apple tart recipe today. The entire process, from start to finish, can often be completed within a couple of hours, including chilling and baking time, making it a rewarding project for a relaxed afternoon.
BakeWithEase's Commitment to Easy Baking Recipes
At BakeWithEase, our mission is to demystify baking and make it approachable for everyone. We understand that starting out can feel overwhelming, with complex instructions and unfamiliar terms. That's why we specialize in developing and sharing easy baking recipes that break down processes into simple, manageable steps. We prioritize clarity, using plain language and offering helpful tips to anticipate common challenges.
Our commitment extends beyond just recipes; we aim to build a supportive community where bakers of all levels can learn, share, and grow. This easy apple tart recipe is a perfect example of our philosophy in action – it's a classic dessert simplified, proving that you don't need years of experience to create something wonderful. We believe that with the right guidance, anyone can experience the joy and satisfaction of pulling a warm, golden tart from the oven.
The Easiest Apple Tart Recipe You'll Ever Make
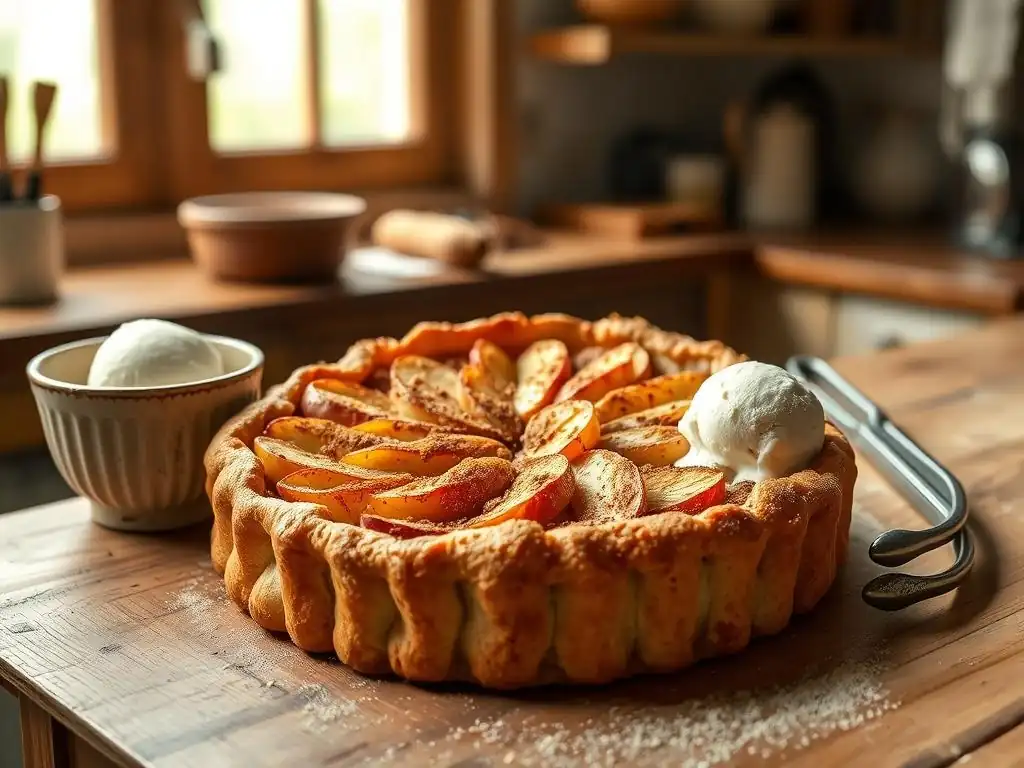
Get ready to create a delightful dessert with minimal fuss. This section outlines everything you need to successfully bake our simple basic apple tart. We've streamlined the process to focus on the core elements, ensuring a smooth and enjoyable baking experience. Follow along, and you'll see just how achievable a delicious homemade tart can be.
Key Ingredients for a Basic Apple Tart
Success with any easy apple tart recipe begins with understanding the role of each ingredient. For the pastry, you'll typically need all-purpose flour, cold unsalted butter, a bit of sugar for sweetness, and ice water to bring it all together. The flour provides the structure, while the cold butter is crucial for creating flaky layers as it melts during baking. Sugar adds flavor to the crust, and the minimal use of ice water helps control gluten development, ensuring a tender pastry.
For the simple apple filling, the stars are the apples themselves. You'll also need sugar (granulated or brown, or a mix), a thickening agent like all-purpose flour or cornstarch, and often a touch of spice like cinnamon or nutmeg. The sugar sweetens the tartness of the apples and helps create a syrupy filling.
The thickener prevents the filling from becoming too watery, which can lead to a soggy bottom crust. Spices enhance the classic apple flavor, adding warmth and aroma to your easy apple tart. A typical recipe might call for about 1 ½ to 2 pounds of apples, roughly 6-8 medium apples depending on size.
Essential Baking Tools for This Easy Apple Tart
Having the right tools makes baking this easy apple tart recipe even simpler. You'll need a few basic items commonly found in most kitchens. A large mixing bowl is essential for preparing both the dough and the filling. Measuring cups and spoons are crucial for accurate ingredient amounts, ensuring consistent results. A pastry blender or your fingertips are useful for cutting the cold butter into the flour to create that desirable sandy texture.
For assembling and baking, a rolling pin is necessary to flatten the dough. A 9-inch tart pan, preferably one with a removable bottom, is ideal for shaping and serving your tart; the removable bottom makes it incredibly easy to get the finished tart out without damaging it. A sharp knife or apple slicer will help you prepare the apples efficiently. Finally, an oven is, of course, required for baking your simple apple tart to golden perfection. Parchment paper is also highly recommended for lining the pan and assisting with rolling the dough, making cleanup easier.
Step-by-Step Guide: Making Your Simple Apple Tart
Now for the fun part – bringing all the ingredients together to create your delicious easy apple tart! This step-by-step guide breaks down the process into simple, manageable tasks. We'll start with the pastry, move on to the filling, and finally, assemble and bake. Follow these instructions carefully, and you'll be enjoying your homemade tart in no time.
Preparing the Sweet Shortcrust Pastry (Pâte Sucrée)
A good tart starts with a good crust, and for this easy apple tart recipe, we're using a sweet shortcrust pastry (pâte sucrée). This dough is less finicky than flaky pie crusts and provides a sturdy, slightly sweet base that complements the apple filling beautifully. The key is to handle the dough minimally to keep it tender.
Making the Dough: A Simple Method
Begin by combining 1 cup (about 125g) all-purpose flour, 2 tablespoons granulated sugar, and a pinch of salt in your mixing bowl. Cut in ½ cup (1 stick or 113g) of very cold unsalted butter, which has been diced into small cubes. You can use a pastry blender, two forks, or your fingertips to work the butter into the flour mixture until it resembles coarse crumbs with some pea-sized pieces of butter remaining. This step is crucial for tenderness. Next, add 2-3 tablespoons of ice water, one tablespoon at a time, mixing gently with a fork or your hands until the dough just comes together. Be careful not to add too much water, as this can make the dough tough. Gather the dough into a ball, flatten it into a disc, wrap it in plastic wrap, and prepare for chilling.
Chilling the Dough: Key to a Flaky Crust
Chilling the dough is a non-negotiable step for a successful tart crust, especially in an easy apple tart recipe. Once you've formed the disc and wrapped it, place it in the refrigerator for at least 30 minutes, and ideally for 1 hour. This chilling period allows the gluten in the flour to relax, which prevents the dough from shrinking excessively during baking and makes it more tender. More importantly, it hardens the butter pieces within the dough.
When the cold dough is rolled out and baked, these solid butter pieces melt, creating steam pockets that separate the layers of dough, resulting in a light, flaky, and tender crust. Skipping this step can lead to a tough, crumbly, or overly sticky dough that is difficult to work with and results in a less desirable texture for your simple apple tart base. Plan this chilling time into your baking schedule.
Rolling Out the Dough: Tips for Success
Rolling out tart dough can sometimes be intimidating, but with a few simple tips, it becomes much easier for your easy apple tart. Start with the well-chilled dough. Lightly flour a clean work surface and your rolling pin. You can also roll the dough between two sheets of parchment paper, which is particularly helpful for beginners as it prevents sticking and makes transferring the dough much easier. Place the dough disc in the center and begin rolling from the center outwards, rotating the dough occasionally to ensure an even thickness (aim for about ⅛ inch or 3mm) and prevent it from sticking.
Roll the dough into a circle large enough to fit your 9-inch tart pan, with enough overhang to trim. A good rule of thumb is to roll it about 12-13 inches in diameter. If the dough becomes too soft or sticky while rolling, simply pop it back into the refrigerator for 10-15 minutes to firm up. Once rolled, carefully transfer the dough to your tart pan. If using parchment, you can simply invert it into the pan. If not, gently roll the dough around your rolling pin and unroll it over the pan.
Preparing the Apple Filling
While the dough chills, you can prepare the delicious filling for your simple apple tart. The quality of the apples and how you prepare them significantly impact the final flavor and texture of the tart. Don't rush this step; thoughtful preparation yields the best results.
Choosing the Best Apples for Apple Tart
Selecting the right apples is crucial for a great easy apple tart recipe. A mix of varieties often yields the most complex and balanced flavor. Good options include:
- Granny Smith: Provide a tartness that balances the sweetness of the sugar. They hold their shape well during baking.
- Honeycrisp: Offer a good balance of sweetness and slight tartness, with a firm texture.
- Fuji or Gala: Sweeter options that soften nicely.
- Braeburn or Jonagold: Good all-purpose apples that provide a pleasant flavor and texture.
Using a combination, such as half Granny Smith and half Honeycrisp, often gives the best results, providing both structure and layered flavor. Avoid using only soft, mealy varieties like Red Delicious, as they can turn mushy when baked. You'll need approximately 1 ½ to 2 pounds of apples for a standard 9-inch tart.
Slicing and Seasoning the Apples: A Simple Technique
Once you've chosen your apples, wash, peel, core, and slice them. Aim for slices that are about ⅛ to ¼ inch thick. Slices that are too thick might not soften enough during baking, while slices that are too thin can become mushy. Place the sliced apples in a large bowl. Add your sugar (start with about ½ cup, adjusted to your taste and apple sweetness), 2 tablespoons of all-purpose flour or cornstarch (as a thickener), and spices like 1 teaspoon of cinnamon and a pinch of nutmeg. Gently toss the apples with the sugar, thickener, and spices until they are evenly coated.
It's best to prepare the apples just before assembling the tart to prevent them from oxidizing and turning brown. The sugar will start to draw out moisture from the apples, creating a syrupy coating. This is normal and desirable. If you prepare them in advance, you can add a squeeze of lemon juice to the mixture to help prevent browning, though this might add a slight tartness to the filling.
Assembling and Baking the Apple Tart
With your dough chilled and your apples ready, it's time to bring everything together and bake your simple apple tart. This stage is where your patience and careful preparation pay off.
Lining the Tart Pan: Creating a Perfect Base
Take your rolled-out dough and gently fit it into the 9-inch tart pan. Press the dough gently into the bottom and up the sides of the pan, ensuring it fits snugly into the fluted edges if your pan has them. Be careful not to stretch the dough, as stretching can cause it to shrink back during baking. Use your fingers to press the dough firmly into the corners and against the sides.
Trim any excess dough from the edges. For a clean edge, you can roll your rolling pin over the top of the tart pan. If using a pan with a removable bottom, press the dough against the sides so it sits flush with the top edge, and the excess will fall away. If you have any tears or thin spots, you can patch them with dough scraps.
Once the pan is lined, prick the bottom of the dough several times with a fork. This step, called "docking," helps prevent the crust from puffing up during baking. You can optionally chill the lined tart shell for another 15-20 minutes before filling to help the crust hold its shape better.
Arranging the Apples: A Beautiful and Easy Design
Now, arrange the seasoned apple slices in the prepared tart shell. You can pile them high in the center or arrange them in concentric circles for a more decorative look. For a simple basic apple tart, a rustic pile works perfectly and is very easy. Just ensure the apples are distributed relatively evenly so the tart bakes consistently.
Pour any accumulated juices from the bottom of the apple bowl over the arranged apples. You can dot the top with a few small pieces of butter ( 1-2 tablespoons) for richness and shine, though this is optional. If your recipe calls for a lattice top or crumble, this is when you would add it. For this simple easy apple tart recipe, we're focusing on a single crust with the apples exposed, which is the most straightforward approach.
Baking to Golden Perfection: Time and Temperature
Preheat your oven to 375°F (190°C). Place the assembled apple tart on a baking sheet (to catch any potential drips) and carefully place it in the preheated oven. The baking time for a simple apple tart typically ranges from 35 to 45 minutes, but this can vary depending on your oven and the thickness of your apple slices.
Bake until the crust is golden brown and the apple filling is bubbling and appears tender when pierced with a fork. If the crust edges start browning too quickly, you can loosely tent the tart with aluminum foil. Once baked, carefully remove the tart from the oven and let it cool on a wire rack. Cooling is important as it allows the filling to set properly. Allow it to cool for at least 30 minutes before slicing, though an hour is better for a cleaner slice.
Variations and Add-ins for Your Easy Apple Tart
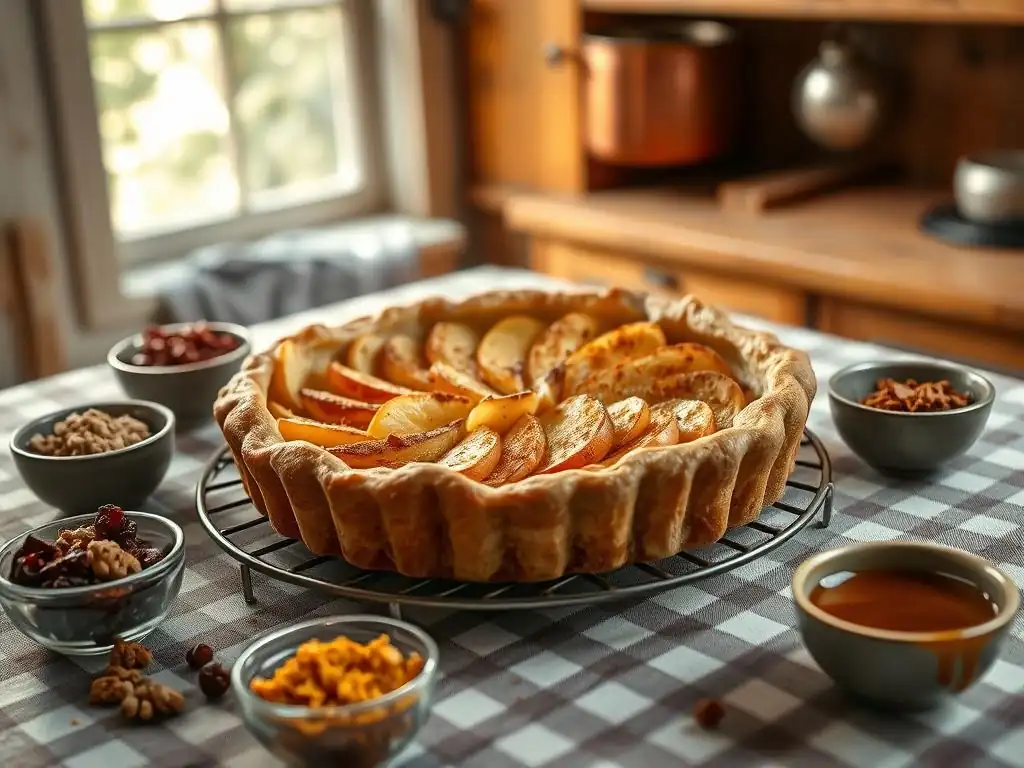
While the simple basic apple tart is delicious on its own, one of the joys of baking is the ability to customize. This easy apple tart recipe is a fantastic base for exploring simple variations that can add new dimensions of flavor and texture.
Adding a Crumble Topping: A Simple Twist
A crumble topping is an incredibly easy way to add texture and flavor to your simple apple tart without complex pastry work. To make a basic crumble, combine ½ cup all-purpose flour, ¼ cup granulated sugar, ¼ cup brown sugar, and ¼ cup cold unsalted butter (cut into small pieces) in a bowl. You can also add ½ teaspoon of cinnamon or other warming spices.
Using your fingertips or a pastry blender, work the butter into the dry ingredients until the mixture resembles coarse crumbs. Sprinkle this crumble evenly over the top of the apple filling before baking. The crumble will bake into a delightful, slightly crispy topping that contrasts beautifully with the soft apple filling and tender crust. This variation often requires a slightly longer baking time, perhaps an extra 5-10 minutes, to ensure the crumble is golden and the apples are cooked through.
Caramel Apple Tart Variation
Transforming your easy apple tart into a caramel apple tart is simpler than you might think. You can drizzle caramel sauce over the apples before baking, or even better, incorporate caramel bits or a thicker caramel sauce into the apple filling itself. After slicing and seasoning your apples, gently fold in about ¼ to ½ cup of thick caramel sauce or small caramel bits.
The caramel will melt and meld with the apple juices during baking, creating a rich, gooey filling. Be mindful that adding caramel can make the filling more prone to bubbling over, so using a baking sheet underneath is highly recommended. This variation adds a layer of decadent sweetness and a chewy texture that complements the apples wonderfully, elevating your basic apple tart with minimal extra effort.
Spiced Apple Tart: A Touch of Warmth
While cinnamon is a classic pairing with apples, expanding your spice palette can add incredible depth to your simple apple tart. Beyond cinnamon, consider adding ¼ teaspoon of nutmeg, a pinch of ground cloves, or ½ teaspoon of ground ginger to your apple filling mixture. These spices contribute warmth and complexity.
For an extra layer of flavor, you could also add a small amount of lemon zest (from about half a lemon) to the apple mixture – the citrus brightens the flavor and complements the spices. Some bakers also like to add a tiny splash of vanilla extract ( ½ teaspoon) to the apples. Experiment with different spice combinations to find your favorite way to enhance this easy apple tart recipe. Just a small adjustment in spices can create a distinctly different flavor profile.
Tips and Tricks for Baking the Perfect Simple Apple Tart
Even with an easy apple tart recipe, a few common issues can arise. Knowing how to prevent and address them will ensure your baking success. Here are some essential tips and tricks to help you achieve a perfect result every time.
Preventing a Soggy Bottom Crust
A soggy bottom crust is a common complaint with fruit tarts and pies, but it's largely preventable. The main culprit is moisture from the fruit filling soaking into the uncooked pastry. Here are a few strategies:
- Blind Baking: Partially pre-baking the crust before adding the filling is highly effective. Line the chilled, docked tart shell with parchment paper, fill it with pie weights, dried beans, or rice, and bake at
375°F (190°C)for about15-20 minutes, until the edges are lightly set. Remove the weights and parchment, and bake for another5-10 minutesuntil the bottom looks dry and slightly golden. Then add the filling and continue baking. - Use a Thickener: Ensure you use the recommended amount of flour or cornstarch in your apple filling. This helps absorb excess moisture released by the apples as they cook.
- Hot Oven: Baking the tart in a properly preheated oven ensures the crust starts cooking immediately, setting its structure before the filling releases too much liquid.
- Cooling: Allow the tart to cool properly on a wire rack. This gives the filling time to set and the crust time to firm up.
Achieving a Golden-Brown Crust
A beautiful golden-brown crust is the hallmark of a well-baked tart. This color indicates that the crust is fully cooked, crisp, and flavorful. Baking at the correct temperature ( 375°F / 190°C for this easy apple tart recipe) is key. Monitor the tart as it bakes; ovens can vary.
If the edges of your crust are browning too quickly while the center is still pale, you can use a pie crust shield or loosely wrap the edges with strips of aluminum foil. This protects the edges from direct heat, allowing the rest of the crust to catch up. Baking the tart long enough is also essential; don't pull it out just because the apples look soft. The crust needs time to develop color and crispness.
Storing and Serving Your Apple Tart
Once your simple apple tart is baked and cooled, proper storage will help maintain its quality. Allow the tart to cool completely at room temperature before storing. An easy apple tart is best enjoyed the day it is baked, but it can be stored at room temperature, loosely covered, for 1-2 days. For longer storage, you can refrigerate it for up to 3-4 days.
To serve, you can enjoy it at room temperature, or gently warm slices in a low oven ( 300°F / 150°C) for about 10-15 minutes. Serving slices slightly warm enhances the aroma and texture of the apples. It's delicious on its own, or paired with a scoop of vanilla ice cream, a dollop of whipped cream, or a drizzle of caramel sauce for an extra treat.
Troubleshooting Common Apple Tart Baking Issues
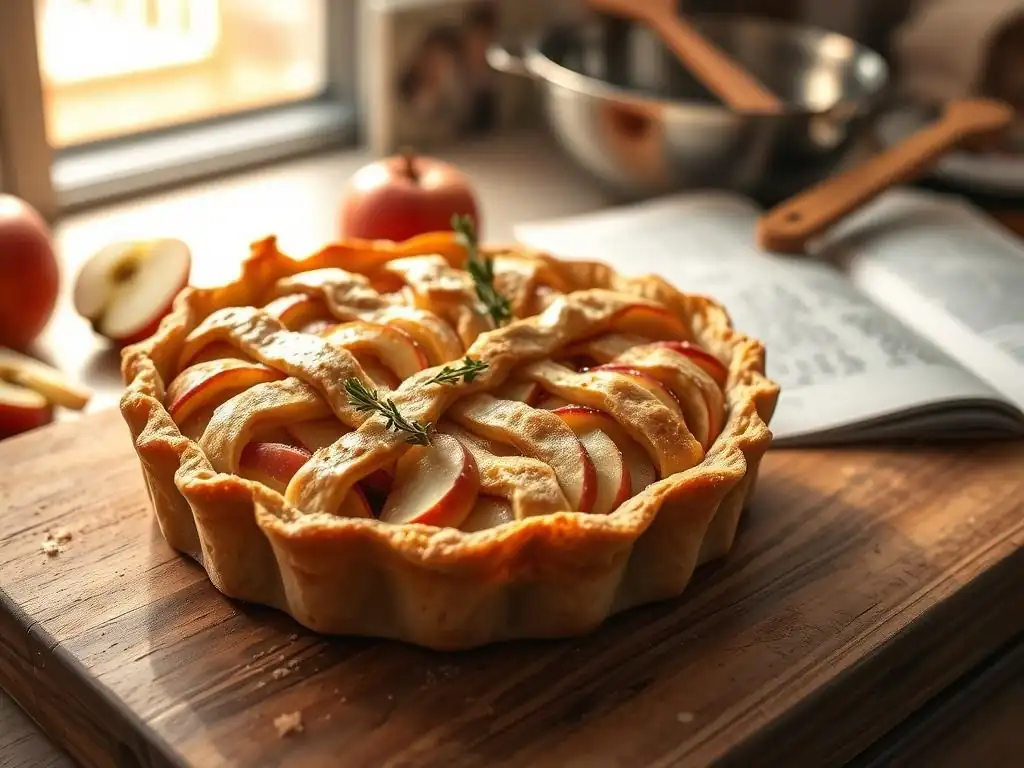
Even with an easy apple tart recipe, things don't always go exactly as planned. Don't worry! Many common issues have simple solutions or explanations. Learning to troubleshoot will make you a more confident baker.
My Crust is Too Tough: Solutions
A tough crust is usually the result of overworking the dough or adding too much liquid. When you mix flour and water, gluten develops. While some gluten is needed for structure, too much makes the crust tough and bread-like.
- Handle Minimally: The key is to mix the dough only until it just comes together. Avoid kneading or excessive handling. Use a light touch when incorporating the water and when rolling out the dough.
- Use Cold Ingredients: Ensure your butter and water are very cold. Cold butter creates pockets that lead to flakiness, and cold water slows down gluten development.
- Don't Add Too Much Water: Add ice water one tablespoon at a time, stopping as soon as the dough forms clumps that hold together when squeezed. It's better to have a slightly dry dough with some loose bits than a wet, sticky one.
My Filling is Too Watery: Tips to Fix
A watery filling can lead to a soggy bottom and a less enjoyable texture. This typically happens when the apples release more juice than the thickener can handle, or not enough thickener was used.
- Increase Thickener Slightly: If you consistently have watery fillings, try increasing the amount of flour or cornstarch by
½ to 1 tablespoonin your next easy apple tart. Cornstarch generally provides a clearer, glossier filling than flour. - Pre-Cook Apples (Optional): For very juicy apples, you can gently cook the sliced apples with the sugar and thickener in a saucepan for 5-10 minutes before filling the tart shell. This allows some moisture to evaporate and starts the thickening process. Let the mixture cool slightly before adding it to the raw crust.
- Drain Excess Juice: If the seasoned apples sit for a while and release a lot of liquid, you can drain off some of the excess juice before adding the apples to the tart shell.
My Apples are Overcooked: Avoiding This Problem
Overcooked apples can turn mushy and lose their distinct apple texture within the tart. This can happen if the slices are too thin, the baking temperature is too high, or the tart is baked for too long.
- Slice Apples Evenly: Aim for consistent slices, roughly
⅛ to ¼ inchthick. Thinner slices cook faster and are more prone to becoming mushy. - Monitor Baking Time: Start checking your simple apple tart around the minimum recommended baking time (
35-40 minutes). Look for signs of doneness: golden-brown crust, bubbling filling. - Test Apple Tenderness: Gently pierce an apple slice in the center of the tart with a fork or skewer. It should be tender but still offer a slight resistance. If it's completely soft and falls apart, they might be overcooked. Adjust baking time in the future if needed.
Enjoy Your Homemade Easy Apple Tart!
Congratulations! You've successfully baked a simple basic apple tart using our easy apple tart recipe. The aroma filling your kitchen is just the beginning of the reward. Making a tart from scratch is a wonderful accomplishment, and this straightforward recipe proves that delicious results are well within reach for any beginner baker.
Take a moment to admire your creation – the golden crust, the bubbling apple filling. Slice into it and savor the combination of tender apples and buttery pastry. This easy apple tart is perfect for sharing with family and friends, or simply enjoying a slice (or two!) yourself.
We love seeing what our community bakes! Once you've made this simple apple tart, consider sharing your experience. Did you try a variation? What was the easiest part for you? Did you learn something new? Your insights can help other beginners feel more confident about trying this easy apple tart recipe. Baking is more fun when we share our successes and even our learning moments!
Frequently Asked Questions
What makes this apple tart recipe "easy"?
This recipe emphasizes simple ingredients and a straightforward process, making it accessible even for beginner bakers. The crust doesn't require chilling, and the filling is minimal.
What kind of apples are best for this tart?
For optimal flavor and texture, use apples that hold their shape well during baking, such as Granny Smith, Honeycrisp, or Braeburn. A mix of varieties also works well.
Can I use a pre-made pie crust?
Yes, using a pre-made pie crust is a great shortcut and will significantly reduce the prep time. Just be sure to follow the package instructions for baking.
How do I prevent the crust from getting soggy?
To avoid a soggy crust, ensure the apples aren't overly juicy and that you blind bake the crust for a short period before adding the filling.
What's the best way to store leftover apple tart?
Store leftover apple tart in the refrigerator, covered, for up to three days. Reheat gently in the oven or microwave for the best flavor and texture; avoid storing at room temperature for extended periods.
Final Reflection: The Enduring Allure of the Simple Apple Tart
The humble apple tart, a seemingly simple dessert, holds a surprising power to connect us to tradition, comfort, and the joy of creating something delicious from scratch. Its enduring popularity speaks volumes about our innate desire for uncomplicated pleasures, a sentiment particularly resonant in our fast-paced modern world. The ease of its preparation only enhances its appeal, making it accessible to even the most novice bakers.
The apple tart's influence transcends mere culinary enjoyment; it represents a connection to generations past, a shared experience across cultures and families. The simple act of baking one, the scent of warm apples and cinnamon filling a kitchen, evokes feelings of warmth, nostalgia, and belonging. Baking is at once child's play and adult joy. And love, of course.
This quote perfectly captures the essence of the apple tart's enduring charm – it's a recipe for both deliciousness and heartfelt connection.
So, I invite you to consider the simple apple tart not just as a recipe, but as a gateway to mindful creation and shared moments. Try your hand at baking one – perhaps with a personal twist, a unique spice blend, or a special someone to share it with. Let the experience be a reminder that sometimes, the most profound joys are found in the simplest of things, and that the warmth of a homemade treat can truly brighten even the dreariest of days.
Unlock Your Inner Baker: Make This Apple Tart Today!
Thanks for joining us on this delicious journey! You've just learned how easy it is to bake a stunning, and incredibly tasty, apple tart. Now it's time to put your newfound skills to the test!
- Bake your own masterpiece: Gather your ingredients and follow the recipe again – this time, experiment with different spices or a crumble topping!
- Share your creation: Snap a picture of your finished tart and tag us on social media – we'd love to see your baking success! Use #BakeWithEaseAppleTart
- Explore more apple recipes: Check out our other delicious apple-based treats on the BakeWithEase website (bakewithease.com). You might just discover your new favorite dessert!
So, what unique twist will you add to your next apple tart? Let's hear your ideas in the comments below!