
Your First Bake Sale Star: Simple & Popular Brownie Recipe

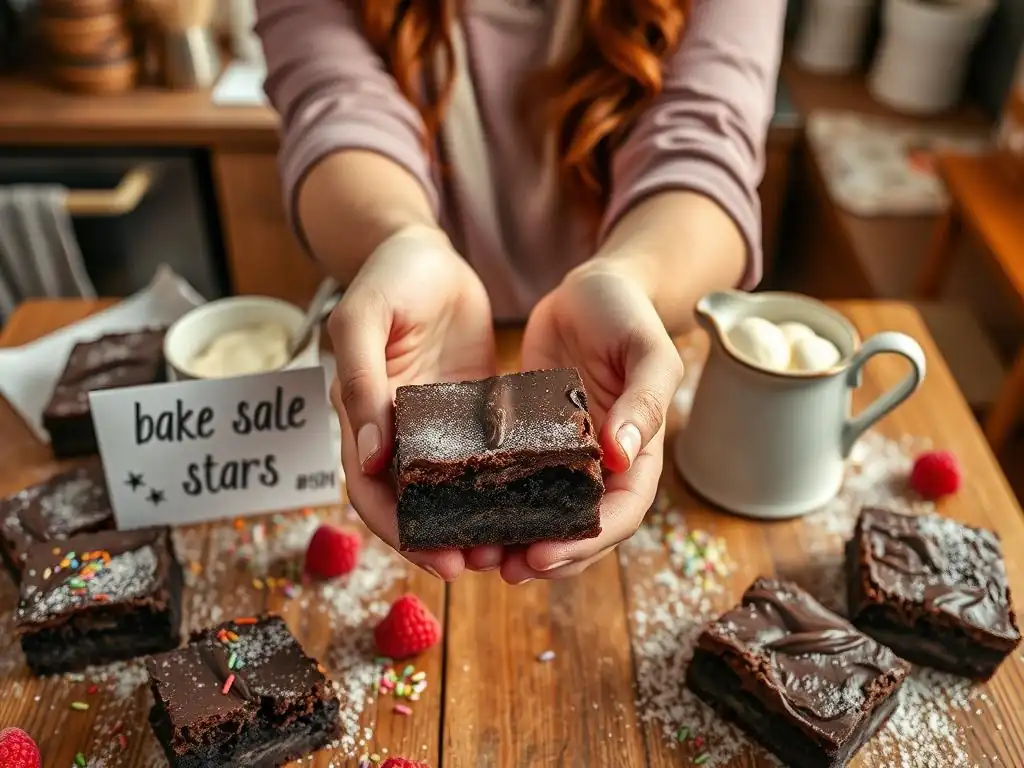
Welcome to BakeWithEase, your trusted guide to baking bliss! Ever dreamed of wowing your friends and family with a batch of perfect brownies? Our latest article dives into the secrets of easy beginner brownie recipe success, revealing how even novice bakers can achieve bake sale-worthy results. Curious about the simple steps and ingredients that unlock that fudgy, chocolatey goodness? Let's get baking!
- Bake Sale Success: Fudgy Chocolate Brownie Recipe
- Easy Beginner Brownie Recipe for Bake Sales
- Why This Brownie Recipe Excels at Bake Sales
-
Ingredients for Fudgy Chocolate Brownies
- The Essential Ingredients List
- All-Purpose Flour: 1 Cup - Provides Structure
- Granulated Sugar: 1 Cup - Adds Sweetness and Moisture
- Unsweetened Cocoa Powder: 1/2 Cup - Provides Chocolate Flavor
- Melted Unsalted Butter: 1/2 Cup - Adds Richness and Moisture
- Large Eggs: 2 - Binds Ingredients and Adds Structure
- Vanilla Extract: 1 Teaspoon - Enhances Flavor
- Semi-Sweet Chocolate Chips: 1/2 Cup - Adds Chocolate Chunks (Optional)
- Step-by-Step Guide to Baking Fudgy Brownies
- Tips and Tricks for the Best Fudgy Brownies
- Mastering Your Brownie Recipe: Beyond the Basics
- Congratulations! You've Baked Fudgy Brownies!
-
Frequently Asked Questions
- What makes this brownie recipe "easy" for beginners?
- What are the key ingredients needed for this brownie recipe?
- How can I ensure my brownies turn out fudgy instead of cakey?
- Can I add any mix-ins to this simple brownie recipe?
- What are some troubleshooting tips if my brownies don't turn out right?
- Final Reflection: The Sweet Success of Simple Beginnings
- Unlock Your Inner Brownie Boss!
Bake Sale Success: Fudgy Chocolate Brownie Recipe
Easy Beginner Brownie Recipe for Bake Sales
Perfect Brownies for Baking Beginners
Embarking on your baking journey can feel daunting, but choosing the right recipe makes all the difference. This particular fudgy chocolate brownie recipe is specifically tailored for those new to the kitchen, offering a high probability of easy beginner brownie recipe success right from your first attempt. Unlike complex layered cakes or delicate pastries, brownies are forgiving. They don't require precise folding techniques or extensive knowledge of leavening agents. The simple mix-and-bake method means you can achieve delicious results with minimal stress, building confidence as you go.
This recipe's simplicity is its superpower for beginners. It relies on straightforward measurements and common pantry staples, eliminating the need for specialty ingredients or equipment. The process is designed to be intuitive, guiding you through each step without complicated terminology. Focusing on creating a delicious product quickly and easily helps new bakers feel accomplished, encouraging them to tackle more ambitious projects in the future. Think of this as your gateway to the wonderful world of baking, proving that you absolutely can bake something amazing.
Why This Brownie Recipe Excels at Bake Sales
Quick and Easy: Minimal Ingredients
One of the primary reasons this brownie recipe is a bake sale champion is its efficiency, largely due to requiring minimal ingredients. You likely have most of the necessary items in your pantry already: flour, sugar, cocoa powder, butter, eggs, and vanilla. This means less time spent grocery shopping and more time mixing and baking. The active preparation time for a batch is typically under 20 minutes, allowing you to whip up multiple batches quickly, even on a busy schedule.
The simplicity of the ingredient list also contributes to cost-effectiveness, which is important when preparing items for sale. Using basic, inexpensive ingredients keeps your overhead low, maximizing potential profits from your bake sale efforts. Furthermore, fewer ingredients mean fewer measuring cups and bowls to wash, simplifying cleanup and making the entire process faster and more enjoyable. This streamlined approach is key to achieving easy beginner brownie recipe success for a community event.
Crowd-Pleasing: Guaranteed Hit
Fudgy chocolate brownies are a universal favorite, making them a guaranteed hit at any bake sale. Their rich, decadent flavor and moist texture appeal to nearly everyone, from children to adults. While trends in baking come and go, classic brownies remain consistently popular. They are often the first items to sell out at school fairs, church bazaars, and community events.
The sheer popularity means you don't have to worry about whether your baked goods will be appealing. You are offering a beloved comfort food that people are excited to buy. This reliability is crucial for a bake sale, where you want to ensure everything sells. A batch of these fudgy delights is almost certain to disappear quickly, contributing significantly to your fundraising goals and solidifying your reputation for bake sale easy beginner brownie recipe success.
Beginner-Friendly: Simple Steps
This recipe is specifically designed with the novice baker in mind, featuring simple, straightforward steps that are easy to follow. There are no complex techniques involved, such as separating eggs, folding in whipped egg whites, or using a stand mixer with specialized attachments. The process typically involves melting butter, whisking in sugar and eggs, then incorporating dry ingredients.
Each step is intuitive and builds upon the previous one, making the entire process manageable and less intimidating for someone new to baking. The clear instructions and minimal fuss reduce the chances of common beginner mistakes, such as overmixing the batter (which can lead to tough brownies) or incorrect assembly. This focus on simplicity ensures that even if this is your very first time baking brownies, you are set up for easy beginner brownie recipe success.
Ingredients for Fudgy Chocolate Brownies
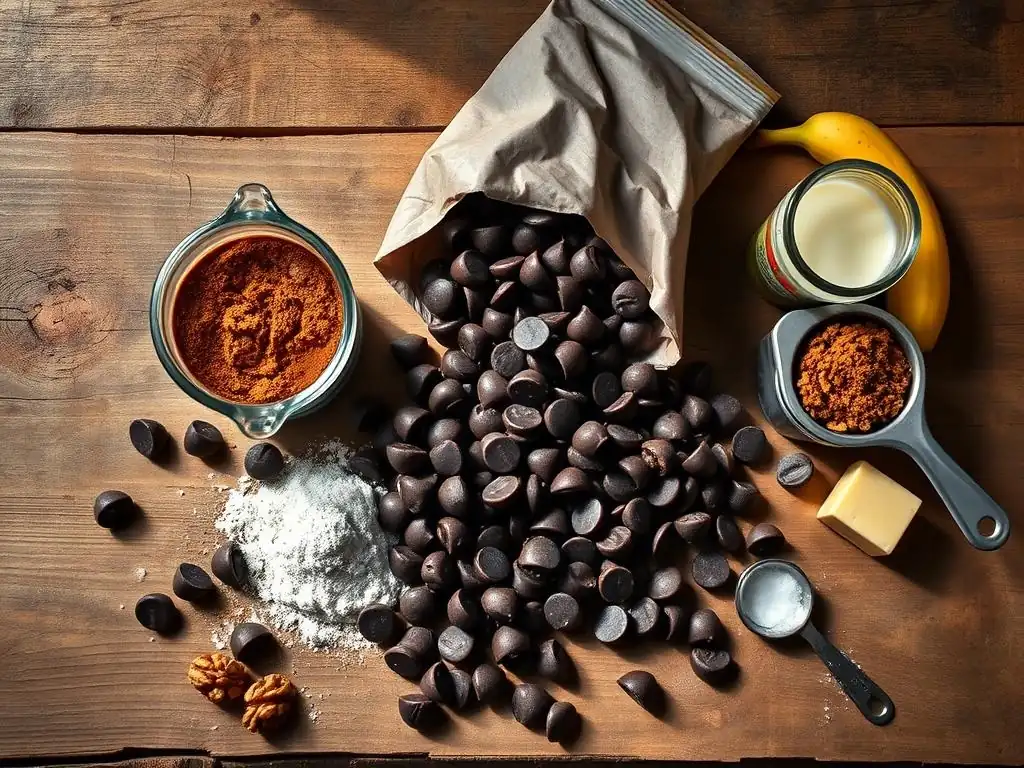
The Essential Ingredients List
Creating these delightful fudgy brownies relies on a core list of simple ingredients. The magic happens when these basic components combine in just the right proportions and are baked correctly. Having all your ingredients measured and ready before you start is a great habit for any baker, especially beginners, as it prevents last-minute scrambling and ensures accuracy.
Here is the essential list you'll need for a standard batch:
- All-Purpose Flour:
1 Cup - Granulated Sugar:
1 Cup - Unsweetened Cocoa Powder:
1/2 Cup - Melted Unsalted Butter:
1/2 Cup - Large Eggs:
2 - Vanilla Extract:
1 Teaspoon - Semi-Sweet Chocolate Chips:
1/2 Cup(Optional)
All-Purpose Flour: 1 Cup - Provides Structure
All-purpose flour is the primary dry ingredient in this recipe, providing the necessary structure to hold the brownies together. Using 1 Cup of all-purpose flour ensures the brownies have enough body without becoming tough or cakey. Flour contains gluten, which develops when mixed with liquid and provides chewiness. However, in brownies, we want to minimize gluten development to keep them fudgy, which is why this recipe uses a relatively low ratio of flour to wet and fatty ingredients.
Measuring flour correctly is important for easy beginner brownie recipe success. The best method is to gently spoon the flour into your measuring cup and level it off with a straight edge, rather than scooping directly from the bag, which can compact the flour and result in using too much. Too much flour can lead to dry, crumbly brownies instead of the desired fudgy texture.
Granulated Sugar: 1 Cup - Adds Sweetness and Moisture
Granulated sugar plays a dual role in this brownie recipe: it provides sweetness, obviously, but also contributes significantly to the fudgy texture and moisture content. Using 1 Cup of granulated sugar creates a balanced sweetness that complements the rich chocolate flavor without being overpowering. The sugar molecules attract and retain moisture, helping to keep the brownies soft and chewy long after they've cooled.
When sugar dissolves in the batter during mixing and baking, it creates a tender crumb. The interaction of sugar with the fat from the butter is key to achieving that desirable moist, dense, and fudgy consistency. The amount specified, 1 Cup, is calibrated to work perfectly with the other ingredients to deliver that classic, crowd-pleasing brownie texture and taste, essential for bake sale easy beginner brownie recipe success.
Unsweetened Cocoa Powder: 1/2 Cup - Provides Chocolate Flavor
Unsweetened cocoa powder is the source of the deep, intense chocolate flavor in these brownies. Using 1/2 Cup of good quality unsweetened cocoa powder ensures a rich, authentic chocolate taste that isn't overly sweet, balancing the 1 Cup of sugar. Natural unsweetened cocoa powder (like Hershey's or Ghirardelli) is typically used in recipes like this, providing a slightly acidic note that reacts with any leavening agents (though this recipe uses minimal or no leavening for fudge-ness).
The type and quality of cocoa powder can impact the final flavor significantly. Dutch-processed cocoa powder, which is less acidic and darker, can also be used but might slightly alter the lift and depth of flavor. For a classic fudgy brownie, unsweetened natural cocoa is a reliable choice. It melts smoothly into the batter, distributing the chocolate flavor evenly and contributing to the brownie's signature dark color and rich aroma, crucial for bake sale appeal.
Melted Unsalted Butter: 1/2 Cup - Adds Richness and Moisture
Melted unsalted butter is a cornerstone ingredient for achieving a truly fudgy brownie. Using 1/2 Cup (which is equivalent to one stick) of melted butter provides richness, moisture, and contributes to the dense, chewy texture. Unlike recipes that use softened butter (often leading to a more cake-like texture), melted butter incorporates differently, promoting a denser crumb because it coats the flour particles more thoroughly, inhibiting gluten development.
Unsalted butter is preferred because it allows you to control the amount of salt in the recipe, ensuring the flavor profile is just right. Melting the butter is a simple step, easily done on the stovetop or in the microwave. Once melted, it's combined with the sugar and eggs, forming the base of the wet ingredients. The fat from the butter carries the chocolate flavor beautifully and is essential for that moist, decadent mouthfeel that defines a perfect fudgy brownie, contributing greatly to easy beginner brownie recipe success.
Large Eggs: 2 - Binds Ingredients and Adds Structure
Large eggs serve as a primary binder in this brownie recipe, holding all the ingredients together to create a cohesive batter. Using 2 large eggs adds richness, moisture, and contributes to the structure and chewiness of the final product. Eggs also help to emulsify the batter, ensuring that the fat from the butter and the liquid ingredients combine smoothly.
When eggs are heated during baking, their proteins coagulate, setting the structure of the brownie. The ratio of eggs to other ingredients is key in a fudgy brownie; using enough eggs contributes to density and chewiness without making the brownie tough. They also contribute to the shiny, slightly crackly top often desired on brownies. Ensuring your eggs are at room temperature can help them incorporate more evenly into the batter, leading to a smoother mix and better overall texture.
Vanilla Extract: 1 Teaspoon - Enhances Flavor
Vanilla extract might seem like a small addition, but 1 Teaspoon of good quality vanilla extract significantly enhances and rounds out the chocolate flavor in these brownies. Vanilla doesn't just add its own distinct note; it actually amplifies the taste of chocolate, making it seem richer and more complex. Without vanilla, chocolate baked goods can sometimes taste flat or one-dimensional.
Using pure vanilla extract rather than imitation vanilla will yield a better flavor. This small amount is enough to make a noticeable difference in the overall taste profile, adding a subtle warmth and depth that elevates the simple chocolate and sugar base. It's a crucial element in achieving that perfectly balanced, irresistible flavor that makes these brownies a bake sale favorite and a key component of easy beginner brownie recipe success.
Semi-Sweet Chocolate Chips: 1/2 Cup - Adds Chocolate Chunks (Optional)
Adding 1/2 Cup of semi-sweet chocolate chips is an optional but highly recommended step that takes these fudgy brownies to the next level. The chocolate chips melt slightly during baking, creating pockets of gooey, intense chocolate throughout the brownie. This adds another layer of texture and boosts the overall chocolate flavor, making them even more decadent and appealing.
Semi-sweet chocolate chips are a classic choice, offering a balanced sweetness that pairs well with the unsweetened cocoa powder. You can also experiment with dark chocolate chips for a more intense flavor or milk chocolate chips for a sweeter result. Stirring them in just before pouring the batter into the pan ensures they are evenly distributed. While not strictly necessary for structure, the addition of chocolate chips dramatically increases the brownies' appeal and deliciousness, certainly aiding in bake sale success.
Step-by-Step Guide to Baking Fudgy Brownies
Preparing the Baking Pan: Preventing Sticking
Proper pan preparation is the first critical step to ensure your brownies bake evenly and release cleanly from the pan, preventing frustrating sticking. For this recipe, an 8x8 inch square metal baking pan is ideal, yielding thick, fudgy brownies. Begin by greasing the pan thoroughly. You can use butter, shortening, or non-stick baking spray. Ensure you cover the bottom and all sides.
For extra insurance and easier removal, line the greased pan with parchment paper. Cut two strips of parchment paper that fit the width of the pan, leaving an overhang on the sides. Lay one strip in the pan so it covers the bottom and two sides, then lay the second strip perpendicular to the first, covering the bottom and the other two sides. The overhang acts as handles, allowing you to lift the cooled brownies out of the pan easily before cutting. This simple step is vital for clean, professional-looking slices, contributing to easy beginner brownie recipe success.
Mixing Dry Ingredients: Achieving Uniformity
While some recipes combine all dry ingredients first, this simple brownie method often involves adding the dry ingredients directly to the wet mixture. However, if your recipe variation calls for pre-mixing, the goal is to achieve uniformity. In a separate medium bowl, whisk together the 1 Cup of all-purpose flour and 1/2 Cup of unsweetened cocoa powder. Some recipes might also include a pinch of salt (about 1/4 teaspoon) and baking powder (about 1/4 teaspoon) in the dry mix, though the core fudgy recipe often relies on just flour and cocoa for the dry base.
Whisking these dry ingredients together helps to break up any lumps in the cocoa powder and ensures that the flour and cocoa are evenly distributed. This prevents pockets of unmixed ingredients in your final batter. While the core method for this easy beginner brownie recipe success often skips this separate step and adds dry to wet, understanding the principle of uniform distribution is helpful if you encounter slight variations of the recipe.
Combining Wet and Dry Ingredients: Brownie Texture Key
This is where the magic happens and the texture of your brownies is largely determined. The key to a fudgy brownie texture is minimal mixing once the dry ingredients are added to the wet. Start by whisking together the melted 1/2 Cup unsalted butter, 1 Cup granulated sugar, 2 large eggs, and 1 Teaspoon vanilla extract in a large bowl until well combined and slightly thickened – this might take about 1-2 minutes of vigorous whisking by hand.
Next, add the dry ingredients ( 1 Cup flour, 1/2 Cup cocoa powder, and any salt/baking powder if used). Switch from a whisk to a rubber spatula or wooden spoon. Fold the dry ingredients into the wet just until no dry streaks of flour are visible. It's okay if the batter looks slightly lumpy; overmixing develops gluten, leading to a cakey rather than fudgy texture. If using, gently fold in the 1/2 Cup semi-sweet chocolate chips at this stage. Pour the batter into your prepared pan. This gentle combining step is crucial for achieving that desired fudgy outcome and is central to easy beginner brownie recipe success.
Baking Time and Temperature: Achieving Fudgy Center
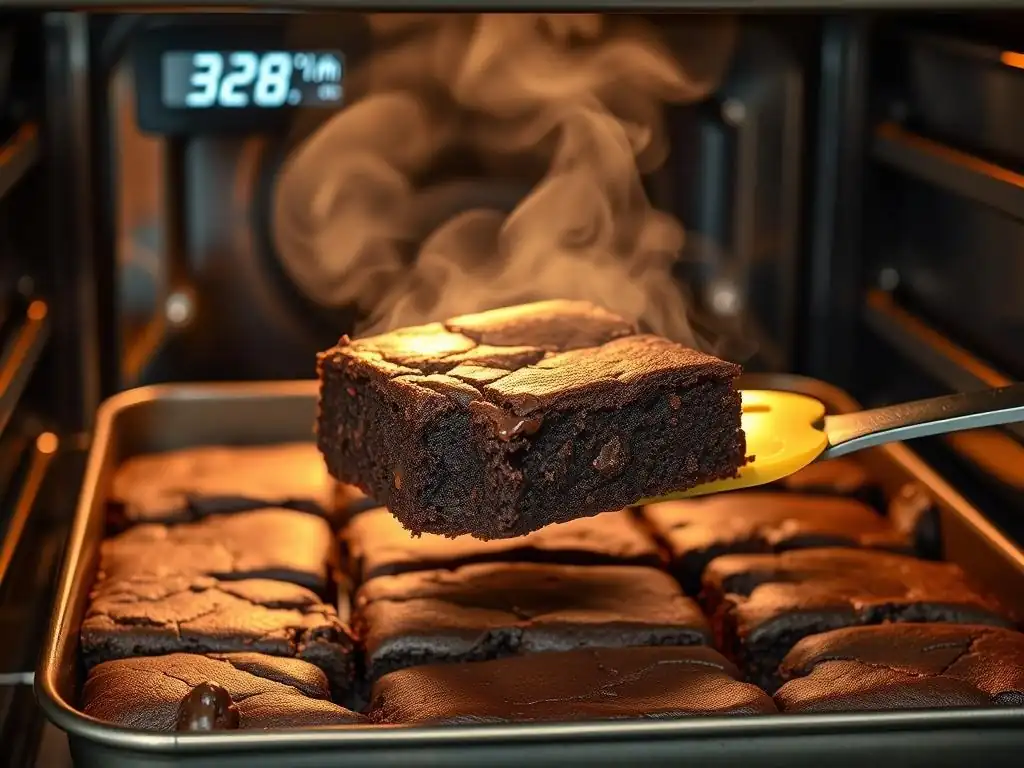
Baking at the correct temperature for the right amount of time is paramount to getting that perfect fudgy center. Preheat your oven to 350°F (175°C). Place the prepared pan on the center rack. The typical baking time for an 8x8 inch pan of fudgy brownies is between 30 and 35 minutes. However, oven temperatures can vary, so it's best to start checking around the 30-minute mark.
To test for doneness without overbaking, insert a toothpick into the center of the pan. For fudgy brownies, the toothpick should come out with moist crumbs attached, but no wet batter. If it comes out completely clean, the brownies are likely overbaked and will be more cakey. If it comes out with liquid batter, they need more time. Baking for approximately 32 minutes at 350°F is often a sweet spot for an 8x8 pan, but trust the toothpick test. Slightly underbaking is better for fudge-ness than overbaking.
Cooling and Cutting: Clean and Even Slices
Patience is key after baking! Allowing the brownies to cool properly is essential for achieving clean, even slices and letting the texture fully develop. Once removed from the oven, place the pan on a wire rack and let the brownies cool completely in the pan – this can take anywhere from 1 to 2 hours. Cutting hot brownies will result in a gooey, messy crumb that falls apart.
Once completely cool, use the parchment paper overhang to lift the entire brownie slab out of the pan and onto a cutting board. For neat slices perfect for a bake sale, use a sharp knife. Wipe the knife blade clean with a damp cloth after each cut to prevent crumbs and residue from sticking, which helps achieve clean edges. Cutting into 16 squares (4x4 grid) is a standard size for bake sales and ensures consistent portions. Proper cooling and cutting are the final steps to showcasing your easy beginner brownie recipe success.
Tips and Tricks for the Best Fudgy Brownies
Ensuring Fudgy Texture: Avoid Overbaking
The single most important factor in achieving a truly fudgy brownie is avoiding overbaking. As mentioned, the toothpick test is your best friend here. Look for moist crumbs, not a clean stick. Remember, brownies continue to cook slightly from residual heat even after they are removed from the oven.
If in doubt, err on the side of slightly underbaked. The center may seem a little soft or gooey when they first come out, but they will firm up considerably as they cool. Baking for too long evaporates moisture and causes the proteins and starches to set too much, resulting in a dry, cake-like texture. Aiming for that sweet spot around 30-35 minutes at 350°F and using the visual/toothpick test is key to consistent easy beginner brownie recipe success.
Preventing Cracking: Right Temperature
While a few small cracks on top are perfectly normal and even desirable, excessive cracking can sometimes occur. This is often related to temperature – both the oven temperature being too high or rapid cooling. Ensure your oven thermostat is accurate by using an oven thermometer; variations of 25°F or more are common. Baking at the specified 350°F (175°C) helps prevent the top from setting and cracking too quickly while the inside is still expanding.
Another factor can be overmixing the batter, which develops too much gluten and can lead to a tougher, more crack-prone surface. Gentle mixing until just combined is key. Finally, avoid placing the hot pan directly into a cold environment (like a refrigerator) for rapid cooling; let them cool gradually on a wire rack at room temperature. These steps help achieve that desirable slightly crinkly, relatively smooth top.
Flavor Variations: Enhancements
Once you've mastered the basic fudgy brownie, you can easily introduce simple flavor variations to make them even more exciting for a bake sale.
- Nuts: Stir in
1/2 Cupchopped walnuts or pecans along with the chocolate chips for added crunch. - Salt: Sprinkle a pinch of flaky sea salt (like Maldon) over the top of the batter just before baking to enhance the chocolate flavor.
- Espresso: Add
1 Teaspoonof instant espresso powder to the dry ingredients for a deeper, mocha-like flavor. - Extracts: Experiment with other extracts, like almond or peppermint (
1/4 Teaspoon), for different flavor profiles.
These simple additions require minimal extra effort but can make your brownies stand out. Offering a couple of variations can also attract more buyers at a bake sale, demonstrating versatility in your easy beginner brownie recipe success.
Storing Brownies: Freshness
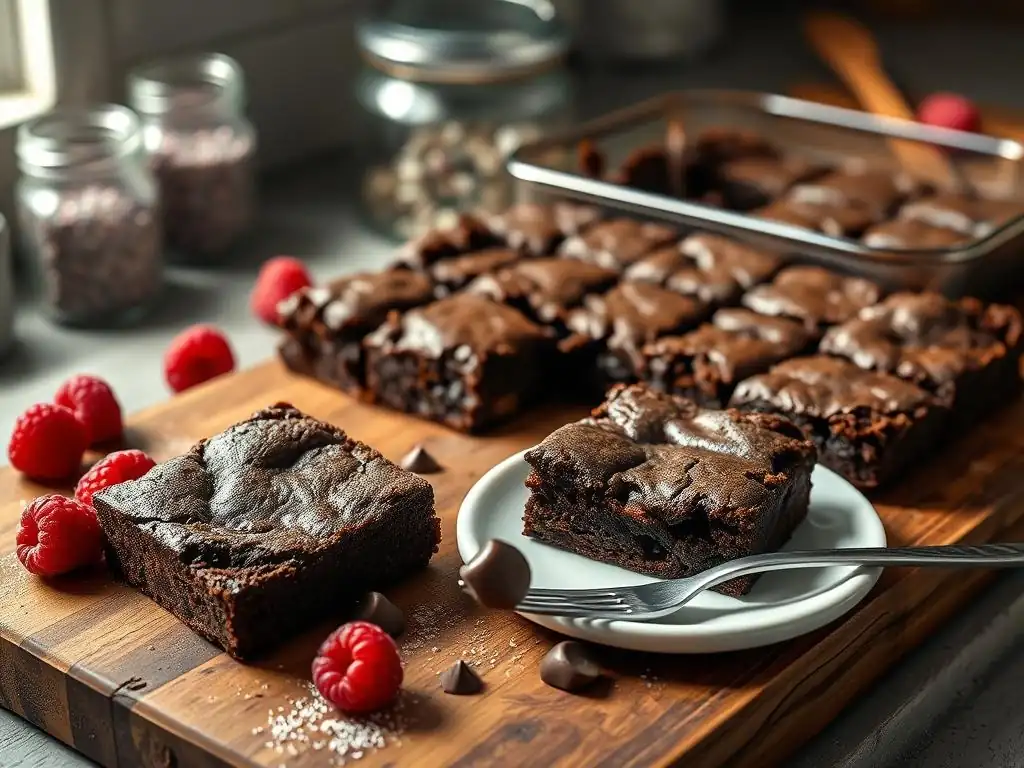
Proper storage ensures your delicious fudgy brownies remain fresh and moist for your bake sale or for enjoying later. Once completely cooled and cut, store the brownies in an airtight container at room temperature. Layering them between sheets of parchment paper can prevent them from sticking together.
Stored correctly, these brownies will typically stay fresh and fudgy for 3-4 days at room temperature. Avoid refrigerating them, as this can dry them out and make them less fudgy. For longer storage, you can freeze cooled brownies wrapped tightly in plastic wrap and then placed in a freezer bag or container for up to 3 months. Thaw at room temperature. Knowing how to store them properly ensures you can bake ahead for a bake sale and maintain quality.
Troubleshooting: Solutions and Advice
Even with an easy beginner brownie recipe, sometimes things don't go exactly as planned. Here are a few common issues and their solutions:
- Brownies are cakey: This is most likely due to overmixing the batter (too much gluten development) or overbaking. Ensure you only mix until just combined and use the toothpick test to avoid baking too long.
- Brownies stick to the pan: Insufficient greasing or not using parchment paper is the culprit. Always grease thoroughly and use the parchment sling method for easy removal.
- Tops crack excessively: Often caused by baking at too high a temperature or overmixing. Check oven temp accuracy and mix gently.
- Brownies are too gooey/don't set: This means they were likely underbaked. Pop them back in the oven for a few more minutes, checking frequently. Ensure your oven is preheated fully.
Learning from minor mishaps is part of the baking process. Don't be discouraged; even slightly imperfect brownies are usually delicious! Each bake is a step towards mastering your easy beginner brownie recipe success.
Mastering Your Brownie Recipe: Beyond the Basics
Level Up: Frosting or Glaze
Once you're comfortable with the basic fudgy brownie recipe, you can easily level up by adding a simple frosting or glaze. A classic choice is a simple chocolate ganache, made by pouring hot heavy cream over chocolate chips and stirring until smooth. A basic powdered sugar glaze mixed with a little milk or water and a touch of vanilla is also quick and adds sweetness.
Applying a thin layer of frosting or a drizzle of glaze after the brownies have cooled completely adds visual appeal and another layer of flavor and moisture. For bake sales, this can make your brownies look even more enticing and professional. This simple addition is an easy way to enhance your beginner brownie recipe success.
Brownie Variations: Blonde, Cream Cheese Swirls
Beyond just adding chips or nuts, you can explore entirely different types of brownies or simple swirls.
- Blondies: These are the vanilla equivalent of brownies, typically made with melted butter, brown sugar, eggs, flour, and vanilla, often with chocolate chips or other mix-ins. The basic technique is very similar to fudgy brownies.
- Cream Cheese Swirl: Prepare the brownie batter as directed. In a separate small bowl, mix softened cream cheese (about 4-6 oz) with a couple of tablespoons of sugar and one egg yolk until smooth. Dollop spoonfuls of the cream cheese mixture over the brownie batter in the pan and swirl gently with a knife or skewer.
Exploring these variations using similar base techniques helps build your baking repertoire while sticking to relatively easy methods, expanding your beginner brownie recipe success.
Serving Suggestions: Presentation
For a bake sale, presentation matters! Simple serving suggestions can make your fudgy brownies even more appealing.
- Individual Wrapping: Wrap each brownie square individually in plastic wrap or small cellophane bags tied with a ribbon. This is hygienic and easy for customers to grab.
- Cupcake Liners: Place individual brownie squares in festive paper cupcake liners.
- Dusting: Lightly dust the cooled brownies with powdered sugar just before packaging.
- Labeling: If offering variations, label them clearly (e.g., "Fudgy Chocolate," "Chocolate Walnut").
Thinking about how you will present your brownies is the final touch that can help them sell out quickly at a bake sale, showcasing your easy beginner brownie recipe success from start to finish.
Congratulations! You've Baked Fudgy Brownies!
You've successfully baked a batch of delicious, fudgy chocolate brownies using an easy beginner brownie recipe! Whether they are for your first bake sale, a gathering, or just a treat for yourself, you've proven that baking doesn't have to be complicated to yield fantastic results. Take pride in your accomplishment. This recipe is a wonderful foundation, and with practice, you'll gain confidence and perhaps even start experimenting further. Enjoy the fruits of your labor – these brownies are a testament to your easy beginner brownie recipe success. Keep baking!
Frequently Asked Questions
What makes this brownie recipe "easy" for beginners?
This recipe focuses on simple ingredients and clear, step-by-step instructions, minimizing the chances of errors and maximizing beginner brownie success.
What are the key ingredients needed for this brownie recipe?
You'll need everyday pantry staples like flour, sugar, cocoa powder, eggs, butter, and vanilla extract. No fancy or hard-to-find ingredients are required!
How can I ensure my brownies turn out fudgy instead of cakey?
Avoid overmixing the batter, and be careful not to overbake the brownies. Underbaking slightly will result in that desired fudgy texture.
Can I add any mix-ins to this simple brownie recipe?
Absolutely! Feel free to add chocolate chips, nuts, or even a swirl of peanut butter for extra flavor and texture. These are all popular mix-in options.
What are some troubleshooting tips if my brownies don't turn out right?
If your brownies are too dry, it could be from overbaking or using too much flour. If they're too gooey, they might need more baking time. Make sure to follow the recipe closely!
Final Reflection: The Sweet Success of Simple Beginnings
The humble brownie, a seemingly simple dessert, holds a surprising power to connect us. From childhood memories of bake sales to the comforting ritual of a warm, fudgy square, brownies represent more than just a recipe; they symbolize accomplishment, shared joy, and the sweet satisfaction of creation. This recipe, designed for the absolute beginner, aims to unlock that joy for everyone.
The impact of baking, particularly simple recipes like this brownie recipe, extends far beyond the kitchen. It fosters a sense of accomplishment, builds confidence, and encourages creativity. Baking is a tangible way to connect with others, sharing the fruits (or should I say, brownies!) of your labor. The best things in life are the people we love, the places we've been, and the memories we've made along the way.
This quote perfectly encapsulates the lasting impact of simple acts like baking, creating memories and connections that last a lifetime.
Now, I invite you to take this recipe and make it your own. Don't be afraid to experiment, to add a personal touch, to share your creations with loved ones. The true success of this recipe, and of baking in general, lies not just in the perfectly fudgy texture, but in the joy it brings to you and those you share it with. Embrace the simplicity, embrace the process, and embrace the sweet success of your first (and many more to come!) baking adventure.
Unlock Your Inner Brownie Boss!
Thanks for joining us on this delicious journey! We hope you've gained the confidence to bake amazing brownies. Now it's time to put your newfound skills to the test!
- Bake your own batch of these irresistible brownies: Grab your ingredients and get baking! We know you can do it.
- Share your brownie creation with us on social media: Use #BakeWithEaseBrownies and tag @BakeWithEase (fictional social media handle) to show off your baking prowess!
- Challenge yourself to experiment with different brownie variations: Try adding nuts, chocolate chips, or even a swirl of caramel!
Ready to become a brownie baking superstar? What creative twist will you add to your next batch?