
Mastering Quick Bread Loaves: BeginnerFriendly Steps

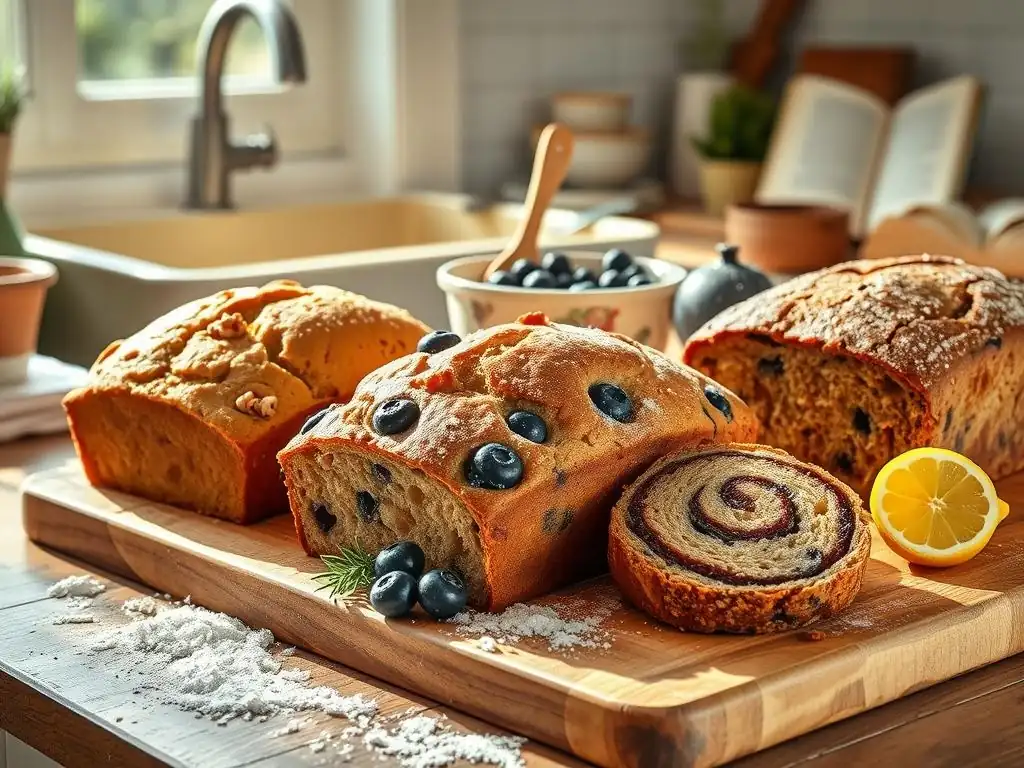
Welcome to BakeWithEase, where your baking journey begins!
Ever dreamt of filling your kitchen with the aroma of freshly baked bread, but felt intimidated by complicated recipes? You're in the right place. Discover how to easily create delicious loaves with our easy beginner quick bread recipe, and banish the fear of baking forever. Ready to unlock the secrets to simple, satisfying baking? Let's get started and explore how you can achieve perfect, no-yeast bread, even on your first try!
- Mastering Banana Bread Loaves: Beginner-Friendly Steps for BakeWithEase
- Introduction to Easy Beginner Banana Bread Recipes
- Essential Equipment for Baking Easy Banana Bread Loaves
-
Easy Beginner Banana Bread Recipe: Step-by-Step Guide
- Ingredients for a Delicious and Simple Banana Bread Loaf
- Step 1: Preparing Your Baking Pan for a Perfect Loaf
- Step 2: Mixing the Dry Ingredients: A Beginner's Guide
- Step 3: Combining Wet and Dry Ingredients: Achieving the Right Consistency
- Step 4: Adding Bananas and Other Mix-Ins
- Step 5: Baking Your Banana Bread Loaf to Perfection
- Step 6: Cooling and Slicing Your Homemade Banana Bread
- Tips and Tricks for Baking the Best Banana Bread
- Troubleshooting Your Easy Beginner Banana Bread Recipe
- Storing Your Freshly Baked Banana Bread
- Beyond the Basics: Exploring Other Easy Quick Bread Recipes
- Conclusion: Enjoying the Simplicity of Easy Banana Bread Baking
-
Frequently Asked Questions
- What exactly is a quick bread, and why is it considered beginner-friendly?
- What are some essential ingredients for an easy beginner quick bread recipe?
- What's the most common mistake beginners make when baking quick bread, and how can I avoid it?
- Can I substitute ingredients in a quick bread recipe to make it healthier or fit my dietary needs?
- How can I ensure my quick bread loaf is evenly baked and doesn't have a soggy center?
- Final Reflection: The Enduring Joy of Simple Baking
- Unleash Your Inner Baker: Start Baking Today!
Mastering Banana Bread Loaves: Beginner-Friendly Steps for BakeWithEase
Introduction to Easy Beginner Banana Bread Recipes
What is Banana Bread? A Simple Explanation for Beginners
Banana bread is a type of quick bread, which means it uses chemical leavening agents like baking soda or baking powder instead of yeast. This is fantastic news for new bakers because it eliminates the need for proofing, kneading, and long rise times that are typical with traditional yeast breads. Essentially, you mix wet and dry ingredients together, pour the batter into a pan, and bake! It's designed to be quick and straightforward, making it an ideal starting point for anyone venturing into the world of baking.
The beauty of banana bread lies in its simplicity and the use of readily available ingredients. Overripe bananas, which might otherwise go to waste, are the star, providing natural sweetness and moisture. When combined with basic pantry staples like flour, sugar, eggs, and butter, they transform into a comforting, delicious loaf. This easy beginner quick bread recipe is not only forgiving but also incredibly rewarding, producing a moist, flavorful result with minimal fuss.
Why Banana Bread is Perfect for New Bakers: No Yeast Required!
One of the biggest hurdles for beginner bakers can be working with yeast. Understanding fermentation, proofing times, and achieving the right dough consistency can feel intimidating. Quick breads, like banana bread, completely bypass this complexity. The leavening happens quickly once the wet and dry ingredients are combined and exposed to heat in the oven, thanks to the reaction of baking soda or baking powder with acidic ingredients (like the bananas themselves or buttermilk if used).
This yeast-free approach significantly shortens the baking process. You can mix the batter and have the loaf in the oven in under 20 minutes, compared to the hours often required for yeast breads that involve multiple rises. This speed and simplicity, coupled with the delicious outcome, make an easy banana bread recipe the perfect introduction to baking. It allows beginners to build confidence by achieving success without grappling with the nuances of yeast activation and dough development.
Essential Equipment for Baking Easy Banana Bread Loaves
Must-Have Baking Tools for Banana Bread Success
To bake a delicious banana bread loaf, you don't need a kitchen full of fancy gadgets. A few basic tools are essential. You'll definitely need at least two mixing bowls: one for your dry ingredients and one for your wet ingredients. A whisk is crucial for aerating and combining the dry ingredients evenly, ensuring your leavening is well distributed. You'll also need measuring cups for flour, sugar, and liquids, and measuring spoons for smaller amounts like baking soda and salt.
A spatula or wooden spoon is necessary for mixing the wet ingredients and gently combining them with the dry. Finally, the star piece of equipment for a loaf is, of course, a loaf pan. A standard 8x4 inch or 9x5 inch metal loaf pan is perfect for this recipe. These sizes are common and will give you a classic loaf shape and size. Using the correct size helps ensure the bread bakes evenly in the time specified in most recipes.
Optional, But Helpful, Equipment for Baking
While not strictly necessary, certain tools can make the process smoother and improve your results. An electric hand mixer or a stand mixer can make creaming butter and sugar much faster and easier, although a strong arm and a whisk or spoon work perfectly well. A wire cooling rack is highly recommended for cooling your banana bread after baking; it allows air circulation around the entire loaf, preventing the bottom from becoming soggy.
Parchment paper is another helpful item. Lining your loaf pan with parchment paper, leaving some overhang, makes removing the baked loaf incredibly easy and ensures it won't stick. A rubber scraper is excellent for scraping down the sides of your mixing bowl to ensure all ingredients are incorporated, minimizing waste and ensuring a consistent batter. These tools aren't mandatory for an easy beginner quick bread recipe, but they can certainly enhance the baking experience.
Easy Beginner Banana Bread Recipe: Step-by-Step Guide
Ingredients for a Delicious and Simple Banana Bread Loaf
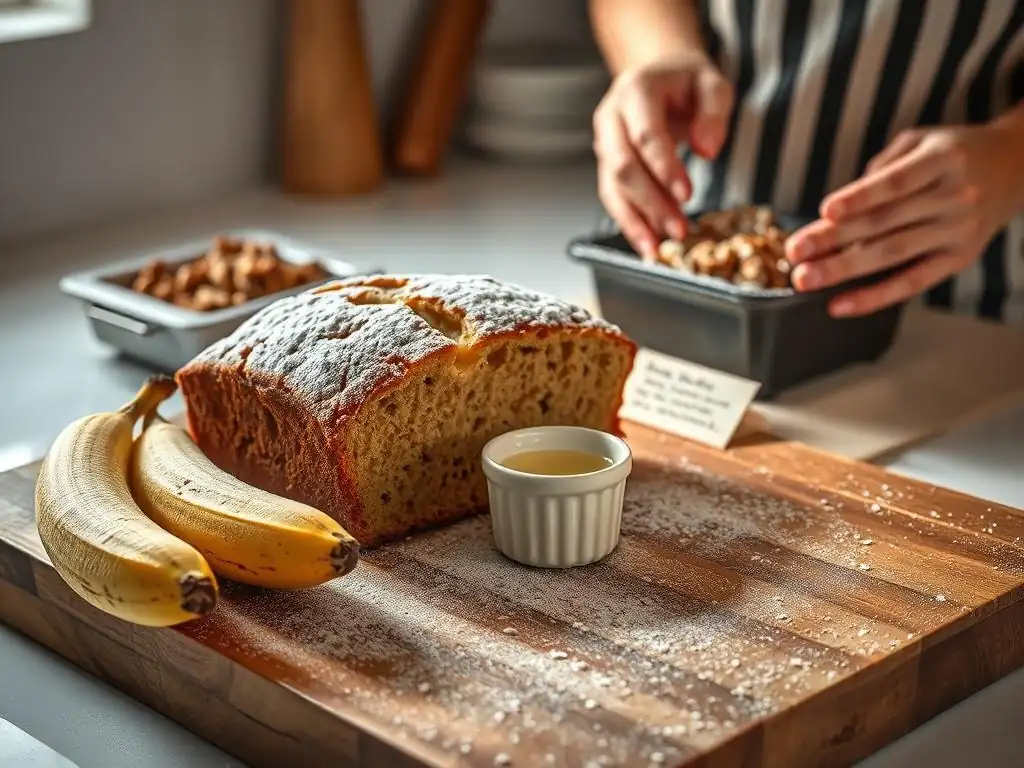
For a classic, moist, and flavorful easy beginner banana bread recipe, you will need the following ingredients. Start with 3 to 4 very ripe bananas; the riper, the better – look for plenty of brown spots on the peel as they are sweeter and easier to mash. You'll need 1/2 cup (1 stick) of unsalted butter, softened to room temperature. For sweetness, use about 1 cup of granulated sugar.
You'll also need 2 large eggs, at room temperature, and 1 teaspoon of vanilla extract for flavor. The dry ingredients include 1 and 1/2 cups of all-purpose flour, 1 teaspoon of baking soda (this is your primary leavener), and 1/4 teaspoon of salt to balance the sweetness. These simple ingredients, when combined correctly, create a wonderfully moist and tender loaf, perfect for dipping in coffee or enjoying on its own.
Step 1: Preparing Your Baking Pan for a Perfect Loaf
Properly preparing your baking pan is a simple yet crucial step to prevent your delicious banana bread from sticking. You have a couple of easy options here. The most common method is to generously grease the inside of your 8x4 or 9x5 inch loaf pan with butter, shortening, or non-stick cooking spray. Ensure you get into all the corners and up the sides. After greasing, lightly flour the pan, tapping out any excess flour. The grease helps the flour stick, creating a non-stick layer.
Alternatively, you can line the pan with parchment paper. Cut a piece of parchment paper so it fits the bottom and long sides of the pan, leaving some overhang on the sides. You might need two pieces to cover the bottom and short ends if your paper isn't wide enough. Lightly grease the pan first to help the parchment paper stick. This method offers foolproof release and makes cleaning up much easier, which is a nice bonus for an easy beginner quick bread recipe.
Step 2: Mixing the Dry Ingredients: A Beginner's Guide
Combining your dry ingredients separately before adding them to the wet is a simple but important step in any baking recipe, including this easy banana bread. In your medium-sized mixing bowl, measure out 1 and 1/2 cups of all-purpose flour. Use the "spoon and level" method for accuracy: spoon the flour into your measuring cup and then level off the excess with a straight edge, like a knife. Don't scoop directly from the bag, as this compacts the flour and results in too much.
Next, add 1 teaspoon of baking soda and 1/4 teaspoon of salt to the flour. Use a whisk to thoroughly combine these ingredients. Whisking helps to aerate the flour slightly and, more importantly, ensures that the baking soda and salt are evenly distributed throughout the mix. This even distribution is key for consistent leavening and flavor in your finished banana bread loaf. Set this bowl aside while you work on the wet ingredients.
Step 3: Combining Wet and Dry Ingredients: Achieving the Right Consistency
In your large mixing bowl, cream together the softened 1/2 cup of butter and 1 cup of granulated sugar until the mixture is light and fluffy. This usually takes about 2-3 minutes if using an electric mixer, or a bit longer by hand. This step incorporates air, which contributes to the bread's texture. Beat in the 2 large eggs, one at a time, ensuring each is fully incorporated before adding the next. Stir in the 1 teaspoon of vanilla extract.
Now, it's time to combine the wet and dry ingredients. Add the whisked dry ingredients to the wet mixture. Using a spatula or wooden spoon, mix just until the dry ingredients are incorporated and you no longer see streaks of flour. It's absolutely crucial not to overmix the batter. Overmixing develops gluten in the flour, which can result in a tough, dense banana bread rather than the desired moist and tender texture. A few lumps are perfectly fine!
Step 4: Adding Bananas and Other Mix-Ins
Mash your 3 to 4 very ripe bananas in a separate bowl until they are mostly smooth but still have a few small lumps – this adds nice texture to the bread. Gently fold the mashed bananas into the batter using your spatula or spoon. Again, mix only until they are just distributed throughout the batter.
This is also the stage where you can add any optional mix-ins to customize your easy banana bread recipe. Popular choices include 1/2 cup of chocolate chips for a touch of sweetness, or 1/2 cup of chopped nuts like walnuts or pecans for crunch. Fold these in gently with the bananas, ensuring they are evenly distributed without overworking the batter. This step adds extra flavor and texture, making your beginner banana bread loaf uniquely yours.
Step 5: Baking Your Banana Bread Loaf to Perfection
Preheat your oven to 350°F (175°C). Pour the finished batter into your prepared loaf pan, spreading it evenly with your spatula. Place the pan in the center of the preheated oven. The baking time for a standard loaf is typically between 50 and 70 minutes, but this can vary depending on your oven and the size of your pan.
To check if your banana bread is done, insert a toothpick or a thin skewer into the center of the loaf. If it comes out clean or with just a few moist crumbs attached, the bread is ready. If it comes out with wet batter, continue baking for another 5-10 minutes and test again. The top should be golden brown and firm to the touch. Don't rely solely on the clock; the toothpick test is the most reliable indicator of doneness for your easy beginner quick bread recipe.
Step 6: Cooling and Slicing Your Homemade Banana Bread
Once your banana bread passes the toothpick test and is beautifully golden brown, carefully remove the loaf pan from the oven. Let the bread cool in the pan on a wire rack for about 10-15 minutes. This allows the loaf to set slightly before you attempt to remove it. Trying to take it out too soon might cause it to break apart.
After 10-15 minutes, invert the pan onto the wire rack (or lift it out using the parchment paper overhang if you used it) and let the banana bread cool completely. Cooling on a wire rack ensures air circulates, preventing the bottom from getting soggy. Patience is key here; slicing into a warm loaf is tempting, but waiting until it's fully cooled (at least 1-2 hours) results in cleaner slices and a better texture. Once cool, slice with a serrated knife and enjoy your homemade easy beginner banana bread!
Tips and Tricks for Baking the Best Banana Bread
Avoiding Common Mistakes in Banana Bread Baking
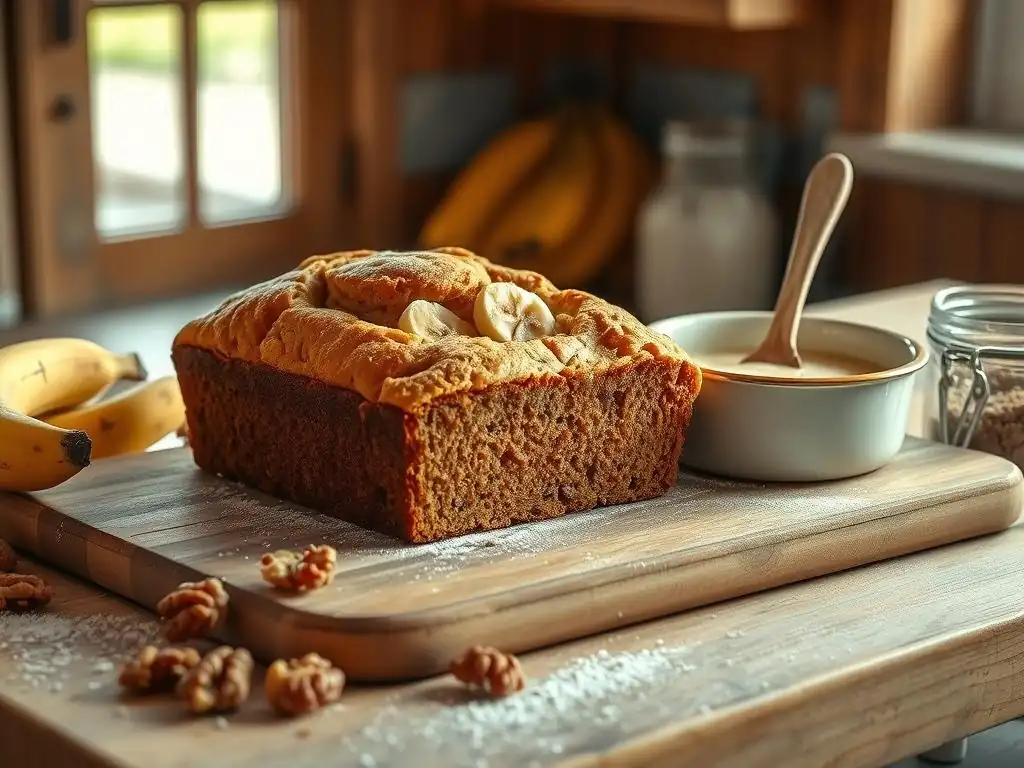
Even with an easy beginner quick bread recipe, a few common pitfalls can occur. One of the most frequent mistakes is overmixing the batter after adding the dry ingredients. As mentioned before, this develops gluten, leading to a tough, chewy texture instead of a tender crumb. Mix only until the flour streaks disappear. Another mistake is using bananas that aren't ripe enough; green or yellow bananas don't have the necessary sweetness or moisture, resulting in a less flavorful and potentially drier loaf.
Using incorrect measurements, especially too much flour, can also lead to a dry or dense bread. Always spoon flour into the measuring cup and level it off. Finally, opening the oven door repeatedly during baking, especially in the first 30-40 minutes, can cause temperature fluctuations that might prevent the bread from rising properly or even cause it to sink in the middle. Trust the process and the oven temperature; wait until close to the end of the baking time before checking.
How to Prevent a Dry Banana Bread Loaf
A dry banana bread loaf is disappointing, but it's usually preventable with a few simple strategies. The most important factor is using very ripe, spotty bananas; they provide essential moisture and sweetness. Don't skimp on the banana quantity specified in the recipe. Another key is avoiding overmixing the batter; this is a primary culprit for toughness and dryness as it overdevelops the gluten structure.
Furthermore, precise measurement of flour is critical. Too much flour will absorb excess moisture, resulting in a dry loaf. Using the spoon and level method helps ensure you're using the correct amount. Lastly, avoid overbaking. Start checking for doneness with the toothpick test around the minimum bake time specified in the recipe and take the bread out as soon as it's ready. Even a few extra minutes in the oven can dry it out.
Achieving a Perfectly Moist and Flavorful Banana Bread
Beyond using very ripe bananas and avoiding overmixing, there are other ways to ensure your easy banana bread recipe yields a wonderfully moist and flavorful result. Consider adding a source of extra fat or moisture to the wet ingredients. A tablespoon or two of milk, buttermilk, sour cream, or plain yogurt can significantly enhance moisture and tenderness without drastically changing the flavor profile.
You can also boost the flavor profile by adding spices like cinnamon or nutmeg (start with 1/2 to 1 teaspoon of cinnamon). A pinch of ground cloves or allspice can also add depth. Using brown sugar in addition to or instead of granulated sugar adds a hint of molasses flavor and extra moisture. These small additions can elevate a basic easy beginner quick bread recipe into something truly spectacular, making your homemade banana bread even more delicious.
Tips for Adding Variations and Customizations
Once you've mastered the basic easy beginner banana bread recipe, you can start experimenting with variations to keep things interesting. As mentioned, chocolate chips (milk, semi-sweet, or dark) are a popular addition, typically 1/2 cup to 1 cup folded into the batter. Nuts like walnuts or pecans (1/2 cup chopped) add a lovely crunch and nutty flavor that pairs wonderfully with banana.
You can also add dried fruit like raisins or cranberries (1/2 cup), or even shredded coconut. For extra flavor, consider adding citrus zest (lemon or orange) or a sprinkle of ground spices like cinnamon or nutmeg to the batter. Some bakers like to sprinkle coarse sugar or chopped nuts on top of the batter before baking for a nice crust. Don't be afraid to try different combinations, starting with small amounts (e.g., 1/4 cup of something new) to see how you like it.
Troubleshooting Your Easy Beginner Banana Bread Recipe
My Banana Bread is Too Dense: What Went Wrong?
If your banana bread turned out heavy and dense instead of light and tender, the most likely culprit is overmixing the batter. When you mix flour with liquid, gluten begins to develop. In quick breads, you want minimal gluten development, just enough to hold the loaf together. Overmixing creates too much gluten, resulting in a tough, dense crumb. Remember to mix only until the dry ingredients disappear, even if there are still a few lumps.
Another reason for density can be using too much flour. If you scoop flour directly from the bag instead of spooning it into the measuring cup and leveling it, you can easily end up with 20-30% more flour than intended, which throws off the wet-to-dry ratio and makes the bread heavy. Finally, using expired or inactive baking soda can also lead to a dense loaf as it won't provide sufficient leavening. Check the date on your baking soda!
My Banana Bread is Burning on Top: How to Fix It?
If the top of your banana bread is getting too dark or burning while the inside is still underbaked, there are a few potential reasons. Your oven temperature might be running hot; using an oven thermometer can confirm this. The loaf pan might be positioned too high in the oven, placing it too close to the top heating element.
To fix this during baking, you can loosely tent the top of the loaf with aluminum foil once it reaches the desired golden brown color (usually after about 30-40 minutes of baking). This protects the top from further browning while the inside continues to bake. In the future, try placing your loaf pan on a lower oven rack or calibrating your oven temperature if you suspect it's inaccurate.
My Banana Bread is Sinking in the Middle: Solutions for a Flat Loaf
A banana bread loaf that sinks in the middle can be frustrating, but it's a common issue with a few potential causes. One reason is underbaking; the center hasn't fully cooked and set before being removed from the oven, so it collapses as it cools. Always rely on the toothpick test inserted into the very center of the loaf.
Other causes include opening the oven door too early or too frequently during baking, which causes a sudden drop in temperature that can shock the rising batter and cause it to fall. Overmixing can also contribute, as an overdeveloped gluten structure might not support the rise properly. Finally, using too much leavening (baking soda) or too much liquid relative to the dry ingredients can cause the bread to rise too quickly and then collapse. Ensure accurate measurements of all ingredients for your easy beginner quick bread recipe.
Storing Your Freshly Baked Banana Bread
Best Practices for Keeping Banana Bread Fresh
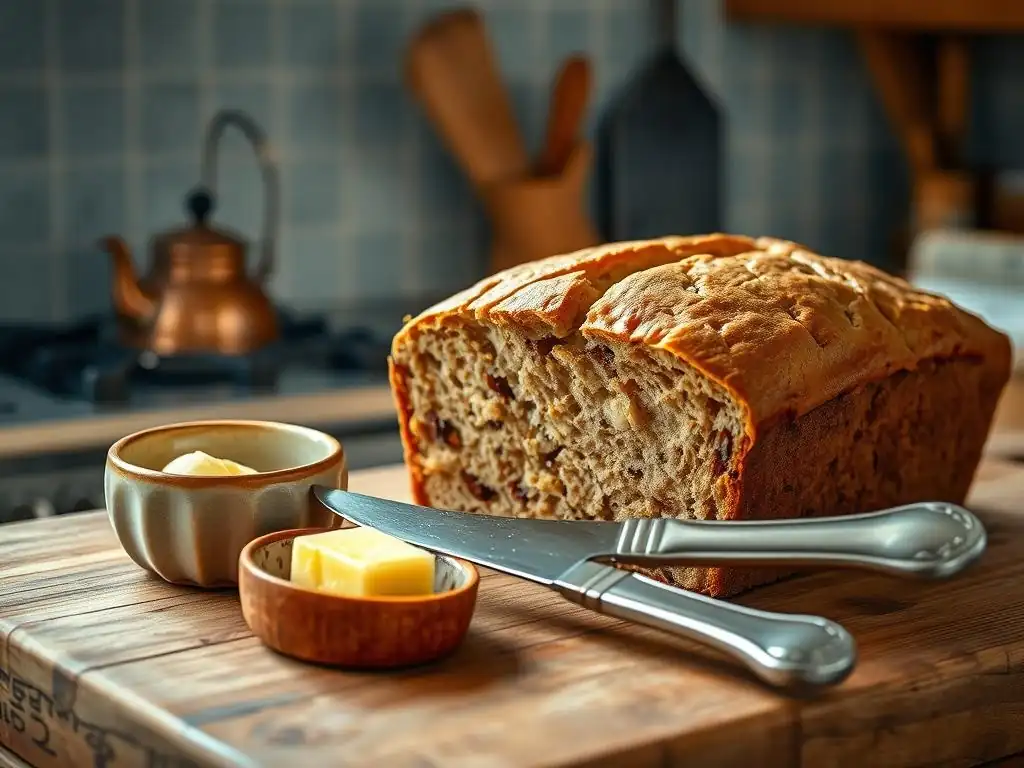
Once your delicious easy banana bread loaf is completely cooled, proper storage is key to keeping it moist and fresh. The best way to store banana bread at room temperature is to wrap it tightly in plastic wrap. Ensure the entire loaf is covered snugly to prevent air exposure, which can dry it out. Alternatively, you can store it in an airtight container or a resealable plastic bag.
Stored at room temperature this way, banana bread will stay fresh and moist for about 2 to 3 days. If you live in a very humid climate or want to keep it longer, you can refrigerate it, where it will last for up to a week. However, refrigeration can sometimes slightly alter the texture and dry it out a little compared to room temperature storage.
Freezing Banana Bread for Later Enjoyment
Banana bread freezes exceptionally well, making it perfect for baking ahead or saving leftovers. Ensure the loaf is completely cooled before freezing. You can freeze a whole loaf or slice it first. To freeze a whole loaf, wrap it tightly first in plastic wrap, then in aluminum foil, or place it in a freezer-safe bag, squeezing out as much air as possible.
To freeze slices, wrap individual slices tightly in plastic wrap before placing them all in a freezer bag or container. This way, you can thaw just one slice at a time. Properly wrapped, banana bread can be stored in the freezer for 2 to 3 months. To thaw, simply place the loaf or slices on the counter at room temperature for a few hours. Freezing is a great way to extend the life of your easy beginner quick bread recipe creation!
Beyond the Basics: Exploring Other Easy Quick Bread Recipes
Expanding Your Quick Bread Repertoire: Zucchini Bread
Once you've successfully baked your first easy beginner banana bread recipe, you've unlocked the door to a whole world of quick breads! Zucchini bread is a fantastic next step and follows a very similar method to banana bread. Instead of mashed bananas, it uses finely shredded zucchini. Don't worry, it doesn't taste strongly of zucchini; the vegetable adds incredible moisture, resulting in an exceptionally tender loaf.
The process involves combining wet and dry ingredients, just like banana bread. You shred the zucchini (no need to peel it! ), often squeezing out a bit of excess moisture, and fold it into the batter. Baking times and temperatures are typically comparable to banana bread. Mastering zucchini bread builds on the skills you gained with banana bread, reinforcing the core techniques of quick bread baking and introducing you to using different moistening agents.
From Banana Bread to Zucchini Bread: A World of Quick Bread Possibilities
The beauty of quick breads is that the fundamental technique remains largely the same: combine dry ingredients, combine wet ingredients, mix them gently, pour into a pan, and bake. This means that after mastering an easy beginner quick bread recipe like banana bread, you're well-equipped to tackle many others. Think pumpkin bread, cranberry bread, apple bread, or even savory options like cornbread or cheese bread.
Each variation uses different primary ingredients for flavor and moisture (like pumpkin puree, applesauce, or cornmeal), but the basic ratio of flour to leavening, fat, liquid, and eggs is consistent. This common foundation makes exploring new quick bread recipes less daunting. Your success with banana bread is just the beginning of your quick bread journey, proving that simple ingredients and techniques can yield incredibly satisfying results.
Conclusion: Enjoying the Simplicity of Easy Banana Bread Baking
Celebrate Your Baking Success with BakeWithEase!
Congratulations! You've taken the first step into the wonderful world of baking by mastering an easy beginner banana bread recipe. This simple, forgiving quick bread is a perfect starting point, demonstrating that delicious homemade goods are well within your reach without complex techniques like working with yeast. You've learned about the essential ingredients, the importance of gentle mixing, and how to achieve that perfect moist texture.
Now it's time to celebrate your baking success! Slice into your warm (or fully cooled!) loaf, share it with friends and family, or simply savor a piece with your favorite beverage. Remember, every bake is a learning experience, and you've just achieved a significant milestone. Keep exploring other easy beginner quick bread recipes and beyond with BakeWithEase as your guide, and continue to enjoy the simple pleasure and rewarding feeling of baking from scratch.
Frequently Asked Questions
What exactly is a quick bread, and why is it considered beginner-friendly?
Quick bread relies on chemical leavening agents like baking powder or baking soda rather than yeast, making it significantly faster and easier to prepare. This avoids the proofing time required for yeast breads, perfect for beginners.
What are some essential ingredients for an easy beginner quick bread recipe?
Typically, you'll need flour, sugar, baking powder or soda, salt, eggs, milk or another liquid, and oil or melted butter. The simplicity and availability of ingredients make it accessible.
What's the most common mistake beginners make when baking quick bread, and how can I avoid it?
Overmixing is the biggest culprit. It leads to a tough bread. Mix only until just combined to maintain a tender crumb.
Can I substitute ingredients in a quick bread recipe to make it healthier or fit my dietary needs?
Yes, you can often substitute whole wheat flour for some all-purpose flour, or use applesauce instead of some oil. Just remember that substitutions may slightly alter the texture and flavor.
How can I ensure my quick bread loaf is evenly baked and doesn't have a soggy center?
Use an oven thermometer to verify your oven temperature. Also, test for doneness by inserting a toothpick into the center; it should come out clean or with just a few moist crumbs.
Final Reflection: The Enduring Joy of Simple Baking
The ease and satisfaction of baking a quick bread loaf transcends mere culinary skill; it's a gateway to creativity, comfort, and connection. From the simple act of mixing ingredients to the warm aroma filling your kitchen, the process offers a tangible reward that resonates deeply in our fast-paced world. This accessible method of baking provides a much-needed respite and a chance to create something delicious with minimal effort.
The enduring appeal of quick breads lies not just in their simplicity, but in their versatility. They are a blank canvas for experimentation, allowing bakers of all levels to personalize flavors and textures. Baking is at once child's play and adult joy. And love, of course.
This quote perfectly captures the essence of quick bread baking – a process that is both accessible and deeply rewarding, fostering a sense of accomplishment and joy. The ability to adapt recipes, incorporating seasonal fruits or unique spices, keeps the experience fresh and exciting, constantly evolving with personal preferences and culinary exploration.
Now, I invite you to embrace the joy of quick bread baking. Don't be intimidated by the seemingly complex world of baking; start small, experiment with different flavors, and share your creations with loved ones. The warmth of a freshly baked loaf, the satisfaction of creating something delicious from scratch, and the simple pleasure of sharing it with others – these are the true rewards of mastering this fundamental baking skill. So, gather your ingredients, preheat your oven, and embark on your own baking adventure. The journey is as rewarding as the destination.
Unleash Your Inner Baker: Start Baking Today!
Thanks for joining us on this baking journey! We hope you now feel confident and inspired to tackle the world of quick bread loaves. You've gained valuable tips and tricks – now it's time to put them into practice!
- Bake your first quick bread masterpiece: Choose your favorite recipe (or try a new one!) and get baking. Don't be afraid to experiment – that's where the real fun begins!
- Share your baking success (or even your flops!): Tag us on social media with your creations. We love seeing what you bake!
- Join our Baking Community: Head over to our forum and connect with fellow bread lovers. Ask questions, share your tips, and inspire others!
What delicious quick bread adventure will you embark on next?