
NoBake Desserts: The Perfect Entry into Baking (Without the Oven!)

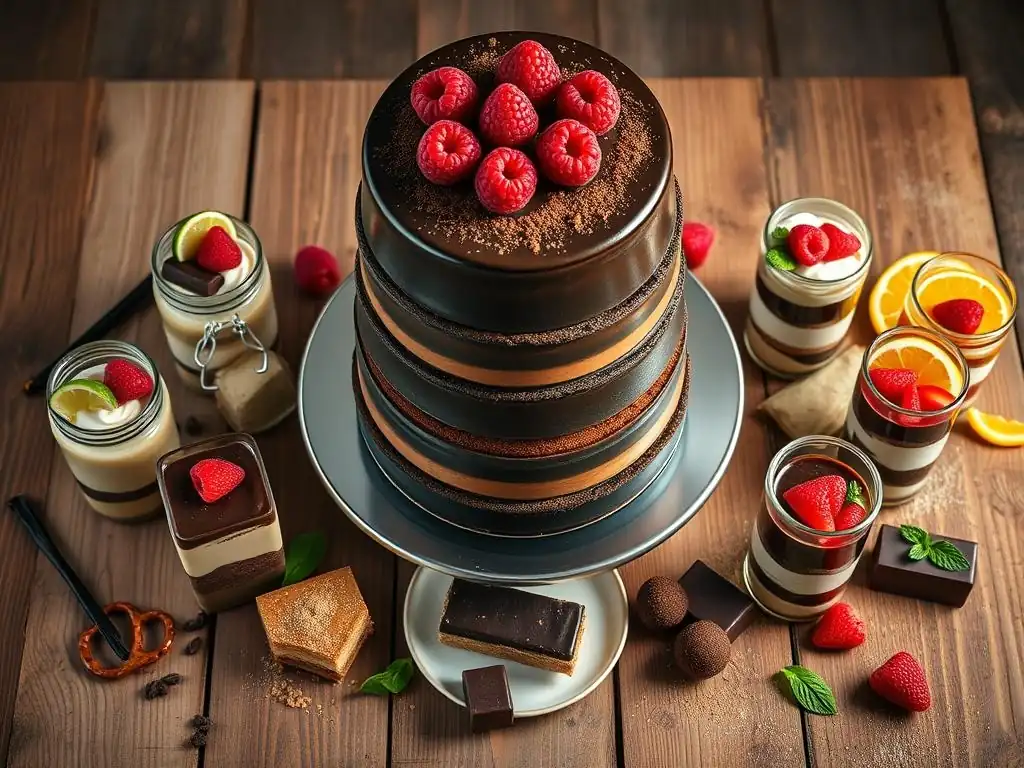
Welcome to BakeWithEase, your guide to unlocking the joys of baking!
Tired of complicated recipes and endless oven preheating? Discover the delicious world of no bake desserts recipes! We'll show you how to whip up incredible treats with minimal effort and maximum flavor. Intrigued? Keep reading to uncover our foolproof methods and become a dessert pro, even without turning on the oven!
- No-Bake Desserts: Easy Treats for Any Occasion
- Introduction to No-Bake Desserts
- Mastering No-Bake Dessert Basics
- Top 5 Easy No-Bake Dessert Recipes
- Tips and Tricks for No-Bake Desserts
- Troubleshooting No-Bake Baking
- Expanding Your No-Bake Repertoire
- Conclusion: The Joy of No-Bake Baking
-
Frequently Asked Questions
- What are the advantages of choosing no-bake dessert recipes from BakeWithEase.com?
- Are no-bake desserts only suitable for beginners?
- What types of no-bake desserts can I expect to find on BakeWithEase.com?
- How can I adapt no-bake dessert recipes to suit my dietary needs?
- What are some common mistakes to avoid when making no-bake desserts?
- Final Reflection: Unlocking Baking Joy, One No-Bake Recipe at a Time
- Unleash Your Inner Baker: No-Bake Deliciousness Awaits!
No-Bake Desserts: Easy Treats for Any Occasion
Introduction to No-Bake Desserts
Why Choose No-Bake? Simplicity and Speed
No-bake desserts recipes are the ultimate shortcut to sweet satisfaction, especially for those new to the kitchen or short on time. The primary appeal lies in their inherent simplicity. You bypass the complexities of oven temperatures, baking times, and the anxiety of whether something will rise correctly or bake through evenly. Many no-bake treats involve just a few steps: mixing ingredients, pouring into a pan, and letting refrigeration do the rest. This dramatically reduces the chance of common baking mishaps like burning or undercooking.
The speed factor is also a major draw. While many no-bake desserts require chilling time to set, the active preparation is often incredibly fast – think 15 to 30 minutes for mixing and assembling. Compare this to a traditional cake or pie that might involve preparing dough, making fillings, baking for 30-60 minutes, and then cooling. No-bake options offer a much quicker path from craving to consumption, making them ideal for last-minute gatherings or spontaneous sweet cravings.
Delicious and Simple No-Bake Recipes
The world of easy no bake desserts recipes is vast and surprisingly diverse, offering everything from creamy cheesecakes and rich chocolate treats to fruity delights and crunchy bar cookies. Despite the lack of baking, these desserts don't compromise on flavor or texture. They often feature decadent ingredients like melted chocolate, smooth cream cheese, crushed cookies, and fresh fruit, layered or combined in ways that create delightful contrasts.
These simple no bake desserts recipes are perfect for building confidence in the kitchen. Successfully creating a delicious dessert without turning on the oven provides a rewarding experience that can encourage beginners to explore further. From classic favorites like Rice Krispie Treats and OREO cookie balls to more sophisticated options like layered parfaits or chilled pies, there's a no-bake recipe to suit almost any taste and skill level.
Mastering No-Bake Dessert Basics
Essential No-Bake Ingredients
Certain ingredients are staples in many no bake desserts recipes because they help bind, set, or flavor the mixture without heat. Gelatin, agar-agar (a plant-based alternative), and condensed milk are common binders and thickeners. Condensed milk adds sweetness and creaminess while also helping ingredients like crushed cookies or coconut stick together. Cream cheese, mascarpone, or whipped cream form the base of many creamy no-bake fillings and mousses, providing richness and structure.
Crushed cookies, graham crackers, or pretzels often serve as the base for pies, bars, or crusts, held together by melted butter or a creamy mixture. Chocolate, in various forms like melted chips, cocoa powder, or chocolate syrup, is frequently used for flavor and sometimes as a setting agent in ganaches or firm fillings. Fresh fruits, extracts (vanilla, almond), and flavorings (like citrus zest or coffee powder) are crucial for adding dimension and brightness to these easy no bake desserts recipes.
Key Techniques for No-Bake Success
The most critical technique in no-bake baking is chilling. Refrigeration is what transforms a liquid or semi-solid mixture into a firm, sliceable, or scoopable dessert. Adequate chilling time, often ranging from 2 to 4 hours or even overnight for some recipes, is essential for the dessert to properly set. Trying to serve a no-bake treat before it's fully chilled is a common mistake that results in a messy, unset dessert.
Other key techniques include proper mixing to ensure ingredients are evenly distributed and no lumps remain, especially when working with soft cheeses or melted chocolate. Melting ingredients like butter or chocolate requires gentle heat to prevent burning or seizing. Layering is another common technique, requiring careful placement of different textures and colors to create visually appealing desserts, particularly in parfaits or icebox cakes. Following the specific instructions for each of these easy no bake desserts recipes is key to achieving the desired outcome.
Essential No-Bake Equipment
You don't need a lot of specialized gear for most no bake desserts recipes, making them very accessible. Basic kitchen tools are usually sufficient. You'll definitely need mixing bowls of various sizes, a sturdy spatula for mixing and scraping, and measuring cups and spoons for accurate ingredient quantities. A whisk is helpful for whipping cream or combining liquid ingredients smoothly.
For forming and setting your desserts, several types of pans are useful. An 8x8 or 9x13 inch square or rectangular pan is perfect for bars and slab-style treats. A pie plate is necessary for no-bake pies. A springform pan is ideal for no-bake cheesecakes, allowing for easy removal without disturbing the sides. Having parchment paper or plastic wrap on hand is also highly recommended for lining pans, which makes removal and cleanup much simpler for these easy no bake desserts recipes.
Top 5 Easy No-Bake Dessert Recipes
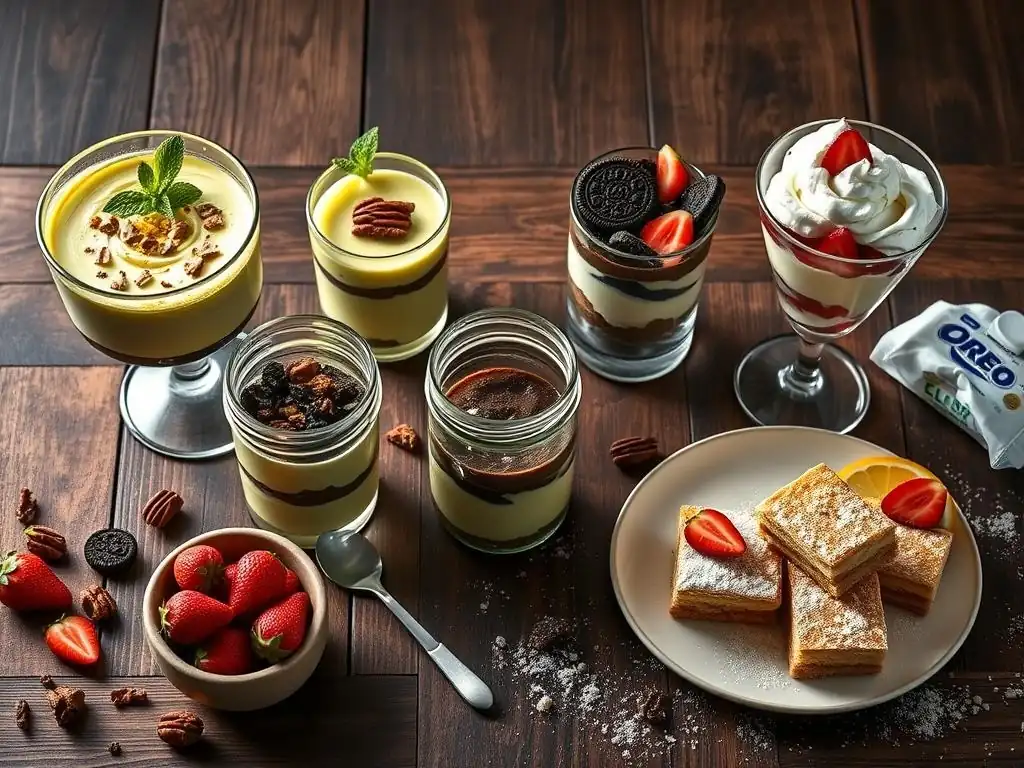
Oreo Cookie Balls are incredibly simple no bake desserts recipes that require just three main ingredients and minimal effort. They are essentially a mixture of crushed OREO cookies and cream cheese, rolled into balls and dipped in melted chocolate. This recipe is a fantastic introduction to the world of easy no bake desserts recipes because it's hard to mess up and yields delicious, crowd-pleasing results every time.
They are popular for parties, holidays, or just a fun kitchen project. The texture is a delightful contrast between the smooth chocolate coating and the dense, truffle-like interior. You can easily customize them with different chocolate coatings or sprinkles. Just be sure to use regular, not Double Stuf, OREOs for the best consistency in the mix.
Ingredients for Oreo Cookie Balls
- About 36 OREO cookies (1 standard package), finely crushed
- 8 ounces cream cheese, softened
- About 16 ounces melting chocolate (such as chocolate chips or candy melts)
Step-by-Step Instructions: Oreo Cookie Balls
- Place the OREO cookies in a food processor and pulse until very fine crumbs are formed. Alternatively, place them in a zip-top bag and crush them with a rolling pin.
- In a medium bowl, combine the crushed OREO crumbs and the softened cream cheese. Mix thoroughly until the mixture is well combined and resembles a dough.
- Roll the mixture into 1-inch balls and place them on a baking sheet lined with parchment paper.
- Refrigerate the balls for at least 30 minutes, or until firm.
- Melt the chocolate according to package directions (microwave or double boiler).
- Dip each chilled ball into the melted chocolate, letting excess drip off. Place back on the parchment-lined sheet.
- Decorate immediately with sprinkles or drizzles of contrasting chocolate, if desired.
- Refrigerate again until the chocolate is fully set, usually about 15-20 minutes.
Tips for Perfect Oreo Cookie Balls
Ensure your cream cheese is truly softened to room temperature; this makes it much easier to mix evenly with the cookie crumbs, preventing lumps. When crushing the cookies, aim for very fine crumbs – any large pieces can make the balls difficult to roll smoothly. Chilling the balls before dipping is crucial; cold balls set the chocolate faster and are less likely to fall apart in the warm coating. If your chocolate thickens while dipping, gently reheat it.
Recipe 2: No-Bake Chocolate Peanut Butter Bars
These bars are a dream come true for peanut butter and chocolate lovers, offering a rich, decadent flavor combination without needing an oven. They typically consist of a peanut butter and graham cracker crust, topped with a creamy chocolate layer. These easy no bake desserts recipes are incredibly satisfying and relatively quick to assemble, requiring primarily chilling time.
The texture is usually a pleasant mix of the slightly crumbly, dense base and the smooth, firm chocolate topping. They are quite rich, so a small square goes a long way. They are also very adaptable – you can use different types of cookies for the base or add other mix-ins to the layers.
Ingredients for Chocolate Peanut Butter Bars
- 1 and 1/2 cups graham cracker crumbs (from about 10-12 full sheets)
- 1/2 cup unsalted butter, melted
- 1/4 cup granulated sugar (optional, for crust)
- 1 cup creamy peanut butter, divided
- 1 and 1/2 cups confectioners' sugar
- 1/2 cup unsalted butter, softened
- 1 teaspoon vanilla extract
- 1 and 1/2 cups milk chocolate chips
- 1/2 cup semi-sweet chocolate chips
- 1 tablespoon vegetable oil or shortening
Step-by-Step Instructions: Chocolate Peanut Butter Bars
- Line an 8x8 inch baking pan with parchment paper, leaving an overhang on the sides.
- In a medium bowl, combine the graham cracker crumbs, melted butter, and optional granulated sugar. Press this mixture firmly and evenly into the bottom of the prepared pan to form the crust.
- In another bowl, beat together 1/2 cup of the creamy peanut butter, softened butter, confectioners' sugar, and vanilla extract until smooth and creamy. Spread this mixture evenly over the graham cracker crust.
- In a microwave-safe bowl, combine the milk chocolate chips, semi-sweet chocolate chips, and vegetable oil or shortening. Microwave in 30-second intervals, stirring after each, until the chocolate is completely melted and smooth.
- Stir the remaining 1/2 cup of creamy peanut butter into the melted chocolate until well combined.
- Pour the chocolate-peanut butter mixture evenly over the peanut butter layer in the pan. Spread smooth with a spatula.
- Refrigerate for at least 2-3 hours, or until completely set and firm.
- Use the parchment overhang to lift the bars out of the pan. Cut into squares using a sharp knife.
Variations: Adding Different Candy
You can easily customize these no bake desserts recipes by incorporating other candies. Try stirring chopped Reese's Peanut Butter Cups or chopped Butterfinger bars into the peanut butter layer for added texture and flavor. Alternatively, sprinkle miniature peanut butter cups or chopped Snickers bars over the melted chocolate topping before it sets. Swirling melted white chocolate into the top layer also adds visual appeal and a different flavor dimension.
Recipe 3: Rice Krispie Treats
A classic, beloved no bake dessert recipe, Rice Krispie Treats are incredibly simple, requiring just three main ingredients and a few minutes on the stovetop (though no oven!). They are made by melting butter and marshmallows together and then mixing in Rice Krispies cereal. These treats are known for their chewy, slightly crispy texture and sweet, comforting flavor.
They are a perfect activity to do with kids and are highly adaptable. You can add food coloring, sprinkles, or other mix-ins to make them festive for any occasion. The key to perfect Rice Krispie Treats is using fresh marshmallows and not overheating the mixture.
Ingredients for Rice Krispie Treats
- 3 tablespoons unsalted butter
- 1 (10 ounce) package marshmallows (about 40 large or 4 cups mini)
- 6 cups Rice Krispies cereal
Step-by-Step Instructions: Rice Krispie Treats
- Grease a 9x13 inch baking pan with butter or non-stick cooking spray.
- In a large saucepan over low heat, melt the butter.
- Add the marshmallows and stir constantly until they are completely melted and smooth. Remove from heat.
- Add the Rice Krispies cereal to the melted marshmallow mixture. Stir gently until the cereal is evenly coated.
- Pour the mixture into the prepared pan. Using a buttered spatula or wax paper, press the mixture evenly into the pan. Don't press too firmly, as this can make them hard.
- Let cool at room temperature for about 30-60 minutes before cutting into squares.
Troubleshooting: Preventing Hard Rice Krispie Treats
The most common issue with Rice Krispie Treats is them turning out hard instead of chewy. This usually happens for two reasons: the marshmallows were heated at too high a temperature or for too long, causing them to become brittle, or the mixture was packed too tightly into the pan. To prevent this, always melt the butter and marshmallows over low heat, stirring constantly, and remove them from the heat as soon as they are melted. When pressing the mixture into the pan, use a gentle touch – just enough to level it out, not compress it.
Recipe 4: No-Bake Lemon Icebox Cake
No-Bake Lemon Icebox Cake is an elegant and refreshing dessert, perfect for warmer weather. It typically consists of layers of graham crackers or thin cookies and a creamy, often citrus-flavored, filling. As it chills, the cookies soften and meld with the filling, creating a cake-like texture. These no bake desserts recipes are light, tangy, and surprisingly easy to assemble.
The magic happens in the refrigerator as the moisture from the filling softens the cookies over several hours. The result is a cool, creamy dessert with a pleasant lemon flavor that isn't overly sweet. It's a beautiful example of how simple ingredients can transform into something special with just time and refrigeration.
Ingredients for Lemon Icebox Cake
- 1 (12 ounce) package graham crackers or thin crisp cookies (like Nilla Wafers)
- 2 (8 ounce) packages cream cheese, softened
- 1 cup confectioners' sugar
- 1/4 cup fresh lemon juice
- 1 teaspoon lemon zest
- 1 (14 ounce) can sweetened condensed milk
- 1 (8 ounce) container frozen whipped topping (like Cool Whip), thawed
Step-by-Step Instructions: Lemon Icebox Cake
- Line a 9x13 inch baking pan with parchment paper, leaving an overhang.
- In a large bowl, beat the softened cream cheese and confectioners' sugar until smooth.
- Beat in the lemon juice and lemon zest until well combined.
- Gradually beat in the sweetened condensed milk until the mixture is smooth and creamy.
- Gently fold in the thawed whipped topping until no streaks remain.
- Spread a thin layer of the cream cheese mixture on the bottom of the prepared pan.
- Arrange a single layer of graham crackers or cookies over the cream cheese mixture, breaking them as needed to fit.
- Spread another generous layer of the cream cheese mixture over the cookies.
- Repeat layering cookies and cream cheese mixture, ending with a layer of the cream cheese mixture on top. You should have about 3-4 layers of cookies.
- Cover the pan tightly with plastic wrap.
- Refrigerate for at least 4-6 hours, or preferably overnight, to allow the cookies to soften and the cake to set.
- Lift the cake out of the pan using the parchment overhang and cut into squares to serve.
Add-ins: Berries and Other Fruits
Adding fresh berries or other fruits can enhance the flavor and visual appeal of No-Bake Lemon Icebox Cake. You can scatter fresh raspberries, blueberries, or sliced strawberries between the layers of cream and cookies. The moisture from the fruit will further help soften the cookies and add bursts of fresh flavor. Consider adding a thin layer of lemon curd between some layers for an extra punch of citrus. Just be mindful that fruits high in water content might make the cake slightly softer.
Recipe 5: No-Bake S'mores Bars
Capture the essence of camping and bonfires with these easy no bake desserts recipes for S'mores bars. They typically feature a graham cracker base, a layer of chocolate, and a topping of gooey marshmallows. While traditional s'mores require heat to melt the chocolate and toast the marshmallows, these no-bake versions achieve similar results through different methods, often involving melting the chocolate and using marshmallow fluff or lightly toasting marshmallows under a broiler (though the latter steps would technically involve heat, a fully no-bake version uses fluff or mini marshmallows that soften into the warm chocolate).
These bars deliver that classic s'mores flavor profile: crunchy graham cracker, smooth chocolate, and sweet, sticky marshmallow. They are a hit with both kids and adults and are much easier to make for a crowd than individual s'mores. They offer a taste of nostalgia in a convenient bar form.
Ingredients for S'mores Bars
- 1 and 1/2 cups graham cracker crumbs (from about 10-12 full sheets)
- 1/2 cup unsalted butter, melted
- 1/4 cup granulated sugar (optional, for crust)
- 2 cups milk chocolate chips
- 1/2 cup creamy peanut butter (optional, for chocolate layer)
- 1 (7 ounce) jar marshmallow creme (Fluff) or about 3 cups mini marshmallows
Step-by-Step Instructions: S'mores Bars
- Line an 8x8 inch baking pan with parchment paper, leaving an overhang.
- In a medium bowl, combine the graham cracker crumbs, melted butter, and optional granulated sugar. Press firmly into the bottom of the prepared pan to form the crust. Refrigerate while you prepare the next layer.
- In a microwave-safe bowl, combine the milk chocolate chips and optional peanut butter. Microwave in 30-second intervals, stirring after each, until the chocolate is completely melted and smooth.
- Pour the melted chocolate mixture over the chilled graham cracker crust and spread evenly.
- If using marshmallow creme, dollop spoonfuls over the warm chocolate layer and gently spread or swirl it across the top. If using mini marshmallows, sprinkle them evenly over the warm chocolate.
- Refrigerate for at least 2-3 hours, or until the chocolate is set.
- Use the parchment overhang to lift the bars out of the pan. Cut into squares.
Presentation Tips: Toasted Marshmallow Topping
For a truly authentic s'mores experience in these no bake desserts recipes, you can add a layer of toasted marshmallows on top. While this isn't strictly "no-bake," it's a quick finishing step done after the bars are set. Add a layer of large marshmallows or mini marshmallows to the top of the chilled bars.
Place the pan under a broiler for just 30 seconds to 1 minute, watching very carefully, until the marshmallows are golden brown and toasted. Alternatively, use a kitchen torch to toast the marshmallows directly on the bar tops. This adds a smoky flavor and gooey texture that elevates the dessert.
Tips and Tricks for No-Bake Desserts
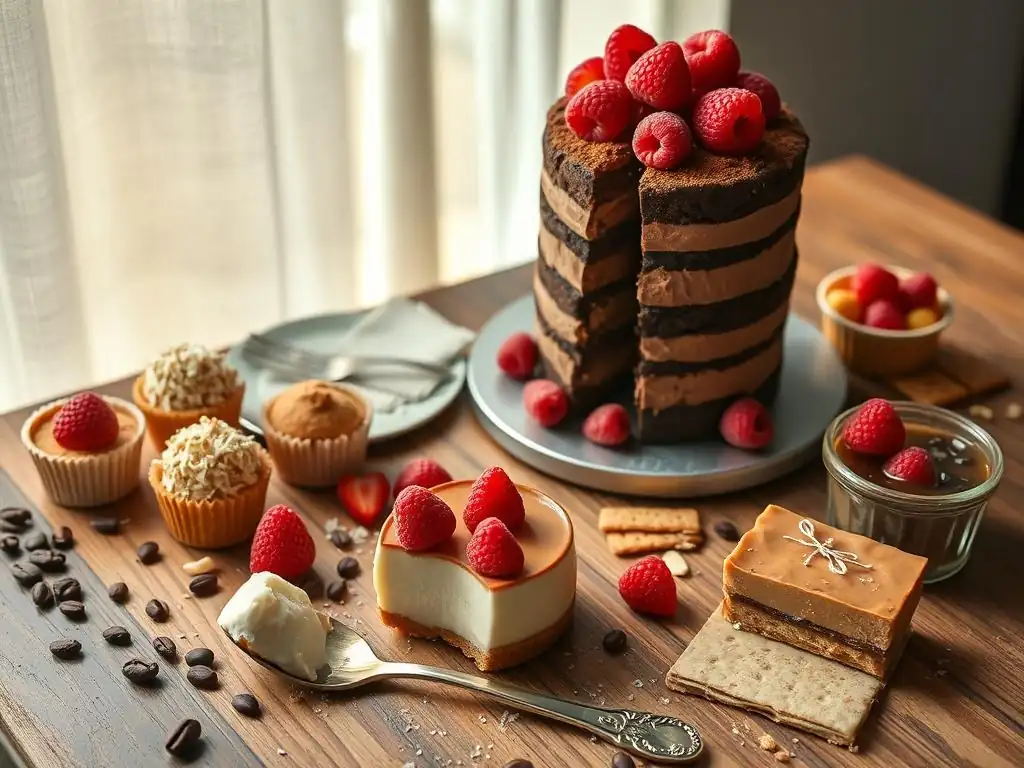
Achieving the Right Texture in No-Bake Desserts
Texture is key in no bake desserts recipes, and achieving the desired consistency often comes down to proper chilling and ingredient ratios. For creamy desserts like cheesecakes or mousses, ensuring your binder (like cream cheese or gelatin) is correctly incorporated and the mixture is chilled for the recommended time is vital for a firm, yet smooth, result. Using full-fat dairy products often leads to a richer, more stable texture than low-fat alternatives.
For crusts made from crushed cookies or crackers, the ratio of crumbs to melted butter is important. Too little butter and the crust will be crumbly; too much, and it will be greasy and hard. A common ratio is 1.5 cups of crumbs to 1/2 cup of melted butter. Pressing the crust firmly into the pan also helps it hold together. For layered desserts like icebox cakes, sufficient chilling time allows the cookies to absorb moisture from the filling and soften to a cake-like consistency, which is the goal of these easy no bake desserts recipes.
Storing No-Bake Desserts
Proper storage ensures your no bake desserts recipes stay fresh and maintain their texture. Most no-bake treats that rely on refrigeration to set should be stored in the refrigerator in an airtight container. This prevents them from drying out or absorbing odors from other foods. Cream-based or dairy-heavy no-bake desserts, like cheesecakes or puddings, typically last 3-4 days when properly refrigerated.
Bars and cookie-based no-bake treats, like Rice Krispie Treats or S'mores bars, can often be stored at room temperature in an airtight container for a couple of days, but refrigeration will extend their freshness, especially in warmer climates. Many no-bake desserts, including most bars and cheesecakes (without delicate toppings), can also be frozen for longer storage, often up to 1-2 months. Thaw them in the refrigerator before serving.
Substituting Ingredients in No-Bake Recipes
Substituting ingredients in no bake desserts recipes is often possible, but it's important to understand how the substitution might affect the outcome. For crusts, you can usually swap one type of crumb (graham cracker, OREO, shortbread) for another, though the flavor and texture will change. The amount of butter needed might vary slightly depending on the absorbency of the crumbs.
When it comes to creamy fillings or bases, substituting dairy products with non-dairy alternatives (like vegan cream cheese or coconut cream) can work, but the texture might be different. Binders like gelatin can often be replaced with agar-agar for a vegan option, but the setting properties are slightly different, requiring careful measurement and preparation according to package instructions. When in doubt, it's best to stick closely to the original recipe, especially when you're just starting out with easy no bake desserts recipes.
Troubleshooting No-Bake Baking
Why Isn't My Dessert Setting?
One of the most frustrating issues with no bake desserts recipes is when they don't set properly and remain too soft or liquidy. The most frequent culprit is insufficient chilling time. Many recipes specify a minimum chilling period, but the actual time needed can vary based on refrigerator temperature, the size and depth of the dessert, and even ambient kitchen temperature before chilling. Always err on the side of longer chilling, especially for cheesecakes or layered desserts; overnight is often best.
Another reason for a dessert not setting could be incorrect ingredient ratios, particularly with binders like gelatin or condensed milk. Using too little binder or too much liquid can prevent the mixture from firming up. Ensure you're using the exact quantities specified in the recipe and that ingredients like cream cheese are at the correct temperature (usually softened) for proper incorporation. Using expired or old ingredients, especially gelatin, can also impact setting ability.
My Dessert is Too Sweet!
Sometimes, no bake desserts recipes can turn out overly sweet, especially those relying heavily on condensed milk, confectioners' sugar, or marshmallows. Balancing sweetness is key to a delicious dessert. If you find a recipe too sweet, consider adding elements that provide contrast, such as a pinch of salt (which enhances other flavors and cuts sweetness), lemon zest or a splash of citrus juice (acidity balances sweetness), or incorporating unsweetened components like dark chocolate or plain yogurt.
Next time you make the recipe, you could try slightly reducing the amount of added sugar (like confectioners' sugar in a filling) if it's separate from structural ingredients like condensed milk. For recipes where sweetness is integral to the structure (like marshmallow treats), adding mix-ins like nuts, pretzels, or unsweetened cocoa powder can help offset the sweetness. Remember that chilling can sometimes mellow flavors, so taste the mixture before chilling and adjust cautiously.
Preventing a Sticky Dessert
Sticky no bake desserts recipes can be messy to handle and serve. This often happens with bars or treats that are dense and chewy, like Rice Krispie Treats or some types of cookie bars. One of the best ways to prevent sticking is to properly line your pan before adding the mixture. Parchment paper or wax paper, with an overhang on the sides, allows you to easily lift the entire dessert out of the pan once it's set, making cutting much cleaner.
For recipes like Rice Krispie Treats, which are inherently sticky, using a buttered spatula or hands lightly coated with butter or non-stick spray when pressing the mixture into the pan helps prevent it from sticking to your tools. Ensuring the dessert is fully chilled before attempting to cut or handle it is also crucial; cold desserts are much firmer and less likely to stick. Cutting with a sharp knife run under hot water and wiped dry between cuts can also help achieve clean slices.
Expanding Your No-Bake Repertoire
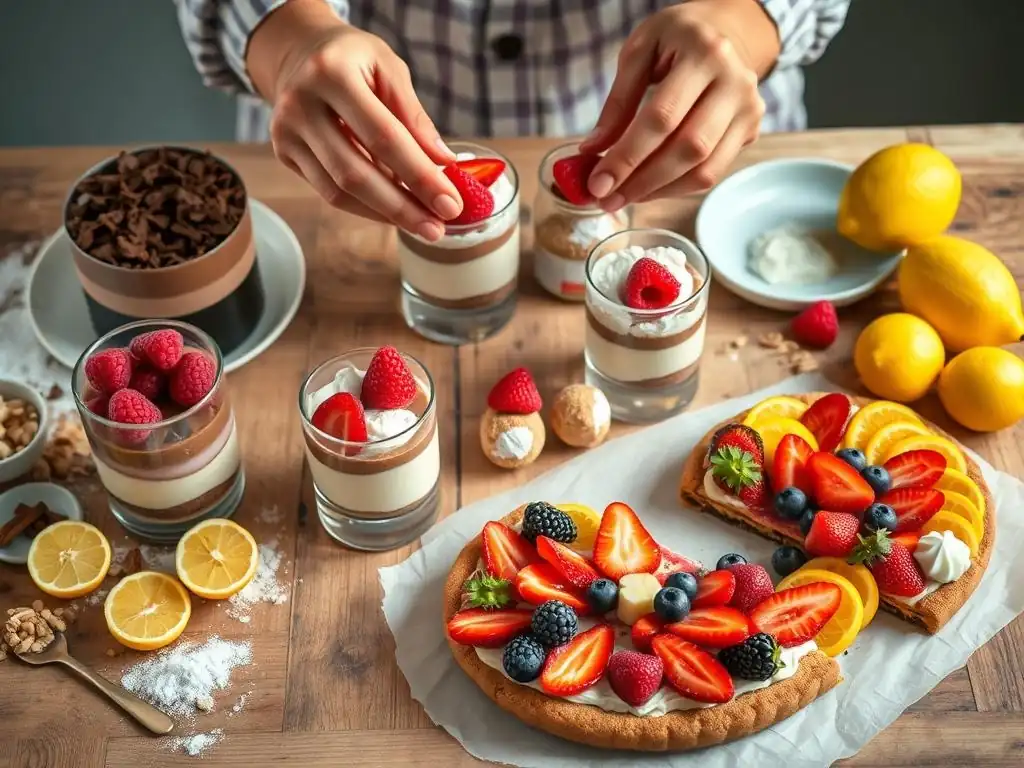
Exploring Flavors and Textures
Once you've mastered the basics with a few easy no bake desserts recipes, you can start experimenting with different flavors and textures. Don't be afraid to mix and match! Combine chocolate with mint, coffee, or orange. Pair fruits like berries or mango with creamy fillings or coconut. Add crunchy elements like chopped nuts, toasted coconut, or chocolate chips to soft layers. Consider spices like cinnamon, cardamom, or ginger to add warmth, especially in cookie crusts or creamy fillings.
Think about creating contrast in each bite. A smooth chocolate mousse layered with crunchy cookie crumbs, or a tangy lemon filling atop a sweet graham cracker crust, provides a more interesting eating experience. Explore using different extracts, zests, or even a touch of liqueur (for adult audiences) to infuse unique flavors into your easy no bake desserts recipes. The possibilities are nearly endless.
No-Bake Desserts for Holidays
No-bake desserts recipes are perfect for holiday entertaining because they often free up valuable oven space and can be made ahead of time. Adapt classic no-bake recipes with festive flavors and colors. For fall, think pumpkin spice no-bake cheesecakes or apple cider flavored bars. For winter holidays, try peppermint bark, gingerbread spiced no-bake cookies, or festive OREO cookie balls rolled in red and green sprinkles.
Valentine's Day calls for red velvet or chocolate-covered strawberry no-bake treats. For summer, refreshing options like berry parfaits, key lime pie, or tropical fruit tarts are ideal. Using seasonal ingredients and holiday-themed decorations makes these easy no bake desserts recipes a stress-free way to add a sweet touch to any celebration.
Advanced No-Bake Techniques: Layered Parfaits
While many no bake desserts recipes are straightforward, you can explore more advanced techniques to create visually stunning and delicious treats. Layered parfaits are a great example. This involves creating different components – perhaps a creamy mousse, a fruit compote, cookie crumbs, and whipped cream – and layering them artfully in glasses or jars. This technique requires careful consideration of ingredient consistency so that layers remain distinct and don't bleed into each other.
Other advanced no-bake techniques might include making your own no-bake cookie dough or edible cookie dough, preparing homemade fruit purees or ganaches for layering, or working with gelatin or agar-agar to create specific textures like panna cotta or terrines. These techniques build upon basic skills and allow for greater creativity and sophistication in your easy no bake desserts recipes.
Conclusion: The Joy of No-Bake Baking
No-Bake Desserts: Quick and Easy Treats
No-bake desserts recipes truly live up to their name, offering a world of quick and easy treats that require minimal effort and zero oven time. They are the perfect starting point for anyone venturing into the world of baking, providing successful results and building confidence without the technical challenges of traditional baking. From simple cookie balls to elegant icebox cakes, these recipes demonstrate that delicious, impressive desserts are well within reach for everyone.
The speed and simplicity of easy no bake desserts recipes make them ideal for busy weeknights, last-minute entertaining, or satisfying sudden sweet cravings. They prove that you don't need a hot oven to create something wonderful. Just a few ingredients, some mixing, and a little time in the refrigerator are often all it takes to produce delightful treats that are sure to bring smiles.
Explore More Easy Recipes
Ready to keep exploring the delicious possibilities of baking, even without the oven? The world of easy no bake desserts recipes is vast and inviting. You've seen how simple ingredients can transform into delightful treats with just a little chilling time. These recipes are just the beginning of your baking journey.
There are countless variations and new no bake desserts recipes waiting for you to discover. From different types of bars and pies to puddings, mousses, and truffles, you can continue to expand your repertoire. Keep experimenting with flavors, textures, and ingredients. Embrace the ease and fun of no-bake and continue creating delicious memories in your kitchen.
Frequently Asked Questions
What are the advantages of choosing no-bake dessert recipes from BakeWithEase.com?
Choosing no-bake recipes from BakeWithEase.com allows you to enjoy delicious desserts without the need for an oven, making them perfect for hot weather or beginners. They often require minimal ingredients and are quick to prepare.
Are no-bake desserts only suitable for beginners?
No, no-bake desserts are not just for beginners. While beginner-friendly, they offer a creative platform for experienced bakers to experiment with flavors and textures without the oven. They can be surprisingly sophisticated.
What types of no-bake desserts can I expect to find on BakeWithEase.com?
You can find a variety of no-bake desserts, including cheesecakes, parfaits, mousses, trifles, and cookie bars. BakeWithEase.com provides step-by-step guides and easy-to-find ingredient lists for each recipe.
How can I adapt no-bake dessert recipes to suit my dietary needs?
Many no-bake recipes can be easily adapted to suit dietary needs. You can substitute ingredients to make them gluten-free, vegan, or lower in sugar. BakeWithEase.com often offers alternative ingredient suggestions.
What are some common mistakes to avoid when making no-bake desserts?
Common mistakes include not allowing enough chilling time, using ingredients that are not properly softened or at room temperature, and not following the recipe instructions carefully. Proper chilling is crucial for setting the dessert.
Final Reflection: Unlocking Baking Joy, One No-Bake Recipe at a Time
The accessibility of no-bake desserts has revolutionized the way we approach baking, democratizing the kitchen and proving that culinary creativity doesn't require an oven. It's no longer a skill reserved for experienced bakers; anyone, regardless of their skill level or equipment, can craft delicious and impressive treats. This opens up a world of possibilities for aspiring bakers and seasoned pros alike.
The enduring appeal of no-bake desserts lies in their simplicity and versatility. They've become a staple at gatherings, a delightful treat for spontaneous cravings, and a fantastic way to introduce children to the joys of baking. The best things in life are simple,
a sentiment perfectly captured by the ease and satisfaction of creating these delightful confections. From the classic simplicity of a refrigerator cake to the elegant sophistication of a mousse, the possibilities are endless, constantly evolving with new trends and flavor combinations. This adaptability ensures no-bake desserts remain a vibrant and relevant part of our culinary landscape.
Now, I invite you to embrace the freedom and flexibility of no-bake baking. Experiment with flavors, textures, and presentations. Don't be afraid to try new recipes, adapt existing ones to your preferences, and most importantly, have fun! The kitchen is your playground, and with no-bake desserts, the possibilities are truly limitless. So, gather your ingredients, unleash your creativity, and discover the joy of baking without ever turning on your oven.
Unleash Your Inner Baker: No-Bake Deliciousness Awaits!
Thanks for joining us on this no-bake adventure! We hope you've discovered the joy of creating delicious treats without ever turning on your oven. Ready to take your newfound skills to the next level?
- Master a new no-bake recipe: Challenge yourself with a recipe you haven't tried before – maybe that intriguing mousse or decadent parfait you’ve been eyeing!
- Share your creations: Post a picture of your masterpiece on social media and tag us – we'd love to see what you bake!
- Join our community forum: Discuss your favorite no-bake recipes and get inspired by others.
What's your favorite go-to no-bake dessert, and why does it hold a special place in your kitchen?