
Quick & Easy Chocolate Glazes Using Simple Ingredients

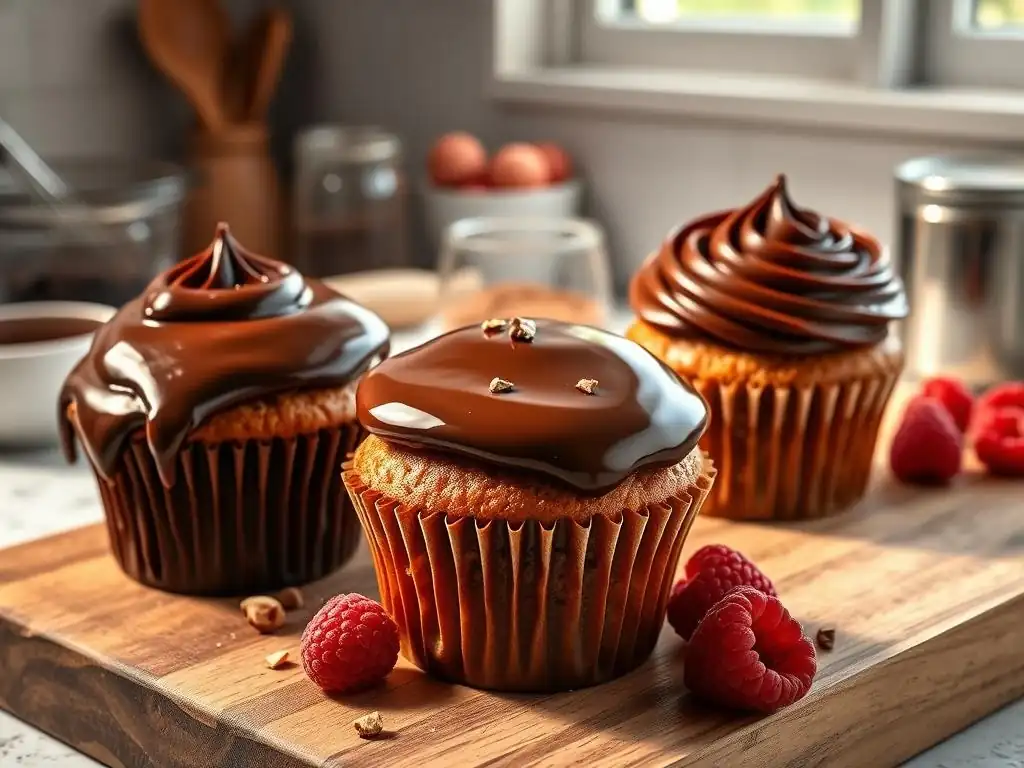
Welcome to BakeWithEase, your trusted guide to unlocking the secrets of delicious homemade treats! Ever wondered how to achieve that perfect, glossy finish on your pastries? This week, we're diving deep into the world of easy chocolate glaze recipes, using only simple ingredients. Discover how to elevate your baking with stunning glazes that are surprisingly quick to create. Get ready to transform your desserts from ordinary to extraordinary – let's get glazing!
- Quick & Easy Chocolate Glazes
- Chocolate Glazes for Home Baking
- Understanding Chocolate Glaze
- Three Chocolate Glaze Recipes
- Troubleshooting Glaze Issues
- Applying Chocolate Glaze
- Using Chocolate Glaze
- Storing Chocolate Glaze
- Baking Perfection
- Frequently Asked Questions
- Final Reflection: The Enduring Allure of Simple Chocolate Glaze
- Unleash Your Inner Chocoholic: Glaze Away!
Quick & Easy Chocolate Glazes
Chocolate Glazes for Home Baking
Simple Chocolate Glaze Recipes
Creating a delicious chocolate glaze doesn't have to be complicated or require a pantry stocked with exotic ingredients. In fact, some of the most delightful glazes can be whipped up in minutes using just a few staples you likely already have on hand.
These simple chocolate glaze recipes are perfect for anyone looking to add a touch of decadence to their baked goods without spending hours in the kitchen. Whether you're finishing a cake, topping brownies, or dipping cookies, knowing how to make an easy chocolate glaze is a fundamental skill for any home baker, offering quick results and impressive flavor.
The beauty of mastering these basic techniques is their versatility. An easy chocolate glaze recipe can be adjusted slightly to achieve different consistencies, from a thin, pourable coating that sets with a delicate sheen to a thicker, fudgier layer perfect for spreading. We'll explore variations using common ingredients like powdered sugar, cocoa powder, and chocolate itself, demonstrating just how simple it is to achieve a professional-looking finish. These methods prove that achieving rich, chocolatey goodness doesn't demand complex steps or specialized equipment, making them truly easy chocolate glaze recipes simple enough for even novice bakers.
Understanding Chocolate Glaze
Qualities of a Good Chocolate Glaze
A truly excellent chocolate glaze elevates a baked good from ordinary to extraordinary. Its primary quality should be a smooth, even finish. A good glaze flows effortlessly over the surface of a cake or cookie, creating a uniform layer without streaks or lumps. This smoothness contributes significantly to the visual appeal, giving a polished, professional look to homemade treats. Beyond texture, the glaze should possess a beautiful sheen; a glossy surface catches the light and enhances the rich, dark color of the chocolate, making it irresistible.
Flavor is, of course, paramount. A good chocolate glaze delivers a rich, satisfying chocolate taste that complements the underlying dessert without overpowering it. It should taste distinctly of chocolate, whether it's made from melted chocolate or cocoa powder. The sweetness level should be balanced, not overly sugary, allowing the chocolate's complexity to shine through. Finally, the set of the glaze is important – it should firm up enough to be handled without smudging easily, but ideally, it remains slightly soft or fudgy rather than becoming brittle and cracking when cut.
Key Glaze Ingredients
The foundation of most simple chocolate glaze recipes lies in a few core ingredients. These typically include a form of chocolate (cocoa powder or melted chocolate), a liquid, and a sweetener. The specific type and quality of each component significantly impact the final texture, flavor, and appearance of the glaze. Understanding how these ingredients interact is key to troubleshooting and adapting recipes to your needs.
Chocolate: Type and Quality
The choice of chocolate is crucial. Using high-quality chocolate, whether it's bittersweet, semi-sweet, or even milk chocolate, will yield a richer flavor. For glazes made with melted chocolate, using baking chocolate or chocolate chips with a higher cocoa butter content (around 30-40% for semi-sweet) often results in a smoother, glossier finish than using standard chocolate bars. When using cocoa powder, opting for unsweetened natural or Dutch-processed cocoa will provide intense chocolate flavor without added sugar, allowing you to control the sweetness.
Liquids: Milk, Cream, Coffee
Liquids thin the glaze to a pourable consistency and add richness. Milk is a common choice for a basic, slightly less rich glaze. Cream (heavy cream or whipping cream) is essential for classic ganache glazes, providing richness and a luxurious mouthfeel. Other liquids like brewed coffee can deepen the chocolate flavor, while water can be used for a very simple, fat-free option, though it won't provide the same richness or sheen as dairy.
Sweeteners: Powdered Sugar, Corn Syrup
Sweeteners provide structure and sweetness. Powdered sugar (confectioners' sugar) is a staple in many easy chocolate glaze recipes, dissolving easily to create a smooth texture. It also helps the glaze set. Corn syrup, even a small amount, can add glossiness and prevent crystallization, contributing to a smoother, shinier finish, especially in recipes using melted chocolate or cocoa powder. Granulated sugar is less common in quick glazes as it requires heating to dissolve properly without leaving a gritty texture.
Three Chocolate Glaze Recipes
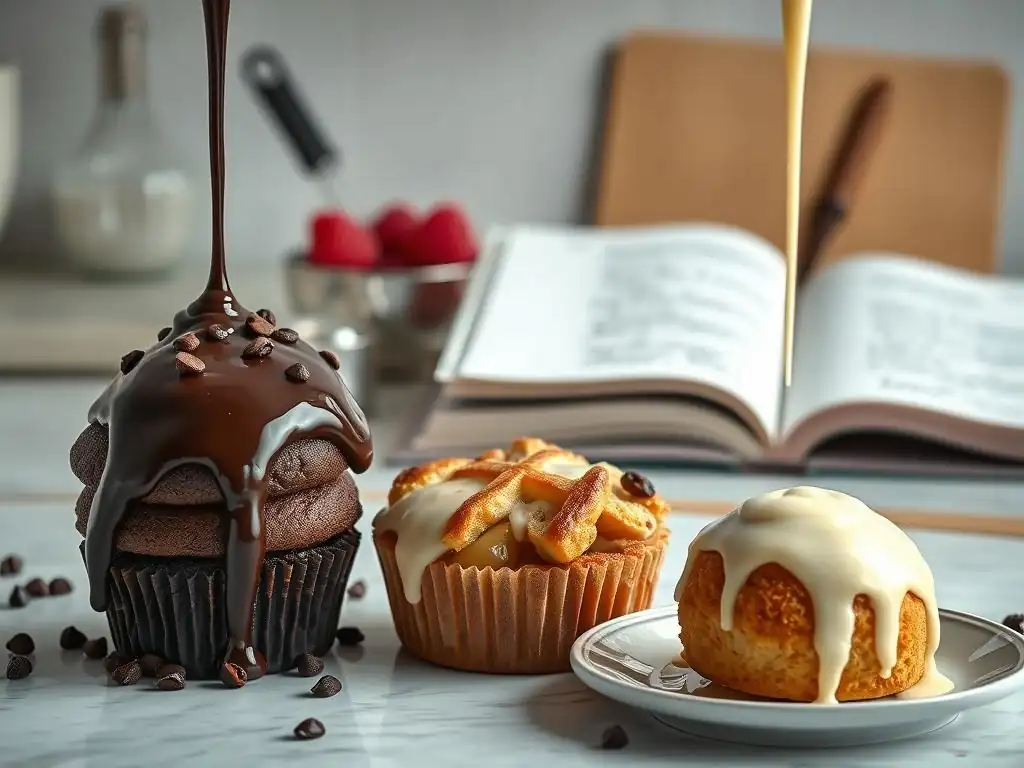
Recipe 1: Powdered Sugar Chocolate Glaze
Ingredients
- 1 cup Powdered Sugar
- 1/4 cup Unsweetened Cocoa Powder
- 2-3 tablespoons Milk (or water)
- 1/2 teaspoon Vanilla Extract
- Pinch of Salt (optional)
Instructions
- Sift the powdered sugar and cocoa powder into a medium bowl. This helps prevent lumps.
- Add the vanilla extract and salt (if using).
- Gradually whisk in the milk, starting with 2 tablespoons.
- Continue whisking until the glaze is smooth and the desired consistency is reached. Add more milk a teaspoon at a time if needed.
Tips for Classic Glaze
This powdered sugar-based chocolate glaze is incredibly forgiving and fast, often taking less than 5 minutes to prepare. Its simplicity makes it a go-to for quick baking projects. To ensure the smoothest possible texture, always sift your dry ingredients – powdered sugar can be notorious for lumps, and cocoa powder can sometimes clump. Whisking vigorously is also key to dissolving all the sugar and cocoa into the liquid, creating a uniform consistency that pours or spreads beautifully over cakes or cookies.
Adjusting the consistency is straightforward. For a thicker glaze perfect for spreading or piping, use less milk (start with 1.5 tablespoons). For a thinner, pourable glaze ideal for drizzling or dipping, add a little more milk, a teaspoon at a time, until it flows easily off the whisk or spoon. This flexibility is what makes this one of the most versatile easy chocolate glaze recipes simple to adapt for various uses.
Recipe 2: Chocolate Ganache Glaze
Ingredients
- 4 ounces Semi-Sweet Chocolate, finely chopped
- 1/2 cup Heavy Cream
Instructions
- Place the finely chopped chocolate in a heatproof bowl.
- Heat the heavy cream in a small saucepan over medium heat until it just begins to simmer around the edges. Do not boil.
- Pour the hot cream over the chopped chocolate.
- Let stand for 5 minutes to allow the chocolate to melt.
- Gently whisk from the center outwards until the mixture is completely smooth and glossy.
Achieving a Glossy Ganache
The secret to a perfectly glossy chocolate ganache glaze lies in patience and technique during the emulsification process. After pouring the hot cream over the chopped chocolate, resist the urge to stir immediately. Allowing it to sit for 5 minutes gives the heat from the cream time to melt the chocolate thoroughly and evenly. This initial melting phase is crucial for achieving a smooth texture without scorching the chocolate.
When you begin whisking, start in the center of the bowl and work your way outwards in a circular motion. This technique helps to emulsify the mixture, bringing the fat from the cream and the cocoa butter from the chocolate together smoothly. Avoid whisking too vigorously or incorporating too much air, as this can result in a dull or grainy ganache.
Whisk gently but consistently until the mixture transforms into a luxurious, shiny, and uniform glaze. If tiny bits of chocolate remain, you can gently warm the bowl over a warm water bath (ensure no water gets into the chocolate) and continue whisking.
Recipe 3: Cocoa Powder Chocolate Glaze
Ingredients
- 2 cups Powdered Sugar
- 1/2 cup Unsweetened Cocoa Powder
- 1/4 cup Milk
- 1/4 cup Melted Butter
- 1 teaspoon Vanilla Extract
Instructions
- Sift the powdered sugar and cocoa powder into a bowl.
- In a separate small bowl, whisk together the milk, melted butter, and vanilla extract.
- Pour the liquid mixture into the dry ingredients.
- Whisk until completely smooth and free of lumps. Add a splash more milk if needed to reach desired consistency.
Adjusting Cocoa Intensity
This cocoa powder-based glaze offers a deep chocolate flavor that can be easily adjusted. The standard recipe uses a 1:4 ratio of cocoa powder to powdered sugar, providing a balanced sweetness and chocolate intensity. If you prefer a richer, more intense chocolate flavor with less sweetness, you can increase the amount of cocoa powder slightly, perhaps to 1/3 cup, while slightly decreasing the powdered sugar to maintain consistency. Be aware that increasing cocoa powder will make the glaze thicker, so you might need a touch more liquid.
Conversely, for a milder chocolate taste, you can reduce the cocoa powder to 1/4 cup. Experimenting with the type of cocoa powder also impacts intensity; Dutch-processed cocoa tends to have a smoother, less acidic flavor than natural unsweetened cocoa. By playing with these ratios and types, you can tailor this easy chocolate glaze recipe simple ingredients list to achieve your perfect level of chocolatey goodness for any dessert.
Troubleshooting Glaze Issues
Glaze Too Thick: Thinning Techniques
If your chocolate glaze turns out too thick, looking more like frosting than a pourable coating, don't despair! This is a common issue and easily fixable. The most straightforward way to thin it is by gradually adding more liquid. For glazes made with milk or water (like the powdered sugar or cocoa powder glazes), whisk in a teaspoon of milk or water at a time. Mix thoroughly after each addition and check the consistency before adding more. Just a small amount can make a big difference, so add slowly to avoid over-thinning.
For ganache glazes, which are made with cream and chocolate, the best liquid to add is typically more warmed cream. Gently heat a tablespoon or two of heavy cream until warm (not boiling) and whisk it into the thick ganache until it reaches the desired pourable state. Alternatively, for any type of glaze, placing the bowl over a warm water bath and stirring can help loosen it up by gently warming the fats and liquids, achieving a smoother, thinner consistency.
A glaze that is too thin will run right off your baked goods without creating a substantial coating. To thicken a glaze made with powdered sugar or cocoa powder, you need to add more dry ingredients. Whisk in a tablespoon of sifted powdered sugar or cocoa powder (depending on the glaze type) at a time. Mix well and assess the consistency before adding more. Adding sifted dry ingredients prevents lumps and helps achieve a smooth, thicker glaze.
For ganache that is too thin (often due to too much liquid or not enough chocolate), the solution is slightly different. If it's just a little too thin, letting it cool at room temperature or briefly in the refrigerator will cause it to thicken as the chocolate sets. If it's significantly too thin, you may need to gently rewarm it over a warm water bath and whisk in a small amount of finely chopped chocolate, allowing it to melt and re-emulsify, increasing the chocolate-to-cream ratio and thereby thickening the mixture.
Achieving a Smooth Glaze
Achieving a perfectly smooth chocolate glaze is key to a professional-looking finish. Lumps are often the culprit behind a non-smooth glaze. To prevent lumps, always sift your dry ingredients (powdered sugar, cocoa powder) before mixing them with liquids. This breaks up any clumps and ensures even distribution. When melting chocolate for ganache, ensure it's finely chopped so it melts quickly and evenly when the hot cream is added.
Once ingredients are combined, thorough whisking is essential to create a homogenous mixture. For powdered sugar/cocoa glazes, persistent whisking dissolves the sugar and cocoa. For ganache, gentle but consistent whisking emulsifies the fat and liquid into a smooth, glossy mixture. If you encounter stubborn lumps, gently warming the glaze over a warm water bath while stirring can help dissolve them. Straining the finished glaze through a fine-mesh sieve before application is another excellent way to remove any remaining small lumps and ensure a perfectly smooth texture.
Applying Chocolate Glaze
Tools for Glaze Application
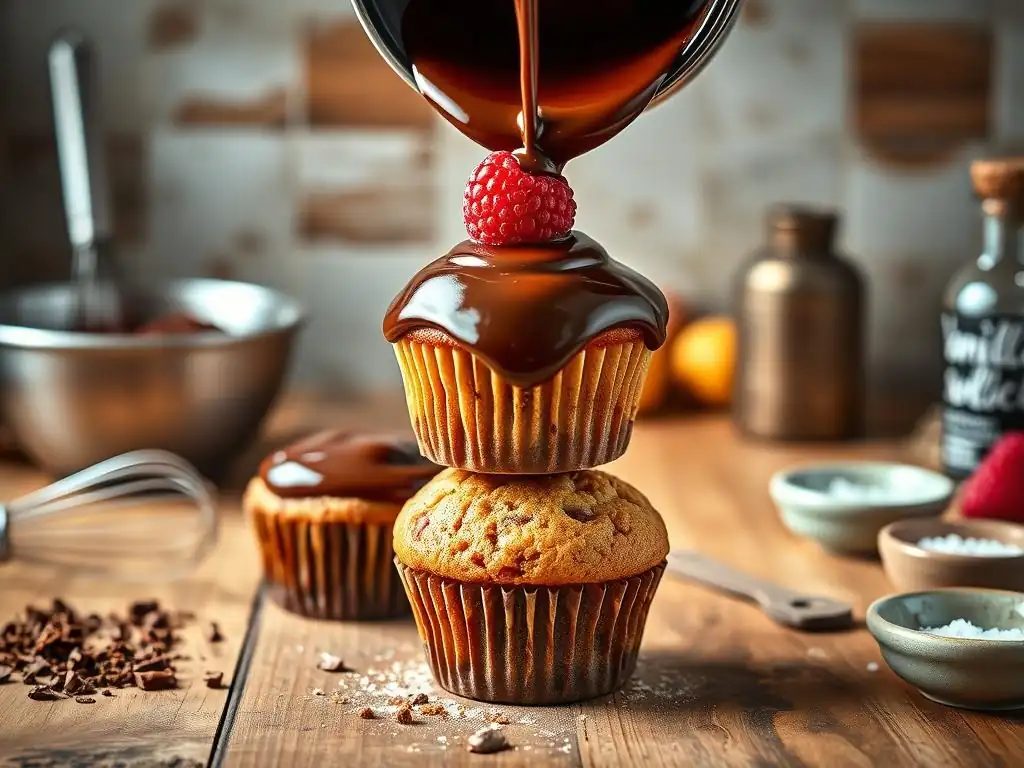
Having the right tools can make applying chocolate glaze a much cleaner and more effective process. For pouring glazes over cakes or large surfaces, a simple metal spoon or a small ladle works well to distribute the glaze evenly from the center outwards. For a more controlled pour, especially around edges, a measuring cup with a spout is useful. Placing the cake on a wire rack set over a baking sheet or parchment paper catches drips, making cleanup easier and allowing you to potentially scrape up and reuse excess glaze.
When spreading a thicker glaze or ganache, an offset spatula is indispensable. Its angled blade allows you to smooth the surface without your knuckles dragging through the glaze. For smaller items like cookies or doughnuts, dipping is often the fastest and most efficient method. Simply hold the item and dip the top surface directly into the bowl of glaze, letting the excess drip back into the bowl. For intricate designs or drizzling, a piping bag fitted with a small round tip or even just a spoon can be used.
Techniques for a Smooth Finish
Achieving a smooth, even finish when applying chocolate glaze often comes down to technique and temperature. For pouring glazes, ensure your cake or item is cool. Pour the glaze onto the center and use an offset spatula or spoon to gently guide it towards the edges, allowing it to drip down naturally. Avoid overworking the glaze once it's on the surface; too much spreading can create streaks or pull up crumbs from the cake. A single, smooth pour is often best.
For dipping, ensure the glaze is at the right consistency – thin enough to coat easily but thick enough to adhere without being transparent. Dip the top of the item straight down, lift, and let the excess drip off before setting it down. For spreading, apply a generous dollop of glaze and use an offset spatula to spread it in one direction smoothly. For ganache, applying it while it's still warm and pourable (but not hot enough to melt the cake) is key for a smooth set. Working quickly and confidently helps minimize imperfections.
Setting the Glaze
Allowing the chocolate glaze sufficient time to set is crucial before handling or serving the glazed baked goods. The setting time varies depending on the type of glaze, its thickness, and the ambient temperature. A thin powdered sugar glaze might set in 15-30 minutes at room temperature. Ganache, on the other hand, can take anywhere from 30 minutes to several hours to firm up to a fudgy consistency, depending on its ratio of chocolate to cream.
To speed up the setting process, especially for ganache or thicker glazes, you can place the glazed items in the refrigerator. A quick 15-20 minutes in the fridge can often help the glaze firm up nicely. However, be mindful that refrigerating can sometimes dull the shine of a ganache. For the glossiest finish, allowing the glaze to set at cool room temperature is often preferred, although this takes longer. Ensure the glaze is fully set before stacking items or packaging them to prevent smudging.
Using Chocolate Glaze
Glazing Cakes
Chocolate glaze is a classic topping for cakes, providing a simple yet elegant finish. Pouring a smooth ganache or a simple powdered sugar glaze over a cooled cake creates a beautiful drip effect down the sides. For a full coverage, place the cake on a wire rack and pour the glaze over the entire top, letting it cascade down the sides.
Use an offset spatula to smooth the top if needed, but often the pour itself creates the smoothest surface. Ensure the cake is thoroughly cooled, ideally in the refrigerator for a short time, so the glaze sets quickly upon contact without melting the cake's surface.
Cookies often benefit from a simple chocolate glaze, whether dipped, drizzled, or spread. Dipping the top of a cookie into a slightly thicker glaze provides a clean, even coating. Drizzling a thinner glaze over cookies adds a decorative touch and a hint of chocolate flavor. Glazed cookies require time to set before stacking; placing them on parchment paper after glazing prevents sticking. This is a fantastic way to use easy chocolate glaze recipes simple enough for a large batch of cookies.
Glazing Brownies
Brownies are a perfect canvas for a rich, fudgy chocolate glaze, like a slightly cooled ganache or a thicker cocoa powder glaze. Pouring the glaze over warm (but not hot) brownies allows it to spread easily and settle into the surface. For a neater finish, wait until the brownies are completely cool before glazing, then spread the glaze evenly over the top using an offset spatula. Once glazed, allow the brownies to set before cutting into squares; using a hot knife wiped clean between cuts helps achieve clean edges.
Glazing Doughnuts
Homemade doughnuts are wonderfully enhanced by a simple chocolate glaze. Yeast-raised or cake doughnuts can be dipped into a warm, pourable glaze immediately after cooling from frying or baking. The warmth helps the glaze adhere and set quickly. A classic powdered sugar or cocoa powder glaze works beautifully for dipping doughnuts, creating that iconic shiny coating. Let the excess glaze drip off before placing the glazed doughnuts on a wire rack to set completely.
Storing Chocolate Glaze
Storage Techniques
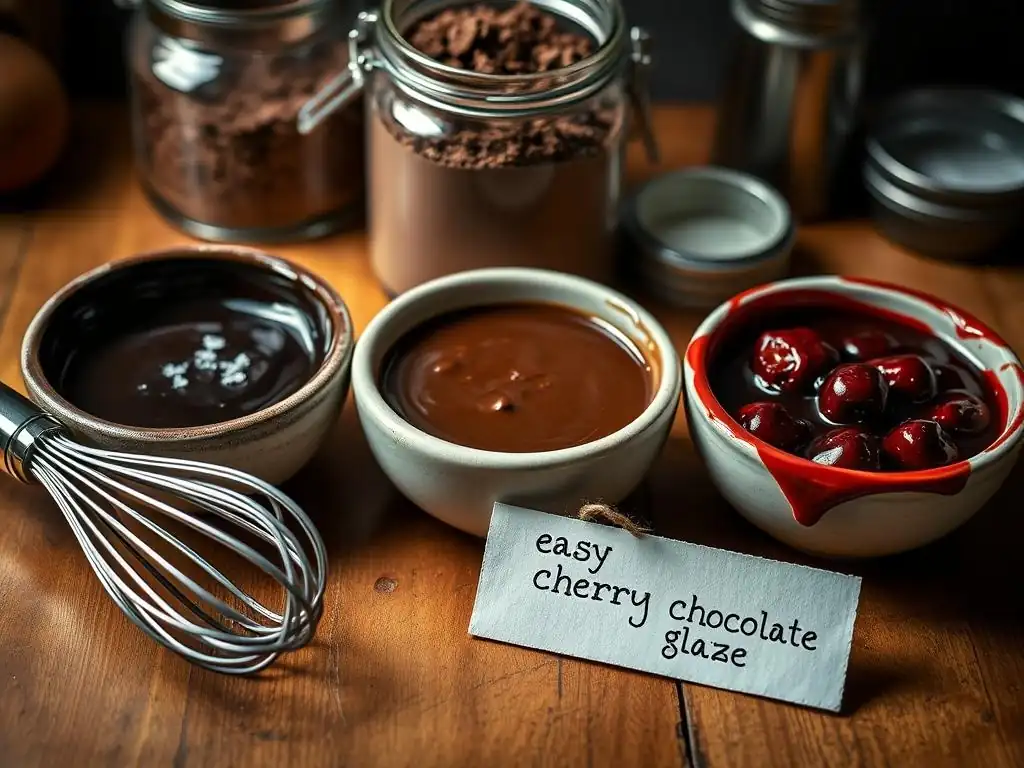
Properly storing leftover chocolate glaze ensures you can enjoy it later without waste. Most chocolate glazes, particularly those made with dairy like milk or cream (ganache), should be stored in an airtight container in the refrigerator. This prevents them from drying out and keeps them fresh. Powdered sugar or cocoa glazes made only with water might be fine at cool room temperature for a day or two, but refrigeration is generally safer for longer storage, extending shelf life to about 1-2 weeks.
To prevent a skin from forming on the surface of the glaze during refrigeration, you can press a piece of plastic wrap directly onto the surface of the glaze before sealing the container. This minimizes exposure to air. Ensure the container is truly airtight to maintain freshness and prevent absorption of other odors from the refrigerator.
Reheating and Reusing
Refrigerated chocolate glaze will thicken considerably as it cools. To reuse it, you'll need to gently rewarm it to bring it back to a pourable or spreadable consistency. The best method is to place the glaze in a heatproof bowl set over a pot of simmering water (a double boiler setup), stirring occasionally until it is smooth and warm. Avoid direct heat, which can cause the chocolate to seize or burn.
Alternatively, you can gently microwave the glaze in short bursts (15-20 seconds) on a low power setting, stirring thoroughly after each interval, until it is liquid again. Be very careful not to overheat it. Once warmed, stir it well to ensure a uniform consistency. If it seems slightly too thick after warming, you can add a tiny splash of milk or cream and stir it in. Always ensure the glaze is smooth and lump-free before reusing it on your baked goods.
Baking Perfection
Further Chocolate Baking Exploration
Mastering these easy chocolate glaze recipes simple in execution opens up a world of baking possibilities. Once you're comfortable with these basic techniques, you can start experimenting with variations. Try adding a pinch of cayenne pepper for a spicy kick, a teaspoon of instant coffee granules for a mocha flavor, or a splash of liqueur like rum or orange liqueur for an adult twist. The foundation of a good glaze allows for endless creativity.
Beyond glazes, delve deeper into the realm of chocolate in baking by exploring different types of chocolate, understanding tempering for decorative elements, or tackling more complex chocolate components like mousses or curds. Each new technique and ingredient you explore will build upon your existing skills, making you a more confident and versatile baker. Keep practicing these simple chocolate glaze recipes and let them inspire your next delicious creation!
Frequently Asked Questions
What makes a chocolate glaze easy to make?
The ease comes from using simple ingredients like chocolate chips, butter, and milk/cream, and the straightforward process of melting and combining them. No complicated techniques are involved.
Can I use different types of chocolate for these glazes?
Absolutely! You can experiment with milk chocolate, dark chocolate, or even white chocolate to create different flavor profiles. Adjust sugar levels as needed for sweetness.
How do I prevent my chocolate glaze from seizing?
Seizing happens when moisture gets into melted chocolate. Be sure to use dry utensils and add liquids slowly while stirring constantly to maintain a smooth consistency.
What's the best way to apply chocolate glaze to a cake or pastry?
Pour the glaze over the cake while it's still slightly warm. For a smooth finish, use a thin offset spatula to gently spread the glaze evenly. Let it set before serving.
How long does chocolate glaze typically last once it's made?
The glaze is best used immediately or within a few hours. It can be stored in an airtight container in the refrigerator for up to 2 days, but may need to be gently reheated to restore its smooth texture.
Final Reflection: The Enduring Allure of Simple Chocolate Glaze
The ease of crafting a decadent chocolate glaze shouldn't be underestimated; it's a gateway to elevating everyday treats and fostering joyful moments in the kitchen. A perfectly glossy, intensely chocolatey coating transforms even the simplest baked goods into something truly special, proving that sometimes, the most impactful creations come from the simplest recipes. This is especially relevant today, in a world that often prioritizes complex recipes and elaborate techniques, reminding us of the beauty found in simplicity.
The enduring appeal of chocolate glaze lies not just in its deliciousness, but in its versatility and the memories it evokes. From childhood birthday cakes to sophisticated desserts, a chocolate glaze adds a touch of magic and nostalgia. It’s a testament to the power of simple pleasures, a shared experience across cultures and generations. The simplest things are often the most beautiful.
– This sentiment perfectly encapsulates the charm of a quick and easy chocolate glaze, proving that extraordinary results don't necessitate extraordinary effort.
Now, I invite you to consider the possibilities. Don't be afraid to experiment with different variations, to personalize your glaze and make it your own. Whether it's adding a pinch of sea salt, a dash of espresso powder, or a swirl of vibrant fruit puree, your creativity is the only limit. Embrace the joy of creating something delicious and beautiful with minimal effort, and share the simple pleasure of a perfect chocolate glaze with those you love. Let this be your starting point for countless culinary adventures.
Unleash Your Inner Chocoholic: Glaze Away!
Thanks for joining us on this delicious journey into the world of easy chocolate glazes! We hope you've discovered some new favorites to elevate your baking. Ready to get your hands messy?
- Master the perfect chocolate glaze: Try out one (or all!) of the recipes from the article – we bet you'll find your new go-to glaze.
- Share your creations: Show off your gorgeous glazed treats on social media using #BakeWithEaseGlaze – we'd love to see them!
- Experiment with flavor variations: What unique twist will you add to your next chocolate glaze? (Think chili powder, espresso powder, or even sea salt!)
What's your favorite ingredient to add to a simple chocolate glaze to make it truly special? Let us know in the comments below!