
Storing Chocolate Like a Pro Baker: Maintain Freshness and Flavor

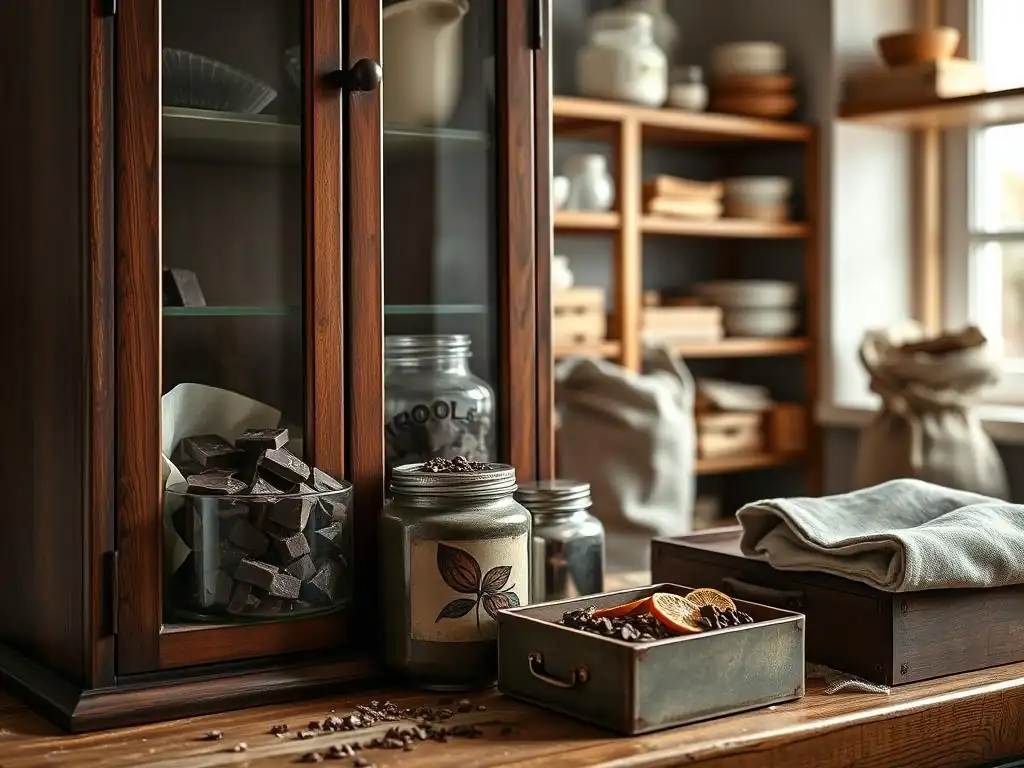
Welcome to BakeWithEase, your trusted guide to baking brilliance! Ever wonder how professional bakers keep their chocolate tasting perfectly decadent? Dive into our Chocolate Storage Tips for Baking and unlock the secrets to maintaining freshness and flavor. Get ready to elevate your baking game – it's easier than you think... keep reading to discover the pro techniques!
- Chocolate Storage Tips Baking: Maintain Freshness and Flavor Like a Pro Baker
- Understanding Chocolate: A Baker's Perspective
- The Enemies of Chocolate: What to Avoid When Storing Chocolate
- Pro Baker's Guide to Chocolate Storage: Step-by-Step Instructions
- Signs Your Chocolate Has Gone Bad: What to Look For
- Rescuing Slightly Bloomed Chocolate: Techniques for Baking
- Advanced Chocolate Storage Techniques: For Serious Bakers
- Conclusion: Maximizing Flavor Through Proper Chocolate Storage in Baking
-
Frequently Asked Questions
- What is the best temperature for storing chocolate to maintain its quality?
- How should I protect chocolate from moisture when storing it?
- Can I store chocolate in the refrigerator or freezer?
- What is "chocolate bloom" and how can I prevent it?
- How long can I store chocolate and still expect it to taste good?
- Final Reflection: The Enduring Delight of Perfectly Stored Chocolate
- Unlock Your Chocolate's Full Potential!
Chocolate Storage Tips Baking: Maintain Freshness and Flavor Like a Pro Baker
Introduction: The Importance of Proper Chocolate Storage for Baking Success
As any passionate baker knows, the quality of your ingredients directly impacts the outcome of your creations. Chocolate, a cornerstone in countless baked goods, is particularly sensitive to its environment. Mishandling chocolate before it even hits the mixing bowl can lead to disappointing results, affecting everything from flavor intensity to texture and appearance. Understanding proper chocolate storage tips for baking is not just about preventing waste; it's about preserving the delicate nuances that make chocolate so beloved.
Imagine spending hours crafting a perfect batch of brownies or a decadent chocolate cake, only to find the chocolate didn't melt smoothly or imparted an off-flavor. This is often a direct consequence of poor storage.
Factors like temperature swings, excessive moisture, and exposure to light or odors can degrade chocolate over time, causing issues like bloom (those unsightly white streaks) or a dull, flat taste. Mastering the art of storing chocolate for baking ensures that every time you reach for that bar or bag of chips, you're working with the freshest, most flavorful ingredient possible, setting you up for baking success.
Understanding Chocolate: A Baker's Perspective
Types of Chocolate and Their Unique Storage Needs
Different types of chocolate have varying compositions, primarily differing in cocoa solids, cocoa butter, sugar, and milk content. This variation means they react differently to storage conditions. Dark chocolate, with its higher cocoa solid and lower sugar content, is generally more stable than milk or white chocolate.
Milk chocolate contains milk solids and often more sugar, making it more susceptible to absorbing odors and moisture. White chocolate, which contains cocoa butter but no cocoa solids, is the most delicate and prone to oxidation due to its higher fat content. Understanding these differences is key to implementing effective chocolate storage tips for baking.
Baking chocolate, often unsweetened or with minimal sugar, also has specific needs. While its low sugar content makes it less prone to sugar bloom, its high cocoa butter content means it's very susceptible to fat bloom if exposed to temperature fluctuations. Recognizing the unique profile of each type—from intense dark chocolate bars destined for a rich ganache to sweet milk chocolate chips for cookies or creamy white chocolate for frostings—allows you to tailor your storage approach, ensuring each variety retains its peak quality until you're ready to bake with it.
Dark Chocolate Storage: Preserving Bitterness and Intensity
Dark chocolate, typically containing 35% or more cocoa solids, boasts a robust flavor profile. Its relatively lower sugar and milk content make it quite stable, but it's still vulnerable to temperature changes that cause fat bloom.
Milk Chocolate Storage: Maintaining Creaminess and Sweetness
Milk chocolate's added milk solids and sugar make it sweeter and creamier than dark chocolate. However, these components also make it more prone to absorbing surrounding odors and moisture.
White Chocolate Storage: Protecting Delicate Flavors and Texture
White chocolate, composed of cocoa butter, sugar, and milk solids, is the most delicate. It lacks cocoa solids, making it particularly susceptible to oxidation and developing off-flavors if not stored carefully, especially regarding light exposure.
Baking Chocolate Storage: Optimal Conditions for Unsweetened Chocolate
Unsweetened or bittersweet baking chocolate is primarily cocoa solids and cocoa butter. Its low sugar content reduces the risk of sugar bloom, but it's highly prone to fat bloom due to the cocoa butter.
The Enemies of Chocolate: What to Avoid When Storing Chocolate
Temperature Fluctuations: Preventing Chocolate Bloom
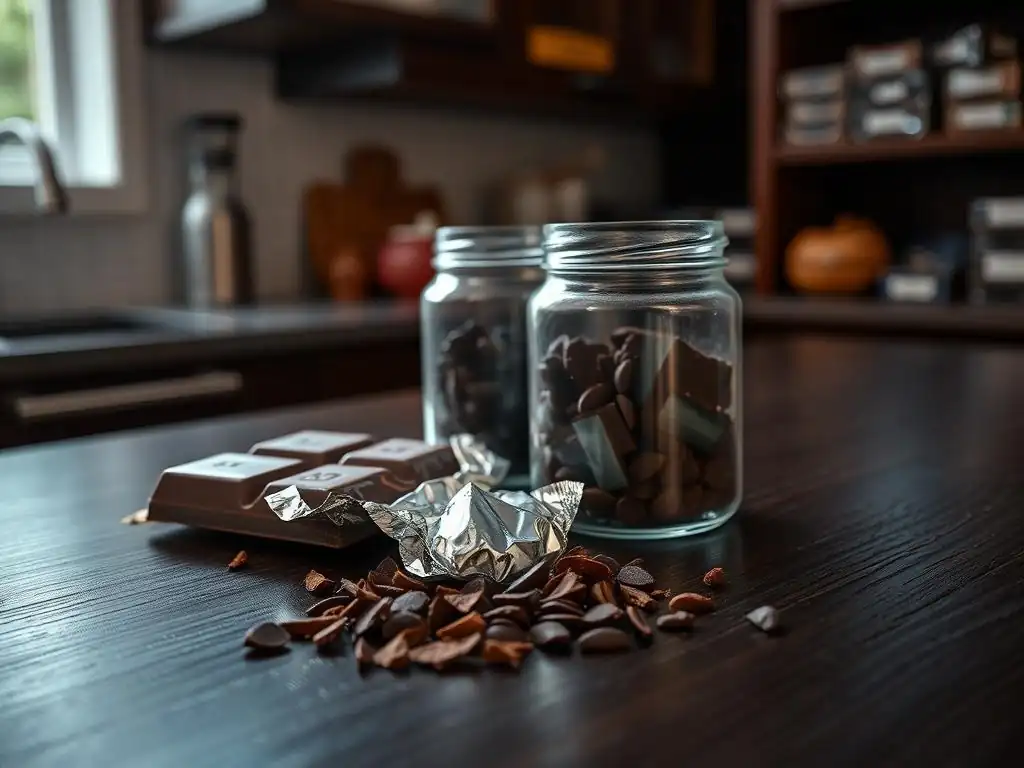
One of the primary enemies of properly stored chocolate is fluctuating temperatures. When chocolate heats up, the cocoa butter melts and separates. If it then cools down unevenly, the cocoa butter can recrystallize on the surface, creating a grayish, streaky appearance known as fat bloom. While fat bloom doesn't make the chocolate unsafe to eat, it significantly affects its texture, making it grainy and less smooth, which can negatively impact the final baked good. Storing chocolate consistently within its ideal temperature range is one of the most critical chocolate storage tips for baking.
A study on chocolate stability found that even short exposures to temperatures above 85°F (29°C) can initiate fat bloom, especially if followed by cooling. Keeping chocolate in a stable environment, away from heat sources like ovens, stovetops, or direct sunlight, is essential. The ideal temperature range for most chocolate storage is between 60°F and 70°F (15°C to 21°C). Avoiding the warmth generated by kitchen appliances or the heat from a sunny window pane is key to maintaining the chocolate's temper and preventing bloom.
Humidity's Impact: Avoiding Sugar Bloom and Texture Changes
Excessive humidity is another significant threat to chocolate quality. When chocolate is exposed to moist air, the sugar on its surface can dissolve. As the moisture evaporates, the sugar recrystallizes, forming a white, powdery coating called sugar bloom. Like fat bloom, sugar bloom is harmless but ruins the chocolate's appearance and gives it a gritty texture. High humidity can also make the chocolate soft and sticky, making it difficult to chop or melt properly for baking.
Maintaining a low humidity environment, ideally below 50%, is crucial for effective chocolate storage tips for baking. Kitchens, especially during cooking or baking activities, can become quite humid. Storing chocolate in airtight containers helps create a barrier against moisture. For those living in very humid climates, consider using a small food-grade desiccant packet within the storage container (ensuring it doesn't touch the chocolate directly) to help absorb excess moisture, although proper airtight sealing is usually sufficient.
Light Exposure: Protecting Flavor and Color Degradation
Light, particularly direct sunlight and fluorescent light, can negatively impact chocolate over time. Exposure to light can accelerate the oxidation of fats in the chocolate, leading to off-flavors (sometimes described as stale or rancid) and changes in color. This is especially true for white chocolate and milk chocolate due to their higher fat and milk content. While the effects might not be immediately visible like bloom, light damage degrades the subtle flavors that are so important in quality baking.
This is why many high-quality chocolate bars are wrapped in foil or stored in opaque packaging. Mimicking this protection in your home storage is a smart move for anyone serious about chocolate storage tips for baking. Always store chocolate in a dark place, like a pantry or cupboard. If using clear storage containers, ensure they are kept inside a dark cabinet or wrapped to block out light.
Odors: Preventing Flavor Absorption from Other Foods
Chocolate is surprisingly porous and can easily absorb strong odors from its surroundings. Storing chocolate near pungent foods like onions, garlic, spices, or even certain types of cheese can result in the chocolate taking on these unwanted flavors. This is particularly detrimental when using chocolate in baking, as the absorbed odor can transfer to the entire finished product, ruining the intended flavor profile.
To prevent flavor absorption, always store chocolate in an airtight container, separate from strong-smelling items. This creates a protective barrier, ensuring the chocolate retains its pure flavor. Think of it like storing coffee beans – you wouldn't store them next to your spice rack without protection, and the same principle applies to sensitive ingredients like chocolate when focusing on effective chocolate storage tips for baking.
Pro Baker's Guide to Chocolate Storage: Step-by-Step Instructions
Step 1: Choosing the Right Container for Chocolate Storage
Selecting the appropriate container is fundamental to successful chocolate storage for baking. The goal is to protect the chocolate from its main enemies: moisture, light, and odors. Simply leaving chocolate in its original wrapper, especially if it's just paper or thin plastic, is often insufficient for long-term storage. Investing in quality storage solutions will pay dividends in maintaining ingredient quality.
Consider the type of container based on the volume of chocolate you typically use and how long you plan to store it. For smaller amounts or short-term storage, a sturdy zip-top bag can work if properly sealed and placed within another protective layer. However, for optimal protection, especially for larger quantities or longer periods, dedicated containers are best. Prioritizing containers that offer excellent sealing capabilities and are made from materials that won't impart their own flavors is key to mastering chocolate storage tips for baking.
Airtight Containers: The Key to Blocking Out Moisture
Airtight containers are non-negotiable for proper chocolate storage. They create a seal that prevents moisture from the air from reaching the chocolate, thus preventing sugar bloom and texture degradation.
Opaque Containers: Shielding Chocolate from Light
Using opaque containers adds an extra layer of protection against light exposure, which can cause oxidation and flavor loss, particularly in white and milk chocolate.
Avoiding Plastic Containers: Preventing Flavor Transfer
Some plastics can absorb and transfer odors over time. While not all plastics are bad, opting for glass, ceramic, or certain food-grade metals is often preferred by professionals to ensure no foreign flavors leach into the sensitive chocolate.
Step 2: Setting the Ideal Temperature and Humidity for Chocolate Storage
Once you have the right container, controlling the environment is the next critical step for effective chocolate storage tips for baking. As mentioned earlier, consistency is key. Avoiding fluctuations is often more important than hitting an exact number, but aiming for the sweet spot provides the best conditions for preserving quality.
Monitoring the temperature and humidity in your storage area can be helpful, especially if you live in a region with extreme climates. Simple indoor thermometers and hygrometers are relatively inexpensive tools that can provide valuable insights into your storage conditions. Remember, heat rises, so upper cabinets might be warmer than lower ones, and cabinets near appliances will be warmer than those further away. Finding the coolest, most stable spot in your kitchen or pantry is crucial.
The Sweet Spot: Optimal Temperature Range for Chocolate
The ideal temperature for storing chocolate is typically between 60°F and 70°F (15°C to 21°C). Maintaining this range minimizes the risk of both melting and bloom.
Maintaining Low Humidity: Using Desiccants (If Necessary)
Aim for humidity levels below 50%. In very humid conditions, a food-safe desiccant pack inside a sealed container (not touching the chocolate) can help, but a truly airtight container is the primary defense.
Step 3: Where to Store Chocolate: Location Matters
Choosing the right location for your chocolate storage is just as important as the container itself. The ideal spot should be consistently cool, dark, and dry, away from heat sources and areas prone to temperature swings. Different storage locations offer varying levels of protection and are suitable for different storage durations.
Consider the typical conditions in your home throughout the year. Does your pantry get warm in the summer? Is your refrigerator prone to condensation? Understanding your environment helps you choose the best long-term solution for your chocolate supply. Proper location selection is a fundamental aspect of applying effective chocolate storage tips for baking.
Pantry Storage: A Good Option for Short-Term Storage
A cool, dark pantry or cupboard, away from appliances, is often ideal for short-term chocolate storage (up to a few months) if the temperature and humidity are stable within the recommended ranges.
Refrigerator Storage: When and How to Refrigerate Chocolate (Carefully!)
Refrigeration is generally not recommended for chocolate due to humidity and odor issues, but it can be necessary in hot climates. If refrigerating, double-wrap the chocolate tightly in plastic wrap then place it in an airtight container before putting it in the fridge. Allow it to come to room temperature slowly in the sealed container before unwrapping to prevent condensation.
Freezer Storage: Long-Term Chocolate Preservation Techniques
For very long-term storage (many months to a year or more), freezing is an option. Follow the same careful double-wrapping and airtight container method as for refrigeration. Thaw slowly in the refrigerator first, then at room temperature in the sealed container to prevent condensation and bloom.
Step 4: Best Practices for Storing Different Forms of Chocolate
Chocolate comes in many forms – bars, chips, cocoa powder, even prepared ganache. Each form requires slightly different handling when it comes to storage to maintain its specific properties. Applying the general principles of cool, dark, dry, and airtight storage is key, but nuances exist for each type.
Understanding these specific needs ensures that whether you're reaching for a block of baking chocolate to chop, a bag of chips for cookies, or a jar of cocoa powder for a cake, the ingredient is in the best possible condition. These tailored chocolate storage tips for baking ensure maximum quality and performance in your recipes.
Storing Chocolate Bars: Maintaining Shape and Texture
Keep bars in their original wrapping, then seal tightly in an airtight container. Store flat if possible to prevent warping.
Storing Chocolate Chips: Preventing Clumping and Melting
Chocolate chips are often sold in resealable bags, but for better protection, transfer to an airtight container. Keep cool to prevent chips from melting together into a solid block.
Storing Cocoa Powder: Keeping it Dry and Flavorful
Cocoa powder is highly susceptible to moisture and odors. Store it in a completely airtight container (glass or metal is excellent) in a cool, dry pantry. Avoid storing it near the stove or sink.
Storing Chocolate Ganache: Proper Refrigeration and Usage
Ganache (a mixture of chocolate and cream) must be refrigerated due to the cream content. Store in an airtight container for up to a week. Bring to room temperature and whisk gently before using for best texture in baking applications like fillings or frostings.
Signs Your Chocolate Has Gone Bad: What to Look For
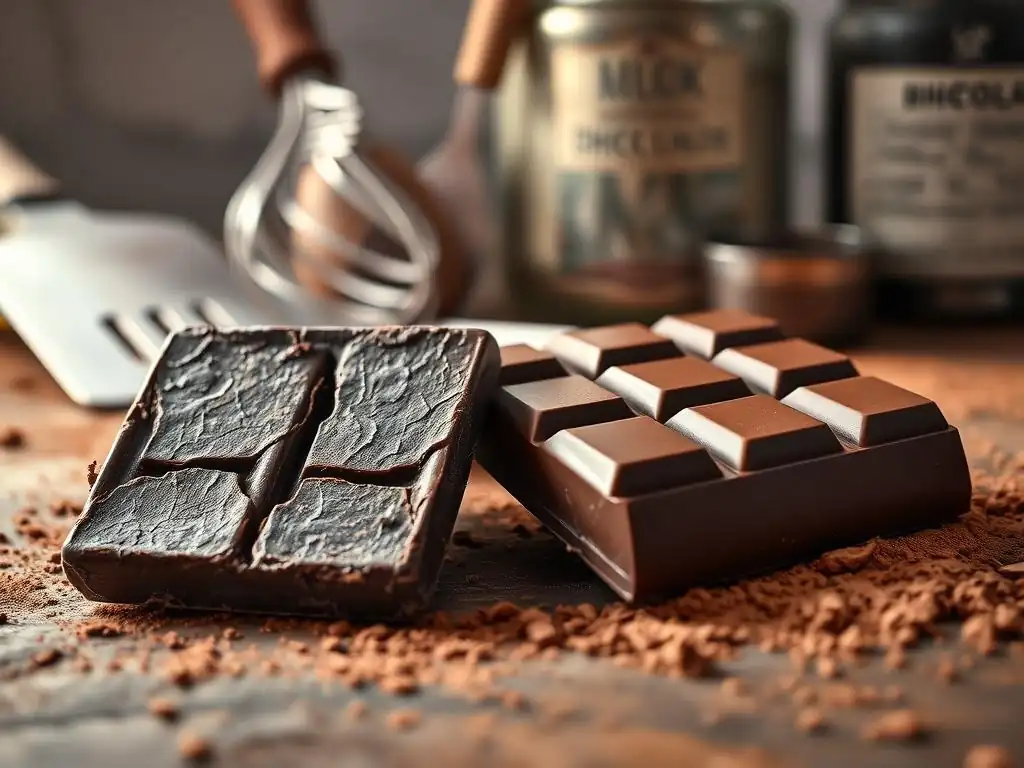
Even with the best chocolate storage tips for baking, it's wise to know how to spot chocolate that is past its prime. While bloom doesn't mean the chocolate is "bad" or unsafe, other signs indicate true spoilage or significant quality degradation that will negatively affect your baking. Knowing what to look for helps you avoid wasting time and ingredients on a recipe destined for failure.
Trust your senses – sight, touch, smell, and taste. If something seems off, it likely is. While chocolate has a relatively long shelf life compared to many baking ingredients, it's not infinite, especially for milk and white varieties. Being able to identify spoiled chocolate is a practical skill for any baker focused on quality outcomes.
Visual Indicators: Bloom, Discoloration, and Mold
Look for white or gray streaks/patches (bloom), uneven color, or, in rare cases of severe moisture contamination, actual mold growth.
Texture Changes: Graininess, Softness, or Hardening
Bloomed chocolate will feel grainy. Poorly stored chocolate might become excessively soft or, conversely, unusually hard and brittle if exposed to cold and dry air without protection.
Off-Putting Odors: Rancidity or Foreign Scents
Sniff the chocolate. It should smell like chocolate. A cheesy, metallic, or stale smell indicates rancidity. Any smell of pantry items like spices or garlic means it has absorbed odors.
Taste Test: When in Doubt, Throw it Out
If the visual, texture, or smell tests raise concerns, a small taste test can confirm. If it tastes stale, bitter (beyond its natural bitterness), or simply "wrong," it's best to discard it.
Rescuing Slightly Bloomed Chocolate: Techniques for Baking
Discovering bloom on your chocolate doesn't always mean it's unusable, particularly for certain baking applications. While bloom affects texture and appearance, it doesn't compromise food safety. For some recipes, the textural issues caused by bloom become irrelevant once the chocolate is melted. Understanding how to potentially salvage bloomed chocolate can save you money and prevent waste, adding another layer to your chocolate storage tips for baking knowledge.
It's important to note that while bloom can often be managed, off-flavors from rancidity or odor absorption cannot be fixed. Rescuing techniques apply specifically to chocolate suffering from fat or sugar bloom. Always perform a taste test first to ensure the flavor is still acceptable before attempting to use bloomed chocolate in a recipe.
Using Bloomed Chocolate in Melted Applications
Bloomed chocolate is perfectly suitable for recipes where the chocolate is fully melted, such as ganaches, sauces, melted chocolate coatings, or incorporating into batters (like brownies or cakes). The melting process will reintegrate the separated cocoa butter (fat bloom) or dissolve the recrystallized sugar (sugar bloom), eliminating the grainy texture.
Adjusting Recipes to Account for Texture Changes
While melting helps, bloomed chocolate might melt slightly differently or require more tempering effort if you were planning to use it for dipping or molding. For simple melted uses, no recipe adjustment is typically needed. For more complex applications requiring specific melt characteristics, you might need to test a small batch first or consider using fresh chocolate for best results.
Advanced Chocolate Storage Techniques: For Serious Bakers
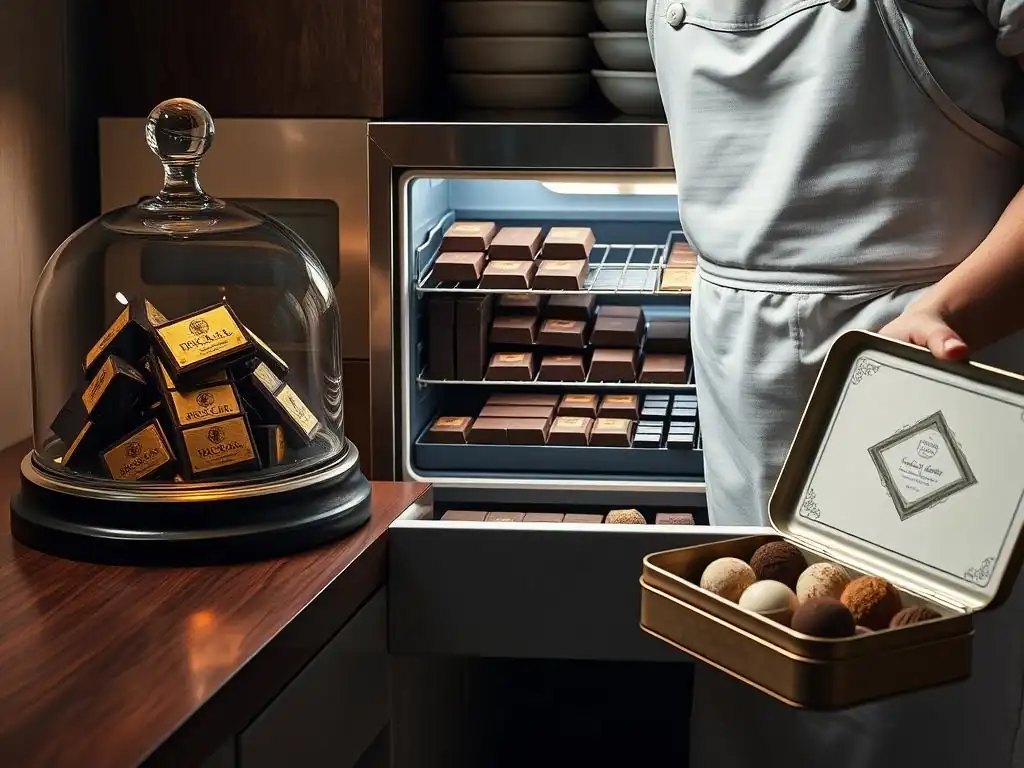
For those who buy chocolate in bulk, work with very high-quality couverture, or live in challenging climates, standard pantry storage might not be sufficient. Advanced techniques offer superior protection against the elements and extend the shelf life considerably. These methods are often used by professional chocolatiers and serious home bakers looking to preserve large quantities or specific types of chocolate.
While these techniques might require specialized equipment, they offer the ultimate peace of mind when it comes to long-term preservation and maintaining peak quality. Implementing these advanced chocolate storage tips for baking ensures your valuable chocolate remains in pristine condition, ready whenever inspiration strikes.
Vacuum Sealing Chocolate: Maximizing Shelf Life
Vacuum sealing removes air, preventing oxidation and protecting against moisture and odors. This significantly extends the shelf life of chocolate, especially when combined with cool, dark storage.
Nitrogen Flushing: Preventing Oxidation
Nitrogen flushing, often used in commercial packaging, replaces oxygen with inert nitrogen gas. This is highly effective at preventing oxidation and preserving flavor, though it requires specialized equipment less common for home use.
Commercial Chocolate Storage Solutions: Investing in Quality
For those with large chocolate inventories, investing in temperature and humidity-controlled storage cabinets designed for chocolate can provide the ideal environment consistently, offering professional-grade protection.
Conclusion: Maximizing Flavor Through Proper Chocolate Storage in Baking
Recap of Key Chocolate Storage Tips for Baking
Mastering chocolate storage for baking is about understanding the vulnerabilities of this delicate ingredient and taking simple steps to protect it. The core principles involve keeping chocolate in a cool, dark, dry, and airtight environment, ideally between 60°F and 70°F (15°C to 21°C) with humidity below 50%. Using appropriate containers, selecting the right storage location (pantry, or carefully refrigerated/frozen when necessary), and being mindful of its sensitivity to odors are crucial.
Final Thoughts on Maintaining Chocolate Freshness at Home
By implementing these chocolate storage tips for baking, you ensure that every piece of chocolate you use contributes its full, intended flavor and texture to your baked goods. This attention to detail is a hallmark of a skilled baker. While bloom can sometimes be salvaged, preventing spoilage and degradation from the start is the best approach. Treat your chocolate with care, and it will reward you with delicious, high-quality results in all your baking adventures.
Frequently Asked Questions
What is the best temperature for storing chocolate to maintain its quality?
The ideal temperature for storing chocolate is between 65°F and 70°F (18°C and 21°C). Avoid extreme temperature fluctuations to prevent chocolate bloom.
How should I protect chocolate from moisture when storing it?
Moisture is the enemy of chocolate! Store it in an airtight container in a cool, dark, and dry place. Using desiccants can help absorb excess moisture.
Can I store chocolate in the refrigerator or freezer?
While possible, it's not ideal. If you must, wrap the chocolate tightly in multiple layers of plastic wrap to prevent moisture absorption. Allow it to come to room temperature slowly before unwrapping.
What is "chocolate bloom" and how can I prevent it?
Chocolate bloom is a white or grayish coating that appears on the surface of chocolate. Prevent it by storing chocolate at a consistent temperature and avoiding humidity and direct sunlight.
How long can I store chocolate and still expect it to taste good?
Properly stored dark chocolate can last up to two years, while milk and white chocolate are best used within one year. Always check for any off-odors or changes in texture before using.
Final Reflection: The Enduring Delight of Perfectly Stored Chocolate
The art of baking hinges on the quality of ingredients, and for many, that begins with flawlessly stored chocolate. A single bar of improperly stored chocolate can ruin an entire batch of brownies, a delicate ganache, or a masterpiece of sculpted confectionery. This isn't just about preserving texture; it's about safeguarding the nuanced flavors and aromas that elevate baking from good to exceptional.
The impact of proper chocolate storage extends far beyond the individual baker's kitchen. It influences the entire culinary landscape, from high-end chocolatiers crafting exquisite bonbons to home bakers sharing their creations with loved ones. The subtle differences in flavor and texture, achieved through careful preservation, speak volumes about the dedication and artistry involved. The best chocolate is the chocolate that tastes the way it should,
– a sentiment that resonates deeply with every baker who appreciates the importance of proper storage. This seemingly small detail speaks to a larger appreciation for quality, detail, and the respect for ingredients that underpins all great cooking.
Now, consider your own chocolate stash. Do you treat it with the respect it deserves? I invite you to take a moment to examine how you store your chocolate and consider the impact of even small changes. By implementing the tips outlined in this article, you're not just preserving chocolate; you're investing in the future enjoyment of your baking, enhancing the experience for yourself and those who share your creations. Embrace the art of proper chocolate storage, and unlock a new level of flavor and satisfaction in your baking journey.
Unlock Your Chocolate's Full Potential!
Thanks for taking the time to learn how to store chocolate like a pro! We hope you now feel confident in keeping your chocolate tasting its absolute best. Ready to put your new knowledge into practice?
- Master the Art of Chocolate Storage: Implement the specific storage techniques discussed in the article – from temperature control to proper wrapping – to dramatically extend the life and flavor of your chocolate. This is your key to unlocking maximum deliciousness!
- Share Your Chocolate Wisdom: Tell your fellow baking enthusiasts about these invaluable tips! Share this article on social media and let's build a community of chocolate-loving experts.
- Experiment and Discover: Try storing different types of chocolate using these methods, noting the results. Which storage technique works best for your favorite chocolate?
Ready to transform your chocolate storage game and experience unparalleled flavor?