
Deep Dive into Bulk Fermentation: Controlling Temperature for Perfect Crumb

Welcome to BakeWithEase, your trusted companion on your baking journey! Ever wondered how crucial bulk fermentation temperature control is to achieving that perfect, airy crumb in your sourdough? Dive into this comprehensive guide and unlock the secrets to mastering this key step, transforming your bakes from good to extraordinary. Get ready to elevate your bread-making skills!
- Mastering Bulk Fermentation: Temperature Control for the Perfect Sourdough Crumb
- The Ideal Bulk Fermentation Temperature Range for Sourdough
-
Controlling Bulk Fermentation Temperature: Practical Techniques
- Using a Temperature-Controlled Environment (Proofing Box, Oven with Light On)
- Water Bath Method for Maintaining Consistent Temperature
- Adjusting Dough Hydration to Influence Fermentation Rate at Different Temperatures
- Sous Vide Method: Description and Step-by-Step Instructions
- Wine Cooler Method: Description and Step-by-Step Instructions
- Monitoring Bulk Fermentation: Signs of a Well-Fermented Dough
- Troubleshooting Bulk Fermentation Temperature Issues
- Bulk Fermentation Temperature and Sourdough Crumb Structure
- Advanced Techniques: Cold Bulk Fermentation for Enhanced Flavor
- Bulk Fermentation Temperature Log: Tracking Your Results
- Conclusion: Achieving Sourdough Success Through Temperature Control
- Frequently Asked Questions
- Final Reflection: Mastering the Art of Bulk Fermentation Temperature
- Unlock Your Baking Potential: Master the Art of Bulk Fermentation!
Mastering Bulk Fermentation: Temperature Control for the Perfect Sourdough Crumb
What is Bulk Fermentation and Why is it Important?
Bulk fermentation, also known as the first rise, is the crucial period after mixing your dough where the yeast and bacteria in your sourdough starter begin to work their magic, converting sugars into carbon dioxide and organic acids. This process is fundamental for developing the dough's structure, flavor, and aroma. During this phase, the gluten network strengthens, trapping the gases produced by fermentation, which is essential for achieving a well-risen loaf with an open, airy crumb. Skipping or incorrectly performing bulk fermentation can lead to dense, flat loaves with underdeveloped flavor.
This initial fermentation stage is where the foundational structure of your sourdough loaf is built. As the dough expands, the gluten strands stretch and align. The organic acids produced by the lactic acid bacteria (LAB) in the starter also play a role, not only contributing to the characteristic sour flavor but also helping to condition the gluten, making it more extensible and manageable. The duration and temperature of bulk fermentation significantly influence the final outcome, impacting everything from dough handling to the final crust and crumb structure.
The Role of Temperature in Sourdough Bulk Fermentation
Temperature is arguably the single most critical factor influencing the rate and outcome of bulk fermentation in sourdough. The metabolic activity of both the wild yeast and lactic acid bacteria in your starter is highly sensitive to temperature fluctuations. Higher temperatures accelerate their activity, leading to faster gas production and acid development, while lower temperatures slow everything down. Understanding and controlling the temperature allows bakers to manage the pace of fermentation, tailoring it to their schedule and desired flavor profile.
Precise bulk fermentation temperature control gives the baker power over the process. For instance, fermenting at warmer temperatures (e.g., 78-82°F or 25.5-28°C) might complete the bulk rise in just 3-5 hours, suitable for a quicker bake cycle. Conversely, fermenting at cooler temperatures (e.g., 68-72°F or 20-22°C) could extend the bulk fermentation to 6-12 hours or even longer, allowing for more complex flavor development and potentially easier handling of the dough. Mastering bulk fermentation temperature control is key to consistent results.
Temperature's Impact on Yeast Activity and Gluten Development
The wild yeast in sourdough starters thrives within a specific temperature range, generally most active between 75°F and 85°F (24°C and 29°C). Within this range, gas production is rapid, causing the dough to rise relatively quickly. Below this range, yeast activity slows considerably; above it, yeast can become stressed or even die off at very high temperatures (above 130°F or 54°C). The lactic acid bacteria (LAB) also have preferred temperature ranges, with different species being more active at varying temperatures, influencing the type and balance of acids produced (lactic vs. acetic).
Temperature also indirectly affects gluten development during bulk fermentation. While kneading or stretching the dough develops the initial gluten structure, the acidic environment created by the LAB helps to condition and strengthen this network over time. Fermenting at warmer temperatures tends to favor a faster rise but can sometimes lead to a more relaxed gluten structure if not managed carefully.
Cooler, longer fermentation allows more time for enzymatic activity and acid development to condition the gluten, often resulting in a stronger, more extensible dough that can support a more open crumb structure. Effective bulk fermentation temperature control balances these microbial activities and their impact on gluten.
The Ideal Bulk Fermentation Temperature Range for Sourdough
Identifying the Optimal Temperature for Your Sourdough Starter
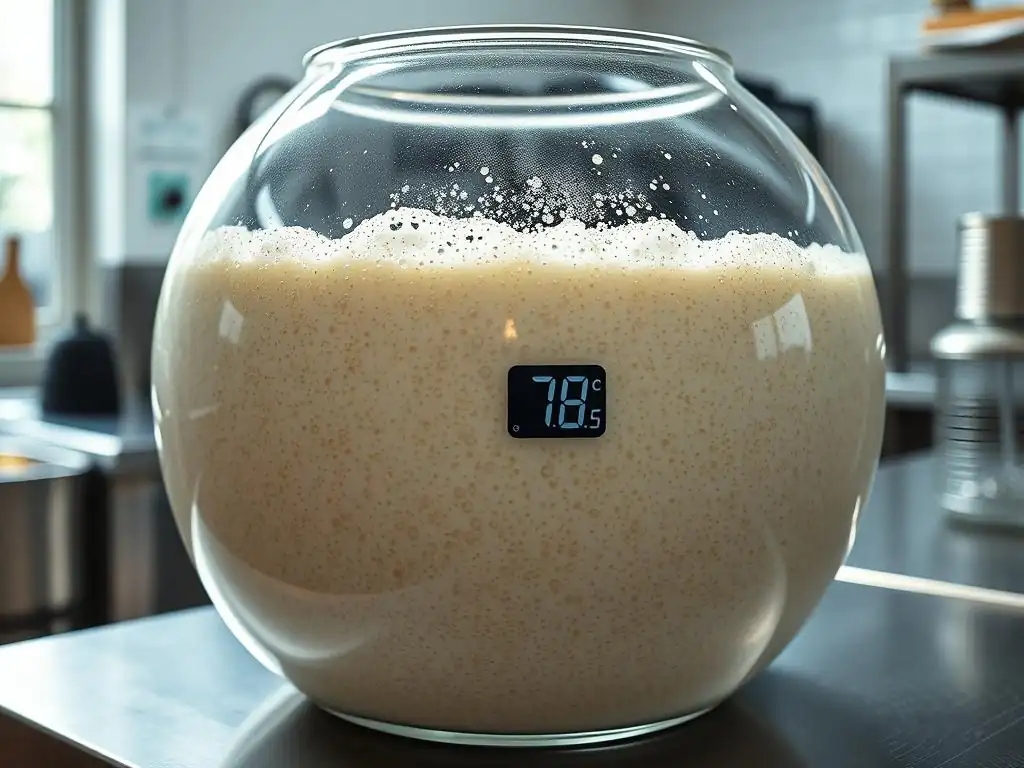
Determining the absolute ideal temperature for bulk fermentation is challenging because it depends heavily on your specific sourdough starter. Starters are unique ecosystems with varying populations of yeast and bacteria, each with slightly different optimal activity ranges. Observing your starter's behavior at different temperatures is crucial. Does it double quickly at 75°F (24°C) but produce a very sour smell? Does it rise slower at 70°F (21°C) but develop a pleasant, balanced aroma? Experimentation is key.
A common starting point for many bakers aiming for a balanced rise and flavor is the 72-78°F (22-25.5°C) range. Within this window, both yeast and bacteria tend to be quite active, leading to a reasonably paced fermentation (often 4-8 hours depending on inoculation rate and flour). However, some starters perform optimally slightly warmer or cooler. Keeping track of your starter's doubling time and the resulting dough's characteristics at different temperatures helps you pinpoint its preferred environment for bulk fermentation temperature control.
Factors Influencing the Best Bulk Fermentation Temperature (Dough Hydration, Flour Type)
Beyond the starter itself, the specific dough recipe significantly impacts the best bulk fermentation temperature. Higher hydration doughs (e.g., 80% hydration or more) ferment faster than lower hydration doughs (e.g., 65% hydration) at the same temperature because the increased water allows for easier movement of yeast and enzymes. Therefore, a higher hydration dough might benefit from a slightly cooler temperature or shorter fermentation time compared to a stiffer dough to prevent over-fermentation.
The type of flour also plays a role. Whole wheat or rye flours contain more nutrients and enzymatic activity than white bread flour, which can accelerate fermentation. Doughs made with a significant percentage of these flours might also benefit from a slightly cooler bulk fermentation temperature or a shorter duration. Conversely, doughs made primarily with lower-protein or less enzymatically active flours might require a slightly warmer temperature or longer time to achieve adequate fermentation. Precise bulk fermentation temperature control must consider these dough variables.
How Room Temperature Affects Bulk Fermentation
The most significant factor influencing bulk fermentation temperature for many home bakers is simply the ambient room temperature. Without specific temperature control methods, your dough will ferment at whatever temperature your kitchen or proofing spot happens to be. This is why bulk fermentation times can vary dramatically from one day to the next, or even between seasons. A dough that takes 6 hours to bulk ferment at 75°F (24°C) might take 10-12 hours at 68°F (20°C).
Understanding your typical room temperature is the first step in managing bulk fermentation. If your kitchen is consistently cool (e.g., 65°F / 18°C), you'll need to plan for a much longer fermentation time or find ways to increase the dough's temperature. If it's consistently warm (e.g., 80°F / 27°C), you'll need to monitor closely to avoid over-fermentation or consider methods to cool the dough slightly. Relying solely on room temperature requires flexibility and careful observation of the dough's progress.
Controlling Bulk Fermentation Temperature: Practical Techniques
Using a Temperature-Controlled Environment (Proofing Box, Oven with Light On)
One of the most effective ways to achieve consistent bulk fermentation temperature control is by using a dedicated temperature-controlled environment. A proofing box, like a Brod & Taylor folding proofer, offers precise temperature settings, allowing you to set the exact temperature you desire for your dough. This eliminates guesswork and external fluctuations, providing reliable conditions for fermentation.
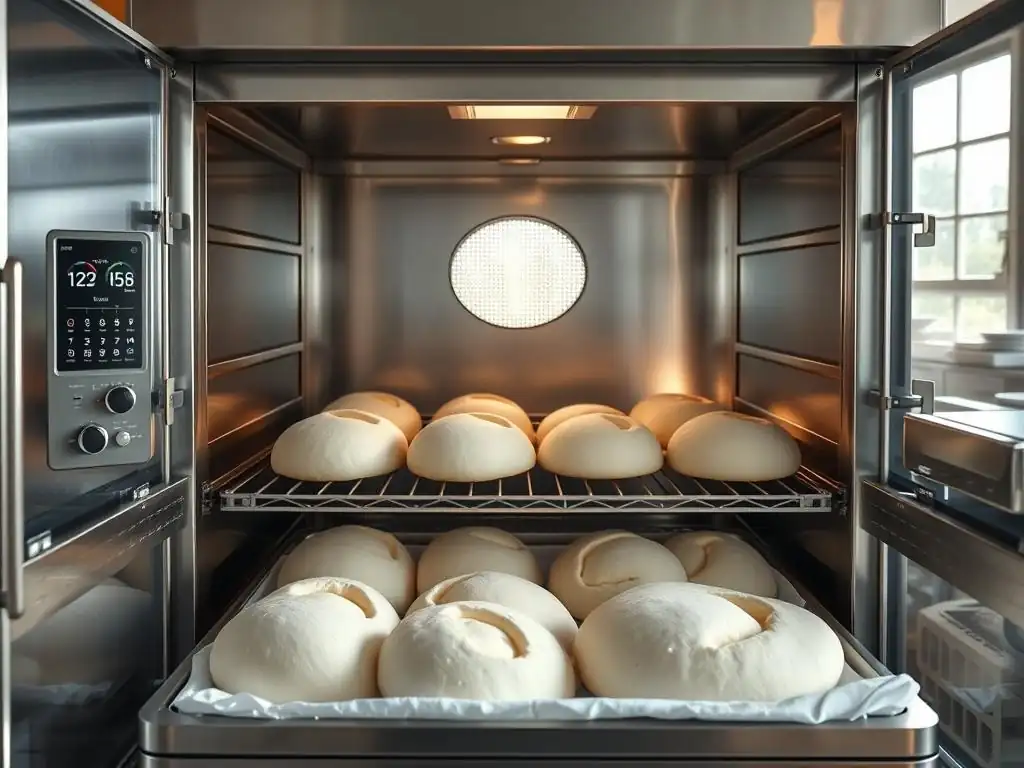
Alternatively, a home oven can be used as a makeshift proofing box. Turning the oven light on can raise the internal temperature by 10-20°F (5-10°C) above room temperature, depending on the oven. You can place the dough inside with the light on, often achieving temperatures in the 75-85°F (24-29°C) range, which is excellent for accelerating fermentation. Caution: Do not turn the oven itself on for proofing unless it has a dedicated proofing function; even a low oven temperature is too high for dough. Always monitor the temperature inside the oven using an external thermometer when using the light method.
Water Bath Method for Maintaining Consistent Temperature
A simple and effective technique for maintaining a stable bulk fermentation temperature is the water bath method. This involves placing your dough container inside a larger container filled with warm water. The water acts as a temperature buffer, helping the dough maintain a more consistent temperature than it would if exposed directly to fluctuating air temperatures.
To use this method, find a bowl large enough to hold your dough container (e.g., a plastic Cambro or glass bowl) and then find a larger container (like a bus tub or a large stockpot) to place the first bowl into. Fill the outer container with water at your desired dough temperature (e.g., 78°F / 25.5°C).
Place the covered dough bowl into the water bath, ensuring the water level comes up the sides of the dough bowl. You may need to refresh the warm water every few hours as it cools down, but this method provides much better bulk fermentation temperature control than ambient proofing alone.
Adjusting Dough Hydration to Influence Fermentation Rate at Different Temperatures
While not a direct temperature control method, adjusting dough hydration can be a strategy to manage fermentation speed when you cannot control the temperature precisely. As mentioned earlier, higher hydration doughs ferment faster. If you know you'll be fermenting in a cooler environment, slightly increasing the hydration (e.g., from 70% to 72%) can help compensate for the slower yeast activity, allowing the dough to reach the desired level of fermentation in a more reasonable timeframe.
Conversely, if you anticipate a very warm fermentation environment and lack cooling options, slightly decreasing the hydration (e.g., from 75% to 72%) can help slow down the fermentation rate. This provides a bit more buffer against over-fermentation. This technique requires careful balancing, as changing hydration significantly alters dough handling characteristics, but it's a useful consideration for bulk fermentation temperature control when other methods are unavailable.
Sous Vide Method: Description and Step-by-Step Instructions
The sous vide method offers a highly precise way to control bulk fermentation temperature. It involves using a sous vide immersion circulator to maintain a water bath at an exact temperature, and then placing your dough (in a sealed bag or container) into this controlled bath.
Here's a basic step-by-step:
- Place your mixed dough into a food-safe, airtight container or a large, heavy-duty zip-top bag. If using a bag, press out as much air as possible.
- Fill a large pot or container with enough water to submerge the dough container/bag.
- Attach your sous vide immersion circulator to the pot and set the desired temperature (e.g., 78°F / 25.5°C).
- Allow the water to reach the target temperature.
- Carefully place the sealed dough container/bag into the water bath, ensuring it is mostly submerged. You might need to weigh it down slightly.
- Ferment the dough for the required time, confident that the temperature is held constant. This method provides unparalleled bulk fermentation temperature control.
Wine Cooler Method: Description and Step-by-Step Instructions
A wine cooler or beverage refrigerator can also be used effectively for bulk fermentation temperature control, particularly for cooler, longer fermentation times. These appliances are designed to hold temperatures within a relatively narrow range, often between 45°F and 65°F (7°C and 18°C), which is ideal for cold bulk fermentation or a very slow ambient fermentation.
Here's how to use it:
- Place your covered dough container directly into the wine cooler.
- Set the desired temperature on the cooler's thermostat.
- Allow the dough to ferment for an extended period (e.g., 12-24 hours or even longer, depending on temperature and recipe).
- Monitor the dough's progress, as fermentation will be significantly slower than at warmer temperatures. This method is excellent for developing complex flavors and managing fermentation around a busy schedule, offering precise bulk fermentation temperature control in the cooler range.
Monitoring Bulk Fermentation: Signs of a Well-Fermented Dough
Visual Cues: Volume Increase, Air Bubbles
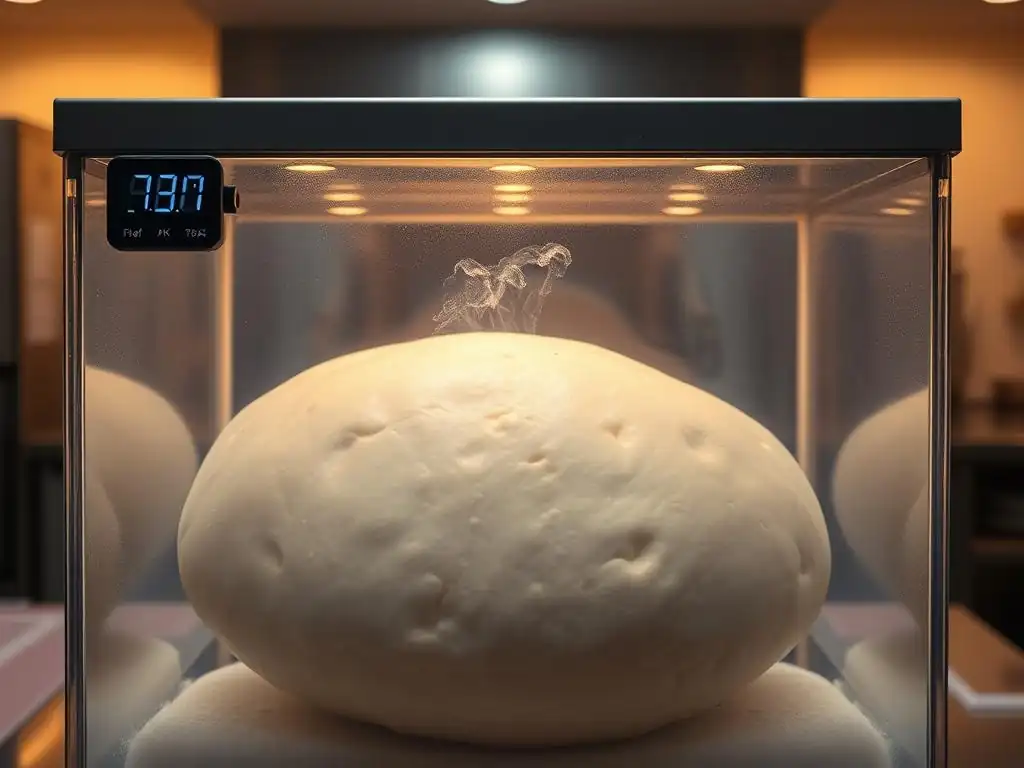
Visual observation is your primary tool for monitoring bulk fermentation, regardless of the temperature used. A well-fermented dough will show a significant increase in volume. While recipes often specify doubling, this is a rough guideline. Depending on temperature and hydration, a 50-75% increase might be sufficient, especially for higher hydration doughs fermented at warmer temperatures. The surface of the dough should also show visible signs of fermentation, such as small bubbles or a slightly domed appearance.
As bulk fermentation progresses, you'll notice increasing numbers of tiny bubbles just beneath the surface of the dough. If using a transparent container, you'll see larger air pockets forming along the sides and bottom. The dough will look lighter and more airy compared to when you first mixed it. Over-fermented dough will often look excessively bubbly, potentially starting to collapse slightly around the edges, and the surface might appear slack or even wet. Proper bulk fermentation temperature control helps achieve the desired volume increase without going too far.
The Float Test: Determining Readiness for Shaping
The float test is a common, though not foolproof, method used to assess if a small piece of dough is sufficiently gassy and ready for shaping. While often associated with testing starter readiness, a variation can be applied to the bulk fermented dough.
To perform the float test for dough:
- Gently take a small piece of dough (about the size of a walnut) from the bulk mass. Try not to degas the main dough too much.
- Place the small piece in a bowl of room temperature water.
- If the dough piece floats, it indicates it has trapped enough gas internally to be buoyant, suggesting the bulk fermentation may be complete or close to it. If it sinks, it likely needs more time.
Note: The float test is an indicator, not a definitive rule. It works best for doughs fermented at moderate temperatures and hydration levels. Always combine it with visual cues and texture assessment.
Dough Texture and Aroma: Indicators of Optimal Fermentation
Beyond sight, the feel and smell of the dough provide crucial clues about the progress of bulk fermentation. A well-fermented dough will feel softer, more extensible, and less dense than it did at the beginning. When you perform stretch and folds, the dough should resist less and feel more airy. It should also have a pleasant, slightly acidic aroma – a mix of fermented grain and a subtle tang.
Under-fermented dough will feel dense, tight, and less pliable. It won't have expanded significantly and will lack the characteristic fermented smell. Over-fermented dough will feel very slack, potentially sticky or even soupy, and may have a strong, overly acidic or even alcoholic smell. Paying attention to these tactile and olfactory cues, alongside visual signs and bulk fermentation temperature control, helps you make informed decisions about when the dough is ready.
Troubleshooting Bulk Fermentation Temperature Issues
Dough Fermenting Too Quickly: Solutions for Lowering Temperature
If your dough is fermenting much faster than anticipated, likely due to a warmer-than-expected environment or a very active starter, you need to slow it down. The most direct solution is to lower the temperature. Move the dough to a cooler spot in your kitchen – perhaps a basement, a cooler pantry, or near an air conditioning vent (but not directly in front of it).
If those options aren't cool enough, consider placing the dough container inside a larger container filled with cool water (e.g., 60-65°F / 15.5-18°C). Alternatively, you can briefly place the dough (covered) in the refrigerator for 15-30 minute intervals to rapidly drop its internal temperature. Be careful not to chill it too much, as this can halt fermentation entirely. Reducing the bulk fermentation temperature is the key strategy here.
Dough Fermenting Too Slowly: Strategies for Increasing Temperature
If your dough is sluggish and not showing much activity, it's probably too cold. You need to increase its temperature to encourage yeast and bacterial activity. Move the dough to a warmer location in your kitchen, such as on top of the refrigerator (heat rises) or near a window on a sunny day (be cautious not to overheat).
You can also use the oven-with-light-on method described earlier, which typically raises the temperature to a favorable range (75-85°F / 24-29°C). Another effective method is the warm water bath: fill a larger container with water at your desired fermentation temperature (e.g., 78°F / 25.5°C) and place the dough container inside. Maintaining the correct bulk fermentation temperature is vital for getting slow dough back on track.
Dealing with Temperature Fluctuations During Bulk Fermentation
In many home environments, temperature fluctuations are unavoidable. Your kitchen might cool down overnight or heat up significantly during the day. The best way to deal with this is through active monitoring and adjustment. Use an internal thermometer to check the dough's temperature periodically.
If the temperature drops, employ strategies to warm it up (move to a warmer spot, use a water bath, oven light). If it rises too high, use cooling methods (move to a cooler spot, use a cool water bath, brief refrigeration).
Alternatively, choose a method like a proofing box or sous vide that provides stable bulk fermentation temperature control from the outset, eliminating the impact of external fluctuations. Adjusting your fermentation time based on the average temperature is also crucial – a fluctuating temperature might mean the total time required falls somewhere between the time needed for the highest and lowest temperatures experienced.
Bulk Fermentation Temperature and Sourdough Crumb Structure
How Temperature Impacts Crumb Openness and Texture
Bulk fermentation temperature has a profound impact on the final crumb structure of your sourdough loaf. Generally, warmer bulk fermentation temperatures that result in faster fermentation tend to produce a more irregular, sometimes larger, and more open crumb. This is because the rapid gas production stretches the gluten network quickly, creating large, uneven pockets. However, if fermentation is too fast or the dough overheated, the gluten can become weak, leading to collapse and a dense crumb.
Cooler, longer bulk fermentation, on the other hand, often leads to a more even, consistent crumb structure, though it can still be quite open. The slower fermentation allows for more enzymatic activity and acid development, which strengthens and conditions the gluten more gradually. This results in a dough that can hold its structure better and support a more uniform distribution of gas pockets. Effective bulk fermentation temperature control directly influences the dough's ability to trap gas and develop structure.
Achieving the Desired Crumb: Adjusting Temperature for Specific Results
To achieve a specific crumb texture, you can strategically adjust your bulk fermentation temperature. If you're aiming for that dramatically open, lacy crumb often seen in highly hydrated loaves, fermenting at a slightly warmer temperature (e.g., 78-82°F / 25.5-28°C) can help, provided your dough is strong and you don't over-ferment. This encourages rapid gas production early on.
If you prefer a more consistent, evenly distributed open crumb, or if you are working with a less hydrated or weaker flour dough, a slightly cooler bulk fermentation temperature (e.g., 70-75°F / 21-24°C) might be more suitable. This slower fermentation allows more time for gluten development and conditioning, resulting in a more robust structure capable of supporting a uniform crumb. Your bulk fermentation temperature control is a key lever for crumb manipulation.
Example: Achieving a tight crumb vs. a very open crumb with temperature adjustments
Let's consider an example with a standard 75% hydration sourdough dough.
- To achieve a relatively tight but soft crumb: You might ferment at a cooler temperature, say 68°F (20°C), for a longer period, perhaps 10-12 hours, aiming for a 50-60% volume increase. The slower activity results in smaller, more uniform gas bubbles.
- To achieve a very open, irregular crumb: You might ferment the same dough at a warmer temperature, say 80°F (27°C), for a shorter period, perhaps 3-4 hours, aiming for a 75-100% volume increase. The rapid gas production creates larger, less uniform pockets.
This demonstrates how bulk fermentation temperature control allows bakers to influence the final texture significantly. It's important to note that other factors like dough strength, shaping technique, and baking method also contribute to crumb structure, but temperature during the first rise is a major determinant.
Advanced Techniques: Cold Bulk Fermentation for Enhanced Flavor
Benefits of Cold Bulk Fermentation (Increased Complexity, Reduced Acidity)
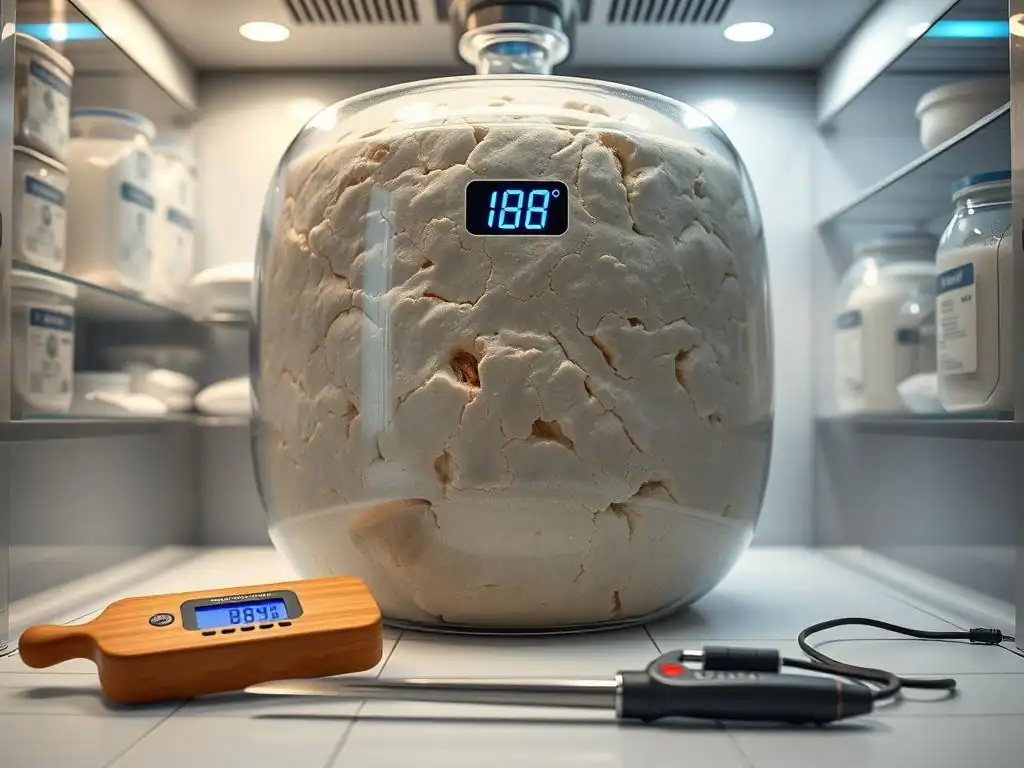
Cold bulk fermentation involves fermenting the dough at refrigerator temperatures, typically between 38°F and 45°F (3°C and 7°C), for an extended period, often 12-72 hours. This technique offers several significant benefits. The primary advantage is flavor development; the slow, cold environment allows enzymes in the flour more time to break down starches into sugars, providing more food for the microbes and resulting in a more complex, nuanced flavor profile.
Additionally, cold fermentation tends to favor the activity of lactic acid bacteria (LAB) over yeast activity, and specifically favors the production of lactic acid (which has a milder tang) over acetic acid (which is sharper and more vinegary). This can lead to a loaf with a more balanced, less overtly sour taste. The cold temperature also significantly slows down the process, making it incredibly flexible for scheduling bakes around busy lives. Cold bulk fermentation temperature control is crucial for these outcomes.
Adapting Your Recipe for Cold Bulk Fermentation
Adapting a recipe for cold bulk fermentation usually involves increasing the initial warm bulk fermentation time slightly or increasing the amount of starter used. Since the cold temperature drastically slows down fermentation, you might perform a shorter warm bulk fermentation (e.g., 1-2 hours at room temperature) before transferring the dough to the refrigerator. This gives the fermentation a head start.
Alternatively, you might use a slightly higher percentage of starter (e.g., 25% instead of 20%) to ensure enough microbial activity persists in the cold. The total fermentation time will increase dramatically in the refrigerator. You will be looking for signs of fermentation (slight volume increase, bubbles) over days rather than hours. Monitoring the dough's progress in the cold environment, even if slow, is still important.
Best Practices for Cold Fermentation Temperature Monitoring
While a standard refrigerator thermostat provides a general temperature, the actual temperature inside can fluctuate, and different areas of the fridge (e.g., near the back wall vs. near the door) can vary by several degrees. For optimal cold bulk fermentation temperature control, it's best to use a separate refrigerator thermometer placed near your dough container.
Aim for a consistent temperature between 38°F and 45°F (3°C and 7°C). Temperatures below 38°F can almost completely halt fermentation, while temperatures above 45°F might allow fermentation to proceed too quickly, potentially leading to over-fermentation over long periods. Checking the temperature regularly, especially during your first few cold ferments, helps ensure you are in the ideal range for slow, controlled flavor development.
Bulk Fermentation Temperature Log: Tracking Your Results
Creating a Temperature and Fermentation Time Tracking System
One of the most effective ways to improve your sourdough baking consistency is to keep detailed records, particularly regarding bulk fermentation temperature and time. Create a simple logbook or spreadsheet to track key variables for each bake. This allows you to identify correlations between your process and your results.
For each bake, record:
- Date
- Recipe details (hydration, flour types, starter percentage)
- Ambient room temperature
- Actual dough temperature during bulk fermentation (if you measured it)
- Method of temperature control used (room temp, oven light, proofing box, fridge, etc.)
- Total bulk fermentation time
- Visual observations at the end of bulk fermentation (estimated volume increase, bubble presence)
- Final bake result (crumb structure, flavor, rise)
Example of a Temperature Log Template
Here is a simple template you could use for tracking bulk fermentation temperature and other variables:
| Date     | Recipe Notes (Hydration, Flour) | Room Temp (°F/°C) | Dough Temp (°F/°C) | Control Method | Bulk Fermentation Time | Volume Increase (%) | Observations (Bubbles, Texture) | Final Crumb/Flavor |
| :------- | :------------------------------ | :---------------- | :----------------- | :------------- | :--------------------- | :------------------ | :------------------------------ | :----------------- |
| 2023-10-27 | 75% Hydration, 90% Bread, 10% WW | 72°F / 22°C       | 74°F / 23°C        | Ambient        | 6 hours                | ~70%                | Good bubbles sides, soft        | Even, moderately open |
| 2023-10-30 | 80% Hydration, 100% Bread     | 78°F / 25.5°C     | 80°F / 26.5°C      | Oven Light     | 4 hours                | ~100%               | Very bubbly, slack              | Very open, slightly irregular |
| 2023-11-05 | 70% Hydration, 100% Bread     | 68°F / 20°C       | 40°F / 4.5°C       | Fridge         | 48 hours               | ~50%                | Few large bubbles sides         | Tight, soft, complex flavor |
Analyzing Your Data to Optimize Future Bakes
Reviewing your bulk fermentation temperature log allows you to identify patterns and refine your process. If you consistently get an over-proofed dough when fermenting for 5 hours at 78°F (25.5°C), you know to either reduce the time or lower the temperature for that recipe. If your dough is always under-proofed after 8 hours at 70°F (21°C), you might try a warmer temperature or extend the fermentation time.
Analyzing the correlation between your bulk fermentation temperature, time, and the final crumb structure will empower you to make deliberate choices to achieve your desired results. This systematic approach to bulk fermentation temperature control transforms baking from guesswork into a more predictable and rewarding process.
Conclusion: Achieving Sourdough Success Through Temperature Control
Key Takeaways for Mastering Bulk Fermentation Temperature
Mastering bulk fermentation temperature control is a cornerstone of consistent and successful sourdough baking. Temperature dictates the rate of yeast and bacterial activity, directly impacting gas production, acid development, gluten conditioning, and ultimately, the final texture and flavor of your loaf. Whether aiming for a quick warm ferment for an open crumb or a long cold ferment for complex flavor, controlling the temperature is paramount.
Key takeaways include understanding the ideal temperature range for your starter and recipe, recognizing how ambient temperature affects fermentation, and employing practical techniques like proofing boxes, water baths, or cold refrigeration to maintain your desired temperature. Consistent monitoring through visual cues, texture, and aroma, combined with detailed logging, allows you to troubleshoot issues and refine your approach to bulk fermentation temperature control over time.
Further Resources for Advanced Sourdough Baking Techniques.
To continue your journey in mastering advanced sourdough techniques, including precise bulk fermentation temperature control, explore reputable baking books, online courses from experienced bakers, and detailed guides on sourdough forums and websites. Look for resources that delve into topics like baker's percentages, understanding flour types, starter maintenance strategies, and advanced shaping methods, all of which interact with the bulk fermentation process. Consistent practice, combined with a systematic approach to variables like bulk fermentation temperature, will unlock your potential for baking truly exceptional sourdough bread.
Frequently Asked Questions
How important is temperature control during bulk fermentation?
Temperature control is crucial for bulk fermentation. It directly impacts the rate of fermentation and the flavor development of your dough.
What is the ideal temperature range for bulk fermentation, generally speaking?
While it varies by recipe, a general range for bulk fermentation is 70-75°F (21-24°C). Deviations can significantly affect the dough's rise and overall quality.
What happens if my bulk fermentation is too warm?
If it's too warm, fermentation will accelerate, potentially leading to over-proofed dough. This can result in a weak gluten structure and a sour, unpleasant taste.
If it's too cold, fermentation will slow down considerably, possibly leading to under-proofed dough. This can cause a dense, tight crumb in the final baked product.
What are some ways to maintain a consistent temperature during bulk fermentation?
You can use a proofing box, a warm oven with the light on, or even a water bath. Aim for a stable environment to ensure consistent results in your baking.
Final Reflection: Mastering the Art of Bulk Fermentation Temperature
Precise temperature control during bulk fermentation is not merely a technical detail; it's the cornerstone of achieving a truly exceptional bread. Ignoring this crucial step can lead to uneven rises, weak gluten development, and ultimately, a disappointing loaf. The nuances explored in this article – from understanding yeast activity at different temperatures to employing various practical techniques – are vital for bakers of all levels seeking to elevate their craft.
The impact of controlled fermentation extends far beyond the immediate satisfaction of a perfectly risen dough. It speaks to a deeper connection with the process of baking, a mindful approach that respects the natural rhythms of yeast and flour. Baking is a science, but it's also an art. The more you understand the science, the better you can express your art.
This quote perfectly encapsulates the journey we've undertaken, highlighting the importance of understanding the scientific principles behind bulk fermentation to unlock its artistic potential. The pursuit of perfect temperature control reflects a broader cultural shift towards appreciating the details and craftsmanship involved in food production.
Now, consider your own baking practice. What adjustments can you make to your current methods to better control the temperature of your bulk fermentation? Will you invest in a proofing box, utilize a more precise thermometer, or perhaps simply pay closer attention to your kitchen's ambient temperature? The journey to mastering bulk fermentation is a continuous one, a process of refinement and discovery. Embrace the challenge, experiment with the techniques discussed, and savor the rewards of a perfectly crafted loaf – a testament to your dedication and understanding.
Unlock Your Baking Potential: Master the Art of Bulk Fermentation!
Thanks for diving deep into the world of bulk fermentation! We hope you've gained valuable insights into controlling temperature for that perfect crumb. Now it's time to put your newfound knowledge into practice.
- Experiment with different temperature control methods: Try using a proofing box, a warming drawer, or even a simple insulated container to fine-tune your bulk fermentation process. Note the results in a baking journal for future reference!
- Share your baking journey: Tell us about your experiences and challenges with bulk fermentation on our social media channels! We'd love to see your results.
- Challenge yourself: Attempt a recipe you've been hesitant to try, using your new temperature control techniques. What will you bake?
Ready to transform your bread-baking skills? What temperature control method are you most excited to experiment with first?