
Freezing Sweet Roll Dough: Your Anytime Baking Solution

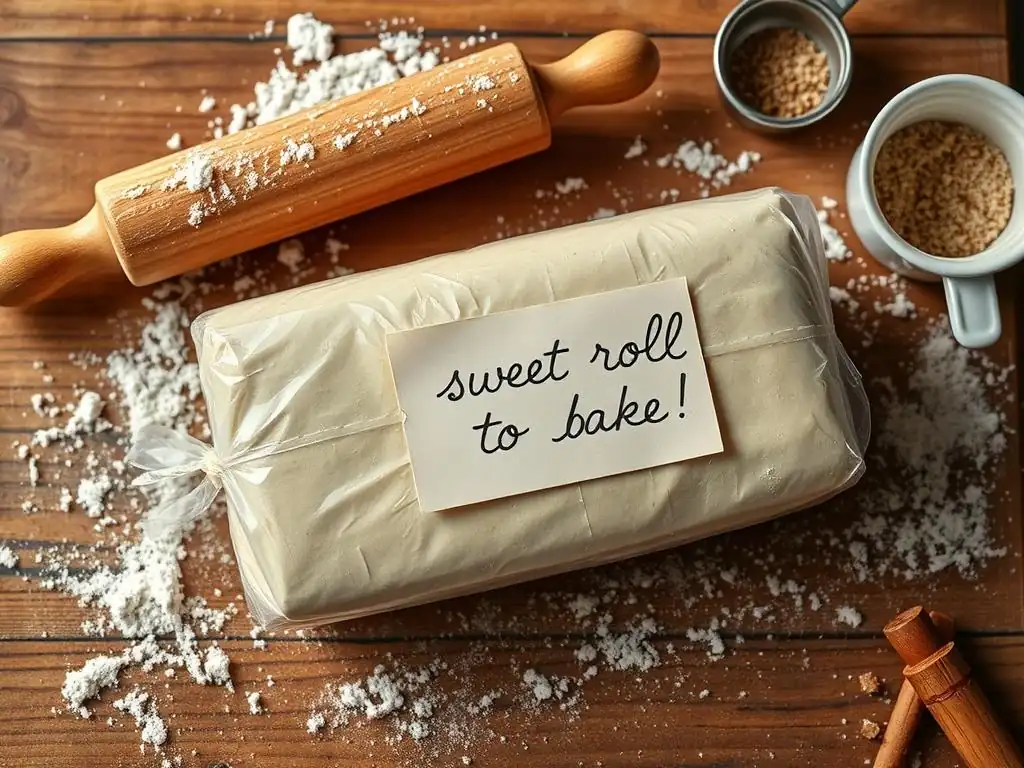
Welcome to BakeWithEase, your guide to effortless baking! Tired of baking limiting your spontaneity? Discover the secret to enjoying freshly baked goodness anytime with our guide on Freezing Sweet Roll Dough. Unlock the convenience of preparing ahead and savoring warm, delicious sweet rolls whenever the craving strikes. Curious how? Let's get started!
- Freezing Brioche Dough: Your Anytime Baking Solution
- BakeSmart: Master Baking with Frozen Brioche Dough
- Why Freeze Brioche Dough? The Benefits for Bread Bakers
- The Best Method for Freezing Brioche Dough
- How to Thaw Frozen Brioche Dough for Baking Success
- Baking with Thawed Brioche Dough: Tips and Tricks
- Brioche Recipes Perfect for Freezing
- Freezing Brioche Dough: FAQs and Troubleshooting
- Bake Ahead and Enjoy: The Joy of Frozen Brioche Dough
- Frequently Asked Questions
- Final Reflection: The Everlasting Promise of Frozen Sweet Roll Dough
- Unleash Your Inner Baker: Sweet Rolls Anytime!
Freezing Brioche Dough: Your Anytime Baking Solution
BakeSmart: Master Baking with Frozen Brioche Dough
Welcome back to BakeWithEase! We're always looking for ways to make your baking life simpler and more enjoyable, especially when it comes to those slightly more involved recipes. Brioche, with its rich, buttery texture and delightful flavor, is a favorite for many, but it often requires time and patience. What if you could whip up beautiful brioche loaves, buns, or pastries on demand, without the multi-hour commitment every single time? Freezing brioche dough is the answer!
Mastering the art of freezing brioche dough is a game-changer for any baker. It transforms a recipe that typically demands several hours from start to finish into a convenient, ready-to-bake option. By preparing dough ahead of time and properly storing it in the freezer, you create a versatile base for countless delicious creations, from a classic breakfast loaf to decadent sweet rolls. Let's dive into how this simple technique can revolutionize your baking schedule.
Why Freeze Brioche Dough? The Benefits for Bread Bakers
Brioche dough is an enriched dough, meaning it contains a higher proportion of fat (butter), eggs, and sometimes sugar compared to standard bread dough. This richness contributes to its tender crumb and luxurious taste, but the extra ingredients and specific mixing/proofing methods can make it a longer process. Freezing this dough offers significant advantages that streamline your baking workflow and enhance flexibility.
Consider the typical timeline for making brioche from scratch: mixing and kneading (20-30 mins), first rise (1-2 hours), chilling (4+ hours, often overnight), shaping, second rise (1-2 hours), and finally baking. This can easily span two days or require a dedicated chunk of one day. Freezing allows you to complete the time-consuming initial steps when you have time, and then simply thaw, proof, and bake later, drastically reducing the active time needed on baking day.
Save Time with Pre-Made Dough for Breads and Pastries
Preparing a large batch of brioche dough and freezing portions is an incredibly efficient time-saver. The most time-intensive parts of making brioche involve the initial mixing, kneading until a strong gluten structure develops, and the crucial first rise and chilling period. By doing this work upfront, you bypass these steps entirely when you decide to bake from your frozen stash.
Imagine deciding you want fresh brioche buns for dinner or pastries for breakfast tomorrow. Instead of starting from scratch, which could take 6-8 hours including chilling, you simply retrieve a portion of frozen dough. This allows you to enjoy homemade brioche with significantly less effort on the day you plan to serve it, making weekend brunches or weeknight treats much more accessible.
Reduce Waste: Freeze Brioche Dough Portions
Brioche recipes often yield a substantial amount of dough, sometimes more than a small household can consume in a few days before it stales. Freezing excess dough is an excellent way to prevent food waste. Instead of feeling pressured to bake and consume a large batch quickly, you can divide the dough into smaller, more manageable portions before freezing.
These portions can be sized specifically for your needs – perhaps enough for a single loaf, a dozen dinner rolls, or just a few individual pastries. This approach ensures that you only thaw and bake the amount of dough you require for a particular occasion, leaving the rest safely stored for future use. It’s a far more sustainable practice than discarding stale baked goods or unused dough that has passed its prime in the refrigerator.
Always Ready for a Baking Craving: Frozen Dough Convenience
The ultimate benefit of freezing brioche dough is the sheer convenience it offers. Having pre-made dough in your freezer means you're always just a thaw and a bake away from warm, homemade brioche. This is perfect for spontaneous baking projects or when unexpected guests arrive.
Forget the hours of waiting for dough to rise; your frozen asset is ready when you are. This convenience extends to various applications. Need a quick batch of burger buns? Grab frozen dough. Want to try making some sweet rolls? Frozen brioche dough can be a fantastic base. This readiness makes baking a joy rather than a chore tied to a rigid schedule.
The Best Method for Freezing Brioche Dough
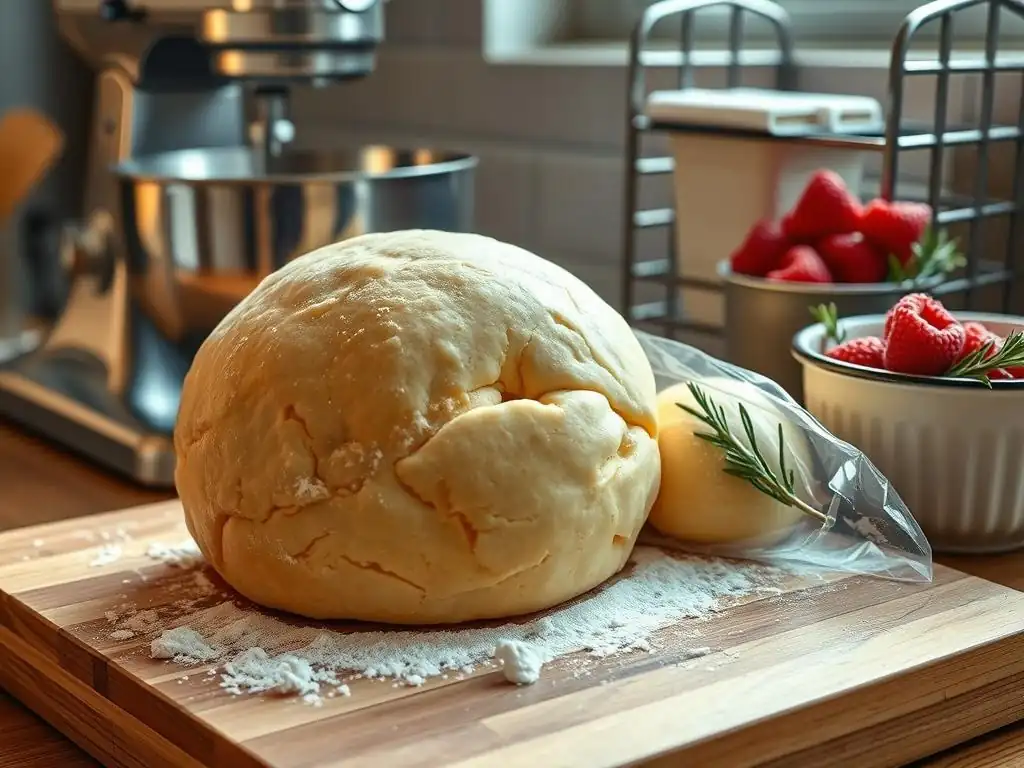
Freezing dough properly is key to preserving its quality and ensuring it performs well after thawing. The goal is to protect the dough from freezer burn and maintain the viability of the yeast. Brioche, being rich, freezes quite well due to the fat content, which helps keep it tender.
The optimal time to freeze brioche dough is typically after its first rise (bulk fermentation) and chilling period. At this stage, the dough is cold, firm, and easy to handle, and the yeast is active but dormant due to the cold. Freezing after shaping but before the final proof is also a very effective method, especially for individual rolls or loaves.
Step-by-Step: How to Freeze Brioche Dough Properly
Freezing brioche dough successfully involves a few critical steps that ensure it withstands the cold temperatures and long storage without losing its structure or flavor. Following these steps diligently will give you the best results when you're ready to bake.
Start with dough that has completed its first rise and has been chilled for at least 4 hours, preferably overnight. This chilling is crucial as it makes the dough much easier to handle and shape without becoming a sticky mess. Gently deflate the dough if needed, but avoid overworking it.
Cooling the Dough Before Freezing
As mentioned, starting with well-chilled dough is paramount. The cold temperature slows down yeast activity and makes the dough less sticky, facilitating easier division and shaping. Aim for dough that has been in the refrigerator for at least 4-6 hours, or until it is firm to the touch.
Working with cold dough also helps it freeze faster, which is beneficial for minimizing ice crystal formation. Smaller ice crystals are less damaging to the dough's gluten structure, leading to a better texture in the final baked product.
Shaping the Dough for Optimal Freezing
Decide how you plan to use the dough later and shape it accordingly before freezing. For a loaf, shape it into a loaf. For rolls or buns, divide the dough into equal portions and shape them into balls. For pastries, you might freeze a large block or smaller portions.
If freezing shaped items like rolls or buns, place them on a baking sheet lined with parchment paper and flash freeze them until solid, about 1-2 hours. This step prevents them from sticking together when transferred to a storage container or bag. For larger items like loaves or blocks, you can proceed directly to wrapping.
Wrapping and Protecting the Dough from Freezer Burn
Protection from air is the single most important factor in preventing freezer burn. Freezer burn occurs when the surface of the dough dries out due to exposure to cold, dry air, leading to tough, discolored spots. Use multiple layers of protective wrapping.
First, wrap the dough tightly in plastic wrap, pressing out as much air as possible. Ensure the plastic wrap adheres well to the surface. Follow this with a layer of aluminum foil or place the plastic-wrapped dough into a heavy-duty, freezer-safe zip-top bag, again pressing out excess air before sealing. Double wrapping provides the best defense.
Choosing the Right Container for Freezing Dough
Selecting the appropriate container or wrapping material is crucial for protecting your brioche dough from the harsh freezer environment. The primary goal is to create an airtight barrier that prevents moisture loss and exposure to air, which causes freezer burn.
Heavy-duty freezer bags and airtight plastic containers designed for freezing are both good options. The key is ensuring there is minimal air space around the dough. Using a combination of plastic wrap and a freezer bag or container offers superior protection compared to a single layer.
Freezer-Safe Bags vs. Airtight Containers
Heavy-duty freezer-safe zip-top bags are flexible and allow you to press out most of the air surrounding the dough. They are particularly good for irregularly shaped dough portions or for flash-frozen individual rolls. Ensure they are specifically labeled "freezer safe," as they are thicker and more resistant to the cold than standard storage bags.
Airtight plastic containers provide a rigid layer of protection, which can be helpful for shaped loaves or larger blocks of dough. However, ensure the container is sized appropriately to minimize empty space, or fill any voids with crumpled parchment paper before sealing. Using plastic wrap around the dough before placing it in a container adds an extra layer of defense against air.
Labeling Your Frozen Brioche Dough
Proper labeling is essential for keeping your freezer organized and ensuring you use your frozen dough within its optimal timeframe. Don't rely on your memory – frozen items can quickly become indistinguishable!
Use a permanent marker to clearly write the contents (e.g., "Brioche Dough"), the date it was frozen, and ideally, the quantity or intended use (e.g., "for 1 loaf" or "12 rolls"). This simple step prevents guesswork and helps you practice the "First-In, First-Out" method, using older items before newer ones to maintain quality.
How to Thaw Frozen Brioche Dough for Baking Success
Thawing frozen brioche dough correctly is just as important as freezing it properly. The goal is to reactivate the yeast gently and allow the dough's structure to recover without becoming sticky or losing its leavening power. Patience is key here.
The best and safest method for thawing yeast dough is typically in the refrigerator. While quicker methods exist, they carry higher risks of uneven thawing or compromising the dough's quality. Plan ahead for thawing time.
Safe Thawing Methods: Refrigerator vs. Countertop
There are two main approaches to thawing frozen brioche dough: the refrigerator method and the countertop method. The refrigerator method is generally recommended because it is safer and results in a more gradual, even thaw, which is better for the dough's structure and yeast health.
Countertop thawing is faster but requires careful monitoring and is only suitable for smaller pieces of dough or in cooler environments. It increases the risk of the outside thawing and starting to proof before the inside is fully thawed, potentially leading to an uneven texture.
Thawing Brioche Dough in the Refrigerator: A Slow and Steady Approach
Thawing brioche dough in the refrigerator is the most recommended method. Simply transfer the well-wrapped frozen dough from the freezer to the refrigerator. Place it on a plate or in a bowl to catch any condensation.
A standard portion of brioche dough (like for a loaf or a dozen rolls) will typically take 12 to 24 hours to thaw completely in the refrigerator. Larger quantities or full batches may take up to 36 hours. The dough should become soft and pliable throughout, though it may not show significant size increase at this stage. This slow thaw allows the yeast to wake up gradually and the dough's components to rehydrate evenly.
Countertop Thawing: A Quicker Option (with Caution)
If you're in a hurry, countertop thawing is an option, but proceed with caution. Remove the wrapped dough from the freezer and place it on your kitchen counter at room temperature. Keep it wrapped to prevent drying out.
Thawing time on the countertop will vary significantly based on the dough size and room temperature, but it could take anywhere from 2 to 5 hours for a standard portion. Monitor the dough closely. Once it is pliable and no longer frozen solid in the center, it's ready for shaping (if not already shaped) and proofing. Do not leave it on the counter for too long after it's thawed, as it can quickly over-proof, especially in a warm kitchen.
Proofing the Thawed Dough: Ensuring a Light and Airy Texture
Once your brioche dough is fully thawed, it needs to be proofed before baking. Thawing isn't the same as proofing; the dough still needs time in a warm environment for the yeast to produce gas and cause it to rise and develop a light texture.
Shape the dough if you froze it as a bulk mass. Place the shaped dough in a warm spot (like a slightly warm oven that's been turned off, or on the counter in a warm room), cover it loosely with plastic wrap or a clean kitchen towel to prevent a skin from forming, and let it rise until it has roughly doubled in size.
This typically takes 1 to 2 hours, though it could be slightly longer for dough that was frozen for an extended period. You'll know it's ready when it looks puffy and passes the "poke test" – gently indenting the dough with a finger leaves an impression that springs back slowly.
Baking with Thawed Brioche Dough: Tips and Tricks
Baking with thawed brioche dough is very similar to baking with fresh dough, but a few adjustments and considerations can help you achieve the best possible result. The dough might behave slightly differently, but the principles of baking remain the same.
Ensure your oven is properly preheated to the temperature specified in your recipe. Brioche is often baked at temperatures ranging from 325°F to 375°F (160°C to 190°C), depending on the size and shape of the item.
Adjusting Baking Time for Frozen Dough
Thawed dough might require a slightly longer baking time compared to dough that hasn't been frozen. This can be due to the dough potentially being a little cooler internally when it goes into the oven, or subtle changes in yeast activity. Don't be surprised if you need to add an extra 5-10 minutes to the baking time.
Always rely on visual cues and, ideally, an internal thermometer to check for doneness. A standard brioche loaf is typically done when the internal temperature reaches 190-200°F (88-93°C). Rolls or smaller pastries will be done sooner and can be checked by their golden-brown color and how they sound when tapped on the bottom (should sound hollow).
Achieving Golden-Brown Perfection After Freezing
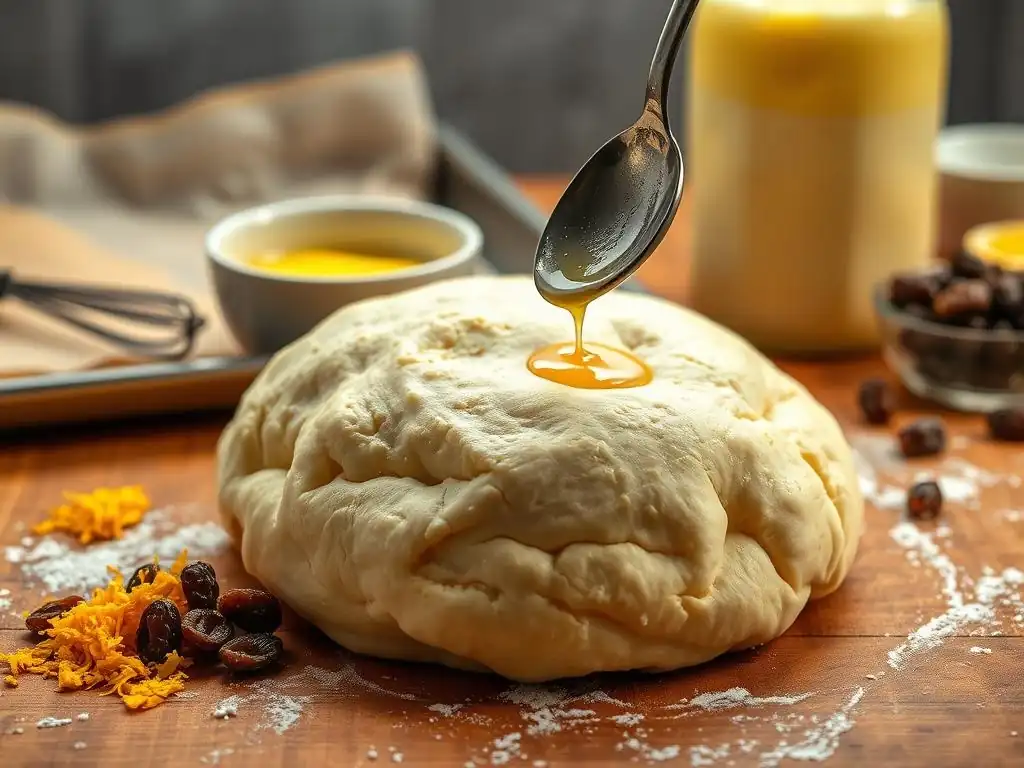
One of the hallmarks of beautiful brioche is its rich, golden crust. This is achieved through the Maillard reaction and caramelization, often enhanced by an egg wash. Thawed brioche dough takes an egg wash just as beautifully as fresh dough.
For a classic shiny, deep golden finish, whisk together one egg with a tablespoon of milk or water and brush it evenly over the proofed dough just before placing it in the oven. For a less shiny but still golden crust, a milk wash works well. Applying the wash right before baking ensures it doesn't dry out or get absorbed by the dough during proofing.
Troubleshooting Common Issues with Thawed Dough
Even with the best practices, sometimes thawed dough doesn't behave exactly as expected. Common issues include the dough not rising adequately during proofing or becoming too sticky to handle. Understanding the potential causes can help you troubleshoot.
If your thawed dough isn't rising properly during proofing, the most likely culprits are yeast damage during freezing (especially if frozen too long or improperly) or insufficient proofing time in a warm environment. Ensure the dough is fully thawed and give it ample time in a warm, draft-free place to proof. If after 2-3 hours in a warm spot there's little activity, the yeast may be compromised.
Dough Not Rising Properly
As mentioned, a lack of rise post-thawing is often a yeast issue. Ensure your freezer maintains a consistent temperature of 0°F (-18°C) or lower, as temperature fluctuations can harm yeast. Freezing dough for longer than 2 months can also decrease yeast viability.
If the dough shows minimal signs of life (no noticeable increase in size after extended proofing), the yeast may be dead. While disappointing, the dough might still be usable for non-leavened applications like crackers or flatbreads, though it won't have the characteristic brioche texture.
Dough Being Too Sticky
Thawed dough can sometimes feel stickier than fresh dough, potentially due to condensation during thawing or slight changes in gluten structure. Avoid the temptation to knead in large amounts of extra flour, as this can make the final product tough.
Instead, lightly flour your hands and work surface. Use a bench scraper to help handle and move the dough. If shaping rolls or loaves, handling the cold, thawed dough quickly and efficiently can minimize stickiness before it warms up too much. A brief return to the refrigerator (15-20 minutes) can also help make sticky dough easier to handle.
Brioche Recipes Perfect for Freezing
Almost any brioche recipe can be adapted for freezing, but some applications lend themselves particularly well to the make-ahead convenience that frozen dough offers. Having pre-portioned, frozen brioche dough opens up a world of possibilities for quick and easy baking.
Consider the types of brioche you enjoy most frequently. Freezing dough in the shape you plan to bake is often the most convenient approach, requiring only thawing and proofing before it goes into the oven.
Classic Brioche Loaf: A Freezer-Friendly Favorite
Freezing dough shaped into a classic brioche loaf is incredibly practical. A loaf provides a versatile base for everything from toast and French toast to sandwiches. Prepare your standard brioche dough, complete the first rise and chilling, shape it into a loaf, and then wrap it tightly and freeze.
When you're ready to bake, thaw the frozen loaf shape in the refrigerator overnight on a baking sheet. Once thawed, let it proof at room temperature in its loaf pan until doubled, then egg wash and bake as usual. This method ensures you always have dough ready for a fresh loaf whenever the craving strikes.
Brioche Burger Buns: Make-Ahead Convenience
Homemade brioche burger buns are a fantastic way to elevate your grilling game, and freezing the dough makes them super convenient. Prepare your brioche dough, divide it into portions for buns (e.g., 3.5-4 oz or 100-115g each), shape them into tight balls, and flash freeze them on a parchment-lined tray until solid.
Once frozen, transfer the solid buns to a freezer bag or container. To bake, arrange the frozen buns on a baking sheet, thaw them overnight in the refrigerator, then let them proof at room temperature for 1-2 hours until puffy. Egg wash and bake according to your recipe. Having frozen buns ready means you can have fresh, gourmet burgers any night of the week.
Enhancing Your Recipes with Frozen Brioche Dough
Frozen brioche dough isn't just for loaves and buns. Its rich, versatile nature makes it an excellent base for various pastries and freezing sweet roll dough recipes. You can use thawed brioche dough to make cinnamon rolls, sticky buns, braided loaves, or even fruit-filled pastries.
Having the dough ready saves you the initial hours of work, allowing you to focus on the fun parts like adding fillings, shaping, and finishing. The techniques discussed here for freezing brioche dough are directly applicable to freezing sweet roll dough recipes as well, given their similar enriched composition. Experiment with different shapes and fillings to discover new favorites using your convenient frozen dough stash.
Freezing Brioche Dough: FAQs and Troubleshooting
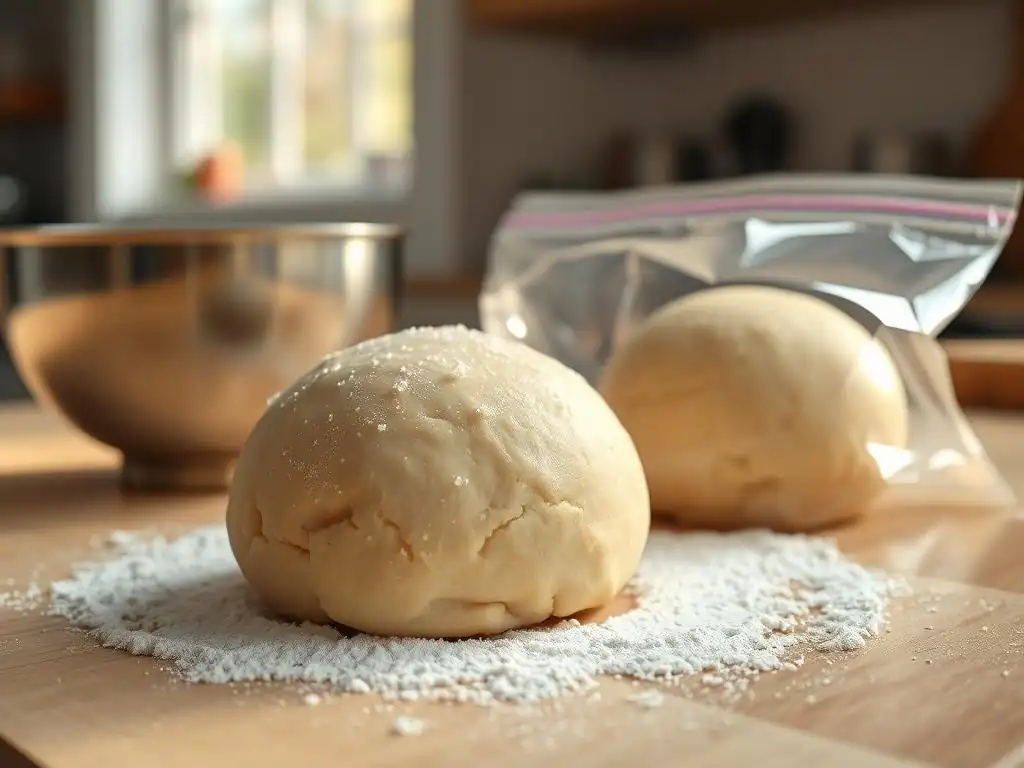
It's natural to have questions when you start freezing dough. Here are some common queries and their answers to help you feel confident in your freezing endeavors.
Understanding the nuances of freezing and thawing helps prevent common pitfalls and ensures your baked goods turn out beautifully.
Can you freeze brioche dough after it has risen?
While technically possible, it is generally not recommended to freeze brioche dough after it has completed its final proof (the rise just before baking). The delicate, airy structure developed during this final rise is easily damaged by ice crystals that form during freezing.
Freezing dough after the first rise (bulk fermentation) or after shaping but before the final proof is the preferred method. This preserves the yeast's vitality and the dough's structural integrity, allowing for a successful final proof after thawing.
How long does frozen brioche dough last?
With proper wrapping to prevent freezer burn, frozen brioche dough maintains good quality for about 1 to 2 months. Beyond this period, the yeast may lose some of its activity, and the fats in the dough can start to oxidize, potentially affecting the flavor and rise.
While dough frozen longer might still be bakeable, the results may not be as optimal in terms of texture and volume. For the best possible brioche, aim to use your frozen dough within this 1-2 month window.
What are the signs of freezer burn in brioche dough?
Freezer burn is a common issue if dough is not wrapped adequately. Signs include dry, leathery patches on the surface of the dough. These areas may appear lighter in color than the rest of the dough.
Dough affected by freezer burn will not bake properly in the burned spots, resulting in tough, dry areas in the finished product. While small spots can sometimes be trimmed away, significant freezer burn can compromise the entire piece of dough.
Can I freeze brioche dough with egg wash?
No, you should not apply an egg wash before freezing the dough. Egg wash is applied just before baking to give the crust a beautiful color and shine.
Applying it before freezing can lead to crystallization on the surface of the dough and can damage the delicate outer layer. Always thaw and proof your dough completely, and then apply the egg wash right before placing it in the hot oven.
Bake Ahead and Enjoy: The Joy of Frozen Brioche Dough
Freezing brioche dough is a simple yet powerful technique that brings significant convenience and flexibility to your baking. It allows you to manage your time effectively, reduce food waste by saving excess dough, and ensures you're always prepared to bake delicious brioche or other enriched treats like freezing sweet roll dough recipes whenever the mood strikes.
Embracing this method means less time spent waiting and more time enjoying the process and the delicious results. Stock your freezer with pre-made brioche dough, and you'll unlock an anytime baking solution that keeps fresh, homemade goodness within easy reach. Give it a try, and experience the joy of effortless brioche baking!
Frequently Asked Questions
How long can I freeze sweet roll dough?
You can typically freeze sweet roll dough for up to 3 months without significantly affecting its quality. After that time, the yeast activity may diminish, resulting in a less rise. Always ensure proper wrapping to prevent freezer burn.
What's the best way to thaw frozen sweet roll dough?
The best way is to thaw it slowly in the refrigerator overnight. This allows for a more even thaw and prevents the dough from becoming sticky. You can also thaw it at room temperature, but monitor it closely.
Can I freeze sweet roll dough after it has risen once?
Yes, you can freeze it after the first rise. Punch down the dough, shape it as desired, and then freeze. Thaw completely before allowing it to rise again for the second rise.
Will freezing affect the taste of my sweet rolls?
Freezing shouldn't significantly affect the taste if done correctly. Ensure the dough is well-wrapped to prevent freezer burn, which can alter the flavor. Use high-quality ingredients for the best results.
What if my frozen sweet roll dough doesn't rise properly after thawing?
This usually indicates that the yeast is no longer active. You can try proofing the dough in a warm place for a longer period. If it still doesn't rise, you may need to add a small amount of fresh yeast to revive it.
Final Reflection: The Everlasting Promise of Frozen Sweet Roll Dough
The ease and convenience of freezing sweet roll dough represent a revolutionary shift in home baking, democratizing the joy of fresh-baked goods for everyone. No longer are perfectly fluffy cinnamon rolls or delightful blueberry swirls the exclusive domain of weekend warriors with ample free time. This simple technique empowers busy individuals and families to enjoy homemade treats whenever the craving strikes.
The impact of readily available frozen dough extends beyond mere convenience; it fosters a deeper connection with the baking process itself. By removing the time constraint, we're free to focus on the artistry and satisfaction of shaping and baking, rather than feeling overwhelmed by the initial preparation. This resonates deeply with my own experience; I used to avoid making sweet rolls due to the time commitment, but now, with a freezer full of ready-to-bake dough, I can indulge in this comforting ritual far more often. Baking is at once child's play and adult joy. And love.
– Alma Flor Ada. This quote perfectly captures the transformative power of accessible baking.
Now, consider your own baking journey. What delicious creations have you been putting off due to time constraints? I challenge you to embrace the power of frozen dough. Imagine the spontaneous breakfast treats, the delightful after-school snacks, or the comforting aroma of freshly baked goods welcoming you home after a long day. Take the leap, prepare a batch of dough, and unlock a world of baking possibilities, one frozen roll at a time.
Unleash Your Inner Baker: Sweet Rolls Anytime!
Thanks for taking the time to explore the world of frozen sweet roll dough! You've just unlocked the secret to effortless, delicious baking. Now, let's put that knowledge into action.
- Bake a batch today! Use this newfound freedom to whip up a warm, comforting treat whenever the craving strikes. Remember those simple steps – it’s easier than you think!
- Share your sweet roll success: Snap a picture of your freshly baked rolls and tag us on social media – we’d love to see your creations!
- Explore our other freezer-friendly recipes: Discover even more baking magic with our collection of make-ahead treats, perfect for busy schedules.
What delicious adventure will your frozen sweet roll dough take you on next?