
Achieving Tender Sweet Rolls: Kneading Techniques That Work

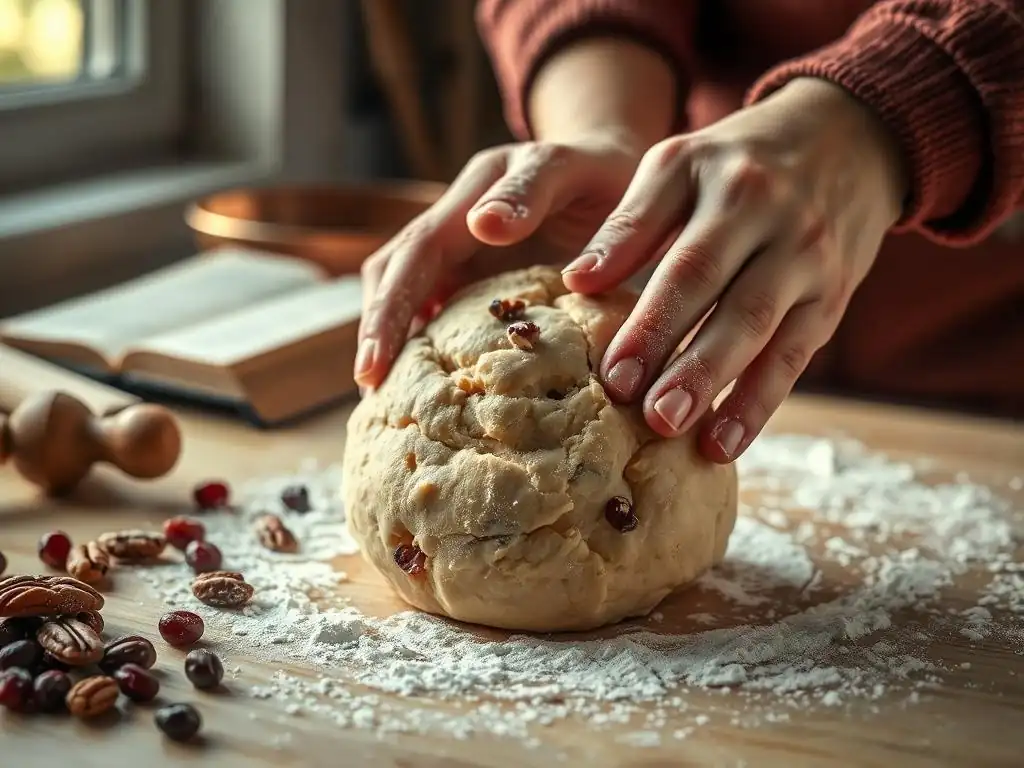
Welcome to BakeWithEase, where every baker finds their sweet spot! Are you ready to unlock the secret to irresistibly soft and fluffy sweet rolls? The key lies in mastering the art of kneading. But how exactly do you achieve that perfect, tender texture? Dive into our guide, "Achieving Tender Sweet Rolls: Kneading Techniques That Work," and discover the secrets to kneading sweet rolls tenderly that will elevate your baking from good to unforgettable. Get ready to roll!
- Achieving Tender Sweet Rolls: Kneading Techniques for Success
- Understanding the Importance of Kneading
- Mastering Kneading Techniques: A Step-by-Step Guide
- Advanced Techniques for Extra-Tender Rolls
- Troubleshooting Common Kneading Issues
- Achieving the Perfect Rise: Post-Kneading
- Recipe Recommendations for Practice
- Conclusion: Kneading for Sweet Roll Success
-
Frequently Asked Questions
- How important is kneading for achieving tender sweet rolls?
- What is the best way to tell if my sweet roll dough has been kneaded enough?
- Can I over-knead sweet roll dough? What happens if I do?
- What are some tips for kneading sweet roll dough by hand?
- Are there any alternatives to traditional kneading for sweet roll dough?
- Final Reflection: The Art and Soul of a Tender Roll
- Unleash Your Inner Baker: Perfect Rolls Await!
Achieving Tender Sweet Rolls: Kneading Techniques for Success
Understanding the Importance of Kneading
The Impact of Kneading on Texture
Kneading is a fundamental step in yeast dough recipes, particularly crucial when aiming for tender sweet rolls. The process directly influences the final texture of your baked goods. Without sufficient kneading, the gluten network within the dough remains underdeveloped, resulting in rolls that are dense, crumbly, and lack structure.
Imagine biting into a sweet roll that falls apart rather than offering that delightful, slightly chewy yet soft bite – that's often the result of inadequate kneading. Proper kneading, however, transforms a shaggy mass of flour and liquid into a smooth, elastic, and pliable dough capable of trapping the gases produced by yeast.
This development of the gluten network is what gives sweet rolls their characteristic light, airy texture and allows them to rise significantly. It provides the necessary structure to hold the dough together during proofing and baking, preventing collapse and ensuring a tender crumb.
For instance, a standard sweet roll dough using all-purpose flour (typically containing 10-12% protein) requires dedicated kneading time – often 8-12 minutes by hand or 6-10 minutes in a stand mixer – to build this robust yet flexible framework. This investment in kneading is key to achieving the desired softness and tenderness that makes sweet rolls so irresistible.
Gluten Development and its Role
The magic behind achieving tender sweet rolls through kneading lies in gluten development. Flour contains two primary proteins, glutenin and gliadin. When flour is mixed with water, these proteins hydrate and, through the mechanical action of kneading, begin to link together, forming an elastic network known as gluten. Think of gluten as a kind of mesh or scaffolding within your dough. As yeast ferments, it produces carbon dioxide gas. This gas gets trapped by the elastic gluten network, causing the dough to expand and rise – a process called leavening.
The strength and elasticity of this gluten network are paramount for tender sweet rolls. A well-developed gluten structure can stretch and hold the gas bubbles, leading to a light, airy crumb. If the gluten is weak (due to insufficient kneading), it cannot effectively trap the gas, resulting in a dense loaf. Conversely, over-kneading can break down the gluten structure, making the dough tough and difficult to work with. The goal when kneading sweet rolls tenderly is to develop the gluten just enough to create a strong, elastic network without overworking it, striking the perfect balance for that melt-in-your-mouth texture.
Mastering Kneading Techniques: A Step-by-Step Guide
Preparing the Dough: Ingredients and Initial Mix
Before you even begin kneading sweet rolls tenderly, the preparation phase is crucial. Start by accurately measuring all your ingredients. Yeast doughs are sensitive to ratios.
Ensure your liquid (milk, water, or a combination, often warmed to around 105-115°F or 40-46°C to activate yeast) and dry ingredients are measured correctly, ideally using a kitchen scale for flour for maximum accuracy. For example, 1 cup of all-purpose flour typically weighs about 120 grams. Incorporating enrichments like eggs, butter, and sugar, common in sweet roll recipes, can initially make the dough sticky or rich, which affects the feel during kneading but ultimately contributes to tenderness.
Combine the dry ingredients (flour, sugar, salt, yeast) in a large bowl, then add the wet ingredients (warm milk/water, eggs, melted butter). Stir everything together with a wooden spoon or a stand mixer fitted with the paddle attachment until a shaggy dough forms and most of the flour is incorporated. At this stage, the dough will likely be sticky and uneven. This initial mix is just the starting point; the real transformation happens during the kneading process, where the gluten network begins to develop, paving the way for achieving truly tender sweet rolls.
Hand Kneading: A Detailed Explanation
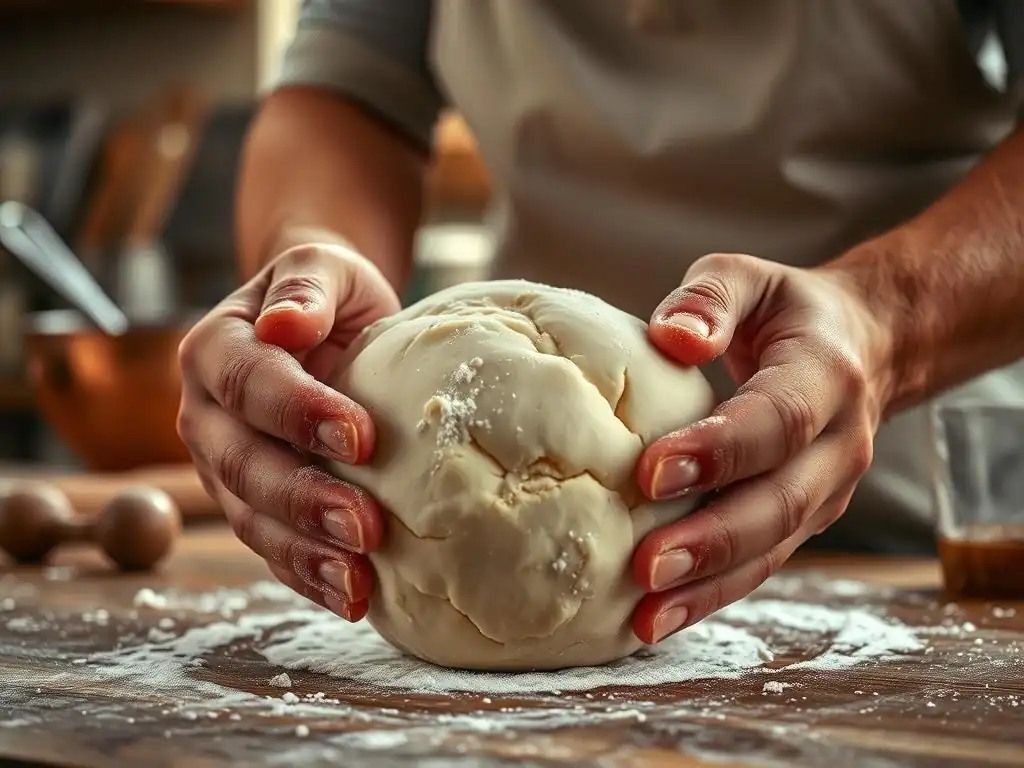
Kneading sweet rolls tenderly by hand is a rewarding, tactile experience. Once your shaggy dough is formed, turn it out onto a lightly floured surface. Avoid adding too much flour at this stage, as it can make the dough tough. Start by gently gathering the dough together. The goal is to stretch and fold the dough repeatedly to align the gluten strands.
The Push, Fold, and Turn Method
The most common and effective hand kneading technique is the push, fold, and turn method.
- Push: Using the heel of one hand, push the dough away from you, stretching it gently.
- Fold: Fold the stretched portion of the dough back towards you, over the rest of the dough.
- Turn: Rotate the dough about a quarter turn.
- Repeat: Continue this push, fold, and turn motion rhythmically.
Initially, the dough will be sticky and might tear easily. As you continue kneading, the texture will change. It will become smoother, less sticky, and more elastic. This process typically takes anywhere from 8 to 12 minutes for sweet roll dough, depending on the hydration level and your technique. The rhythmic action helps build the gluten network, essential for achieving tender sweet rolls.
Recognizing Proper Kneading
Knowing when your dough is properly kneaded is key to avoiding both under-development and overworking. As you knead, observe the dough's transformation. It should become:
- Smooth and Elastic: The surface should be smooth, not shaggy or lumpy. When you gently poke it, it should spring back slowly.
- Less Sticky: While some sweet roll doughs are inherently sticky due to high hydration or enrichments, it should become significantly less sticky than when you started. You might need minimal flour on your hands or the surface.
- Pliable: The dough should stretch without tearing easily.
A more advanced test is the windowpane test (described later), but simply feeling and observing the dough's texture and elasticity as you knead is often sufficient for hand kneading sweet rolls tenderly. When it feels smooth, elastic, and holds its shape reasonably well, you're likely there.
Machine Kneading: Tips and Tricks
Using a stand mixer with a dough hook is a popular and efficient way to knead dough, especially for richer sweet roll doughs which can be quite sticky. It takes the physical effort out of the process and can often achieve proper gluten development more consistently once you understand the correct speed and timing.
Speed and Time Considerations
When machine kneading sweet rolls tenderly, start the mixer on the lowest speed (often 'Stir' or '1') to bring the dough together. Once a shaggy dough forms, increase the speed to low-medium (typically speed '2' or '3' on most stand mixers). Avoid high speeds, as this can overheat the dough and potentially overwork the gluten too quickly, leading to toughness rather than tenderness.
Knead at this low-medium speed for the recommended time in your recipe, or until the dough passes the windowpane test. A typical time frame for sweet roll dough in a stand mixer is between 6 and 10 minutes, though this varies based on the mixer's power and the dough's hydration. Always monitor the dough closely.
Avoiding Over-Kneading
Over-kneading is a common pitfall with machine kneading and can result in tough sweet rolls. While machines are efficient, they can develop gluten very quickly. Keep a close eye on the dough as it kneads. Signs of over-kneading include:
- The dough pulling away from the sides of the bowl completely and forming a tight ball that slaps against the bowl.
- The dough looking unusually smooth and shiny, almost greasy.
- The dough feeling very tight and resistant when you try to stretch it.
- The dough starting to tear easily when stretched.
If you notice these signs, stop kneading immediately. It's better to slightly under-knead and allow the gluten to relax during the first rise than to over-knead. Learning to recognize the signs of properly kneaded dough, often by performing the windowpane test towards the end of the recommended time, is crucial for successfully kneading sweet rolls tenderly using a machine.
Advanced Techniques for Extra-Tender Rolls
The Windowpane Test
The windowpane test is a classic method for assessing whether dough has been adequately kneaded and the gluten network is sufficiently developed. It's a visual check that works for both hand-kneaded and machine-kneaded doughs. To perform the test, pinch off a small piece of dough, about the size of a golf ball. Gently stretch and pull the dough outwards with your fingers, rotating it as you go, trying to create a thin membrane.
If the dough is properly kneaded, you should be able to stretch it thin enough to see light passing through the center without it tearing. It should resemble a thin windowpane. If the dough tears easily before you can stretch it thin, it needs more kneading. Perform the test again after another minute or two of kneading. This test is a reliable indicator of a strong, elastic gluten network, essential for achieving that sought-after tender crumb in your sweet rolls.
Autolyse: Enhancing Hydration
Autolyse (pronounced aw-toh-lees) is a simple technique that can significantly improve the texture and workability of dough, leading to more tender sweet rolls with less kneading effort. The process involves mixing just the flour and water (or other liquid specified in the recipe) and letting the mixture rest for a period before adding other ingredients like salt, yeast, and fats. During this rest period, typically 20 to 60 minutes, the flour hydrates fully, and enzymatic activity begins to break down starches into sugars, which are food for the yeast.
Crucially, the gluten proteins start to link up on their own during autolyse without any mechanical kneading. This pre-hydration and initial gluten development make the dough much easier to knead later, reducing the required kneading time by as much as 30-50%. The result is a dough that is more extensible (stretches easily) and less sticky, leading to a better rise and a more open, tender crumb structure in the final sweet rolls. Incorporating an autolyse step is a fantastic way to enhance your kneading sweet rolls tenderly process.
Tangzhong (Water Roux) for Softness
Tangzhong is a Chinese technique that has gained popularity in Western baking, particularly for achieving incredibly soft and fluffy breads and rolls that stay fresh longer. It involves cooking a small portion of the flour and liquid (usually milk or water) from the recipe into a thick paste before adding it to the main dough ingredients. A common ratio is 1 part flour to 5 parts liquid, cooked until it thickens to a pudding-like consistency, often around 149°F (65°C). This paste is then cooled slightly before being added to the rest of the dough ingredients.
The science behind Tangzhong is that cooking the flour with liquid gelatinizes the starches, allowing them to absorb and hold significantly more moisture than raw flour. When this paste is added to the dough, it brings this extra moisture along. This higher water content, locked within the gelatinized starch, keeps the baked rolls exceptionally soft and prevents them from drying out quickly. Using the Tangzhong method is a highly effective way to ensure your kneading sweet rolls tenderly efforts result in rolls that are not only soft on baking day but remain wonderfully tender for several days after.
Troubleshooting Common Kneading Issues
Sticky Dough: Causes and Solutions
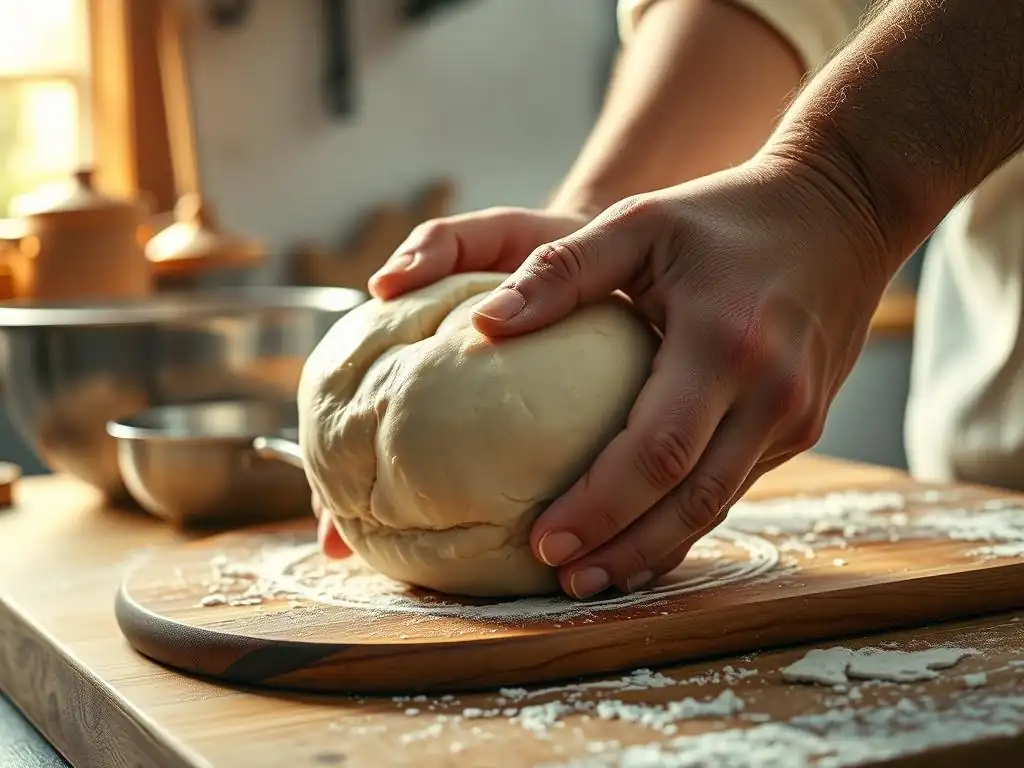
One of the most frequent challenges when kneading dough, especially richer sweet roll doughs, is stickiness. This can be caused by several factors: too much liquid, not enough flour, high humidity, or simply the inherent nature of dough rich in sugar and fat. While some stickiness is normal, dough that is excessively sticky and refuses to come together can be frustrating.
The primary solution is to add more flour, but it's crucial to do so gradually. Add one tablespoon of flour at a time, knead it in thoroughly, and assess the dough's texture before adding more. Continue this process until the dough is manageable and no longer excessively sticky, but still soft and pliable.
Avoid the temptation to dump in a large amount of flour, as this can quickly lead to a dry, tough dough. A bench scraper can also be invaluable for gathering sticky dough from the work surface during hand kneading. Patience and gradual additions are key when tackling sticky dough while kneading sweet rolls tenderly.
Dry Dough: Hydration Adjustments
Conversely, dough can sometimes be too dry, feeling stiff, crumbly, and difficult to knead into a smooth ball. This usually indicates too little liquid or too much flour was added initially. Dry dough will struggle to develop gluten properly, resulting in dense, heavy rolls.
If your dough is too dry, you need to add more liquid, again, very gradually. Add one teaspoon of water or milk at a time while kneading. Work the liquid into the dough thoroughly before adding more. Continue adding small amounts of liquid and kneading until the dough becomes softer, more pliable, and easier to work with. It should feel supple and slightly tacky, not stiff or crumbly. Correcting hydration is essential for enabling the gluten network to form effectively, which is vital for kneading sweet rolls tenderly and achieving that desired soft texture.
Over-Kneaded Dough: Rescue Strategies
While less common than under-kneading, over-kneading can happen, especially with machine mixers running at too high a speed or for too long. Over-kneaded dough feels very tight, dense, and resistant when you try to stretch it. It may even start to tear easily. The gluten network has become too tight and stressed.
Unfortunately, there's no complete "undo" button for severely over-kneaded dough. The best strategy is often to give the dough a significant rest. Cover the dough and let it relax at room temperature for 20-30 minutes, or even longer. This rest period allows the over-stressed gluten strands to relax slightly. After resting, try kneading it gently for just a minute or two to see if it becomes more pliable.
If it's still very tight, another rest might help. If the dough is severely damaged and tearing constantly, it might be difficult to get a light rise for sweet rolls. In such cases, you could consider repurposing the dough for something less reliant on a delicate crumb, like flatbreads, although the texture won't be optimal. Recognizing the signs early and stopping is the best prevention when kneading sweet rolls tenderly.
Achieving the Perfect Rise: Post-Kneading
The First Rise: Optimal Conditions
After successfully kneading your sweet roll dough to the perfect stage of gluten development, the first rise (often called bulk fermentation) is critical. This is where the yeast gets to work, producing carbon dioxide and causing the dough to double in size. Optimal conditions for the first rise involve placing the dough in a lightly oiled bowl, turning it once to coat, and covering it tightly with plastic wrap or a clean kitchen towel to prevent drying.
The ideal temperature for rising dough is typically between 75°F and 85°F (24°C and 29°C). Temperatures too cold will slow the yeast activity dramatically, while temperatures too hot can kill the yeast or cause the dough to rise too quickly, potentially leading to a less flavorful result and a weaker structure. A warm oven (turned off, with the light on), a microwave (with a cup of hot water inside), or simply a warm spot in your kitchen can provide the right environment.
The first rise usually takes 1 to 1.5 hours, but the best indicator is when the dough has roughly doubled in volume. This allows the gluten network built during kneading sweet rolls tenderly to relax and expand, setting the stage for light and airy rolls.
Shaping After Kneading
Once the first rise is complete, gently deflate the dough by punching it down. This releases the accumulated gas and evens out the temperature. Turn the dough out onto a lightly floured surface. Now it's time to shape your sweet rolls. Whether you're making classic cinnamon rolls, sticky buns, or other sweet varieties, the shaping process requires a tender touch.
Avoid rough handling, which can damage the delicate gluten network you've worked hard to develop. For cinnamon rolls, for example, you'll typically roll the dough into a rectangle, spread your filling, and roll it into a log. Cut the log into individual rolls. The dough should be elastic enough to roll out without excessive resistance, but not so tight that it snaps back immediately – a sign of successful kneading sweet rolls tenderly. Place the shaped rolls into your prepared baking pan, leaving some space between them to allow for the second rise.
The Second Rise: Maximizing Fluffiness
The second rise, or proofing, is the final rise before baking and is essential for maximizing the fluffiness and tenderness of your sweet rolls. During this stage, the shaped rolls increase in volume again as the yeast produces more gas. Place the pan of shaped rolls in a warm, draft-free spot, similar to the first rise. Cover the pan loosely with plastic wrap or a clean towel.
The second rise is typically shorter than the first, often taking 30 to 45 minutes, but again, go by appearance rather than strictly by time. The rolls should look visibly puffy and should have expanded to touch each other or fill the pan. When gently poked, the dough should spring back slowly, leaving a slight indentation. If it springs back immediately, it needs more time. If the indentation remains completely, it's likely over-proofed. Proper proofing ensures the rolls are light and airy, complementing the tender texture achieved by careful kneading sweet rolls tenderly.
Recipe Recommendations for Practice
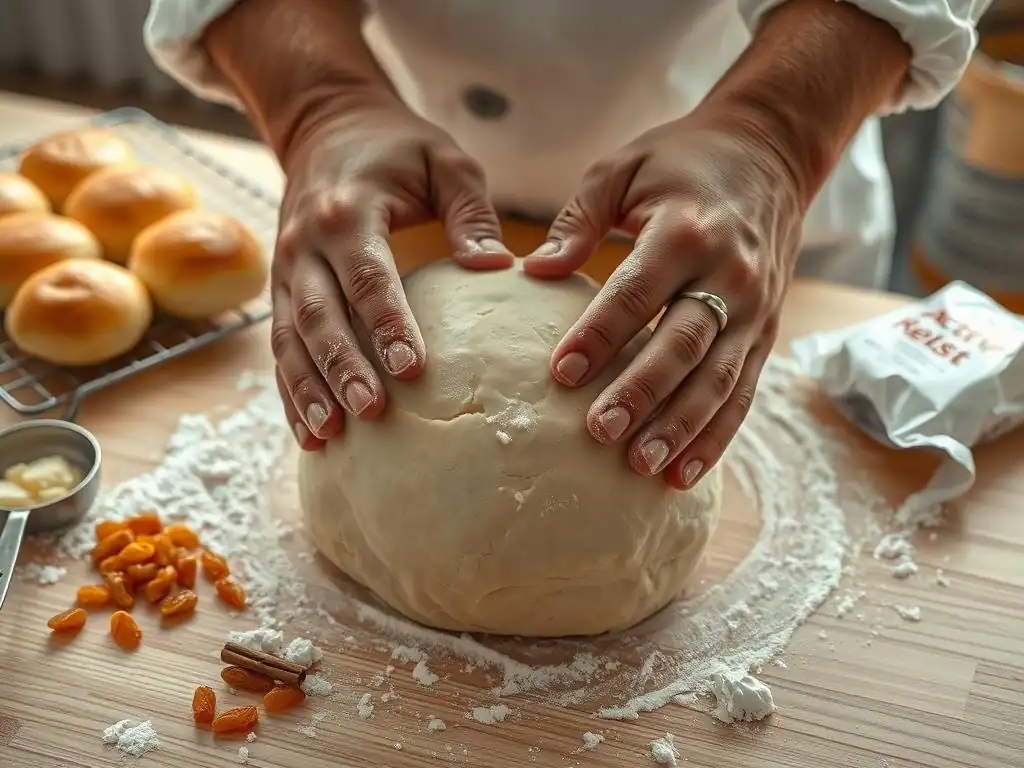
Practicing your kneading techniques is the best way to master them and consistently achieve tender sweet rolls. Here are two classic recipes perfect for honing your skills.
Cinnamon Roll Recipe
A standard cinnamon roll recipe is an excellent starting point. It typically involves a slightly enriched dough with milk, butter, sugar, and eggs, which provides a good balance of richness and structure.
- Ingredients: Flour (approx. 4 cups), sugar (approx. 1/2 cup), yeast (2 1/4 tsp active dry or instant), salt (1 tsp), warm milk (1 1/2 cups), melted butter (1/2 cup), eggs (2 large). Plus filling ingredients (butter, cinnamon, sugar) and icing.
- Process: Mix wet and dry ingredients, knead until smooth and elastic (8-12 mins hand, 6-10 mins machine). First rise (1-1.5 hrs). Shape. Second rise (30-45 mins). Bake (approx. 350°F/175°C for 20-25 mins).
Focusing on the feel of the dough during kneading is key here. Does it become smooth and elastic? Does it pass the windowpane test? This recipe offers ample opportunity to practice kneading sweet rolls tenderly.
Orange Roll Recipe
Orange rolls offer a slightly different twist, often incorporating orange zest and juice into the dough or filling, which can subtly affect hydration and flavor.
- Ingredients: Similar base dough ingredients to cinnamon rolls, but with substitutions like orange juice for some milk and adding orange zest to the dough. Filling often includes butter, sugar, and orange zest. Glaze uses powdered sugar and orange juice.
- Process: The kneading process is similar to cinnamon rolls. The slight acidity from the orange juice might interact differently with the gluten development compared to milk, providing a chance to observe how minor ingredient variations affect the dough's feel during kneading. Follow the same steps: mix, knead (aiming for that smooth, elastic dough), first rise, shape, second rise, bake.
Working with an orange roll dough allows you to refine your ability to judge proper kneading sweet rolls tenderly with a slightly different dough consistency.
Conclusion: Kneading for Sweet Roll Success
Recap of Key Techniques
Achieving truly tender sweet rolls is a culmination of several steps, but mastering kneading techniques is arguably the most impactful. We've explored how kneading develops the crucial gluten network, providing structure and elasticity for a light, airy crumb. Whether you choose the hands-on approach of pushing, folding, and turning or utilize the efficiency of a stand mixer, the goal is to develop the dough until it is smooth, elastic, and passes the windowpane test. Techniques like autolyse and Tangzhong offer advanced ways to enhance hydration and softness from the outset, complementing your kneading efforts.
We also covered troubleshooting common issues like sticky or dry dough, emphasizing gradual adjustments, and briefly touched on managing over-kneaded dough. Remember that the work you put in during kneading directly influences the dough's ability to rise properly during the first and second proofing stages, which are the final steps in achieving that perfect, fluffy texture.
Final Tips for Tender Rolls
To consistently bake tender sweet rolls, keep these final tips in mind:
- Measure Accurately: Especially flour and liquid. Using a scale for flour (e.g., 120g per cup) is highly recommended.
- Be Patient with Kneading: Don't rush the process. Knead until the dough feels right – smooth, elastic, and passes the windowpane test for optimal results.
- Listen to Your Dough: Pay attention to how the dough feels. Is it too sticky? Too dry? Too tight? Adjustments are part of the process.
- Control Temperature: Provide a warm, consistent environment for both the first and second rises (ideally 75-85°F).
- Don't Over-Proof: While under-proofing leads to dense rolls, over-proofing can cause them to collapse during baking. They should look puffy and spring back slowly when poked.
- Handle Gently After Kneading: Once the gluten is developed, treat the dough with care during shaping and proofing.
By focusing on these aspects and dedicating attention to the kneading process, you'll be well on your way to consistently baking delicious, tender sweet rolls that are a joy to share and eat. Happy baking!
Frequently Asked Questions
How important is kneading for achieving tender sweet rolls?
Kneading is absolutely crucial. It develops the gluten structure necessary for a light and airy texture, preventing tough sweet rolls. The right kneading technique ensures proper gluten development without overworking the dough.
What is the best way to tell if my sweet roll dough has been kneaded enough?
Look for a smooth and elastic dough. It should pass the "windowpane test," meaning you can stretch a small piece thin enough to see light through without tearing. A well-kneaded dough will also feel slightly tacky but not sticky.
Can I over-knead sweet roll dough? What happens if I do?
Yes, you can over-knead the dough. This results in a tough, dense texture. Over-kneading can happen especially when using a stand mixer. Monitor carefully and stop when the dough is smooth and elastic.
What are some tips for kneading sweet roll dough by hand?
Use a gentle but firm kneading motion. Push the dough away from you with the heel of your hand, fold it over, and repeat. Avoid tearing the dough, and be sure to incorporate all ingredients evenly.
Are there any alternatives to traditional kneading for sweet roll dough?
Yes, there are no-knead methods that involve a longer fermentation time. These methods still develop gluten, but require less manual labor. You could also use a stand mixer with a dough hook for easier kneading.
Final Reflection: The Art and Soul of a Tender Roll
The perfect sweet roll, yielding to the slightest touch, is more than just a recipe; it's a testament to patience, precision, and the transformative power of kneading. This seemingly simple act, explored throughout this article, holds the key to unlocking the airy lightness and delicate texture that define a truly exceptional sweet roll. The techniques discussed—from the gentle folds to the mindful pressure—are not merely steps in a process, but a journey towards culinary mastery.
The impact of mastering this seemingly simple skill extends far beyond the kitchen. It's a metaphor for the dedication and care we invest in all aspects of life. The subtle nuances of kneading, the feeling of the dough yielding under our hands, mirrors the delicate balance we strive for in our own lives. The best things in life are worth waiting for,
and the same holds true for the perfect sweet roll. The time spent kneading, the attention to detail, all contribute to the final reward – a moment of pure, unadulterated deliciousness.
Now, I invite you to consider your own "kneading" process. What aspects of your life require the same patience, the same careful attention to detail? Where can you apply the principles of gentle pressure and mindful technique to achieve a more fulfilling outcome? Perhaps it's a project at work, a relationship needing nurturing, or even a personal goal requiring dedication. Embrace the process, savor the journey, and discover the tender sweetness that awaits you on the other side.
Unleash Your Inner Baker: Perfect Rolls Await!
Thanks for taking the time to explore the art of making tender, sweet rolls! We hope you gained valuable insights into kneading techniques that will elevate your baking game. Ready to put your new knowledge into practice?
- Bake a batch of rolls today! Use your newfound kneading skills to create a delicious treat for yourself or loved ones. Experiment with different flours or fillings – the possibilities are endless!
- Share your baking journey! Snap a picture of your freshly baked rolls and post it on social media, tagging #BakeWithEase and inspiring others to try this recipe.
- Explore our other baking resources: Discover more tips and tricks on our website, from mastering sourdough to creating stunning decorated cakes.
What unique ingredient or flavor combination will you try in your next batch of perfect rolls? Let's hear your ideas in the comments below!