
BakeWithEase Guide to Elegant Tart Plating

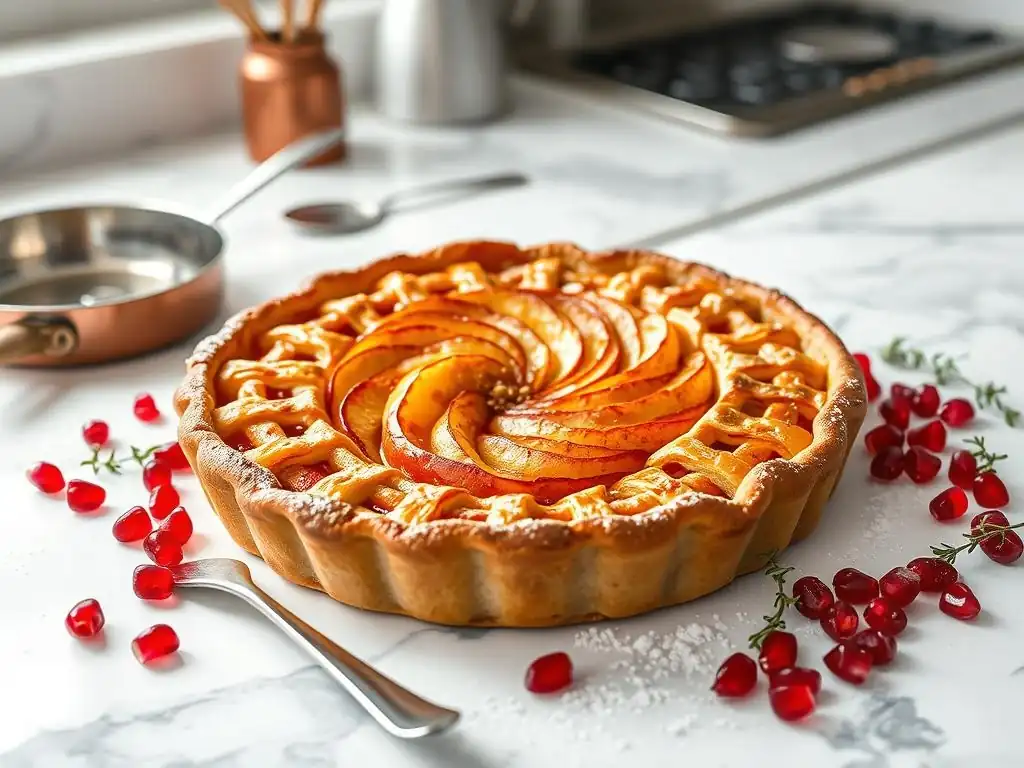
Welcome to BakeWithEase!
Unlock the secrets to transforming your tarts from simply delicious to visually stunning. Ever wondered how professional pastry chefs create those breathtaking displays of edible art? This guide unveils Elegant Tart Plating Techniques, taking you beyond basic presentation. Discover insider tips and tricks to elevate your desserts and impress your guests. Read on to master the art of plating and turn every tart into a masterpiece!
- Guide to Professional Dessert Plating: Elevate Your Culinary Creations
- Introduction to Professional Dessert Plating
- Essential Tools for Stunning Dessert Presentation
- Mastering Basic Dessert Plating Techniques
- Advanced Dessert Plating Techniques for Visual Appeal
- Ingredient Pairing for Enhanced Dessert Plating
- Step-by-Step Guide to Plating Specific Dessert Types
- Dessert Plating Ideas and Inspiration
- Common Dessert Plating Mistakes to Avoid
- Final Touches: Ensuring a Polished Presentation
- Conclusion: Elevate Your Cooking with Professional Dessert Plating Techniques
-
Frequently Asked Questions
- How important is the visual presentation of a tart, according to BakeWithEase?
- What are some beginner-friendly elegant plating techniques BakeWithEase suggests?
- Does BakeWithEase offer tips for advanced tart plating techniques?
- Where can I find step-by-step guides for tart plating on BakeWithEase?
- What kind of ingredients does BakeWithEase recommend for garnishing tarts elegantly?
- Final Reflection: The Art and Soul of Elegant Tart Plating
- Elevate Your Tart Game: Plate Like a Pro!
Guide to Professional Dessert Plating: Elevate Your Culinary Creations
Introduction to Professional Dessert Plating
Why Professional Dessert Plating Matters: Beyond Taste
While the delightful flavor and perfect texture of your baked goods are paramount, the visual presentation of a dessert significantly enhances the overall dining experience. Think about a simple slice of apple tart. Served straight from the pan, it's comforting and delicious. However, plate that same tart slice with a elegant caramel sauce swirl, a sprinkle of cinnamon sugar, and a small quenelle of vanilla bean ice cream, and you transform it into a restaurant-quality treat. This attention to detail elevates the perceived value and sophistication of your culinary creations, making them truly memorable.
Moreover, professional dessert plating isn't just for fancy occasions or restaurant chefs. It's a skill that any home baker can cultivate to make their efforts feel even more rewarding. Mastering elegant tart plating techniques, or presenting a simple cookie with flair, shows care and passion. It turns eating dessert into an event, engaging the senses before the first bite is even taken. For those who love to bake with ease, adding a touch of professional dessert plating mastery is the next natural step in perfecting their craft.
The Culinary Art of Dessert Presentation
Dessert presentation is often referred to as the final flourish, the edible exclamation point on a meal. It's where creativity meets technique, allowing bakers to express their artistic side. Just as you carefully measure ingredients and follow baking steps, learning the principles of professional dessert plating involves understanding balance, color, texture, and form on a plate. It's not about masking imperfections but about highlighting the beauty of your baked goods.
Consider plating as composing a small edible landscape. Each element, from the main dessert item – perhaps a perfectly baked tart – to the accompanying sauces and garnishes, plays a role in the final composition. The goal is to create a harmonious and visually appealing arrangement that is also easy and enjoyable to eat. Developing this eye for detail transforms baking from a science into a truly comprehensive culinary art form.
Essential Tools for Stunning Dessert Presentation
Must-Have Plating Tools for Dessert Design
To execute professional dessert plating effectively, having the right tools is crucial. While you don't need a professional kitchen's worth of equipment, a few key items can make a significant difference. Squeeze bottles with fine tips are invaluable for creating precise sauce lines or dots. Small offset spatulas are perfect for spreading sauces smoothly or lifting delicate items. Plating spoons, with their specific shape, help create graceful swooshes or quenelles of sauces and soft components like mousse or ice cream.
| Tool | Primary Use | Example in Plating |
|---|---|---|
| Squeeze Bottles | Precise sauce application, dots, lines | Creating a berry coulis pattern around a tart slice. |
| Offset Spatula | Lifting, spreading, smoothing | Spreading a thin layer of chocolate ganache. |
| Plating Spoon | Creating swooshes, quenelles | Forming a quenelle of créme fraîche next to a cake. |
| Culinary Tweezers | Placing small garnishes precisely | Arranging delicate edible flowers or microgreens. |
| Fine Mesh Sieve | Dusting powders (sugar, cocoa) | Creating a light dusting over a brownie. |
| Ring Molds/Cutters | Shaping components, creating clean edges | Molding a panna cotta or cutting a perfect circle. |
Investing in these basic tools, many of which are quite affordable, can dramatically improve the precision and elegance of your elegant tart plating techniques and other dessert presentations. They allow for cleaner lines, more controlled placement, and ultimately, a more polished final look.
Choosing the Right Plates for Dessert Plating: Size, Shape, and Material
The plate itself is the canvas for your dessert art, and its characteristics play a significant role in the final presentation. Dessert plates typically range from 6 to 8 inches in diameter. Using a plate that is too large can make the dessert look sparse and lonely, while a plate that is too small can make it appear cluttered. Aim for a size that provides enough negative space around the dessert to let it breathe and stand out, but not so much that the plate dominates.
The shape and material of the plate also matter. Classic round white plates are versatile and allow the vibrant colors of the dessert to pop without distraction. Square or rectangular plates can lend a more modern feel. Irregularly shaped plates can add artistic flair but require careful consideration to ensure the plating complements the shape.
Material-wise, ceramic and porcelain are common and offer a clean look. Glass plates can work, especially for layered desserts, but can sometimes look less formal than ceramic. When practicing professional dessert plating, experimenting with different plate styles for different desserts (e.g., a flat plate for a tart slice, a deeper bowl for a soup-like dessert or trifle) helps you understand what works best.
Mastering Basic Dessert Plating Techniques
The Classic Approach: Simple and Elegant Dessert Placement
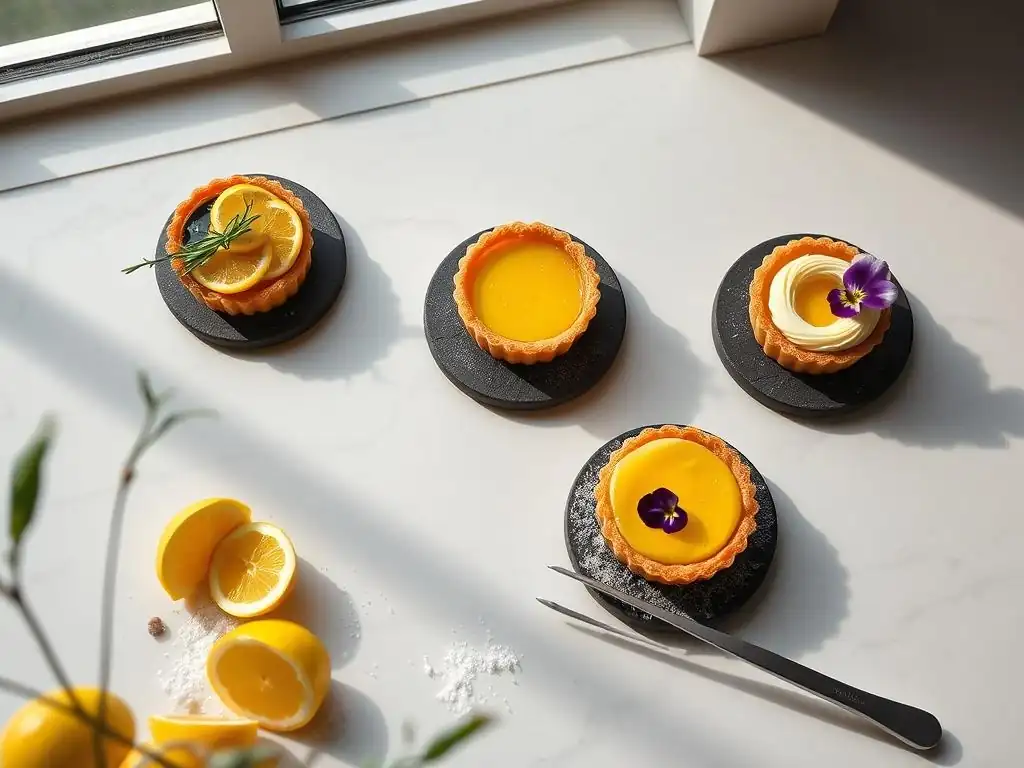
The foundation of professional dessert plating often begins with the classic approach: placing the main dessert item as the focal point on the plate. This is frequently done slightly off-center, creating a sense of dynamic balance rather than static symmetry. For example, a slice of a baked tart could be placed towards the right or left side of the plate, leaving the larger area for accompanying sauces or garnishes. The key here is simplicity and cleanliness.
- Place the main item first.
- Ensure it sits stably on the plate.
- Consider the "rule of thirds" often used in photography – imagine the plate divided into a 3x3 grid and place the focal point where the lines intersect.
- Remember: Leave ample negative space. An overcrowded plate feels busy and less elegant.
This technique emphasizes the beauty of the dessert itself. It's a great starting point for elegant tart plating techniques as it allows the golden crust and filling of the tart to be the star, with other elements serving as tasteful accents rather than distractions.
Sauce Swirls and Drizzles: Adding Dimension to Your Dessert Plate
Sauces are liquid gold in professional dessert plating, adding color, flavor, and visual movement. Basic techniques include simple drizzles, controlled dots, and elegant swooshes. To create a swoosh, place a dollop of sauce on the plate and use the back of a spoon to pull it across the plate in a curved motion. For dots, use a squeeze bottle to apply uniform drops of sauce in a pattern or scattered randomly.
Consider the consistency of your sauce. A thick sauce will hold its shape better for dots, while a slightly thinner sauce is ideal for swooshes or fine lines. Examples include a raspberry coulis for a vibrant red swirl, a dark chocolate sauce for rich brown lines, or a bright yellow lemon curd drizzled over a berry dessert. Applying these techniques skillfully can transform a plain plate into a dynamic composition, enhancing the visual appeal of even simple baked goods.
Garnishing for Impact: Fresh Fruit, Herbs, and Edible Flowers
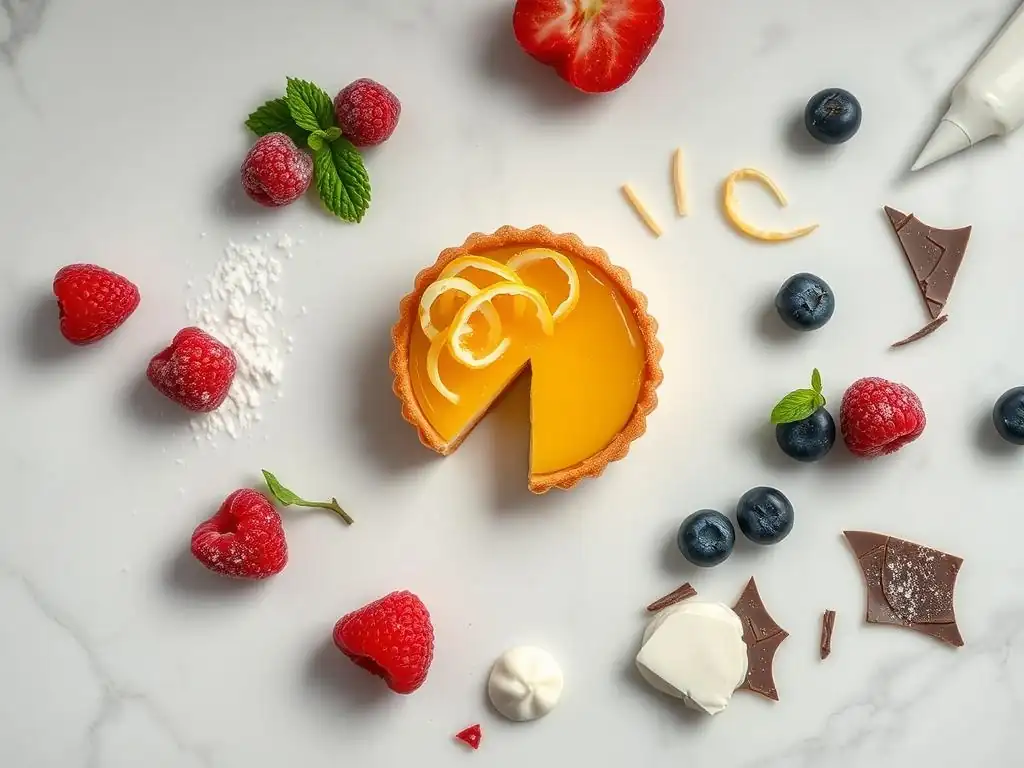
Garnishes are the jewels of professional dessert plating, adding pops of color, contrasting textures, and sometimes complementary flavors. Fresh berries like raspberries or blueberries are popular choices due to their vibrant hues and natural sweetness. A few leaves of fresh mint can add a refreshing green element and aromatic lift, particularly good with fruit-based desserts like a lemon tart.
Edible flowers, such as violas or pansies, bring delicate beauty and color to the plate. Consider toasted nuts or seeds for crunch, or a sprinkle of citrus zest for brightness. The key is to choose garnishes that make sense with the dessert's flavors and add visual appeal without overwhelming the main item. A single, perfectly placed raspberry or a small sprig of mint can be far more effective than a cluttered pile of different garnishes.
Advanced Dessert Plating Techniques for Visual Appeal
Deconstructed Dessert Plating: A Modern Twist
Deconstructed plating takes the components of a classic dessert and presents them separately on the plate in a new arrangement. Instead of a slice of apple pie, you might have a smear of apple filling, a pile of crumble topping, a dollop of spiced caramel sauce, and a sphere of vanilla ice cream scattered artfully across the plate. This technique offers a modern, often more abstract, presentation.
It challenges the diner's expectation and allows them to experience the individual flavors and textures of the dessert in a new way. For elegant tart plating techniques, this could mean presenting the tart filling, crust crumble, and perhaps a related sauce or cream as distinct elements. It requires careful execution and thoughtful arrangement to ensure the plate still feels cohesive and intentional, rather than messy.
Layering Techniques: Building Height and Visual Interest
Adding height to your dessert presentation can make it look more dynamic and professional. Layering components vertically draws the eye upward and adds visual interest. This can be achieved in several ways: stacking elements (like mini cake layers or cookies with cream), using ring molds to build up components (like a layered mousse and gelee), or leaning components against each other.
For example, a slice of tart could be propped slightly against a dollop of cream, or a thin tuile cookie could be stood upright next to a scoop of ice cream. Even simple stacking of garnishes, like a few berries piled neatly, adds a subtle vertical element. Professional dessert plating often utilizes this technique to create a more impactful and memorable visual experience, transforming a flat dessert into a three-dimensional piece.
Using Stencils and Powders for Intricate Designs on Dessert Plates
Adding intricate patterns to the plate using stencils and edible powders like confectioners' sugar, cocoa powder, or even ground freeze-dried fruit can create a sophisticated backdrop for your dessert. Place a stencil on the plate and lightly dust the powder over it using a fine mesh sieve. Carefully lift the stencil straight up to reveal the design.
This technique is excellent for adding a touch of elegance without requiring advanced drawing skills with sauces. You can find stencils with geometric patterns, floral designs, or even letters. A simple dusting of cocoa powder through a stencil beneath a cream-based dessert or a dusting of powdered sugar around a rich chocolate tart can add a subtle layer of visual complexity to your professional dessert plating.
Ingredient Pairing for Enhanced Dessert Plating
Complementary Flavors: Pairing Garnishes with Your Dessert's Profile
When selecting garnishes for professional dessert plating, flavor compatibility is just as important as visual appeal. The garnish should enhance, not clash with, the main dessert's taste. For a rich chocolate cake, consider raspberries or a sprinkle of sea salt. With a lemon tart, candied citrus peel, fresh mint, or a berry coulis work wonderfully.
Think about classic flavor pairings: chocolate and orange, apple and cinnamon, berries and cream, lemon and raspberry. Incorporating these pairings into your plating ensures that every element on the plate contributes positively to the overall eating experience. It demonstrates thoughtfulness and a deeper understanding of culinary harmony.
Color Theory in Dessert Plating: Creating Visually Appealing Combinations
Color is one of the most powerful tools in professional dessert plating. Using color theory can help you create plates that are visually appealing and even influence how the dessert is perceived. Contrasting colors (like red strawberries on a white panna cotta) create vibrancy and make elements pop. Analogous colors (like different shades of red and pink) create a more harmonious and soothing look.
Consider the dominant color of your dessert and choose garnishes or sauces that either complement or contrast effectively. A golden-brown baked tart looks stunning against a vibrant red berry sauce or a bright green mint sprig. Avoid using too many colors, which can make the plate look chaotic. Often, focusing on one or two accent colors against the dessert's main color is most effective for elegant tart plating techniques and other desserts.
Textural Contrast: Adding Crunch, Smoothness, and More
Texture adds another layer of interest to professional dessert plating and the eating experience. A plate composed entirely of soft elements can feel monotonous. Introducing contrasting textures, like a crisp cookie, a crunchy nut brittle, or a smooth sauce alongside a soft cake or mousse, makes the dessert more dynamic.
Think about adding a crisp tuile cookie next to a creamy mousse, scattering toasted nuts around a rich chocolate dessert, or adding a spoonful of fruit compote with small chunks alongside a smooth custard. For a tart, this could involve adding a crisp caramel shard, a sprinkle of toasted almonds, or a smooth, velvety sauce. This textural interplay makes each bite more exciting and contributes to a sophisticated professional dessert plating.
Step-by-Step Guide to Plating Specific Dessert Types
Plating Cakes: Showcasing Layers and Decoration
Plating a slice of cake involves more than just putting it on a plate. If it's a layered cake, the goal is often to showcase those layers. Cut the slice cleanly using a hot, sharp knife. Place the slice on the plate, often slightly off-center. Consider adding a dollop of whipped cream, créme fraîche, or a scoop of ice cream alongside it. A simple sauce drizzle or a few berries can complete the look.
Tips for Arranging Cake Slices
- Use a knife dipped in hot water and wiped clean between cuts for smooth edges.
- Cut slices approximately 1.5 to 2 inches thick for stability and good presentation.
- Place the slice using a spatula to avoid smudging the plate.
- Angle the slice slightly to reveal the layers within.
- Add accompanying elements (sauce, cream, garnish) around the slice, respecting the negative space.
Plating Mousses: Rich and Decadent Presentation
Mousses, being soft and delicate, require careful handling. They are often plated using a ring mold for a perfectly cylindrical shape or served in a glass. If unmolding onto a plate, ensure the mousse is well-chilled and use a warm cloth around the mold briefly to release it cleanly.
Using Chocolate Shavings and Curls
Chocolate shavings or curls are classic garnishes for chocolate or coffee mousses. To make shavings, run a vegetable peeler along the side of a block of chocolate. For curls, use a wider peeler or a scraper tool on slightly tempered or warmed chocolate. Scatter the shavings lightly over the mousse or place a few elegant curls on top or beside it. This adds texture and reinforces the chocolate flavor visually.
Plating Ice Creams: Emphasizing Texture and Flavor
Plating ice cream elegantly, especially in a warm environment, requires speed. The most common technique is using a plating spoon (or two) dipped in hot water to create smooth, oval shapes called quenelles. Serve ice cream immediately after plating.
Highlighting Toppings in the Dessert Plating
Instead of simply dumping toppings over the ice cream, arrange them thoughtfully around the scoop or quenelle. Scatter toasted nuts or granola around the base. Drizzle sauces like caramel or hot fudge artistically over or beside the ice cream. Place fresh fruit or cookie pieces strategically. This highlights the quality and variety of the toppings and adds visual structure to the presentation.
Dessert Plating Ideas and Inspiration
Examples of Stunning Dessert Presentations
Let's visualize a few examples of professional dessert plating:
- A slice of baked apple tart: Placed slightly off-center on a white plate. A swoosh of spiced caramel sauce sweeps from one corner. A small quenelle of vanilla bean ice cream sits next to the tart. A sprinkle of cinnamon sugar and a single fresh mint leaf are placed near the ice cream.
- Chocolate Lava Cake: The warm cake is centered on a plate. A pool of raspberry coulis surrounds the base. A cluster of fresh raspberries and a dusting of powdered sugar through a small round stencil complete the look.
- Lemon Mousse: Unmolded from a ring mold, the mousse stands tall. A scatter of crunchy shortbread crumble is placed beside it. A few delicate swirls of lemon curd are piped onto the plate, and a tiny edible viola flower garnishes the top of the mousse.
These examples showcase how combining simple placement, sauce techniques, and thoughtful garnishes can elevate familiar desserts into stunning visual experiences.
Common Dessert Plating Mistakes to Avoid
Overcrowding the Plate: Less is More
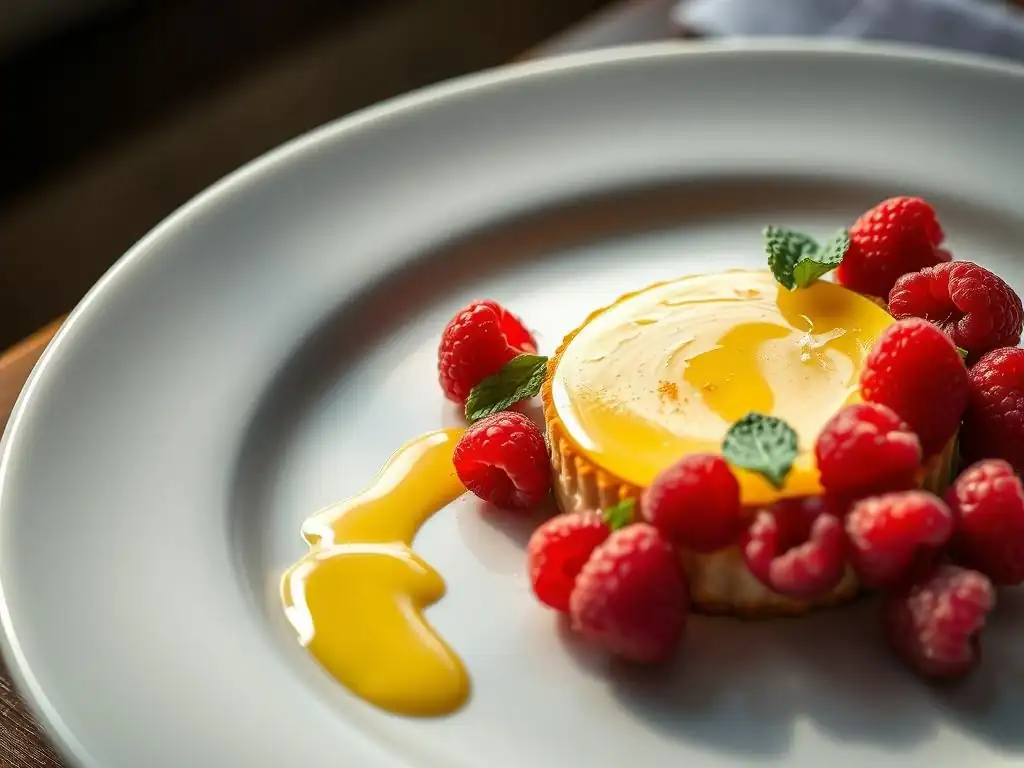
One of the most common mistakes in professional dessert plating is putting too much on the plate. Piles of garnishes, excessive sauce, or multiple large components can make the plate look messy and confusing. The eye doesn't know where to focus, and the elegance is lost.
- Rule of thumb: Leave plenty of white space (or negative space) on the plate. This allows each element to stand out and gives the dessert room to breathe.
- Focus on a few well-executed elements rather than many haphazard ones. A single, perfect garnish is better than a scattering of too many things.
This principle is especially true for elegant tart plating techniques, where the beauty of the tart itself should be the main focus.
Neglecting the Rim: Utilizing the Entire Canvas
While the main dessert item is often centered or slightly off-center, ignoring the rest of the plate is a missed opportunity. The entire plate is your canvas. Sauces can extend towards the rim, garnishes can be placed along the edge, and patterns can utilize the full surface area.
However, be mindful of where the diner will hold the plate. Avoid placing messy sauces or sticky elements right on the rim where fingers will touch. Use the outer areas for visual elements like sauce trails, scattered crumbs, or strategically placed garnishes that frame the dessert.
Ignoring Color Harmony: Creating a Balanced Palette
As discussed earlier, color is vital. A plate with clashing colors can be jarring and unappetizing. For instance, pairing a vibrant green lime dessert with a bright purple grape sauce might create an unsettling visual.
- Aim for colors that are naturally appealing and work well together.
- Use color to highlight the dessert, not detract from it.
- If unsure, stick to classic pairings or use neutral plates to let the dessert's colors shine.
A well-executed professional dessert plating uses color thoughtfully to create a harmonious and inviting presentation.
Final Touches: Ensuring a Polished Presentation
Lighting Considerations: How Lighting Affects Presentation
While you can't control the lighting in every setting, understanding its impact is part of professional dessert plating. Natural light is often the most flattering for food photography and presentation, revealing true colors and textures. In artificial light, warm tones can make desserts look richer, while harsh overhead lights can create unflattering shadows.
When plating at home, consider the lighting where the dessert will be served. If presenting under specific lights, do a quick check to see how the colors and shadows play on the plate. This awareness helps ensure your careful plating efforts look their best when they reach the table.
Maintaining Cleanliness: Wiping Away Stray Sauces and Crumbs
This is a non-negotiable final step in professional dessert plating. Before sending the plate out, take a clean cloth or paper towel, possibly dipped in a little warm water, and carefully wipe away any stray drips of sauce, fingerprints, or crumbs from the rim and the non-plated areas of the plate.
A clean plate edge makes the entire presentation look crisp, intentional, and truly professional. It shows attention to detail and elevates the perceived quality of the dessert. Don't let a beautiful plating job be ruined by a careless smudge.
Conclusion: Elevate Your Cooking with Professional Dessert Plating Techniques
The Art of Dessert Plating: A Continuous Journey of Improvement
Mastering professional dessert plating is an ongoing process, much like refining your baking skills. It's an art form that combines technical ability with creative vision. By practicing basic techniques like precise placement, sauce application, and thoughtful garnishing, you can significantly elevate the presentation of your homemade baked goods, including those delicious tarts you love to make with ease.
Experiment with different tools, plate styles, and ingredient combinations. Don't be afraid to try new things, whether it's attempting a deconstructed approach or perfecting your sauce swooshes. Each dessert presents a new opportunity to practice and improve your elegant tart plating techniques and overall presentation skills. With patience and practice, you can transform your kitchen into a patisserie and your dining table into a showcase for stunning, edible art.
Frequently Asked Questions
How important is the visual presentation of a tart, according to BakeWithEase?
BakeWithEase emphasizes that visual appeal is crucial for enhancing the overall baking experience. A beautifully plated tart elevates both the enjoyment and perceived quality.
What are some beginner-friendly elegant plating techniques BakeWithEase suggests?
BakeWithEase recommends starting with simple garnishes like fresh fruit arrangements, a dusting of powdered sugar, or a drizzle of sauce in an artistic pattern.
Does BakeWithEase offer tips for advanced tart plating techniques?
Yes! BakeWithEase delves into more advanced methods such as using stencils for precise designs, incorporating edible flowers, and creating multi-layered arrangements.
Where can I find step-by-step guides for tart plating on BakeWithEase?
BakeWithEase provides detailed step-by-step instructions and visuals within their articles and video tutorials, making it easy to follow along and replicate plating techniques.
What kind of ingredients does BakeWithEase recommend for garnishing tarts elegantly?
BakeWithEase suggests using fresh seasonal fruits, high-quality chocolates, homemade sauces, edible flowers, and even sprinkles with restraint for an elegant finish.
Final Reflection: The Art and Soul of Elegant Tart Plating
The seemingly simple act of plating a tart is, in reality, a powerful expression of culinary artistry. A beautifully plated tart elevates the entire dining experience, transforming a delicious dessert into a memorable masterpiece. In today's visually-driven world, where food photography reigns supreme, mastering elegant tart plating techniques is more crucial than ever for both professional bakers and home enthusiasts.
The journey through various plating styles, from the minimalist chic to the exuberantly decorative, has underscored the profound connection between presentation and taste. The subtle nuances of color, texture, and arrangement can dramatically alter the perception of a dish. As the saying goes, We eat first with our eyes.
This holds especially true for tarts, where the delicate balance of crust, filling, and garnish demands careful consideration. My own exploration of these techniques has not only improved my baking but also deepened my appreciation for the artistry involved in creating a truly unforgettable culinary experience.
Now, it's your turn. Consider the tarts you bake – what story do you want them to tell? Don't be afraid to experiment, to push boundaries, and to find your own unique style. Embrace the creative freedom that elegant tart plating offers, and let your passion for baking shine through in every carefully considered detail. The beauty of a perfectly plated tart lies not only in its visual appeal but also in the joy it brings – both to the baker and the lucky recipient.
Elevate Your Tart Game: Plate Like a Pro!
Thanks for joining us on this delicious journey into the art of tart plating! We hope you've gained some valuable insights and inspiration to transform your baking from good to gorgeous. Ready to put your new skills to the test?
- Master the art of elegant plating: Practice your newly acquired techniques with your next tart creation. Experiment with different garnishes and presentation styles to find what resonates with you!
- Share your masterpiece: Post a photo of your beautifully plated tart on social media and tag us @BakeWithEase – we'd love to see your creations!
- Challenge yourself: Try recreating one of the advanced plating techniques from the article using a different type of tart. What unexpected results will you discover?
What unexpected ingredient or garnish will you use to elevate your next tart plating? Let us know in the comments below!