
Best Tips for Baking Perfect Fruit Pies: Your Checklist

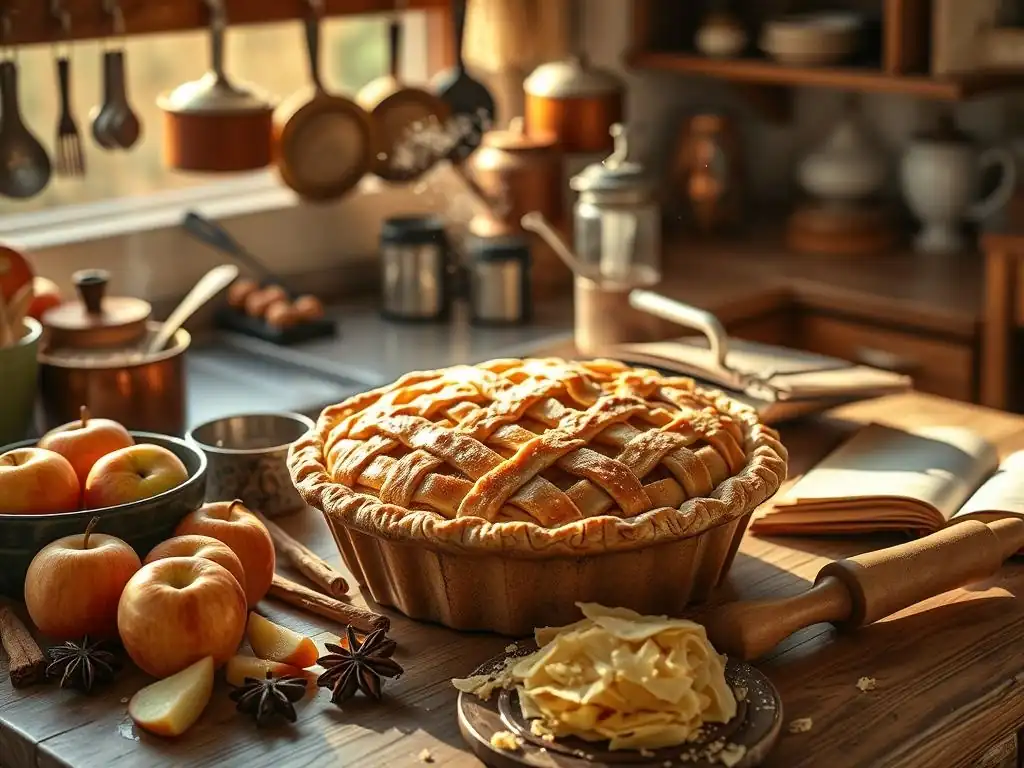
Welcome to BakeWithEase, your trusted companion in the kitchen! Ever dreamt of crafting a perfect fruit pie that's both stunning and delicious? We've all been there, struggling with soggy bottoms and uneven fillings. But fear not! Discover our checklist of essential fruit pie baking tips to unlock the secrets to flaky crusts and irresistibly juicy centers. Ready to bake a masterpiece? Let's get started!
- Best Tips for Baking Perfect Apple Pies: Your Checklist
- Sally's Baking Addiction's Guide to Perfect Apple Pie Baking
- Key Ingredients for Apple Pie Perfection
- Mastering the Apple Pie Crust: Essential Techniques
- Apple Pie Filling Techniques: Avoiding Common Pitfalls
- Baking Your Apple Pie to Perfection: Temperature and Timing
- Cooling and Serving: The Final Touches for Apple Pie Success
- Troubleshooting Common Apple Pie Baking Problems
- Apple Pie Recipe Inspiration: Classic Apple Pie
- Achieving Apple Pie Baking Mastery: A Recap of Our Top Tips
-
Frequently Asked Questions
- What are some essential tips for preventing a soggy bottom crust in fruit pies?
- How can I ensure my fruit pie filling isn't too runny after baking?
- What's the best way to achieve a golden brown and flaky pie crust?
- What types of fruit are best suited for baking pies, and how should I prepare them?
- How do I prevent my pie crust edges from burning during baking?
- Final Reflection: The Enduring Allure of the Perfect Fruit Pie
- Unlock Your Inner Pie Master!
Best Tips for Baking Perfect Apple Pies: Your Checklist
Sally's Baking Addiction's Guide to Perfect Apple Pie Baking
Achieving a truly perfect apple pie is a rewarding endeavor, a hallmark of home baking. It requires attention to detail at every step, from selecting the right ingredients to mastering the techniques for both crust and filling. Think of this guide as your essential checklist, bringing together the best practices for perfect apple pie baking, ensuring your pie turns out beautifully golden, flaky, and filled with tender, flavorful apples.
Following these perfect apple pie baking tips can elevate your baking skills and consistently produce pies that are not only delicious but also visually stunning. We'll cover the foundational elements, delve into the nuances of crust and filling, and provide troubleshooting advice to help you navigate common challenges on your journey to mastering perfect apple pie baking.
Key Ingredients for Apple Pie Perfection
Selecting the Best Apples for Baking
Choosing the right apples is paramount to achieving a perfect apple pie. Different apple varieties offer varying levels of sweetness, tartness, and firmness, and how they hold up during baking is crucial. A blend of apples often yields the best results, offering complexity in flavor and texture. For instance, using solely soft apples can result in a mushy filling, while using only firm, tart apples might be too one-dimensional.
Excellent choices for baking include Granny Smith (tart, holds shape well), Honeycrisp (sweet-tart, crisp), Fuji (sweet, crisp), Braeburn (spicy-sweet), and Mutsu/Crispin (sweet, holds shape). Many bakers recommend using a mix, perhaps two-thirds firm-tart apples like Granny Smith and one-third sweeter, softer apples like Honeycrisp or Fuji. This combination provides a balance of flavor and ensures the filling isn't uniformly soft, contributing significantly to achieving perfect apple pie baking results. Aim for approximately 6-8 cups of sliced apples for a standard 9-inch pie.
Choosing the Right Flour for a Flaky Crust
The type of flour used in your pie crust significantly impacts its texture. For a classic, flaky pie crust, all-purpose flour is the standard choice and works exceptionally well. Its protein content is moderate enough to develop some structure without becoming overly tough, provided it's handled correctly. Using bleached or unbleached all-purpose flour is generally acceptable, though some bakers prefer unbleached for slightly better flavor and structure.
For those seeking the ultimate in tenderness and flakiness, some recipes call for a portion of pastry flour or cake flour mixed with all-purpose. These flours have lower protein content, resulting in a more tender crumb. However, sticking with a good quality all-purpose flour and mastering the technique – like keeping ingredients cold and not overworking the dough – is one of the most effective perfect apple pie baking tips for achieving that coveted flaky texture.
The Importance of Quality Butter in Pie Dough
Butter is more than just fat in pie dough; it's the key to flakiness. As the butter melts in the hot oven, it creates steam, which pushes apart the layers of dough, resulting in those desirable flaky pockets. Using high-quality, unsalted butter is essential. Unsalted butter allows you to control the salt level in your dough, ensuring it complements the sweet filling without being overly salty.
The temperature of the butter is equally critical for perfect apple pie baking. It must be very cold, cut into small pieces or grated, and incorporated into the flour until the mixture resembles coarse crumbs with some larger, pea-sized pieces of butter remaining. These larger pieces are what create the steam and thus the flaky layers. Avoid using softened or melted butter, as this will lead to a tough, cookie-like crust rather than a light and flaky one.
Mastering the Apple Pie Crust: Essential Techniques
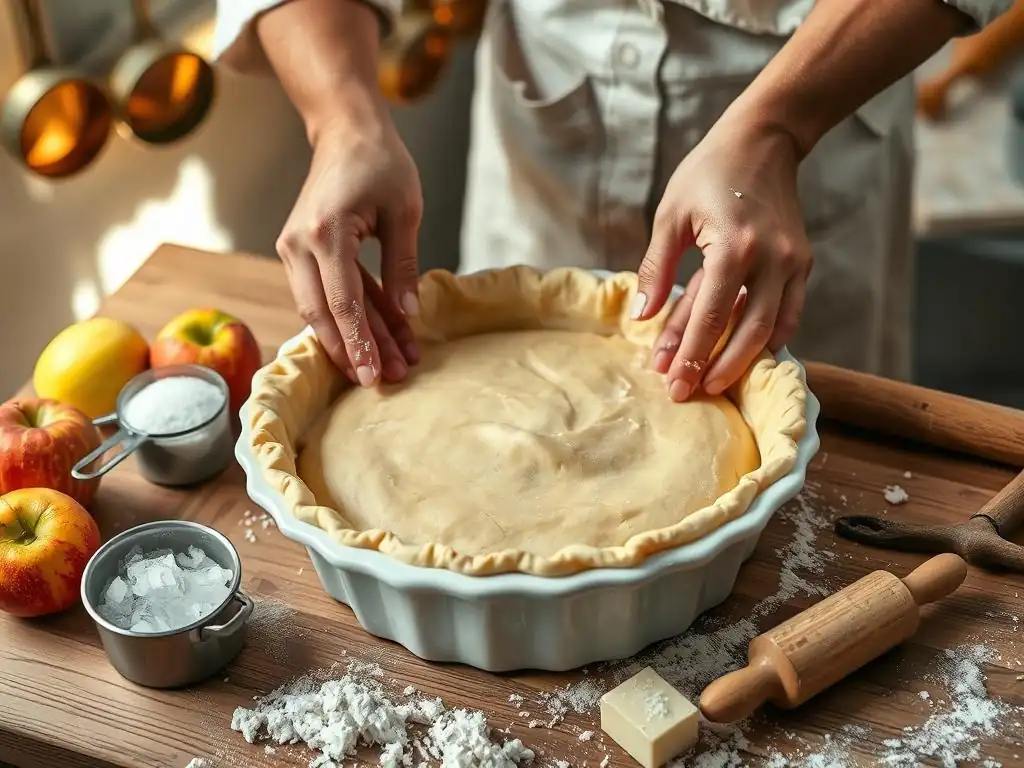
The Cold Butter Secret: Achieving Flaky Layers
The secret to a truly flaky pie crust lies largely in keeping your ingredients, especially the butter and water, as cold as possible. When cold butter is cut into the flour, it remains in small, distinct pieces. As the pie bakes, these butter pieces melt, releasing steam that pushes apart the layers of dough. This separation creates hundreds of thin, airy layers, giving the crust its characteristic flakiness.
Working quickly is also important to prevent the butter from warming up. Some bakers even chill their flour and mixing bowl before starting. Using ice water (or even vodka, which inhibits gluten development) for the liquid component helps maintain a low temperature and contributes to tenderness. Incorporating this technique is a fundamental step in achieving perfect apple pie baking results, transforming a simple dough into a masterpiece of texture.
Perfect Pie Crust Dough: Mixing and Handling Tips
Mixing pie dough requires a delicate touch. The goal is to hydrate the flour just enough for the dough to come together, without developing too much gluten. Overworking the dough leads to excessive gluten development, resulting in a tough, chewy crust instead of a tender, flaky one. Start by cutting the cold fat into the flour, then add the ice water a tablespoon at a time, mixing until the dough just barely comes together.
Once the dough forms, divide it into two discs (one slightly larger for the bottom crust), wrap them tightly in plastic wrap, and chill them for at least 30 minutes, preferably longer (up to 2 days). Chilling allows the gluten to relax and the fat to firm up, making the dough easier to roll out and contributing to a more tender crust. Proper mixing and chilling are non-negotiable perfect apple pie baking tips for crust success.
Pre-Baking or Blind Baking: When and Why
Pre-baking, or blind baking, the bottom pie crust involves partially or fully baking the crust before adding the filling. This technique is particularly useful for wet fillings, like apple pie, to prevent a soggy bottom crust. For apple pie, a partial blind bake is often sufficient. This means lining the chilled bottom crust with parchment paper, filling it with pie weights (or dried beans/rice), and baking it for 15-20 minutes at around 375°F (190°C) until the edges are set but the center is still pale.
After removing the weights and parchment, the crust can be baked for a few more minutes to set the bottom slightly. This crucial step gives the bottom crust a head start in crisping up before the moist apple filling is added, significantly reducing the risk of a soggy bottom. Incorporating a partial blind bake into your process is one of the most effective perfect apple pie baking tips for ensuring a perfectly textured crust from top to bottom.
Apple Pie Filling Techniques: Avoiding Common Pitfalls
Preventing a Soggy Bottom Crust: Moisture Management
Beyond pre-baking the crust, managing the moisture from the apples is key to preventing a soggy bottom. Apples naturally release juice as they bake. To mitigate this, you can prepare the apple filling ahead of time and let it sit. Toss sliced apples with sugar, spices, and your chosen thickener, then let the mixture sit in a bowl for 15-30 minutes. The sugar will draw out a significant amount of liquid, creating a syrupy mixture.
You can then drain off some of this liquid before adding the apples to the pie shell. Alternatively, some recipes suggest reducing this drained liquid on the stovetop to create a thicker syrup to pour back over the apples in the pie. Ensuring the apples are properly prepared and the excess liquid is managed is a critical perfect apple pie baking tip for achieving a firm, non-soggy bottom crust.
Thickening Apple Pie Filling: Flour vs. Tapioca Starch
Choosing the right thickener is vital for a well-set apple pie filling that isn't runny. Common thickeners include all-purpose flour, cornstarch, and tapioca starch (or Minute Tapioca). Each has its pros and cons. Flour is a common choice, requiring about 1/4 cup per pie, but it can sometimes give the filling a slightly cloudy or pasty appearance. Cornstarch provides a clear set but can break down if overcooked or frozen and thawed.
Tapioca starch is often preferred for fruit pies because it creates a clear, glossy filling that holds up well and doesn't break down. About 2-3 tablespoons of tapioca starch (or 4-5 tablespoons of Minute Tapioca) are typically needed per pie. Many bakers use a combination, like flour and tapioca, for a reliable set. Experimenting with thickeners is part of refining your perfect apple pie baking technique.
Sweetening the Deal: Choosing the Right Sweetener Blend
The sweetener blend in your apple pie filling affects not only sweetness but also flavor and texture. Granulated sugar is standard, providing clean sweetness. Brown sugar, either light or dark, adds moisture and a lovely caramel or molasses note that pairs beautifully with apples and spices like cinnamon and nutmeg. Using a mix of granulated and brown sugar (e.g., 1/2 cup granulated and 1/4 cup brown sugar for 6-8 cups of apples) offers a balanced sweetness and depth of flavor.
The amount of sugar needed depends on the sweetness of your apples and personal preference, usually ranging from 1/2 cup to 3/4 cup total. Tasting a small piece of apple tossed with the sugar blend can help you gauge the sweetness before filling the pie. Getting the sweetness right is a subtle yet important perfect apple pie baking tip that enhances the overall flavor profile.
Baking Your Apple Pie to Perfection: Temperature and Timing
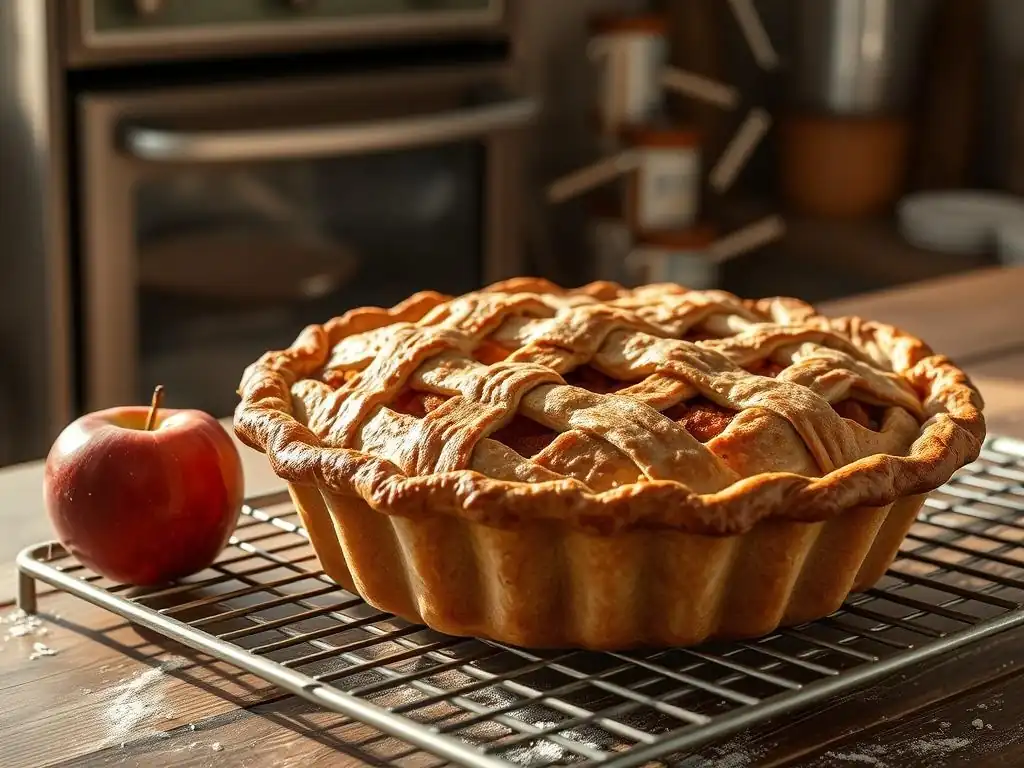
Optimal Oven Temperature for Apple Pies
Baking temperature plays a crucial role in achieving a perfectly cooked pie with a golden, flaky crust and tender, bubbling filling. Many recipes recommend starting the pie at a higher temperature for the first 15-20 minutes, typically 400-425°F (200-220°C), and then reducing the temperature to a lower setting, around 375°F (190°C), for the remainder of the baking time.
The initial high heat helps to set the crust quickly and encourages the butter to create those flaky layers. The subsequent lower temperature allows the filling to cook through and thicken slowly without the crust burning. This two-stage baking method is a widely recommended perfect apple pie baking tip for ensuring even cooking and optimal crust development.
Knowing When Your Apple Pie is Done: Visual Cues
Determining when your apple pie is perfectly baked requires observing visual cues. The crust should be deeply golden brown, not just pale yellow. This indicates that the crust is fully cooked and crisp. More importantly, the filling should be visibly bubbling up through the vents in the top crust. The bubbles should appear thick and syrupy, not watery.
If the filling isn't bubbling actively, the thickener hasn't fully activated, and the filling will likely be runny. You can also gently insert a sharp knife or skewer through a vent to test the tenderness of the apples; they should be easily pierced with minimal resistance. Baking until you see thick, active bubbling is a key indicator for perfect apple pie baking success.
Preventing a Burnt Crust: Pie Shields and Foil
One common challenge in baking pies, especially those that require a long baking time like apple pie, is preventing the edges of the crust from burning before the rest of the pie is done. The edges are thinner and more exposed to the oven's heat. Fortunately, this is easily remedied with a pie shield or aluminum foil.
Once the crust edges have reached a beautiful golden brown color (typically after 20-30 minutes of baking), cover them with a silicone pie shield or strips of aluminum foil crimped around the rim of the pie plate. This protects the edges from further browning while the rest of the pie continues to bake and the filling thickens. Using a shield is a simple yet effective perfect apple pie baking tip to ensure your crust is golden all over, not just in the center.
Cooling and Serving: The Final Touches for Apple Pie Success
Cooling Your Apple Pie Properly: Preventing Cracks
Allowing your apple pie to cool properly is just as important as the baking process itself, especially for the filling to set completely. Rushing to slice into a hot pie will almost certainly result in a runny, messy slice. As the pie cools, the thickener in the filling continues to work, and the juices set into a cohesive, sliceable consistency.
An apple pie should cool on a wire rack for at least 2-4 hours, or even longer, until it is barely warm or at room temperature. Cooling on a wire rack allows air circulation underneath, preventing the bottom crust from becoming steamed and soggy. While it's tempting to dig in immediately, patience during the cooling phase is a crucial perfect apple pie baking tip for achieving clean, beautiful slices.
Slicing and Serving Apple Pie: Presentation Matters
Once properly cooled, slicing your apple pie requires a few simple steps for optimal presentation. Use a sharp knife, preferably one dipped in hot water and wiped clean between slices. This helps the knife glide through the crust and filling without tearing or dragging. Cut the pie from the center outwards.
Serving apple pie warm or at room temperature is a matter of preference. A slightly warm slice is classic, often served with a scoop of vanilla ice cream or a dollop of whipped cream. These accompaniments melt slightly into the warm filling, creating a delightful sensory experience. Presenting neat slices is the final flourish in achieving perfect apple pie baking glory.
Storing Leftover Apple Pie: Maintaining Freshness
Proper storage helps maintain the freshness and quality of leftover apple pie. Once the pie has cooled completely, cover it loosely with plastic wrap or aluminum foil. Apple pie can typically be stored at room temperature for 1-2 days. For longer storage, or in warmer climates, refrigerating the pie is recommended.
In the refrigerator, apple pie will stay fresh for 3-4 days. The crust may soften slightly in the refrigerator due to the moisture from the filling, but the flavor will remain good. For longer storage, you can freeze individual slices or the whole pie (well-wrapped) for up to 3-4 months. Thaw in the refrigerator overnight and warm gently if desired. Knowing how to store ensures your perfect apple pie baking efforts last.
Troubleshooting Common Apple Pie Baking Problems
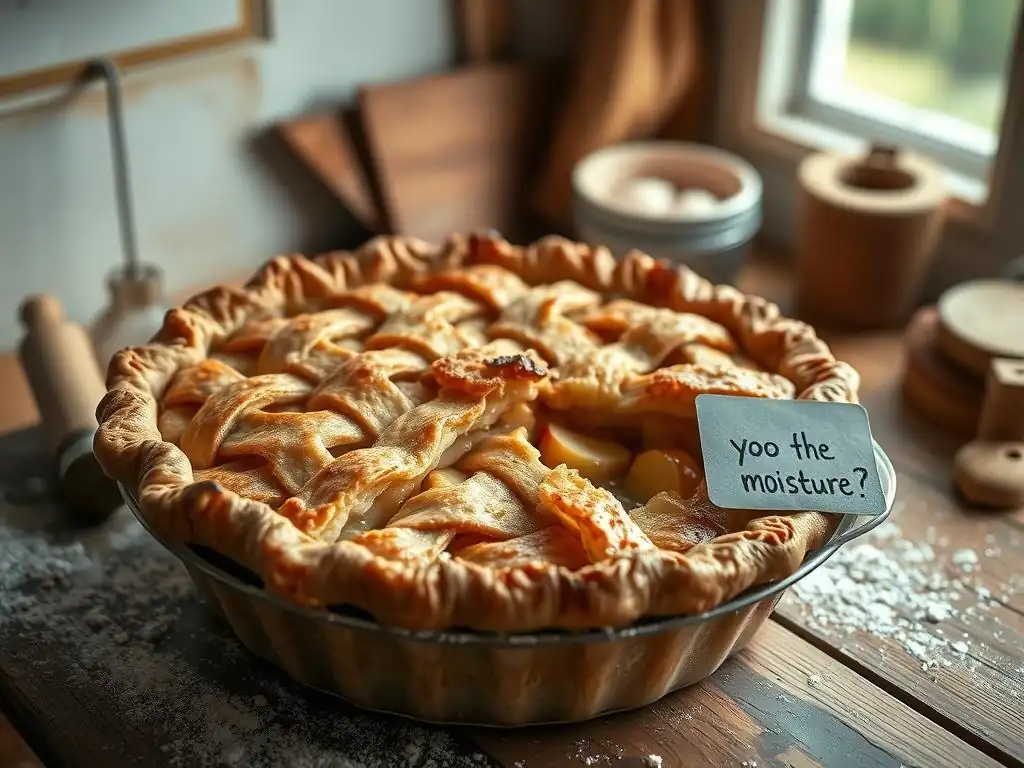
Soggy Crust Solutions: Identifying the Causes and Fixes
A soggy bottom crust is arguably the most frustrating issue in apple pie baking. The primary cause is excess moisture from the apple filling seeping into the uncooked bottom crust. Insufficient baking time or temperature can also contribute, as the crust doesn't have enough time or heat to crisp up.
Fixes include:
- Pre-baking (blind baking) the bottom crust: As discussed, this gives the crust a head start.
- Draining excess liquid from the apples: Let the prepared filling sit and drain off accumulated juice.
- Using an effective thickener: Ensure you use enough thickener (tapioca starch is excellent) and bake until the filling is actively bubbling.
- Baking at the correct temperature and duration: Ensure the pie bakes long enough for the bottom crust to brown and crisp, often 45-60 minutes or more.
- Using a metal or ceramic pie plate: These conduct heat better than glass, helping the bottom crust cook.
Implementing these perfect apple pie baking tips specifically targeting moisture management will significantly reduce the chance of a soggy crust.
Runny Filling Fixes: Adjusting Your Recipe
A runny filling means the thickener didn't do its job effectively, or there was too much liquid relative to the thickener. This can happen if the pie wasn't baked long enough for the thickener to activate and the juices to bubble and reduce.
Fixes include:
- Ensure adequate thickener: Double-check your recipe proportions. Are you using enough flour, cornstarch, or tapioca for the amount of apples?
- Bake until the filling is visibly bubbling: This is the key indicator that the thickener is working. Don't rely solely on crust color.
- Manage apple moisture: Drain liquid from pre-macerated apples before filling the pie.
- Consider apple type: Softer apples release more liquid; a blend with firmer apples helps.
- Allow sufficient cooling time: The filling continues to set as the pie cools. Patience here is critical.
Adjusting your baking time based on visual cues of the filling bubbling is a vital perfect apple pie baking tip to avoid a runny result.
Burnt Crust Prevention: Tips and Tricks
Burnt edges ruin an otherwise perfect apple pie. This usually happens because the edges of the crust are thinner and brown faster than the rest of the pie.
Fixes include:
- Use a pie shield or foil strips: As mentioned earlier, cover the edges once they are golden brown, typically after 20-30 minutes of baking.
- Consider a lattice or crumble topping: These types of tops don't extend as far to the edge as a double crust, leaving less edge to potentially burn.
- Ensure oven temperature is accurate: Use an oven thermometer to check if your oven runs hot.
- Position the pie correctly: Bake on a lower rack if the top is browning too quickly, or on a middle rack for even heat distribution.
Taking proactive steps to protect the crust edges is a simple yet effective perfect apple pie baking tip for ensuring a beautiful, evenly browned pie.
Apple Pie Recipe Inspiration: Classic Apple Pie
Classic Apple Pie - A Sally's Baking Addiction Favorite
While we can't share a specific recipe here, the principles we've discussed form the foundation of many beloved classic apple pie recipes, including those favored by popular baking blogs. A classic apple pie typically features a double crust (bottom and top), a filling made from a mix of apples, sugar (often brown and white), a thickener (like flour or tapioca), cinnamon, nutmeg, a pinch of salt, and sometimes a touch of lemon juice or butter dots over the filling.
Following the perfect apple pie baking tips outlined in this guide – from selecting tart and sweet apples, using cold butter for the crust, pre-baking the bottom, managing apple moisture, using enough thickener, baking until bubbly, and cooling completely – will help you achieve results comparable to the best classic recipes out there. Mastering these techniques ensures a perfectly flaky crust and a tender, flavorful filling every time.
Achieving Apple Pie Baking Mastery: A Recap of Our Top Tips
Mastering perfect apple pie baking is an achievable goal with attention to detail and practice. By focusing on the quality and temperature of your ingredients, employing proper dough handling techniques, managing the moisture in your filling, and baking the pie until the filling is actively bubbling, you can consistently produce delicious, beautiful pies. Remember that baking is a science, but also an art – don't be afraid to adjust techniques based on your oven and ingredients.
These perfect apple pie baking tips cover the most critical aspects of the process. From selecting the ideal apple blend to ensuring your crust is golden and flaky and your filling is perfectly set, each step contributes to the final masterpiece. Use the checklist below as a handy reminder during your next baking session to help you achieve apple pie baking mastery.
Quick Checklist for Perfect Apple Pies
- [ ] Select a blend of firm and softer apples (e.g., Granny Smith + Honeycrisp).
- [ ] Ensure all crust ingredients (butter, water) are very cold.
- [ ] Handle pie dough minimally to avoid developing tough gluten.
- [ ] Chill the pie dough for at least 30 minutes before rolling.
- [ ] Partially blind bake the bottom crust to prevent sogginess.
- [ ] Prepare apple filling ahead and drain excess liquid.
- [ ] Use an appropriate amount of thickener (flour, tapioca, or cornstarch).
- [ ] Consider a blend of granulated and brown sugar for filling flavor.
- [ ] Start baking at a higher temperature, then reduce.
- [ ] Bake until the crust is deeply golden and the filling is actively bubbling.
- [ ] Use a pie shield or foil to prevent edge burning.
- [ ] Cool the pie completely on a wire rack (2-4 hours) before slicing.
- [ ] Use a sharp knife dipped in hot water for clean slices.
- [ ] Store leftovers properly to maintain freshness.
Frequently Asked Questions
What are some essential tips for preventing a soggy bottom crust in fruit pies?
To avoid a soggy crust, try blind baking the crust, using a thickening agent like cornstarch or tapioca starch in the fruit filling, and ensuring your oven is at the correct temperature.
How can I ensure my fruit pie filling isn't too runny after baking?
Use the right amount of thickening agent like flour, cornstarch, or tapioca starch. Also, be sure to cook the filling until it's bubbling and thickened before pouring it into the crust.
What's the best way to achieve a golden brown and flaky pie crust?
Brush the crust with an egg wash or milk before baking. Make sure to use cold ingredients, especially butter, when making the dough, and don't overwork it.
What types of fruit are best suited for baking pies, and how should I prepare them?
Many fruits work well, like apples, berries, peaches, and cherries. Adjust the sugar based on the fruit's sweetness, and consider pre-cooking some fruits if they release a lot of moisture.
How do I prevent my pie crust edges from burning during baking?
Use a pie shield or strips of foil to cover the edges during the majority of the baking time. Remove the shield during the last portion of baking to achieve a golden-brown color on the edges.
Final Reflection: The Enduring Allure of the Perfect Fruit Pie
The pursuit of the perfect fruit pie is more than just a culinary quest; it's a testament to the enduring power of simple pleasures and the artistry of baking. In a world increasingly dominated by fast food and processed ingredients, the act of carefully selecting ripe fruit, crafting a flaky crust, and coaxing forth the perfect balance of sweetness and tartness remains a deeply satisfying endeavor. This connection to tradition and the tangible reward of a beautifully baked pie continues to resonate with home bakers of all skill levels.
The influence of the humble fruit pie extends far beyond the kitchen table. It's a symbol of comfort, family gatherings, and the celebration of seasonal bounty. The simple act of sharing a slice of warm pie fosters connection and creates lasting memories. As the renowned chef Julia Child once said, A party without cake is just a meeting.
While she spoke of cake, the sentiment applies equally to the comforting presence of a perfectly baked fruit pie, a centerpiece of countless celebrations and quiet moments alike. It's a tradition that deserves to be cherished and passed down through generations.
So, as you embark on your own journey to baking the perfect fruit pie, remember the joy inherent in the process. Don't be afraid to experiment, to embrace imperfections, and to savor the sweet rewards of your labor. Let the aroma of warm spices and ripe fruit fill your kitchen, and let the sharing of your creation bring warmth and happiness to those around you. The perfect fruit pie isn't just a recipe; it's an experience, a legacy, and a testament to the enduring power of simple pleasures. Now, go forth and bake!
Unlock Your Inner Pie Master!
Thanks for joining us on this delicious journey into the world of fruit pies! We hope you've gained the confidence to create truly spectacular pies. Ready to take your baking skills to the next level?
- Bake your masterpiece today! Grab those ingredients and put your new knowledge to the test. Let the aroma of warm, perfectly baked fruit fill your kitchen.
- Share your baking triumph! Post a picture of your creation on social media and tag us—we'd love to see it!
- Explore our other recipes for even more baking inspiration. From flaky crusts to luscious fillings, we've got something for every baker.
What's your favorite fruit pie filling, and what's one baking tip you can't live without? Let's share our knowledge in the comments!