
Easy Homemade Vanilla Pudding You Won't Believe

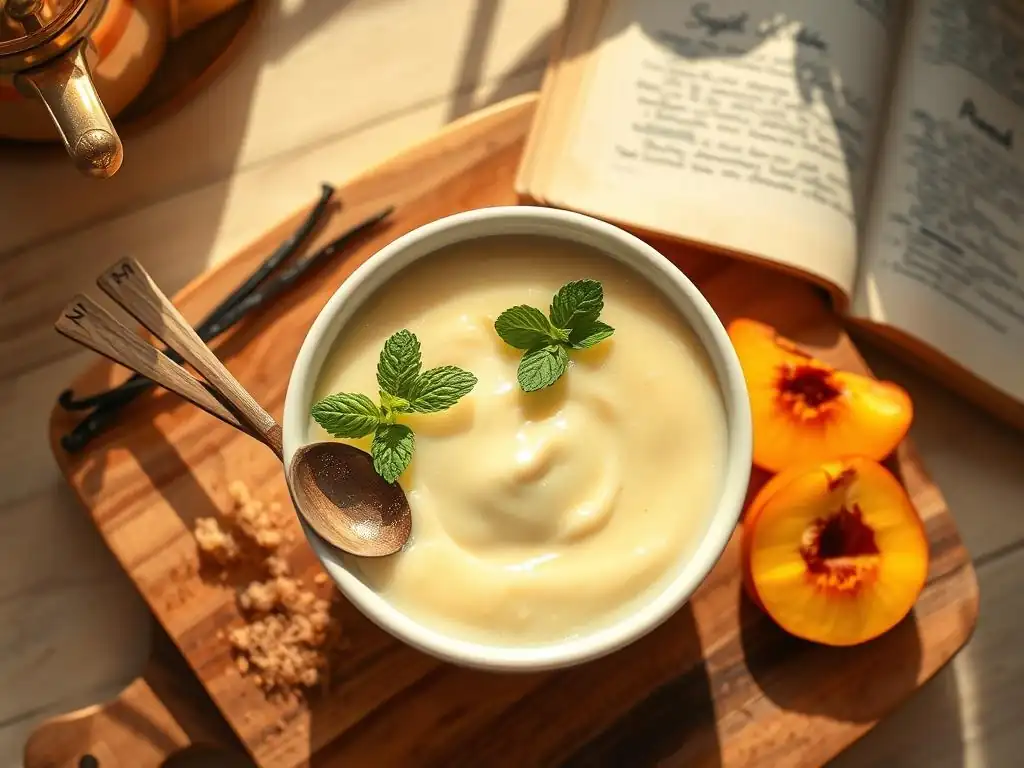
Welcome to BakeWithEase, where baking becomes a joy, not a chore! Ever dreamt of a dessert so creamy, so comforting, and surprisingly simple to make? You're in the right place. Dive in and discover our Easy Homemade Vanilla Pudding Recipe that's guaranteed to become a family favorite. But that's just the beginning! What other delightful pastries and desserts await your discovery? Keep reading to find out!
- BakeWithEase Presents: Your Go-To Easy Homemade Vanilla Pudding Recipe
- Why You'll Love This Easy Homemade Vanilla Pudding Recipe
- Ingredients for the Best Homemade Vanilla Pudding
- Step-by-Step Guide to Making Easy Homemade Vanilla Pudding
- Tips for the Perfect Homemade Vanilla Pudding Every Time
- Serving Suggestions for Your Homemade Vanilla Pudding
- Storing Your Homemade Vanilla Pudding
- More Delicious Dessert Recipes from BakeWithEase
- Frequently Asked Questions
- Final Reflection: The Enduring Comfort of Homemade Vanilla Pudding
- Unlock Your Inner Pastry Chef: Make the Pudding of Your Dreams!
BakeWithEase Presents: Your Go-To Easy Homemade Vanilla Pudding Recipe
Welcome to BakeWithEase, where we believe that delicious desserts don't have to be complicated. Today, we're diving into the simple pleasure of homemade vanilla pudding. Forget those instant mixes; this easy homemade vanilla pudding recipe delivers a creamy, rich, and utterly satisfying dessert that tastes like pure comfort. It's a classic for a reason, and making it from scratch is far easier than you might think.
Creating this delightful treat requires just a few pantry staples and minimal effort. The result is a smooth, velvety pudding bursting with real vanilla flavor. Whether you're serving it warm as a cozy treat or chilled straight from the fridge, this easy vanilla pudding recipe is guaranteed to become a family favorite. Let's get started and discover the magic of homemade goodness.
Why You'll Love This Easy Homemade Vanilla Pudding Recipe
There's something undeniably special about homemade desserts, and this easy homemade vanilla pudding recipe is no exception. It offers a depth of flavor and a luxurious texture that simply cannot be replicated by store-bought alternatives. Plus, knowing exactly what ingredients are going into your dessert provides peace of mind, especially when catering to dietary needs or preferences.
Beyond the superior taste and quality, the process of making this pudding is a rewarding experience in itself. It's a simple kitchen project that yields impressive results, perfect for boosting your baking confidence. You'll love how quickly it comes together and how versatile it is – delicious on its own, as a pie filling, or layered in trifles.
From Scratch Pudding: Simpler Than You Think!
Many people shy away from making pudding from scratch, assuming it's a finicky process that requires constant stirring and perfect timing. However, this easy vanilla pudding recipe demystifies the process. The basic method involves heating milk and sugar, thickening it with a cornstarch mixture, and then infusing it with vanilla. It's a straightforward technique that even beginner bakers can master.
The key is patient, gentle heating and consistent (but not frantic) stirring. Unlike complex custards that use egg yolks and require tempering, this recipe relies on cornstarch for thickening, making it much more forgiving. You'll find that in just about 15-20 minutes of active cooking time, you can transform simple ingredients into a luscious dessert. It truly proves that making pudding from scratch is not only achievable but surprisingly simple.
The Perfect Comfort Food Dessert: Creamy Vanilla Pudding
When you think of comfort food desserts, creamy vanilla pudding often comes to mind. Its smooth texture and sweet, familiar flavor evoke feelings of nostalgia and warmth. This easy homemade vanilla pudding recipe delivers that classic comfort in every spoonful. The richness of the milk combined with the aromatic vanilla creates a soothing and satisfying experience.
Whether you've had a long day or simply want a gentle, sweet treat, a bowl of this homemade vanilla pudding hits the spot. It's not overly heavy, making it a wonderful palate cleanser after a meal or a light dessert before bed. The creamy consistency coats your tongue, leaving a delightful vanilla finish that makes you want just one more spoonful. It's comfort food elevated by the simple fact that you made it yourself.
Forget Store-Bought: This Homemade Version is Irresistible
Once you try this easy homemade vanilla pudding recipe, you'll likely never go back to the boxed stuff. The difference in flavor is night and day. Store-bought puddings often contain artificial flavors, colors, and stabilizers that result in a less natural, sometimes gummy texture and a flat taste. This homemade version, however, uses real vanilla (extract or bean) and simple dairy, resulting in a pure, vibrant vanilla flavor and a silky-smooth consistency.
Consider the cost difference as well; making pudding from scratch is often more economical, especially when you consider the quality of the ingredients you are using. A small box of instant pudding might be quick, but the payoff in taste and texture from spending just a few extra minutes on this easy vanilla pudding recipe is immense. You'll understand why so many prefer the authentic taste of homemade.
Ingredients for the Best Homemade Vanilla Pudding
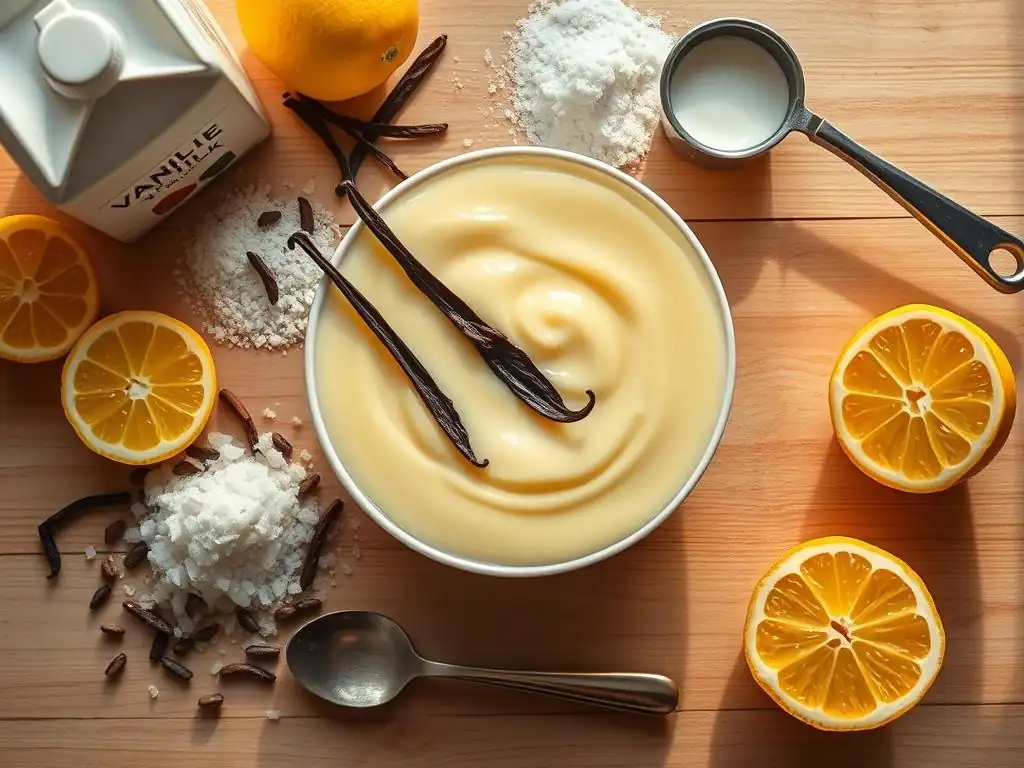
Making truly delicious vanilla pudding starts with selecting the right ingredients. Quality matters here, as the flavors are simple and pure. You won't need a long list of obscure items – just basic pantry staples and fresh dairy. Using whole milk will yield the creamiest result, though other types of milk can be used with slight adjustments to thickening.
The star, of course, is the vanilla. Opt for pure vanilla extract for the best flavor. Vanilla bean paste or even scraping a vanilla bean will provide an even more intense and visually appealing result with those lovely black specks throughout the pudding. Sugar provides sweetness, cornstarch acts as the thickener, and a pinch of salt balances the flavors.
Key Ingredients for Creamy Vanilla Pudding
To achieve that desired creamy texture in your easy homemade vanilla pudding recipe, here are the essential components:
- Milk: Whole milk is highly recommended for richness and creaminess. You'll typically need around 3-4 cups.
- Sugar: Granulated sugar is standard. The amount can be adjusted slightly to your preference, usually between 1/2 to 3/4 cup.
- Cornstarch: This is the primary thickener. About 1/4 cup is usually sufficient for a pourable but set pudding.
- Salt: A small pinch (around 1/4 teaspoon) enhances the sweetness and overall flavor.
- Vanilla: Pure vanilla extract (1-2 teaspoons) or vanilla bean paste/scrapings from 1/2 to 1 vanilla bean.
These simple ingredients, when combined and cooked correctly, transform into a luxurious dessert. The ratio of cornstarch to liquid is crucial for achieving the perfect set without being too stiff or too runny. Following the measurements precisely is key for this easy vanilla pudding recipe.
Ingredient Substitutions and Variations
While the classic recipe uses dairy and sugar, you can adapt this easy homemade vanilla pudding recipe to suit various dietary needs:
- Dairy-Free: Substitute the milk with full-fat coconut milk (from a can, stirred well), almond milk, or soy milk. Note that the texture might be slightly different, and you may need to adjust the amount of cornstarch slightly. Coconut milk yields the creamiest dairy-free version.
- Sugar Substitutes: Granulated sugar can often be replaced with alternative sweeteners like maple syrup, agave, or granulated sugar substitutes. Be mindful that liquid sweeteners will add moisture, potentially requiring a slight increase in cornstarch. Taste and adjust sweetness as needed.
- Flavor Variations: While vanilla is the star, you can easily change the flavor! Add cocoa powder for chocolate pudding, lemon zest for a citrusy twist, or a pinch of cinnamon or nutmeg for warmth. These variations start with the same basic easy vanilla pudding recipe base.
Remember that substitutions can alter the final texture and flavor, so it's often best to start with the classic version first to understand the base recipe before experimenting.
Step-by-Step Guide to Making Easy Homemade Vanilla Pudding
Making this easy homemade vanilla pudding recipe is a straightforward process that can be broken down into a few simple steps. The key is to measure accurately, whisk consistently, and cook gently. You'll need a medium saucepan, a whisk, and a heatproof bowl or individual ramekins for chilling.
The entire cooking process usually takes less than 20 minutes, followed by chilling time. Don't rush the cooking phase; allowing the pudding to thicken properly over medium heat is essential for the right consistency. Once thickened, removing it from the heat promptly prevents overcooking.
Step 1: Preparing the Pudding Base
The first step involves combining the dry thickeners with some of the liquid before heating the bulk of the ingredients. This prevents lumps and ensures a smooth pudding.
Combining the Wet and Dry Ingredients for Your Pudding
In a medium saucepan, whisk together the sugar, cornstarch, and salt. This dry mixture ensures the cornstarch is evenly distributed before it hits the hot liquid, which helps prevent clumping. Next, pour in about 1/2 cup of the milk and whisk until a smooth paste forms. This slurry is crucial; it allows the cornstarch to dissolve fully. Once smooth, add the remaining milk to the saucepan and whisk until everything is combined. At this point, the mixture will look thin and milky. Place the saucepan over medium heat.
Step 2: Cooking the Vanilla Pudding to Perfection
This is where the magic happens – the liquid mixture transforms into thick, creamy pudding. Patience and gentle heat are your friends here.
Achieving the Right Consistency: Tips and Tricks
Heat the milk mixture over medium heat, stirring constantly with a whisk. Pay attention to the bottom and edges of the pan to prevent sticking. As the mixture heats, it will start to thicken. This usually happens relatively quickly once it reaches a simmer. Continue to cook and stir for 1-2 minutes after it begins to bubble and thicken, ensuring the cornstarch is fully cooked and activated.
The pudding should be thick enough to coat the back of a spoon. Be careful not to scorch the bottom. Once thickened, remove the pan from the heat immediately. Stir in the vanilla extract (or vanilla bean paste/scrapings) and any butter if using (a tablespoon of butter adds extra richness and gloss). Whisk until smooth.
Step 3: Cooling and Enjoying Your Delicious Vanilla Pudding
Once cooked, the pudding needs time to cool and set further. This step is essential for achieving the final creamy texture.
Preventing a Skin from Forming on Pudding
Pour the hot pudding into a heatproof bowl or individual serving dishes. To prevent a "skin" from forming on the surface as it cools, immediately place a piece of plastic wrap directly onto the surface of the pudding, ensuring there are no air pockets between the pudding and the wrap. This creates a barrier that keeps the top moist.
Allow the pudding to cool at room temperature for about 15-20 minutes, then transfer it to the refrigerator to chill for at least 2-3 hours, or until fully set. Chilling allows the pudding to thicken further and the flavors to meld beautifully.
Tips for the Perfect Homemade Vanilla Pudding Every Time
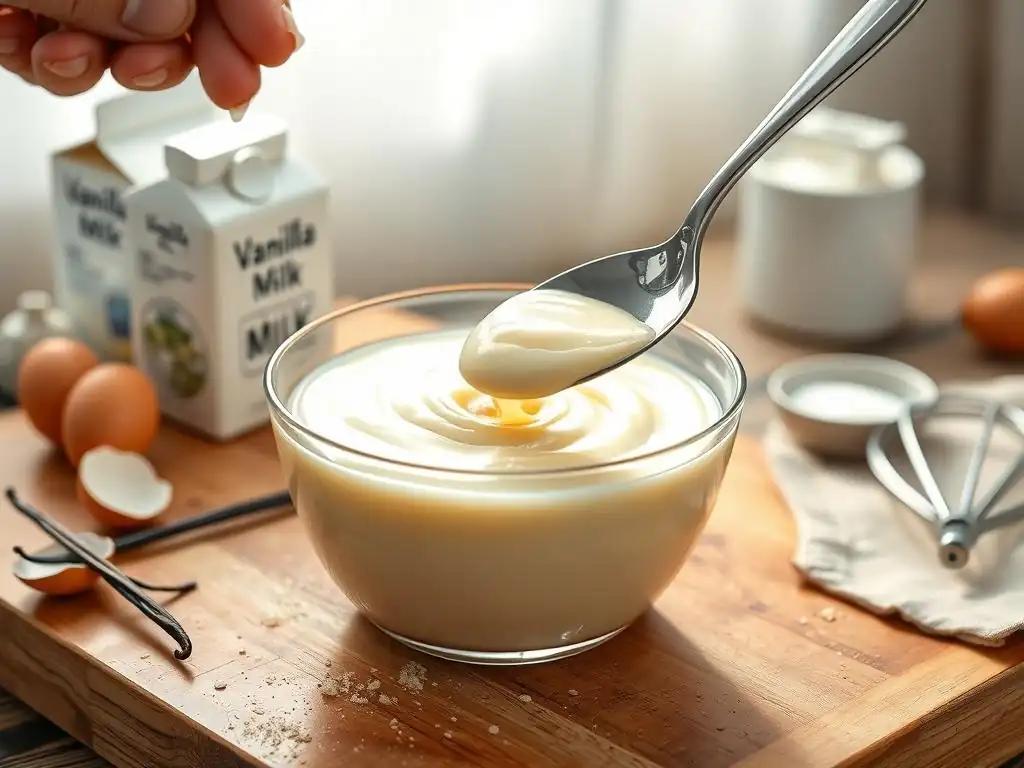
Achieving that consistently creamy, smooth, and flavorful easy homemade vanilla pudding recipe is simple if you follow a few key tips. These little tricks can elevate your pudding from good to absolutely incredible and help you avoid common pitfalls. Pay attention to heat control and whisking technique, as these are the most critical factors.
Using quality vanilla is also paramount. While extract is fine, a vanilla bean or good quality vanilla bean paste will give you a richer, more complex vanilla flavor and those coveted tiny black specks that signal homemade goodness. Don't be afraid to taste and adjust sweetness slightly towards the end of cooking.
Secret Tips for a Creamy Texture
Want pudding that's silky smooth and never gummy or lumpy? Here are some secrets for your easy homemade vanilla pudding recipe:
- Proper Cornstarch Slurry: Always mix the cornstarch with a small amount of cold or room temperature liquid before adding it to the hot mixture. This prevents the starch granules from clumping when they hit the heat.
- Constant Whisking: While cooking over medium heat, whisk constantly. This prevents the bottom from scorching and ensures the pudding thickens evenly without lumps. Pay extra attention as it starts to thicken.
- Cook Long Enough (But Not Too Long): Cook for at least 1-2 minutes after the pudding starts to bubble and thicken. This ensures the cornstarch is fully cooked and the pudding won't thin out later. However, don't boil vigorously for too long, as this can break down the starch and make it thinner.
- Add Butter at the End: Stirring in a tablespoon of unsalted butter right after removing from the heat makes the pudding extra rich, glossy, and smooth.
Flavor Enhancements: Elevating Your Vanilla Pudding
While vanilla is the star, you can easily add layers of flavor to your easy homemade vanilla pudding recipe:
- Better Vanilla: Use vanilla bean paste or scrape seeds from half a vanilla bean instead of or in addition to extract.
- Citrus Zest: A little lemon or orange zest cooked with the milk adds a bright note that complements the vanilla beautifully. Strain it out before chilling if you prefer a smooth texture.
- Spices: A pinch of nutmeg, cinnamon, or cardamom can add warmth, especially if serving warm.
- Extracts: A few drops of almond extract or a splash of rum extract can add interesting depth. Add these after cooking, like the vanilla.
Troubleshooting Common Pudding Problems
Even with an easy homemade vanilla pudding recipe, sometimes things don't go perfectly. Here's how to fix common issues:
- Lumpy Pudding: This usually happens if the cornstarch wasn't fully dissolved in the cold liquid first or if the pudding wasn't whisked constantly while heating. If it's just slightly lumpy, vigorous whisking might help. For significant lumps, you can press the finished pudding through a fine-mesh sieve while it's still hot.
- Pudding is Too Thin: This means the cornstarch wasn't fully activated or wasn't cooked long enough after thickening. You can return the pudding to the saucepan, make a slurry of a tablespoon of cornstarch with two tablespoons of cold milk, whisk it into the pudding, and gently heat and whisk until thickened again, cooking for another minute.
- Pudding is Too Thick/Gummy: This usually means too much cornstarch was used or it was overcooked. While hot, you can whisk in a tablespoon or two of milk or cream until the desired consistency is reached. It's harder to fix once chilled.
- Skin on Top: This is prevented by pressing plastic wrap directly onto the surface while it cools. If a skin forms, you can often just peel it off, though it wastes some pudding.
Serving Suggestions for Your Homemade Vanilla Pudding
Once your easy homemade vanilla pudding recipe has chilled to perfection, it's ready to be enjoyed! While delicious on its own, pairing it with other elements can create a truly memorable dessert experience. Think about adding textures, contrasting flavors, or complementary colors.
Serving pudding allows for creativity. You can portion it into elegant ramekins, layer it in glasses, or serve it family-style from a large bowl. The smooth, creamy base is incredibly versatile and pairs well with a variety of toppings and accompaniments.
Creative Ways to Enjoy Vanilla Pudding
Beyond just eating it with a spoon, here are some creative serving ideas for your easy vanilla pudding recipe:
- Pudding Parfaits: Layer pudding with crumbled cookies (like shortbread or graham crackers), fresh fruit (berries, sliced bananas), or whipped cream in clear glasses.
- Pie Filling: This recipe can easily be used as a filling for pre-baked tart or pie shells. Chill until set in the shell, then top as desired.
- Trifle Base: Use the pudding as one layer in a classic English trifle, alternating with sponge cake, fruit, and whipped cream.
- Fruit Dip: Serve slightly warmer pudding as a dip alongside fresh fruit skewers.
- Base for Other Desserts: Use it to fill éclairs or cream puffs, or dollop it onto warm cobblers or crumbles.
Topping Ideas for the Ultimate Pudding Dessert
Elevate your easy homemade vanilla pudding recipe with simple yet delicious toppings:
- Whipped Cream: A dollop of freshly whipped cream is a classic and perfect pairing.
- Fresh Berries: Strawberries, raspberries, blueberries, or sliced bananas add freshness and a slight tang.
- Chocolate Shavings or Chips: A sprinkle of chocolate provides a lovely contrast to the vanilla.
- Toasted Nuts: Chopped pecans, walnuts, or almonds add a delightful crunch.
- Caramel or Chocolate Sauce: A drizzle of your favorite sauce takes it to the next level.
- Cookie Crumbles: Crushed graham crackers, shortbread, or even chocolate chip cookies add texture.
Storing Your Homemade Vanilla Pudding
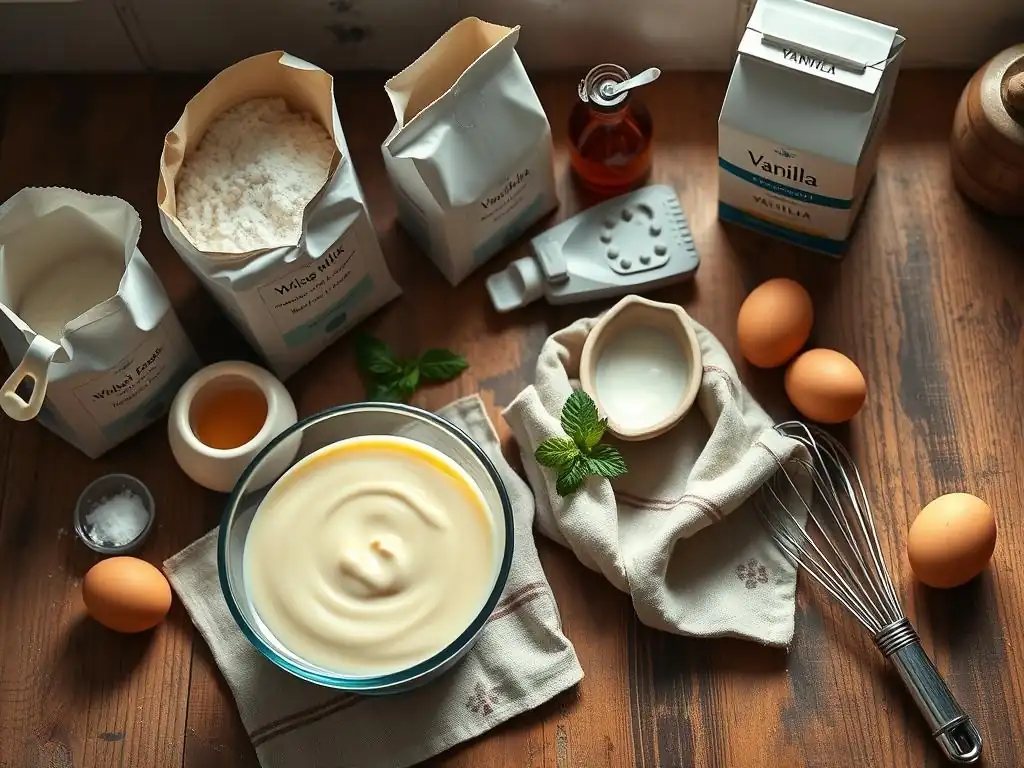
Proper storage is key to keeping your easy homemade vanilla pudding recipe fresh and delicious for several days. Because it contains dairy, it must be kept refrigerated. The goal is to prevent spoilage and maintain that wonderful creamy texture.
Using airtight containers or ensuring the plastic wrap is pressed firmly against the surface will help maintain quality and prevent the pudding from absorbing odors from the refrigerator.
Correction: How to Keep Your Pudding Fresh
Once chilled, your homemade vanilla pudding should be stored in the refrigerator. Transfer any pudding not in individual serving dishes to an airtight container. If keeping it in a bowl, ensure the plastic wrap is still pressed directly onto the surface before covering the bowl with a lid or more wrap. Stored correctly, the pudding will last for 3-4 days in the refrigerator. Stir gently before serving if it seems too firm; the texture should loosen slightly as you stir.
Correction: Can You Freeze Homemade Vanilla Pudding?
Unfortunately, freezing is generally not recommended for cornstarch-thickened puddings like this easy homemade vanilla pudding recipe. Freezing and thawing can cause the cornstarch to break down, resulting in a watery, separated, or grainy texture. The creamy consistency you worked hard to achieve will likely be lost.
If you need to make pudding ahead of time, it's best to make it up to 3-4 days in advance and store it in the refrigerator. For longer storage needs, consider making a different type of dessert or preparing the pudding base (milk, sugar, salt) ahead of time and adding the cornstarch slurry and vanilla just before cooking.
More Delicious Dessert Recipes from BakeWithEase
Loved making this easy homemade vanilla pudding recipe? At BakeWithEase, we have a wide array of simple yet satisfying dessert recipes perfect for bakers of all levels. From classic cookies to delightful cakes and other creamy treats, there's always something new and easy to try in your kitchen.
Exploring different types of desserts is a great way to expand your baking skills and find new family favorites. Whether you're in the mood for something quick and easy or a recipe that allows you to practice specific techniques, BakeWithEase is here to guide you every step of the way.
Explore Our Pudding and Custard Collection
If you enjoyed the creamy texture of this easy homemade vanilla pudding recipe, you might love exploring our other pudding and custard recipes. We offer guides for:
- Rich Chocolate Pudding
- Classic Crème Brûlée
- Easy Rice Pudding
- Baked Custard Cups
- Lemon Posset
These recipes build upon similar principles of cooking dairy and thickeners but offer unique flavors and textures. Mastering one creamy dessert opens the door to many others!
Other Easy Dessert Recipes You'll Love
Beyond puddings, BakeWithEase features numerous other easy dessert options that are perfect for any occasion or just a sweet craving. Check out our sections on:
- Simple Cookie Recipes (like our famous chocolate chip!)
- Easy Cake and Cupcake Guides
- No-Bake Desserts
- Fruit Crisps and Crumbles
Find your next favorite treat and continue your baking journey with our clear, step-by-step instructions designed for ease and delicious results. Happy baking!
Frequently Asked Questions
What makes this vanilla pudding recipe "easy"?
This recipe focuses on simple steps and easy-to-find ingredients, making it accessible even for beginner bakers. It avoids complicated techniques.
Can I substitute ingredients in this vanilla pudding recipe?
While the recipe is designed for best results with the listed ingredients, you can substitute milk alternatives. However, this might affect the final texture and flavor.
How long does it take to make this homemade vanilla pudding?
The active preparation time is relatively short, usually around 10-15 minutes. However, it requires at least 2 hours of chilling to properly set.
What's the best way to store leftover vanilla pudding?
Store leftover pudding in an airtight container in the refrigerator for up to 3 days. This prevents it from absorbing other flavors and maintains its texture.
Can I use this vanilla pudding as a filling for other desserts?
Absolutely! It makes a fantastic filling for pies, tarts, or even as a layer in cakes. Its smooth texture and vanilla flavor complement many desserts.
Final Reflection: The Enduring Comfort of Homemade Vanilla Pudding
The simple act of making vanilla pudding from scratch offers more than just a delicious dessert; it's a tangible connection to a simpler time, a reminder of the power of homemade goodness in a world of instant gratification. This recipe, designed for ease and accessibility, aims to bring that comforting experience to everyone, regardless of their culinary skills. It's a testament to the fact that sometimes, the most satisfying things are the simplest.
The enduring appeal of vanilla pudding lies not just in its creamy texture and sweet flavor, but in its ability to evoke powerful memories and feelings of nostalgia. It's a dish that transcends generations, a shared experience across cultures and families. A spoonful of sugar helps the medicine go down,
but a spoonful of homemade vanilla pudding helps the soul feel at home. The process itself, from whisking the ingredients together to the satisfying smoothness of the final product, is a meditative act, a small rebellion against the fast-paced modern world.
Now, I invite you to take this recipe and make it your own. Experiment with different extracts, add a swirl of chocolate, or top it with your favorite berries. Most importantly, savor the experience. Remember the joy of creating something delicious with your own hands, and share that joy with those you love. Let the simple pleasure of homemade vanilla pudding remind you of the importance of slowing down, connecting with the process, and appreciating the small, sweet moments in life.
Unlock Your Inner Pastry Chef: Make the Pudding of Your Dreams!
Thanks for taking the time to explore this incredibly easy vanilla pudding recipe! We hope you now feel confident in creating a delicious dessert from scratch. Ready to take your baking skills to the next level?
- Whip up a batch of pudding tonight! Use this recipe as a springboard – experiment with different extracts or add-ins for a unique twist.
- Share your pudding creation on social media! Tag us @BakeWithEase – we’d love to see your culinary masterpieces!
- Consider trying our other easy dessert recipes found on the BakeWithEase website.
What’s your favorite way to enjoy homemade vanilla pudding? Let’s hear your ideas in the comments below!