
Foolproof Methods for Assembling and Decorating Cakes

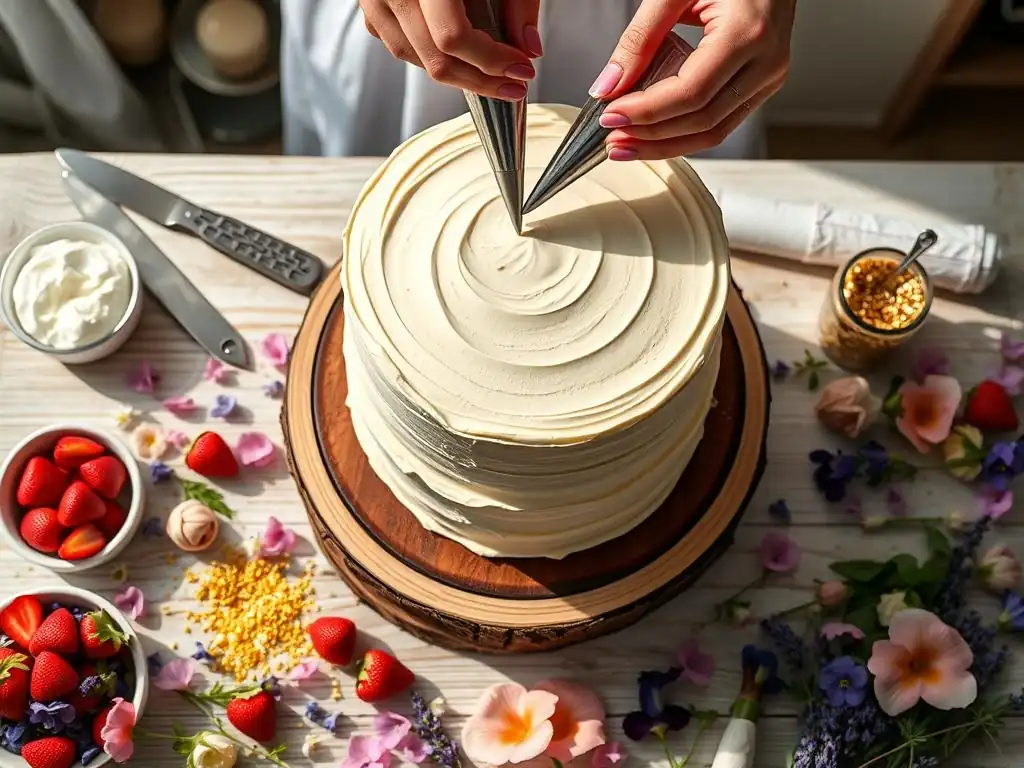
Welcome to BakeWithEase, your trusted guide to the delicious world of baking! Are you ready to transform your cakes from simple to stunning? Discover foolproof methods for assembling and decorating cakes and unlock your inner artist. We'll show you easy cake decorating techniques that will impress your friends and family. Intrigued? Dive in and let's get baking!
- Mastering Cake Assembly: Laying the Foundation for Beautiful Cakes
- Easy Cake Decorating Techniques: A Step-by-Step Guide
- Advanced Cake Decorating Techniques for Impressive Results
- Troubleshooting Common Cake Decorating Problems
- Storing Your Decorated Cake: Keeping It Fresh and Beautiful
-
Frequently Asked Questions
- How do I prevent my cake layers from sliding when stacking them?
- What's the easiest way to get a smooth buttercream frosting finish?
- I'm a beginner. What's a simple cake decorating technique I can try?
- Can I decorate a cake a day in advance?
- What are some foolproof ways to prevent air bubbles in my frosting?
- Final Reflection: The Sweet Symphony of Simple Cake Decorating
- Unleash Your Inner Cake Artist!
Mastering Cake Assembly: Laying the Foundation for Beautiful Cakes
Building a beautiful cake starts long before you even think about frosting and decorations. Proper cake assembly is the crucial first step that ensures your finished creation is stable, level, and delicious. Think of it as building the structural integrity that allows for all the wonderful easy cake decorating techniques you'll apply later. Getting this right makes the entire decorating process smoother and less prone to frustrating mishaps.
This foundational stage involves careful preparation of your baked layers, making sure they are ready to be stacked and filled. It's about creating a solid base that won't wobble or lean, providing a perfect canvas for frosting and all sorts of delightful finishes. Mastering these initial steps sets you up for success, whether you're aiming for a simple frosted cake or a multi-tiered masterpiece.
Preparing Your Cake Layers for Assembly: The BakeWithEase Method
Before you even think about stacking, your cake layers need a little TLC. Once your cakes are baked and completely cooled, typically for at least 2-3 hours at room temperature, or even chilled in the refrigerator for 30-60 minutes (which makes handling easier), they are ready for the next steps. Ensure they are removed from their pans and placed on a cooling rack to allow air circulation on all sides, preventing condensation that can lead to soggy bottoms.
Checking for doneness and proper cooling is paramount. A cake that is still warm can melt frosting or filling, leading to a messy collapse. Look for layers that are firm to the touch but still have a tender crumb. Any domed tops or uneven surfaces should be addressed at this stage, which brings us to the essential technique of leveling.
Leveling Cake Layers: Achieving a Flat Surface for Easy Cake Decorating
Leveling your cake layers is absolutely key to achieving a professional-looking, stable stack. Most cakes bake with a slight dome in the center, which needs to be trimmed off to create a flat surface. You can use a long serrated knife, a cake leveler tool, or even dental floss (unwaxed, unflavored!) for this task. Position your chosen tool parallel to the counter surface, aiming to remove just the domed portion, usually about 0.5 to 1.5 cm depending on how much your cake domed.
A level cake ensures that each layer sits perfectly flat on top of the next, preventing tilting and making it significantly easier to apply frosting evenly. This step is non-negotiable for multi-layer cakes and greatly simplifies many easy cake decorating techniques, as you're working on a predictable, flat surface. Don't discard those trimmed domes – they make excellent cake pops or chef's snacks!
Choosing the Right Cake Filling: Complementing Flavors for a Delicious Cake
Selecting the right filling is just as important as choosing the cake flavor itself. The filling should complement the cake and frosting, adding another layer of texture and taste. Common fillings include buttercream, fruit curds (like lemon or passion fruit), fruit compotes or preserves, chocolate ganache, cream cheese frosting, or pastry cream. Consider the density and moisture content; a very wet filling might require a dam of frosting around the edge to prevent it from oozing out.
Think about classic pairings, like vanilla cake with raspberry filling or chocolate cake with salted caramel. You can also experiment with less common combinations, such as almond cake with cherry compote or ginger cake with lemon curd. Ensure the filling is at a spreadable consistency – too stiff and it's hard to apply evenly, too loose and it might not hold its shape between layers.
Applying Filling Evenly: A BakeWithEase Technique for Consistent Flavor
Once you've chosen your filling, applying it evenly is the next step in building a stable and delicious cake. If your filling is on the softer side (like a fruit compote or loose curd), pipe a border or "dam" of frosting around the outer edge of the bottom cake layer, about 1-2 cm in from the edge. This dam acts as a barrier to hold the filling in place and prevent it from squeezing out when the next layer is added.
Spread your chosen filling within the frosting dam (if used) or over the entire surface of the bottom layer, aiming for a consistent thickness, typically 0.5 to 1 cm. Use an offset spatula or the back of a spoon to smooth it out. Ensure the filling goes almost to the edge (or within the dam), but avoid overfilling, which can lead to bulging or squeezing out the sides after stacking. This even distribution ensures every slice of cake has a balanced ratio of cake, filling, and frosting.
Easy Cake Decorating Techniques: A Step-by-Step Guide
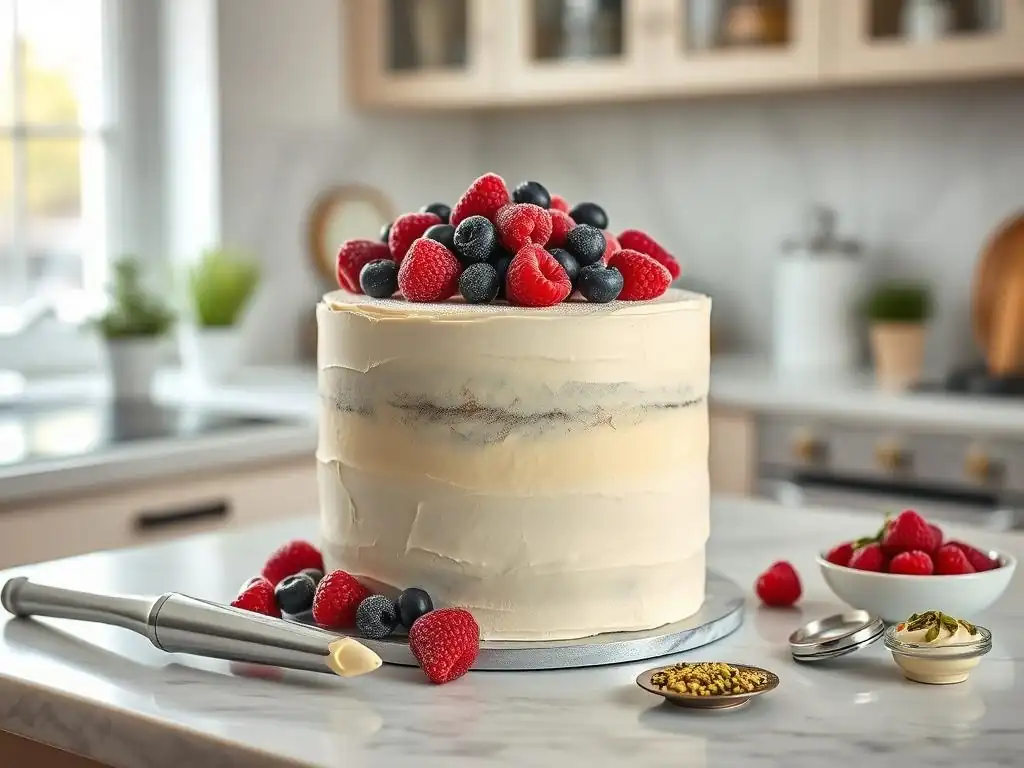
Once your cake is assembled and stable, the fun truly begins – decorating! There are countless ways to transform a simple cake into a showstopper, and many easy cake decorating techniques are perfect for beginners. This section will guide you through some fundamental methods that yield impressive results without requiring advanced skills.
From achieving a smooth base coat to adding simple yet effective decorative elements, these techniques build confidence and allow you to express your creativity. We'll cover essential steps like crumb coating and frosting, then explore some accessible ways to add flair using common tools and ingredients.
Crumb Coating: The Secret to a Smooth Cake Finish
The crumb coat is a thin layer of frosting applied to the assembled cake before the final, thicker layer of frosting. Its primary purpose is to trap any loose crumbs from the cake layers, preventing them from getting into your final frosting layer. This is a non-negotiable step for achieving a clean, smooth finish, especially when using easy cake decorating techniques that involve smooth frosting.
Think of the crumb coat as a primer for your cake. It not only locks in crumbs but also helps to fill any small gaps or imperfections on the cake's surface, providing a more stable and even base for the final frosting. Skipping this step often results in frustrating crumbs showing up in your beautiful outer layer of frosting.
Applying the Crumb Coat: A Thin Layer for Locking in Crumbs
To apply the crumb coat, use an offset spatula to spread a very thin, even layer of frosting over the top and sides of the assembled cake. You should still be able to see some of the cake through this layer. Don't worry about making it perfectly smooth; the goal is simply to cover the cake and pick up all the loose crumbs. Wipe your spatula frequently to remove accumulated crumbs.
Use a bench scraper or cake scraper to smooth the sides lightly if desired, but the main focus is just getting a cohesive thin layer applied. This process typically uses less frosting than the final coat, perhaps 10-15% of your total frosting amount. Ensure the entire surface is covered to effectively trap all potential crumbs.
Chilling the Crumb Coated Cake: Solidifying the Base
After applying the crumb coat, it's crucial to chill the cake. Place the crumb-coated cake in the refrigerator for at least 15-30 minutes, or until the frosting is firm to the touch. This chilling period solidifies the crumb coat, effectively gluing all the crumbs in place and creating a stable surface.
A chilled crumb coat makes applying the final layer of frosting much easier. The firm base prevents the cake layers from shifting and ensures that your spatula doesn't pick up any crumbs from the underlying layer. For even greater stability, especially for larger cakes or warm environments, you can chill the cake for longer, up to several hours.
Frosting Your Cake: Achieving a Professional Look
With a solid crumb coat in place, you're ready for the final frosting layer. This is where you apply a thicker, more opaque layer of frosting that will be visible as the cake's finish. Achieving a smooth, professional look with frosting is one of the most satisfying easy cake decorating techniques.
This step allows you to cover the cake completely and create the base for any further decoration. It requires a bit more frosting than the crumb coat, typically using the remaining 85-90% of your prepared frosting. The texture and consistency of your frosting are key here.
Selecting Your Frosting: Buttercream, Ganache, and More
The choice of frosting significantly impacts the taste, texture, and appearance of your cake. Buttercream is a popular choice due to its versatility and ease of use; options include American buttercream (butter, powdered sugar, milk/cream), Swiss meringue buttercream, Italian meringue buttercream, or French buttercream. Ganache, made from chocolate and cream, offers a rich, smooth finish, either poured or whipped.
Other options include cream cheese frosting, whipped cream, or even glazes. Consider the flavor pairing with your cake and filling, the desired consistency for decorating (some frostings hold piped shapes better than others), and the temperature of your environment (meringue buttercreams are less stable in heat than American buttercream or ganache). Each type offers different possibilities for easy cake decorating techniques.
Achieving a Smooth Frosting Finish: BakeWithEase Tips and Tricks
Applying a smooth final coat of frosting takes a little practice, but it's achievable with the right tools and techniques. Start by applying a generous amount of frosting to the top of the cake and spread it outwards towards the edges. Then, apply frosting to the sides, ensuring the cake is fully covered with a thick layer.
Use a long offset spatula to smooth the top, working from the center outwards. For the sides, hold a bench scraper or straight icing spatula against the cake at a slight angle (around 45 degrees) and rotate the cake on a turntable while holding the scraper steady. This will scrape away excess frosting and create a smooth finish. You may need to repeat this process, adding more frosting to fill any gaps, until you achieve the desired smoothness. For extra smooth results, dip your bench scraper in hot water and dry it before the final pass.
Simple Cake Decoration Ideas for Beginners
Once your cake is frosted smoothly, you can add simple decorations that make a big impact. These easy cake decorating techniques are perfect for those just starting out or who want quick, beautiful results. They require minimal tools and can transform a plain cake into something special.
These methods are forgiving and fun, allowing you to experiment with different textures and colors without needing intricate piping skills. They are ideal for last-minute decorations or getting kids involved in the process.
Decorating with Sprinkles: A Classic and Easy Cake Decorating Technique
Sprinkles are perhaps the simplest way to add color and texture to a cake. You can press sprinkles into the sides of a freshly frosted cake, scatter them over the top, or create patterns using stencils or freehand. For a classic look, hold the cake over a tray or piece of parchment paper and gently press sprinkles into the sides using your hand or a bench scraper.
Different types of sprinkles offer varied effects – jimmies, nonpareils, sanding sugar, edible glitter, or shaped sprinkles. A 20cm round cake might require anywhere from 50g to 150g of sprinkles to cover the sides, depending on the size and type of sprinkle and how densely you apply them. This is one of the most accessible easy cake decorating techniques for adding instant festivity.
Rosette Piping: Creating Beautiful Floral Accents
Piping rosettes is a surprisingly easy cake decorating technique that looks much more complicated than it is. You'll need a piping bag fitted with a large open star tip, such as a Wilton 1M or similar size. Fill the bag with your chosen frosting. Hold the bag perpendicular to the cake surface, touching the tip to the cake.
Start piping by squeezing the bag firmly and moving the tip in a circular motion, starting from the center and swirling outwards. Release pressure as you complete the circle. Practice on a piece of parchment paper first to get a feel for the size and pressure needed. You can cover the entire cake with rosettes for a dramatic effect or use them as accents around the top or base.
Using Stencils: Adding Intricate Designs with Ease
Cake stencils allow you to transfer patterns onto your cake surface with minimal effort. You can use stencils on a cake covered in smooth buttercream, ganache, or even fondant. Place the stencil against the chilled, frosted cake surface, holding it firmly in place.
Then, use an offset spatula to spread a thin layer of frosting (often in a contrasting color), royal icing, or even powdered sugar or cocoa powder over the stencil. Scrape off any excess with the spatula, then carefully peel the stencil away to reveal the design. This is an easy cake decorating technique for adding elegant or intricate patterns without freehand drawing.
Advanced Cake Decorating Techniques for Impressive Results
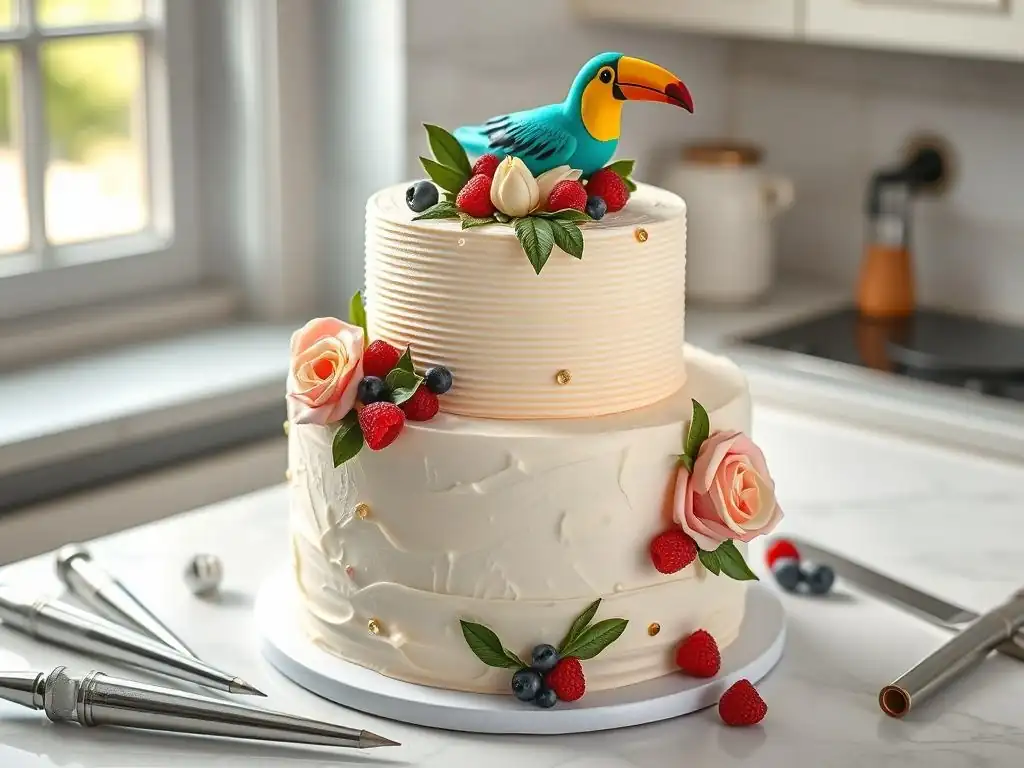
While simple techniques are great, exploring more advanced methods can take your cake decorating skills to the next level. These techniques often require more practice and patience but offer greater control and the ability to create truly stunning designs.
We'll look at working with fondant, mastering various piping techniques beyond simple rosettes, and incorporating edible decorations for added flair. These methods open up a world of creative possibilities for your cakes.
Working with Fondant: Creating Smooth and Elegant Cake Surfaces
Fondant is a pliable icing used to cover cakes, providing a smooth, flawless surface ideal for intricate decorations. While it can seem intimidating, working with fondant is achievable with practice. It offers a different aesthetic than buttercream, providing a clean, often matte finish perfect for sculpted elements or sharp edges.
Fondant is essentially a dough made from sugar, water, and often gelatin or glycerine. It can be rolled out thin and draped over a cake, offering a canvas that is less prone to melting or smudging than buttercream, making it excellent for stacking tiered cakes or adding heavy decorations.
Kneading and Coloring Fondant: Preparing for Decoration
Before rolling, fondant needs to be kneaded until it is smooth and pliable, much like bread dough. Take the fondant out of its packaging and knead it on a clean surface dusted with powdered sugar or cornstarch to prevent sticking. Knead until it's soft and easy to work with, usually for 5-10 minutes.
To color fondant, use gel or paste food coloring, as liquid coloring can make it too sticky. Add a small amount of color with a toothpick and knead it in thoroughly until the color is uniform. Continue adding color gradually until you achieve the desired shade. For a 2kg tub of white fondant, a few drops of concentrated gel color can create vibrant hues.
Covering a Cake with Fondant: A Seamless Finish
Covering a cake with fondant requires careful preparation and execution. Ensure your cake is chilled and has a thin layer of buttercream or ganache applied (this helps the fondant adhere). Roll the kneaded fondant out on a surface dusted with powdered sugar or cornstarch into a circle large enough to cover the top and sides of your cake – typically about 3-5 cm wider than the cake's diameter plus twice its height.
Carefully lift the rolled fondant (you can drape it over your rolling pin) and position it over the center of the cake. Gently smooth the top with your hands or a fondant smoother. Then, work your way down the sides, lifting and easing the fondant against the cake to prevent pleats or wrinkles. Use fondant smoothers to press the fondant firmly against the cake and remove air bubbles. Trim the excess fondant neatly around the base with a sharp knife or pizza cutter.
Piping Techniques for Cake Decoration: Mastering Intricate Designs
Piping frosting is a versatile skill that allows you to create everything from simple borders to complex floral arrangements. While rosettes are an easy cake decorating technique, exploring different piping tips opens up a wider range of decorative possibilities.
Mastering piping involves learning how to hold the bag, apply consistent pressure, and understand how different tips transform frosting into various shapes. Practice is key to achieving clean lines and consistent designs.
Different Piping Tips and Their Uses: Exploring Decorative Options
Piping tips come in numerous shapes and sizes, each creating a unique effect. Round tips (sizes 1-12) are used for dots, lines, writing, and filling areas. Star tips (open or closed, sizes 1M, 18, 21, 32, etc.) create stars, shells, borders, and rosettes. Petal tips (sizes 101, 104, 125, etc.) are used for ruffles, swags, and flower petals. Leaf tips (sizes 67, 70, 352) create realistic leaves. Basketweave tips (sizes 44, 47) create woven patterns.
Having a basic set of tips (e.g., a few round, star, and petal tips) allows you to explore many different decorating styles. A standard set of 12-24 tips provides a good range for most common designs.
Creating Borders and Swirls: Adding Elegant Details
Borders are a classic way to finish the edge of a cake, adding a polished look and often covering the joint between the top and sides. Shell borders, created with a star tip, are a popular and relatively easy cake decorating technique. Hold the bag at a 45-degree angle, squeeze to form the base of the shell, then drag the tip slightly forward while gradually releasing pressure to form the tail. Repeat, overlapping each shell slightly.
Swirls on top of cupcakes or round cakes are another simple yet effective technique, often using a large star tip (like 1M). Starting from the center, pipe a spiral outwards towards the edge, or start at the edge and spiral inwards. Consistent pressure is key to uniform swirls.
Using Edible Decorations: Enhancing Your Cake's Visual Appeal
Beyond frosting and piping, edible decorations offer another layer of creativity and visual interest. These can range from simple sprinkles to intricate handmade elements, adding sparkle, texture, or specific thematic details to your cake.
Incorporating edible decorations is often an easy cake decorating technique that can dramatically elevate the look of your finished cake without requiring extensive piping or sculpting skills.
Working with Edible Glitter and Dust: Adding Sparkle and Shine
Edible glitter and dust are fine particles made from food-safe ingredients (like sugar, maltodextrin, or gum arabic) that add shimmer and sparkle to your cake. Dusts are finer and create a soft sheen, while glitters are larger particles that provide more sparkle. They come in various colors and finishes.
You can apply edible dust using a dry brush to brush it onto fondant or firm buttercream, highlighting details or covering entire areas. Edible glitter can be sprinkled directly onto wet frosting or attached to dry surfaces using edible glue or a tiny bit of water. A little goes a long way; a few grams of edible glitter can cover the top of a standard cake.
Creating Edible Flowers and Figures: Elevating Your Cake Design
For more advanced edible decorations, you can create flowers, figures, and other elements using materials like gum paste, modeling chocolate, or even firm buttercream. Gum paste dries harder and is ideal for delicate flowers or standing figures, while modeling chocolate is more pliable and excellent for sculpting.
These techniques require more time and skill than simple piping but allow for highly customized and detailed decorations. For example, a simple rose can be made from gum paste by shaping small petals and layering them around a cone base. While not always an easy cake decorating technique for beginners, mastering these elements can make your cakes truly unique.
Troubleshooting Common Cake Decorating Problems
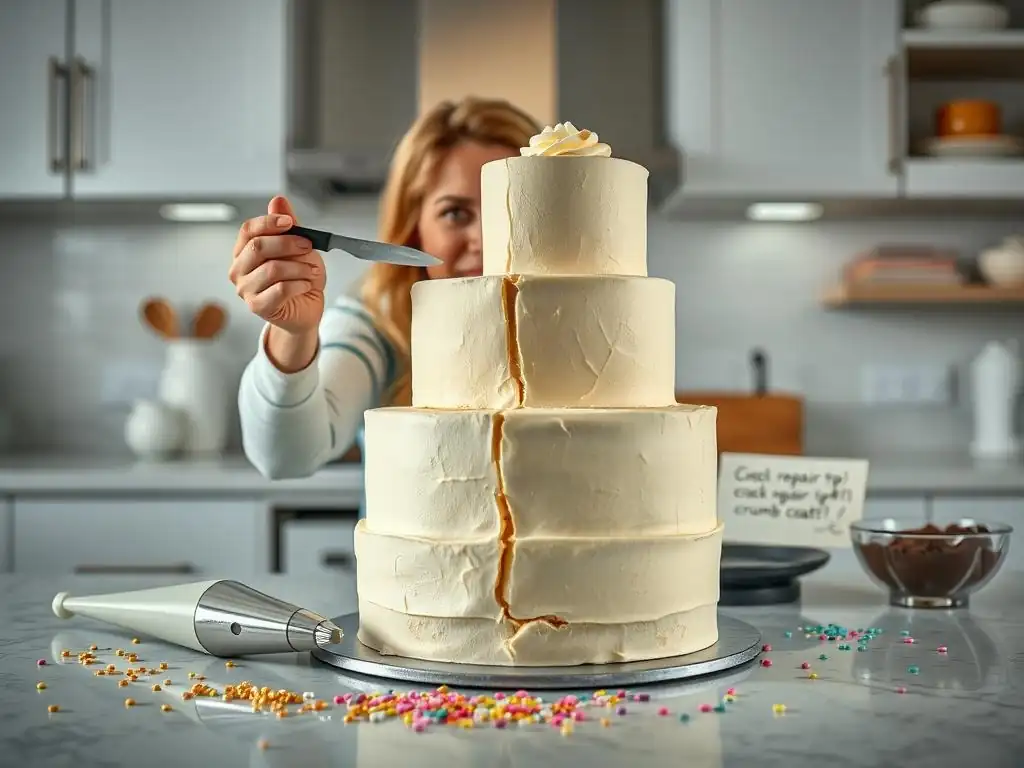
Even with the best planning, sometimes things don't go exactly as expected during cake assembly and decoration. Knowing how to troubleshoot common issues can save your cake and your sanity.
Addressing problems like air bubbles, uneven frosting, or a sliding cake quickly and effectively is part of the process. Don't be discouraged by imperfections; many can be fixed or creatively disguised.
Preventing Air Bubbles in Frosting: Achieving a Smooth Texture
Air bubbles in frosting can mar an otherwise smooth finish. They often occur when beating the frosting at too high a speed or incorporating too much air during mixing. To minimize bubbles, mix your frosting on low speed for a few minutes after it's combined, which helps force air out.
Before frosting the cake, you can "de-bubble" the frosting by pressing it firmly against the side of the bowl with your spatula. When applying frosting to the cake, work slowly and consistently. If you spot small bubbles while smoothing, you can often gently pop them with a pin or the tip of your spatula and then smooth over the area.
Fixing Uneven Frosting: Correcting Imperfections
Uneven frosting is a common issue, especially when first learning easy cake decorating techniques. If your final frosting layer isn't smooth or has thin spots, don't panic. For small imperfections, you can often add a little more frosting to the area and re-smooth with your spatula or bench scraper.
If the unevenness is significant, you might need to scrape off the frosting from the affected area (or even the whole cake if necessary) and reapply it. Ensure your cake is properly crumb coated and chilled, and use enough frosting for the final layer to allow for easy smoothing. Remember that some designs, like textured finishes created with spatulas or combs, can intentionally hide minor unevenness.
Preventing Cake From Sliding: Ensuring a Stable Cake
A sliding cake layer is usually a sign of instability in the assembly. This can happen if the layers aren't level, the filling is too soft or applied too thickly, or the cake wasn't chilled properly after assembly or crumb coating. To prevent sliding, always level your cake layers.
Use a frosting dam for soft fillings. Ensure the cake is well-chilled before handling or applying pressure during frosting. For multi-tiered cakes, use internal supports like dowels or cake boards beneath each tier to distribute weight and provide stability. A non-slip mat or a dab of frosting under the cake board on your serving platter can also help prevent the entire cake from shifting.
Storing Your Decorated Cake: Keeping It Fresh and Beautiful
After all your hard work assembling and decorating, proper storage is essential to keep your cake fresh, moist, and looking its best until it's time to serve. The storage method depends on the type of cake and frosting used.
Protecting your cake from drying out or absorbing odors is key. Proper storage ensures that your delicious creation remains enjoyable and that your beautiful easy cake decorating techniques stay intact.
Proper Cake Storage Techniques: Maintaining Moisture and Flavor
Most cakes frosted with buttercream can be stored at room temperature for 2-3 days if covered properly, unless the filling requires refrigeration (like fresh fruit or dairy-based creams). Use a cake dome or an airtight container large enough to hold the cake without touching the decorations. If the cake is too large, you can loosely cover it with plastic wrap, using toothpicks inserted into the top to prevent the wrap from sticking to the frosting.
For cakes with perishable fillings or frostings (like cream cheese frosting or whipped cream), or those made in warm weather, refrigeration is necessary. Chill the cake uncovered for about 15-20 minutes to firm up the frosting, then loosely cover with plastic wrap or place in a container. Allow refrigerated cakes to sit at room temperature for 30-60 minutes before serving for the best texture and flavor. Cakes can also be frozen, either whole or sliced, wrapped tightly in plastic wrap and then foil, for up to 2-3 months.
Transporting Decorated Cakes: Ensuring Safe Delivery
Transporting a decorated cake requires careful planning to prevent damage. For single-tier cakes, use a sturdy cake box or container that is slightly larger than the cake and its board. Place a non-slip mat or a dab of frosting under the cake board inside the box to prevent it from sliding.
For multi-tiered cakes, transport tiers separately if possible, or ensure they are properly doweled and secured to their base board. Place the cake box on a flat surface in your vehicle, like the floorboard or trunk, rather than on a seat. Drive carefully, avoiding sudden stops or turns. On hot days, transport the cake in an air-conditioned vehicle and keep the transport time as short as possible.
Frequently Asked Questions
How do I prevent my cake layers from sliding when stacking them?
The key is to use a stable filling and cake supports. A good buttercream or ganache will act like glue, and dowels or straws provide structural integrity.
What's the easiest way to get a smooth buttercream frosting finish?
Use a bench scraper! Apply a generous amount of frosting, then hold the scraper at a 45-degree angle and spin the cake turntable. Refridgerate the cake to set the frosting.
I'm a beginner. What's a simple cake decorating technique I can try?
Start with piping simple rosettes or stars around the top edge of the cake. These are easy to learn and add a professional touch.
Can I decorate a cake a day in advance?
Absolutely! In fact, it's often recommended. Just make sure to store the decorated cake properly, usually in an airtight container in the refrigerator.
What are some foolproof ways to prevent air bubbles in my frosting?
When making buttercream, beat it on low speed for a few minutes at the end to remove excess air. You can also tap the bowl on the counter to release bubbles.
Final Reflection: The Sweet Symphony of Simple Cake Decorating
The art of cake decorating, once perceived as an exclusive skill, is now within everyone's reach. This article has explored foolproof methods, demystifying the process and empowering even the most novice bakers to create stunning, delicious cakes. The accessibility of these techniques is not just about aesthetics; it's about the joy of creation and the power of sharing homemade treats with loved ones.
The impact of simple, achievable cake decorating extends far beyond the kitchen. It fosters creativity, encourages self-expression, and builds confidence. The act of transforming a simple sponge into a masterpiece is incredibly rewarding, a tangible representation of one's own capabilities. Baking is at once child's play and adult joy. And love, of course.
– Alma Flor Ada. This quote perfectly encapsulates the emotional connection we forge with baking, and particularly with the decorative process that elevates a cake from good to extraordinary.
Now, it's your turn. Don't be intimidated by the seemingly complex world of cake decorating. Remember the simple techniques outlined in this article, gather your ingredients, and let your creativity flow. Embrace the mess, enjoy the process, and most importantly, savor the sweet reward of a beautifully decorated cake made with your own two hands. The journey is just as important as the destination, and the memories created while baking are as delicious as the cake itself.
Unleash Your Inner Cake Artist!
Thanks for joining us on this delicious journey into the world of cake decorating! We hope you've gained some valuable tips and tricks to elevate your baking game. Now it's time to put your newfound skills to the test!
- Bake and decorate your dream cake! Challenge yourself with a new design or flavor combination inspired by what you learned today. This is your chance to shine!
- Share your creation! Post a picture of your masterpiece on social media and tag us – we'd love to see your baking brilliance.
- Explore our other resources on BakeWithEase.com for more inspiration and tutorials. Maybe you'll discover your next signature cake!
What unique cake design will you create next? Let's hear your ideas in the comments below!