
KidFriendly Frozen Treats: Fun & Easy Recipes

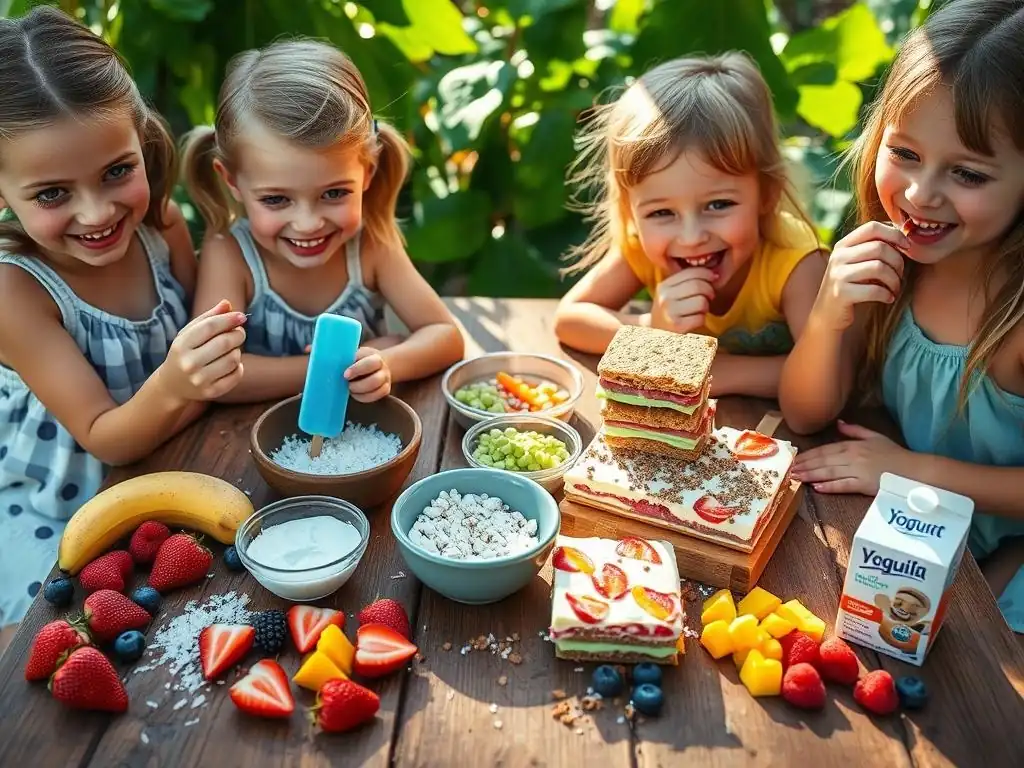
Welcome to BakeWithEase, your secret ingredient to baking bliss! Ever wish you could whip up something delicious and refreshing for the little ones without spending hours in the kitchen? Then you're in the right place. Discover our collection of easy frozen treats for kids and say goodbye to summer boredom and hello to happy faces. But that's just a taste of what we offer. Curious about more ways to simplify your baking journey? Keep reading and unlock a world of simple recipes and expert tips!
- BakeWithEase Presents: Refreshing Frozen Desserts for Kids
- Why Make Your Own Easy Frozen Treats for Kids?
- Must-Try Easy Frozen Treat Recipes for Kids
- Tips & Tricks for Making the Best Frozen Treats for Kids
- Making Frozen Treats with Kids: Safety First!
- More Delicious and Easy Recipes from BakeWithEase
- Enjoy Your Homemade Easy Frozen Treats!
-
Frequently Asked Questions
- How can I make frozen treats healthier for my kids?
- What are some easy, no-bake frozen treat recipes suitable for young children?
- Are there any allergy-friendly frozen treat options?
- How can I prevent frozen treats from becoming too icy?
- What are some creative ways to decorate frozen treats to make them more appealing to kids?
- Final Reflection: The Sweetness of Shared Moments
- Unlock a World of Cool Treats!
BakeWithEase Presents: Refreshing Frozen Desserts for Kids
Welcome to BakeWithEase! While we love our ovens, sometimes the best way to cool down and enjoy a sweet moment is with something delightfully frozen. Especially when little ones are involved, finding treats that are both fun to eat and simple to make is a win-win. This guide is all about creating delicious, easy frozen treats for kids right in your own kitchen. Forget the complex techniques; we're focusing on simple ingredients and straightforward steps that anyone can follow.
Making frozen desserts with your children can turn an ordinary afternoon into a memorable adventure. From blending colorful fruits to stirring together simple mixtures, the process is as enjoyable as the final product. These recipes are designed to be accessible, requiring minimal equipment and common ingredients you likely already have on hand or can easily find at your local grocery store. Get ready to explore a world of frosty delights that are perfect for hot days, after-school snacks, or just because!
Why Make Your Own Easy Frozen Treats for Kids?
Healthier Homemade Frozen Treats: Control Ingredients
Making easy frozen treats for kids at home gives you complete control over what goes into them. Unlike many store-bought options that can be loaded with high-fructose corn syrup, artificial colors, and preservatives, your homemade versions can be tailored to be much healthier.
For example, a typical store-bought fruit popsicle might contain around 10-15 grams of added sugar per serving, often from refined sources. By contrast, a homemade fruit and yogurt pop can use the natural sweetness of ripe fruit and perhaps just a small amount of honey or maple syrup, resulting in potentially less than half the added sugar, or even none at all if the fruit is sweet enough.
Furthermore, you can pack these treats with nutrients. Using real fruit provides vitamins, fiber, and antioxidants. Incorporating yogurt adds protein and calcium, turning a simple dessert into a more balanced snack. For instance, blending a cup of berries (rich in Vitamin C) with half a cup of plain Greek yogurt (offering about 11g of protein) creates a base that is far more nutritionally beneficial than a frozen treat made primarily from sugar water and flavorings. This level of ingredient transparency and nutritional control is a major advantage of the homemade approach.
Fun Family Activity: Baking Frozen Desserts Together
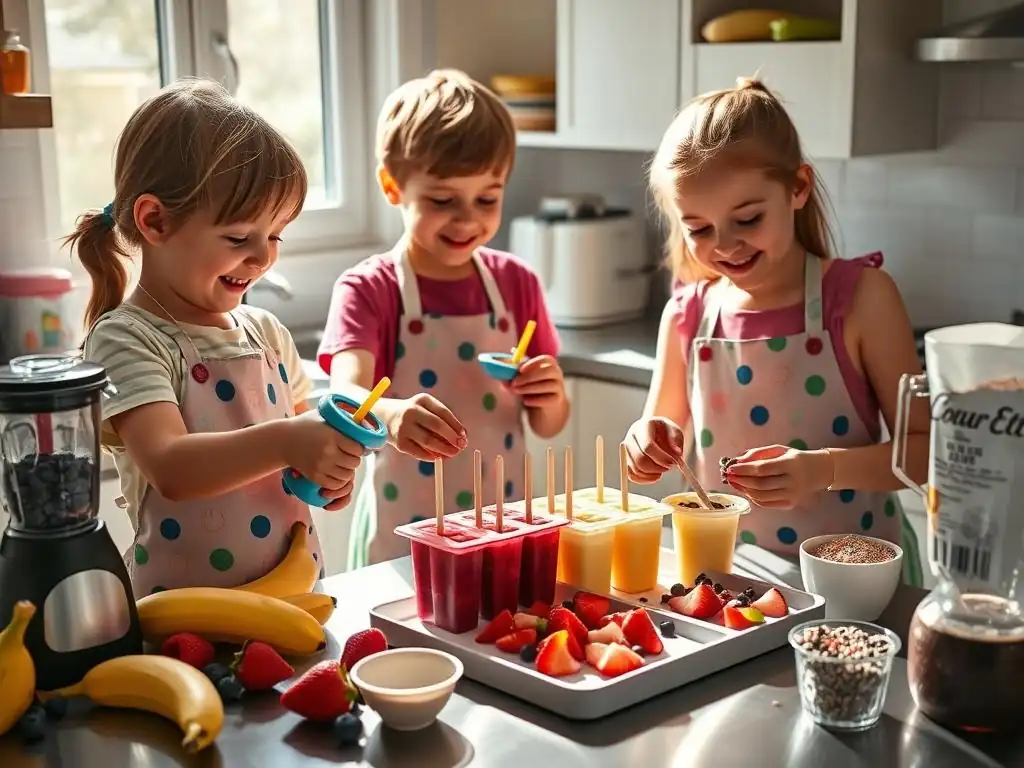
Creating easy frozen treats for kids is a fantastic way to spend quality time together as a family. It's an activity that engages children in the kitchen in a low-stress environment – no hot ovens or complicated timing required! Kids can participate in washing fruit, peeling bananas, measuring ingredients, stirring mixtures, and pouring liquids into molds. Even very young children can help with simple tasks like putting berries into a blender cup (with supervision, of course).
This shared experience isn't just about making food; it's about creating memories and teaching valuable skills. Children learn about ingredients, measurements, and the process of transformation from liquid to solid. A simple batch of popsicles might take about 15-20 minutes of active prep time before freezing, offering a focused, manageable project that yields tangible, delicious results within a few hours. Think of the excitement as they check the freezer, anticipating their frosty creations! It’s a hands-on way to connect and build confidence in the kitchen.
Budget-Friendly Frozen Dessert Options
Whipping up your own easy frozen treats for kids can also be significantly lighter on your wallet compared to buying pre-packaged options regularly. A box of 10-12 store-bought popsicles might cost anywhere from $3 to $6, depending on the brand and type. If your kids enjoy one a day, that adds up quickly over a week or month.
Consider the cost of ingredients for a batch of homemade treats. A large container of plain yogurt might cost around $4-$6, and a bag of frozen berries perhaps $3-$5. These ingredients can often make 10-15 or even more frozen treats, depending on the recipe and mold size. Using fruit that is in season or on sale, or even slightly overripe bananas you need to use up, further reduces the cost. Over time, the savings can be substantial, allowing you to provide tasty, healthier options for your children without breaking the bank.
Must-Try Easy Frozen Treat Recipes for Kids
Recipe 1: Fruity Yogurt Popsicles - A Healthy Frozen Snack
These popsicles are incredibly simple, packed with nutrients, and endlessly customizable. They are a perfect example of how easy it is to make healthy easy frozen treats for kids.
Ingredients for Fruity Yogurt Popsicles
- 1.5 cups plain or vanilla yogurt (Greek yogurt works well for a creamier texture)
- 1 cup mixed fruit (berries, sliced banana, chopped mango, peaches, etc. - fresh or frozen)
- 1-3 tablespoons honey, maple syrup, or agave nectar (optional, adjust to sweetness of fruit)
- Splash of milk or juice (optional, to thin consistency if needed)
Instructions for Making Yogurt Popsicles
- Combine the yogurt, fruit, and sweetener (if using) in a blender or food processor.
- Blend until smooth. If the mixture is too thick to pour easily, add a small splash of milk or juice and blend again until it reaches a pourable consistency.
- Pour the mixture into popsicle molds, filling each cavity almost to the top, leaving a little room for expansion.
- Insert popsicle sticks into the molds.
- Place the molds in the freezer and freeze for at least 4-6 hours, or until completely solid.
- To unmold, briefly run the outside of the mold under warm water (just a few seconds!) and gently pull out the popsicles.
Tips for Perfect Yogurt Popsicles
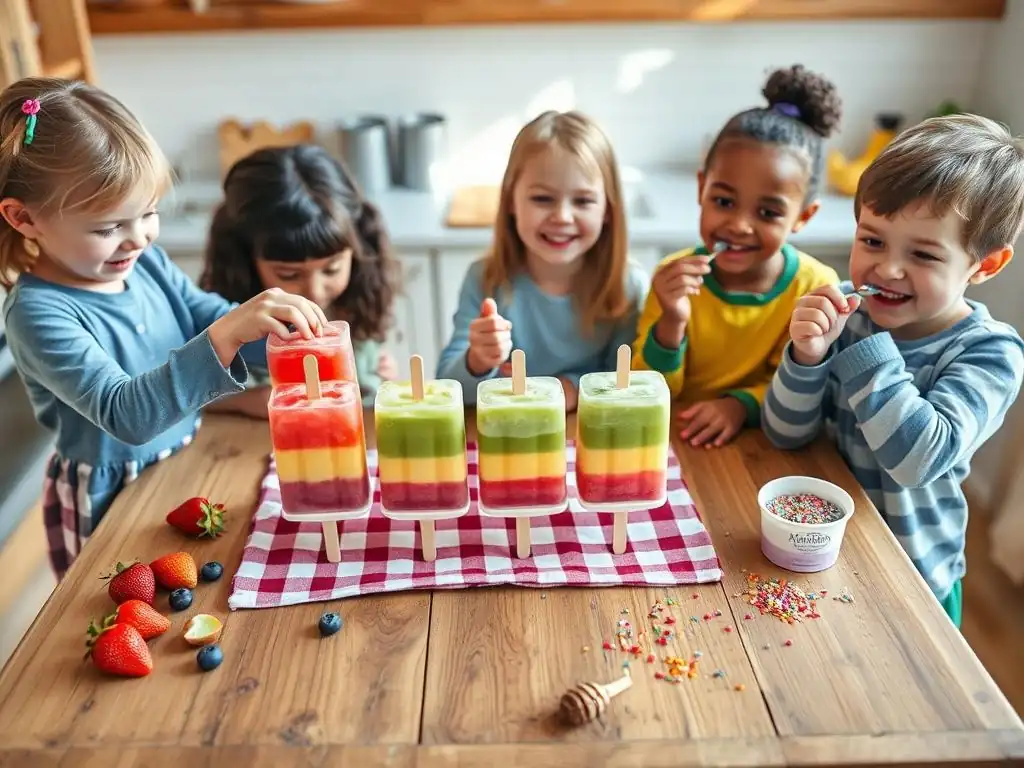
For vibrant colors and flavors, use ripe, sweet fruit. Slightly overripe bananas or berries are perfect for blending. If using frozen fruit, you might need to add a little more liquid to help it blend smoothly. You can also create layered popsicles by freezing one layer for an hour before adding the next. For example, freeze a yogurt layer, then add a layer of blended fruit, and top with more yogurt. This adds visual appeal that kids love!
Recipe 2: Quick & Easy Banana "Nice" Cream
"Nice" cream is a delightful frozen dessert made from just one ingredient: frozen bananas! It has a texture remarkably similar to soft-serve ice cream, making it a fantastic easy frozen treat for kids.
Ingredients for Banana "Nice" Cream
- 3-4 ripe bananas, peeled and sliced into chunks
Instructions for Making Banana "Nice" Cream
- Arrange the banana slices in a single layer on a baking sheet lined with parchment paper.
- Freeze the banana slices until solid, typically 2-3 hours. Once frozen solid, they can be transferred to a freezer bag or container for easier storage.
- Place the frozen banana chunks into a strong blender or food processor.
- Process the frozen banana chunks. At first, they will look crumbly. Keep processing, scraping down the sides as needed. The mixture will go through stages: from crumbly to thick paste, then eventually to a smooth, creamy consistency resembling soft-serve ice cream. This can take several minutes, so be patient!
- Serve immediately for a soft-serve texture, or transfer to a freezer-safe container and freeze for another 30-60 minutes for a firmer scoopable texture.
Variations on Banana "Nice" Cream (Chocolate, Berry)
The beauty of banana "nice" cream is how easily you can add other flavors. For Chocolate Banana "Nice" Cream, add 1-2 tablespoons of unsweetened cocoa powder during the blending process. Blend until smooth and chocolatey. For Berry Banana "Nice" Cream, add about half a cup of frozen berries (like strawberries, blueberries, or raspberries) to the frozen banana chunks before blending. The berries will add color and a tangy twist. You can also swirl in a tablespoon of peanut butter or a sprinkle of cinnamon for different flavor profiles.
Recipe 3: Watermelon Granita - A Refreshing Summer Treat
Granita is a semi-frozen dessert made from sugar, water, and flavorings, typically fruit. It has a granular, icy texture, perfect for cooling down. Watermelon granita is incredibly refreshing and another wonderfully easy frozen treat for kids.
Ingredients for Watermelon Granita
- 4 cups seedless watermelon chunks
- 1-2 tablespoons lime or lemon juice (optional, adds brightness)
- 1-3 tablespoons sugar or honey (optional, adjust to sweetness of watermelon)
Instructions for Making Watermelon Granita
- Place the watermelon chunks, lime/lemon juice (if using), and sweetener (if using) in a blender.
- Blend until completely smooth and liquid.
- Pour the mixture into a shallow freezer-safe dish (a glass baking dish works well, about 9x13 inches or similar).
- Place the dish in the freezer.
- After about 30-45 minutes, check the mixture. Ice crystals will start forming around the edges. Use a fork to scrape the frozen edges towards the center and break up any large ice chunks.
- Return to the freezer and repeat the scraping process every 30-45 minutes for about 3-4 hours, or until the entire mixture is frozen and has a light, flaky, icy texture.
Serving Suggestions for Watermelon Granita
Serve the granita scraped into bowls or glasses. It's delicious on its own, offering a pure burst of watermelon flavor. For extra flair, you can garnish it with a small mint sprig or a thin slice of lime. The texture is like flavored shaved ice, making it a fun sensory experience for kids. It's significantly less dense than ice cream or sorbet, providing light, refreshing hydration on a hot day.
Recipe 4: No-Bake Frozen Chocolate Peanut Butter Bites
These little bites are like mini peanut butter cup candies but made with simple ingredients and no baking! They are rich, satisfying, and incredibly easy frozen treats for kids to help make (especially the rolling and dipping! ).
Ingredients for Frozen Chocolate Peanut Butter Bites
- 1 cup smooth peanut butter (natural or regular)
- 1/4 cup maple syrup or honey
- 1/4 cup almond flour or oat flour (optional, helps firm them up)
- 1 cup chocolate chips (dark, milk, or semi-sweet)
- 1 tablespoon coconut oil (optional, helps with melting and dipping)
Instructions for Making Frozen Chocolate Peanut Butter Bites
- In a medium bowl, combine the peanut butter and maple syrup/honey. Stir until well combined.
- If using, stir in the almond flour or oat flour until the mixture is thick enough to roll into balls. If it's too sticky, add a little more flour, a tablespoon at a time.
- Roll the mixture into small bite-sized balls, about 1 inch in diameter. Place the balls on a baking sheet lined with parchment paper.
- Place the baking sheet with the peanut butter balls in the freezer for about 30 minutes to firm up.
- While the balls are freezing, melt the chocolate chips. You can do this in a microwave-safe bowl in 30-second intervals, stirring between each, or using a double boiler on the stovetop. Stir in the coconut oil if using, until the chocolate is smooth and melted.
- Once the peanut butter balls are firm, use a fork or toothpick to dip each ball into the melted chocolate, ensuring it's fully coated. Let excess chocolate drip off before returning the coated ball to the parchment-lined baking sheet.
- Return the baking sheet to the freezer until the chocolate is completely set, about 15-20 minutes.
Storage Tips for Chocolate Peanut Butter Bites
Once the chocolate coating is firm, transfer the frozen bites to an airtight container. You can layer them with parchment paper in between layers to prevent sticking. Store them in the freezer for up to 2-3 months. Let them sit at room temperature for just a minute or two before eating for the best texture, though they are perfectly enjoyable straight from the freezer. These make great make-ahead easy frozen treats for kids.
Tips & Tricks for Making the Best Frozen Treats for Kids
Choosing the Right Ingredients for Kid-Friendly Frozen Desserts
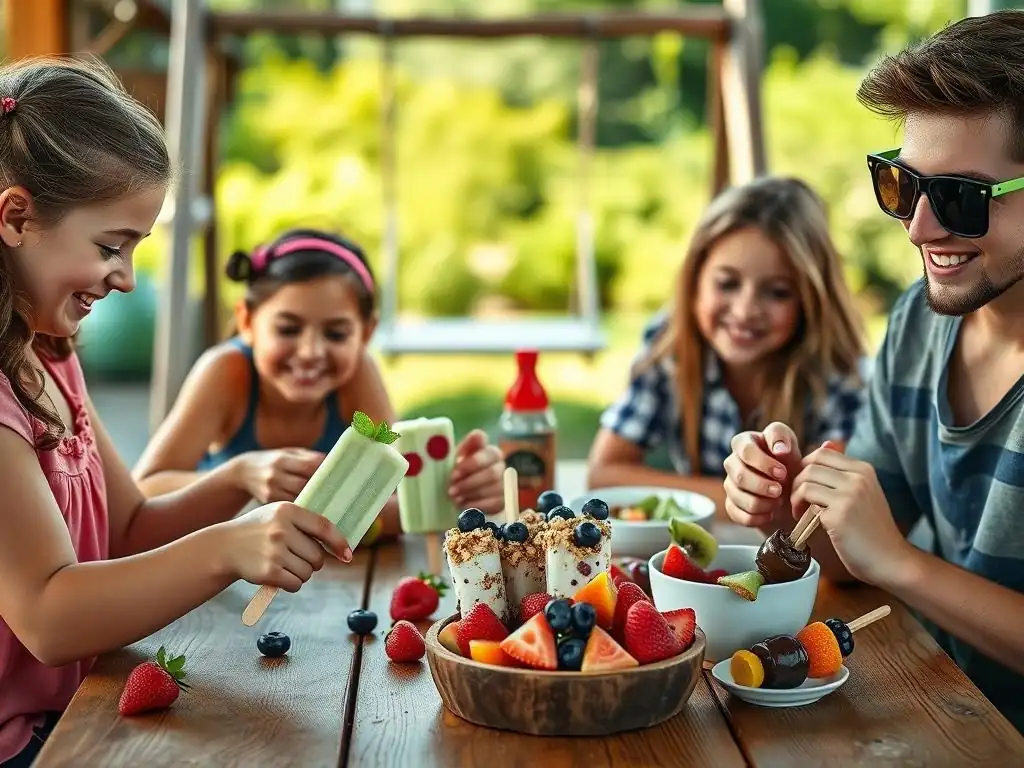
The quality of your ingredients directly impacts the taste and texture of your homemade frozen treats. For fruit-based recipes like popsicles or granita, use ripe, sweet fruit. Ripe fruit is naturally sweeter, reducing the need for added sugars, and its flavor is more pronounced after freezing. For creamy treats like yogurt pops or nice cream, using full-fat yogurt or ripe, frozen bananas provides a richer, smoother texture that is less likely to become icy.
When adding sweeteners, start with a small amount and taste the mixture before freezing. Freezing can slightly dull sweetness, so you might need a touch more than you expect, but it's easy to add more, impossible to take away. Natural sweeteners like honey and maple syrup also help prevent large ice crystals from forming, contributing to a smoother consistency in your easy frozen treats for kids. Prioritizing fresh, quality ingredients ensures the best flavor and nutritional outcome.
Essential Equipment for Making Frozen Treats
You don't need a lot of fancy gadgets to make easy frozen treats for kids, but a few basic tools can make the process much smoother. Popsicle molds are, of course, essential for making popsicles; they come in various shapes and sizes, many specifically designed with kids in mind (like fun character shapes!). A good blender or food processor is crucial for recipes like nice cream or smooth pureed popsicles, capable of handling frozen fruit.
Other helpful items include shallow freezer-safe dishes for granitas, airtight containers for storing finished treats, and perhaps small funnels to make pouring mixtures into molds less messy. While an ice cream maker isn't necessary for these specific "easy" recipes, it's a tool you might explore as you get more into frozen desserts. For these simple treats, focusing on having sturdy molds and a reliable blending appliance is key.
Freezing Techniques for Perfect Texture
Proper freezing is vital for achieving the desired texture in your homemade treats. Ensure your freezer is set to 0°F (-18°C) or lower for optimal freezing speed. Freezing quickly helps minimize the formation of large ice crystals, which can make frozen desserts taste icy or grainy. For recipes like granita, where you want small crystals, the regular scraping method is specifically designed to create that texture by constantly breaking up the ice as it forms.
For popsicles and solid frozen bites, ensure they are fully frozen before attempting to unmold or store them. Partially frozen treats can fall apart easily. Allowing enough time, usually 4-6 hours or overnight, ensures they are solid. When storing, use airtight containers or freezer bags to protect the treats from freezer burn, which happens when air exposure causes dehydration and oxidation, leading to a dry, icy surface. Proper freezing and storage are key to enjoying your easy frozen treats for kids at their best.
How to Avoid Ice Crystals in Homemade Frozen Treats
Ice crystals are the nemesis of smooth frozen desserts. They form when water molecules separate and freeze into larger structures. To minimize them in your easy frozen treats for kids, especially creamy ones like yogurt pops or nice cream, consider a few factors. Ingredients like fat (from full-fat yogurt or peanut butter) and sugar (or other sweeteners like honey, maple syrup) interfere with water molecule bonding, resulting in smaller, smoother crystals. Using ripe, less watery fruits can also help.
Blending mixtures until very smooth before freezing helps distribute ingredients evenly, reducing the chance of water separating. For things like nice cream, processing the frozen bananas thoroughly until they are completely smooth is the key to that soft-serve texture. If you find your popsicles are still a bit icy, try adding a touch more sweetener or using a creamier base next time. Ensuring the treats freeze quickly also helps, so place them towards the back of the freezer where the temperature is most consistent.
Making Frozen Treats with Kids: Safety First!
Involving children in the kitchen is a wonderful experience, but safety must always be the priority, especially when working with tools and cold temperatures.
Adult Supervision is Key
When making easy frozen treats for kids, adult supervision is non-negotiable. While the recipes are simple and don't involve hot ovens, they still require using kitchen tools that can be hazardous if not handled properly. This includes blenders or food processors with sharp blades, which should only be operated by an adult or with strict adult guidance. Even pouring liquids can be messy or lead to slips if spills aren't immediately cleaned up.
Assign age-appropriate tasks to children. Younger kids can help wash fruit, stir non-blended mixtures, or place ingredients into containers (with help). Older children might be able to help measure ingredients or operate simpler tools under direct supervision. Staying present and engaged throughout the process ensures everyone stays safe and the activity remains fun and positive.
Safe Handling of Ingredients
Proper food hygiene is essential when preparing any food, including easy frozen treats for kids. Start by ensuring everyone washes their hands thoroughly with soap and water before beginning. Use clean utensils, bowls, and molds. Wash fruit and vegetables under running water before use. If using dairy or other perishable ingredients like yogurt, ensure they are fresh and stored correctly before use.
Avoid leaving ingredients out at room temperature for extended periods, especially dairy or fruit mixtures, as this can encourage bacterial growth. Once the treats are prepared and in their molds or containers, get them into the freezer as quickly as possible to begin the freezing process safely. Teaching children about washing hands and keeping surfaces clean instills good habits from a young age.
Allergy Considerations for Kid-Friendly Recipes
When making easy frozen treats for kids, be mindful of potential food allergies or sensitivities, both for your own children and any friends who might share the treats. Common allergens include nuts (like in peanut butter bites), dairy (in yogurt pops), and certain fruits. Always check ingredient labels carefully if using packaged goods like yogurt or chocolate chips.
If serving these treats to children with known allergies, ensure you use safe substitutes. For example, use sunbutter instead of peanut butter, or dairy-free yogurt alternatives. Clearly label homemade treats if they contain potential allergens, especially if storing them with other foods. Communicating about ingredients is crucial for everyone's safety and peace of mind.
More Delicious and Easy Recipes from BakeWithEase
Explore Other Frozen Dessert Recipes
Once you've mastered these easy frozen treats for kids, you might be inspired to explore other frozen delights! BakeWithEase.com offers a variety of recipes, from simple sorbets and gelatos to more involved ice cream bases. You can find guides on making refreshing fruit slushes, creamy milkshakes, or even frozen pies.
Branching out allows you to experiment with new flavors and textures, expanding your repertoire of cool treats. Look for recipes that introduce slightly different techniques, like churning or incorporating whipped cream, to gently build your frozen dessert skills.
Perfecting Your Baking Skills with BakeWithEase
While this article focuses on frozen treats, BakeWithEase is your comprehensive resource for all things baking. From mastering flaky pie crusts and soft cookies to tackling challenging sourdough breads and intricate cakes, we have step-by-step guides and helpful tips for every level.
Creating delicious food, whether baked or frozen, is a rewarding skill. Continue exploring our site to find your next kitchen adventure. Building confidence in one area, like making easy frozen treats for kids, can inspire you to try new techniques and recipes across the entire spectrum of baking and dessert making.
Enjoy Your Homemade Easy Frozen Treats!
Frequently Asked Questions
How can I make frozen treats healthier for my kids?
To make frozen treats healthier, focus on using natural sweeteners like honey or maple syrup, and incorporate fruits and vegetables into the recipes. You can also opt for low-fat or non-dairy alternatives like Greek yogurt or coconut milk.
What are some easy, no-bake frozen treat recipes suitable for young children?
Simple recipes include fruit popsicles (blended fruit and juice), yogurt bark (yogurt spread with toppings and frozen), and frozen banana bites (banana slices dipped in chocolate and frozen). These require minimal preparation and are safe for kids to help with.
Are there any allergy-friendly frozen treat options?
Absolutely! You can easily make dairy-free treats using almond milk, coconut milk, or soy milk. For nut-free options, avoid recipes with nuts and seeds, and always double-check ingredient labels for cross-contamination.
How can I prevent frozen treats from becoming too icy?
The key is to use ingredients with high sugar content (naturally occurring in fruit) or add a small amount of corn syrup to help prevent ice crystal formation. Also, proper freezing techniques (like using airtight containers) are important.
What are some creative ways to decorate frozen treats to make them more appealing to kids?
Get creative with colorful sprinkles, edible glitter, or small pieces of fruit. You can also use fun-shaped molds or create layered treats with different colors and flavors to enhance the visual appeal.
The simple act of making frozen treats with your kids is more than just a recipe; it's a recipe for lasting memories. In a world increasingly dominated by screens and pre-packaged goods, the ability to create something delicious and fun together offers a powerful antidote. These easy frozen treats aren't just about satisfying a sweet tooth; they're about fostering connection and creativity in the kitchen.
The impact of shared culinary experiences, especially with children, is profound. It's about more than just the taste; it's about the process, the laughter, the little hands helping to measure and mix. The best things in life are the people we love, the places we've been, and the memories we've made along the way.
This quote perfectly encapsulates the enduring value of these simple recipes, transforming ordinary moments into cherished memories that will last a lifetime. The joy on a child's face when they taste something they helped create is priceless.
Now, I invite you to consider the possibilities. Think beyond the recipes themselves. Imagine the conversations sparked, the skills learned, and the bonds strengthened as you embark on this delicious adventure with your children. Don't just make frozen treats; make memories. Choose a recipe, gather your ingredients, and let the sweet magic begin. The kitchen awaits, and the memories are just waiting to be made.
Unlock a World of Cool Treats!
Thanks for joining us on this delicious journey into kid-friendly frozen treats! We hope you've discovered some fun and easy recipes to beat the heat. Now it's time to get creative in the kitchen!
- Dive into your favorite recipe: Choose one of the tempting recipes from the article and make it your own! Add a sprinkle of extra magic by letting your kids help with the process.
- Share your frosty creations: Snap a photo of your finished masterpiece and share it on social media using #BakeWithEaseKids. We’d love to see what deliciousness you conjure up!
- Explore more frozen fun: Head over to our recipe section on bakewithease.com and discover even more exciting frozen dessert ideas for the whole family.
Ready to unleash your inner ice cream artist? What's the first frozen treat you're going to make?