
How to Make Simple Easter Egg Shaped Cookies

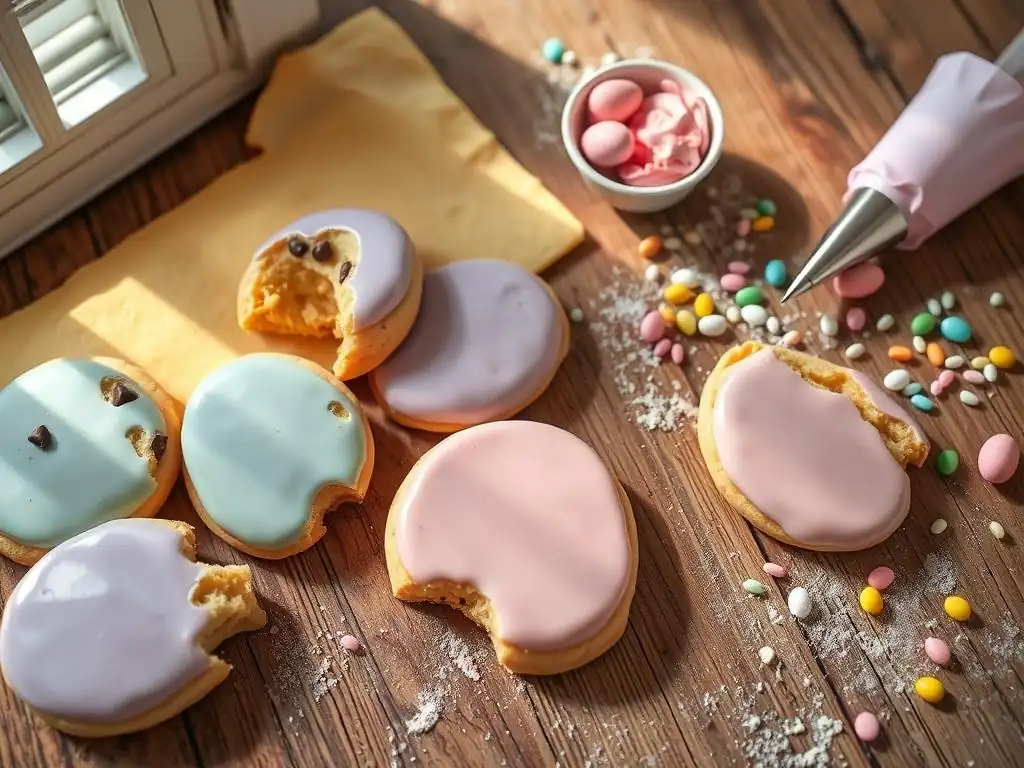
Welcome to BakeWithEase, your haven for baking brilliance! Ever dreamed of creating picture-perfect Easter treats without the fuss? Uncover the secrets to crafting delightful and easy Easter egg cookies that will impress your family and friends. Get ready to transform simple ingredients into stunning seasonal delights, sparking joy with every delicious bite! Dive in now to discover our foolproof recipe and baking tips.
- How to Make Simple Easter Egg Shaped Cookies - BakeWithEase
- Bake Delicious Treats: Your Guide to Easy Easter Egg Shaped Cookies
- Gather Your Ingredients for Baking Easy Easter Egg Cookies
- Step-by-Step Guide: Making the Perfect Easter Egg Cookie Dough
- Shaping Your Easy Easter Egg Cookies
- Baking Your Easy Easter Egg Cookies to Golden Perfection
- Decorating Your Easter Egg Cookies
- Storing Your Homemade Easy Easter Egg Cookies
- Troubleshooting Common Easter Egg Cookie Problems
- Enjoy Your Delicious Easter Egg Cookies!
- Frequently Asked Questions
- Final Reflection: The Enduring Joy of Simple Baking
- Unleash Your Inner Easter Baker!
Easter is a wonderful time to gather with loved ones and celebrate the arrival of spring. What better way to add sweetness to your festivities than with homemade cookies? Making easy Easter egg cookies is a delightful activity that brings joy to bakers of all ages and skill levels. These festive treats are not only delicious but also serve as a beautiful centerpiece for your Easter table or a thoughtful gift. The process is straightforward, involving simple ingredients and basic techniques, making them perfect for beginners.
Creating your own batch of simple Easter egg cookies allows for endless creativity in decoration. From vibrant royal icing colors to shimmering sprinkles and intricate piping, you can personalize each cookie to reflect the cheerful spirit of the holiday. Imagine a platter filled with pastel-colored eggs, each uniquely adorned – it's a truly rewarding experience. Plus, the aroma of freshly baked cookies filling your kitchen is simply irresistible, setting the perfect mood for your Easter celebrations.
To make delicious easy Easter egg cookies, you'll need a few pantry staples. The base is typically a simple sugar cookie dough. This requires all-purpose flour, granulated sugar, unsalted butter (softened), eggs, vanilla extract, baking powder, and a pinch of salt. For a standard batch yielding approximately 2-3 dozen cookies (depending on size), you might use around 3 cups of flour, 1 cup of sugar, 1 cup of butter, 2 eggs, and a teaspoon of vanilla. Using softened butter is crucial as it creams better with the sugar, creating a light and airy base for your dough.
Beyond the dough, you'll need decorating supplies. For classic simple Easter egg cookies, royal icing is popular because it dries hard, allowing for stacking and intricate designs. Basic royal icing requires confectioners' sugar, meringue powder (or egg whites), and water. Food coloring is essential for achieving those beautiful Easter pastels. You'll also want sprinkles, sanding sugar, or edible glitter. For example, a typical royal icing recipe might call for 4 cups of confectioners' sugar, 3 tablespoons of meringue powder, and about 1/2 cup of water.
Baking Supplies & Tools Checklist
Having the right tools makes baking easy Easter egg cookies much simpler and more enjoyable. You'll definitely need a large mixing bowl, either for hand mixing or for use with an electric mixer (stand or hand-held). Measuring cups and spoons are essential for accuracy. A rolling pin is critical for flattening the dough evenly, and a variety of Easter egg-shaped cookie cutters are a must-have for creating the iconic shape.
Other useful tools include parchment paper or silicone baking mats to line your baking sheets, preventing sticking and ensuring even baking. Cooling racks are necessary for letting the cookies cool completely before decorating. For icing, piping bags or squeeze bottles with various tips will help you outline and flood the cookies neatly. Small bowls for mixing different icing colors and a scribe tool or toothpick for spreading icing are also highly recommended for decorating your homemade Easter cookies.
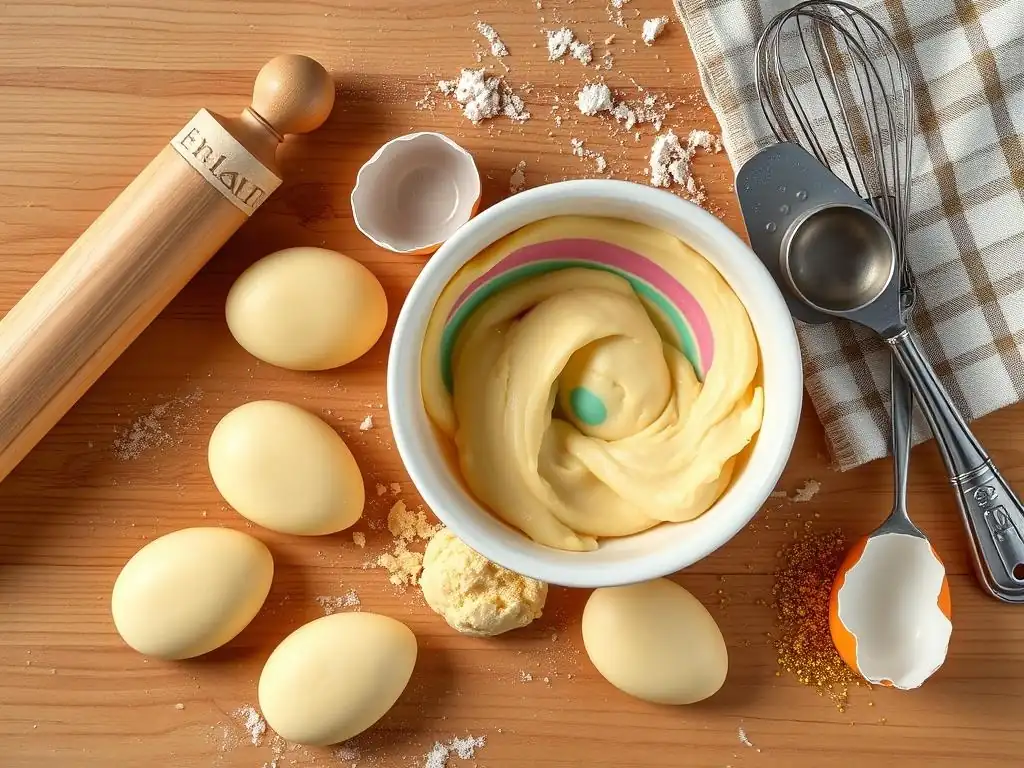
Start by creaming the softened unsalted butter and granulated sugar together in your mixing bowl until the mixture is light and fluffy. This process incorporates air, which contributes to the cookies' texture. Beat for about 2-3 minutes on medium speed with an electric mixer. Next, add the eggs one at a time, mixing well after each addition. Stir in the vanilla extract.
In a separate bowl, whisk together the dry ingredients: the all-purpose flour, baking powder, and salt. Gradually add the dry ingredients to the wet ingredients, mixing on low speed until just combined. Be careful not to overmix, as this can result in tough cookies. The dough should come together but might still be a bit soft.
Once the dough is mixed, divide it into two or three portions and flatten each into a disc shape. Wrapping these discs tightly in plastic wrap is a crucial step before chilling. This not only makes the dough easier to handle but also prepares it for the chilling process, which is vital for achieving the desired shape and texture for your easy Easter egg cookies. Ensure the plastic wrap is sealed well to prevent the dough from drying out in the refrigerator.
Chilling the cookie dough is a non-negotiable step when making shaped cookies like Easter egg shaped cookies. As the dough chills, the fat (butter) solidifies. This firm butter melts more slowly in the oven, causing the cookies to spread less. A dough that spreads too much will lose its defined egg shape, resulting in misshapen cookies. Chilling also allows the gluten in the flour to relax, which contributes to a tender cookie texture rather than a tough one.
Aim to chill the dough for at least 1-2 hours. If you're in a hurry, you can chill it in the freezer for about 30 minutes, but keep a close eye on it to prevent it from freezing solid. Properly chilled dough is firm but still pliable enough to roll out without cracking excessively. This firmness is key to getting clean cuts with your simple Easter egg cookies cutters and maintaining that perfect oval shape during baking.
Rolling and Cutting Dough for Easter Eggs
Once your dough is adequately chilled, take one disc out of the refrigerator at a time (keeping the rest chilled). Lightly flour your work surface and your rolling pin. Roll the dough out to an even thickness, typically about 1/4 inch. If the dough is too thin, the cookies might be brittle; too thick, and they might not bake evenly. Try to work relatively quickly so the dough doesn't get too warm and sticky. If it starts to warm up, pop it back into the fridge for a few minutes.
Use your Easter egg-shaped cookie cutters to cut out shapes from the rolled dough. Dip the cutter in flour occasionally to prevent sticking. Place the cut-out shapes onto baking sheets lined with parchment paper or silicone mats, leaving about 1-2 inches between cookies to allow for slight spreading. Gather the scraps, gently press them together into a disc, and chill again before re-rolling to minimize toughening. This careful process ensures your easy Easter egg cookies maintain their form.
Using cookie cutters effectively is key to getting perfectly shaped Easter egg shaped cookies. Press the cutter down firmly and evenly to get a clean cut through the dough. Avoid twisting the cutter, as this can distort the edges of the cookie shape. Once cut, carefully lift the excess dough from around the shape rather than trying to lift the shape itself. A small offset spatula can be helpful for transferring delicate shapes to the baking sheet without stretching or tearing them.
If your dough is sticking to the cutter or the work surface, try using slightly more flour, but don't add so much that it changes the dough consistency. Another tip is to chill your cut-out shapes on the baking sheet for 10-15 minutes before baking. This extra chill helps the cookies hold their shape even better in the oven. These small steps contribute significantly to the visual appeal of your homemade Easter cookies.
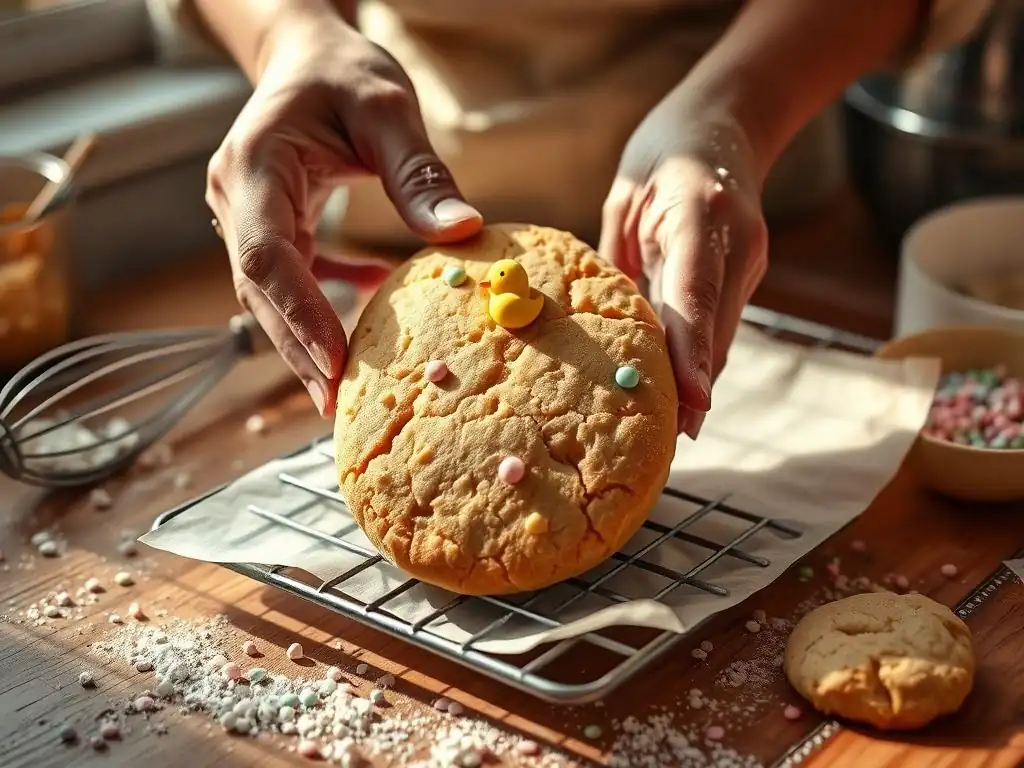
Proper oven temperature and baking time are critical for achieving perfectly baked easy Easter egg cookies. Preheat your oven to the recommended temperature for sugar cookies, which is typically around 350°F (175°C). It's helpful to use an oven thermometer to ensure your oven is heating accurately, as oven temperatures can vary significantly. Baking at the correct temperature ensures the cookies bake through evenly without burning the edges.
The baking time will vary depending on the size and thickness of your cookies and your specific oven. For 1/4-inch thick cookies, it usually takes between 8 to 12 minutes. You'll know the cookies are done when the edges are lightly golden brown and the centers look set, not wet or shiny. Avoid overbaking, as this will result in dry, hard cookies. Keep a close eye on them, especially during the last few minutes, as they can go from perfectly baked to slightly burnt very quickly.
To prevent your simple Easter egg cookies from burning, especially the delicate edges, consider rotating your baking sheets halfway through the baking time. Ovens often have hot spots, and rotating ensures all cookies bake evenly. If you notice one batch baking faster than another, adjust placement or timing for subsequent batches. Using parchment paper also helps prevent the bottoms from browning too quickly.
If you prefer a softer cookie, bake them for slightly less time, until the edges are just starting to turn golden but the centers still look pale. They will continue to set up as they cool on the baking sheet for a few minutes before being transferred to a cooling rack. Learning your oven's quirks through a few batches is the best way to master baking your easy Easter egg cookies to perfection.
Decorating is arguably the most fun part of making easy Easter egg cookies! The possibilities are vast, allowing for incredible creativity. Royal icing is a popular choice because it provides a smooth, paintable surface that dries firm. You can use vibrant food gel colors to create beautiful pastel shades like pink, blue, yellow, green, and lavender, mimicking real Easter eggs. Divide your royal icing into small bowls, one for each color you plan to use.
Beyond icing, stock up on various sprinkles, nonpareils, sanding sugars, and edible glitter. These add texture and sparkle to your simple Easter egg cookies. Consider different sizes and shapes of sprinkles, like jimmies, pearls, or even tiny edible flowers or bunnies for extra festivity. Having a variety allows you to create different looks for each cookie, making your final platter visually stunning.
Applying Icing and Sprinkles: A Guide for Easter Treats
Decorating with royal icing typically involves two steps: outlining and flooding. Use a piping bag with a small round tip (like a #2 or #3) to pipe an outline around the edge of the cookie. This creates a dam to hold the flood icing. Let the outline dry for about 10-15 minutes. Then, use thinner consistency icing (flood icing) to fill in the outlined area. You can use a piping bag, squeeze bottle, or even a spoon. Use a scribe tool or toothpick to gently spread the flood icing to the edges and pop any air bubbles.
While the flood icing is still wet, this is the time to add sprinkles or sanding sugar. Gently shake the sprinkles over the wet icing, or press the cookie lightly into a shallow dish of sprinkles. For more detailed designs, wait until the flood layer is completely dry (this can take several hours, even overnight) before piping on details like stripes, dots, or zigzags using thicker icing. Allow all decoration to dry completely before storing or packaging your beautiful homemade Easter cookies.
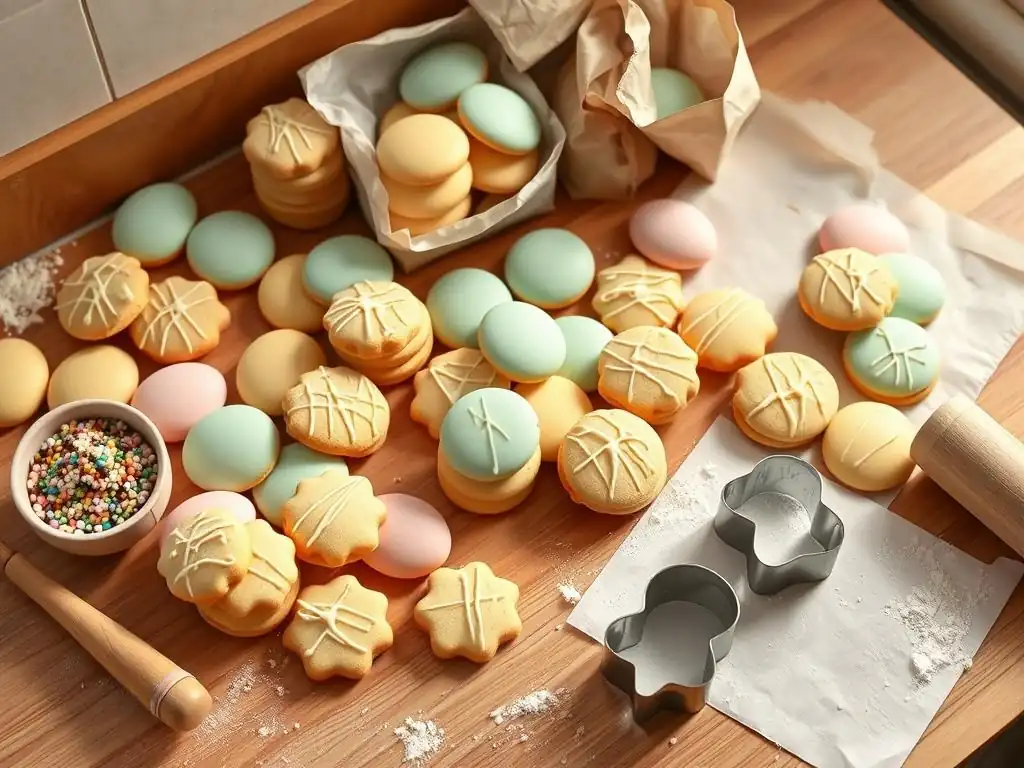
Once your easy Easter egg cookies are completely cooled and the icing (if used) is fully dry, proper storage is essential to maintain their freshness and texture. Air is the enemy of crisp cookies. Store them in an airtight container at room temperature. A cookie tin or a plastic container with a tight-fitting lid works well. Ensure the container is clean and dry before placing the cookies inside.
If your cookies are decorated with royal icing, stack them carefully once the icing is completely hardened, perhaps separating layers with parchment paper to prevent sticking or damage to the decorations. Properly stored sugar cookies can stay fresh for about 5-7 days at room temperature. For longer storage, you can freeze undecorated baked cookies for up to 3 months. Thaw them at room temperature before decorating.
Packaging your simple Easter egg cookies nicely makes them perfect for gifting or transporting to an Easter gathering. Once fully cooled and decorated (and icing completely dry), you can package them individually in cellophane bags tied with festive ribbons. This protects the cookies and showcases their decoration. For gifting a batch, arrange them in a decorative tin or a box lined with tissue paper.
If stacking decorated cookies in a container, place a piece of parchment paper or wax paper between each layer to protect the icing designs. For transport, ensure the container is snug enough to prevent the cookies from shifting too much. Thoughtful packaging adds an extra touch to your delicious easy Easter egg cookies, making them even more special for the recipients.
Common Issues and Solutions: Dough, Baking, and Decoration
Sometimes, things don't go exactly as planned when making easy Easter egg cookies. A common dough issue is it being too sticky to roll. This usually means it hasn't been chilled long enough or your workspace is too warm. The solution is simple: chill the dough for longer, or pop it back in the fridge for 15-20 minutes if it warms up while rolling. Adding excessive flour while rolling can make cookies tough; use just enough to prevent sticking.
During baking, cookies might spread and lose their shape. This is often due to insufficient chilling, using softened butter that was too warm, or an oven that isn't preheated properly (or is too hot). Ensure butter is softened, not melted, chill the dough adequately (at least 1-2 hours), and verify your oven temperature. If cookies are browning too quickly on the bottom, try using insulated baking sheets or reducing the oven temperature slightly and baking for a bit longer.
Achieving perfect easy Easter egg cookies consistently comes down to attention to detail and practice. Always use room temperature ingredients (like butter and eggs) unless the recipe specifies otherwise, as this helps with proper emulsification and texture development. Measure your flour accurately; using too much flour is a common cause of dry, crumbly cookies. Spoon the flour into your measuring cup and level it off with a straight edge, don't scoop directly from the bag.
- Use a reliable recipe designed for cut-out cookies.
- Chill the dough thoroughly (at least 1-2 hours is generally sufficient).
- Roll the dough to an even thickness (1/4 inch is a good standard).
- Don't overmix the dough after adding flour.
- Bake cookies until edges are lightly golden, not dark brown.
- Ensure icing is fully dry before stacking or packaging.
Following these tips will greatly increase your chances of success in making beautiful and delicious simple Easter egg cookies.
There's immense satisfaction in sharing homemade treats, and easy Easter egg cookies are perfect for this. Once your cookies are baked, decorated, and fully set, arrange them on a festive platter for your Easter brunch or dinner. Watching friends and family enjoy the cookies you've made with care is incredibly rewarding. They make wonderful additions to dessert tables, school parties, or church events.
Consider gifting small bags or boxes of your homemade Easter cookies to neighbors, teachers, or colleagues. A thoughtful, handmade gift like this is always appreciated and spreads the festive cheer. The vibrant colors and cheerful shapes of the Easter egg shaped cookies are guaranteed to bring smiles to everyone's faces.
While a classic sugar cookie is the base for most easy Easter egg cookies, you can easily introduce variations to add extra flavor or visual appeal to the dough itself. For a hint of citrus, add the zest of one lemon or orange to the dough along with the wet ingredients. Almond extract can be used instead of or in addition to vanilla extract for a different flavor profile.
To make colored dough, divide the dough after mixing and knead in a few drops of food gel coloring for pastel Easter egg shaped cookies even before decorating. For example, you could make batches of pale pink, blue, and yellow dough. This adds another layer of color, especially appealing if the icing is sparse or clear. You could also experiment with different cookie base recipes, like a simple shortbread or a brown sugar cookie, though the classic sugar cookie holds its shape best for cutting out shapes.
Frequently Asked Questions
These cookies are designed to be easy to make, even for beginner bakers. The recipe focuses on simple steps and readily available ingredients, so you can enjoy baking without feeling overwhelmed.
We recommend a royal icing or a simple buttercream frosting for these cookies. Both are easy to color and pipe, allowing for creative and detailed decorations on your Easter egg cookies.
Absolutely! While the recipe focuses on Easter egg shapes, you can use any cookie cutter you like. The baking time may vary slightly depending on the size and thickness of the cookie.
What if I don't have all the ingredients listed?
Many ingredients can be substituted. For example, you can use margarine instead of butter. Check the BakeWithEase website for detailed substitution guides related to baking ingredients.
When stored in an airtight container at room temperature, these cookies will stay fresh for up to 5 days. The frosting will help to preserve the cookies' moisture and flavor.
Final Reflection: The Enduring Joy of Simple Baking
The art of baking, especially during holidays like Easter, transcends mere culinary skill; it's a powerful expression of love and connection. This simple guide to making Easter egg-shaped cookies proves that creating beautiful and delicious treats doesn't require complex techniques or hours of preparation. The joy lies in the process itself, the shared moments of creation, and the delightful results.
The enduring appeal of homemade cookies, particularly during festive seasons, speaks to a deeper human need for connection and tradition. These small acts of baking, passed down through generations, become cherished memories. The best things in life are the people we love, the places we've been, and the memories we've made along the way.
This sentiment perfectly encapsulates the lasting impact of simple pleasures like baking Easter egg cookies with loved ones. The aroma filling the kitchen, the flour dusting the counters, the shared laughter – these are the ingredients that truly make the experience unforgettable.
This Easter, I encourage you to embrace the simplicity of this recipe. Don't be intimidated by the thought of baking; instead, see it as an opportunity to create something beautiful and meaningful. Gather your family or friends, roll up your sleeves, and let the sweet scent of freshly baked cookies fill your home with warmth and happiness. The memories you create will be far more valuable than any perfectly shaped cookie.
Unleash Your Inner Easter Baker!
Thanks for joining us on this sweet journey to delicious Easter treats! We hope you've picked up some fantastic tips and tricks for creating those adorable egg-shaped cookies. Now it's time to put your new skills to the test!
- Bake a batch of your own Easter egg cookies! Use your favorite recipe, or try out a new one inspired by today's article. Let your creativity run wild with decorations!
- Share your creations! Post pictures on social media and tag us – we'd love to see your beautiful (and maybe slightly wonky!) cookies.
- Challenge a friend: See who can create the most impressively decorated egg cookie this Easter!
Ready to transform your kitchen into a cookie wonderland? What unique Easter cookie design will you create?