
Mastering Chocolate Tempering: A Simple Approach

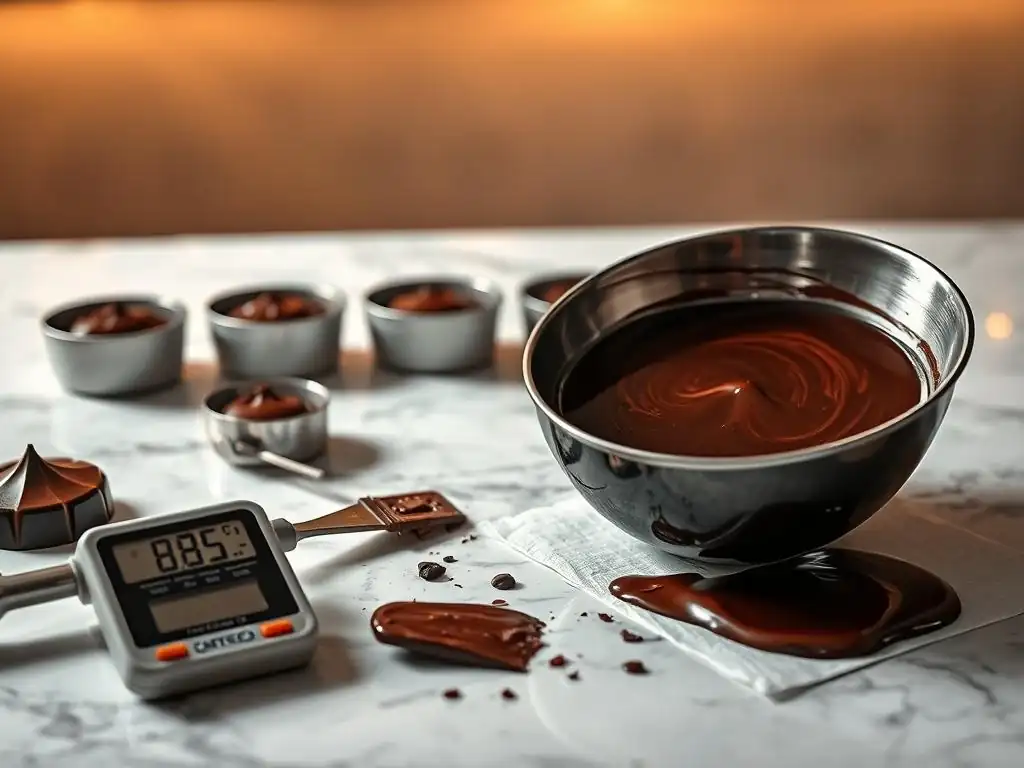
Welcome to BakeWithEase, your kitchen companion for all things baking!
Ever wondered how to achieve that perfect, glossy shine on your chocolates? Dive into our Mastering Chocolate Tempering: A Simple Approach guide and unlock the secrets to professional-looking (and tasting!) desserts. We'll break down the process into easy-to-follow steps, demystifying the art of tempering and setting you on the path to chocolate perfection. Ready to elevate your pastry game? Let's get started!
- Introduction to Chocolate Tempering
- Understanding Chocolate Composition for Tempering
- Tempering Methods at Home
- Essential Tools for Chocolate Tempering
- Troubleshooting Tempering Problems
- Using Tempered Chocolate in Baking
- Tempering Tips & Tricks
- Tempering for Specific Applications
- Conclusion: Embrace Chocolate Tempering
- Frequently Asked Questions
- Final Reflection: The Enduring Allure of Perfectly Tempered Chocolate
- Unlock Your Inner Chocolatier: Perfect Tempering Awaits!
Introduction to Chocolate Tempering
Why Temper Chocolate? Achieving Shine and Snap
Tempering chocolate is a crucial step for achieving that professional, glossy finish and satisfying snap in your homemade confections. Untempered chocolate, when it cools and solidifies, will appear dull, may have white streaks (known as bloom), and will be soft and crumbly rather than firm and snappy. This is because the fat crystals within the cocoa butter solidify haphazardly. Tempering ensures these crystals align in a stable structure, specifically the desired Beta V crystal form, which is responsible for the beautiful shine and audible snap. Think of it as organizing the chocolate's molecular structure for optimal appearance and texture.
Beyond aesthetics, proper tempering significantly improves the handling and shelf life of chocolate. Tempered chocolate sets quickly at room temperature, making it easy to work with for dipping, molding, and coating. It also resists melting at normal room temperatures, unlike untempered chocolate which can become soft and sticky. This stability is essential for creating durable chocolate decorations and confections that hold their shape and quality over time. For anyone following a chocolate tempering beginner guide, understanding these benefits is the first step towards mastering the technique.
What is Tempered Chocolate and Why Does it Matter? Stability and Texture
Tempered chocolate is chocolate that has been heated, cooled, and reheated very carefully to specific temperatures. This process manipulates the cocoa butter crystals, encouraging the formation of stable, uniform crystals that solidify correctly. When cocoa butter cools slowly and uncontrolled, it forms various types of unstable crystals that result in poor texture, dullness, and bloom. Tempering isolates and propagates the most stable crystal form (Beta V), ensuring the chocolate hardens with a smooth, even structure.
The importance of this stable crystal structure cannot be overstated when creating quality chocolate goods. Tempered chocolate provides a firm yet melt-in-your-mouth texture that is highly desirable. It also contracts slightly as it cools, making it easy to release from molds – a key benefit for making chocolate bars, figures, or bonbons. For anyone serious about working with chocolate, from dipping truffles to coating pastries, learning how to temper is fundamental. This chocolate tempering beginner guide will walk you through achieving these results.
Understanding Chocolate Composition for Tempering
The Science Behind Tempering: Beta Crystal Formation
At its core, chocolate tempering is about controlling the crystallization of cocoa butter, the fat component in chocolate. Cocoa butter is polymorphic, meaning its fat molecules can solidify into different crystal forms (typically six are identified), each melting at a different temperature. The goal of tempering is to encourage the formation of the most stable crystal form, known as Form V or Beta V. This specific crystal melts sharply at around 32-34°C (90-93°F) and provides the desired snap, shine, and smooth texture. Other crystal forms melt at lower temperatures and result in undesirable characteristics like dullness, brittleness, or softness.
The tempering process involves melting all existing crystal forms by heating the chocolate above the melting point of even the most stable crystal (typically 45-50°C or 113-122°F). Then, the chocolate is cooled to a specific temperature range where the desired Beta V crystals begin to form. Finally, it is slightly reheated to melt any unstable crystals that may have also formed during the cooling phase, leaving only the stable Beta V crystals dispersed throughout the liquid chocolate.
When the chocolate cools and solidifies from this state, the Beta V crystals act as seeds, promoting the formation of more stable crystals, resulting in perfectly tempered chocolate. Understanding this science is key to troubleshooting and mastering this chocolate tempering beginner guide.
Types of Chocolate and Tempering Temperatures
Different types of chocolate have varying compositions, particularly in their cocoa butter and sugar content, which affects their melting and tempering temperatures. Dark chocolate, with a higher percentage of cocoa solids and less sugar and no milk solids, requires the highest tempering temperatures. Milk chocolate contains milk solids and typically more sugar, requiring slightly lower temperatures. White chocolate, made only from cocoa butter, sugar, and milk solids (no cocoa solids), has the lowest tempering temperatures. Using the correct temperature range for the specific type of chocolate is critical for successful tempering.
Using an accurate thermometer is non-negotiable for successful tempering, as being even a few degrees off can result in a failed temper. For example, exceeding the final working temperature will melt the stable Beta V crystals you worked to create, requiring you to start the process over. Conversely, not cooling the chocolate low enough won't allow sufficient Beta V crystals to form. This section of our chocolate tempering beginner guide will detail the specific temperature ranges you need to target for each chocolate type.
Dark Chocolate Tempering Temperatures
Dark chocolate typically needs to be heated to 45-50°C (113-122°F) to melt all cocoa butter crystals. It is then cooled down to 28-29°C (82-84°F) to encourage the formation of stable Beta V crystals. Finally, it is gently reheated to a working temperature of 31-32°C (88-90°F). This final temperature range is where the chocolate is kept while you are using it for dipping, molding, or coating. Maintaining the correct working temperature is crucial for a successful temper as you work.
The specific percentages of cocoa solids in dark chocolate (e.g., 60%, 70%, 85%) can slightly influence the ideal temperatures within these ranges, but the provided ranges are generally reliable for most dark chocolates. Paying close attention to these temperatures is a fundamental part of any chocolate tempering beginner guide. If your chocolate loses its temper while you are working, you may need to gently reheat it back to the working temperature, being careful not to exceed it.
Milk Chocolate Tempering Temperatures
Milk chocolate, due to the addition of milk solids and typically more sugar than dark chocolate, has a slightly different tempering curve. It is initially heated to 40-45°C (104-113°F) to melt all crystals. The cooling phase brings it down to 27-28°C (81-82°F) for crystal formation. The final working temperature for milk chocolate is typically 29-30°C (84-86°F). These slightly lower temperatures prevent scorching the milk solids and account for the different fat-to-solid ratio compared to dark chocolate.
Accuracy is just as important here as with dark chocolate. Using a reliable thermometer is essential to hit these target temperatures. Working with milk chocolate at the correct temper ensures it hardens properly, releases from molds easily, and has a beautiful shine without developing bloom. This chocolate tempering beginner guide emphasizes the importance of adjusting your temperatures based on the type of chocolate you are using.
White Chocolate Tempering Temperatures
White chocolate, consisting of cocoa butter, sugar, and milk solids but no cocoa solids, requires the lowest tempering temperatures of the three main types. It is first heated to 40-45°C (104-113°F) to melt all crystals, similar to milk chocolate. However, it is then cooled to a lower temperature range of 26-27°C (79-81°F) to form the stable Beta V crystals. The final working temperature for white chocolate is 28-29°C (82-84°F). These lower temperatures are necessary because white chocolate's composition makes it more susceptible to overheating and seizing.
Tempering white chocolate can sometimes be trickier for beginners due to its sensitivity to heat. Precision with your thermometer is paramount. Achieving a good temper in white chocolate results in a smooth, creamy texture and a lovely sheen, perfect for coatings and decorations. This section of our chocolate tempering beginner guide provides the specific numbers you need to succeed with white chocolate.
Tempering Methods at Home
The Seeding Method: A Beginner Technique
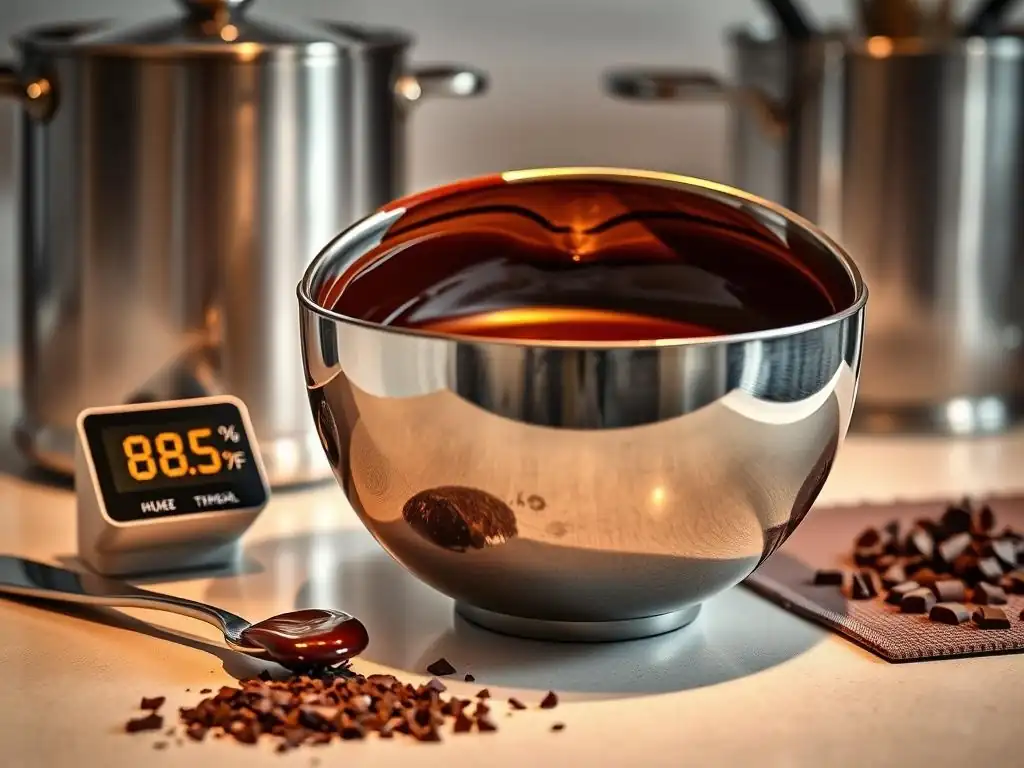
The seeding method is widely considered one of the most reliable and accessible techniques for a chocolate tempering beginner guide. It involves melting the majority of the chocolate and then adding small pieces of already tempered solid chocolate (called 'seed' chocolate) to the melted chocolate as it cools. The stable Beta V crystals present in the seed chocolate act as a template, or 'seed,' encouraging the melted cocoa butter to crystallize in the correct structure as the mixture cools down. This method is effective because it directly introduces the desired crystal structure into the liquid chocolate.
This method works best with chocolate that is already in temper, such as high-quality chocolate chips, fèves (small oval pieces), or chopped bars that haven't been previously melted improperly. The key is to stir continuously as the chocolate cools and the seed chocolate melts, ensuring even cooling and crystal distribution. The amount of seed chocolate needed typically ranges from 10-25% of the weight of the melted chocolate, depending on the type of chocolate and ambient temperature.
Step-by-Step Guide to Seeding Chocolate
Here is a simple process for tempering chocolate using the seeding method, a fundamental technique in any chocolate tempering beginner guide:
- Step 1: Chop Chocolate: Finely chop about 75-90% of your chocolate and place it in a dry, heatproof bowl. Set aside the remaining 10-25% as your 'seed' chocolate, also finely chopped or in small pieces.
- Step 2: Melt Chocolate: Gently melt the larger portion of chocolate. This can be done in a double boiler over simmering (not boiling) water, ensuring no steam or water gets into the chocolate, or carefully in the microwave on low power settings, stirring frequently. Heat dark chocolate to 45-50°C (113-122°F), milk/white chocolate to 40-45°C (104-113°F).
- Step 3: Add Seed Chocolate: Remove the melted chocolate from the heat (or microwave). Immediately add the reserved seed chocolate to the warm, melted chocolate.
- Step 4: Stir and Cool: Stir continuously with a rubber spatula. The goal is to cool the chocolate down while the seed chocolate melts and distributes its stable crystals. Continue stirring until the temperature drops to the target cooling temperature: Dark: 28-29°C (82-84°F), Milk: 27-28°C (81-82°F), White: 26-27°C (79-81°F). Ensure all the seed chocolate has melted by this point.
- Step 5: Reheat Gently (Optional but Recommended): If the chocolate is now slightly too cool or thick to work with, gently heat it very slightly back up to the working temperature: Dark: 31-32°C (88-90°F), Milk: 29-30°C (84-86°F), White: 28-29°C (82-84°F). This can be done briefly over the warm water bath (off the heat) or with a heat gun on a low setting from a distance, stirring constantly. Do not exceed the working temperature.
- Step 6: Test Temper: Dip a piece of parchment paper or the tip of a knife into the chocolate. If it sets within 2-5 minutes at room temperature (around 20-22°C or 68-72°F) with a glossy finish and no streaks, your chocolate is in temper and ready to use.
This methodical approach makes the seeding method a reliable chocolate tempering beginner guide technique, offering control and predictable results with practice.
The Microwave Method: Quick and Easy
The microwave method is appealing for its speed and simplicity, making it a convenient option for those looking for a quick chocolate tempering beginner guide. It relies on carefully controlled heating to melt the chocolate and then stirring to cool it down, attempting to encourage the formation of Beta V crystals without the explicit seeding step.
This method works best with smaller quantities of chocolate and requires careful attention to avoid overheating. It's often referred to as a 'quick temper' method and may not be as robust as the seeding or tabling methods for very large batches or complex applications, but it's excellent for dipping or small molding tasks.
Success with the microwave method hinges entirely on using low power settings and stirring frequently. Chocolate retains heat, and even after removing it from the microwave, residual heat continues to raise the temperature. Overheating even slightly will destroy the desired crystal structure, requiring you to start over. This method is about patience in short bursts of heating and ample stirring time to allow the chocolate to cool and temper itself.
Tempering Chocolate in the Microwave: A Detailed Process
Here’s how to temper chocolate using the microwave, a fast-paced chocolate tempering beginner guide technique:
- Step 1: Chop Chocolate: Finely chop your chocolate and place it in a microwave-safe bowl. Using good quality chocolate is key here.
- Step 2: Initial Melting: Microwave on 50% power for 30-second intervals, stirring thoroughly after each interval. Continue until the chocolate is about two-thirds melted. You should still see some solid pieces.
- Step 3: Gentle Heating and Stirring: Reduce microwave power to 30% or 40% and microwave for shorter intervals (15-20 seconds), stirring vigorously after each one. The goal is to melt the remaining solid pieces using the residual heat of the melted chocolate and the bowl, rather than direct microwave heat.
- Step 4: Reach Working Temperature: Continue stirring until all the chocolate pieces are melted and the chocolate reaches the correct working temperature: Dark: 31-32°C (88-90°F), Milk: 29-30°C (84-86°F), White: 28-29°C (82-84°F). If it's too cool and thick, microwave for very short bursts (5-10 seconds) on low power, stirring after each, until the correct temperature is reached. Be extremely careful not to overshoot the working temperature.
- Step 5: Test Temper: Perform the parchment paper or knife tip test described in the seeding method. If it sets correctly with shine and snap, it's tempered.
This method requires careful monitoring and is less forgiving than the seeding or water bath methods if you accidentally overheat the chocolate. However, for small amounts, it's a very efficient chocolate tempering beginner guide approach.
The Water Bath Method: Gentle and Controlled
The water bath method (also known as the double boiler method) offers a gentle and controlled way to melt and temper chocolate, making it a popular choice for a chocolate tempering beginner guide because it minimizes the risk of scorching. It involves placing a bowl of chocolate over a pot of warm water, using the steam or heat from the water to melt the chocolate indirectly. This method allows for more precise temperature control during the initial melting phase compared to direct heat or even the microwave.
While the water bath is excellent for melting, tempering typically requires moving the bowl off the heat source for cooling and then returning it briefly to the warm water (off the heat) for the final slight reheat to the working temperature. The key is to ensure the water in the pot is simmering gently, not boiling vigorously, and that the bottom of the chocolate bowl does not touch the water. Any water or steam getting into the chocolate can cause it to 'seize' and become a thick, unusable mass.
How to Temper Chocolate Using a Water Bath
Here’s a reliable way to temper chocolate using the water bath method, a classic technique for any chocolate tempering beginner guide:
- Step 1: Prepare Water Bath: Fill a saucepan with about 1-2 inches of water. Bring the water to a gentle simmer, then reduce the heat to low or remove the pan from the heat entirely. The goal is gentle warmth, not intense steam.
- Step 2: Melt Chocolate: Place a dry, heatproof bowl containing finely chopped chocolate over the saucepan, ensuring the bottom of the bowl does not touch the water. Stir the chocolate gently and continuously as it melts. Heat until it reaches the initial melting temperature: Dark: 45-50°C (113-122°F), Milk/White: 40-45°C (104-113°F). Remove the bowl from the heat.
- Step 3: Cool and Stir: Wipe the bottom of the bowl dry to remove any condensation. Place the bowl on a stable surface and stir the chocolate continuously to help it cool down. You can speed up cooling by placing the bowl over an ice bath for just a few seconds at a time, stirring constantly, but be very careful not to let any water splash in. Cool to the target temperature: Dark: 28-29°C (82-84°F), Milk: 27-28°C (81-82°F), White: 26-27°C (79-81°F).
- Step 4: Reheat to Working Temperature: Briefly place the bowl back over the warm (off-heat) water bath or use a heat gun on low, stirring constantly, until the chocolate reaches its working temperature: Dark: 31-32°C (88-90°F), Milk: 29-30°C (84-86°F), White: 28-29°C (82-84°F). Do not exceed this temperature.
- Step 5: Test Temper: Use the parchment paper or knife tip test. If it sets properly, your chocolate is tempered. Keep the chocolate warm (at working temperature) over the very gentle water bath (off the heat) while you work.
This method provides good control over the melting phase, making it less prone to overheating initially, which is helpful when following a chocolate tempering beginner guide.
Essential Tools for Chocolate Tempering
Must-Have Tools: Bowls, Spatulas, and Thermometers
Having the right equipment makes the chocolate tempering process significantly easier and more successful. You'll need several key items. First, invest in a few dry, heatproof bowls – glass or stainless steel are good options. Ensure they are completely dry, as even a drop of water can ruin your chocolate. You'll need at least one bowl for melting and potentially another if using the seeding method on a larger scale or for cooling.
Second, a good quality rubber or silicone spatula is essential. It allows you to scrape the sides and bottom of the bowl effectively, ensuring all the chocolate is heated and cooled evenly and that the seed chocolate melts completely. Avoid wooden spoons, which can retain moisture. Finally, and perhaps most critically for a chocolate tempering beginner guide, you need an accurate thermometer capable of reading temperatures within the specific ranges required for chocolate tempering (typically up to 50°C or 122°F). Precision here is non-negotiable for success.
Thermometer Types: Digital vs. Analog
When it comes to thermometers for chocolate tempering, you have two main options: digital and analog. Digital thermometers, particularly instant-read digital thermometers, are highly recommended for beginners. They provide quick, precise temperature readings, often within a second or two, which is crucial when you are trying to hit a specific temperature range and don't want the chocolate to cool or heat further while you wait for a reading. Look for one with a probe that you can easily immerse in the chocolate while stirring.
Analog thermometers (like candy thermometers) can also work, but they are often slower to register temperature changes and can be less accurate. If using an analog thermometer, ensure it is calibrated correctly and allow sufficient time for the temperature to stabilize before taking a reading. For a chocolate tempering beginner guide focused on ease and accuracy, a reliable digital probe thermometer is often the best investment. Some digital thermometers designed specifically for chocolate even come with a stirring spatula attached.
Troubleshooting Tempering Problems
Identifying and Fixing Common Issues
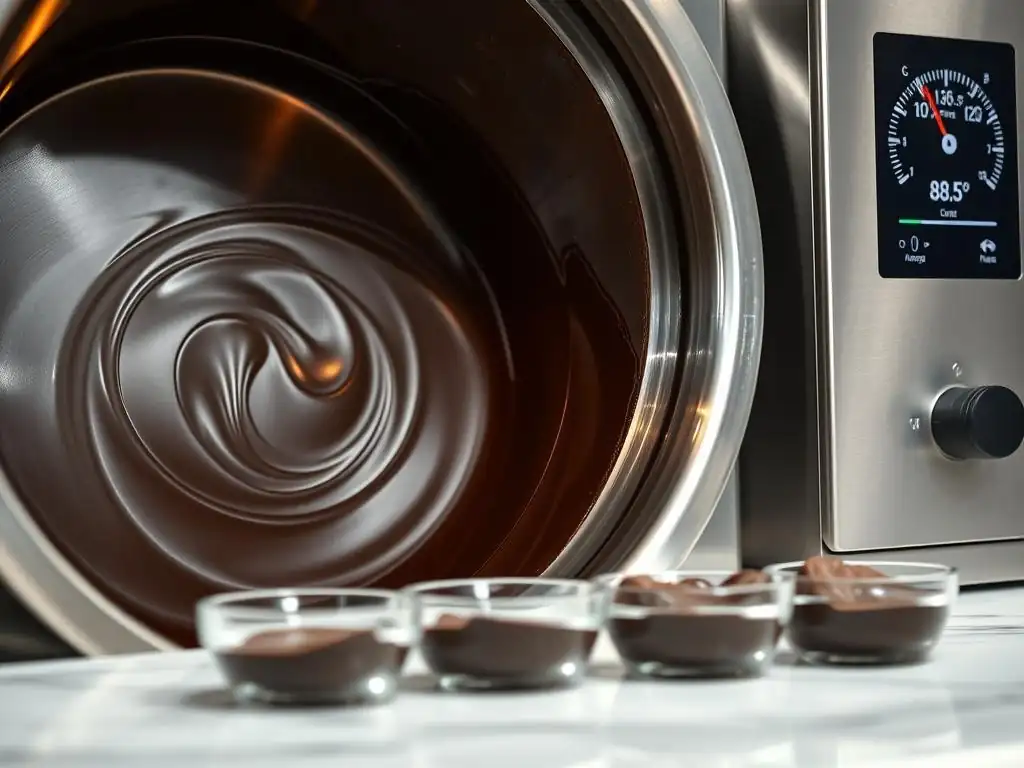
Even with a good chocolate tempering beginner guide, you might encounter issues. Two of the most common problems are seized chocolate and streaky chocolate (bloom). Seized chocolate is thick, lumpy, and unusable, while streaky chocolate is dull and develops grayish or white streaks or patches after setting. Recognizing these issues is the first step to fixing them or, more often, preventing them in the first place.
Seizing is almost always caused by the presence of even a tiny amount of water or steam in the chocolate. The sugar particles in the chocolate attract the water and clump together, creating a thick, pasty texture. Bloom is a sign of improper tempering, where unstable fat crystals rise to the surface and recrystallize in an uncontrolled manner. This indicates the chocolate was either not heated high enough initially, not cooled low enough, or was overheated during the final warming phase, preventing the stable Beta V crystals from forming or causing them to melt.
Seized Chocolate: Hydration Solutions
If your chocolate seizes due to water, unfortunately, it is very difficult to bring it back to a usable state for tempering for dipping or molding, as the smooth texture is lost. However, the chocolate is not necessarily wasted! While you can't typically fix it for applications requiring a smooth, glossy finish, you can sometimes incorporate seized chocolate into baked goods like brownies or cakes, where the texture difference won't matter as much.
Some sources suggest trying to add a liquid fat, like a neutral vegetable oil or melted cocoa butter (not water or milk! ), to the seized chocolate while stirring vigorously. Adding about 1 tablespoon of hot oil per 6 ounces of seized chocolate might loosen it enough to be stirred into a batter or ganache, but it will not restore it to a temperable state. Prevention is key: ensure all equipment is perfectly dry and avoid using direct steam or letting water splash into your chocolate. This is a critical tip for any chocolate tempering beginner guide.
Streaky Chocolate: Bloom Prevention
Streaky chocolate, or fat bloom, occurs when chocolate is improperly tempered or stored at fluctuating temperatures. It's a sign that the cocoa butter has crystallized incorrectly. If you see streaks or a dull finish after your chocolate sets, it means your tempering attempt was unsuccessful. The good news is that bloom does not make the chocolate unsafe to eat, it just affects its appearance and texture.
To prevent bloom, follow the tempering temperatures precisely for your type of chocolate. Ensure you reach the correct cooling temperature to form stable crystals and do not exceed the final working temperature. Rapid cooling after tempering can also help prevent bloom. If your chocolate blooms after setting, you can simply re-temper it by melting it down completely and going through the tempering process again, paying close attention to your temperatures and technique. Proper storage of tempered chocolate at a consistent, cool room temperature (around 18-20°C or 64-68°F) away from humidity also prevents bloom after it has set.
Using Tempered Chocolate in Baking
Creative Uses: Dipping, Molding, and Coating
Tempered chocolate is incredibly versatile in the kitchen, opening up a world of possibilities for desserts and confections. Its ability to set firmly with a smooth, non-sticky finish makes it ideal for dipping various treats. Think chocolate-covered strawberries, pretzels, cookies, or truffles. Dipping in tempered chocolate creates a thin, even shell that snaps beautifully when bitten into and doesn't melt easily in your hands.
Beyond dipping, tempered chocolate is essential for molding. Whether you're making solid chocolate bars, bonbons with fillings, or intricate chocolate figures for cake decorations, tempered chocolate will contract slightly as it cools, allowing it to release cleanly from molds, leaving a perfectly shaped, glossy surface. It's also the standard for coating cakes and pastries with a smooth, hard chocolate layer that can be easily cut without cracking excessively. Mastering tempering, as taught in this chocolate tempering beginner guide, is your key to these applications.
Chocolate Decorations: Making Garnishes
Tempered chocolate is the secret weapon for creating elegant and professional-looking chocolate garnishes. Because it sets quickly and firmly, you can pipe intricate designs onto parchment paper, create chocolate curls by scraping a block of warm tempered chocolate, or make chocolate shards by spreading it thinly and breaking it. These decorations will hold their shape at room temperature and add a touch of sophistication to any dessert.
For example, you can spread tempered chocolate onto a sheet of acetate, score it with a knife or comb, and let it set slightly before shaping it into cylinders or triangles for dramatic edible decorations. Or, simply drizzle tempered chocolate back and forth over parchment paper to create delicate chocolate fans or abstract designs. The possibilities are vast, limited only by your creativity. Using tempered chocolate ensures these garnishes are stable and look stunning, a skill honed by practicing this chocolate tempering beginner guide.
Tempering Tips & Tricks
Expert Tips: Consistency and Patience
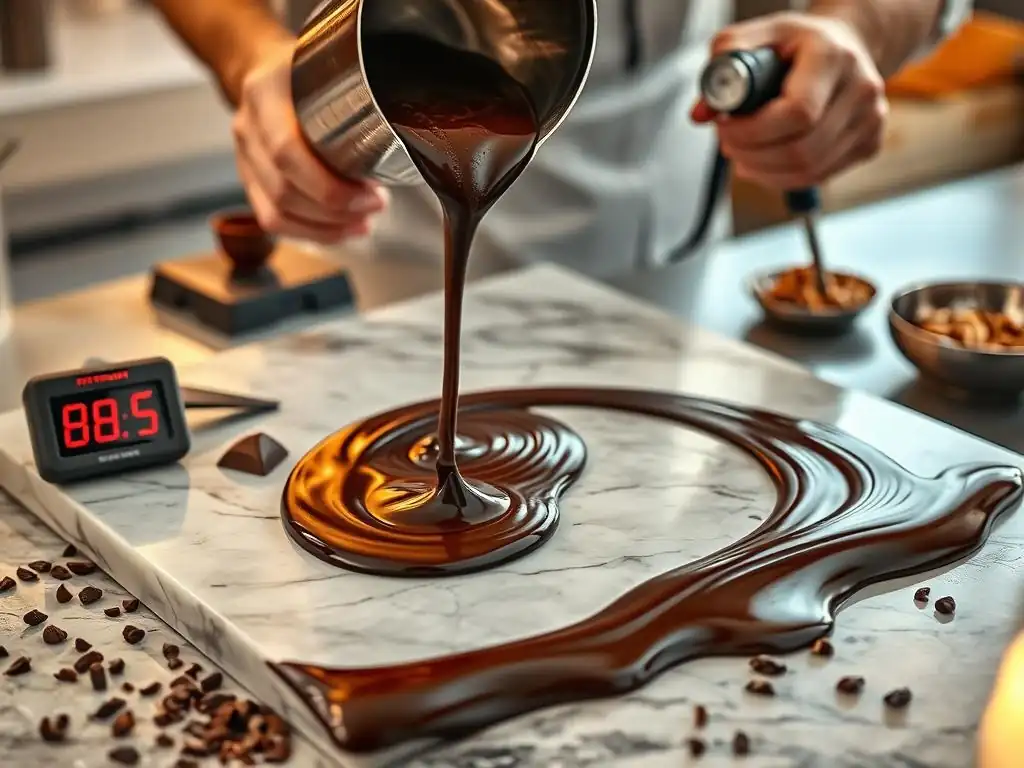
Achieving a perfect temper consistently comes down to two main things: consistency in your technique and patience. Always use high-quality chocolate, as the composition of the cocoa butter significantly impacts tempering success. Measure your temperatures accurately using a calibrated thermometer – this is arguably the single most important factor. Stir your chocolate frequently and thoroughly throughout the cooling phase to ensure even temperature distribution and promote crystal formation.
Patience is key, especially when cooling the chocolate. Don't rush the process. Allow the chocolate to cool gradually while stirring until it reaches the correct temperature range for crystal formation. If using the seeding method, ensure the seed chocolate is fully melted and incorporated before the chocolate drops below the target cooling temperature.
If using the microwave method, use low power and short bursts. If your chocolate cools too much while you're working, gently reheat it only to the working temperature – overshooting will break the temper. Practice makes perfect; don't be discouraged by initial failures when using this chocolate tempering beginner guide.
Avoiding Common Mistakes
Several common pitfalls can derail your tempering efforts. The most frequent mistake is overheating the chocolate, especially during the final warming phase to the working temperature. This melts the stable Beta V crystals you've worked to create. Another major error is introducing water or steam, which causes the chocolate to seize. Ensure all your equipment is bone dry and be cautious if using a water bath.
Not cooling the chocolate sufficiently during the crystallization phase is another mistake; if it doesn't reach the correct low temperature, enough stable crystals won't form. Conversely, cooling it too quickly or too much can cause it to set prematurely or form undesirable crystal structures. Using chocolate chips that contain stabilizers (which prevent them from melting completely) can also make tempering difficult; opt for high-quality chocolate specifically designed for melting or couverture chocolate. By being aware of these common errors, you can significantly improve your success rate following this chocolate tempering beginner guide.
Tempering for Specific Applications
Tempering for Chocolate Covered Strawberries
Tempering chocolate is absolutely essential for making professional-looking chocolate-covered strawberries. Untempered chocolate will result in a dull, soft coating that melts on your fingers and potentially develops bloom over time. Tempered chocolate, however, provides a thin, hard shell that sets quickly, has a beautiful shine, and offers a satisfying snap.
To temper chocolate for strawberries, follow one of the methods described (seeding, microwave, or water bath) for your chosen type of chocolate (dark, milk, or white), ensuring you hit the correct working temperature. Wash and thoroughly dry your strawberries; any moisture will cause the chocolate to seize. Dip the dry strawberries into the tempered chocolate, letting excess drip off, and place them on parchment paper to set. They should set within minutes at room temperature if the chocolate is properly tempered. This specific application is a great goal for a chocolate tempering beginner guide.
Tempering for Homemade Bark
Chocolate bark is a simple confection, but using tempered chocolate elevates it from good to great. Tempered chocolate bark will have a beautiful gloss, a clean snap when broken, and will be stable at room temperature without becoming sticky or melting. Untempered bark will be dull, soft, and prone to blooming.
To make tempered chocolate bark, temper your chosen chocolate type using a reliable method from this chocolate tempering beginner guide. Once tempered and at the correct working temperature, pour the chocolate onto a sheet of parchment paper spread on a baking sheet. Spread it into a thin, even layer (about 1/4 inch thick). Immediately sprinkle your desired toppings (nuts, dried fruit, candies, etc.) onto the wet chocolate. Allow the bark to set completely at room temperature. Once fully set, it should easily break into pieces with a clean snap, showcasing a beautiful shine.
Tempering for Truffles
While the ganache filling of truffles doesn't require tempering, the outer chocolate coating absolutely does if you want them to have a professional finish and a firm shell. Rolling truffles in cocoa powder or nuts is an alternative to coating, but a tempered chocolate shell provides that classic bonbon experience.
After chilling your truffle ganache centers until firm, prepare your tempered chocolate using your preferred method and maintaining the correct working temperature. Using dipping tools or forks, dip each truffle center into the tempered chocolate, ensuring it's fully coated. Lift it out, letting excess chocolate drip off, and place it on parchment paper to set. If your chocolate is properly tempered, the coating will set quickly, forming a thin, hard shell that protects the ganache and provides a satisfying texture contrast. This application is a rewarding milestone for anyone following a chocolate tempering beginner guide.
Conclusion: Embrace Chocolate Tempering
Becoming a Tempering Master: Practice
Mastering chocolate tempering might seem intimidating at first, but it is a skill that is absolutely achievable for any home baker willing to learn and practice. It's the key to unlocking professional-quality chocolate work in your own kitchen, allowing you to create confections with beautiful shine, satisfying snap, and stable texture. While initial attempts might not be perfect, understanding the science behind cocoa butter crystallization and diligently following temperature guidelines will significantly increase your success rate.
Think of this chocolate tempering beginner guide as your starting point. Don't be afraid to experiment with different methods and chocolate types. Pay close attention to the visual cues – the chocolate's consistency and how it sets during the test. With each attempt, you'll gain a better feel for the process. Embrace the learning curve, and soon you'll be confidently tempering chocolate for all your baking and confectionary projects, transforming simple ingredients into stunning, delicious treats.
Frequently Asked Questions
What is chocolate tempering and why is it important?
Chocolate tempering is the process of stabilizing the cocoa butter in chocolate. It's important because it gives chocolate a smooth, glossy finish and a crisp snap.
What are the different methods for tempering chocolate?
There are several methods, including seeding, tabliering (or marble slab method), and using a sous vide. The article focuses on a simplified method suitable for beginners.
What equipment do I need to temper chocolate at home?
You'll typically need a double boiler or heat-safe bowl and saucepan, a thermometer (preferably digital), and a spatula for stirring.
What temperature ranges are important for tempering chocolate?
The specific temperatures vary depending on the type of chocolate (dark, milk, white), but generally, you'll need to melt the chocolate, cool it to a specific temperature, and then reheat it slightly.
What are some common mistakes to avoid when tempering chocolate?
Avoiding common mistakes includes not overheating the chocolate, ensuring no water gets into the chocolate, and stirring frequently to maintain a consistent temperature.
Final Reflection: The Enduring Allure of Perfectly Tempered Chocolate
The art of chocolate tempering, once considered a culinary mystery, is now within reach of every aspiring chocolatier. Mastering this technique unlocks a world of smooth, glossy, and beautifully-snapping chocolate, transforming a simple ingredient into a truly luxurious experience. This accessibility, fueled by readily available resources and a growing interest in artisanal food, is reshaping the home baking landscape.
The impact of understanding chocolate tempering extends far beyond the kitchen. It's a testament to the power of precision and patience, mirroring the dedication required in many aspects of life. The process itself, with its careful temperature monitoring and methodical stirring, becomes a meditative practice. The details are not the details. They make the design.
– Charles Eames. This quote perfectly encapsulates the importance of meticulous attention to detail in achieving perfectly tempered chocolate, and indeed, in any pursuit of excellence.
Now, it's your turn. Don't let the initial perception of complexity deter you. Pick up some chocolate, follow the steps outlined in this guide, and experience the satisfaction of creating something truly beautiful and delicious. The journey of mastering chocolate tempering is not just about the final product; it's about the process, the learning, and the joy of creating something exquisite with your own hands. Embrace the challenge, and savor the reward.
Unlock Your Inner Chocolatier: Perfect Tempering Awaits!
Thanks for joining us on this chocolatey adventure! You've just learned the secrets to achieving flawlessly tempered chocolate – a skill that will elevate your baking to the next level. Ready to put your new knowledge into practice?
- Create your masterpiece: Try tempering chocolate for your next baking project. Think truffles, bonbons, or even a beautifully decorated cake! Let your creativity flow!
- Share your success: Post a picture of your perfectly tempered creation on social media and tag us – we'd love to see your results!
- Dive deeper: Explore our other baking tutorials for more delicious techniques and recipes.
So, what decadent treat will you be tempering first?