
Preventing Ice Crystals: How to Keep Your Ice Cream Smooth

Welcome to BakeWithEase, your kitchen companion for all things baking! Ever wonder how to achieve that perfect, velvety texture in homemade ice cream? Preventing ice crystals is the key, and we're about to unlock the secrets. Get ready to dive into our guide on smooth ice cream recipe tips and discover how to consistently create ice cream that's unbelievably creamy, scoop after scoop. Are you ready to say goodbye to icy disappointments and hello to dessert perfection? Let's get started!
- Understanding Ice Cream Texture: The Enemy of Smoothness
- Key Ingredients for a Smooth Ice Cream Recipe
- Smooth Ice Cream Recipe Tips: Techniques for Prevention
- Storing Your Ice Cream to Maintain Smoothness
- Troubleshooting Ice Cream Texture Problems
- Advanced Techniques for Ultra-Smooth Ice Cream
- Conclusion: Enjoying Perfectly Smooth Homemade Ice Cream
-
Frequently Asked Questions
- What causes ice crystals to form in homemade ice cream?
- How can I prevent ice crystals in my ice cream using ingredients?
- What's the best way to freeze homemade ice cream to minimize ice crystals?
- Are there any specific BakeWithEase tips for achieving smooth ice cream?
- How important is the storage container for preventing ice crystals?
- Final Reflection: The Enduring Quest for Perfectly Smooth Ice Cream
- Unlock Perfectly Smooth Ice Cream!
Understanding Ice Cream Texture: The Enemy of Smoothness
What Causes Ice Crystals in Homemade Ice Cream?
Ice crystals are the primary culprit behind that unpleasant, grainy texture often found in homemade ice cream, a stark contrast to the velvety smoothness we crave. These crystals form when water molecules within the ice cream base freeze. The size of these crystals is critical; smaller crystals, typically less than 50 micrometers, contribute to a smooth texture, while larger crystals, exceeding 100 micrometers, result in an icy, coarse mouthfeel.
The main factors driving the formation and growth of these unwelcome crystals are slow freezing and temperature fluctuations during storage. When the ice cream freezes slowly, water molecules have more time to migrate and aggregate into larger structures.
Furthermore, changes in temperature, such as taking the ice cream out of the freezer and then returning it, cause partial melting and refreezing. During this refreezing process, the existing ice crystals grow larger as more water freezes onto their surfaces. This phenomenon is known as recrystallization and is a major challenge in maintaining a smooth texture over time. Understanding these processes is the first step in mastering smooth ice cream recipe tips and techniques to keep your frozen dessert delightfully creamy.
The Impact of Ice Crystals on Ice Cream Quality
The presence of large ice crystals significantly degrades the overall quality of ice cream. Texture is paramount in the enjoyment of ice cream; a smooth, creamy consistency is what distinguishes premium products and successful homemade batches. Large crystals disrupt this ideal texture, making the ice cream feel hard, brittle, and less pleasurable to eat. It masks the subtle flavors and the richness that fats and sugars contribute, reducing the perceived quality of the dessert.
Beyond texture, ice crystals can also affect flavor release. A smooth matrix allows flavors to bloom evenly on the palate, whereas an icy structure can create pockets of intense or muted flavor. This diminished sensory experience can make even a well-formulated recipe seem disappointing. For anyone aiming for professional-level results at home, implementing smooth ice cream recipe tips focused on crystal prevention is essential for achieving that perfect scoop every time.
Key Ingredients for a Smooth Ice Cream Recipe
The Role of Fat Content in Ice Cream Texture
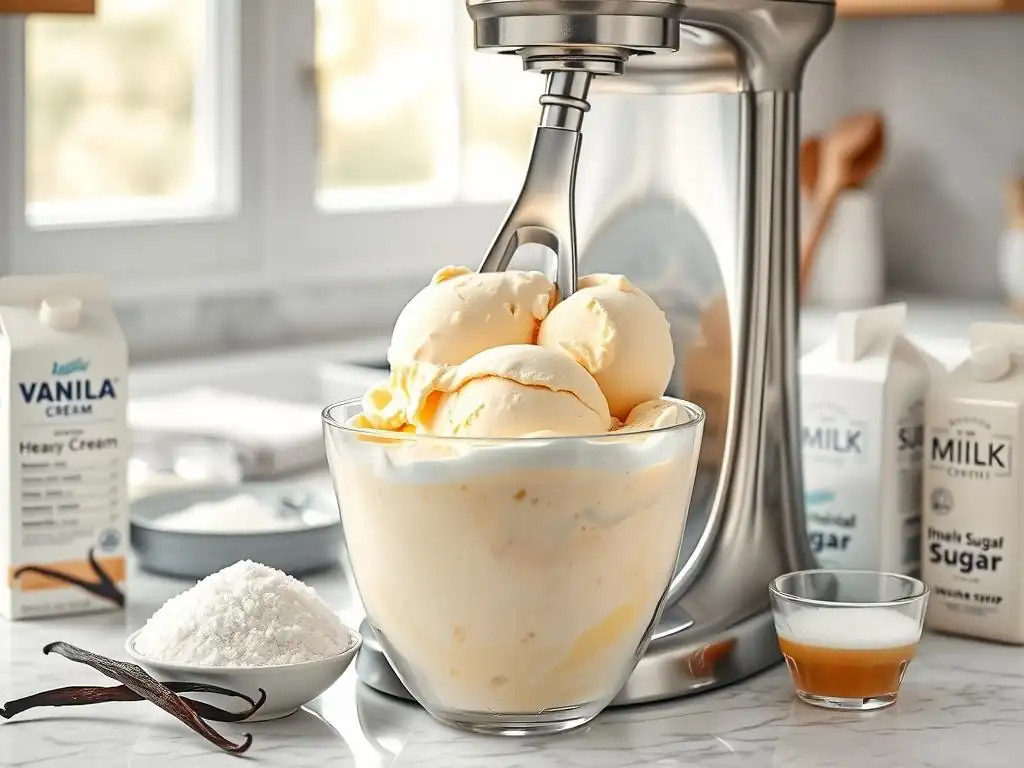
Fat is a crucial component in achieving a luxurious, smooth ice cream texture. It contributes to richness, mouthfeel, and, importantly, inhibits the formation of large ice crystals. Fat droplets disperse throughout the ice cream base, interfering with the movement of water molecules and preventing them from joining together to form large ice structures. Higher fat content generally leads to a creamier, smoother product. Typical premium ice creams often contain between 14% and 16% milkfat, while standard ice creams might range from 10% to 12%. Low-fat versions, by contrast, often struggle with iciness unless compensated with stabilizers or other techniques.
Beyond its direct impact on crystal size, fat also lowers the freezing point of the mixture slightly and helps to incorporate air during churning. The air cells, stabilized by fat and proteins, further contribute to a softer, smoother texture and slower meltdown. Including ingredients like heavy cream (which is approximately 36-40% fat) and sometimes egg yolks (containing fats and emulsifiers) is a classic smooth ice cream recipe tip to boost fat content and ensure a rich, creamy result.
Sugar's Influence on Freezing Point and Smoothness
Sugar plays a vital role in ice cream texture, primarily by lowering the freezing point of the mixture. Water typically freezes at 0°C (32°F), but dissolving sugar in water depresses this freezing point. A typical ice cream mix might have a freezing point closer to -2°C or -3°C (around 27-28°F).
This lower freezing point means that a portion of the water in the ice cream remains unfrozen even at typical freezer temperatures (-18°C or 0°F). This unfrozen water contributes to the desirable softness and scoopability of ice cream. Without sufficient sugar, the ice cream would freeze solid and be too hard to scoop.
Different types of sugar have varying effects on freezing point depression and sweetness. Sucrose (standard table sugar) is commonly used, but incorporating other sugars like glucose syrup or inverted sugar can further enhance smoothness and chewiness without excessive sweetness. These sugars are less prone to crystallization themselves and can help maintain a more stable frozen matrix. Balancing the amount and type of sugar is a key smooth ice cream recipe tip for achieving the perfect balance of sweetness, softness, and texture.
Stabilizers and Emulsifiers: Your Secret Weapons for Smooth Ice Cream
Stabilizers and emulsifiers are often the unsung heroes in achieving commercial-quality smoothness and preventing ice crystals in homemade ice cream. Stabilizers, typically hydrocolloids like gums, bind to water molecules, preventing them from migrating and forming large ice crystals. They increase the viscosity of the unfrozen phase, which slows down crystal growth during storage and temperature fluctuations. Using even a small amount, often less than 0.5% of the total weight, can make a significant difference in texture and shelf life.
Emulsifiers, on the other hand, help to create a stable emulsion of fat and water. In ice cream, fat droplets need to be finely dispersed throughout the water-based phase. Emulsifiers, like lecithin found in egg yolks, have both water-attracting and fat-attracting ends, allowing them to bridge the gap between these two immiscible phases. A stable emulsion leads to a smoother mouthfeel and helps prevent fat separation. Together, stabilizers and emulsifiers work synergistically to improve texture, reduce iciness, and enhance resistance to heat shock, making them invaluable for anyone seeking smooth ice cream recipe tips for consistent results.
Common Stabilizers for Homemade Ice Cream: Guar Gum, Locust Bean Gum
Guar gum and locust bean gum are two of the most common and effective stabilizers available for home use. Guar gum, derived from guar beans, is highly effective at low concentrations (typically 0.1% to 0.3% by weight of the mix) and hydrates easily in cold water. It provides excellent viscosity and helps prevent large ice crystal formation, contributing to a creamier texture. It's often used in combination with other stabilizers.
Locust bean gum, sourced from the carob tree, requires heating to fully activate but forms a more cohesive gel structure. It is particularly good at preventing recrystallization during storage and provides a desirable smooth, slightly chewy texture. Like guar gum, it is used in small quantities, often around 0.2% to 0.5%. Combining guar gum and locust bean gum is a popular technique in commercial ice cream for a synergistic effect, providing excellent stability and smoothness, a valuable tip for smooth ice cream recipe development at home.
How Emulsifiers Improve Ice Cream Texture: Egg Yolks, Sunflower Lecithin
Emulsifiers are key to creating a stable and smooth fat-water mixture in ice cream. Egg yolks are a traditional emulsifier used in custard-based ice cream recipes. They contain lecithin, a powerful natural emulsifier that helps to disperse the fat droplets evenly throughout the mix. This stable emulsion contributes significantly to a smooth, rich texture and helps to prevent fat separation or a greasy mouthfeel. Using four to six egg yolks per quart of ice cream base is a common practice in rich, French-style recipes.
For non-custard bases or dairy-free ice creams, commercial emulsifiers like sunflower lecithin or soy lecithin can be used. These powdered or liquid emulsifiers are also highly effective at binding fat and water, improving aeration during churning, and contributing to a smoother, less icy texture. They are typically used in very small amounts, often less than 0.5% of the total mix weight. Incorporating emulsifiers, whether through egg yolks or commercial options, is a vital smooth ice cream recipe tip for achieving professional-quality results.
Smooth Ice Cream Recipe Tips: Techniques for Prevention
Churning: The Importance of Proper Aeration
Proper churning is a critical step in preventing large ice crystals and achieving a smooth ice cream texture. Churning serves two main purposes: it incorporates air into the mixture, creating tiny air cells that contribute to softness and volume (known as overrun), and it breaks up ice crystals as they form, keeping them small. The faster the ice cream freezes while being churned, the smaller the ice crystals will be. This is why ensuring your ice cream maker's bowl is thoroughly frozen (for freezer bowl models) or the machine is operating efficiently is paramount.
Churning should continue until the ice cream reaches a soft-serve consistency. Over-churning can sometimes lead to a loss of air and a denser texture, while under-churning means the ice crystals haven't been adequately broken down. The goal is rapid freezing and continuous agitation during this phase. Following the manufacturer's instructions for your specific ice cream maker and ensuring the mix is very cold before churning are essential smooth ice cream recipe tips for success.
Cooling the Base: A Crucial Step for Preventing Ice Crystals
Before churning, it is absolutely vital to cool your ice cream base thoroughly. A warm or even lukewarm base will take much longer to freeze in the ice cream maker, allowing more time for large ice crystals to form. The ideal temperature for churning is typically between 1°C and 4°C (34°F to 40°F). For custard bases that involve cooking, this means chilling the base in the refrigerator for at least 4-6 hours, or preferably overnight. Rapid chilling techniques, like using an ice bath immediately after cooking, can also help speed up the process.
A well-chilled base freezes faster in the churner, which results in smaller, more desirable ice crystals. Think of it like freezing water – if you put warm water in a freezer, it takes longer and can form larger crystals than if you put very cold water in. This simple step is one of the most impactful smooth ice cream recipe tips you can follow to drastically improve your final texture. Don't rush the chilling process!
The Right Ice Cream Maker: Choosing the Best Tool for the Job
The type of ice cream maker you use can significantly influence the final texture and your ability to achieve smooth ice cream. Freezer bowl machines, which require the bowl to be frozen solid beforehand (typically for 12-24 hours at -18°C/0°F or colder), are popular for home use. Their effectiveness depends heavily on how cold the bowl is and how well it maintains that temperature during churning. Ensuring the bowl is fully frozen is key.
Compressor ice cream makers are generally more effective at producing consistently smooth ice cream because they freeze the mixture much faster and can maintain a lower temperature during churning. Their built-in refrigeration system allows for continuous churning without pre-freezing a bowl, leading to smaller ice crystals. While a compressor model represents a larger investment, it is often considered the gold standard for achieving the smoothest possible texture at home. Regardless of the type, ensuring your machine is in good working order is a key smooth ice cream recipe tip.
Optimizing Freezing Time and Temperature
After churning to a soft-serve consistency, the ice cream needs to be hardened in the freezer. The speed at which it hardens and the temperature at which it is stored are critical for preventing ice crystal growth. The faster the freezing process, the better. Placing the churned ice cream immediately into the coldest part of your freezer, ideally set at -18°C (0°F) or lower, helps to quickly solidify the remaining unfrozen water into small crystals.
Avoid opening the freezer door unnecessarily during the initial hardening phase (typically 4-8 hours). Temperature fluctuations are the enemy of smooth texture during storage. Storing ice cream consistently at a stable, very cold temperature minimizes the melting and refreezing cycles that lead to large ice crystals. Using a thermometer to verify your freezer temperature is a useful smooth ice cream recipe tip.
Storing Your Ice Cream to Maintain Smoothness
Proper Container Selection for Ice Cream Storage
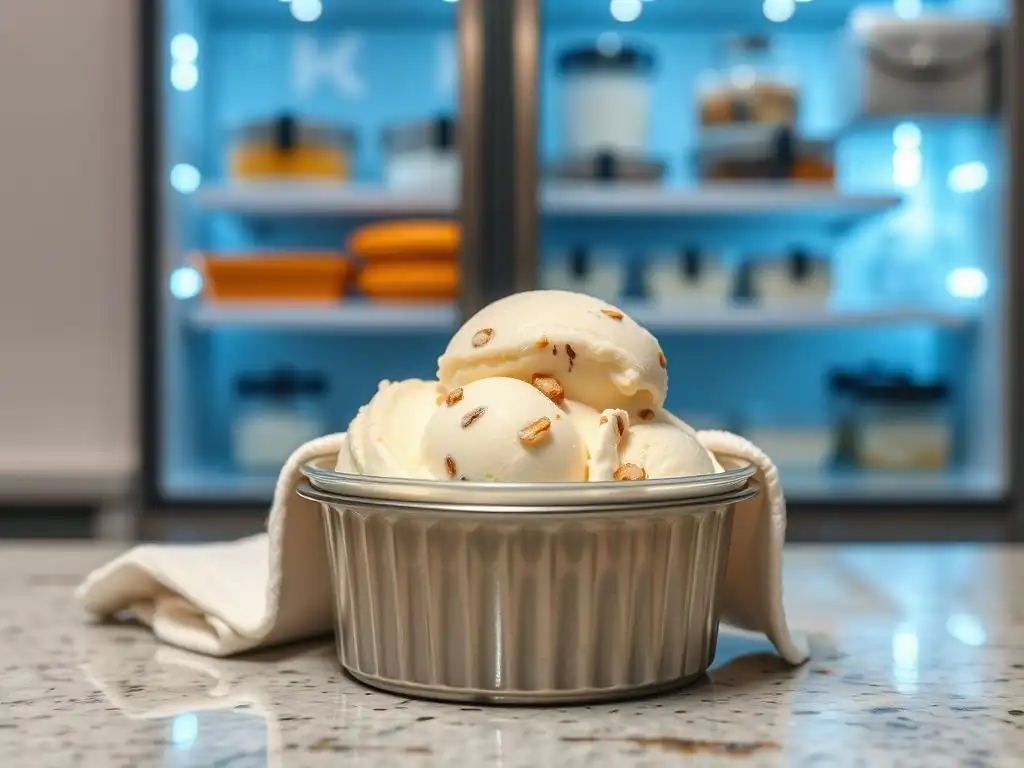
The container you use for storing homemade ice cream plays a significant role in maintaining its smooth texture and preventing ice crystals and freezer burn. Ideal containers are airtight and non-reactive. Using shallow, wide containers can sometimes lead to faster freezing initially, but deep, narrow containers expose less surface area to the air, which helps reduce temperature fluctuations and ice crystal formation on the surface.
Purpose-built ice cream storage containers, often made of insulated plastic or silicone, are designed with these factors in mind. They typically have tight-fitting lids to minimize air exposure and are shaped to promote even freezing. While any airtight freezer-safe container is better than none, investing in containers specifically designed for ice cream is a worthwhile smooth ice cream recipe tip for long-term storage success.
Preventing Freezer Burn: Protecting Your Ice Cream
Freezer burn occurs when ice cream is exposed to air, causing the water content on the surface to sublimate (turn directly from ice to water vapor). This leaves behind a dry, often discolored, and flavorless layer. The process also contributes to ice crystal growth in the underlying ice cream as water migrates away from the surface and refreezes elsewhere. Preventing freezer burn is essential for maintaining both texture and quality.
The best way to prevent freezer burn is to minimize air exposure. Ensure your storage container is completely airtight. If using a container that isn't full, pressing a layer of plastic wrap or parchment paper directly onto the surface of the ice cream before putting on the lid can create an extra barrier against air. Storing the ice cream at a consistent, cold temperature also helps. These are crucial smooth ice cream recipe tips for keeping your frozen dessert fresh and delicious for weeks.
Tips for Thawing Ice Cream Without Forming Ice Crystals
While it's best to scoop ice cream directly from the freezer, sometimes it's too hard. Letting it soften slightly before serving can improve the texture, but doing it incorrectly can lead to large ice crystals. Avoid letting the ice cream sit out at room temperature for extended periods, as this causes significant melting and subsequent recrystallization when refrozen.
The best approach is to transfer the container to the refrigerator for 20-30 minutes before serving. This allows it to soften gently and evenly without melting completely. Alternatively, you can let it sit on the counter for just a few minutes (5-10 minutes, depending on the room temperature and container size), but keep a close eye on it. Scoop and serve immediately, and return any leftovers to the freezer as quickly as possible. Gentle thawing is a key smooth ice cream recipe tip to preserve that lovely texture you worked hard to create.
Troubleshooting Ice Cream Texture Problems
My Ice Cream is Grainy: Common Causes and Solutions
A grainy texture in ice cream is almost always due to large ice crystals or, less commonly, crystallized sugar. If the graininess feels icy, the primary cause is likely slow freezing or temperature abuse during storage. Solutions involve ensuring your ice cream maker is functioning optimally and the base is thoroughly chilled before churning. Store the ice cream in an airtight container in the coldest part of your freezer and avoid frequent temperature fluctuations.
If the graininess feels more like fine sand, it might be sugar crystallization. This can happen if the sugar isn't fully dissolved in the base before churning, or if the sugar concentration is too high relative to the water content. Ensure all sugar is completely dissolved by heating the base gently if necessary (then chilling thoroughly). Using a portion of glucose syrup or corn syrup alongside sucrose can also help prevent sugar crystallization, offering another smooth ice cream recipe tip.
Dealing with Icy Ice Cream: How to Restore Smoothness
Unfortunately, once large ice crystals have formed, it's very difficult to completely restore the original smooth texture. Simply refreezing icy ice cream will only make the crystals larger. However, you can attempt to salvage it by re-processing it. Allow the icy ice cream to soften slightly in the refrigerator until it is scoopable but not melted.
Then, you can try blending it briefly in a food processor or blender until it is smooth and slushy, being careful not to over-process and melt it completely. Immediately return the blended mixture to your ice cream maker and re-churn it. This process breaks down the existing crystals and incorporates more air. Finally, refreeze it quickly in an airtight container. While this might not achieve the exact initial texture, it can significantly improve an overly icy batch, providing a useful smooth ice cream recipe tip for salvage.
Advanced Techniques for Ultra-Smooth Ice Cream
Using Liquid Nitrogen for Instant Freezing
Liquid nitrogen is a technique primarily used by professional chefs and in high-end ice cream shops, but it's the ultimate method for preventing large ice crystals. Liquid nitrogen is extremely cold, boiling at -196°C (-320°F). When an ice cream base is slowly poured into or mixed with liquid nitrogen, it freezes almost instantly.
This rapid freezing prevents water molecules from having time to migrate and form large crystals, resulting in an incredibly smooth texture. The process also incorporates tiny air bubbles, contributing to a light, ethereal consistency. While not a practical method for most home cooks due to safety concerns and the availability/cost of liquid nitrogen, it perfectly illustrates the principle that faster freezing equals smoother ice cream – a core concept behind all smooth ice cream recipe tips.
Sous Vide for a Perfectly Cooked Ice Cream Base
For custard-based ice creams that use egg yolks, achieving the perfect texture requires cooking the base gently to thicken it and pasteurize the eggs without scrambling them. Traditional stovetop methods can be tricky, with the risk of overheating. Sous vide offers a precise and foolproof way to cook the base evenly at a controlled temperature.
By cooking the ice cream base in a sealed bag in a water bath set to a specific temperature (typically around 77°C or 170°F) for a set time (e.g., 1 hour), you ensure the eggs are safely cooked and the base is thickened just right, contributing to a rich, smooth texture without any grainy egg bits. This technique ensures a consistent, stable base ready for chilling and churning, adding another layer of control for achieving smooth homemade ice cream.
Conclusion: Enjoying Perfectly Smooth Homemade Ice Cream
Frequently Asked Questions
What causes ice crystals to form in homemade ice cream?
Ice crystals form due to water molecules freezing and bonding together. This is often caused by slow freezing and temperature fluctuations in the freezer.
How can I prevent ice crystals in my ice cream using ingredients?
Using ingredients like corn syrup or alcohol can help by interfering with the water molecule bonding, resulting in a smoother texture. Also, fat content plays a crucial role.
What's the best way to freeze homemade ice cream to minimize ice crystals?
Freeze your ice cream mixture as quickly as possible! Use a pre-chilled ice cream maker and store the finished product in an airtight container in the coldest part of your freezer.
Are there any specific BakeWithEase tips for achieving smooth ice cream?
BakeWithEase recommends using high-quality ingredients and following our smooth ice cream recipe tips precisely. Pay close attention to the churning time.
How important is the storage container for preventing ice crystals?
Extremely important! An airtight container minimizes air exposure, which can lead to freezer burn and ice crystal formation. Consider using plastic wrap pressed directly onto the ice cream surface before sealing.
Final Reflection: The Enduring Quest for Perfectly Smooth Ice Cream
The pursuit of flawlessly smooth ice cream transcends mere culinary preference; it's a testament to our desire for perfection in the simplest of pleasures. From backyard barbecues to elegant dessert displays, the creamy texture of ice cream evokes feelings of joy and satisfaction. The subtle nuances of a perfectly smooth scoop, free from icy crystals, elevate the experience from good to unforgettable. This article has explored the science behind ice crystal formation and offered practical tips to achieve that coveted smoothness, but the journey towards mastering this art continues.
The quest for smooth ice cream reflects a broader cultural appreciation for artisanal food and the meticulous attention to detail that elevates a simple treat into a work of art. The details are not the details. They make the design.
– Charles Eames. This quote resonates deeply, as the seemingly insignificant details – the type of cream, the churning method, the careful temperature control – are precisely what transform ordinary ice cream into something extraordinary. This pursuit of excellence, whether in the kitchen or in other aspects of life, is a constant source of inspiration and a reminder that even the smallest details can have a profound impact on the final result.
Consider the next time you indulge in a scoop of ice cream, the effort and understanding that went into creating its texture. Take a moment to appreciate the science and artistry behind that seemingly simple pleasure. Experiment with the techniques discussed in this article, adapt them to your own preferences, and discover the joy of crafting your own perfectly smooth, unforgettable ice cream. The journey towards mastering this culinary art is a rewarding one, filled with delicious discoveries and the satisfaction of creating something truly special.
Unlock Perfectly Smooth Ice Cream!
Thanks for diving into the world of flawlessly smooth ice cream! You've now learned the secrets to preventing those pesky ice crystals. Ready to put your newfound knowledge into action?
- Master the art of the perfect ice cream churn: Experiment with different churning techniques and ingredients to discover what creates your ultimate creamy texture. Remember the key is slow and steady!
- Share your ice cream triumphs (and challenges!): Tag us on social media with your creations – we'd love to see them!
- Explore our other dessert recipes for even more sweet inspiration. Who knows what delicious creations you'll uncover next?
What's your go-to tip for achieving super-smooth ice cream? Share your secrets in the comments below!