
Preventing Soggy Crusts in Baked Desserts

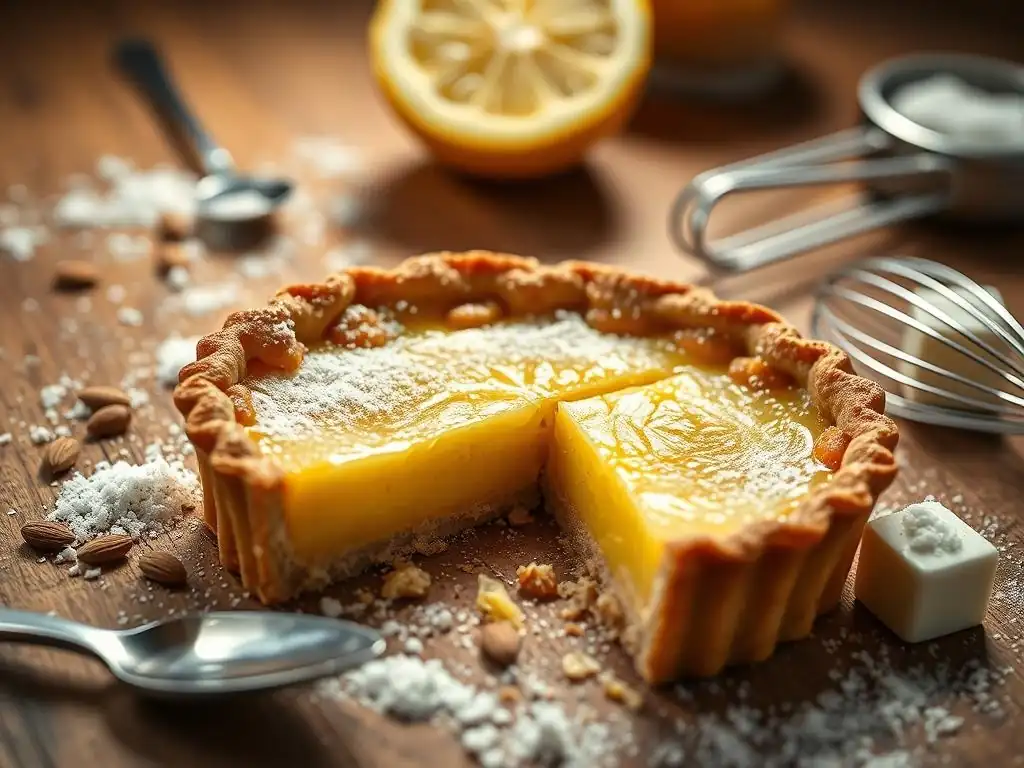
Welcome to BakeWithEase, where conquering kitchen challenges is our specialty! Ever battled the frustration of soggy baked dessert crusts? You're not alone. Dive into our guide where we unlock the secrets to perfectly crisp bottoms, transforming your pastries and desserts from soggy to sensational. Curious to learn how? Let's get started!
- Understanding Soggy Baked Dessert Crusts
- Mastering the Art of Crisp Crusts
- Ingredient Choices for Preventing Soggy Bottoms
- Baking Techniques to Avoid Soggy Crusts
- Specific Dessert Examples and Soggy Crust Solutions
- Troubleshooting Soggy Crusts
- Advanced Techniques for Expert Bakers
- Frequently Asked Questions
- Final Reflection: The Quest for a Perfectly Crisp Crust
- Unleash Your Inner Baking Pro: Crisp Crusts Guaranteed!
Understanding Soggy Baked Dessert Crusts
Why Do Baked Dessert Crusts Get Soggy? Common Causes
One of the most frustrating moments for any baker is pulling a beautiful pie or tart from the oven, only to discover that the bottom crust is disappointingly soft or wet – a classic case of soggy baked dessert crusts. This often happens because moisture from the filling seeps into the underbaked dough before it has a chance to set and become crisp. High-moisture fillings, such as those made with fresh fruit, custards, or quiche mixtures, are prime culprits.
For example, a typical apple pie filling can contain up to 85% water content from the apples themselves, which releases steam during baking. Without adequate protection or pre-baking of the crust, this steam and liquid migrate downwards, turning flaky pastry into a gummy layer.
Another significant factor contributing to soggy baked dessert crusts is insufficient baking time or incorrect oven temperature. If the oven isn't hot enough, or if the dessert is removed too soon, the crust won't reach the temperature required for the starches to gelatinize and the fats to create a crisp structure.
Underbaking is particularly common with deep-dish pies or desserts with very thick fillings, where the top and edges might appear golden brown while the center bottom remains pale and soft. Furthermore, condensation can form as a hot dessert cools, especially if placed directly onto a cold surface, trapping moisture beneath the crust and exacerbating the sogginess issue.
Impact of Soggy Crusts on Dessert Quality
A soggy baked dessert crust can severely detract from the overall quality and enjoyment of a dessert. Texture is paramount in baking, and the contrast between a crisp, flaky crust and a smooth, rich filling is often what makes a pie or tart so appealing. When the crust is soggy, this delightful textural contrast is lost. Instead of a pleasant crunch or crumble, you encounter a dense, doughy, and sometimes unpleasant texture that can feel heavy or even raw in the mouth.
Beyond texture, soggy baked dessert crusts can also negatively impact flavor. An underbaked, moist crust may retain a raw flour taste, which can overpower the delicate flavors of the filling. The appealing aroma of caramelized butter and toasted flour that comes from a properly baked crust is absent. Furthermore, the visual appeal is diminished; a pie that holds its shape with a sturdy crust looks far more appetizing than one with a collapsing, wet bottom. Ultimately, a soggy crust can turn a potentially exquisite dessert into a disappointing experience, regardless of how delicious the filling might be.
Mastering the Art of Crisp Crusts
The Secret: Blind Baking for Perfectly Crisp Crusts
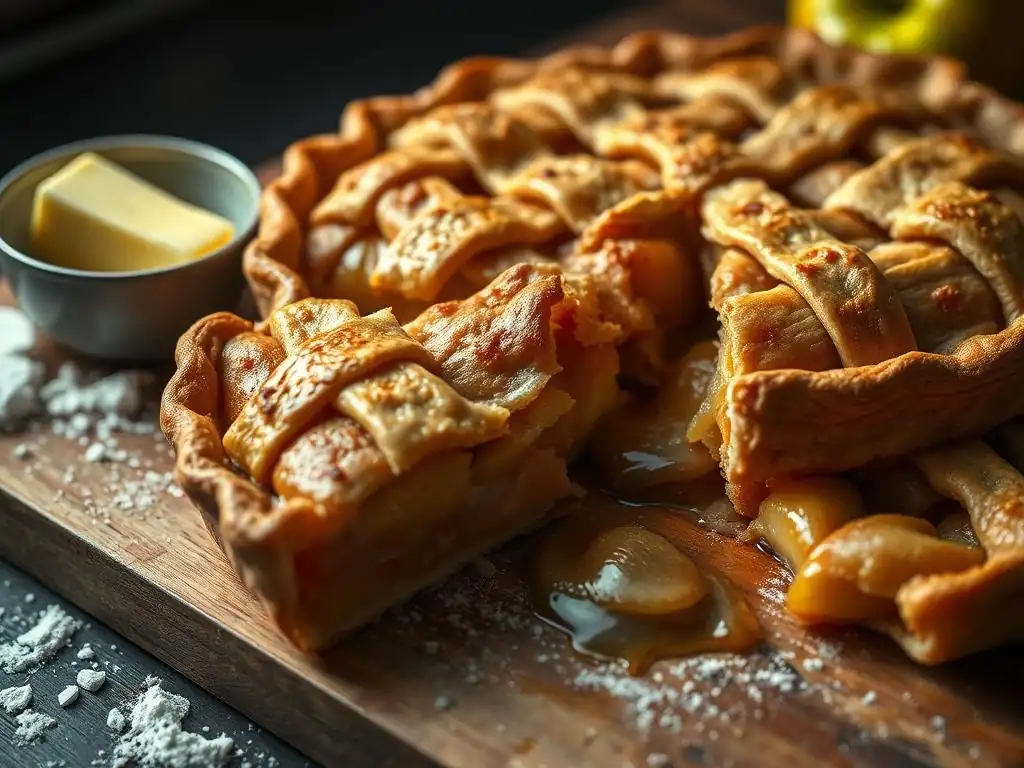
Blind baking, also known as pre-baking, is one of the most effective techniques to prevent soggy baked dessert crusts, especially for pies and tarts with wet fillings. The principle is simple: you bake the crust partially or fully before adding the filling. This allows the pastry dough to set and crisp up under dry heat without the interference of moisture from the filling. By giving the crust a head start, it develops a sturdy, golden-brown base capable of withstanding the moisture from custards, fruits, or other liquid ingredients that would otherwise lead to a soggy bottom.
Using blind baking significantly reduces the risk of moisture migration. When the crust is baked until it's at least partially set (typically 15-20 minutes for a partial bake), its structure becomes more stable and less permeable to liquids.
For very wet fillings or recipes where the filling doesn't require much baking time (like many quiches or fresh fruit tarts), a full blind bake until the crust is golden brown and fully cooked is often necessary to guarantee a crisp base and avoid soggy baked dessert crusts altogether. This foundational step ensures that the crust provides the desired textural contrast and structural integrity for the final dessert.
Blind Baking Explained: A Step-by-Step Guide
Blind baking is a straightforward process that requires careful execution to achieve the best results.
- Prepare the Dough: Roll out your pastry dough and fit it into your pie or tart pan. Crimp the edges decoratively.
- Chill: Place the assembled crust in the refrigerator or freezer for at least 30 minutes. Chilling helps solidify the fat in the dough, which prevents shrinkage and helps the crust hold its shape during baking.
- Prick or Dock: Lightly prick the bottom of the crust all over with a fork. This allows steam to escape during baking, preventing the crust from puffing up unevenly.
- Line with Parchment: Carefully line the chilled crust with parchment paper or aluminum foil, pressing it gently into the corners and up the sides.
- Fill with Weights: Fill the lined crust evenly with pie weights, dried beans, or uncooked rice. The weights hold the parchment/foil against the dough, preventing the bottom from rising and the sides from collapsing. Use enough weights to fill the crust almost to the brim. For a standard 9-inch pie plate, this might require 1.5 to 2 pounds of weights.
- Initial Bake (Partial): Bake in a preheated oven (often around 375-400°F or 190-200°C) for 15-20 minutes, or until the edges are lightly golden.
- Remove Weights and Parchment: Carefully remove the weights and parchment/foil liner. The crust should look dry and set on the bottom.
- Second Bake (Full or Partial): Continue baking for another 10-15 minutes for a full blind bake (until golden brown all over), or just 5-10 minutes for a partial blind bake (until the bottom looks dry and slightly pale) depending on the recipe's requirements for preventing soggy baked dessert crusts.
Essential Blind Baking Tools and Equipment
Successfully blind baking a crust requires a few key tools to ensure even baking and prevent shrinkage or puffing. The most common tool is pie weights. These can be ceramic or metal beads specifically designed for baking, or you can use dried beans, rice, or even granulated sugar as a substitute.
Ceramic weights are reusable and distribute heat well, while dried beans or rice are a cost-effective alternative, though they cannot be cooked for consumption afterwards (they can often be reused for baking). Using enough weight is crucial; insufficient weight will allow the bottom crust to puff up and potentially crack, undermining your effort to prevent soggy baked dessert crusts.
Another essential element is the liner used between the dough and the weights. Parchment paper is ideal as it's non-stick and flexible, conforming well to the shape of the pie plate. Heavy-duty aluminum foil is also a good option, though it can sometimes tear more easily than parchment.
Both parchment and foil prevent the weights from sticking to the dough and make removing the weights after the initial bake much simpler. Some bakers also use a pie shield or foil strips around the edges of the crust during the later stages of blind baking to prevent them from browning too quickly or burning before the bottom is done, further helping to manage the bake and avoid soggy edges on baked dessert crusts.
Shielding Your Crust: Using Foil or Parchment Paper
Even when not blind baking, shielding the edges of your pie or tart crust with foil or parchment paper is a simple yet effective technique to prevent them from overbaking and burning before the center or bottom is adequately cooked. The edges of a pie crust are thinner and more exposed to the oven's heat, causing them to brown much faster than the rest of the crust, especially the bottom which is insulated by the filling.
If the edges are fully baked and crisp while the bottom is still pale and undercooked, you risk either burning the edges by the time the bottom is done, or removing the pie too early and ending up with soggy baked dessert crusts in the center.
Creating a shield involves loosely covering the crimped edges of the pie with strips of aluminum foil or a specially designed pie crust shield (often made of silicone). This deflects some of the direct heat away from the edges, slowing down their browning process.
Typically, you apply the shield about halfway through the total baking time, once the edges have achieved a light golden color but before they are fully browned. This allows the rest of the crust, particularly the critical bottom area prone to becoming soggy baked dessert crusts, to continue baking and crisping up evenly with the edges protected.
Egg Wash: The Crust's Protective Barrier
Applying a thin layer of egg wash to the bottom crust before adding the filling can act as a protective barrier against moisture, helping to prevent soggy baked dessert crusts. An egg wash is typically made by whisking an egg (or just the yolk or white) with a little water or milk. When brushed onto the dough and baked, the egg proteins coagulate and create a slightly sealed surface. This cooked layer is less permeable to the moisture released by the filling during baking.
While an egg wash alone may not be sufficient for very wet fillings like fruit pies unless combined with blind baking, it provides a valuable extra layer of defense for custards, quiches, or fillings with moderate moisture. Brush a thin, even layer onto the bottom and sides of the unbaked or partially blind-baked crust.
Allow it to dry slightly before adding the filling. This technique is particularly useful for graham cracker or cookie crusts used in cheesecakes or tarts, where the egg wash helps bind the crumbs and creates a firmer, more moisture-resistant base, significantly reducing the likelihood of soggy baked dessert crusts.
Ingredient Choices for Preventing Soggy Bottoms
Flour Power: Choosing the Right Type for a Non-Soggy Crust
The type of flour used in your pastry dough plays a significant role in its structure and ability to resist moisture, directly impacting whether you end up with soggy baked dessert crusts. All-purpose flour is the standard choice for most pie crusts, offering a good balance of protein content (typically 10-12%).
This protein develops gluten, which provides structure to the dough, allowing it to hold its shape and become crisp when baked. Using a flour with too low a protein content, like cake flour (around 7-9% protein), might result in a very tender crust that is also more fragile and susceptible to absorbing moisture, leading to sogginess.
Conversely, using a high-protein flour like bread flour (12-14% protein) can result in a tougher crust due to increased gluten development. While structure is good, too much toughness isn't desirable for a flaky, tender pastry. For optimal results in preventing soggy baked dessert crusts, stick to good quality all-purpose flour.
Some recipes for tarts or more delicate pastries might call for a blend of all-purpose and pastry flour (9-10% protein) to achieve a specific tenderness, but ensure the technique (like blind baking) compensates for the slightly reduced structural integrity if the filling is wet. Whole wheat flour, while flavorful, contains bran and germ that can cut gluten strands and absorb moisture differently, sometimes leading to a less consistently crisp result unless the recipe is specifically formulated for it.
Fat Matters: Selecting the Best Fat for Crust Structure
The type of fat used is fundamental to creating a flaky, crisp pastry that resists becoming soggy baked dessert crusts. Cold, solid fat is cut into the flour, creating small pockets. As the crust bakes, this fat melts, leaving behind air pockets that expand and separate the layers of dough, resulting in flakiness.
Butter is a popular choice due to its flavor, but it contains about 15-18% water. This water turns to steam during baking, also contributing to flakiness, but the presence of water means it melts at a relatively low temperature (around 90-95°F or 32-35°C). If butter melts too quickly before the gluten structure is set, the fat can leak out, and the crust might become dense or greasy, making it more prone to absorbing moisture and becoming soggy.
Shortening, on the other hand, is 100% fat and has a higher melting point (often around 115-125°F or 46-52°C). Its higher melting point and lack of water make it excellent for creating very flaky crusts that hold their shape well and are more resistant to moisture absorption. Using a mix of butter and shortening is a common strategy employed by bakers to get the best of both worlds: the flavor of butter and the superior flakiness and moisture resistance of shortening.
Lard is another traditional fat, offering exceptional flakiness and a high melting point, making it very effective at preventing soggy baked dessert crusts, though its flavor profile is distinct. Ultimately, using cold, solid fat and handling the dough minimally to keep the fat pieces intact are key regardless of the fat type.
Sugar's Role: Balancing Sweetness and Moisture Control
Sugar in a pastry crust serves multiple purposes: it adds sweetness, contributes to browning, and can also affect the texture and moisture content. While a little sugar can enhance the flavor and promote desirable browning for a crisp finish, adding too much sugar can negatively impact the crust's ability to stay crisp and potentially lead to soggy baked dessert crusts.
Sugar is hygroscopic, meaning it attracts and holds onto moisture. In a humid environment or with a wet filling, excessive sugar in the crust can cause it to absorb more moisture from the air or the filling, becoming soft and sticky rather than crisp.
For a standard pie crust intended for a wet filling, keeping the sugar content minimal is often recommended. A typical savory quiche crust might contain no sugar at all, while a sweet pie crust might have just 1-2 tablespoons per cup of flour. This amount is usually sufficient for flavor and browning without making the crust overly susceptible to moisture absorption.
Using fine granulated sugar or confectioners' sugar helps it dissolve and distribute more evenly, reducing the chance of creating pockets of sugar that melt and become sticky. Balancing the slight sweetness needed for a dessert crust with the need to resist moisture is key to preventing soggy baked dessert crusts.
Baking Techniques to Avoid Soggy Crusts
Oven Temperature: The Critical Factor
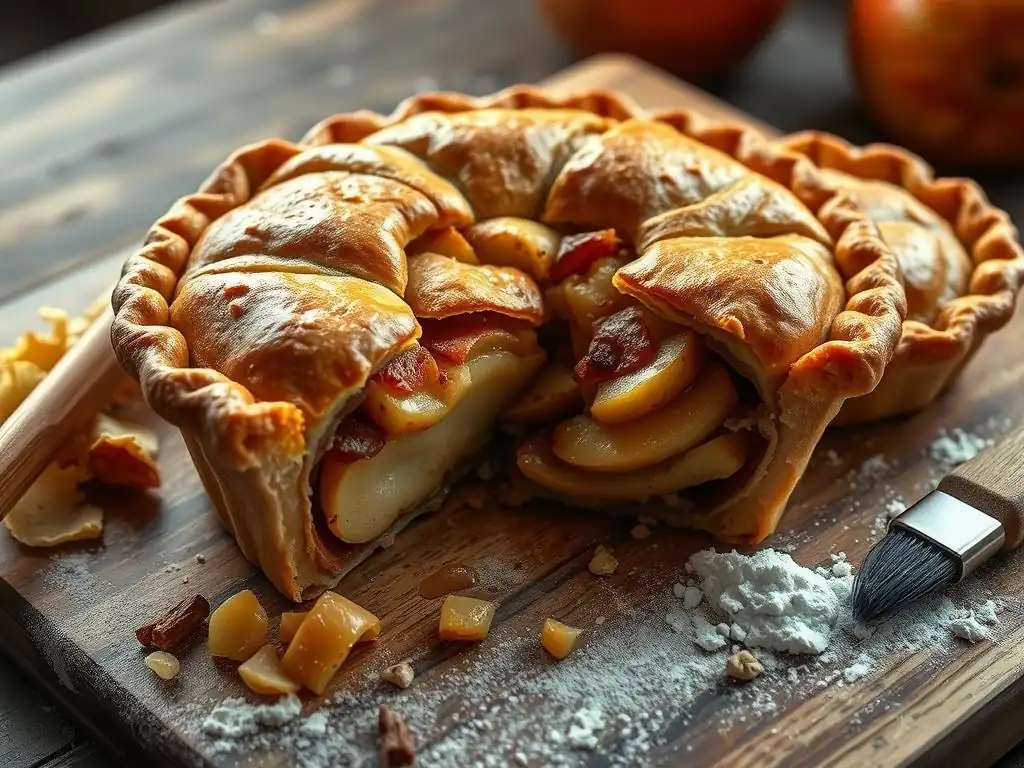
Baking temperature is paramount in achieving a crisp crust and preventing soggy baked dessert crusts. A sufficiently hot oven is essential for the fat in the dough to melt rapidly and create steam (if using butter), which helps lift the layers and create flakiness, while also quickly setting the gluten structure.
Many pie and tart recipes call for baking at a relatively high temperature, often starting around 400-425°F (200-220°C) for the first 15-20 minutes before reducing the temperature to finish baking. The initial high heat helps to quickly set the base and sides of the crust before the filling has a chance to release too much moisture.
If the oven temperature is too low, the fat melts slowly, potentially leaking out of the dough before the structure is set. This results in a greasy, dense crust that is much more vulnerable to becoming soggy baked dessert crusts when the filling is added. Ensuring your oven thermostat is accurate is also important; use an oven thermometer to check if your oven is running true to temperature.
An oven that runs cool can be a hidden cause of consistently underbaked, soggy crusts. Proper temperature management ensures the crust bakes through evenly and develops the necessary crispness before the filling's moisture can cause issues.
Rack Placement: Ensuring Even Baking
Where you place your pie or tart in the oven significantly impacts how the crust bakes and whether you'll encounter soggy baked dessert crusts. The bottom heating element in most ovens provides the most direct heat. Placing your pie on the lowest rack or the second-to-lowest rack allows the bottom crust to receive more direct heat, encouraging it to bake and crisp up thoroughly. This is especially important for pies and tarts with wet fillings, as the bottom crust needs all the help it can get to set before absorbing moisture.
Baking the dessert on a preheated baking stone or steel placed on the bottom rack can further enhance bottom browning and crispness. The stone or steel absorbs and radiates heat directly to the bottom of the pie plate, providing an extra boost to prevent soggy baked dessert crusts.
Avoid placing pies on the top rack, as this will cause the top crust or filling to brown or burn before the bottom has had a chance to cook through, almost guaranteeing a soggy base. Even heat distribution is key, and strategic rack placement leverages the oven's heat patterns to prioritize baking the part of the crust most susceptible to sogginess.
Cooling Time: Allowing the Crust to Set Properly
The process of preventing soggy baked dessert crusts doesn't end when the pie comes out of the oven; proper cooling time is crucial. As a pie or tart cools, residual heat continues to cook the crust, and the filling sets and thickens. Placing a hot pie directly onto a solid, cold surface (like a countertop) can trap steam and moisture underneath the pie plate, causing condensation to form on the bottom of the crust. This trapped moisture can quickly turn a perfectly crisp bottom into a soggy mess.
Always cool baked pies and tarts on a wire rack. A wire rack allows air to circulate freely around the entire pie, including the bottom. This allows steam and heat to dissipate, preventing condensation from forming and promoting even cooling and setting of the crust.
For fruit pies, allowing them to cool completely, often for several hours, is necessary for the filling to thicken properly and reduce the amount of liquid pressing down on the bottom crust. Cutting into a hot fruit pie prematurely releases liquid, which will inevitably lead to soggy baked dessert crusts. Patience during the cooling stage is truly a virtue in preventing soggy bottoms.
Specific Dessert Examples and Soggy Crust Solutions
Cheesecakes: Preventing Soggy Graham Cracker Crusts
Graham cracker crusts, commonly used for cheesecakes and some tarts, are particularly susceptible to becoming soggy baked dessert crusts because they are porous and readily absorb moisture from the creamy, often no-bake or lightly baked, filling. The issue is compounded in baked cheesecakes, where the cheesecake batter contains a significant amount of liquid (from cream cheese, eggs, and cream) and the dessert often bakes in a water bath, which introduces even more steam into the oven environment. This steam can penetrate the crumb crust, turning it soft and mushy.
To combat this, ensuring the graham cracker crust is well-compacted is the first step; press the mixture firmly into the pan. Baking the crust before adding the filling is highly recommended. A typical graham cracker crust can be pre-baked at around 350°F (175°C) for 8-10 minutes until lightly golden and fragrant.
This helps to set the butter or fat in the mixture and creates a slightly firmer barrier. Some bakers also brush the pre-baked crust with a thin layer of melted butter or even a little egg white and bake for another minute or two; this creates a slightly sealed surface that further resists moisture absorption from the cheesecake batter, effectively preventing soggy baked dessert crusts.
Fruit Pies: Keeping the Bottom Crust Crisp
Fruit pies are perhaps the most notorious culprits for soggy baked dessert crusts due to the high water content of most fruits. As the pie bakes, the fruit releases juices, which bubble and thicken, but also seep down onto the bottom crust. If the crust isn't adequately prepared or baked, it will absorb these juices and become soggy. Even thickeners like flour, cornstarch, or tapioca starch may not be enough to prevent this if the baking technique isn't optimized.
Blind baking the bottom crust is a very effective strategy for fruit pies. Partially blind baking until the bottom is set but not fully browned gives the crust a head start. Another technique is to coat the bottom crust with a thin layer of a moisture barrier before adding the filling.
This could be a sprinkle of dry breadcrumbs, crushed cookies (like vanilla wafers), or even a very thin layer of melted chocolate (allowed to set). These layers absorb some of the initial moisture released by the fruit, protecting the pastry. Ensuring the oven is hot enough (starting at a higher temperature) and baking until the filling is actively bubbling in the center (indicating it has reached a high enough temperature to thicken properly) are also critical steps to prevent soggy baked dessert crusts in fruit pies.
Quiches and Savory Tarts: Avoiding a Soggy Base
Savory tarts and quiches, filled with egg and cream custards, face similar challenges with soggy baked dessert crusts as sweet custards or fruit pies. The liquid nature of the filling can easily lead to a wet, unappealing base if the crust isn't properly prepared. Unlike many sweet fillings, quiche fillings often don't require extensive baking time to set, putting even more pressure on the crust to be fully baked and moisture-resistant from the start.
For quiches and savory tarts, a full blind bake of the crust is almost always necessary to ensure a crisp, non-soggy base. The crust should be baked until it is golden brown and fully cooked before the savory filling is poured in. Some recipes even recommend brushing the fully blind-baked crust with an egg wash or melted butter and baking for another minute or two to create an extra moisture barrier.
Adding fillings that have been pre-cooked or drained (like sautéed vegetables or cooked meats) helps reduce the overall moisture content before it even goes into the crust. Baking at the correct temperature and allowing the quiche to set slightly after baking on a wire rack also contribute to maintaining a crisp base and preventing soggy baked dessert crusts.
Troubleshooting Soggy Crusts
Identifying the Root Cause of Your Soggy Crust
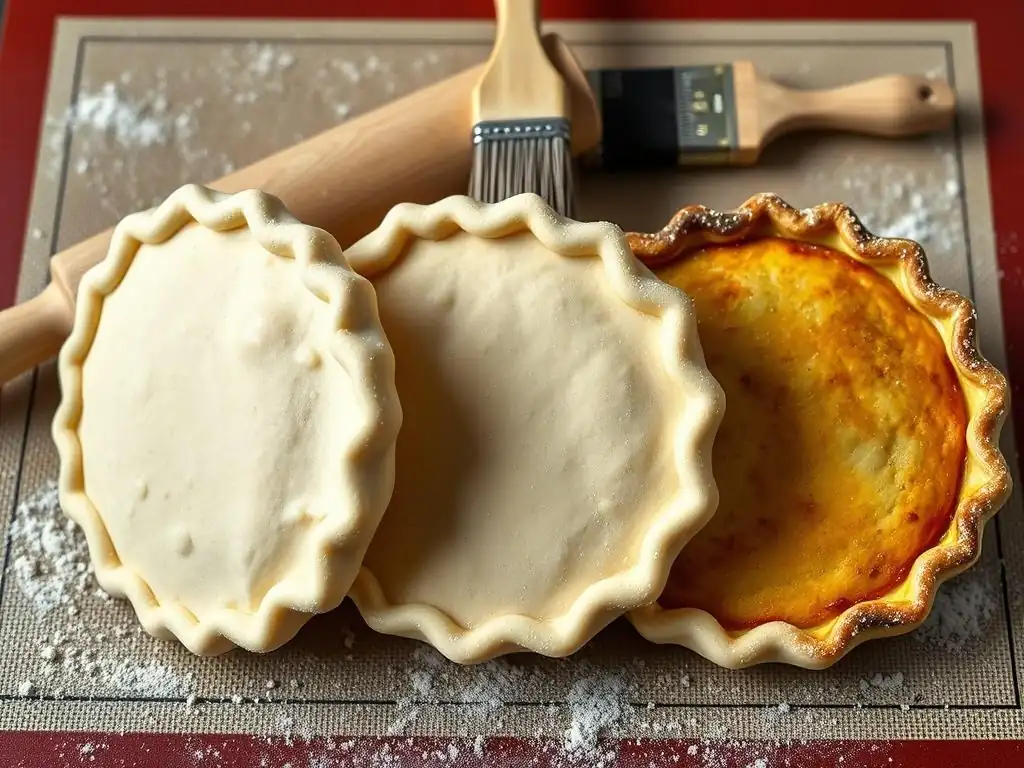
If you've ended up with a soggy baked dessert crust, it's helpful to play detective to figure out what went wrong. Consider the type of dessert and filling: was it a very wet filling like a juicy berry pie or a creamy custard? This points towards moisture migration as a primary culprit. Next, think about your baking process: Did you blind bake the crust? If so, was it baked long enough? Was the oven temperature correct, or did it seem to run cool? Underbaking is a frequent cause of soggy baked dessert crusts.
Also, consider how you handled the dough and the baked dessert. Was the dough overworked, making it tough and potentially less flaky and more prone to absorbing moisture? Did you chill the dough adequately? How did you cool the finished dessert? Placing a hot pie on a solid surface can create condensation. By systematically reviewing the ingredients, preparation steps, baking time and temperature, and cooling method, you can usually pinpoint the most likely reason for the soggy baked dessert crusts and adjust your approach for next time.
Adjusting Your Recipe for a Crisper Result
Once you've identified the potential cause of soggy baked dessert crusts, you can make specific adjustments to your recipe and technique. If moisture from the filling seems to be the issue, incorporating blind baking is the most impactful change you can make. For very wet fillings, aim for a full blind bake until the crust is golden. You might also try adding a moisture barrier layer (like breadcrumbs or melted chocolate) to the bottom of the blind-baked crust before adding the filling.
If underbaking appears to be the problem, ensure your oven temperature is accurate using an oven thermometer. Try baking at a slightly higher temperature initially (e.g., 425°F for 15 minutes) before reducing it. Make sure you are baking on the lowest or second-to-lowest rack to maximize direct heat to the bottom.
Be patient and bake until the filling is visibly set and the crust is a uniform golden brown, not just on the edges but across the bottom as well. Sometimes, simply extending the baking time by 10-15 minutes can make a significant difference in preventing soggy baked dessert crusts.
Salvaging a Slightly Soggy Crust: Quick Fixes
While it's difficult to completely fix a severely soggy baked dessert crust after baking, there are a couple of quick fixes that can sometimes improve a slightly soggy bottom. If the pie is still warm and the sogginess is minor, you can try placing the pie back in a hot oven (around 375-400°F or 190-200°C) for 5-10 minutes, directly on the oven rack or a preheated baking stone, without the pie plate touching a solid surface.
The direct heat from the bottom might help to further crisp up the base. Keep a close eye on it to prevent the top from burning.
Another trick, best for pies that have cooled, is to place individual slices under a broiler for a very short time (just 1-2 minutes) or in a toaster oven. The direct heat from the top can help crisp up the slice's bottom. Alternatively, serving slightly warm can sometimes make a less-than-perfect crust more palatable than serving it cold. While these aren't foolproof solutions for a deeply soggy baked dessert crust, they can sometimes make a minor issue less noticeable. Prevention through proper baking technique is always the best approach.
Advanced Techniques for Expert Bakers
Using Chocolate or Nut Layers to Seal the Crust
For delicate tarts or pies with fillings that are particularly prone to creating soggy baked dessert crusts, advanced bakers often employ moisture-sealing layers. One popular technique is to brush the fully blind-baked crust with a thin layer of melted chocolate (dark, milk, or white, depending on the dessert). The chocolate is allowed to set completely, creating an impermeable barrier between the crust and the filling. This is especially effective for tarts with very wet or acidic fillings, like fruit curds or fresh fruit layered directly onto the crust.
Another sophisticated method involves using a layer of finely ground nuts, sometimes mixed with a little sugar or egg white, pressed into the bottom of the crust before baking or added to a blind-baked shell. For instance, a thin layer of frangipane (almond cream) can be spread in a blind-baked tart shell and baked until set before adding the main filling. The fat and texture of the nuts or frangipane create a barrier and add a delightful flavor and texture component, effectively preventing soggy baked dessert crusts and enhancing the overall dessert.
Pre-Baking with Weights: Achieving Uniform Crispness
While we've covered standard blind baking, expert bakers pay meticulous attention to the details of using weights to ensure uniform crispness and prevent issues like shrinking sides or a puffed-up bottom that can lead to unevenly baked, potentially soggy baked dessert crusts. Using enough pie weights is paramount – they should fill the crust almost completely to the top edge to support the sides and keep the bottom flat. Distributing the weights evenly is also critical; piling them in the center can leave the edges vulnerable to collapsing.
Furthermore, some experts recommend using finer materials like granulated sugar or rice as weights instead of larger ceramic beads, especially for delicate doughs or intricate tart shapes. The smaller granules conform more closely to the shape of the crust, providing more even support across the entire surface during the initial bake.
After removing the weights and liner for the second phase of blind baking, some bakers might even prick the bottom of the crust again lightly if any areas appear to have puffed up slightly, ensuring a perfectly flat surface that will bake evenly and resist becoming soggy baked dessert crusts.
Lemon Meringue Pie: Preventing a Soggy Crust Under the Filling
Lemon meringue pie presents a unique challenge for preventing soggy baked dessert crusts. The filling is a cooked custard that is poured hot into a pre-baked shell, and its acidity can sometimes interact with the crust, potentially softening it over time. The hot filling immediately introduces moisture and heat to the bottom crust. While blind baking is essential here, the specific timing and method can make a difference.
A fully blind-baked crust is necessary for lemon meringue pie. It should be baked until golden brown and completely set. To create an extra layer of protection against the hot, acidic filling, some bakers brush the inside of the blind-baked shell with a thin layer of egg white and return it to the oven for just a minute or two until the egg white is set and opaque.
This creates a very thin, sealed layer. Additionally, ensuring the lemon filling is cooked properly to a thick consistency before pouring it into the shell minimizes the amount of free liquid. Pouring the hot filling into the hot, just-baked shell and adding the meringue immediately helps the pie finish setting together, reducing the time the hot, moist filling sits against the crust before it's fully stable, thus helping to prevent soggy baked dessert crusts.
Frequently Asked Questions
Why does my baked dessert crust sometimes get soggy?
Soggy crusts are often caused by excess moisture from the filling seeping into the crust during baking or cooling. This can also be due to underbaking the crust initially.
What types of desserts are most prone to soggy crusts?
Desserts with high-moisture fillings, like fruit pies, cheesecakes, and custard tarts, are particularly susceptible to soggy crusts. Ingredients such as fresh fruits and dairy contribute to the overall moisture content.
How can I prevent a soggy crust before baking?
Blind baking the crust before adding the filling can create a protective layer. Also, brushing the crust with a thin layer of melted chocolate or egg wash helps seal it.
Is there a difference in crust recipes that helps prevent sogginess?
Yes, crust recipes with a higher fat content (like butter or shortening) can create a more water-resistant barrier. Using cold ingredients is also essential for preventing gluten development, resulting in a flakier, less absorbent crust.
What baking techniques can I use to avoid a soggy crust?
Baking on a lower rack in the oven can help the bottom crust bake more thoroughly. Also, ensuring the oven is preheated properly helps the crust set quickly and prevents excessive moisture absorption.
Final Reflection: The Quest for a Perfectly Crisp Crust
The fight against soggy baked dessert crusts is far from over, but armed with the right knowledge, we can win the battle in our own kitchens. A seemingly small detail, the crust's texture significantly impacts the overall enjoyment of a pie, tart, or cookie. A soggy bottom can ruin an otherwise delicious creation, leaving a lingering disappointment that overshadows even the finest fillings. This article has explored various techniques and preventative measures, offering a roadmap to achieving that coveted crispness.
The pursuit of the perfect crust is a testament to our desire for culinary excellence, a reflection of our dedication to crafting memorable experiences through food. It's more than just a texture; it's a symbol of care and attention to detail. The subtle satisfaction of a perfectly crisp bite, the satisfying crackle as you break the surface – these are sensory pleasures that elevate a simple dessert into something truly special. The best things in life are simple, but not easy.
This quote perfectly encapsulates the journey to mastering the art of preventing soggy crusts; it requires effort and understanding, but the reward is immeasurable.
Now, it's your turn. Consider the techniques discussed – from blind baking to proper cooling methods – and experiment with them in your own baking endeavors. Don't be afraid to tweak and adapt, to find what works best for your oven and your recipes. The journey to the perfect crust is a personal one, filled with experimentation and delicious discoveries. Embrace the challenge, and savor the sweet victory of a perfectly crisp, flawlessly baked dessert.
Unleash Your Inner Baking Pro: Crisp Crusts Guaranteed!
Thanks for taking the time to discover the secrets to perfectly crisp pie crusts and other baked goods! You've just learned valuable techniques to avoid that dreaded soggy bottom. Now it's time to put your new knowledge to the test.
- Bake your dream dessert: Try out one of the techniques you learned today – perhaps the parchment paper trick or the pre-baking method – and create a masterpiece!
- Share your baking triumph: Post a picture of your perfectly crisp creation on social media and tag #BakeWithEaseCrispCrust – we'd love to see it!
- Experiment with different flours: Explore how different types of flour impact your crust's texture. What exciting results will you discover?
So, what delicious creation are you ready to bake next?