
Baked Fruit Crisps Made Simple

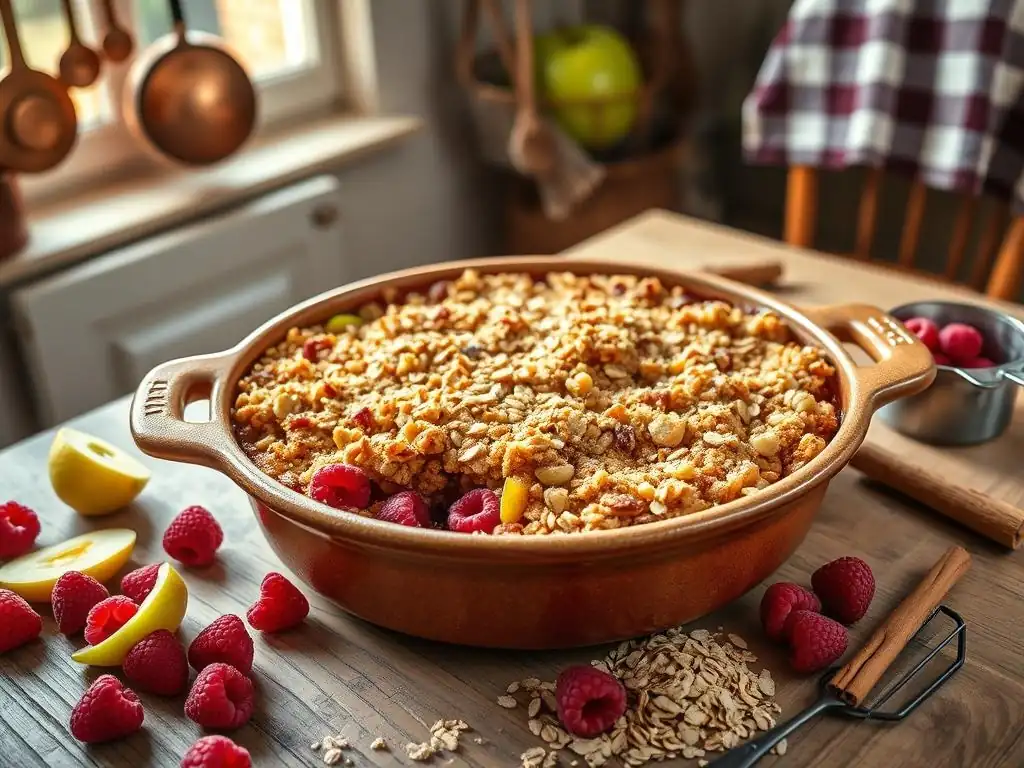
Welcome to BakeWithEase, your guide to delicious baking adventures! Ever dream of a warm, comforting dessert that's surprisingly simple to create? Then you're in the right place. Dive into our easy baked fruit crisp recipe and discover how to whip up a delightful treat with minimal effort. What secrets lie in achieving that perfect, golden-brown topping? Let's explore!
- Introduction to Easy Apple Crisp
- The Ultimate Easy Apple Crisp Recipe
- Preparing Your Apples for the Easiest Apple Crisp
- Making the Simple Crisp Topping
- Step-by-Step Instructions: Baking Your Easy Apple Crisp
- Variations and Customization for Your Apple Crisp
- Serving and Storing Your Easy Baked Apple Crisp
- Troubleshooting Your Baked Apple Crisp
- Conclusion: Enjoy Your Homemade Easy Apple Crisp
- Frequently Asked Questions
- Final Reflection: The Enduring Sweetness of Simple Baking
- Unlock Your Inner Baker: Delicious Fruit Crisps Await!
Introduction to Easy Apple Crisp
Why Apple Crisp is the Perfect Easy Dessert
Apple crisp stands out as a quintessential comfort dessert, beloved for its warm, spiced apple filling and crumbly, buttery topping. Its appeal lies not just in its delicious taste but also in its inherent simplicity, making it an ideal choice for bakers of all skill levels. Unlike complex pastries requiring precise measurements, intricate folding techniques, or delicate temperature control, an easy baked fruit crisp recipe is forgiving and straightforward.
It's a dessert that's hard to mess up, perfect for impromptu gatherings or a cozy night in. Statistics show that apple crisp is consistently one of the most searched-for dessert recipes online, especially during fall, highlighting its enduring popularity. Many home cooks find they already have most ingredients on hand, like flour, sugar, butter, and apples, further contributing to its ease and accessibility.
Moreover, the simple nature of apple crisp allows for incredible flexibility. You can easily adjust spices, add other fruits, or modify the topping to suit dietary needs, like making a gluten-free or vegan version. This adaptability means one basic easy baked fruit crisp recipe can become many different desserts. Consider the typical prep time: a classic apple crisp can be ready for the oven in about 15-20 minutes, significantly less than many pies or cakes.
The baking process itself is also relatively hands-off. This low barrier to entry makes it a fantastic starting point for beginners eager to try baking something warm and comforting without feeling intimidated. It's a dessert that delivers maximum reward for minimal effort.
Our Commitment to Simple Baking Recipes
At BakeWithEase, our core mission is to demystify baking and make it accessible and enjoyable for everyone. We understand that many people are hesitant to bake, fearing complicated instructions or disappointing results. That's why we focus on providing clear, step-by-step guides and simplified techniques, and this easy baked fruit crisp recipe is a perfect example of our philosophy in action.
We believe that the joy of baking comes from the process itself and the delicious outcome, not from struggling with overly complex methods. Our recipes are tested multiple times to ensure they work consistently in home kitchens, using common equipment and easily sourced ingredients. We aim to build confidence in our readers, showing them that they can create wonderful baked goods.
This commitment extends beyond just providing recipes; it's about fostering a supportive community and offering helpful tips and tricks along the way. We break down each step, explaining the 'why' behind certain actions, like why you might toss apples with flour or cornstarch, or why cold butter is crucial for a crumb topping. For this easy baked fruit crisp recipe, we highlight the simple techniques that yield fantastic results every time.
We want to empower you to bake regularly, whether it's for a special occasion or just because you feel like it. Think of us as your friendly guide in the kitchen, helping you navigate the world of baking with confidence and ease, starting with simple, delicious desserts like this apple crisp.
The Ultimate Easy Apple Crisp Recipe
What Makes This Apple Crisp Recipe So Easy?
This specific easy baked fruit crisp recipe is designed with simplicity at its heart, streamlining common steps and focusing on techniques that minimize complexity. One key factor is the minimal preparation required for the apple filling; unlike pie fillings that might need pre-cooking or tempering, the apples here are simply tossed with a few ingredients and placed directly into the baking dish. This cuts down on stovetop time and extra cleanup.
Another simplification lies in the topping: it's a simple 'cut in' method, often achievable with just a fork or even your fingers, avoiding the need for specialized pastry blenders or food processors. The ratio of ingredients is also forgiving, allowing for slight variations without compromising the final texture.
Furthermore, the baking process for this easy baked fruit crisp recipe is quite flexible. While we provide optimal times and temperatures, a crisp is generally more tolerant of slight variations in oven temperature or baking duration than, say, a delicate cake. You're primarily looking for the apples to soften and the topping to become golden brown, visual cues that are easy to identify.
There's no need for blind baking a crust or worrying about crimping edges perfectly. It's a rustic dessert by nature, and its charming imperfection is part of its appeal. The focus is on creating delicious flavor and texture with minimal fuss, making it an ideal go-to dessert for busy weeknights or beginner bakers.
Key Ingredients for Your Simple Apple Crisp
Gathering the right ingredients is the first step to making this easy baked fruit crisp recipe. You'll need a few pantry staples and, of course, apples. For the apple filling, the core ingredients are fresh apples (typically 6-8 medium apples), granulated sugar (around 1/2 cup), ground cinnamon (about 1-2 teaspoons), and a thickener like all-purpose flour or cornstarch (1-2 tablespoons). A pinch of salt is also recommended to enhance the flavors. These are common items found in most kitchens, often costing under $10-$15 total depending on the season and location for all ingredients combined.
For the simple crisp topping, you'll need all-purpose flour (about 1 cup), granulated sugar (around 1/2 cup, sometimes a mix of white and brown sugar), cold unsalted butter (about 1/2 cup, cut into small pieces), and often a pinch of salt. Some recipes include rolled oats (about 1/2 cup) for added texture and flavor. Using cold butter is crucial here, as it creates those wonderful pockets in the topping that melt and crisp up in the oven.
These ingredients are readily available at any grocery store. Having these basic components on hand means you're often just a trip to the produce aisle away from enjoying a warm, homemade easy baked fruit crisp recipe.
Preparing Your Apples for the Easiest Apple Crisp
Best Apple Varieties for Apple Crisp: A Flavor Guide
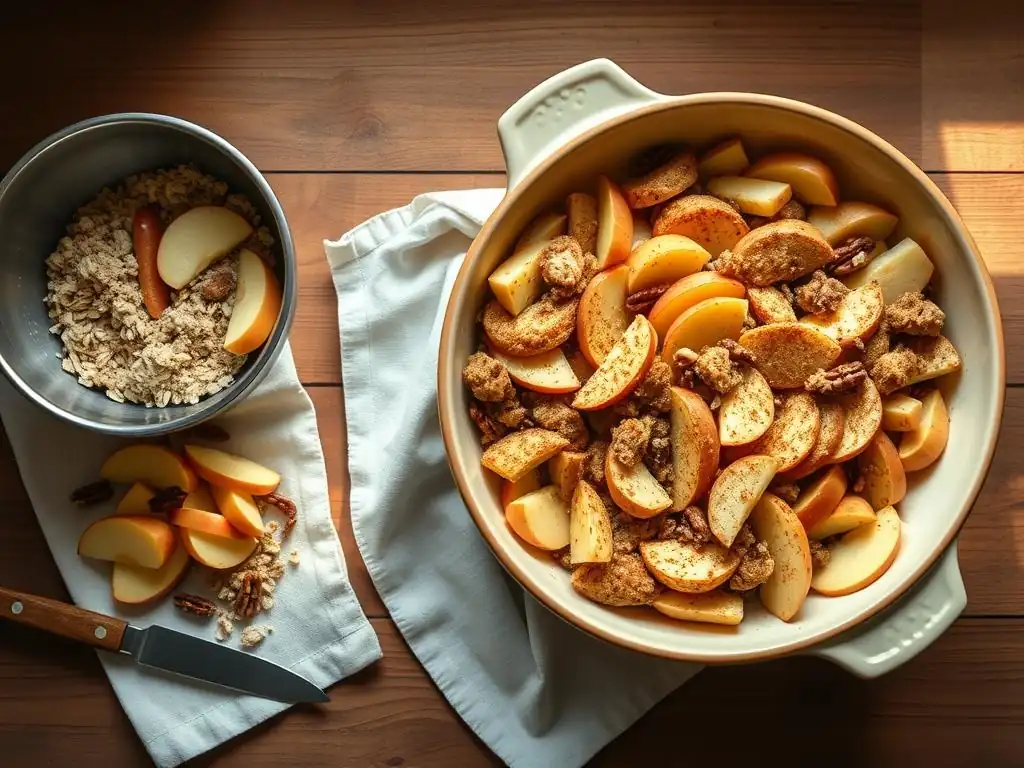
Choosing the right apples is key to a delicious easy baked fruit crisp recipe, balancing sweetness, tartness, and texture. While many varieties work, a mix often yields the best results. Apples like Granny Smith are popular for their tartness, which provides a pleasant contrast to the sweet topping. They also hold their shape well during baking, preventing the filling from becoming too mushy. However, using only Granny Smiths can be quite tart for some palates. A good balance is often achieved by combining them with sweeter, softer apples.
Consider mixing Granny Smiths with varieties like Honeycrisp, Fuji, Gala, or Pink Lady. Honeycrisp offers a nice crunch and balanced sweetness. Fuji and Gala are sweeter and soften more, contributing to a tender filling. Pink Lady apples provide a good sweet-tart balance and maintain some firmness.
Using a combination, perhaps 50% tart and 50% sweet/firm, ensures a complex flavor profile and varied texture in your easy baked fruit crisp recipe. For example, a typical crisp might use 3 Granny Smith apples and 4 Honeycrisp apples. Avoid apples that turn to complete mush when baked, like Red Delicious. A good rule of thumb is to pick apples you enjoy eating raw, as their flavor will concentrate during baking.
Preparing Your Apples: Slicing and Dicing Tips
Properly preparing your apples is a simple but important step in crafting an easy baked fruit crisp recipe. Start by washing the apples thoroughly. Then, you'll need to peel, core, and slice or dice them. Peeling is usually recommended for a smoother filling texture, though some prefer to leave the skins on for added fiber and rustic appeal – it's entirely up to your preference and how easy you want the prep to be. A standard vegetable peeler works fine, or you can use a paring knife.
Once peeled (if desired), use an apple corer or a paring knife to remove the core. Then, slice the apples. The thickness of your slices or chunks will affect the final texture of the filling. For a classic crisp, slices about 1/4 to 1/2 inch thick are common.
If you prefer smaller, more tender pieces, you can dice the apples into roughly 1-inch chunks. Aim for pieces that are relatively uniform in size so they cook evenly. For a typical 9x13 inch baking dish, you'll likely need enough sliced or diced apples to fill it about halfway or slightly more, which usually amounts to around 6-8 medium apples or roughly 6-8 cups of prepared fruit. Tossing them immediately with the sugar, spice, and thickener helps prevent browning while you prepare the topping.
Making the Simple Crisp Topping
The Secret to a Perfectly Golden and Crispy Topping
The magic of an easy baked fruit crisp recipe often lies in its topping – that delightful, crumbly layer that provides a textural contrast to the soft, warm fruit below. The secret to achieving a perfectly golden and crispy topping is primarily about the ingredients and how they are combined and baked. Using cold butter is paramount.
When cold butter is cut into the dry ingredients (flour, sugar, oats if using), it creates small pockets of butter coated in the flour mixture. As the crisp bakes, these butter pieces melt, releasing steam and creating air pockets within the topping. This process is similar to how flaky pastry works, resulting in a light, crumbly texture rather than a dense, cake-like one.
Another factor is the ratio of dry ingredients to butter. A good crisp topping balances enough flour and oats (if used) to create structure with enough butter to bind it and provide richness and crispness. Baking at the correct temperature is also crucial.
A moderate oven temperature, typically around 375°F (190°C), allows the topping to bake through and brown slowly without burning before the apples are tender. The sugar in the topping caramelizes slightly, contributing to the golden color and a delightful hint of sweetness. For an extra touch, sprinkling a little extra sugar or even turbinado sugar over the topping before baking can enhance the crunch and golden hue.
Ingredients for the Easy Crisp Topping: A Detailed List
Creating the topping for your easy baked fruit crisp recipe requires just a few basic pantry staples. The foundation is typically all-purpose flour. You'll need about 1 to 1.5 cups of flour, depending on how much topping you desire. This provides structure and helps create the crumbly texture. Next is sugar; a common mix is about 1/2 cup granulated sugar combined with 1/4 cup packed light or dark brown sugar. Brown sugar adds moisture, a hint of molasses flavor, and contributes to a richer, more golden color.
Cold, unsalted butter is essential, usually around 1/2 to 3/4 cup (one stick to one and a half sticks), cut into small cubes (about 1/2 inch). Using unsalted butter gives you control over the saltiness, and adding a pinch of salt (about 1/4 teaspoon) to the topping mixture is recommended to balance the sweetness. Many easy baked fruit crisp recipe variations also include rolled oats (old-fashioned oats) for added texture and a slightly nutty flavor, typically about 1/2 to 1 cup.
If using oats, ensure they are rolled oats, not instant or steel-cut, as they provide the right texture. Spices like ground cinnamon or nutmeg (1/2 teaspoon) can also be added to complement the apple filling.
Adjusting the Sweetness of Your Crisp Topping
The sweetness level in your easy baked fruit crisp recipe topping is easily adjustable to suit your personal preference. The standard recipe often calls for a total of about 3/4 cup to 1 cup of sugar (a mix of granulated and brown sugar), which yields a moderately sweet topping that pairs well with the slightly tart apples. If you prefer a less sweet dessert, you can reduce the total amount of sugar by 1/4 to 1/3 cup. For example, instead of 3/4 cup total sugar, try using just 1/2 cup. This small adjustment can make a noticeable difference.
Conversely, if you have a sweet tooth, you can slightly increase the sugar amount, perhaps adding an extra tablespoon or two. Remember that the apples themselves contribute sweetness, especially if you're using sweeter varieties like Honeycrisp or Fuji. Tasting the apple mixture before adding the topping can give you an idea of the overall sweetness level.
Another way to control sweetness is by the type of sugar used; brown sugar is generally perceived as slightly less sweet than white sugar due to its moisture content and molasses flavor. Experimenting with the ratio of white to brown sugar can also fine-tune the flavor profile of your easy baked fruit crisp recipe.
Step-by-Step Instructions: Baking Your Easy Apple Crisp
Preparing the Apple Filling: A Quick Guide
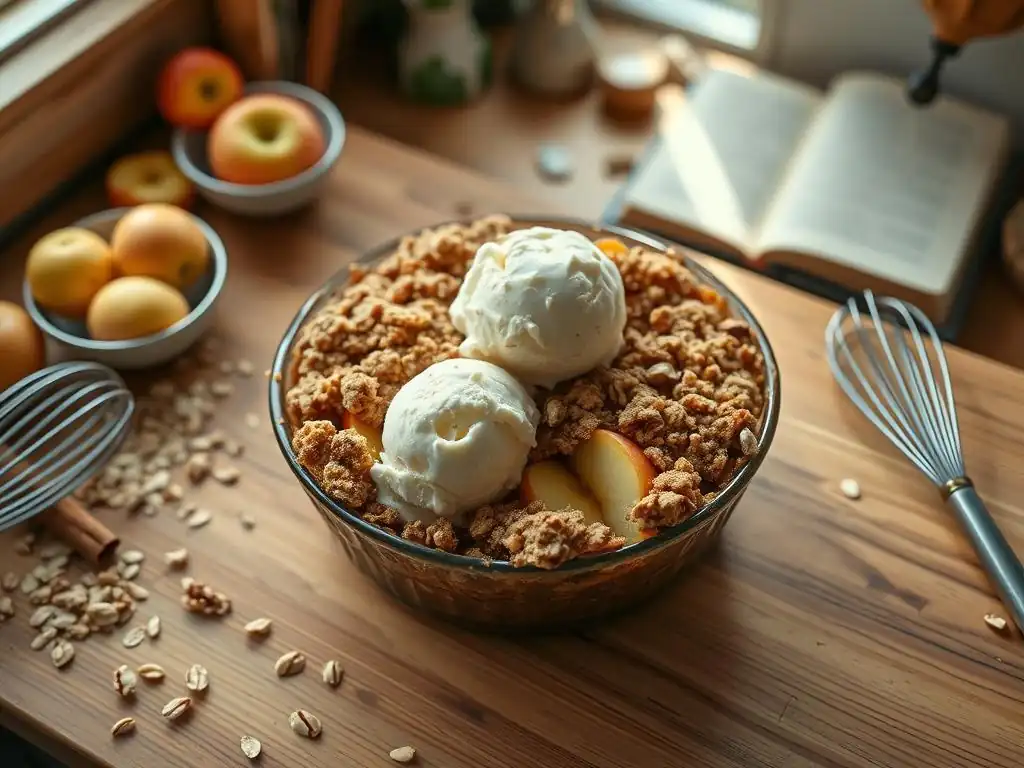
Preparing the apple filling for your easy baked fruit crisp recipe is incredibly simple. Once your apples are peeled, cored, and sliced or diced (as discussed earlier, aiming for about 6-8 cups of fruit), place them directly into a large mixing bowl. Add the sugar (typically 1/2 cup granulated), ground cinnamon (1-2 teaspoons), and a pinch of salt (about 1/4 teaspoon).
If you like other spices, ground nutmeg, allspice, or a dash of ginger can also be included (about 1/4 teaspoon each). Gently toss everything together using a spoon or your hands until the apple slices are evenly coated with the sugar and spice mixture.
Next, you'll add a thickener. This is crucial to prevent the filling from becoming too watery as the apples release their juices during baking. All-purpose flour or cornstarch works well; use about 1 to 2 tablespoons. Sprinkle the thickener over the seasoned apples and toss again until no dry spots of flour or cornstarch remain. The mixture should look slightly glossy from the sugar dissolving. At this point, the apple filling is ready to be transferred to your baking dish. This entire process takes just a few minutes, making it a truly easy baked fruit crisp recipe step.
Assembling the Apple Crisp: Layering and Topping
Assembling your easy baked fruit crisp recipe is a quick and simple process, essentially just two layers. First, lightly grease your baking dish. A standard 8x8 inch square dish or a 9-inch round dish is perfect for a smaller crisp (using about 4-5 cups of apples), while a 9x13 inch rectangular dish is great for a larger batch (using 6-8 cups of apples). Once greased, pour the prepared apple filling into the bottom of the dish. Spread the apples out evenly to create a relatively flat layer.
Next, scatter the prepared crisp topping evenly over the apple layer. Ensure the topping covers the apples from edge to edge. Don't pat the topping down; leave it loose and crumbly. This allows for better air circulation during baking, which helps the topping crisp up properly. A typical amount of topping for an 8x8 inch dish might be around 1.5 cups of topping mixture, while a 9x13 inch dish might require 2-3 cups. This simple layering is all it takes before your easy baked fruit crisp recipe is ready for the oven.
Baking Time and Temperature for the Perfect Crisp
Baking is where the magic happens for your easy baked fruit crisp recipe. Preheat your oven to 375°F (190°C). This temperature is ideal because it's hot enough to brown and crisp the topping effectively while allowing the apples ample time to soften and become tender without burning the surface. Place the assembled crisp on a baking sheet lined with parchment paper or foil. This is a handy tip to catch any potential drips if the apple juices bubble over, saving you from scrubbing your oven later.
The baking time will vary depending on the size of your dish and how thick your apple layer is, but typically ranges from 35 to 50 minutes for an 8x8 or 9-inch dish, and 45 to 60 minutes for a 9x13 inch dish. You'll know your easy baked fruit crisp recipe is ready when the topping is golden brown and visibly crispy, and the apple filling is bubbling up around the edges. The bubbling indicates the apples are cooked through and the juices have thickened.
Checking for Doneness: Signs Your Apple Crisp is Ready
Knowing exactly when your easy baked fruit crisp recipe is perfectly baked is crucial for achieving the best texture and flavor. Visually, the topping should be a beautiful golden brown color across the surface, not just around the edges. It should look dry and crumbly, not wet or doughy. You should also see the fruit filling bubbling enthusiastically around the perimeter of the baking dish, and often in the center as well.
To confirm the apples are tender, gently insert a sharp paring knife or a fork into the center of the crisp, through the topping and into the apple layer. The knife or fork should slide into the apples with ease, indicating they are soft and cooked through. If you feel resistance, the apples need more time.
Don't be afraid to give it another 5-10 minutes, checking again. If the topping is browning too quickly, you can loosely tent the dish with aluminum foil for the remaining baking time. Relying on these visual and tactile cues is the best way to ensure your easy baked fruit crisp recipe is baked to perfection.
Variations and Customization for Your Apple Crisp
Gluten-Free Apple Crisp: A Simple Adaptation
Adapting your easy baked fruit crisp recipe to be gluten-free is straightforward, primarily involving swapping out the flour in the topping. Instead of all-purpose flour, you can use a gluten-free all-purpose flour blend. Look for blends that are designed for baking and contain a mix of flours like rice flour, potato starch, and tapioca starch, often with xanthan gum included to help with structure. Use a 1:1 substitution ratio for the flour called for in the topping recipe. For example, if the recipe calls for 1 cup of all-purpose flour, use 1 cup of the gluten-free blend.
If your recipe includes oats, ensure you use certified gluten-free rolled oats. While oats are naturally gluten-free, they are often processed in facilities that also handle wheat, leading to cross-contamination. Certified gluten-free oats guarantee they meet strict standards. The rest of the ingredients for your easy baked fruit crisp recipe, like apples, sugar, butter, and spices, are typically naturally gluten-free. Follow the standard preparation and baking instructions, and you'll have a delicious gluten-free dessert that everyone can enjoy.
Vegan Apple Crisp: Swapping Ingredients for a Plant-Based Treat
Making a vegan version of this easy baked fruit crisp recipe is also quite simple, mainly requiring a substitution for the butter in the topping. Instead of dairy butter, use a plant-based butter alternative. Look for vegan butter sticks that are specifically formulated for baking, as these tend to have a similar fat content and behave similarly to dairy butter when heated.
Coconut oil (solidified) can also work, although it might impart a subtle coconut flavor and result in a slightly different texture. You'll use the same amount of vegan butter or coconut oil as you would dairy butter, cutting it into the dry ingredients cold.
Ensure that all other ingredients are vegan-friendly. Granulated sugar is usually vegan, but some is processed using bone char; if this is a concern, look for organic or specifically labeled vegan sugar. Brown sugar is typically vegan. The apples, flour (if not using a gluten-free blend containing non-vegan ingredients, which is rare), oats, and spices are naturally vegan. With just one or two simple swaps, your easy baked fruit crisp recipe becomes a delightful plant-based dessert.
Adding Nuts and Spices for Extra Flavor
Elevating your easy baked fruit crisp recipe with additional nuts and spices is a fantastic way to customize the flavor and texture. For the topping, adding chopped nuts provides a wonderful crunch and nutty depth. Pecans, walnuts, or almonds are excellent choices. Roughly 1/2 cup of chopped nuts can be stirred into the dry topping mixture before cutting in the butter. This adds another layer of texture beyond the standard crisp. Toasting the nuts lightly before adding them can enhance their flavor even further.
In the apple filling, beyond the traditional cinnamon and nutmeg, consider adding other warming spices like ground ginger, allspice, or cardamom. A quarter teaspoon of ginger or cardamom can add a subtle, complex note. A pinch of cloves can also work, but use sparingly as the flavor is potent. For a different twist, a splash of vanilla extract (about 1 teaspoon) can be added to the apple mixture before baking. These small additions of nuts and spices can transform your basic easy baked fruit crisp recipe into a more gourmet-tasting dessert without adding significant complexity.
Serving and Storing Your Easy Baked Apple Crisp
Best Ways to Serve Your Warm Apple Crisp
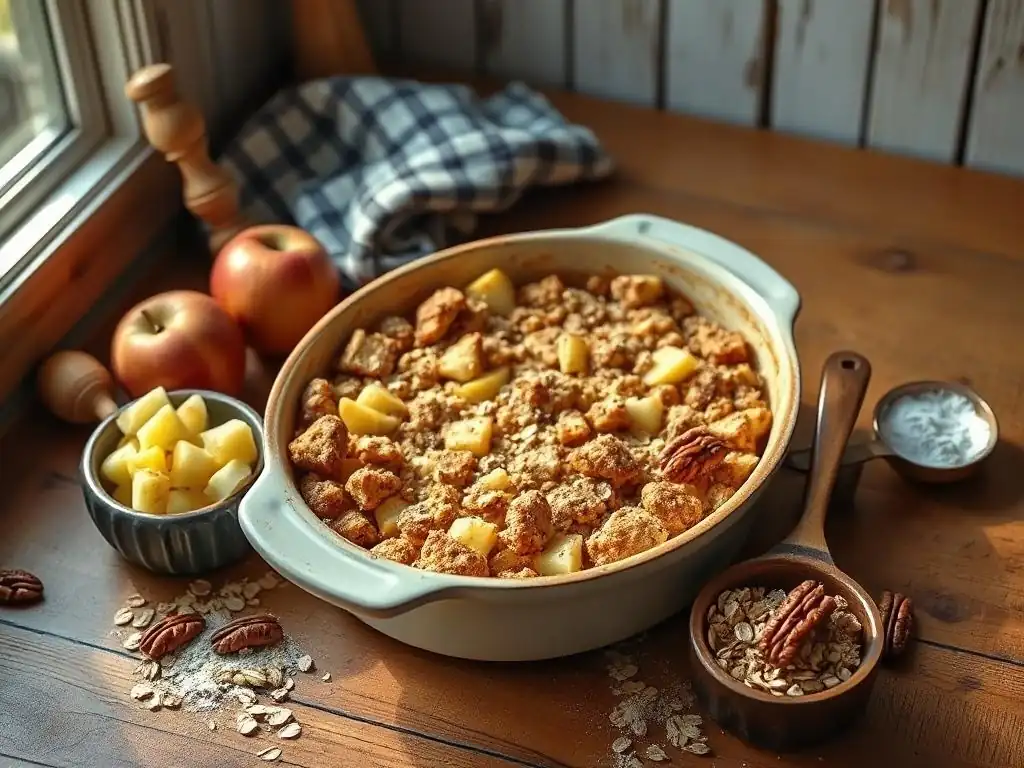
Your easy baked fruit crisp recipe is best enjoyed warm, fresh from the oven. The aroma alone is inviting! Allow the crisp to rest for about 10-15 minutes after taking it out of the oven before serving. This allows the filling to settle slightly and thicken further, making it easier to scoop and less likely to be watery. Serving it warm enhances the flavors of the spices and apples and provides a comforting experience.
Use a large spoon or spatula to scoop generous portions into bowls. The rustic nature of the crisp means it doesn't need to look perfect; the charm is in its humble, bubbling appearance. The combination of the warm, soft fruit and the crispy, crumbly topping is what makes this dessert so satisfying. Serving it warm also ensures the butter in the topping is still slightly melted, contributing to the rich texture. It's the ideal temperature for pairing with cold toppings, creating a delightful temperature contrast.
Toppings and Accompaniments for Your Dessert
While your easy baked fruit crisp recipe is delicious on its own, adding toppings takes it to the next level and is part of the fun! The most classic accompaniment is a scoop of vanilla ice cream. The cold, creamy ice cream melting into the warm crisp is a truly heavenly combination. A typical scoop size might be 1/2 cup per serving. Other ice cream flavors like cinnamon, caramel, or even a non-dairy vanilla work wonderfully too.
Alternatively, a dollop of whipped cream is a lighter option. Freshly whipped cream, slightly sweetened, provides a lovely airy contrast to the dense crisp. You can also serve it with a drizzle of caramel sauce or a sprinkle of extra cinnamon. For a richer experience, some enjoy serving it with a scoop of crème fraîche or Greek yogurt, which adds a tangy counterpoint to the sweetness. Offering a selection of these simple toppings allows your guests (or yourself!) to customize their perfect bowl of easy baked fruit crisp recipe.
Storing Leftover Apple Crisp: Keeping it Fresh
Properly storing any leftover easy baked fruit crisp recipe ensures you can enjoy it for days to come. Once the crisp has cooled completely to room temperature, cover the baking dish tightly with plastic wrap or aluminum foil, or transfer individual portions to airtight containers. Storing it cooled prevents condensation from forming inside the container, which can make the topping soggy.
Store the covered crisp in the refrigerator. It will keep well for 3-4 days. While the topping may lose some of its initial crispness in the fridge, the flavors will meld beautifully. To reheat, you can scoop out a portion and microwave it for 30-60 seconds until warm.
For a crispier topping, reheat individual portions in a toaster oven or a conventional oven at 350°F (175°C) for 10-15 minutes until heated through and the topping re-crisps slightly. Avoid reheating the entire dish multiple times, as this can dry it out. Freezing is also an option; wrap tightly and freeze for up to 3 months. Thaw in the refrigerator overnight before reheating.
Troubleshooting Your Baked Apple Crisp
Common Mistakes and How to Avoid Them
Even with an easy baked fruit crisp recipe, a few common pitfalls can occur. One frequent issue is a soggy bottom or filling. This is often caused by not using enough thickener (flour or cornstarch) with the apples, or using apple varieties that release too much liquid and break down excessively. To avoid this, ensure you measure the thickener accurately (1-2 tablespoons per 6-8 cups of apples is generally sufficient) and toss it thoroughly with the fruit. Using a mix of apple varieties, including some that hold their shape, also helps.
Another mistake is an undercooked topping that lacks crispness. This can happen if the butter wasn't properly cut into the dry ingredients (it should resemble coarse crumbs) or if the baking time was too short. Ensure your butter is cold when you start and check for doneness by looking for a deep golden brown color and bubbling filling. If the topping isn't crisping, try baking for an additional 5-10 minutes, or until it reaches the desired color and texture. Using a baking sheet underneath can also help distribute heat more evenly to the bottom.
My Apple Crisp is Too Soggy: Solutions
If you find your easy baked fruit crisp recipe turns out too soggy, particularly the apple filling, there are a few potential causes and fixes for next time. As mentioned, insufficient thickener is a primary culprit. Ensure you're using the recommended amount of flour or cornstarch (typically 1-2 tablespoons per standard crisp). Tossing the apples thoroughly to coat them evenly is also key.
Overcrowding the dish can also lead to excess moisture; if you have too many apples packed into a small dish, they steam rather than bake. Use a dish size appropriate for the amount of fruit (e.g., 6-8 cups of apples for a 9x13 inch dish). If you realize the filling is very watery during baking, you can carefully remove the crisp from the oven (use oven mitts!
), drain some of the excess liquid from the dish (if possible without disturbing the topping too much), and return it to the oven. For future crisps, consider slightly reducing the amount of apples or increasing the thickener by half a tablespoon if sogginess is a recurring issue.
My Crisp Topping is Burning: What to Do
A burnt topping on your easy baked fruit crisp recipe is disappointing, but usually avoidable. This typically happens if the oven temperature is too high or if the crisp bakes for too long without monitoring. Ovens can vary, so an oven thermometer is a useful tool to ensure your oven is heating accurately. If the topping starts browning too quickly while the apples still need time to cook, the simplest solution is to loosely tent the baking dish with aluminum foil.
Place a sheet of foil over the crisp, creating a little tent that doesn't touch the topping. This reflects heat away from the surface, slowing down the browning while allowing the apples to continue cooking and the filling to thicken. Check the crisp periodically; you may need to remove the foil for the last 5-10 minutes of baking to allow the topping to re-crisp slightly if it seems soft. Ensure you are using cold butter and cutting it in correctly; if the butter melts too early in the process before baking, the topping can become greasy and burn unevenly.
Frequently Asked Questions About Apple Crisp
- Can I use frozen apples? Yes, you can use frozen apple slices, but they will release more liquid. You may need to increase the amount of thickener (flour or cornstarch) by an extra tablespoon or two. Thaw them slightly and drain off excess liquid before tossing with sugar and spice.
- Can I make the crisp topping ahead of time? Absolutely! You can prepare the crisp topping mixture (flour, sugar, oats, butter) and store it in an airtight container in the refrigerator for up to a week or freeze it for up to 3 months. This makes assembling your easy baked fruit crisp recipe even quicker on baking day.
- How do I know if the apples are cooked through? Insert a knife or fork into the center. If it slides easily through the apples, they are done. The filling should also be bubbling around the edges.
- Can I use other fruits? Yes, this easy baked fruit crisp recipe structure works well with many fruits! Berries, peaches, pears, plums, or a mix of fruits are great options. You might need to adjust the sugar and thickener depending on how juicy and sweet the fruit is.
- Why is my topping crumbly but not crispy? This could be due to not enough fat (butter), too much flour, or not baking long enough. Ensure you're using the correct butter ratio and bake until the topping is golden brown and firm to the touch.
Conclusion: Enjoy Your Homemade Easy Apple Crisp
The Joy of Baking: Sharing Your Delicious Creation
There's a unique satisfaction that comes from baking something delicious from scratch, and an easy baked fruit crisp recipe embodies this joy perfectly. From the comforting aroma that fills your kitchen as it bakes to the warm, bubbling dessert you pull from the oven, the process is rewarding. Sharing your homemade apple crisp with friends and family adds another layer of pleasure. Whether served as a simple family dessert after dinner or brought to a potluck, it's a universally loved treat that brings smiles.
The simplicity of this recipe means you can experience this joy without stress or complication. It's a wonderful project for a weekend afternoon, a fun activity to do with children, or a quick way to satisfy a craving for something sweet and warm. Baking is an act of creation and generosity, and presenting a dish like this easy baked fruit crisp recipe is a simple way to show you care. So go ahead, bake it, share it, and savor the moments it creates.
Your Partner in Easy Baking Success
At BakeWithEase, we are dedicated to being your trusted partner on your baking journey. We understand that learning to bake, or even just trying a new recipe, can sometimes feel daunting. Our goal is to provide you with the clearest instructions, helpful tips, and reliable recipes, like this easy baked fruit crisp recipe, that guarantee success. We want to empower you to explore the world of baking, one simple, delicious dessert at a time.
We believe that baking should be a source of pleasure, not frustration. Our resources are designed to build your confidence, helping you understand the fundamental techniques and ingredients. We're here to guide you from selecting the right apples to troubleshooting common issues, ensuring that your experience is positive and rewarding. Think of us as having your back in the kitchen. With BakeWithEase and this easy baked fruit crisp recipe, you're well on your way to creating wonderful baked goods with ease and enjoyment. Happy baking!
Frequently Asked Questions
What makes this Baked Fruit Crisp recipe "easy"?
This recipe emphasizes simple ingredients and straightforward instructions, making it accessible even for beginner bakers. The focus is on quick preparation and minimal fuss.
Can I substitute the fruit in this recipe?
Absolutely! Feel free to use your favorite seasonal fruits or a mix of them. Adjust the sugar slightly based on the sweetness of the fruit used.
What kind of topping is best for a fruit crisp?
A classic crisp topping usually consists of a mixture of flour, oats, sugar, and butter. We provide a simple and delicious recipe, but you can also experiment with adding nuts or spices.
How do I know when my Baked Fruit Crisp is done?
The crisp is ready when the topping is golden brown and the fruit filling is bubbly. A knife inserted into the center should come out with ease.
Can I make this fruit crisp recipe ahead of time?
You can prepare the fruit filling and topping separately up to a day in advance. Store them in the refrigerator and assemble just before baking for the best results.
Final Reflection: The Enduring Sweetness of Simple Baking
The ease of creating a delicious baked fruit crisp belies its profound impact on our lives. It's more than just a recipe; it's a gateway to comfort, connection, and the simple joy of creating something beautiful and delicious from humble ingredients. This ease of preparation allows anyone, regardless of skill level, to experience the satisfaction of baking and sharing something homemade.
The comforting aroma of cinnamon and warm fruit, the satisfying crumble topping, the shared experience of enjoying a warm crisp with loved ones – these are the enduring legacies of this seemingly simple dessert. It's a tradition passed down through generations, a symbol of home and hospitality. Baking is at once child's play and adult joy. And love, of course.
This quote perfectly encapsulates the magic of baking a fruit crisp, a process that transcends mere culinary skill and touches on the heart of human connection.
Now, I invite you to consider the power of simplicity in your own life. Don't be intimidated by complex recipes or elaborate techniques. Embrace the joy of creating something delicious and meaningful with readily available ingredients. Try this recipe, adapt it to your preferences, and share the warmth and sweetness of a homemade fruit crisp with those you love. Let the simple act of baking become a source of comfort, creativity, and connection in your own life.
Unlock Your Inner Baker: Delicious Fruit Crisps Await!
Thanks for joining us on this baking journey! We hope you've gained some delicious inspiration and newfound confidence in creating amazing fruit crisps. Ready to take your baking skills to the next level?
- Bake your first (or next!) masterpiece: Gather your favorite fruits and try out one of the recipes today! Let the aroma of warm, comforting crisp fill your kitchen.
- Share your creation: Tag us on social media with your photos – we love seeing your baking triumphs!
- Explore our other recipes: Discover more simple and satisfying dessert recipes on our website for even more baking adventures.
What's your go-to fruit for a perfect crisp? Let's chat in the comments below!