
Quick Mini Chocolate Caramel Tarts

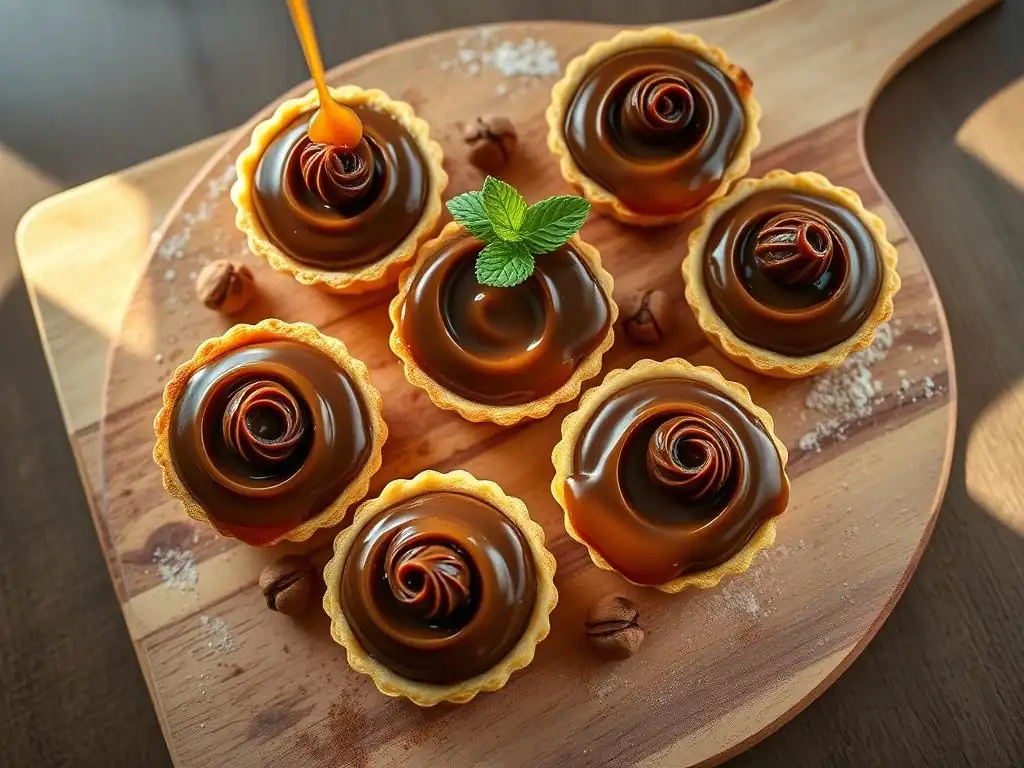
Welcome to BakeWithEase, your baking haven! Ever dreamt of creating decadent treats without the fuss? You're in the right place. Get ready to dive into our recipe for Quick Mini Chocolate Caramel Tarts – a delightful symphony of flavors that's surprisingly simple to master. But that's just the beginning... What secrets lie within these miniature masterpieces? Let's find out!
- Quick & Easy Mini Chocolate Caramel Tarts: A Delicious Recipe
- Introduction: Indulge in Decadent Mini Chocolate Caramel Tarts
- Why You'll Love These Easy Mini Chocolate Caramel Tarts
- Ingredients for Mini Chocolate Caramel Tarts
- Equipment Needed for Mini Chocolate Caramel Tarts
- Step-by-Step Guide: Making Your Mini Chocolate Caramel Tarts
- Tips for Perfect Mini Chocolate Caramel Tarts
- Variations and Customization Options
- Storing and Serving Your Mini Chocolate Caramel Tarts
- Troubleshooting: Common Issues and Solutions
- Conclusion: Enjoying Your Homemade Chocolate Caramel Treats
-
Frequently Asked Questions
- What makes these mini chocolate caramel tarts "easy"?
- Can I substitute any ingredients in the chocolate caramel filling?
- How long do these mini tarts last, and how should I store them?
- I'm a beginner baker. Are there any steps I should pay extra attention to?
- Can I make these tarts ahead of time for a party?
- Final Reflection: The Enduring Allure of Easy Mini Chocolate Caramel
- Unleash Your Inner Pastry Chef: Bake These Tarts Today!
Quick & Easy Mini Chocolate Caramel Tarts: A Delicious Recipe
Introduction: Indulge in Decadent Mini Chocolate Caramel Tarts
Welcome to BakeWithEase, where we believe delicious desserts should be accessible to everyone, regardless of their baking experience. Today, we're diving into the delightful world of mini chocolate caramel tarts. These bite-sized treats are perfect for satisfying a sweet craving without committing to a whole pie or cake. They offer a wonderful combination of crisp chocolate pastry, rich, gooey caramel, and a smooth layer of chocolate ganache.
Making easy mini chocolate caramel treats might sound intimidating, but with our simple guide, you'll find it's a surprisingly straightforward process. Whether you're preparing for a special occasion or just want a fun baking project for a weekend afternoon, these mini tarts are sure to impress. Get ready to create a dessert that's as visually appealing as it is delicious, bringing smiles to everyone who takes a bite.
Presents: A Simple Tart Recipe for Chocolate Lovers
This recipe is specifically designed for chocolate aficionados who appreciate the classic pairing of chocolate and caramel. We've streamlined the process to ensure that even novice bakers can achieve fantastic results. The key to these easy mini chocolate caramel tarts lies in breaking down the components – the shell, the caramel, and the ganache – into manageable steps.
We guide you through creating a simple chocolate tart shell that requires minimal handling, a quick and easy caramel filling made on the stovetop, and a smooth, glossy chocolate ganache that finishes everything off beautifully. You won't need fancy techniques or specialized equipment beyond basic baking tools, making this a truly accessible recipe for creating stunning easy chocolate caramel tarts right in your own kitchen.
Why You'll Love These Easy Mini Chocolate Caramel Tarts
These mini tarts are more than just a dessert; they're a delightful experience. Their small size makes them perfect for entertaining, gifting, or simply enjoying a single, perfectly portioned treat. The contrast in textures – a crisp crust, a chewy caramel center, and a smooth ganache – creates a truly satisfying bite.
Beyond the taste and texture, the ease of preparation is a major draw. We've focused on simplicity without sacrificing flavor. Using readily available ingredients and straightforward methods, you can whip up a batch of these easy mini chocolate caramel delights with minimal stress, proving that impressive desserts don't have to be complicated.
Perfectly Portioned Chocolate Caramel Dessert
One of the greatest advantages of making mini tarts is their individual serving size. Typically, these tarts are baked in mini muffin or tart pans, yielding treats roughly 2-3 inches in diameter. This makes them ideal for parties or potlucks, as guests can easily pick up and enjoy a single chocolate caramel dessert without needing plates and forks.
Furthermore, the portion control is excellent. Instead of cutting into a large tart or pie, you have a pre-measured treat, which can be helpful for managing indulgence. Making a batch of 12-18 mini tarts allows you to easily share or store them, and the individual nature means they cool and set faster than a large tart, speeding up the overall process.
Simple Ingredients, Big Flavor
You don't need a pantry full of obscure items to make these easy mini chocolate caramel tarts. The ingredient list comprises common baking staples you likely already have or can easily find at any grocery store. We're talking about flour, cocoa powder, sugar, butter, heavy cream, and chocolate – fundamental components that, when combined correctly, create profound flavors.
For example, the richness of unsweetened cocoa powder in the crust provides a deep chocolate base that perfectly complements the sweetness of the caramel. Using good quality butter and heavy cream is crucial for achieving the smooth, luxurious texture of both the caramel and the ganache. These simple elements, when handled with care, transform into a sophisticated easy chocolate caramel dessert that tastes far more complex than its ingredients suggest.
A Quick and Easy Baking Project
While making tarts might sound like a time-consuming endeavor, this recipe is designed for efficiency. The chocolate tart dough comes together quickly, requiring minimal chilling. The caramel filling is a simple stovetop process that takes less than 15 minutes to cook. The ganache is even faster, often ready in under 5 minutes once the cream is heated.
From start to finish, including baking and chilling time, you can typically have a batch of these easy mini chocolate caramel tarts ready to serve in about 2 hours, with much of that time being passive chilling or setting. This makes it an ideal project for a weekend afternoon when you want a rewarding baking experience without spending the entire day in the kitchen.
Ingredients for Mini Chocolate Caramel Tarts
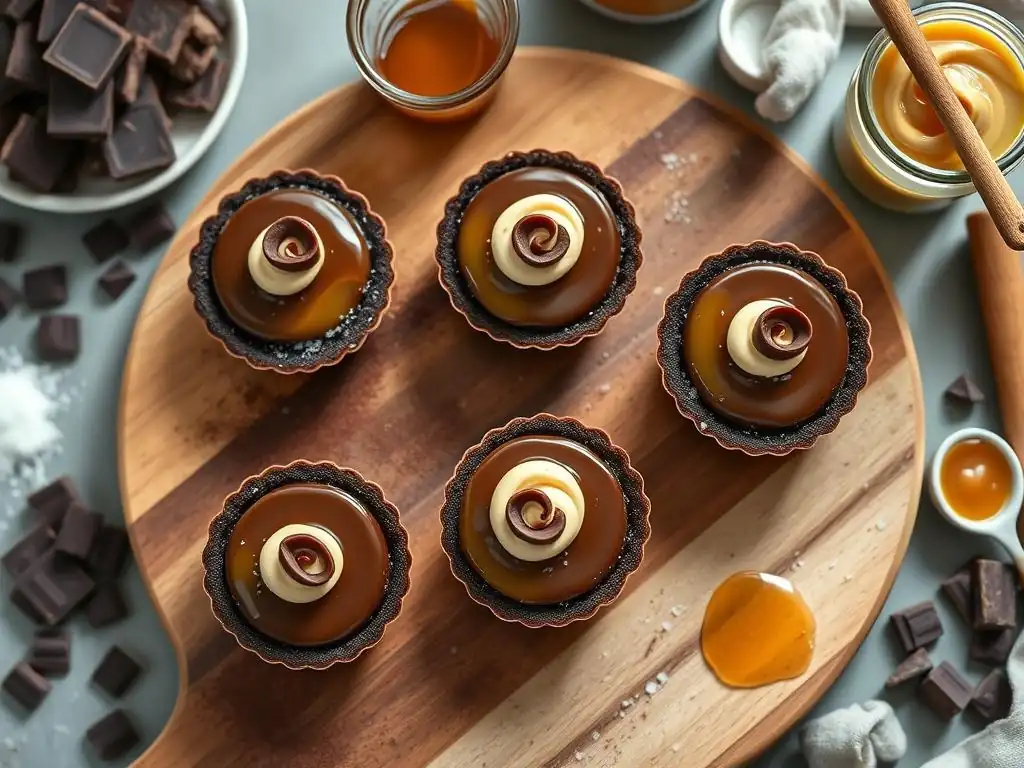
Gathering your ingredients is the first step to success. Using fresh, high-quality components will make a noticeable difference in the final taste and texture of your easy mini chocolate caramel tarts.
For the Chocolate Tart Shells
You will need:
- 1 ½ cups all-purpose flour
- ½ cup unsweetened cocoa powder
- ½ cup granulated sugar
- ¼ teaspoon salt
- ½ cup (1 stick) cold unsalted butter, cut into small cubes
- 1 large egg yolk
- 2-3 tablespoons ice water
This combination creates a tender, slightly crisp chocolate crust that holds its shape well after baking. The cocoa powder provides the necessary chocolate flavor, while the sugar adds a touch of sweetness and helps with browning. Using cold butter and minimal water is key to achieving a flaky texture.
For the Gooey Caramel Filling
You will need:
- 1 cup granulated sugar
- ¼ cup water
- ½ cup heavy cream, warmed
- 2 tablespoons unsalted butter, cut into small cubes
- ½ teaspoon vanilla extract
- Pinch of salt
This simple caramel recipe uses the wet method (sugar and water) which is quite forgiving. The heavy cream and butter add richness and create that wonderfully smooth, gooey texture perfect for an easy chocolate caramel tart. Warming the cream beforehand helps prevent the caramel from seizing when you add it.
For the Rich Chocolate Ganache Topping
You will need:
- 4 ounces good quality semi-sweet or dark chocolate, finely chopped
- ½ cup heavy cream
Just two ingredients! The quality of chocolate here really matters. Using a good brand of chocolate chips or a chopped chocolate bar will result in a smoother, richer ganache than using compound chocolate. The ratio of chocolate to cream here gives a firm but pourable ganache that sets beautifully on top of the caramel.
Equipment Needed for Mini Chocolate Caramel Tarts
Having the right tools makes the process of creating easy mini chocolate caramel tarts much smoother and more enjoyable. You don't need a professional kitchen setup, just a few standard items.
Essential Baking Tools for Easy Tarts
- Mixing bowls (at least two)
- Measuring cups and spoons
- Rolling pin (optional, for tart dough)
- Mini muffin tin or mini tart pans (a tin with 12 cups is standard)
- Small saucepan
- Heatproof spatula or wooden spoon
- Wire rack for cooling
These are the absolute basics you'll need to get started. A standard 12-cup mini muffin tin works perfectly if you don't have dedicated mini tart pans. The saucepan is essential for making the caramel and ganache.
Recommended Tools for a Smooth Baking Experience
- Food processor: Makes quick work of mixing the tart dough.
- Kitchen scale: For precise ingredient measurements, especially for flour and chocolate.
- Small offset spatula: Useful for spreading the ganache smoothly.
- Parchment paper or silicone baking mats: For lining pans or working with dough.
- Pie weights or dried beans/rice: For blind baking the tart shells.
- Candy thermometer: Helpful for monitoring caramel temperature, though not strictly necessary for this simple recipe.
While not strictly required, these tools can enhance accuracy and efficiency, making your easy mini chocolate caramel baking project even easier and more successful. For instance, using a scale ensures your flour and cocoa measurements are spot on, which is critical for a good tart crust texture.
Step-by-Step Guide: Making Your Mini Chocolate Caramel Tarts
Let's break down the process into simple, actionable steps. Follow these instructions carefully to create your delicious easy mini chocolate caramel tarts.
Preparing the Chocolate Tart Crusts: A Simple Method
Creating the chocolate tart shells is the first foundational step. A good crust is crucial for the overall success of your easy chocolate caramel tarts.
Mixing the Tart Dough
In a large bowl, whisk together 1 ½ cups all-purpose flour, ½ cup unsweetened cocoa powder, ½ cup granulated sugar, and ¼ teaspoon salt. Add ½ cup cold unsalted butter cubes. Use a pastry blender, your fingertips, or a food processor to cut the butter into the dry ingredients until the mixture resembles coarse crumbs with some pea-sized pieces of butter remaining. This process helps create flakiness.
In a small bowl, whisk together 1 large egg yolk and 2 tablespoons of ice water. Add this liquid mixture to the dry ingredients. Mix until the dough just comes together. If it seems too dry, add another tablespoon of ice water, one teaspoon at a time, being careful not to add too much. Overmixing can result in tough crusts. The dough should be shaggy but hold together when squeezed.
Pressing the Dough into Mini Tart Pans
Divide the dough into 12 equal portions if using a 12-cup mini muffin tin. Each portion will be relatively small, roughly the size of a large walnut. For mini tart pans, divide accordingly based on the pan size.
Take one portion of dough and press it evenly into the bottom and up the sides of a greased mini muffin cup or tart pan cavity. Use your fingers or a small, flat object to ensure the dough is pressed firmly and evenly, creating a consistent thickness across the bottom and sides. This step is important for preventing cracks during baking. Repeat with the remaining dough portions.
Blind Baking the Tart Shells to Perfection
Once the dough is pressed into the pans, prick the bottom of each shell a few times with a fork. This helps prevent the crust from puffing up during baking. For extra security against puffing, you can line each tart shell with a small piece of parchment paper or foil and fill it with pie weights, dried beans, or rice.
Preheat your oven to 350°F (175°C). Place the filled mini tart pans on a baking sheet. Bake for about 10-12 minutes, or until the edges appear set. If using weights, carefully remove them and the parchment/foil after this initial bake. Return the shells to the oven for another 5-7 minutes, or until the crusts look dry and slightly firm. Let them cool completely in the pan before attempting to remove them. Cooling is essential for the crusts to firm up before filling.
Crafting the Luscious Caramel Filling
The caramel layer adds the signature gooey richness to these easy mini chocolate caramel tarts.
Making the Caramel Sauce from Scratch
In a medium saucepan, combine 1 cup granulated sugar and ¼ cup water. Heat over medium heat, stirring occasionally until the sugar dissolves. Once the sugar is dissolved, stop stirring and let the mixture boil. Swirl the pan occasionally, but avoid stirring with a spoon, which can cause crystallization. Watch the sugar closely as it changes color.
The sugar will turn from clear to a pale yellow, then amber, and finally a rich reddish-brown caramel color. This usually takes about 8-12 minutes. Once it reaches a deep amber color, immediately remove the pan from the heat. Carefully pour in ½ cup warm heavy cream (it will bubble up vigorously, so be cautious!). Stir gently until smooth. Add 2 tablespoons unsalted butter and ½ teaspoon vanilla extract, and a pinch of salt. Stir until the butter is melted and fully incorporated.
Pouring the Caramel into the Baked Tart Shells
Allow the caramel sauce to cool slightly in the saucepan for about 5-10 minutes. It should still be warm and pourable but not piping hot. Carefully pour the warm caramel into each cooled chocolate tart shell, filling each about two-thirds of the way full. Avoid overfilling, as you need space for the ganache.
Let the caramel-filled tarts sit at room temperature for about 15-20 minutes to begin setting, or place them in the refrigerator for about 30 minutes. The caramel will thicken as it cools. Ensure the caramel has set enough that the ganache won't sink into it when added.
Creating the Decadent Chocolate Ganache Topping
The final layer of rich chocolate ganache elevates these easy mini chocolate caramel tarts to pure indulgence.
Melting the Chocolate and Cream for the Ganache
Finely chop 4 ounces of good quality semi-sweet or dark chocolate and place it in a heatproof bowl. In a small saucepan, heat ½ cup heavy cream over medium heat until it just begins to simmer around the edges – do not boil.
Pour the hot cream over the chopped chocolate. Let it sit for 5 minutes without stirring to allow the chocolate to soften. After 5 minutes, gently whisk the mixture starting from the center and working your way outwards until the ganache is completely smooth and glossy. If any chocolate pieces remain, you can place the bowl over a pot of simmering water (bain-marie) for a minute or two, stirring until smooth.
Glazing the Tarts with Rich Chocolate Ganache
Allow the ganache to cool slightly at room temperature for about 10-15 minutes until it is still pourable but slightly thickened. This helps it set nicely on top of the caramel.
Carefully spoon or pour the ganache over the set caramel layer in each mini tart shell, filling them almost to the top. You can gently tilt the tarts to help the ganache spread evenly. For a smooth finish, you can use a small offset spatula to spread the ganache if needed. Once all tarts are topped, place them in the refrigerator for at least 30-60 minutes to allow the ganache to set completely.
Tips for Perfect Mini Chocolate Caramel Tarts
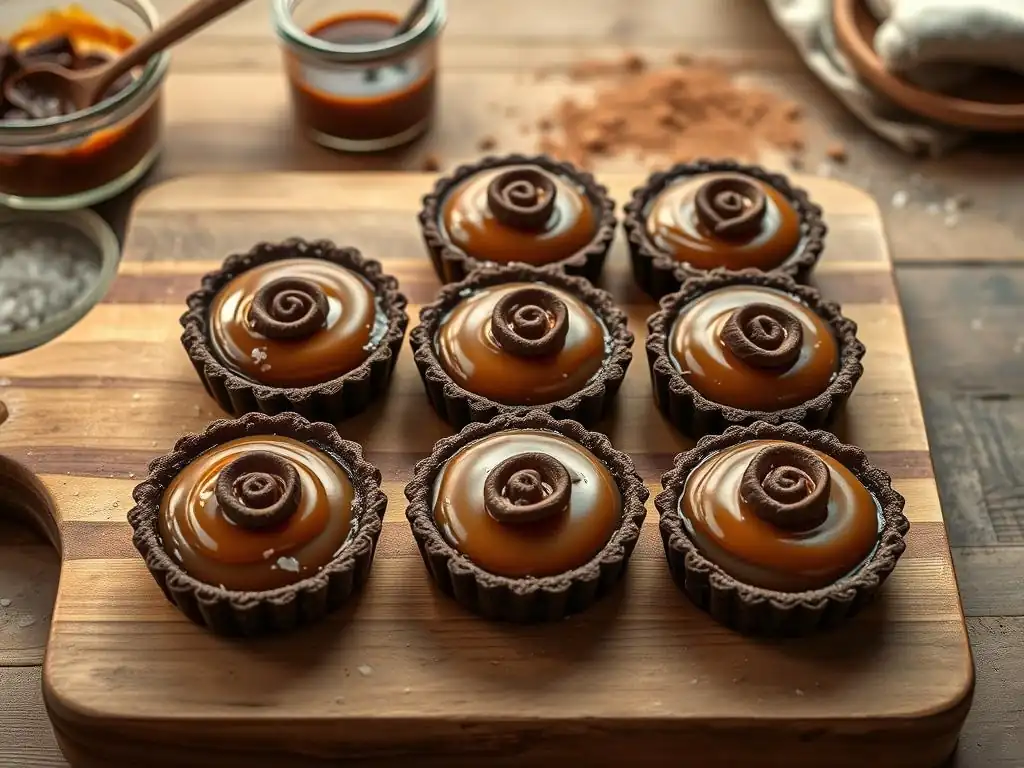
Achieving professional-looking and tasting easy mini chocolate caramel tarts is within reach with a few key tips.
Achieving the Perfect Tart Crust Texture
A common issue with tart crusts is toughness or crumbliness. To ensure a tender, slightly crisp texture for your easy chocolate caramel tarts:
- Keep your butter and water very cold. Cold fat creates steam pockets during baking, resulting in flakiness.
- Do not overmix the dough. Stop mixing as soon as it comes together. Overmixing develops gluten, leading to tough crusts.
- Press the dough firmly but gently into the pans, ensuring even thickness.
- Always blind bake the crusts. This partially cooks the dough before adding wet fillings, preventing a soggy bottom. Baking for 10-12 minutes with weights and then 5-7 minutes without is a standard approach for mini shells.
The goal is a crust that is firm enough to hold the filling but tender when bitten into, providing a lovely textural contrast to the soft caramel and ganache.
Preventing a Runny Caramel Filling
A runny caramel can make your easy mini chocolate caramel tarts messy. Here's how to get a perfectly set, gooey caramel:
- Cook the sugar and water mixture to the correct temperature. Aim for a deep amber color, which indicates the sugar has caramelized sufficiently to set properly when cooled. Using a candy thermometer to reach about 320°F (160°C) after the sugar has dissolved is a precise method, though visual cues often suffice.
- Ensure your heavy cream is warm when you add it to the hot caramel. Adding cold cream can cause the caramel to seize up or cool down too rapidly, preventing it from reaching the proper setting consistency.
- Allow the caramel to cool slightly before pouring it into the tart shells. This initial cooling helps it thicken slightly before going into the tarts.
- Chill the tarts after filling them with caramel. Refrigeration helps the caramel set more quickly and firmly before you add the ganache layer.
If your caramel seems too thick after cooling, you can gently warm it again over low heat or a warm water bath to make it pourable, but be cautious not to overheat.
Getting a Smooth and Shiny Ganache Finish
A glossy, smooth ganache topping is the crowning glory of these easy mini chocolate caramel tarts. To achieve this:
- Use good quality chocolate. Compound chocolate (often labeled "baking chips" without cocoa butter) will not create a smooth, glossy ganache like real chocolate will. Aim for chocolate with cocoa butter as an ingredient.
- Finely chop the chocolate. Smaller pieces melt faster and more evenly when the hot cream is added, reducing the need for excessive whisking which can incorporate air bubbles.
- Ensure the cream is hot enough – just simmering – before pouring it over the chocolate. The heat is necessary to melt the chocolate completely.
- Be patient and gentle when whisking. Let the hot cream sit on the chocolate for 5 minutes before stirring. Start stirring in the center and slowly expand outwards. Over-whisking can incorporate air, making the ganache dull.
- Cool the ganache slightly before pouring. Pouring ganache while too hot can result in a thinner layer or even melt the caramel slightly. Letting it cool for 10-15 minutes allows it to thicken to a pourable consistency that sets well.
If your ganache looks greasy, it might be slightly overheated or separated; try whisking in a tablespoon of cold milk or cream, a tiny bit at a time, until it comes back together.
Variations and Customization Options
One of the joys of baking is personalizing recipes. These easy mini chocolate caramel tarts offer several avenues for delicious variations.
Adding Nuts to the Caramel Filling
Introducing nuts adds a delightful crunch and nutty flavor that pairs wonderfully with chocolate and caramel. Roughly chopped pecans, walnuts, or peanuts are excellent choices.
You can lightly toast about ¼ cup of chopped nuts in a dry pan for a few minutes until fragrant, then stir them directly into the warm caramel sauce just before pouring it into the tart shells. This creates a "turtle" style easy chocolate caramel tart that's incredibly popular. The nuts provide a textural contrast to the smooth fillings and crisp crust.
Different Chocolate Options for the Ganache
While semi-sweet or dark chocolate is standard, you can experiment with other types of chocolate for the ganache to change the flavor profile of your easy mini chocolate caramel tarts.
- Milk Chocolate: Using milk chocolate will result in a sweeter, creamier ganache. You might need to adjust the ratio slightly, perhaps using slightly less cream (e.g., 1:1 ratio of milk chocolate to cream by weight) as milk chocolate has a lower melting point.
- White Chocolate: White chocolate ganache is a sweeter, vanilla-forward option. The ratio is typically different (often 2:1 or 3:1 white chocolate to cream by weight) as white chocolate contains no cocoa solids. A white chocolate ganache would offer a lovely color and flavor contrast.
Remember that different chocolates melt differently, so you might need slight adjustments in technique or cream amount.
Adding a Sprinkle of Sea Salt for Enhanced Flavor
A tiny sprinkle of flaky sea salt on top of the finished ganache is a simple yet impactful addition. The salt doesn't just add salinity; it enhances the sweetness of the caramel and the richness of the chocolate, creating a more complex flavor profile.
Add just a few flakes of sea salt to the top of each easy mini chocolate caramel tart immediately after pouring the ganache, before it sets. This turns them into delicious salted caramel chocolate tarts. The visual appeal of the salt crystals also adds a touch of gourmet flair.
Storing and Serving Your Mini Chocolate Caramel Tarts
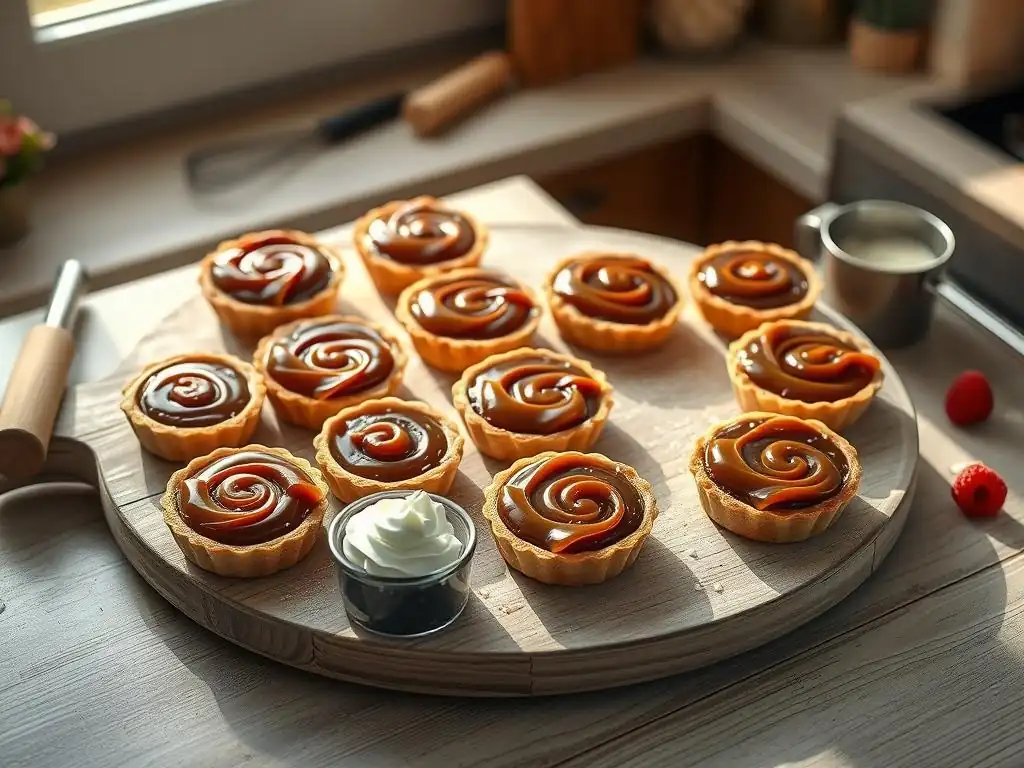
Once your easy mini chocolate caramel tarts are baked, filled, and set, proper storage ensures they remain fresh and delicious.
Proper Storage for Maximum Freshness
After the ganache has fully set in the refrigerator (usually about 30-60 minutes), transfer the mini tarts to an airtight container. Place parchment or wax paper between layers if stacking them to prevent sticking.
Store the tarts in the refrigerator. They will keep well for 3-4 days. The crust may soften slightly over time, but the fillings should remain delightful. For longer storage, you can freeze the finished tarts in an airtight container for up to 1 month. Thaw them in the refrigerator before serving. Freezing works best if the caramel is quite firm.
Serving Suggestions for the Perfect Dessert
These easy mini chocolate caramel tarts are best served chilled or at cool room temperature. Allowing them to sit out for 10-15 minutes before serving can slightly soften the caramel and ganache, enhancing their texture.
Serve them as individual desserts for parties, afternoon tea, or a special treat. They pair wonderfully with a cup of coffee, tea, or a glass of milk. For an extra touch of elegance, you can garnish them with a raspberry, a small dollop of whipped cream, or a light dusting of cocoa powder before serving. The rich flavors make them a satisfying end to any meal.
Troubleshooting: Common Issues and Solutions
Even with an easy mini chocolate caramel tart recipe, sometimes things don't go exactly as planned. Here are solutions to a few common issues.
Soggy Tart Crust: Prevention and Fixes
A soggy bottom is a common lament in tart making. Prevention is key for your easy chocolate caramel tarts:
- Prevention: Always blind bake your crusts as described in the steps. Prick the bottoms, use weights, and bake until the crust looks dry and slightly golden, especially on the bottom. Ensure the shells are completely cool before adding the filling.
- Fixes: If you notice the bottom is slightly underbaked after adding the filling (this is hard to fix once filled), you can try carefully placing the tarts back in their tin on a hot baking sheet for just a few minutes at a low temperature (around 300°F or 150°C) to see if it crisps up, but this is risky with the fillings already in. The best approach is to prevent it during the blind bake phase. Ensure your oven temperature is accurate; use an oven thermometer if unsure.
Caramel Not Setting Properly: Solutions
If your caramel filling remains too runny even after chilling, it likely wasn't cooked to a high enough temperature to caramelize sufficiently.
- Solutions: Unfortunately, it's difficult to fix runny caramel once it's in the tart shells. The best solution is prevention by ensuring the sugar cooks to a deep amber color. If you are using a candy thermometer, aim for the firm-ball stage (around 245°F or 118°C) for a chewier caramel, or slightly higher for a firmer set, though the visual deep amber cue is usually sufficient for this recipe. If you find your caramel is consistently too soft, try cooking the sugar a minute or two longer next time to a darker amber color.
Ganache Too Thick or Thin: Adjustments
The ganache consistency is important for a beautiful finish on your easy mini chocolate caramel tarts.
- Too Thick: If your ganache cools too much and becomes too thick to pour or spread smoothly, gently warm it over a double boiler (a bowl set over a pot of simmering water) or in the microwave in short bursts (15-30 seconds), stirring until it reaches the desired consistency. Be careful not to overheat.
- Too Thin: If your ganache is too thin after whisking, it might be too warm or have too much cream. Let it cool at room temperature for another 10-15 minutes, stirring occasionally. If it's still too thin, you can carefully whisk in a few more finely chopped chocolate pieces (off the heat) and let them melt, stirring until smooth. Refrigerating for a short period (10-15 minutes) can also help it thicken faster, but stir it every few minutes to ensure even cooling.
[ ] Check tart crust blind baking time and temperature
[ ] Verify caramel color cue or temperature range
[ ] Confirm ganache chocolate-to-cream ratio and method
[ ] Ensure chilling times are mentioned for setting
Conclusion: Enjoying Your Homemade Chocolate Caramel Treats
You've done it! You've successfully created a batch of stunning and delicious easy mini chocolate caramel tarts. From the crisp chocolate shell to the gooey caramel and smooth ganache, each component comes together to create a truly memorable dessert.
These easy chocolate caramel tarts are a testament to the fact that you don't need to be a professional baker to make impressive treats. With clear steps, simple ingredients, and a little patience, you can achieve fantastic results that will delight your friends and family.
Mastering Mini Chocolate Caramel Tarts with Ease
Making easy mini chocolate caramel tarts is a rewarding process that builds fundamental baking skills. You've practiced making a simple pastry dough, cooking caramel, and preparing a smooth ganache. These techniques are applicable to many other desserts, expanding your baking repertoire.
Remember that baking is also about practice and learning. Each batch you make will teach you something new about ingredients, temperatures, and timing. So, enjoy the process, savor the results, and continue exploring the wonderful world of baking with ease! Your homemade easy chocolate caramel dessert is ready to be enjoyed.
Frequently Asked Questions
What makes these mini chocolate caramel tarts "easy"?
These tarts are easy because they use pre-made shortbread crusts and a simplified caramel recipe, requiring minimal baking experience. The steps are streamlined for quick assembly.
Can I substitute any ingredients in the chocolate caramel filling?
While we recommend using the listed ingredients for optimal results, you can substitute dark chocolate for milk chocolate or use a different type of extract for flavoring.
How long do these mini tarts last, and how should I store them?
These tarts are best enjoyed within 3-4 days. Store them in an airtight container in the refrigerator to prevent the caramel from becoming sticky.
I'm a beginner baker. Are there any steps I should pay extra attention to?
Pay close attention to the caramel making process, ensuring you stir constantly to prevent burning. Also, avoid overfilling the tart shells with the caramel.
Can I make these tarts ahead of time for a party?
Yes, these tarts are great for making ahead! You can prepare them up to 2 days in advance and store them in the refrigerator until you're ready to serve.
Final Reflection: The Enduring Allure of Easy Mini Chocolate Caramel
The simplicity of crafting delicious treats often overshadows their profound ability to connect us. These little chocolate caramel tarts, easily assembled with readily available ingredients, are more than just a dessert; they're a testament to the power of shared moments and the joy found in creating something beautiful, even in the smallest of forms. The ease of the recipe makes it accessible to everyone, regardless of baking experience, further amplifying its impact.
The enduring appeal of chocolate and caramel, a classic pairing, transcends generations and cultures. It speaks to a primal desire for comfort and indulgence. A little bit of sweetness can make the world a better place.
This simple truth resonates deeply as we consider the role these tiny tarts play – not just in satisfying a sweet craving, but in fostering connection and creating positive memories. From family gatherings to quiet evenings alone, these tarts offer a small, yet significant, touch of happiness.
Now, I invite you to consider the possibilities. Don't just bake these tarts; experience them. Share them with loved ones, savor the rich flavors, and reflect on the simple joy of creating something delicious with your own hands. Let this recipe be a reminder that even the smallest acts of creation can bring immense satisfaction and strengthen the bonds we share. What small act of baking joy will you create today?
Unleash Your Inner Pastry Chef: Bake These Tarts Today!
Thanks for joining us on this delicious journey into mini chocolate caramel tart perfection! We hope you've gained some sweet inspiration and confidence in your baking abilities. Ready to take the next step?
- Bake a batch of these mini tarts: The recipe is designed for ease and delicious results, even for beginner bakers. Don't be intimidated—you've got this!
- Share your creations: Tag us on social media (@BakeWithEase) and show off your beautiful tarts. We’d love to see them!
- Explore our other easy dessert recipes on BakeWithEase.com – we have tons of simple yet impressive options waiting for you.
What’s your favorite part of baking these delightful mini tarts – the rich chocolate, the gooey caramel, or the satisfying crunch of the crust? Let us know in the comments!