
Simple Tips for Golden Brown Pie Crust

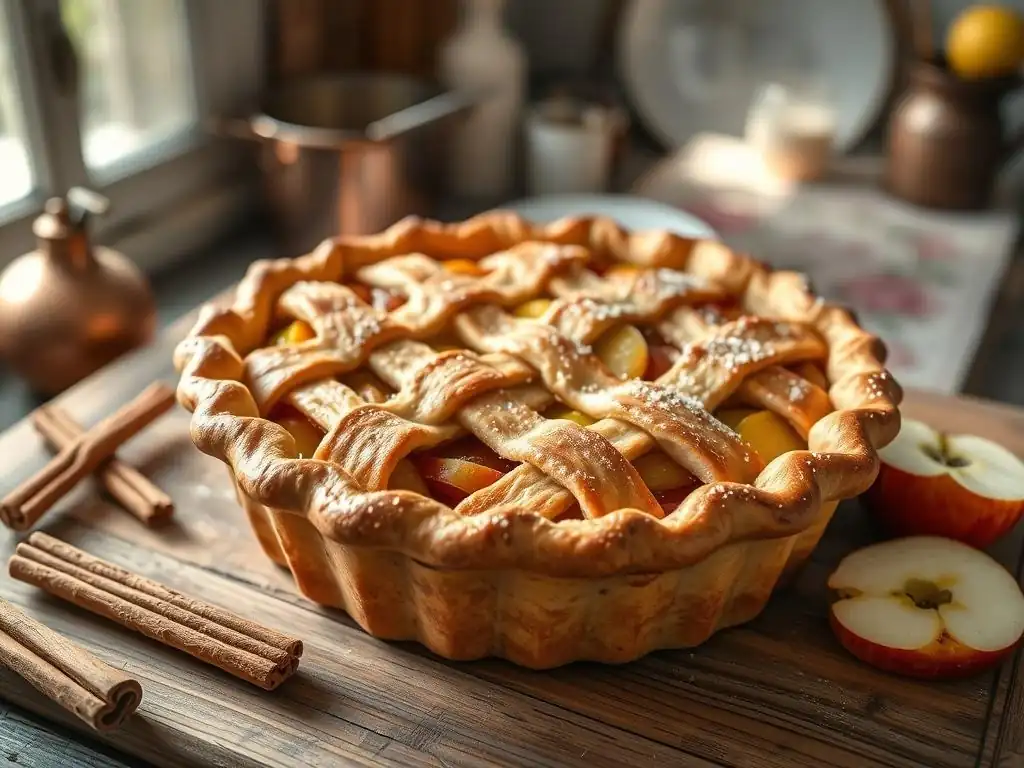
Welcome to BakeWithEase, your partner in crafting delicious baked goods! Ever wonder how to achieve that perfect, flaky, golden brown pie crust that seems to elude even experienced bakers? We're diving deep into the secrets behind this coveted result. Get ready to unlock simple techniques and tips that will transform your pie-making game, one golden slice at a time. Ready to learn the secrets?
- Mastering the Art of the Golden-Brown Pie Crust
- Introduction to Achieving the Perfect Golden-Brown Pie Crust
- Essential Factors for a Beautifully Browned Pie Crust
- Techniques for Achieving a Golden Hue
- Baking for Even Browning
- Troubleshooting Common Pie Crust Browning Problems
- Recipes to Practice Perfecting Golden-Brown Pie Crust
- Additional Tips for a Golden-Brown Pie Crust
- Conclusion: Enjoy Your Perfectly Browned Pie
-
Frequently Asked Questions
- What is the secret to achieving a perfectly golden brown pie crust?
- How do I prevent my pie crust from burning before it's fully baked?
- What kind of fat is best for a flaky and golden brown pie crust?
- Why is my pie crust pale and doesn't achieve a golden brown color?
- Can I use sugar in the pie crust to enhance browning?
- Final Reflection: The Golden Glow of Baking and Beyond
- Unlock Your Perfect Pie Crust: Golden Brown & Delicious!
Mastering the Art of the Golden-Brown Pie Crust
Introduction to Achieving the Perfect Golden-Brown Pie Crust
Achieving that coveted golden-brown hue on your pie crust is often seen as the mark of a truly successful bake. It's not just about aesthetics; that beautiful color signifies a crust that's likely flaky, flavorful, and perfectly cooked through. While it might seem daunting at first, especially when you're just starting your baking journey, perfecting golden brown pie crust is entirely within reach with a little understanding of the science and some simple techniques.
This guide will walk you through the essential elements and methods that contribute to a stunningly browned crust. We'll explore the role of key ingredients, delve into various washes that enhance color and texture, discuss crucial baking tips, and troubleshoot common issues. By focusing on these foundational principles, you'll be well on your way to creating pies that look as incredible as they taste, impressing friends and family with your mastery of baking fundamentals.
Essential Factors for a Beautifully Browned Pie Crust
Butter's Role: Flavor and Browning in Pie Crust
Butter is a cornerstone ingredient in many classic pie crust recipes, and its contribution goes far beyond just flakiness. The fat content, typically around 80-82% in European-style butter and slightly lower in American-style, helps create steam pockets during baking, which separate the layers of dough for that desirable flaky texture. More importantly for browning, butter contains milk solids.
These milk solids undergo the Maillard reaction and caramelization when exposed to heat, processes responsible for developing those rich, complex flavors and the golden-brown coloration we seek. As the butter melts and the water evaporates, the proteins and sugars within the milk solids react, turning brown and creating hundreds of new flavor compounds. Using high-quality butter with a good fat content can significantly enhance both the depth of flavor and the evenness of the browning across your pie crust.
Flour Selection: Choosing the Right Flour for Optimal Crust Color
While the type of flour primarily affects the crust's structure and tenderness, it can also subtly influence browning. All-purpose flour, the most common choice for pie crusts, contains a moderate protein level (around 10-12%). This protein, primarily gluten, contributes to the dough's structure. The starch content in flour also plays a role in browning through dextrinization, where starch molecules break down into simpler sugars under dry heat, contributing to surface color.
Using flours with different protein or starch compositions can alter the browning profile. For instance, some pastry flours have a lower protein content (around 8-9%) and a higher starch content, which might affect how quickly and evenly the crust browns compared to all-purpose flour. While the difference might not be as dramatic as the impact of fat or sugar, selecting a consistent, reliable all-purpose flour is a solid starting point for perfecting golden brown pie crust, ensuring predictable results every time.
Sugar's Impact: Enhancing Browning and Flavor
Sugar is a powerful browning agent in baking, and even the small amount typically found in a standard pie crust recipe plays a significant role. Sugar participates directly in caramelization, a process that occurs when sugars are heated to high temperatures (around 320°F or 160°C), causing them to break down and polymerize into brown compounds with nutty, buttery, and slightly bitter flavors.
Furthermore, sugar accelerates the Maillard reaction alongside proteins, contributing to the overall browning and flavor development at lower temperatures than pure caramelization. Recipes with slightly more sugar in the dough will generally brown more readily and achieve a deeper golden hue than those with very little or no sugar. However, adding too much sugar can make the crust tough and overly brittle, so finding the right balance is key to achieving both desirable texture and color when perfecting golden brown pie crust.
Techniques for Achieving a Golden Hue
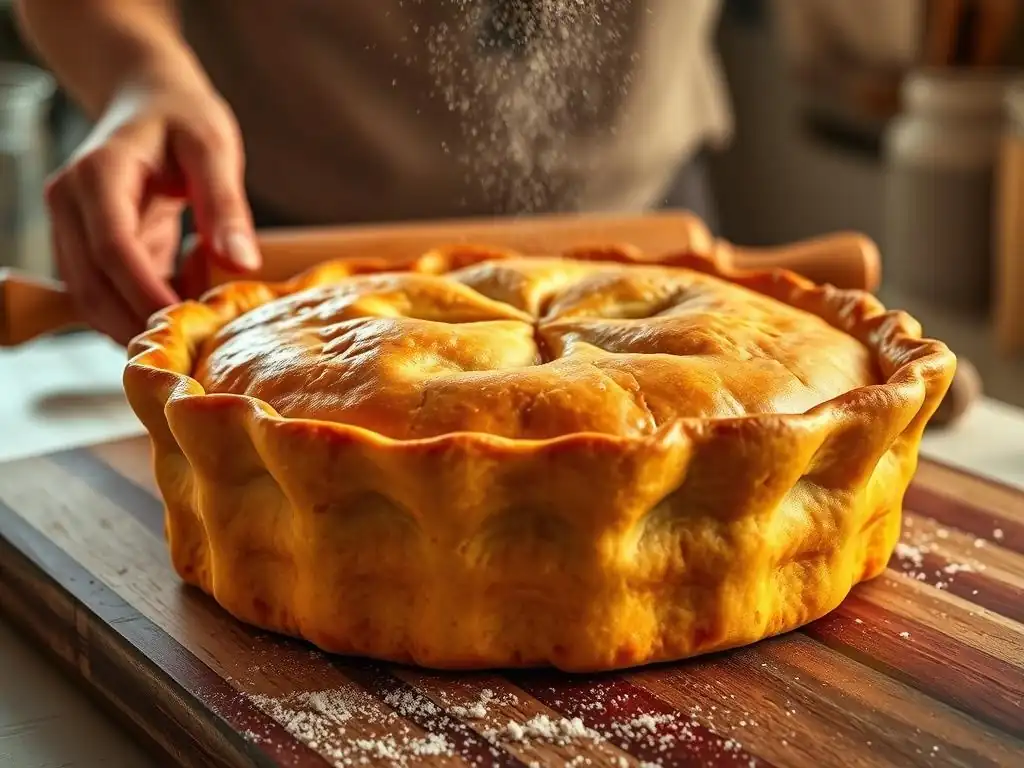
Egg Wash: Achieving a Shiny, Golden-Brown Crust
An egg wash is perhaps the most classic method for giving a pie crust a beautiful, professional-looking finish. A standard egg wash is made by whisking together an egg (or just the yolk) with a tablespoon or two of milk or water. Brushing this mixture lightly over the top crust just before baking provides a protein- and fat-rich layer that browns beautifully and creates a lovely sheen.
The proteins in the egg participate vigorously in the Maillard reaction when heated, developing a deep golden color. The fats and lecithins contribute to the shine. For a darker, richer brown, using only the egg yolk mixed with a little cream is highly effective due to the higher fat and protein concentration. Applying the wash evenly with a pastry brush is crucial to avoid streaks or uneven patches of color.
Milk and Sugar Wash: A Sweet Alternative for Browning
For those seeking a less intense shine than an egg wash or who prefer to avoid eggs, a simple milk and sugar wash is an excellent alternative for enhancing browning. This wash typically involves whisking a tablespoon of sugar into about a quarter cup of milk (whole milk works well due to its fat content). Brushed onto the crust before baking, this mixture provides sugars and milk solids to the surface.
The sugar in the wash caramelizes and participates in the Maillard reaction with the milk solids, resulting in a lovely, slightly matte golden-brown finish. This wash often gives a more subtle browning effect than an egg wash but still significantly improves color compared to an unwashed crust. It also adds a touch of sweetness to the surface, which can be a nice complement to fruit fillings.
Butter Wash: A Rich Flavor and Browning Enhancer
A butter wash offers a rich flavor profile and contributes to a beautiful, albeit sometimes less even, browning effect. This technique involves brushing melted butter onto the crust, either before baking or partway through. The fat content in the butter helps conduct heat, promoting browning through both the Maillard reaction of its milk solids and direct heat transfer to the dough's surface.
Using melted butter can sometimes result in a slightly less uniform color compared to egg or milk washes, as the fat can pool in certain areas. However, it imparts a wonderful buttery flavor directly onto the crust's exterior. For a balance of flavor and more controlled browning, some bakers use a combination, perhaps a milk wash followed by a light brush of melted butter partway through baking. Experimenting with these washes is part of perfecting golden brown pie crust.
Baking for Even Browning
Oven Temperature: Finding the Sweet Spot for Pie Crust Browning
Oven temperature is critical for achieving the perfect golden-brown pie crust. Most pie recipes call for baking temperatures between 375°F (190°C) and 425°F (220°C). A higher initial temperature, like 425°F for the first 15-20 minutes, helps to quickly set the crust structure and initiate rapid steam production from the fat, contributing to flakiness. This high heat also kickstarts the browning process on the surface.
After this initial period, the temperature is often reduced to 375°F or 400°F (200°C) for the remainder of the baking time. This lower temperature allows the filling to cook through evenly without the crust burning, while still maintaining enough heat for gradual, even browning across the entire surface. Using an oven thermometer is highly recommended to ensure your oven is accurately calibrated, as temperature discrepancies can significantly impact browning results.
Baking Time: Monitoring for the Ideal Color
Baking time is less about the clock and more about visual cues when it comes to achieving the desired golden-brown color. While recipes provide estimated baking times (often 45-75 minutes for a fruit pie), the actual time needed can vary based on your oven, the pie's filling, and the specific crust ingredients. It's essential to start monitoring your pie's color well before the minimum suggested time.
Look for a uniform golden hue across the top and edges of the crust. The bottom crust is also crucial; you can often check its color by carefully lifting the pie slightly with a spatula to peek underneath, aiming for a similar golden brown. If the crust is browning too quickly, especially the edges, you'll need to take preventative measures, which brings us to the next point. Perfecting golden brown pie crust involves vigilant observation throughout the baking process.
Pie Shield: Preventing Over-Browning on the Edges
The edges of a pie crust are thinner and more exposed to the oven's direct heat than the center, making them prone to burning before the rest of the crust or filling is fully cooked. This is where a pie shield, or crust protector, becomes invaluable. These are typically silicone rings or aluminum foil strips molded around the edge of the pie.
Applying the pie shield after the edges have achieved a light golden color, usually about 20-30 minutes into baking, protects them from further browning while allowing the center of the pie and filling to catch up. Homemade shields can be fashioned from aluminum foil by tearing off a sheet, folding it into a strip several layers thick, and gently crimping it around the pie's rim. Using a shield is a simple yet effective technique for ensuring the entire crust browns evenly without the edges turning black.
Oven Rotation: Ensuring Even Heat Distribution
Even the most modern ovens can have hot spots, areas where the temperature is higher or lower than the thermostat setting. These inconsistencies can lead to uneven browning, with one side of your pie turning golden while the other remains pale. Rotating your pie partway through the baking process helps counteract these hot spots and promotes uniform browning.
Around the halfway point of the total baking time, or when you notice one side browning faster than the other, carefully open the oven door and rotate the pie 180 degrees. This exposes all sides of the pie equally to any variations in oven temperature. Coupled with using a pie shield for the edges, regular rotation is a simple habit that significantly contributes to achieving a beautifully and evenly browned pie crust.
Troubleshooting Common Pie Crust Browning Problems
Pale Crust: Causes and Solutions
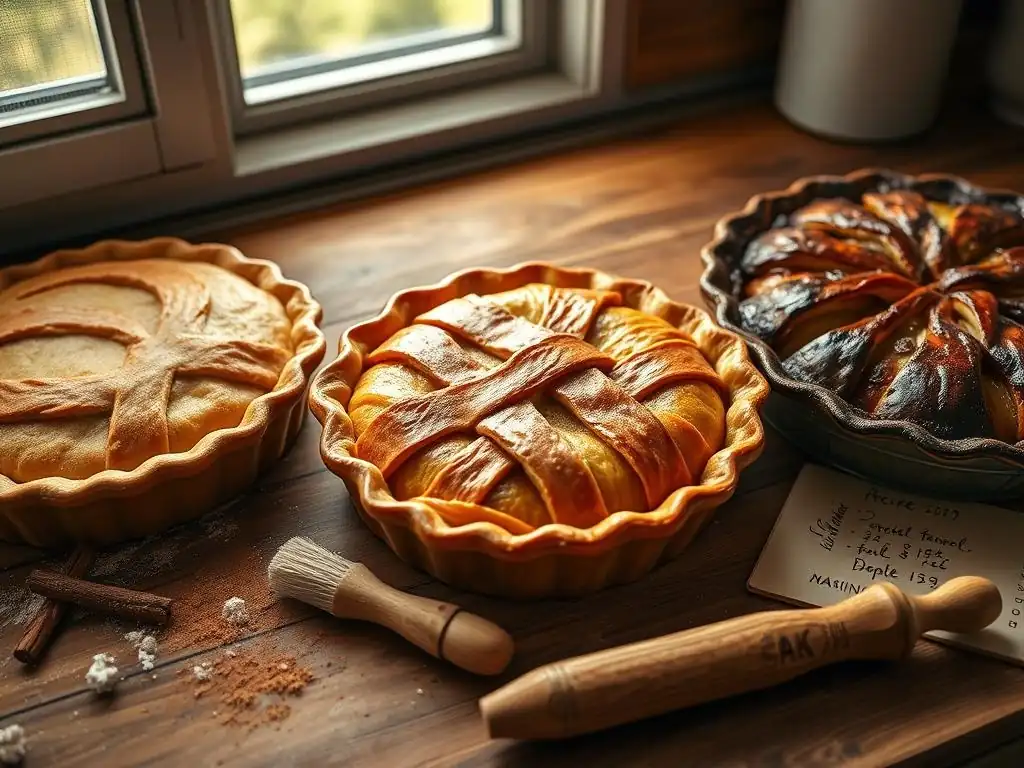
A pale pie crust after the recommended baking time can be frustrating. Common causes include an oven temperature that is too low (confirm with an oven thermometer! ), insufficient baking time, or using a recipe low in fat or sugar, which are key browning agents. Sometimes, a filling that releases a lot of moisture can also steam the bottom crust, inhibiting browning.
To remedy a pale crust that is otherwise cooked through:
- If the filling is set, you can sometimes increase the oven temperature slightly for the last 10-15 minutes (e.g., to 400°F/200°C), watching carefully.
- Consider using a wash (egg, milk, or butter) next time to boost surface browning.
- Ensure your oven is accurately calibrated.
- For bottom crusts, try baking the pie on a preheated baking stone or metal baking sheet to transfer heat more efficiently.
Burnt Edges: Prevention and Recovery
Burnt edges while the center is still pale are a classic sign that the edges were not protected. As mentioned, pie shields are the primary defense against this. Applying them before the edges get too dark (ideally when they are just starting to turn golden) is key.
If you discover the edges are burning partway through baking and you haven't used a shield, quickly create one from aluminum foil and carefully place it around the rim. If the edges are already blackened, there's unfortunately little you can do to reverse it for that bake, but you can prevent it from worsening by shielding them immediately. Next time, remember to shield those vulnerable edges!
Uneven Browning: Addressing Hot Spots in Your Oven
Uneven browning, where parts of the crust are significantly darker than others, is usually a sign of uneven heat distribution in your oven. Hot spots can cause certain areas to brown much faster.
The most effective way to combat uneven browning is through rotation. Make it a habit to rotate your pie 180 degrees halfway through the baking time. You can also try baking on a different rack; sometimes, the top or bottom racks have more even temperatures than the middle. Using a baking stone on the rack below your pie can also help stabilize the temperature and radiate heat more evenly upwards. Understanding your oven's quirks is part of perfecting golden brown pie crust.
Recipes to Practice Perfecting Golden-Brown Pie Crust
All-Butter Pie Crust Recipe: Achieving a Flaky, Golden Crust
An all-butter pie crust is a superb choice for both flavor and browning potential. Recipes for all-butter crusts typically rely on chilling the butter and flour mixture well before rolling. The high fat content of the butter (usually a 1:2 ratio of butter to flour by weight is a good starting point) ensures excellent flakiness as the water in the butter turns to steam.
Crucially for browning, the generous amount of butter provides ample milk solids and fat, which contribute significantly to the Maillard reaction and caramelization on the surface during baking. When baked at the right temperature and with appropriate shielding, an all-butter crust consistently achieves a beautiful, rich golden-brown color and deep, buttery flavor.
Gluten-Free Pie Crust Recipe: Techniques for Golden-Brown Results
Perfecting golden brown pie crust using gluten-free flours can present unique challenges, as the lack of gluten affects both texture and how the crust interacts with heat. Gluten-free blends often contain a mix of rice flour, tapioca starch, potato starch, and sometimes nut flours. These blends may brown differently than wheat flour crusts due to variations in protein and starch composition.
To enhance browning in gluten-free crusts, many recipes incorporate ingredients like a little extra sugar or a touch of a binder like psyllium husk, which can sometimes aid in achieving a better crust structure that browns more evenly. Applying a wash, such as an egg wash or a milk/sugar wash, is particularly effective for gluten-free crusts to ensure a desirable golden hue on the surface, compensating for potential differences in how the flour blend browns on its own.
Additional Tips for a Golden-Brown Pie Crust
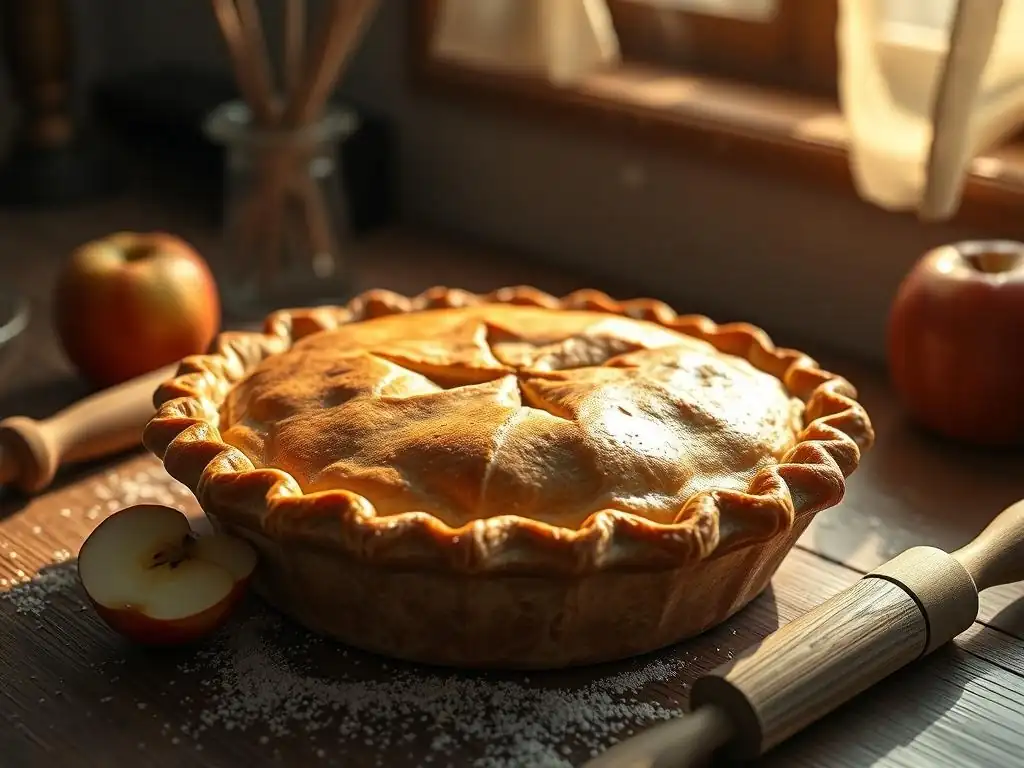
Using a Baking Stone: Helping to Achieve Crispy and Golden Bottom Crusts
While much focus is often on the top crust, a pale, underbaked bottom crust can ruin an otherwise perfect pie. Using a preheated baking stone or even a heavy-duty metal baking sheet placed on the lower rack of your oven can make a significant difference.
Place the stone or sheet in the oven while it preheats. When you place your pie onto this hot surface, it provides a burst of intense, even heat directly to the bottom of the pie plate. This rapid heat transfer helps the bottom crust set quickly, preventing it from becoming soggy from the filling's moisture, and promotes faster, more effective browning on the underside, leading to a wonderfully crispy and golden bottom crust.
Blind Baking: Achieving a Golden-Brown Pre-Baked Crust
Blind baking, or pre-baking the pie crust before adding the filling, is essential for pies with wet fillings (like quiches or custard pies) or no-bake fillings. It ensures the bottom crust is fully cooked and golden brown, rather than soggy.
To blind bake, line the chilled pie shell with parchment paper and fill it with pie weights, dried beans, or rice. Bake at a relatively high temperature (e.g., 400°F/200°C) for 15-20 minutes until the edges are set. Remove the weights and parchment, then continue baking for another 10-15 minutes at a slightly lower temperature (e.g., 375°F/190°C) until the bottom is golden brown. For a fully baked crust (for no-bake fillings), bake until the bottom is evenly golden. Applying a light egg wash after removing the weights can enhance the golden color during the second bake.
Conclusion: Enjoy Your Perfectly Browned Pie
Perfecting golden brown pie crust is a rewarding pursuit that elevates your baking from good to truly exceptional. It involves understanding how ingredients like butter, flour, and sugar interact, employing simple techniques like washes and shields, and mastering your oven's unique characteristics.
By paying attention to temperature, time, and color cues, and by using tools like pie shields and baking stones, you can consistently achieve that beautiful, flaky, and perfectly browned crust. Don't be discouraged by initial attempts; like any skill, practice makes perfect. Keep these tips in mind, experiment with washes and temperatures, and soon you'll be pulling stunning, golden pies out of your oven every time. Enjoy the process and, most importantly, enjoy the delicious results of your perfectly browned pie!
Frequently Asked Questions
What is the secret to achieving a perfectly golden brown pie crust?
The key is to use cold ingredients like butter and water, and avoid overworking the dough. Also, an egg wash before baking helps achieve that beautiful golden color.
How do I prevent my pie crust from burning before it's fully baked?
Use a pie shield or loosely cover the edges with aluminum foil during the first part of baking. This protects the vulnerable edges from over-browning.
What kind of fat is best for a flaky and golden brown pie crust?
A blend of cold butter and shortening often yields the best results. Butter provides flavor, while shortening contributes to flakiness and consistent browning.
Why is my pie crust pale and doesn't achieve a golden brown color?
This could be due to not using an egg wash or not baking at a high enough temperature. Also, ensure your oven is properly preheated for even browning.
Can I use sugar in the pie crust to enhance browning?
Yes, a small amount of sugar in the crust can promote browning. However, be careful not to add too much, as it can make the crust too sweet and more prone to burning.
Final Reflection: The Golden Glow of Baking and Beyond
The pursuit of the perfect golden-brown pie crust is more than just a culinary quest; it's a reflection of our desire for mastery and the satisfaction of creating something beautiful. The seemingly simple act of baking a pie, and achieving that ideal crust, speaks to a deeper human need for precision, creativity, and the joy of sharing something delicious with others. This article explored practical techniques, from chilling the dough to using the right type of fat, but the true essence lies in the process itself.
The impact of a perfectly browned pie crust extends far beyond the kitchen table. It's a symbol of home, of tradition, and of the comforting rituals that bind us together. The simple act of baking, and the pride in achieving a visually stunning result, connects us to generations past who perfected these techniques over time. Baking is at once child's play and adult joy. And love, of course.
– This sentiment perfectly encapsulates the emotional resonance of baking, and the golden-brown crust serves as a tangible representation of that love and care.
Now, I invite you to consider your own baking journey. Don't be afraid to experiment with the techniques outlined in this article, to embrace the imperfections, and to find joy in the process. The perfect golden-brown pie crust is a goal, yes, but the journey of achieving it, filled with flour dust and the sweet aroma of baking, is just as rewarding. So, gather your ingredients, preheat your oven, and let the golden glow guide you. The perfect pie, and the satisfaction it brings, awaits.
Unlock Your Perfect Pie Crust: Golden Brown & Delicious!
Thanks for joining us on this baking adventure! You've just unlocked the secrets to a flawlessly golden-brown pie crust. Now it's time to put your newfound knowledge to the test.
- Bake your dream pie: Grab your favorite pie recipe (or try a new one! ), and put your new crust-making skills to work. Imagine the compliments you'll receive!
- Share your success: Snap a photo of your gorgeous pie and share it with us on social media – we'd love to see your masterpiece! Use #BakeWithEasePie.
- Explore our other baking tips: Dive deeper into our recipe collection for more delicious inspiration! We have tons of ideas to help you become a true baking pro.
Ready to create your perfect golden-brown pie crust? What's your favorite pie filling to showcase this incredible crust?