
Troubleshooting Vanilla Cakes: Fix Common Baking Mistakes

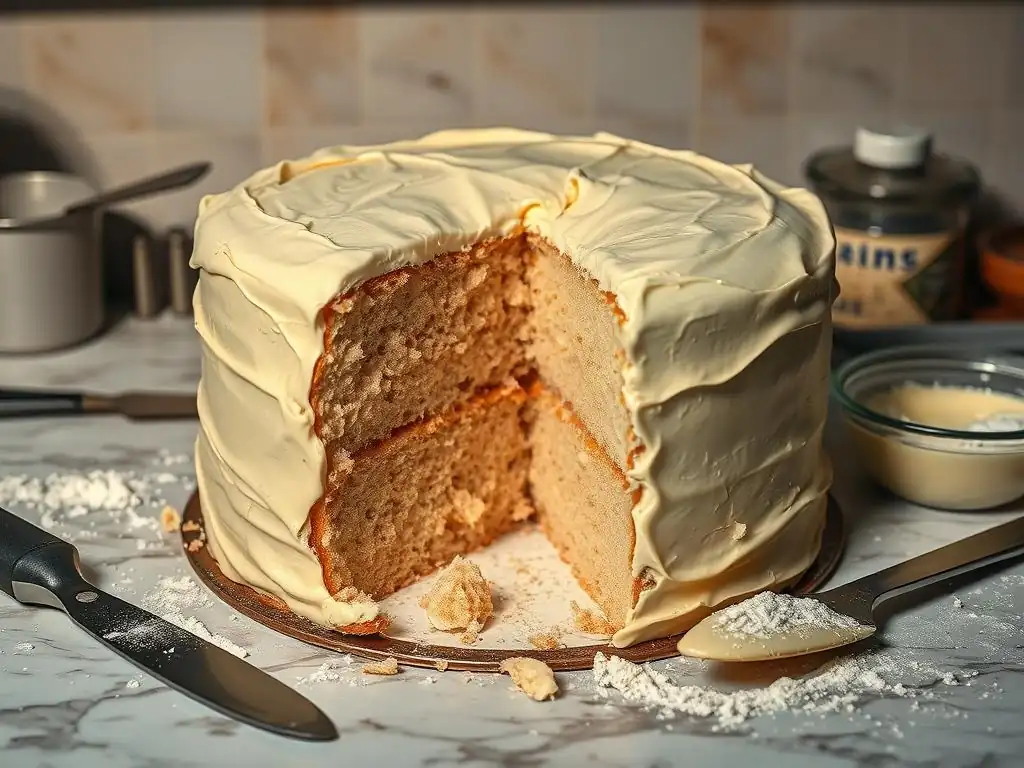
Welcome to BakeWithEase, your trusted guide to the delightful world of baking! Ever wondered why your vanilla cake isn't quite reaching its full potential? Dive in and let's unravel the mysteries behind common vanilla cake baking problems. Discover the secrets to achieving that perfect crumb and flavor, and prepare to say goodbye to baking mishaps for good! Let's get baking!
- Introduction to Vanilla Cake Baking Problems
- Problem 1: Dry Vanilla Cake – Causes and Solutions
- Problem 2: Dense or Heavy Vanilla Cake – Reasons and Fixes
- Problem 3: Sunken Vanilla Cake – Prevention and Recovery
- Problem 4: Unevenly Baked Vanilla Cake – Addressing Hotspots
- Problem 5: Cracked Vanilla Cake Top – Understanding and Correcting
- Problem 6: Vanilla Cake Sticking to the Pan – Solutions for Easy Release
- Conclusion: Mastering Vanilla Cake Baking Techniques
- Frequently Asked Questions
- Final Reflection: The Sweet Science of Success (and Failure)
- Unlock Your Perfect Vanilla Cake!
Introduction to Vanilla Cake Baking Problems
Common Vanilla Cake Baking Challenges for Home Bakers
Baking a perfect vanilla cake can sometimes feel like navigating a minefield of potential errors. Even experienced bakers occasionally face issues like a cake that's too dry, too dense, or sinks in the middle. These common vanilla cake baking problems aren't unique to beginners; they are part of the learning curve in understanding how ingredients interact and how ovens behave. From ingredient measurement mishaps to oven temperature inconsistencies, there are numerous factors that can turn a potential masterpiece into a less-than-ideal result.
Understanding these frequent vanilla cake issues is the first step towards consistently baking delicious, moist, and perfectly textured cakes. Whether it's a simple sheet cake or a layered celebration cake, encountering these hurdles is normal. The good news is that most vanilla cake baking problems have identifiable causes and straightforward solutions. By learning to diagnose what went wrong, you gain the knowledge to correct the issue in your next baking attempt and improve your overall baking skills.
Why Vanilla Cake Troubleshooting is Essential for Baking Success
Troubleshooting vanilla cake baking problems is more than just fixing a single mistake; it's about developing a deeper understanding of the baking process itself. Each issue you encounter provides a valuable lesson in the science behind baking. For instance, a sunken cake teaches you about the delicate balance of leavening agents and oven temperature stability, while a dry cake highlights the critical role of proper ingredient ratios and baking time.
Mastering the art of troubleshooting common vanilla cake mistakes empowers you to adapt recipes, understand why certain steps are crucial, and ultimately achieve greater baking success. Instead of being discouraged by a failed bake, you can view it as an opportunity to learn and refine your technique. This investigative approach builds confidence and transforms baking from following instructions blindly into a more intuitive and rewarding activity.
Problem 1: Dry Vanilla Cake – Causes and Solutions
Identifying a Dry Vanilla Cake: Texture and Taste Indicators
A dry vanilla cake is arguably one of the most disappointing outcomes for a baker. You can usually identify this issue by its texture and taste. When you cut into a dry cake, the crumb might look overly uniform, tight, and lack the moist sheen of a well-baked cake. The cake will feel crumbly rather than tender, and it might even crack easily when sliced.
On the palate, a dry vanilla cake tastes less rich and can feel like it absorbs moisture from your mouth, leaving a slightly chalky or dusty sensation. The flavor might seem muted because moisture is essential for carrying and enhancing the delicate vanilla notes. Compared to a moist cake that feels tender and melts slightly in your mouth, a dry cake is noticeably less pleasant and lacks that desired melt-in-your-mouth quality.
Common Causes of Dry Vanilla Cake:
Overbaking and Moisture Loss
One of the most frequent culprits behind dry vanilla cake baking problems is simply leaving the cake in the oven for too long. Even a few extra minutes past the ideal baking time can cause excessive moisture evaporation. High oven temperatures can also contribute to this by speeding up the baking process and drying out the cake before the center is fully cooked.
Incorrect Flour Measurement: The Impact of Too Much Flour
Using too much flour is a common measuring error that leads to dry cakes. Flour absorbs liquid, and adding more than the recipe calls for means there isn't enough moisture to hydrate all the flour particles adequately. This results in a batter that is too stiff and a baked cake with a dense, dry crumb. Measuring flour incorrectly, especially by scooping directly from the bag with a measuring cup, can easily add 1/4 cup or more excess flour to a standard recipe.
Insufficient Liquid Ingredients: Balancing Wet and Dry
A recipe might simply have an imbalance in the ratio of wet to dry ingredients, or you might have accidentally used slightly less liquid than specified. Liquids like milk, buttermilk, eggs, and oil or butter are crucial for creating a tender, moist crumb. If there isn't enough liquid to properly hydrate the flour and other dry ingredients, the resulting cake will inevitably be dry.
Solutions for a Moist Vanilla Cake:
Adjusting Baking Time and Temperature
To prevent overbaking, start checking your vanilla cake for doneness a few minutes before the recipe's minimum baking time. Use the toothpick test – insert a toothpick into the center; if it comes out with a few moist crumbs attached (not wet batter), the cake is likely done. If your oven runs hot, consider lowering the temperature by 25°F (about 15°C) and extending the baking time slightly to promote more even, gentle baking.
Precise Flour Measurement Techniques: Spoon and Level vs. Weighing
For accurate flour measurement, spoon the flour gently into your measuring cup until it's overflowing, then level off the excess with a straight edge (like a knife). Avoid scooping directly from the bag, which compacts the flour. The most accurate method is to use a kitchen scale to weigh your ingredients; most recipes will provide weight measurements, or you can easily find conversion charts online (e.g., 1 cup all-purpose flour is typically around 120-130 grams).
Increasing Liquid Ingredients: Milk, Buttermilk, or Sour Cream
If you suspect a recipe is consistently yielding dry cakes, you might cautiously increase the liquid ingredients slightly in future attempts. Adding an extra tablespoon or two of milk, buttermilk, or even a bit of sour cream can significantly boost moisture without drastically altering the batter consistency. Buttermilk and sour cream, in particular, add both moisture and a pleasant tang that complements vanilla.
Adding Moisture-Rich Ingredients: Sour Cream or Applesauce
Incorporating ingredients known for adding moisture can also help. Substituting some of the fat (like butter or oil) with an equal amount of sour cream or Greek yogurt can make the cake incredibly moist and tender. For example, replacing 1/4 cup of butter with 1/4 cup of sour cream in a typical vanilla cake recipe can yield noticeable moisture benefits. Unsweetened applesauce can also be used as a partial fat substitute (often a 1:1 ratio) to add moisture, though it might slightly alter the flavor profile.
Problem 2: Dense or Heavy Vanilla Cake – Reasons and Fixes
Recognizing a Dense Vanilla Cake: Texture and Appearance
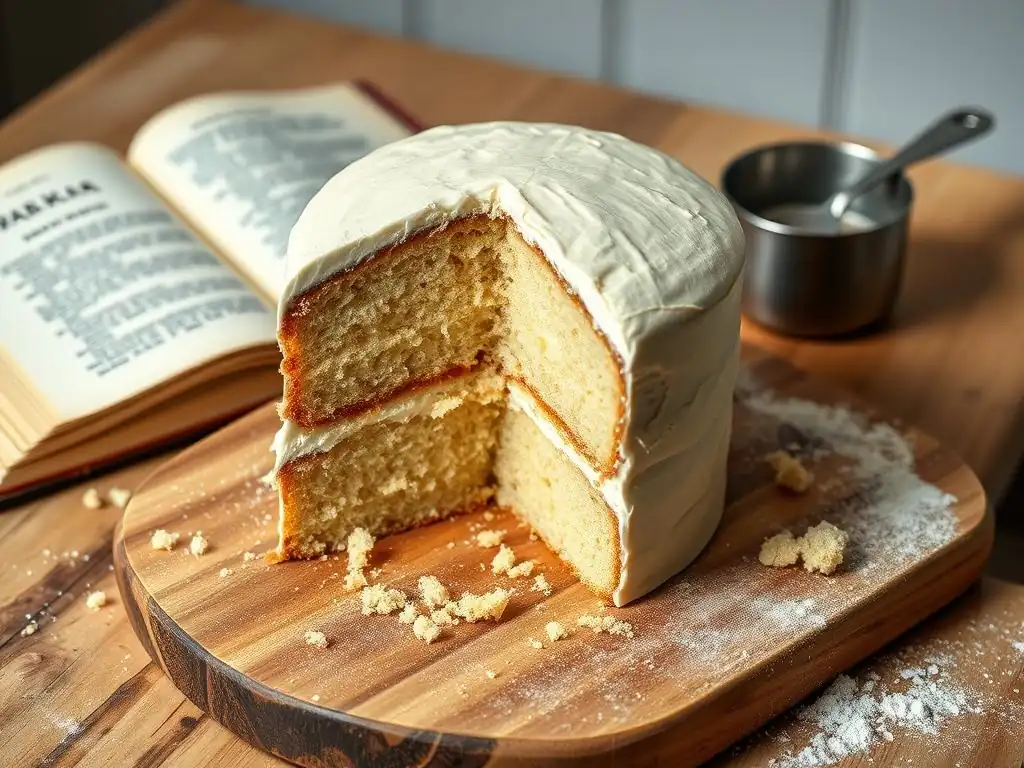
A dense or heavy vanilla cake lacks the desired light, fluffy crumb. Visually, it might appear shorter than expected for the pan size and recipe. When you cut into it, the slices feel heavy and perhaps slightly rubbery. The crumb structure will look tight, with small, uniform air pockets, unlike the more open, airy structure of a well-risen cake.
Tasting a dense cake confirms its texture – it feels substantial and perhaps a bit gummy or doughy in the mouth, rather than tender and delicate. The lift that leavening agents provide is either absent or insufficient, resulting in a cake that feels compacted. This is a common vanilla cake baking problem distinct from dryness, though a dense cake can sometimes also feel dry if it's overbaked.
Reasons for a Dense Vanilla Cake:
Overmixing the Batter: Gluten Development Issues
Mixing cake batter too vigorously or for too long after adding the flour is a primary cause of density. Flour contains protein that develops into gluten when mixed with liquid. While some gluten is needed for structure, too much development creates a tough, elastic network, resulting in a dense, heavy cake. The "creaming" stage (butter and sugar) requires mixing, but once flour is added, mixing should be minimal, just until combined.
Using Cold Ingredients: Affecting Emulsification
Ingredients like butter and eggs should ideally be at room temperature for most vanilla cake recipes. Cold butter doesn't cream properly with sugar, failing to create the air pockets essential for leavening. Cold eggs don't emulsify well with the fats in the batter, leading to a less smooth mixture and potentially a heavier texture. Emulsification helps distribute fat and moisture evenly, contributing to a tender crumb.
Incorrect Baking Powder or Baking Soda Measurement: Leavening Problems
Leavening agents like baking powder and baking soda are responsible for creating gas bubbles that make the cake rise and become light. Using too little leavening, using old or expired leavening (which loses its potency), or failing to combine baking soda with an acidic ingredient (like buttermilk or sour cream) will result in insufficient lift and a dense cake. Conversely, using too much can cause the cake to rise too quickly and then collapse, also leading to density.
Achieving a Light and Airy Vanilla Cake:
Gentle Mixing Techniques: Folding vs. Beating
Once you add dry ingredients to the wet, switch from a mixer to a spatula or mix on the lowest speed possible, and stop as soon as no dry streaks remain. Use a folding motion – cutting down through the center of the batter, scraping the bottom, and lifting it up and over – rather than beating. This minimizes gluten development and keeps the batter light.
Using Room Temperature Ingredients: Ensuring Proper Emulsification
Plan ahead and take butter and eggs out of the refrigerator about 30-60 minutes before you start baking. Room temperature butter should be soft enough to indent easily with your finger but not greasy or melted. Room temperature eggs incorporate more easily into the batter, creating a smoother, more cohesive mixture that bakes up lighter.
Accurate Measurement of Leavening Agents: Baking Powder and Baking Soda
Always measure baking powder and baking soda precisely using level measuring spoons. Ensure your leavening agents are fresh; baking powder typically lasts 6-12 months once opened, and baking soda longer, but testing a small amount in hot water (for powder) or vinegar (for soda) to see if it fizzes is a good practice. Understand if your recipe uses baking soda alongside an acidic ingredient or relies solely on double-acting baking powder for lift.
Sifting Dry Ingredients: Promoting Even Distribution
Sifting flour, baking powder, baking soda, and salt together before adding them to the wet ingredients helps aerate the dry mixture and ensures the leavening agents are evenly distributed throughout the flour. This prevents pockets of leavening and promotes a more uniform rise, contributing to a lighter texture. While some modern recipes skip sifting, it remains a reliable technique for avoiding dense spots and is helpful when troubleshooting vanilla cake issues related to texture.
Problem 3: Sunken Vanilla Cake – Prevention and Recovery
Identifying a Sunken Vanilla Cake: Visual Cues
A sunken vanilla cake is easily identifiable: the center of the cake is noticeably lower than the edges, creating a crater or a significant dip. The edges might look perfectly baked and risen, while the middle has collapsed downwards, sometimes appearing slightly undercooked or gummy in the sunken area. This visual asymmetry is a clear sign that something went wrong during the baking or cooling process.
The degree of sinking can vary from a slight dip to a dramatic collapse. While frustrating, a slightly sunken cake can often be salvaged by trimming and frosting, but a severely sunken cake indicates a significant issue with leavening, temperature, or doneness that needs to be addressed to prevent future vanilla cake baking problems.
Possible Causes of a Sunken Vanilla Cake:
Opening the Oven Door Too Early: Temperature Fluctuations
Opening the oven door, especially in the first two-thirds of the baking time, is a common cause of sunken cakes. The sudden rush of cooler air into the oven causes the cake's internal temperature to drop rapidly. The delicate structure, which is still setting, can't withstand this temperature shock, and the center collapses before it has a chance to solidify.
Undercooking the Cake: Insufficient Baking Time
If a vanilla cake is removed from the oven before the center is fully baked and the structure is set, it lacks the internal support needed to hold its shape as it cools. The still-liquid or semi-liquid center will inevitably sink as the cake cools and the edges firm up. This is why relying solely on visual cues like browning edges isn't sufficient; checking for doneness in the center is critical.
Too Much Leavening Agent: Over-Expansion and Collapse
While too little leavening leads to density, too much can cause the cake to rise too quickly and too high. The structure can become weak and unable to support the rapid expansion, leading to a collapse in the center, particularly as the cake cools. It's like inflating a balloon past its capacity – it bursts or deflates unevenly.
Preventing and Fixing a Sunken Vanilla Cake:
Avoiding Premature Oven Door Opening
Resist the urge to peek at your vanilla cake frequently while it's baking! Use the oven light to check its progress without opening the door. Only open the door when you are close to the minimum baking time specified in the recipe and are ready to perform a doneness test. This maintains a stable internal oven temperature crucial for the cake's structure to set properly.
Ensuring Adequate Baking Time: Toothpick Test
Always test your vanilla cake for doneness by inserting a toothpick into the center of the cake. It should come out with a few moist crumbs attached, but no wet batter. If you see wet batter, continue baking and check again in 2-3 minute intervals. Trust the toothpick test over visual cues alone to ensure the cake is fully baked through before removing it.
Using the Correct Amount of Leavening Agent: Following Recipe Instructions
Measure baking powder and baking soda accurately and double-check the recipe amounts. Ensure your leavening is fresh. If you've had repeated vanilla cake baking problems with sinking despite correct measurement, consider if your leavening might be old or if there's an unusual interaction with other ingredients in the specific recipe you're using.
Proper Oven Temperature Calibration: Avoiding Inaccurate Readings
Inaccurate oven temperatures are a frequent hidden cause of baking failures. An oven that runs too cool might lead to underbaking and sinking, while one that runs too hot can cause rapid rising followed by collapse or a dry cake. Using an inexpensive oven thermometer placed inside your oven will show you the true temperature and help you adjust your oven's dial accordingly. Many ovens are off by 25-50°F (about 15-30°C).
Problem 4: Unevenly Baked Vanilla Cake – Addressing Hotspots
Spotting an Unevenly Baked Vanilla Cake: Visual Asymmetry
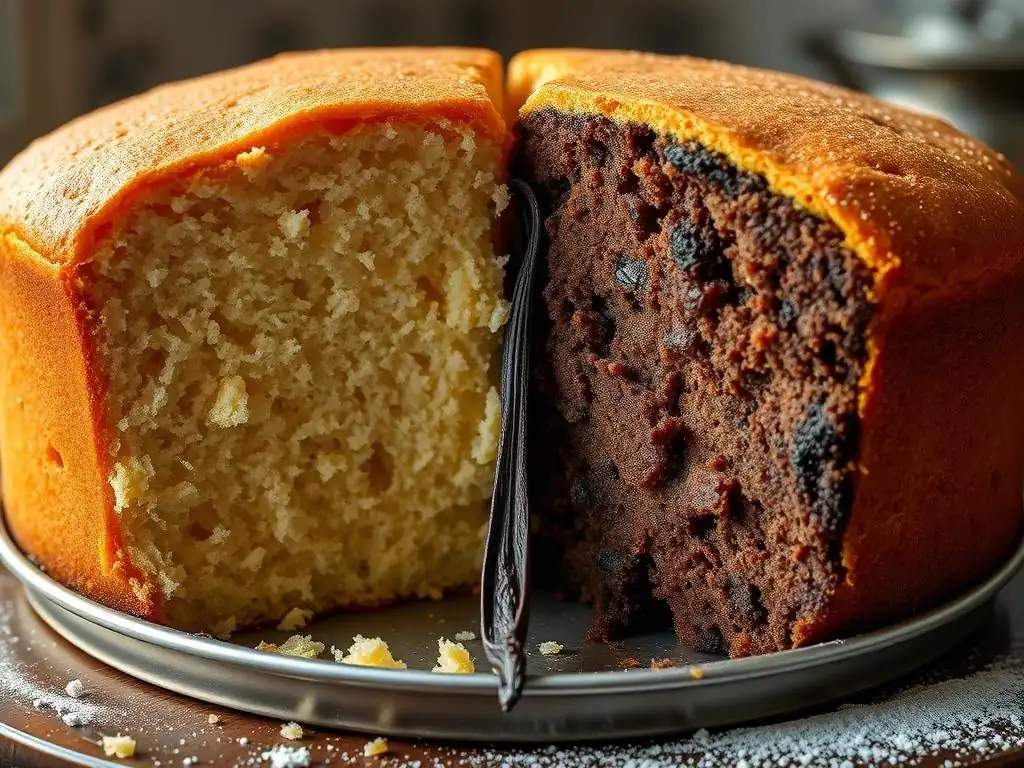
An unevenly baked vanilla cake is one where different parts of the cake bake at different rates. Visually, this might manifest as one side being darker or more done than the other, or the edges setting much faster than the center. The texture might also vary, with some parts being perfectly moist while others are dry or even slightly burnt. This inconsistency impacts the overall quality and appearance of the cake.
This vanilla cake baking problem is often related to the oven environment rather than the batter itself. While the batter might be uniform when it goes into the oven, the uneven application of heat causes the disparate baking results.
Causes of Uneven Baking:
Oven Hotspots: Uneven Heat Distribution
Most ovens have "hotspots" – areas where the temperature is significantly higher or lower than the average temperature. This can be due to the location of the heating element, poor air circulation, or insulation issues. Placing a cake directly in a hotspot will cause that part of the cake to bake (and potentially burn) faster than the rest.
Improper Pan Placement: Blocking Air Circulation
Placing a cake pan too close to the oven walls, the heating element, or another pan can restrict the flow of hot air around the pan. Proper air circulation is essential for even heat distribution. If air cannot circulate freely, some parts of the pan will receive less heat, leading to uneven baking.
Achieving Even Baking:
Rotating the Cake During Baking: Ensuring Uniform Heat Exposure
One of the simplest ways to combat oven hotspots is to rotate your vanilla cake pan halfway through the baking time. For example, if the recipe calls for 30 minutes of baking, rotate the pan 180 degrees after 15 minutes. This ensures that all sides of the cake spend equal time in different areas of the oven, promoting more uniform heat exposure.
Using Oven Thermometers: Monitoring Internal Oven Temperature
As mentioned earlier, an oven thermometer is invaluable. It not only helps calibrate your oven's overall temperature but also allows you to understand if certain racks or areas within your oven are consistently hotter or cooler. Knowing your oven's quirks helps you anticipate and adjust.
Proper Pan Placement: Allowing for Air Circulation
Place your cake pan in the center of the oven rack, ideally on the middle rack, unless the recipe specifies otherwise. Ensure there are several inches of space between the pan and the oven walls, the oven door, and any other pans in the oven. This allows hot air to circulate freely around the entire pan, ensuring even heat distribution.
Using Baking Strips: Insulating the Pan Sides
Baking strips (fabric strips soaked in water) wrapped around the outside of the cake pan can help insulate the sides. This slows down the baking rate of the edges, allowing the center to catch up. This technique is particularly useful for larger cakes or those baked in metal pans prone to heating up quickly, helping prevent doming and uneven baking.
Problem 5: Cracked Vanilla Cake Top – Understanding and Correcting
Recognizing a Cracked Vanilla Cake Top: Appearance and Texture
A cracked vanilla cake top is characterized by one or more fissures or cracks running across the surface of the cake. Sometimes the edges rise significantly higher than the center, forcing the center to crack as it tries to keep up. The texture around the crack might be slightly drier or crustier than the rest of the top surface.
While not always a structural disaster, a cracked top can affect the cake's appearance, especially if you plan on frosting it smoothly. It's a common vanilla cake baking problem that indicates the top surface set too quickly before the cake had finished rising.
Reasons for Cracking:
Oven Temperature Too High: Rapid Expansion
An oven temperature that is too high causes the outside of the vanilla cake batter to set and form a crust very quickly. Meanwhile, the inside of the cake is still rising and expanding due to the leavening agents. When the internal expansion exceeds the flexibility of the already-set crust, the crust cracks to accommodate the rising batter underneath.
Cake Batter Too Dry: Lack of Moisture
A batter that is too dry lacks the necessary moisture and flexibility to expand smoothly as it bakes. If the batter doesn't have enough liquid, the surface is more prone to drying out and setting prematurely in the heat of the oven, leading to cracking when the internal structure expands.
Preventing Cracking:
Lowering Oven Temperature: Gradual Baking
If you consistently get cracked tops, try lowering your oven temperature by 25°F (about 15°C) and increasing the baking time slightly. A lower temperature allows the cake to rise more gradually, giving the top crust more time to set along with the rest of the cake, maintaining flexibility. Using an oven thermometer to verify your oven's accuracy is also crucial here.
Ensuring Adequate Moisture in the Batter: Liquid Balance
Double-check your liquid measurements and ensure you're not adding too much flour (see Problem 1). If using a recipe that seems inherently dry, consider adding a tablespoon or two of extra milk or another liquid ingredient to the batter before baking. Using room temperature ingredients also helps with proper emulsification, contributing to a smoother, more flexible batter.
Scoring the Cake Before Baking: Creating a Controlled Crack
For certain types of cakes where a crack is acceptable or even desired (like some pound cakes), you can create a controlled crack by scoring the top of the batter with a greased knife about 1/2 inch deep before placing it in the oven. This gives the cake a designated place to split as it rises, often resulting in a neater crack than one that forms randomly. This is less common for standard vanilla layer cakes but is a technique used for specific textures.
Problem 6: Vanilla Cake Sticking to the Pan – Solutions for Easy Release
Preventing Cake Sticking:
Properly Greasing and Flouring the Pan: Creating a Barrier
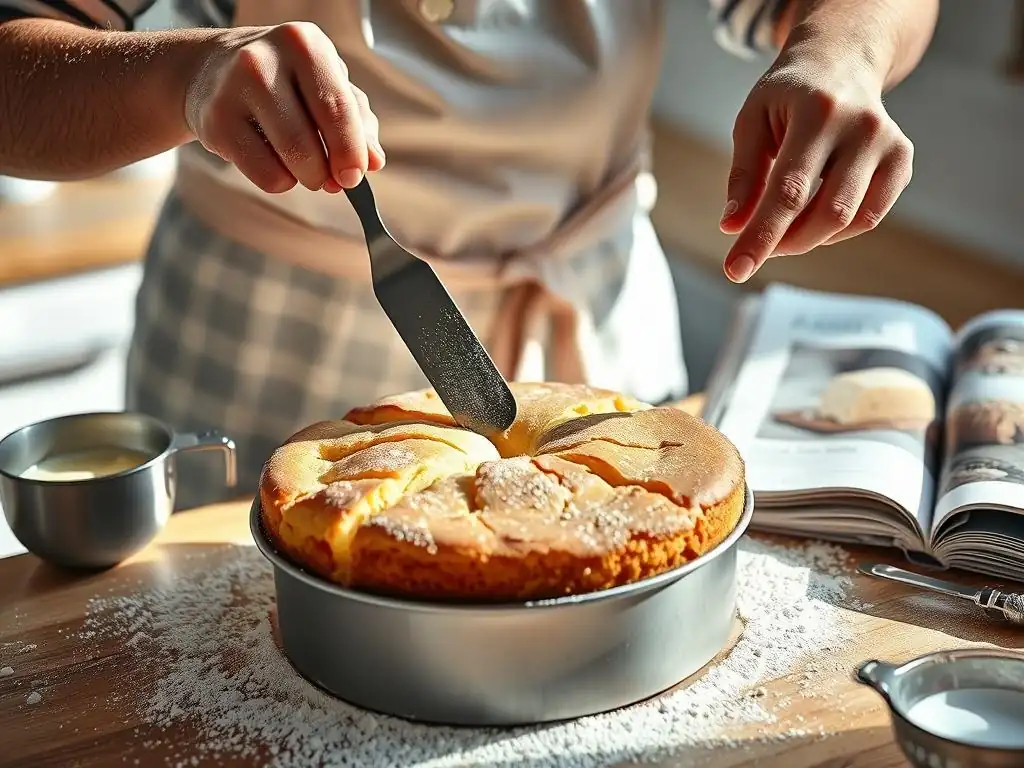
One of the most fundamental steps to prevent your vanilla cake from sticking is properly preparing the pan. This involves creating a non-stick barrier between the cake batter and the pan surface. Use softened butter, shortening, or a non-stick baking spray (one that contains flour is excellent for cakes) to generously coat the entire interior surface of the pan, including the corners and sides.
After greasing, add a few tablespoons of flour (or cocoa powder for chocolate cakes) to the pan, tilt and tap it to coat the greased surface evenly, then tap out any excess flour. This dual layer of grease and flour provides a reliable release.
Using Parchment Paper: Ensuring Easy Removal
For added insurance, especially with delicate vanilla cakes or intricate pans, line the bottom of the pan with parchment paper after greasing and flouring. Cut a circle or rectangle of parchment to fit the base of the pan. Place it in the bottom, and the cake will lift away cleanly from the base. You still need to grease and flour the sides of the pan where the parchment doesn't reach. This is a highly effective method for preventing the dreaded stuck bottom, a common vanilla cake baking problem.
Cooling the Cake Completely Before Inverting: Allowing the Cake to Set
Allowing the vanilla cake to cool slightly in the pan before attempting to invert it is crucial. Typically, recipes recommend letting the cake cool in the pan on a wire rack for 10-15 minutes. During this time, the cake's structure finishes setting, and it pulls away slightly from the sides of the pan as it cools.
Trying to remove a hot cake can cause it to break or stick because it's still fragile. After the initial cooling period in the pan, invert it onto the wire rack to cool completely. If you wait too long and the cake cools completely in the pan, moisture can condense, potentially causing sticking.
Conclusion: Mastering Vanilla Cake Baking Techniques
Key Takeaways for Overcoming Vanilla Cake Baking Problems
Successfully troubleshooting vanilla cake baking problems boils down to understanding the science behind the process and paying close attention to detail. Accurate measurement of ingredients, especially flour and leavening agents, is paramount. Controlling oven temperature and avoiding premature opening of the oven door are critical for proper rising and setting. Ensuring ingredients are at the correct temperature and mixing techniques are gentle prevents density. Finally, meticulous pan preparation guarantees your beautiful cake releases cleanly.
Embrace the learning process; every baking attempt, even those with imperfections, offers valuable insights. By identifying the specific issue – whether it's dryness, density, sinking, unevenness, cracking, or sticking – and understanding its likely cause, you can apply the appropriate solution. This systematic approach transforms frustrating failures into opportunities for growth, leading you towards consistently baking perfect, moist, and delicious vanilla cakes.
Resources for Further Baking Education at BakeWithEase.com
At BakeWithEase.com, we are dedicated to helping you master all your baking endeavors, including conquering common vanilla cake issues. Explore our extensive library of recipes, including detailed step-by-step guides for various vanilla cake variations. We offer articles delving deeper into the science of ingredients, the importance of measuring techniques, and tips for understanding your oven.
Dive into our sections on Pastry and Desserts, specifically the Vanilla Cakes & Desserts subcategory, for recipes designed with success in mind. Our goal is to make baking accessible and enjoyable for everyone. Continue practicing, keep troubleshooting, and utilize the resources available at BakeWithEase.com to elevate your baking skills and bake with ease!
Frequently Asked Questions
What causes a vanilla cake to be dry?
A dry vanilla cake is often due to over-baking, using too much flour, or not enough fat in the recipe. Adjust your baking time and ingredient ratios for a moister result.
Why did my vanilla cake sink in the middle?
A sunken cake can be caused by opening the oven too early, using expired baking powder, or uneven oven temperature. Ensure your oven is properly calibrated and resist the urge to peek!
How can I prevent my vanilla cake from browning too quickly?
To prevent over-browning, try lowering the oven temperature slightly, covering the cake loosely with foil during the last part of baking, or positioning the cake lower in the oven.
My vanilla cake is dense and tough. What went wrong?
A dense cake usually results from overmixing the batter, which develops too much gluten. Gently combine the wet and dry ingredients just until moistened.
What's the best way to ensure my vanilla cake has a strong vanilla flavor?
Use high-quality vanilla extract or vanilla bean paste. You can also infuse the milk or butter with vanilla bean for a more pronounced flavor.
Final Reflection: The Sweet Science of Success (and Failure)
The seemingly simple vanilla cake holds a mirror to our baking prowess, revealing both triumphs and tribulations. A perfectly moist, fluffy vanilla cake is a testament to precision and understanding, while a dense, dry, or cracked one highlights the subtle nuances often overlooked. This exploration of common vanilla cake baking problems underscores the importance of understanding the fundamental principles of baking, a skill applicable far beyond the confines of a single recipe.
The journey of baking, much like life itself, is filled with both successes and setbacks. Learning from our mistakes, whether a collapsed cake or a stubbornly unyielding batter, is crucial for growth. The only true wisdom is in knowing you know nothing.
- Socrates. This quote, while seemingly unrelated to baking, perfectly encapsulates the continuous learning process involved in mastering any craft, including the art of baking a perfect vanilla cake. Each failed attempt offers a valuable lesson, pushing us to refine our techniques and deepen our understanding of the ingredients and their interactions.
Now, consider your own baking experiences. Have you encountered a particularly stubborn vanilla cake? What did you learn from that experience? I encourage you to embrace the challenges, to experiment fearlessly, and to celebrate the small victories along the way. The path to baking perfection is paved with both flour and frustration, but the reward – a perfectly baked vanilla cake – is undeniably sweet. So, dust off your aprons, gather your ingredients, and embark on your next baking adventure, armed with the knowledge and confidence to tackle any challenge that comes your way.
Unlock Your Perfect Vanilla Cake!
Thanks for taking the time to explore the world of vanilla cake baking with us! We hope you’ve gained some valuable insights into troubleshooting those common baking mishaps. Ready to put your new knowledge into practice?
- Bake your dream vanilla cake today! Grab your ingredients and try out one of the techniques you learned—we're confident you'll see a difference.
- Share your baking success (or even your baking adventures!) with us on social media using #BakeWithEaseVanilla. We’d love to see your creations!
- Explore our other baking guides on BakeWithEase.com for more tips and tricks to elevate your baking game.
What unique twist will you add to your next vanilla cake masterpiece?