
Vanilla Bean Custard Recipe: Silky Smooth and Flavorful

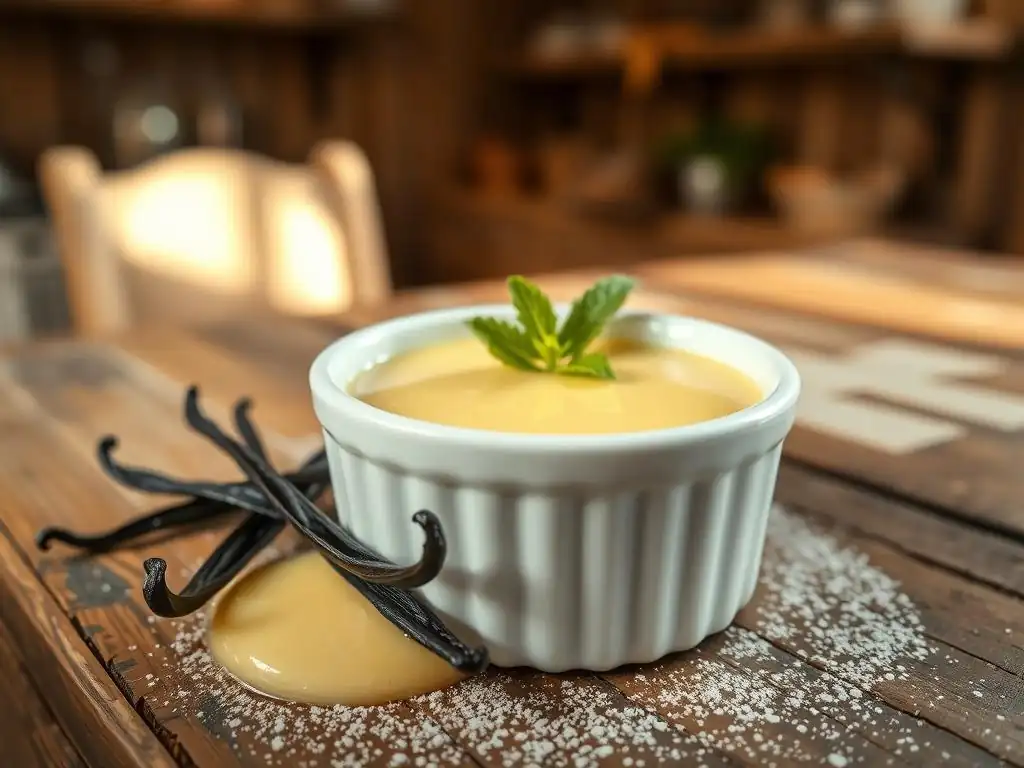
Welcome to BakeWithEase, where delicious baking becomes effortlessly achievable! Ever dreamt of creating a dessert that's both elegant and incredibly satisfying? Get ready to unlock the secrets to a silky smooth vanilla custard that will leave everyone craving more. Intrigued? Discover our step-by-step guide to crafting this exquisite pastry and dessert staple and elevate your baking game today!
- Vanilla Bean Custard Recipe: Silky Smooth and Flavorful (BakeWithEase)
- Introduction: Indulge in Silky Smooth Vanilla Custard
- Why This Vanilla Bean Custard Recipe is a Must-Try
- Ingredients for the Best Vanilla Bean Custard
- Step-by-Step Guide: Making Silky Smooth Vanilla Custard at Home
- Tips and Tricks for a Perfect Vanilla Custard
- Serving Suggestions: Elevate Your Vanilla Custard Experience
- Storing Your Homemade Vanilla Bean Custard
- Understanding Vanilla Bean: Choosing the Best for Your Custard
- Variations on the Classic Vanilla Custard Recipe
- Conclusion: Enjoy Your Silky Smooth Vanilla Custard Creation
- Frequently Asked Questions
- Final Reflection: The Enduring Allure of a Perfect Custard
- Unlock Your Inner Pastry Chef: Master Vanilla Bean Custard Today!
Vanilla Bean Custard Recipe: Silky Smooth and Flavorful (BakeWithEase)
Introduction: Indulge in Silky Smooth Vanilla Custard
Welcome to BakeWithEase, where we believe that everyone can master the art of baking. Today, we're diving into the world of classic desserts with a focus on achieving the perfect silky smooth vanilla custard. This humble yet elegant confection is a cornerstone in many baking traditions, serving as a base for countless pastries, tarts, and frozen desserts, or simply enjoyed on its own. Learning to make a truly exceptional vanilla bean custard from scratch is a rewarding skill that elevates your baking repertoire.
The goal is a custard that is not just creamy, but utterly silky smooth, with a profound, authentic vanilla flavor that comes from using real vanilla beans. Forget grainy textures or bland sweetness; our aim is a luscious, velvety consistency that coats the back of a spoon and a taste that speaks of pure vanilla goodness. This guide will take you step-by-step through the process, ensuring your vanilla bean custard is a masterpiece of texture and taste.
Why This Vanilla Bean Custard Recipe is a Must-Try
Making a classic dessert like vanilla bean custard can sometimes feel intimidating, but this recipe is designed with ease and deliciousness in mind. We focus on fundamental techniques and high-quality ingredients to ensure success, even if you're relatively new to making custards. The payoff is a dessert far superior to anything store-bought, bursting with natural vanilla flavor and possessing that coveted silky smooth texture that is simply irresistible.
This particular recipe emphasizes the silky smooth vanilla custard outcome by focusing on crucial steps like proper tempering and careful cooking. It's a versatile base that can be used in pies, tarts, trifles, or even churned into ice cream. Mastering this basic technique opens up a world of dessert possibilities, making it a valuable addition to any home baker's skill set.
Simple Ingredients for a Flavorful Custard
Achieving a truly flavorful custard starts with selecting just a few key ingredients. This recipe relies on kitchen staples like whole milk, granulated sugar, egg yolks, and, most importantly, high-quality vanilla beans. The simplicity of the ingredient list means that the quality of each component truly shines through in the final product.
For instance, using whole milk provides the necessary fat content (around 3.25% to 4%) for a rich, creamy base, unlike lower-fat alternatives which can result in a thinner, less luxurious custard. Similarly, the specific ratio of egg yolks to milk and sugar is carefully balanced to ensure optimal thickening and contribute to the desired silky smooth vanilla custard texture without becoming overly dense or eggy.
Achieve Perfect Texture: The Secret to Silky Smooth Custard
The texture is arguably the most critical element of a great custard, and achieving a silky smooth consistency requires attention to detail, particularly during the cooking phase. The secret lies in controlling the temperature and preventing the egg proteins from scrambling. This involves a technique called tempering, where hot milk is slowly whisked into the egg yolk mixture.
Tempering gradually raises the temperature of the egg yolks, preventing them from cooking too quickly when they are added back to the hot milk. Furthermore, cooking the custard gently over low to medium heat while constantly stirring is crucial. The custard should thicken to a point where it coats the back of a spoon, typically reaching an internal temperature of around 170°F to 175°F (77°C to 79°C), but never boiling, as this can cause it to curdle and lose its desired silky smooth texture.
BakeWithEase Approved: Easy Steps for Baking Success
At BakeWithEase, our recipes are designed to be approachable and successful for bakers of all levels. This vanilla bean custard recipe breaks down the process into clear, manageable steps, ensuring that even beginners can achieve impressive results. We highlight common pitfalls and provide tips to avoid them, making the journey to a silky smooth vanilla custard enjoyable and rewarding.
From properly infusing the milk with vanilla flavor to knowing exactly when the custard is cooked to perfection, each stage is explained in detail. We emphasize visual cues and practical tips, such as straining the custard for extra smoothness or chilling it thoroughly, which are simple yet impactful techniques that contribute significantly to the final outcome and build confidence in your baking abilities.
Ingredients for the Best Vanilla Bean Custard
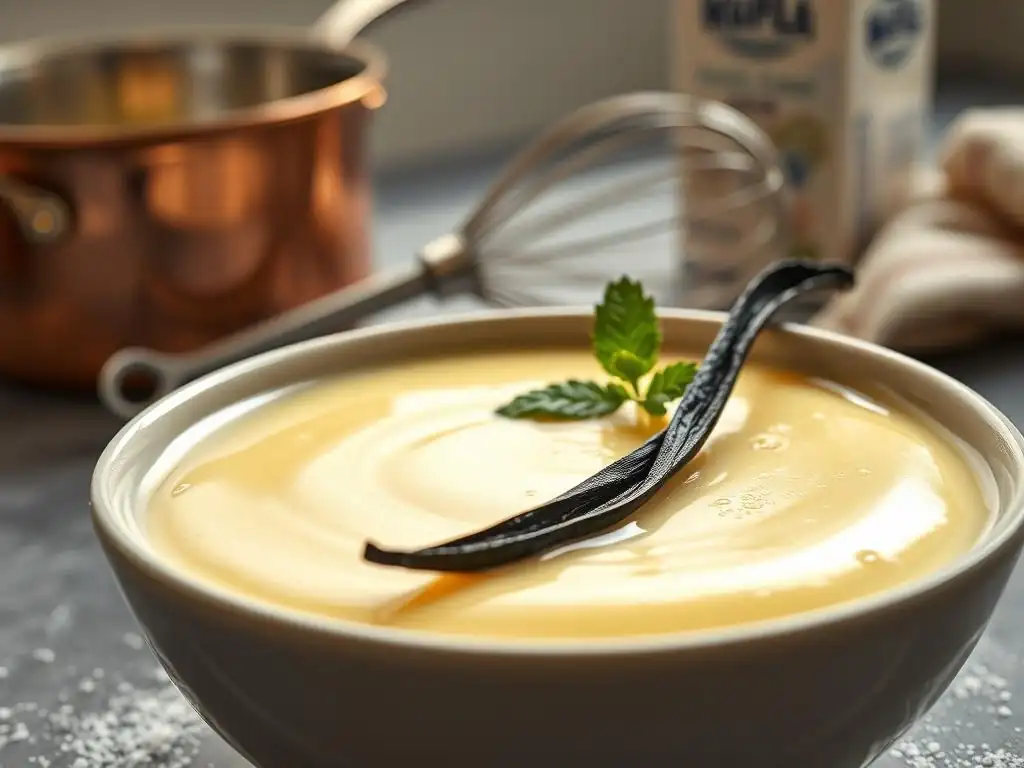
Making a truly exceptional vanilla bean custard requires focusing on the quality of your core ingredients. Each component plays a vital role in developing the rich flavor and achieving the characteristic silky smooth texture. Using the best available ingredients will elevate your custard from good to truly outstanding.
While the list is short, the impact of each item is significant. From the type of vanilla bean you choose to the fat content of your milk, these details matter. Let's look closer at the essential building blocks for achieving the ultimate silky smooth vanilla custard.
High-Quality Vanilla Beans: The Key to Authentic Vanilla Flavor
The heart of any great vanilla bean custard is the vanilla itself. Using real vanilla beans provides a depth and complexity of flavor that extract simply cannot replicate. High-quality beans are plump, moist, and fragrant, indicating they are fresh and full of vanillin, the compound responsible for vanilla's characteristic aroma and taste.
Different types of vanilla beans offer slightly different flavor profiles. For example, a plump Madagascar Bourbon vanilla bean (often considered the gold standard) lends a classic, sweet, and creamy vanilla flavor, perfect for a rich, silky smooth vanilla custard. A Tahitian bean, on the other hand, might introduce more floral or cherry notes. Using at least one full bean, split and scraped, is recommended for a pronounced, authentic vanilla taste that permeates the custard.
Whole Milk: Creating a Rich and Creamy Base
The liquid base for custard is typically milk or cream, and for a rich, silky smooth vanilla custard, whole milk is the preferred choice. Its fat content, usually around 3.5%, provides the necessary richness and mouthfeel that contributes to the luxurious texture. Using lower-fat milk can result in a thinner custard that lacks the desired creaminess.
Some recipes might substitute a portion of the milk with heavy cream (around 36% fat) for an even richer custard, often referred to as crème anglaise if it's a pourable sauce. However, using just whole milk, as in this recipe, still yields a wonderfully creamy and silky smooth texture while being slightly lighter than one made with heavy cream. The milk also helps to carry and distribute the delicate vanilla flavor throughout the custard.
Granulated Sugar: Balancing Sweetness in Vanilla Custard
Sugar in custard serves multiple purposes beyond just providing sweetness. It interacts with the egg yolks and milk to create a more stable structure and contributes to the smooth texture. The amount of sugar used can be adjusted slightly according to personal preference, but a typical ratio provides a balanced sweetness that complements the vanilla without overpowering it.
For this recipe, granulated sugar is standard. A ratio of about 1/4 cup to 1/3 cup of sugar per 2 cups of liquid (milk/cream) and 4-6 egg yolks is common for a moderately sweet custard. This amount ensures the custard is sweet enough to be a dessert but not so sweet that it masks the subtle notes of the vanilla bean, allowing the true flavor of your silky smooth vanilla custard to shine.
Egg Yolks: Achieving a Velvety Texture
Egg yolks are the primary thickener and emulsifier in classic custard, providing richness, color, and that desirable velvety texture. The proteins in the yolks coagulate when heated, causing the liquid to thicken. The fat in the yolks also contributes to the smooth, creamy mouthfeel of a silky smooth vanilla custard.
The number of egg yolks used directly impacts the thickness and richness of the custard. Using too few yolks will result in a thin custard, while too many can make it overly dense or give it a strong eggy flavor. A standard ratio often calls for 4 to 6 large egg yolks per 2 cups of milk. This balance ensures the custard thickens beautifully while remaining wonderfully silky and smooth.
Step-by-Step Guide: Making Silky Smooth Vanilla Custard at Home
Making vanilla bean custard might seem daunting, but by following these steps carefully, you'll achieve a perfectly silky smooth result every time. This process focuses on gentle heating and proper technique to ensure the eggs thicken the custard without scrambling.
Here is a breakdown of the process, designed for clarity and ease:
- [ ] Gather all ingredients and equipment.
- [ ] Prepare the milk for infusing.
- [ ] Whisk the egg yolk mixture.
- [ ] Temper the egg yolks carefully.
- [ ] Cook the custard gently, stirring constantly.
- [ ] Strain the custard for maximum smoothness.
- [ ] Chill the custard thoroughly.
Step 1: Infusing the Milk with Vanilla Bean Flavor
The first crucial step is to extract the maximum flavor from your high-quality vanilla bean. Split the bean lengthwise with a sharp knife and scrape out the tiny black seeds (often called vanilla caviar) using the back of the knife. These seeds hold the most intense flavor.
Combine the milk and the scraped vanilla seeds (along with the empty pod for extra flavor) in a saucepan. Heat the milk gently over medium heat, stirring occasionally, until it just begins to simmer around the edges – avoid a rolling boil. Remove the pan from the heat, cover it, and let it steep for at least 15-20 minutes to allow the vanilla flavor to infuse deeply into the milk. For an even more intense flavor, you can let it steep for an hour or longer, or even refrigerate it overnight, then reheat it gently before proceeding.
Step 2: Preparing the Egg Yolk Mixture
While the milk is infusing, prepare the egg yolk mixture in a separate medium-sized bowl. Separate the egg yolks from the whites – save the whites for another use, like meringues or macarons. Whisk the egg yolks together with the granulated sugar until the mixture is pale yellow and slightly thickened.
Some recipes also recommend adding a small amount of cornstarch or flour (e.g., 1-2 tablespoons) to the egg yolk mixture at this stage. While not strictly necessary for a classic custard thickened solely by egg yolks, adding a starch provides a bit of insurance against curdling and can help achieve a slightly thicker, more stable silky smooth vanilla custard, especially for beginners. Whisk the starch in thoroughly with the sugar and egg yolks until no lumps remain.
Step 3: Tempering the Egg Yolks for Smoothness
Tempering is perhaps the most critical step for achieving a silky smooth texture and preventing scrambled eggs. Once the milk has steeped and is hot (reheat it gently if it cooled significantly), remove the vanilla bean pod. Slowly, in a thin, steady stream, begin to whisk about half a cup of the hot milk into the egg yolk mixture while whisking vigorously. This gradually warms the yolks without cooking them.
Continue slowly adding the hot milk, whisking constantly, until you've incorporated about half of the milk into the egg mixture. This process brings the temperature of the yolks up closer to the temperature of the milk. The mixture in your bowl should now be noticeably warmer. This tempered mixture is ready to be added back to the remaining hot milk in the saucepan.
Step 4: Cooking the Custard to Perfection
Pour the tempered egg yolk mixture back into the saucepan with the remaining hot milk. Return the saucepan to the stovetop and cook over low to medium heat, stirring constantly with a wooden spoon or heatproof spatula. It is essential to stir continuously, scraping the bottom and sides of the pan to prevent the custard from sticking or scorching.
The custard will gradually thicken as the egg proteins coagulate. This process typically takes about 8-15 minutes, depending on the heat level and quantity. Do not boil the custard! Cook it until it is thick enough to coat the back of a spoon – meaning if you draw a line through the custard on the spoon with your finger, the line holds. An instant-read thermometer is the most accurate way to tell; the custard should reach 170°F to 175°F (77°C to 79°C). Remove it immediately from the heat once it reaches this temperature.
Step 5: Chilling for the Ultimate Silky Smooth Texture
Once the custard is cooked, immediately remove it from the heat and pour it through a fine-mesh sieve set over a clean bowl. Straining removes any potential lumps or cooked bits of egg, ensuring the final silky smooth vanilla custard texture. For extra richness and to prevent a skin from forming on top, you can whisk in a tablespoon or two of unsalted butter at this stage, though it's optional.
Cover the surface of the custard directly with plastic wrap, pressing it down so it touches the custard. This prevents a skin from forming as it cools. Allow the custard to cool at room temperature for about 20-30 minutes before transferring it to the refrigerator. Chill for at least 2-4 hours, or preferably longer, until it is completely cold and set. Chilling is crucial for the custard to develop its final thickness and achieve that perfect silky smooth consistency.
Tips and Tricks for a Perfect Vanilla Custard
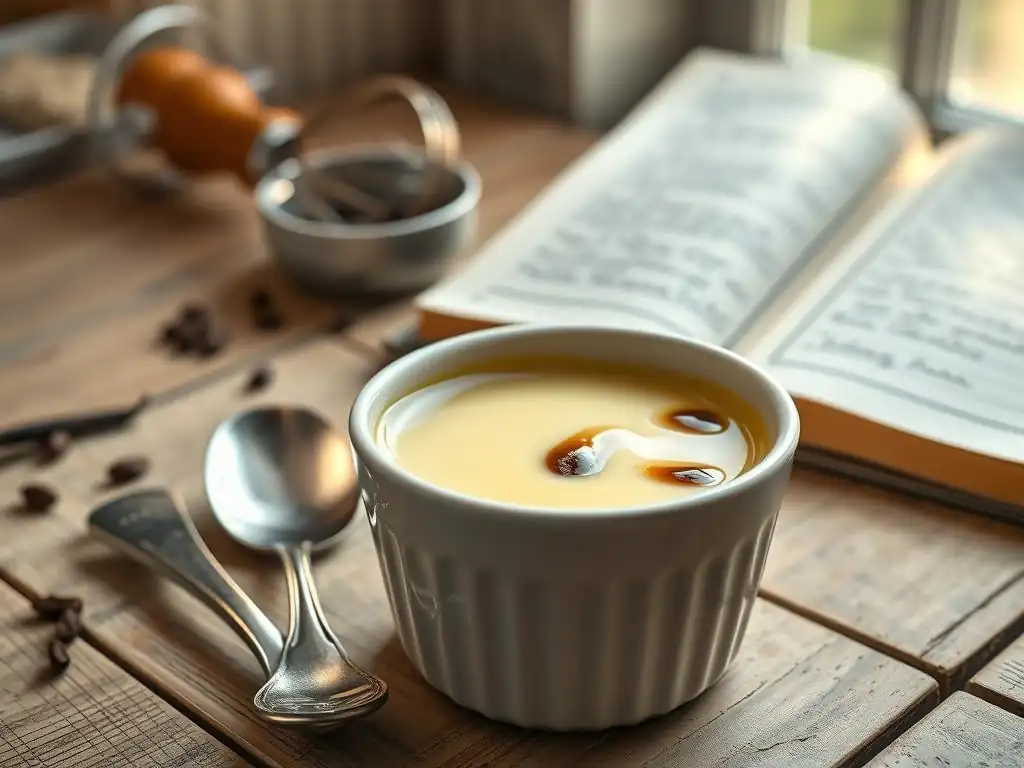
Achieving a truly perfect silky smooth vanilla custard consistently involves paying attention to a few key details. Beyond the basic steps, incorporating certain techniques and knowing how to troubleshoot common issues can make all the difference in the final outcome.
These tips are gleaned from years of baking experience and are designed to help you avoid common pitfalls and ensure your custard is as smooth and flavorful as possible.
Avoiding Lumps: Expert Techniques for a Smooth Custard
Lumps are the nemesis of a silky smooth custard. The primary cause is uneven heating or cooking the eggs too quickly. Tempering the egg yolks properly, as described in Step 3, is your first line of defense against lumps. This gradual heating prevents the eggs from scrambling when they hit the hot milk.
Another crucial technique is constant stirring during the cooking phase. Using a whisk initially can help break up any potential lumps, but switching to a flat-bottomed wooden spoon or spatula as the custard thickens is often more effective for scraping the entire bottom surface of the pan. Finally, straining the cooked custard through a fine-mesh sieve is the ultimate insurance policy, catching any small lumps that may have formed despite your best efforts, leaving you with a flawlessly silky smooth vanilla custard.
Achieving the Right Consistency: Knowing When It's Done
Determining when custard is perfectly cooked can be tricky, as it thickens further as it cools. The key is to cook it just enough for the egg proteins to coagulate and thicken the mixture, but not so much that it becomes grainy or curdles. Relying solely on time can be misleading, as stovetop temperatures vary.
The classic test is coating the back of a spoon: dip a spoon into the custard, lift it out, and run your finger through the custard on the back of the spoon. If the line holds and doesn't run, it's done. Using an instant-read thermometer provides the most accurate measure; the custard is typically ready when it reaches 170°F to 175°F (77°C to 79°C). Remove it from the heat immediately at this point, even if it seems slightly thinner than you expect, as it will thicken significantly upon chilling into that desired silky smooth vanilla custard.
Troubleshooting Common Custard Problems
Even experienced bakers encounter issues sometimes. One common problem is custard that is too thin. This usually means it wasn't cooked long enough or didn't reach the correct temperature (170-175°F). You can sometimes gently reheat it over low heat, stirring constantly, to try and thicken it further, being careful not to curdle it.
Another issue is curdling, which results in a grainy texture. This happens when the custard is heated too quickly or boiled. If your custard curdles slightly, you can try whisking it vigorously off the heat or even blending it with an immersion blender or in a regular blender for a few seconds. While this might salvage some of the texture, it won't be as perfectly silky smooth as a custard that wasn't overcooked. Prevention through careful tempering and gentle cooking is always the best approach.
Serving Suggestions: Elevate Your Vanilla Custard Experience
A beautifully made silky smooth vanilla custard is a delight on its own, but it also serves as an incredibly versatile base or accompaniment for numerous other desserts. Its rich flavor and luxurious texture pair well with a wide range of fruits, pastries, and other sweet treats.
Here are a few ideas to take your vanilla bean custard from simple to spectacular:
Classic Vanilla Custard Presentation
For a simple yet elegant presentation, serve the chilled silky smooth vanilla custard in individual bowls or ramekins. You can garnish it minimally with a sprinkle of cinnamon, a dusting of nutmeg, or a single vanilla bean pod used during cooking.
Alternatively, dollop a generous portion of the custard onto a slice of cake, a warm fruit crumble, or a piece of pie. The contrast between the warm dessert and the cool, silky smooth custard is particularly delightful. A classic pairing is pouring the custard over a slice of apple pie or serving it alongside a simple pound cake.
Pairing Vanilla Custard with Fresh Berries
The sweetness and richness of vanilla custard are wonderfully balanced by the tartness and freshness of berries. A simple bowl of silky smooth vanilla custard topped with a generous handful of fresh mixed berries – strawberries, blueberries, raspberries, or blackberries – is a refreshing and visually appealing dessert.
Consider macerating the berries slightly with a little sugar and perhaps a squeeze of lemon juice for 10-15 minutes before serving. This draws out their juices and intensifies their flavor, creating a lovely sauce that mingles perfectly with the creamy vanilla custard. A sprig of fresh mint can add a pop of color and aroma.
Transforming Vanilla Custard into Crème brûlée
One of the most popular transformations of a thick vanilla custard is into crème brûlée. While traditional crème brûlée is a baked custard, a cooked stovetop custard that is thick enough can also be used. Simply pour the chilled, silky smooth vanilla custard into shallow ramekins.
Just before serving, sprinkle a thin, even layer of granulated sugar over the surface of each custard. Use a kitchen torch to melt and caramelize the sugar until it forms a hard, glassy crust. Allow the crust to cool for a minute or two until it hardens. The satisfying crack of the caramelized sugar against the creamy, cool silky smooth vanilla custard underneath is a truly classic dessert experience.
Storing Your Homemade Vanilla Bean Custard
Once you've made your beautiful silky smooth vanilla custard, proper storage is essential to maintain its texture, flavor, and freshness. Custard, being dairy and egg-based, requires careful handling to prevent spoilage.
Here’s how to store your custard correctly and how long you can expect it to last while keeping its optimal quality.
Proper Storage for Optimal Freshness
To store your vanilla bean custard, first ensure it is completely cooled after cooking and straining. As mentioned in the cooking steps, covering the surface directly with plastic wrap is crucial to prevent a skin from forming and to protect it from absorbing odors from the refrigerator.
Transfer the covered bowl or individual ramekins of custard to the refrigerator. Store the custard in an airtight container if you are transferring it from the original bowl, ensuring the plastic wrap still touches the surface before sealing the container. Proper refrigeration at or below 40°F (4°C) is key to keeping the custard fresh and maintaining its silky smooth texture.
How Long Does Vanilla Custard Last?
Properly stored homemade vanilla bean custard typically lasts for 3 to 4 days in the refrigerator. While it might be safe to eat slightly longer, the quality, especially the silky smooth texture and fresh vanilla flavor, is best enjoyed within this timeframe.
It's important to check the custard before serving if it's been stored for a few days. Look for any signs of spoilage, such as an off smell, discoloration, or separation that can't be easily stirred back together. When in doubt, it's always safer to discard it. Freezing custard is generally not recommended, as it can significantly alter the texture, making it grainy and less smooth upon thawing.
Tips for Maintaining Texture During Storage
Beyond covering directly with plastic wrap to prevent a skin, minimizing temperature fluctuations in the refrigerator can help maintain the custard's silky smooth texture. Avoid placing the custard in the door of the refrigerator, which is subject to frequent temperature changes.
When you are ready to serve the chilled custard, you can gently stir it with a spoon to restore its homogeneous, silky smooth consistency, especially if it has settled slightly. If using it in a recipe that requires it to be pourable, you might need to let it sit at room temperature for a few minutes or gently whisk it, but avoid excessive stirring which can incorporate air and compromise the texture.
Understanding Vanilla Bean: Choosing the Best for Your Custard
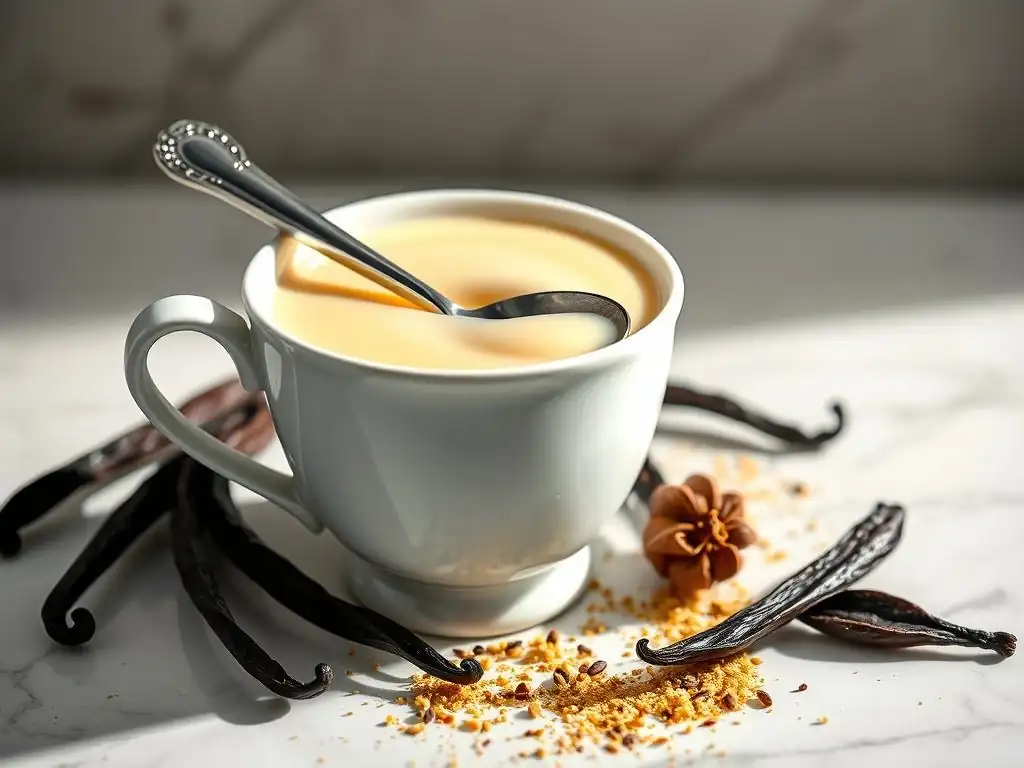
The quality of your vanilla bean has a profound impact on the flavor of your custard. Not all vanilla beans are created equal, and understanding the differences can help you choose the best option for achieving a truly aromatic and flavorful silky smooth vanilla custard.
Let's explore the world of vanilla beans and how to get the most out of them in your baking.
Different Types of Vanilla Beans
The most common types of vanilla beans available are:
- Madagascar Bourbon Vanilla: The most popular type, known for its classic, rich, sweet, and creamy flavor profile. These beans are plump and oily and are excellent for general baking and making silky smooth vanilla custard.
- Tahitian Vanilla: Often larger and plumper than Bourbon beans, with a more floral, fruity, and sometimes cherry-like aroma and flavor. They work well in custards and fruit-based desserts.
- Mexican Vanilla: Offers a smoky, spicy note along with the classic vanilla flavor. They are also often used in chocolate and spice-based recipes.
- Ugandan Vanilla: Known for being very sweet and having a higher concentration of vanillin, resulting in a strong, classic vanilla aroma.
For a classic silky smooth vanilla custard with a universally loved flavor, Madagascar Bourbon vanilla beans are an excellent choice.
Extracting Maximum Flavor from Vanilla Beans
To get the most flavor from a vanilla bean, you need to access the tiny seeds, or 'caviar', inside the pod. Start by splitting the bean lengthwise using a sharp paring knife. Be careful not to cut all the way through.
Once split, open the bean flat and use the back of your knife (or a small spoon) to scrape down the inside of each half, collecting the paste-like seeds. These seeds contain the most concentrated flavor. Don't discard the scraped pod! Simmering the pod along with the seeds in the milk during the infusion step (as described in Step 1) extracts additional flavor locked within the pod itself. Remove the pod before proceeding with the recipe.
Vanilla Bean Paste vs. Vanilla Extract: Which to Use?
While this recipe specifically calls for vanilla beans for the most authentic flavor, you might wonder about substitutes. Vanilla extract is made by macerating vanilla beans in alcohol and water. It provides vanilla flavor but lacks the visual appeal of the seeds and the subtle complexity of the whole bean.
Vanilla bean paste is a thicker, syrupy product containing concentrated vanilla extract and suspended vanilla bean seeds. It offers a good compromise, providing both flavor and the speckles of vanilla bean. If you must substitute for a vanilla bean in this silky smooth vanilla custard recipe, you can typically use 1 to 2 teaspoons of high-quality vanilla bean paste per vanilla bean called for, or about 1 teaspoon of pure vanilla extract, though the flavor won't be as intense or complex. Using the actual bean is highly recommended for the best result.
Variations on the Classic Vanilla Custard Recipe
While the classic vanilla bean custard is perfect as is, its simple base makes it ideal for incorporating other flavors. Once you've mastered the basic technique for a silky smooth vanilla custard, you can experiment with delicious variations.
Here are a few ideas to get you started:
Chocolate Vanilla Custard
To create a rich chocolate vanilla custard, incorporate high-quality chocolate into the hot milk base. After infusing the milk with the vanilla bean and removing the pod, add finely chopped bittersweet or semi-sweet chocolate (around 2-4 ounces per 2 cups of milk) to the hot milk.
Whisk until the chocolate is completely melted and the mixture is smooth. Then, proceed with tempering the egg yolks and cooking the custard as described in the main recipe. The result is a luxurious custard with deep chocolate notes beautifully complemented by the subtle vanilla flavor, creating a wonderfully decadent silky smooth dessert.
Caramel Vanilla Custard
Adding caramel flavor brings a wonderful depth to the classic vanilla custard. You can achieve this in a couple of ways. One method is to make a batch of homemade caramel sauce (sugar cooked until caramelized, then whisked with cream or butter) and whisk a few tablespoons into the finished, warm custard before chilling.
Alternatively, you can caramelize the sugar used in the custard itself. Cook the granulated sugar in a dry saucepan over medium heat until it melts and turns a deep amber color. Be careful not to burn it. Then, carefully whisk in the hot, vanilla-infused milk (be cautious, as it will steam and bubble vigorously). Stir until the hardened caramel dissolves into the milk, then proceed with tempering the egg yolks and cooking the custard. This yields a silky smooth vanilla custard with a distinct caramel undertone.
Raspberry Infused Vanilla Custard
Infusing the custard base with fruit provides a lovely tangy counterpoint to the sweetness and richness. To make a raspberry infused vanilla custard, gently simmer a cup of fresh or frozen raspberries (or another fruit like strawberries or cherries) with the milk and vanilla bean during the initial infusion step.
After simmering, strain the milk mixture through a fine-mesh sieve to remove the fruit solids and seeds, pressing gently on the solids to extract maximum flavor. Discard the solids and vanilla pod. Then, proceed with the recipe using the strained, fruit-infused milk to create a delicately flavored and silky smooth vanilla custard with a hint of berry brightness.
Conclusion: Enjoy Your Silky Smooth Vanilla Custard Creation
Mastering the art of making a truly silky smooth vanilla custard from scratch is a delightful achievement for any home baker. By focusing on quality ingredients, particularly real vanilla beans, and paying close attention to the simple yet crucial steps of tempering and gentle cooking, you can consistently create a dessert that is rich, flavorful, and boasts that perfect, velvety texture.
Whether you enjoy it chilled on its own, paired with fresh berries, transformed into a classic crème brûlée, or used as a base for other desserts, your homemade vanilla bean custard is sure to impress. We hope this BakeWithEase guide has demystified the process and empowered you to create your own glorious batch of silky smooth vanilla custard. Happy baking!
Frequently Asked Questions
What makes this vanilla bean custard "silky smooth"?
The slow cooking process and careful straining after cooking are key. This removes any lumps and ensures a smooth, creamy texture. Also, using high-quality ingredients like real vanilla bean is vital.
Can I use vanilla extract instead of a vanilla bean?
Yes, you can, but the flavor will be different. Use about 1 teaspoon of high-quality vanilla extract after the custard has cooled slightly. A vanilla bean provides a more complex flavor.
What if my custard curdles?
Curdling usually means the custard was cooked at too high a temperature. Try blending the custard immediately to smooth it out. To prevent this, use a low heat and constant stirring.
How long will the vanilla bean custard last in the refrigerator?
Properly stored in an airtight container, the custard will last for about 3-4 days in the refrigerator. Ensure it's completely cooled before refrigerating to maintain its texture.
What are some serving suggestions for this vanilla bean custard?
It's delicious on its own, or as a filling for pastries. You can also serve it with fresh fruit, cookies, or as a topping for cakes or pies. Consider caramelizing the top for a crème brûlée effect.
Final Reflection: The Enduring Allure of a Perfect Custard
The pursuit of the perfect silky smooth vanilla custard transcends mere culinary skill; it's a journey into the heart of comfort and simple pleasures. This recipe, meticulously crafted to achieve that elusive texture and flavor, reflects a timeless desire for culinary excellence that resonates deeply with home cooks and professional chefs alike. The seemingly simple act of creating a custard speaks volumes about our appreciation for quality ingredients and the satisfaction derived from mastering a classic technique.
The enduring appeal of vanilla custard lies not only in its deliciousness, but in its versatility. It's a blank canvas for creativity, adaptable to countless desserts and culinary applications. From the classic crème brûlée to the elegant filling of a pastry cream, its adaptability speaks to its enduring place in culinary history. The simplest things are often the most beautiful.
This quote perfectly encapsulates the magic of a well-made vanilla custard – a testament to the power of simplicity and precision.
Now, I invite you to take this recipe and make it your own. Experiment with different vanilla extracts, perhaps even adding a touch of citrus zest or a hint of spice. Don't be afraid to explore the possibilities! The journey to creating your own perfect silky smooth vanilla custard is a rewarding one, filled with the satisfaction of crafting something beautiful and delicious from humble ingredients. Embrace the process, savor the results, and share the joy of this timeless treat with those you love.
Unlock Your Inner Pastry Chef: Master Vanilla Bean Custard Today!
Thanks for joining us on this creamy journey! We hope you've gained the confidence to tackle this classic dessert. Ready to dive into the deliciousness?
- Whip up your own batch of vanilla bean custard: Use our recipe as a guide, and don't be afraid to experiment with different flavor combinations! Think cardamom, lavender, or even a hint of espresso!
- Share your custard creation: Post a photo of your masterpiece on social media and tag us @BakeWithEase – we'd love to see your culinary triumph!
- Explore other BakeWithEase recipes: Discover more delightful desserts and baking adventures on our website. What other classic recipes are you excited to tackle next?
Ready to create some custard magic? Let’s see those amazing creations!