
Baking with Lard: Traditional Techniques for Flaky American Pie Crusts

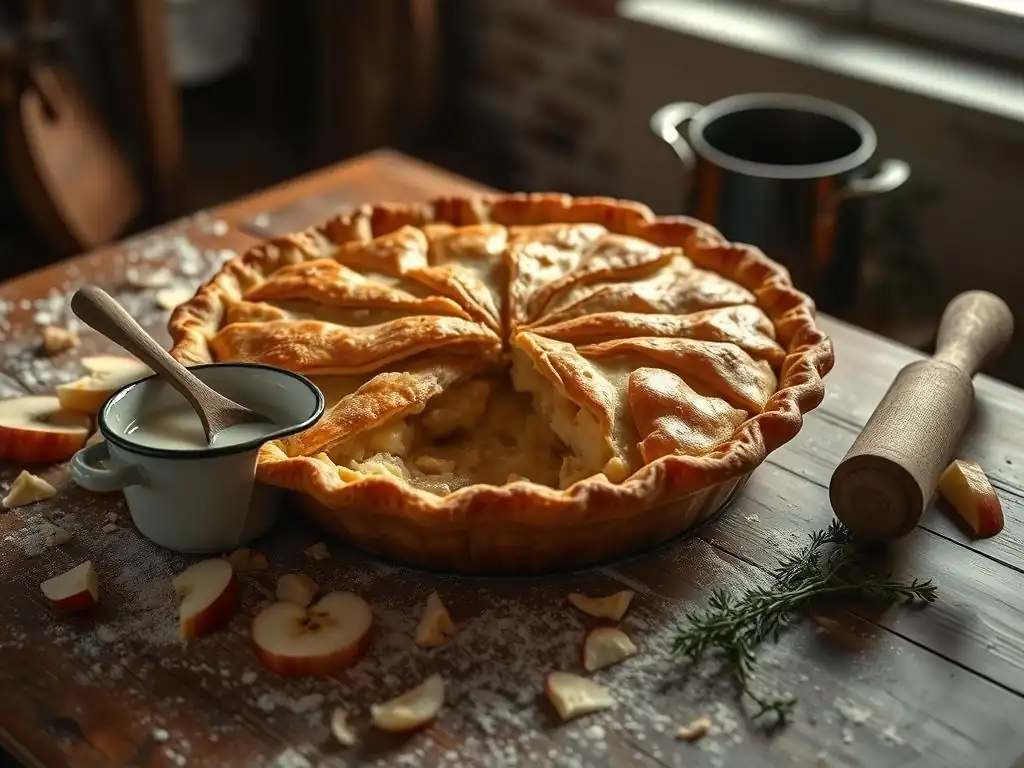
Welcome to BakeWithEase, your trusted companion on your baking journey! Ever wonder how the flakiest pie crusts achieve their legendary texture? Dive into the secrets of flaky pie crust lard and discover time-honored techniques for baking authentic American pies. Are you ready to unlock the secrets of generations past and elevate your baking skills? Let's get started!
- The Science of Flaky Pie Crust: Lard's Unique Properties
- Mastering Flaky Pie Crust: Step-by-Step Guide
- Troubleshooting Common Pie Crust Issues
- Enhancing Flavor and Texture
-
Classic Lard Pie Crust Recipe: A Detailed Guide
- Step 1: Measuring and Chilling Ingredients
- Step 2: Cutting in the Lard: The Importance of Pea-Sized Pieces
- Step 3: Adding Ice Water: Hydrating the Dough
- Step 4: Chilling the Dough: Relaxing Gluten Strands
- Step 5: Rolling and Shaping: Achieving the Desired Thickness
- Step 6: Baking Instructions: Temperature and Time
- Storing Homemade Pie Crust
- Advanced Techniques
- Frequently Asked Questions
- Final Reflection: The Enduring Allure of Lard in the Pursuit of Perfect Pie
- Unleash Your Inner Pie Master!
The Science of Flaky Pie Crust: Lard's Unique Properties
Lard's Fat Composition and Gluten Inhibition
Lard, rendered pork fat, possesses a unique composition that is key to achieving that desired flaky pie crust lard is famous for. Unlike butter, which is about 80-82% fat and contains water, pure lard is nearly 100% fat. This absence of water means it doesn't contribute to gluten development in the same way butter's water content can. Furthermore, lard contains a higher proportion of saturated and monounsaturated fats compared to butter's mix, which influences its texture and how it interacts with flour.
Crucially, lard has a different crystalline structure than butter and a slightly higher melting point range, typically between 90°F and 105°F. This means that when chilled and cut into flour, the small pieces of solid lard remain intact longer during mixing and rolling. As the crust bakes, these solid fat particles melt, creating tiny steam pockets. The steam expands, pushing apart the layers of dough, and the melted fat coats the flour particles, preventing them from binding into a tough matrix. This process results in the distinct separation of layers, yielding an exceptionally flaky pie crust made with lard.
Traditional Use of Lard in American Pie Baking
The use of lard in American pie crusts is deeply rooted in culinary history, particularly in regions where pork was a primary protein source. Before the widespread availability of refrigerated butter or vegetable shortenings, lard was a readily accessible and economical fat for baking. It was the go-to choice for generations of home bakers seeking a tender, flaky result for their fruit pies, savory tarts, and classic double-crust pies like apple or cherry.
Historically, rendered leaf lard, specifically the fat from around the kidneys, was prized for its neutral flavor and superior flakiness. This tradition persisted for centuries, with family recipes passed down through generations relying solely on lard for their signature flaky pie crusts. While other fats gained popularity in the 20th century, many traditionalists and professional bakers still champion lard for its unparalleled ability to create a truly authentic and wonderfully flaky pie crust lard devotees swear by.
Mastering Flaky Pie Crust: Step-by-Step Guide
Ingredients for Classic Lard Pie Crust
A truly classic flaky pie crust with lard requires just a few simple ingredients, but their quality and temperature are paramount. You'll typically need all-purpose flour, pure lard, salt, and ice-cold water. For a standard double-crust pie (enough for a 9-inch pie), you might use approximately 2 ½ cups of all-purpose flour, 1 teaspoon of salt, about 1 cup of cold, pure lard, and roughly ½ cup of ice water. The exact amount of water can vary slightly depending on the flour and humidity.
Using high-quality, pure lard is essential for the best results. Avoid hydrogenated shortenings labeled as "lard" if possible, as they behave differently than pure rendered pork fat. The flour should be standard all-purpose flour, measured correctly (spooned into the measuring cup and leveled, not scooped directly from the bag). Salt is crucial for flavor balance, especially when making a flaky pie crust lard recipe for sweet fillings.
Preparing Lard: Temperature Control for Optimal Results
The temperature of your lard is one of the most critical factors in achieving a flaky pie crust lard is known for. The lard must be very cold and solid, but not frozen solid. Think of it like cold butter – it should be firm to the touch. Many bakers recommend chilling the lard in the refrigerator for at least 30-60 minutes before use. Some even suggest cutting the cold lard into cubes and placing those cubes back in the freezer for 10-15 minutes before incorporating them into the flour.
Working with cold lard ensures that it remains in distinct pieces when cut into the flour. These solid pieces are what create the layers during baking as they melt and release steam. If the lard is too warm, it will smear into the flour, resulting in a more cookie-like or mealy texture rather than the desired flaky pie crust lard provides. Keeping everything cold – the lard, the water, and even your hands or tools – is key to success.
Combining Ingredients: Cold Method and Minimal Mixing
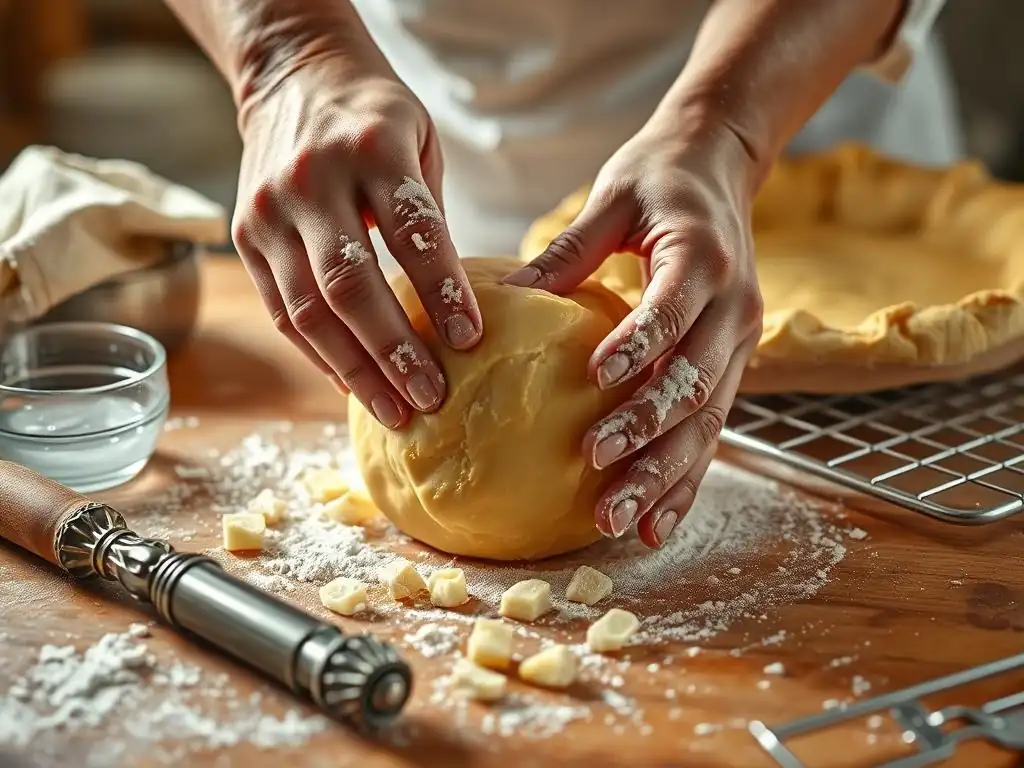
The traditional method for combining ingredients for a flaky pie crust lard recipe is the cold method. This involves cutting the cold lard into the dry ingredients (flour and salt) until the mixture resembles coarse meal with some pea-sized pieces of fat still visible. Tools like a pastry blender, forks, or even your fingertips can be used, but work quickly to prevent the lard from warming up. The goal is to distribute the fat evenly without creaming it into the flour.
Once the fat is cut in, ice-cold water is added a tablespoon at a time. Use just enough water to bring the dough together; too little results in a crumbly dough, too much leads to a tough crust. Mix gently with a fork or your hands until the dough just barely holds together when squeezed. Avoid overmixing at all costs, as excessive handling develops gluten, which is the enemy of a tender, flaky pie crust. The dough should look shaggy and not perfectly smooth.
Rolling Techniques: Achieving Even Thickness and Preventing Tears
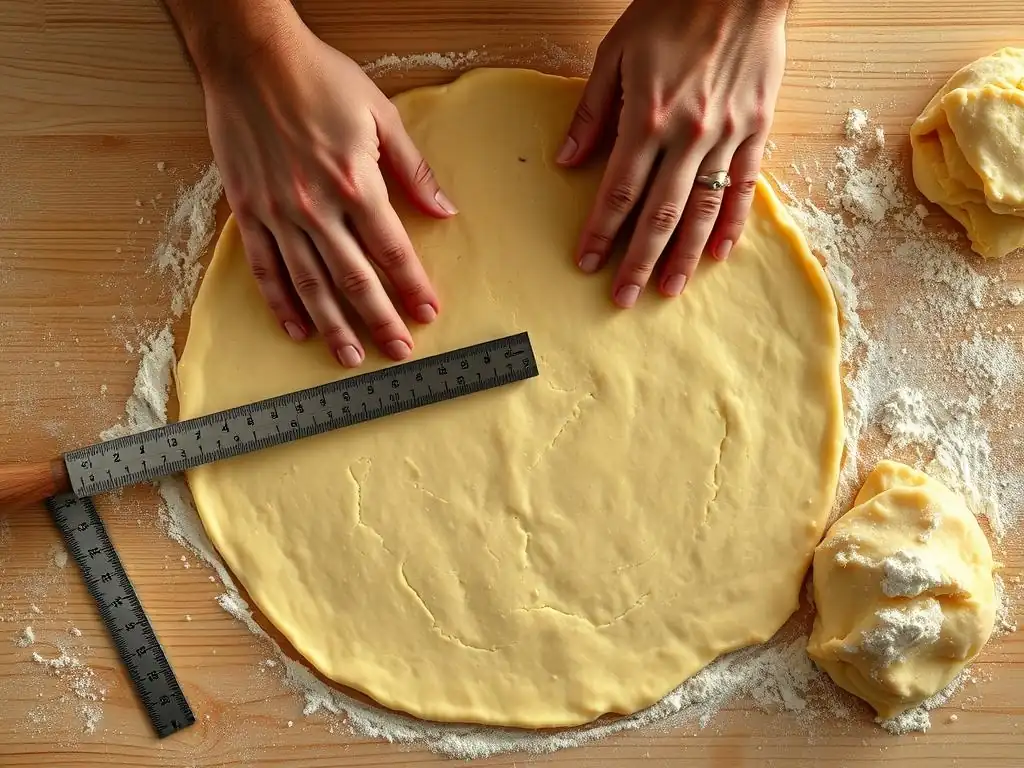
Rolling the dough for a flaky pie crust lard is used in requires a gentle touch and a cool surface. Lightly flour your work surface and rolling pin. Take one portion of the chilled dough, flatten it slightly, and begin rolling from the center outwards, rotating the dough frequently (about a quarter turn each time) to ensure an even circle and prevent sticking. Roll to a thickness of about ⅛ inch.
If the dough cracks at the edges, you can gently pinch it back together. If it sticks, lift it carefully and add a minimal amount of flour underneath. The key is to handle the dough as little as possible. For transferring the rolled dough to the pie plate, you can gently roll it around your rolling pin and unroll it over the plate, or carefully fold it into quarters and unfold it in the plate. Press it gently into the corners without stretching it, which can lead to shrinkage during baking.
Blind Baking: Preventing Soggy Crusts
Blind baking, or pre-baking, the pie crust is a crucial step for many recipes, especially those with wet fillings like quiches or cream pies, to prevent a soggy bottom. To blind bake a flaky pie crust lard helps create, fit the rolled dough into your pie plate and crimp the edges. Then, line the crust with parchment paper or foil and fill it with pie weights, dried beans, or rice. These weights prevent the crust from puffing up or shrinking excessively during baking.
Bake the weighted crust in a preheated oven, often around 400-425°F, for about 15-20 minutes, or until the edges are set and lightly golden. Remove the weights and parchment/foil and continue baking for another 5-10 minutes, or until the bottom is lightly golden and appears dry. This initial bake sets the structure of the crust, ensuring it stays crisp even when a moist filling is added later.
Troubleshooting Common Pie Crust Issues
Tough Crust: Overmixing and Gluten Development
A tough pie crust is one of the most common frustrations for bakers, and it almost always stems from overworking the dough. When flour is mixed with water and kneaded or handled excessively, gluten proteins develop and form a strong, elastic network. While this is desirable in bread, it makes a pie crust tough and chewy instead of tender and flaky. Using warm ingredients can also contribute, as warmth encourages gluten development.
To avoid a tough crust when making a flaky pie crust lard recipe, remember the principle of minimal handling. Mix the dough only until it just comes together. Use cold ingredients, especially the lard and water. Chill the dough adequately before rolling – this relaxes any gluten that may have started to develop. If you find yourself needing to re-roll scraps, be aware that these pieces will likely result in a slightly tougher crust than the initial roll.
Crumbly Crust: Insufficient Moisture and Fat Distribution
On the opposite end of the spectrum from a tough crust is a crumbly crust, which often falls apart when you try to roll or handle it. This usually indicates insufficient moisture or improper fat distribution. If not enough ice water is added, the flour won't hydrate sufficiently to form a cohesive dough. The dough needs just enough moisture to bind together when gently squeezed.
Insufficiently cut-in fat can also lead to a crumbly texture. If the lard pieces are too large or not evenly distributed, the dough won't have a consistent structure. While you want some pea-sized pieces for flakiness, the rest of the mixture should resemble coarse meal to provide structure. Ensure you add water gradually, mixing until the dough just comes together, adding a tiny bit more if necessary, but avoiding excess.
Preventing Shrinkage: Proper Dough Handling and Baking Temperatures
Pie crust shrinkage during baking can leave you with a crust that doesn't fill the pie plate or has pulled away from the edges. A primary cause is stretching the dough when fitting it into the pie plate. When stretched, the gluten network (even the minimal one in a good pie dough) is under tension. As the crust bakes, this tension releases, causing the dough to pull back.
Proper chilling is also key to preventing shrinkage in a flaky pie crust lard is used for. Chilling the dough after it's mixed and again after it's fitted into the pie plate allows the fat to firm up and the gluten to relax. Baking at the correct initial temperature is also important; starting at a slightly higher temperature can help set the edges before significant shrinkage occurs. Avoid overworking the dough, as more gluten development means more potential for shrinkage.
Enhancing Flavor and Texture
Incorporating Flavor Extracts: Vanilla and Almond
While a classic flaky pie crust lard provides has a wonderful, slightly savory depth from the lard itself, you can subtly enhance its flavor profile with extracts. A small amount of vanilla extract, perhaps ½ to 1 teaspoon per double-crust recipe, adds a touch of warmth and sweetness that complements both sweet and savory fillings. It's a subtle addition that rounds out the overall taste.
Almond extract offers a more distinctive flavor. Used judiciously (start with ¼ to ½ teaspoon), it pairs wonderfully with fruit fillings like cherry, apple, or berry. The nutty notes from the almond extract can add an unexpected layer of complexity to your flaky pie crust lard recipe. Extracts should be added to the ice water before incorporating it into the flour/fat mixture to ensure even distribution.
Sweet vs. Savory: Adjusting Sugar and Salt Content
The basic flaky pie crust lard recipe is quite versatile and can be adapted for both sweet and savory applications by adjusting the sugar and salt content. For sweet pies, you typically include about 1 teaspoon of salt and can add 1 to 2 tablespoons of granulated sugar to the dry ingredients. The sugar adds a touch of sweetness to the crust itself and can aid in browning.
For savory pies, such as quiches or meat pies, you would definitely include the salt (at least 1 teaspoon, possibly slightly more depending on preference) but omit the sugar entirely. Some savory crust recipes might even include herbs like dried thyme or rosemary mixed into the dry ingredients. The key is to remember that the base flaky pie crust lard provides is neutral enough to work well in either context with simple adjustments.
Different Types of Lard: Leaf Lard vs. Back Fat
Not all lard is created equal, and the type of lard used can impact the flakiness and flavor of your pie crust. Leaf lard, rendered from the fat around the kidneys, is considered the premium choice for pastry. It has a very fine, smooth texture, a higher melting point than other types of lard, and a remarkably neutral flavor, making it ideal for delicate pastries and the flakiest pie crust lard can produce.
Back fat, rendered from the fat under the skin along the pig's back, is more readily available and less expensive than leaf lard. It has a slightly stronger pork flavor and a slightly lower melting point. While it still makes a very good flaky pie crust, the layers might not be quite as defined as with leaf lard, and the flavor will be a bit more noticeable. For the purest, most neutral flavor and maximum flakiness, leaf lard is the traditional preference for the ultimate flaky pie crust lard provides.
Classic Lard Pie Crust Recipe: A Detailed Guide
Step 1: Measuring and Chilling Ingredients
Begin by accurately measuring your dry ingredients: 2 ½ cups of all-purpose flour and 1 teaspoon of salt. Whisk them together in a large bowl. Next, measure out 1 cup of very cold, pure lard. If it's not already firm, chill it in the refrigerator for at least 30 minutes. Cut the cold lard into roughly ½-inch cubes. Finally, measure out about ½ cup of ice-cold water. Add a few ice cubes to the water and let it sit for a few minutes before measuring the required amount.
Having all your ingredients prepped and cold is essential for success when making a flaky pie crust lard recipe. The cold temperatures prevent the fat from melting prematurely and inhibit gluten development. Some bakers even chill their mixing bowl and pastry blender beforehand. Aim for a kitchen temperature that isn't excessively warm, ideally below 70°F, if possible.
Step 2: Cutting in the Lard: The Importance of Pea-Sized Pieces
Add the cold lard cubes to the flour and salt mixture. Using a pastry blender, two forks, or your fingertips, quickly cut the lard into the dry ingredients. Work the fat into the flour until the mixture resembles coarse meal, but with some larger pieces of lard still visible, roughly the size of small peas or flattened beans. These larger pieces are absolutely crucial for creating the distinct layers that define a flaky pie crust lard helps achieve.
Avoid overworking the mixture into a uniform, fine powder. The goal is to coat the flour particles with fat while keeping some fat pieces intact. This process should only take a few minutes. If you're using your hands, work very quickly to minimize the transfer of body heat, which could soften the lard.
Step 3: Adding Ice Water: Hydrating the Dough
Now, it's time to add the ice water. Remove the ice cubes from your measured water. Add the water, about 2 tablespoons at a time, sprinkling it over the flour/fat mixture. Use a fork or your hands to gently mix the water into the dry ingredients. Continue adding water, a tablespoon at a time, until the dough just barely comes together when you press a small handful.
The dough should still look quite shaggy and not like a smooth, kneaded dough. It's better to err on the side of slightly too little water than too much. You can always add a tiny bit more later if needed, but too much water results in a tough crust. For 2 ½ cups of flour, you will likely need between ½ cup and ¾ cup of ice water, but start with ½ cup and add cautiously.
Step 4: Chilling the Dough: Relaxing Gluten Strands
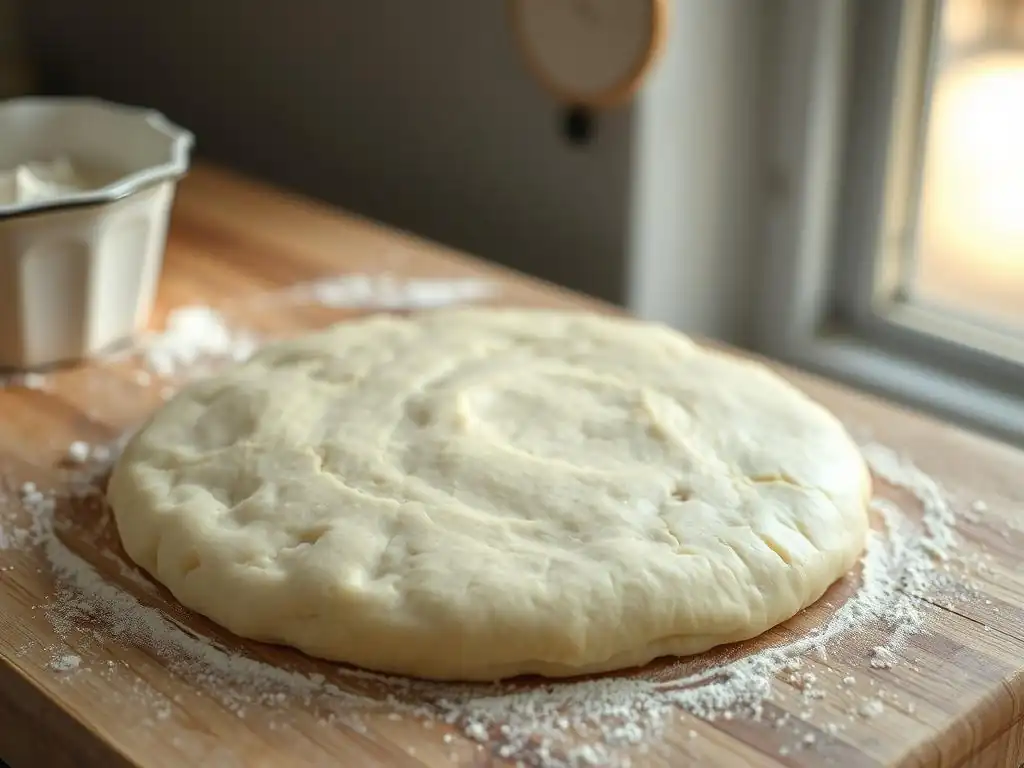
Once the dough has just come together, divide it into two equal portions if making a double-crust pie, or keep it as one portion for a single crust. Gently form each portion into a flattened disk, about 1 inch thick. Wrap each disk tightly in plastic wrap. It's important not to overwork the dough into a perfect ball; keep handling to a minimum.
Chill the wrapped dough in the refrigerator for at least 30 minutes, but preferably for 1 to 2 hours. This chilling period is vital. It allows the lard to firm back up, making it easier to roll, and, importantly, it gives any developed gluten strands time to relax. This relaxation is key to achieving a tender, flaky pie crust lard makes possible and helps prevent shrinkage during baking.
Step 5: Rolling and Shaping: Achieving the Desired Thickness
On a lightly floured surface, take one chilled dough disk. If it's very firm, let it sit at room temperature for just a few minutes to make it slightly more pliable, but keep it cold. Using a rolling pin, roll the dough from the center outwards, rotating the disk frequently (about a quarter turn) and adding minimal flour as needed to prevent sticking. Roll the dough into a circle about 12-13 inches in diameter and roughly ⅛ inch thick for a standard 9-inch pie plate.
Carefully transfer the rolled dough to your pie plate. You can gently roll it around your rolling pin and unroll it over the plate, or fold it in half or quarters and unfold it into the plate. Gently press the dough into the bottom and sides of the plate, ensuring it fits snugly into the corners without stretching. Trim any excess dough, leaving about a 1-inch overhang for crimping. If making a double crust, repeat with the second disk for the top.
Step 6: Baking Instructions: Temperature and Time
Baking temperatures and times for a flaky pie crust lard is used in vary depending on whether you are blind baking or baking a filled pie. For blind baking (as described in the "Blind Baking" section), preheat your oven to 400-425°F. Bake with weights for 15-20 minutes, then remove weights and bake for another 5-10 minutes until lightly golden.
For a filled pie, the initial baking temperature is often higher to set the crust quickly, then reduced for the remainder of the baking time. A common approach is to bake at 400-425°F for the first 15-20 minutes, then reduce the temperature to 375°F for the remaining baking time until the filling is set and the crust is golden brown. If the edges brown too quickly, you can cover them with foil strips or a pie crust shield. Total baking time for a filled pie can range from 35 minutes to over an hour, depending on the filling.
Storing Homemade Pie Crust
Storing Unbaked Dough: Refrigeration and Freezing
Proper storage is essential if you're making your flaky pie crust lard recipe ahead of time. Unbaked pie dough disks, tightly wrapped in plastic wrap, can be stored in the refrigerator for up to 2-3 days. The flavor and texture are generally best when used within this timeframe.
For longer storage, unbaked pie dough freezes beautifully. Wrap the chilled disks tightly in plastic wrap, then place them in a freezer-safe bag or wrap them again in foil to prevent freezer burn. Frozen dough can be stored for up to 3-4 months. To use, thaw the dough overnight in the refrigerator before rolling. Avoid thawing at room temperature, as this can make the lard too soft.
Storing Baked Crust: Maintaining Freshness
If you've blind-baked a pie shell or have leftover baked crust, it can also be stored. A fully baked, unfilled pie shell can be stored at room temperature, loosely covered, for 1-2 days. For slightly longer storage or in humid conditions, you can store it in the refrigerator for up to 3-4 days. Ensure it's wrapped or covered loosely to prevent it from drying out or becoming soggy.
Freezing a fully baked pie shell is also an option. Once completely cooled, wrap the shell tightly in plastic wrap, then in foil or place it in a freezer-safe container. It can be frozen for up to 1-2 months. Thaw at room temperature before filling. Keep in mind that freezing and thawing can sometimes slightly alter the texture compared to a freshly baked crust, but it's a convenient option for future use.
Advanced Techniques
Lattice Crusts: Weaving and Securing Strips
Creating a lattice top is a beautiful way to finish a fruit pie and allows steam to escape while baking. Roll out the top crust dough as usual, but instead of fitting it over the filling, cut it into even strips, typically ¾ to 1 inch wide, using a knife or pastry wheel. For a standard 9-inch pie, you might need 8-12 strips.
Arrange half of the strips parallel to each other over the filled pie. Fold back alternate strips about halfway. Place one perpendicular strip across the unfolded strips at the edge of the pie. Unfold the folded strips back over the perpendicular strip.
Now, fold back the other alternate strips and lay down another perpendicular strip. Continue this weaving pattern, alternating which strips you fold back, until the lattice covers the pie. Trim the ends of the strips and press them firmly onto the bottom crust's overhang, then crimp the edges to secure. For extra shine and browning, brush the lattice with an egg wash (one egg beaten with a tablespoon of water) and sprinkle with sugar before baking.
Decorative Edges: Crimping, Fluting, and Fork Marks
The edge of your pie crust is a chance to add a personal touch and also serves the practical purpose of sealing a double-crust pie or creating a neat border for a single crust. The simplest method is using a fork to press indentations around the edge of the dough that overhangs the pie plate. This creates a simple, rustic look.
A more classic technique is crimping or fluting. For crimping, use the thumb and index finger of one hand to push the dough edge from the inside, while using the index finger of the other hand to support the outside edge. This creates a series of inward folds. For fluting, use the index finger of one hand to press the dough edge between the thumb and index finger of the other hand, creating a wavy pattern. Practice makes perfect with these techniques, allowing you to create a beautiful and functional edge for your flaky pie crust lard recipe.
Frequently Asked Questions
What is the primary benefit of using lard when making pie crust?
Lard is known for creating an exceptionally flaky pie crust due to its high fat content and its ability to hinder gluten development. This results in a tender and crisp texture.
Why does lard contribute to a flakier crust compared to other fats?
Lard's unique fat structure makes it melt at a higher temperature than butter. This creates distinct layers of fat that steam and separate during baking, leading to flakiness.
Is all lard created equal when baking a pie crust?
No, rendered leaf lard is considered the best option for pie crusts. It has a neutral flavor and produces the most desirable texture compared to other types of lard.
How does using lard impact the taste of the pie crust?
When using high-quality lard, such as leaf lard, the impact on the taste is minimal. It contributes a subtle richness rather than an overpowering flavor.
Can I substitute lard with other fats in a pie crust recipe?
Yes, but the results will vary. Butter can be used, but it adds a distinct buttery flavor and may not result in the same level of flakiness as lard.
Final Reflection: The Enduring Allure of Lard in the Pursuit of Perfect Pie
The resurgence of traditional baking techniques, particularly the use of lard in pie crusts, speaks volumes about our desire for authenticity and quality in food. A perfectly flaky, melt-in-your-mouth pie crust isn't just a culinary achievement; it's a testament to the power of simple, high-quality ingredients and time-honored methods. The seemingly humble act of baking with lard connects us to generations past, reminding us of the importance of mindful food preparation.
The influence of lard on the cultural landscape of American baking is undeniable. From family recipes passed down through generations to the rise of artisan bakeries championing traditional techniques, lard's role in creating exceptional pie crusts remains significant. There's a magic in lard that you just can't replicate,
a seasoned baker once told me, and I've found that sentiment echoed countless times in my research. It's more than just an ingredient; it's a symbol of care, patience, and a commitment to excellence in the kitchen.
Now, consider your own baking journey. Perhaps you've been hesitant to try lard, or maybe you've already experienced its transformative power. I encourage you to experiment, to embrace the richness and depth of flavor that lard brings to your pie crusts. Don't be afraid to explore traditional methods, to connect with the history and artistry of baking, and to savor the simple pleasure of a truly exceptional pie. The journey to a perfect crust is a rewarding one, and the results are undeniably delicious.
Unleash Your Inner Pie Master!
Thanks for exploring the world of lard-based pie crusts with us! We hope you now feel confident in creating flawlessly flaky, melt-in-your-mouth pies. Ready to put your new skills to the test?
- Bake a masterpiece! Try out one of the recipes we discussed, or experiment with your own lard-crust creation. Don't be afraid to get your hands dirty!
- Share your success! Post a picture of your pie on social media and tag us – we'd love to see your baking triumphs!
- Join our baking community! Head over to the BakeWithEase forum to connect with other pie enthusiasts and share your tips and recipes.
What delicious flavor combination will you create with your perfectly flaky lard crust?