
BeginnerFriendly Spring Bread: Simple Focaccia with Herbs

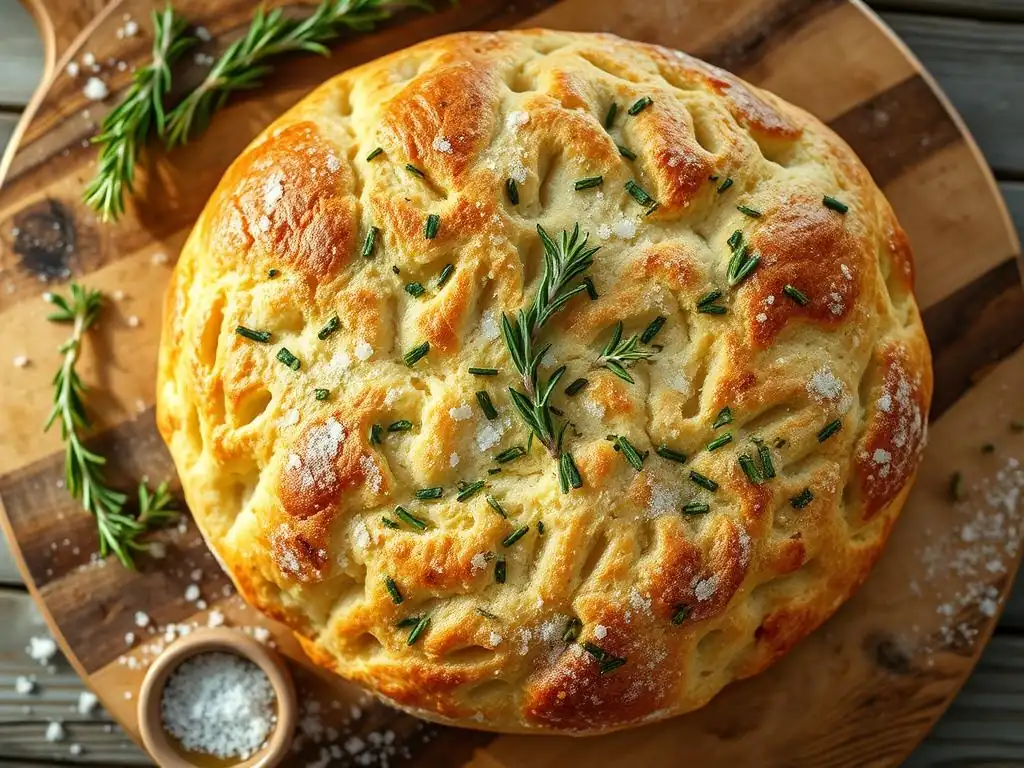
Welcome to BakeWithEase, your sanctuary for stress-free baking! Ever dreamed of effortlessly crafting a golden, aromatic loaf? You're in the right place. This season, we're diving into a world of fresh flavors, starting with our easy herb focaccia recipe. Discover how to create this delightful spring bread with minimal effort and maximum flavor. Ready to unlock the secrets to baking success? Let's get started...
- Beginner-Friendly Spring Bread: Simple Focaccia with Herbs - BakeWithEase
- Introduction to Easy Herb Focaccia Baking
- Mastering the Simple Focaccia Dough: Ingredients and Preparation
- Adding the Herbaceous Touch: Flavoring Your Focaccia
- Baking Your Herb Focaccia: Achieving Golden Perfection
- Easy Herb Focaccia Recipe: Step-by-Step Instructions
- Tips and Tricks for a Foolproof Focaccia
- Serving and Storing Your Homemade Herb Focaccia
- Enjoy Your Delicious, Easy Herb Focaccia!
- Frequently Asked Questions
- Final Reflection: The Simple Joy of Homemade Focaccia
- Unleash Your Inner Baker: Make This Focaccia Today!
Beginner-Friendly Spring Bread: Simple Focaccia with Herbs - BakeWithEase
Introduction to Easy Herb Focaccia Baking
Welcome Spring with a Simple Focaccia Recipe
As the days lengthen and the world outside bursts into color, spring brings a natural desire for fresh, vibrant flavors in our kitchens. What better way to celebrate the season than by baking a simple, aromatic bread? Focaccia, with its roots in ancient Roman baking, is a delightful flatbread known for its chewy interior, crispy crust, and generous drizzle of olive oil. It's the perfect canvas for incorporating the bright, clean tastes of spring herbs, filling your home with wonderful aromas as it bakes.
This particular easy herb focaccia recipe is designed to be approachable, making the wonderful world of bread baking accessible to everyone. Unlike some more complex loaves, focaccia is forgiving and doesn't require intricate shaping or precise timing, allowing you to focus on the simple joy of working with dough and creating something delicious from scratch.
Why This Easy Focaccia is Perfect for Beginner Bakers
Many aspiring bakers are intimidated by yeast doughs, but focaccia is an ideal starting point. Its high hydration means the dough is typically quite wet and sticky, which can feel unusual at first, but it's actually much easier to handle than a stiff dough and less prone to being overworked. There's no need for complex kneading techniques or achieving a perfect windowpane test.
Furthermore, this easy herb focaccia recipe often requires just one rise in the pan, simplifying the proofing process considerably. The rustic nature of focaccia means imperfections are welcome – uneven dimples or slightly irregular edges just add to its charm. Successfully baking a loaf of focaccia builds confidence and provides a tangible, tasty result that encourages further baking adventures.
Mastering the Simple Focaccia Dough: Ingredients and Preparation
Essential Ingredients for Your Herb Focaccia
Crafting a delicious focaccia starts with a few basic ingredients. You'll need all-purpose flour (though bread flour can add extra chewiness), active dry or instant yeast, warm water, salt, and, crucially, plenty of good quality olive oil. The flour provides the structure, while the yeast acts as the leavening agent, creating the airy pockets characteristic of focaccia.
Warm water hydrates the flour and activates the yeast. Salt is essential for flavor and also helps control the yeast's activity. Finally, olive oil is incorporated into the dough and used generously on the pan and the surface, contributing significantly to the texture, flavor, and golden crust. For a standard 9x13 inch pan, you might use around 3.5 cups of flour, 2 teaspoons of yeast, 1.5 teaspoons of salt, about 1.75 cups of warm water, and at least 1/4 cup of olive oil in the dough itself, plus much more for topping.
Step-by-Step Dough Preparation for Focaccia
Activating the Yeast: The First Step to Perfect Focaccia
If you are using active dry yeast, the first step is to "wake it up." Measure out your warm water, ideally between 105°F and 115°F (40°C to 46°C) – think warm bathwater, not hot. Sprinkle the yeast over the water, maybe with a pinch of sugar to give it a little food, and let it sit undisturbed for 5 to 10 minutes. You should see a foamy layer develop on the surface, indicating the yeast is alive and ready to work. If using instant yeast, you can often skip this step and mix it directly with the dry ingredients.
Using water that is too hot is a common mistake; temperatures much above 120°F (49°C) can kill the yeast, preventing your bread from rising. Conversely, water that is too cool (below 100°F/38°C) won't activate the yeast effectively, leading to a slow or nonexistent rise. Getting this temperature right is a simple but critical step for a successful easy herb focaccia recipe.
Mixing and Kneading: Achieving the Right Dough Consistency
In a large bowl, combine your flour and salt. Pour in the activated yeast mixture (or warm water and instant yeast if using). Add the olive oil designated for the dough. Use a wooden spoon or your hands to mix everything together until a shaggy, wet dough forms. This dough will be quite sticky and loose – embrace it!
Kneading helps develop the gluten structure, giving the bread chewiness. For focaccia, extensive kneading isn't typically required. You can knead by hand in the bowl or on a lightly floured surface for about 5-10 minutes, or use a stand mixer with a dough hook for 5-7 minutes on medium speed, until the dough is somewhat smoother but still soft and pliable. Don't be tempted to add excessive flour; the stickiness contributes to the airy crumb.
First Rise: Allowing the Dough to Develop Flavor
Once your dough is mixed and lightly kneaded, place it in a clean bowl that has been generously oiled with olive oil. Turn the dough over in the bowl to coat all sides with oil. Cover the bowl tightly with plastic wrap or a damp kitchen towel. Place the bowl in a warm spot free from drafts, ideally between 70°F and 75°F (21°C to 24°C).
Allow the dough to rise until it has roughly doubled in size. This typically takes 1 to 2 hours, depending on the warmth of your environment and the activity of your yeast. This first rise is crucial not just for leavening but also for developing the complex flavors of the bread as the yeast ferments. For an even deeper flavor profile, you can opt for a slow rise in the refrigerator overnight (8-12 hours), which results in a more complex, slightly tangy taste.
Adding the Herbaceous Touch: Flavoring Your Focaccia
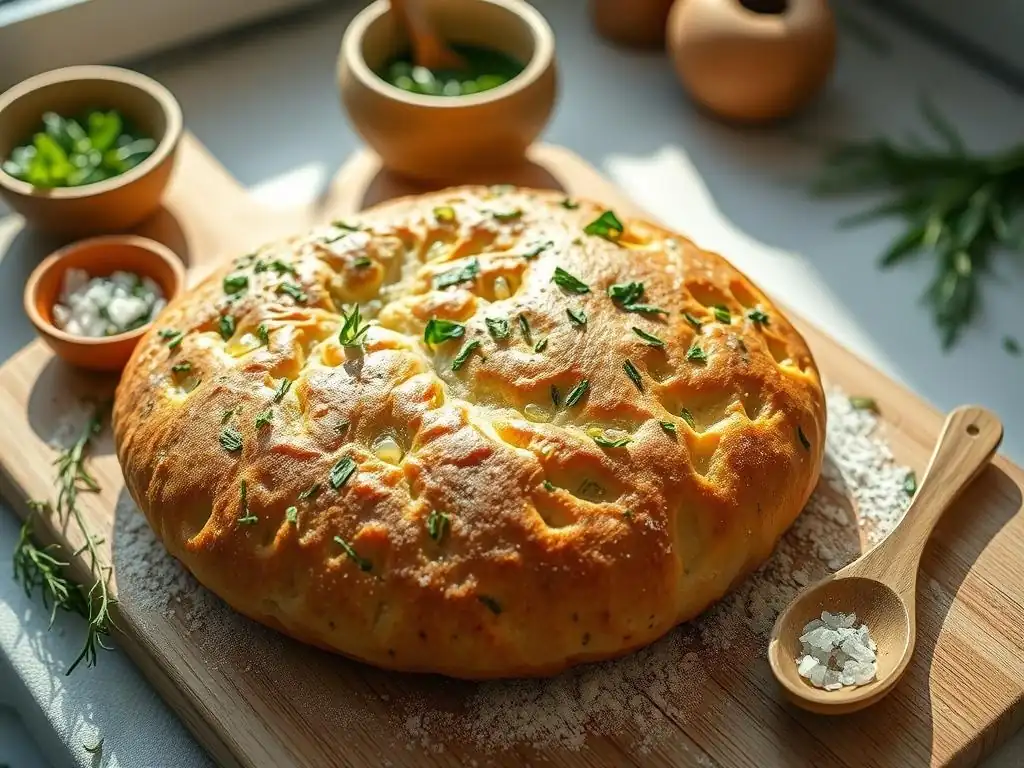
Choosing the Best Herbs for Your Spring Focaccia
The beauty of an easy herb focaccia recipe in spring lies in the availability of fresh, fragrant herbs. While dried herbs can be used, fresh herbs offer a brighter, more vibrant flavor that truly captures the essence of the season. Classic choices like rosemary, thyme, and oregano are always excellent, providing earthy, aromatic notes.
For a spring twist, consider incorporating finely chopped chives for a delicate oniony hint, parsley for freshness, or even a bit of tarragon for a unique anise-like flavor. A combination of 2 to 3 tablespoons of mixed chopped fresh herbs is a good starting point for a standard loaf. Ensure the herbs are washed and thoroughly dried before chopping to prevent introducing excess moisture to the dough.
Infusing Olive Oil with Herbs: Enhancing the Flavor Profile
One of the secrets to a deeply flavorful focaccia is using herb-infused olive oil. While simply drizzling plain olive oil is fine, taking a few minutes to infuse it adds another layer of aroma and taste. Gently warm about 1/4 to 1/2 cup of good quality extra virgin olive oil in a small saucepan over very low heat. Add some larger pieces of your chosen herbs (like rosemary sprigs or crushed garlic cloves).
Let the oil warm gently for 5-10 minutes, allowing the flavors to meld. Be careful not to overheat the oil or burn the herbs/garlic. Remove from the heat and let it cool slightly before using. This infused oil will be generously drizzled over the dough before baking, ensuring every bite of your easy herb focaccia recipe is packed with flavor.
Dimpling and Topping: Creating the Signature Focaccia Look
Once your dough has had its first rise and has been transferred to your prepared pan, let it rest for about 20-30 minutes to relax. Then, coat your fingertips generously with olive oil (you can use your infused oil here). Gently but firmly press your fingers straight down into the dough all over the surface, creating deep indentations or "dimples." Don't be afraid to go almost all the way down to the bottom of the pan.
These dimples are characteristic of focaccia and serve a practical purpose: they hold the olive oil and any toppings you add, ensuring pockets of intense flavor and contributing to the bread's signature chewy-crispy texture. After dimpling, generously drizzle the surface with your infused olive oil, letting it pool in the indentations. Sprinkle with your chopped fresh herbs and flaky sea salt. You can also add other toppings like cherry tomatoes, olives, or thin onion slices at this stage.
Baking Your Herb Focaccia: Achieving Golden Perfection
Preparing Your Baking Sheet for Focaccia
Choosing the right baking sheet and preparing it properly is key to achieving a beautiful focaccia with a crispy bottom crust. A standard 9x13 inch or 10x15 inch rectangular baking sheet works well for a medium-thickness focaccia. If you prefer a thicker loaf, use a smaller pan, such as an 8x8 or 9x9 inch square pan.
Generously coat the bottom and sides of the pan with olive oil – do not be shy! Using ample oil (at least 2-3 tablespoons for a 9x13 inch pan) prevents the focaccia from sticking and helps fry the bottom crust to a perfect golden crisp. Alternatively, you can line the pan with parchment paper first, then oil the paper generously. This makes cleanup a breeze and guarantees easy removal of the baked focaccia.
Baking Time and Temperature: The Key to a Crispy Crust
Preheat your oven to a relatively high temperature before baking your focaccia. A temperature between 400°F (200°C) and 425°F (220°C) is typical. This high heat helps the dough spring up quickly and ensures the crust develops a beautiful golden-brown color and crispy texture while the interior remains soft and airy.
The baking time will vary depending on your oven, the size of your pan, and the thickness of your dough, but it generally ranges from 20 to 30 minutes. For a thicker focaccia in a smaller pan, it might take closer to 30-35 minutes. Keep an eye on the color of the top crust and the edges; they should be deeply golden brown.
Checking for Doneness: Ensuring a Perfectly Baked Focaccia
Knowing exactly when your focaccia is done is important for achieving the right texture. Visually, the top crust should be a rich golden brown, and the edges should look crispy and slightly pulled away from the sides of the pan. The dimpled surface should be well-defined and the herbs should look slightly toasted but not burnt.
You can also gently lift one corner of the focaccia with a spatula to check the bottom crust. It should be golden brown and feel firm and crispy when tapped. While an internal temperature check isn't strictly necessary for this type of bread, a perfectly baked focaccia will register around 200-210°F (93-99°C) in the center if you were to use an instant-read thermometer. Trust your visual cues and the feel of the bottom crust for this easy herb focaccia recipe.
Easy Herb Focaccia Recipe: Step-by-Step Instructions
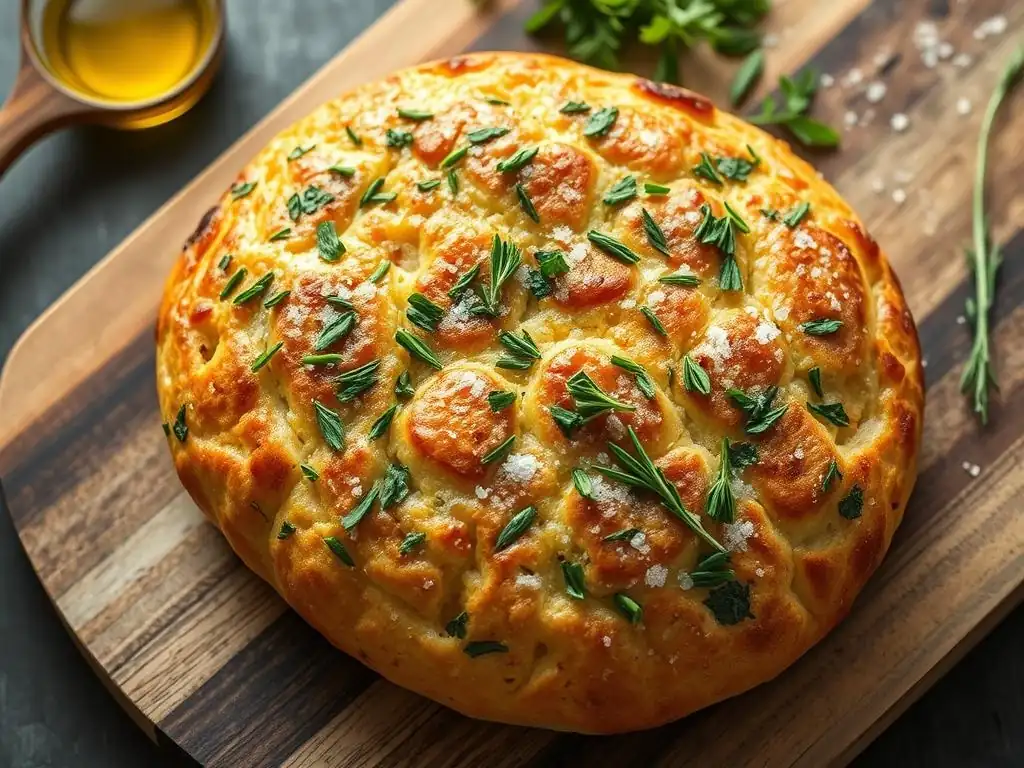
Focaccia Recipe: Ingredients List
- 3.5 cups (420g) all-purpose flour
- 2 teaspoons (7g) instant yeast (or active dry yeast, activated)
- 1.5 teaspoons (9g) fine sea salt (plus flaky sea salt for topping)
- 1.75 cups (420ml) warm water (105-115°F or 40-46°C)
- 1/4 cup (60ml) olive oil, plus generous amounts for pan and topping
- 2-3 tablespoons chopped fresh herbs (rosemary, thyme, oregano, chives, etc.)
Note: Using a high-quality extra virgin olive oil for the topping will significantly enhance the flavor of your easy herb focaccia recipe.
Focaccia Recipe: Detailed Instructions
- In a large bowl, whisk together the flour, instant yeast (if using), and fine sea salt. If using active dry yeast, first activate it by letting it sit in the warm water for 5-10 minutes until foamy, then add the foamy mixture to the dry ingredients.
- Add the warm water and the 1/4 cup of olive oil to the dry ingredients. Stir with a wooden spoon or spatula until a shaggy, wet dough forms. It will be very sticky. Let the dough rest for 10 minutes.
- Lightly oil your hands or a dough scraper. Gently fold and knead the dough in the bowl for about 5-10 minutes, or until it's slightly smoother but still very soft and sticky. Alternatively, use a stand mixer with a dough hook for 5-7 minutes on medium speed.
- Generously oil a clean bowl with olive oil. Transfer the dough to the bowl, turning to coat. Cover tightly with plastic wrap or a damp towel. Let rise in a warm place until doubled in size, about 1-2 hours.
- Generously oil a 9x13 inch baking sheet (or chosen pan) with olive oil. Gently transfer the risen dough to the pan. Carefully stretch or push the dough out towards the edges of the pan. If it resists, let it rest for 10-15 minutes and try again. Once spread, let the dough rest in the pan for another 20-30 minutes.
- Preheat your oven to 400-425°F (200-220°C).
- Coat your fingertips with olive oil. Gently press your fingers straight down into the dough all over the surface, creating dimples.
- Generously drizzle the dough with more olive oil, allowing it to pool in the dimples. Sprinkle evenly with the chopped fresh herbs and flaky sea salt.
- Bake for 20-30 minutes, or until the top crust is deeply golden brown and the bottom crust is crispy.
- Carefully remove the focaccia from the oven. Let it cool in the pan for a few minutes before transferring it to a wire rack to cool slightly further.
- Slice and serve warm.
Tips and Tricks for a Foolproof Focaccia
Avoiding Common Focaccia Baking Mistakes
One frequent pitfall when making an easy herb focaccia recipe is not allowing the dough sufficient time to rise. An under-proofed dough will result in a dense, heavy bread. Ensure your yeast is active and give the dough the full recommended rise time, or even longer if your kitchen is cool. Another common error is adding too much flour during the mixing or handling stages because the dough feels sticky. Focaccia dough is intentionally wet; adding too much flour makes the final bread tough instead of airy and chewy.
Another mistake is being too conservative with the olive oil. The generous amount of oil used in the pan and on top of the dough is crucial for the crispy bottom crust, moist interior, and rich flavor. Don't skimp on the oil! Lastly, baking at too low a temperature or not long enough will result in a pale, soft crust rather than the desired golden, crispy exterior. Ensure your oven is fully preheated and bake until the focaccia is truly golden brown.
Troubleshooting Your Focaccia Dough
If your dough isn't rising, the most likely culprits are inactive yeast or incorrect water temperature. Check the expiration date on your yeast packet; old yeast may not be viable. Ensure your warm water was within the 105-115°F (40-46°C) range. If the yeast didn't foam in the activation step, or if the dough shows no signs of rising after an hour in a warm spot (around 70-75°F or 21-24°C), it's best to start over with fresh yeast and properly heated water.
If the dough is excessively sticky and difficult to handle even with oiled hands, you might have added too much water relative to the flour, or perhaps the flour was measured incorrectly. While focaccia is sticky, it shouldn't be like batter. You can try adding a tablespoon or two of flour, mixing it in gently, but avoid adding large quantities. Remember, a slightly sticky dough is necessary for the characteristic texture of this easy herb focaccia recipe.
Variations: Exploring Different Herb and Flavor Combinations
Garlic Herb Focaccia Variation
Adding garlic is a popular and delicious twist on the classic easy herb focaccia recipe. You can incorporate finely minced garlic (about 2-3 cloves for a standard loaf) into the dough during the initial mixing stage. For a more intense garlic flavor, infuse the olive oil used for topping by gently warming the oil with thinly sliced garlic cloves (be careful not to burn the garlic, which can make it bitter).
Strain the garlic out before drizzling the oil if you prefer, or leave the slices in for visual appeal (though they can become quite crispy). Combine the garlic-infused oil with your chosen fresh herbs, such as rosemary or oregano, before dimpling and topping the dough. The garlic adds a wonderful aromatic depth that complements the herbs beautifully.
Rosemary and Sea Salt Focaccia Variation
This variation is a timeless favorite for a reason. Fresh rosemary and flaky sea salt create a simple yet incredibly flavorful focaccia. Scatter fresh rosemary sprigs or generously sprinkle chopped fresh rosemary leaves over the dimpled dough after you've drizzled it with olive oil.
The key to this variation is using flaky sea salt, like Maldon or Fleur de Sel. These large, irregular crystals provide bursts of pure salty flavor and a delightful textural contrast to the soft, chewy bread. Sprinkle about 1 to 2 teaspoons of flaky sea salt evenly over the top of the focaccia just before baking. The combination of fragrant rosemary, rich olive oil, and crunchy salt is simply divine.
Serving and Storing Your Homemade Herb Focaccia
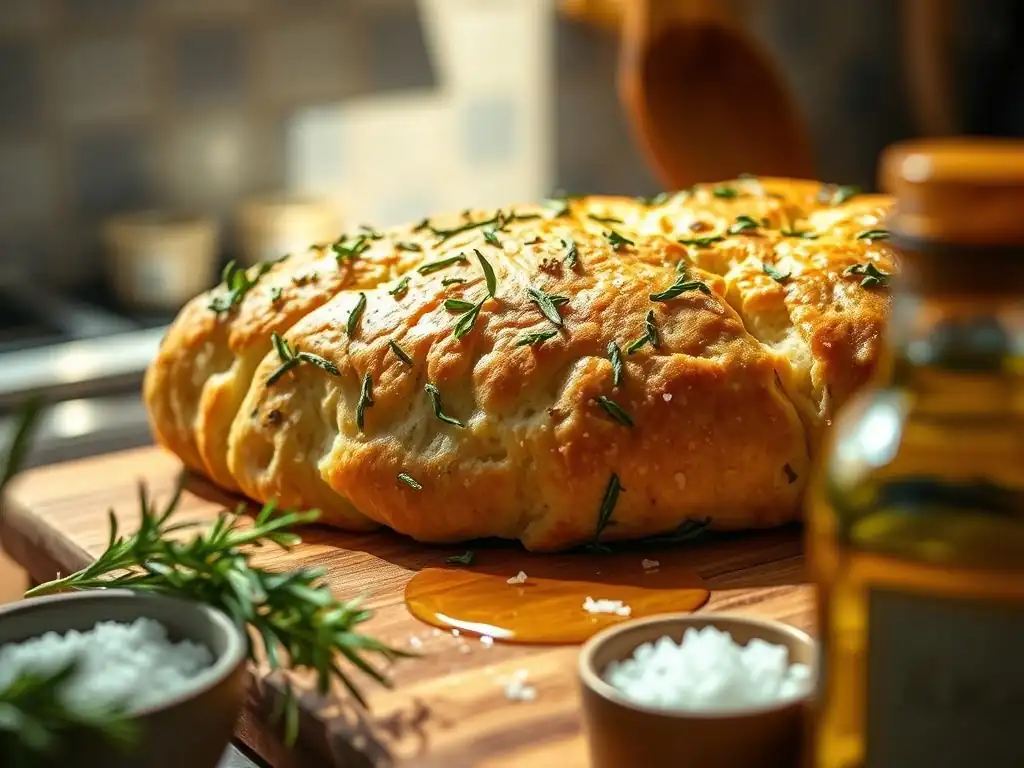
Serving Suggestions: Pairing Your Focaccia
Your warm, fragrant easy herb focaccia is incredibly versatile and can be enjoyed in many ways. Slice it into squares or rectangular strips and serve it on its own as a simple snack or appetizer. It's perfect for dipping into more olive oil, balsamic vinegar, or even a spring- pea pesto.
Focaccia makes an excellent accompaniment to soups, especially light spring vegetable soups like minestrone or asparagus soup. It's also wonderful served alongside fresh salads, pasta dishes, or grilled meats and vegetables. You can even slice it horizontally and use it as the base for delicious sandwiches or bruschetta topped with fresh tomatoes and mozzarella.
Storing Leftover Focaccia: Maintaining Freshness
While focaccia is best enjoyed fresh from the oven, leftovers can be stored and enjoyed later. Allow the focaccia to cool completely before storing. Wrap it tightly in plastic wrap or aluminum foil, or place it in an airtight container. Stored at room temperature, it will stay fresh for 1 to 2 days.
For longer storage, focaccia freezes exceptionally well. Cut the cooled focaccia into individual serving pieces or larger portions. Wrap each piece tightly in plastic wrap, then wrap again in aluminum foil or place in a freezer-safe bag. Frozen focaccia can be stored for up to 3 months. Thaw at room temperature and reheat gently in a warm oven (around 300°F/150°C) for 5-10 minutes to revive its texture.
Enjoy Your Delicious, Easy Herb Focaccia!
There's immense satisfaction in pulling a golden, fragrant loaf of homemade bread from the oven, especially when it's as simple and rewarding as this easy herb focaccia recipe. We encourage you to try this recipe and experience the joy of baking your own bread. The process is therapeutic, and the result is a delicious treat to share.
We love seeing what our community bakes! Sharing your successes is a great way to inspire others and celebrate the simple pleasure of homemade goods.
More Spring Baking Recipes to Explore
If you enjoyed baking this easy herb focaccia, there are many more delightful spring baking recipes waiting for you. From light and airy cakes featuring seasonal fruits like strawberries and rhubarb to delicate pastries and other simple bread variations, spring offers a wealth of inspiration.
Explore other sections of BakeWithEase for recipes tailored to different skill levels and occasions. Whether you're looking for another beginner-friendly bake or ready to tackle something a bit more challenging, you'll find step-by-step guides and helpful tips to support your baking journey.
Frequently Asked Questions
What makes this focaccia recipe "beginner-friendly"?
This recipe is considered beginner-friendly because it uses simple ingredients and offers clear, step-by-step instructions, making it easy for anyone to follow, even with little baking experience.
Can I substitute the herbs in this focaccia recipe?
Yes, you can absolutely substitute the herbs! Feel free to use your favorite fresh or dried herbs. Rosemary, thyme, and oregano are excellent alternatives, but experiment to find your perfect blend!
How long does it take to make this herb focaccia from start to finish?
The entire process, including prep, proofing, and baking, takes approximately 2-3 hours. Most of this time is dedicated to the dough proofing stage, allowing the focaccia to develop its characteristic airy texture.
What is the best way to store leftover focaccia?
Store leftover focaccia in an airtight container at room temperature for up to 2 days. For longer storage, you can freeze it, wrapped tightly in plastic wrap, for up to a month. Reheat before serving for best results.
What are some serving suggestions for this easy herb focaccia?
This focaccia is delicious on its own, but it also pairs well with soups, salads, and dips. You can also use it to make sandwiches or as a side dish for a simple pasta meal.
Final Reflection: The Simple Joy of Homemade Focaccia
The aroma of freshly baked bread, especially one as vibrant and flavorful as focaccia, is a powerful reminder of the simple pleasures in life. This seemingly small act of baking – creating a rustic, herb-studded loaf from scratch – connects us to a culinary tradition spanning centuries, and yet, it remains surprisingly accessible to even the most novice bakers. The ease with which you can create this beautiful and delicious bread is a testament to the power of simple recipes.
This recipe, and the experience of making it, transcends the mere act of creating food; it's about slowing down, connecting with the process, and appreciating the tangible results of your effort. The best things in life are simple.
This adage rings especially true when considering the satisfaction derived from kneading dough, watching it rise, and finally, sinking your teeth into a warm, fragrant slice of homemade focaccia. The act of baking, in its simplicity, offers a meditative quality, a welcome respite from the often-frantic pace of modern life.
Now, I invite you to take what you've learned here and embark on your own focaccia journey. Don't be afraid to experiment with different herbs, cheeses, or even add a drizzle of olive oil and a sprinkle of sea salt after baking. The beauty of this recipe lies in its adaptability.
More importantly, remember the joy of the process – the feeling of accomplishment, the delicious aroma filling your kitchen, and the shared pleasure of savoring the fruits of your labor. Let this simple focaccia be a reminder that even the most extraordinary experiences can begin with the smallest, most accessible steps.
Unleash Your Inner Baker: Make This Focaccia Today!
Thanks for taking the time to explore the simple joy of homemade focaccia! We hope you feel inspired and ready to create something delicious. Now it's time to put your newfound knowledge to the test.
- Bake your own focaccia! Use the recipe from the article as a starting point, but feel free to experiment with different herbs and toppings. This is your chance to personalize it and make it truly your own.
- Share your creation! Snap a photo of your beautiful focaccia and tag us on social media – we’d love to see your results!
- Explore more easy bread recipes on BakeWithEase.com – we have tons of beginner-friendly options waiting for you.
Ready to transform your kitchen into a fragrant bakery? What unique twist will you add to your focaccia?