
The Secret to a Flaky Spring Crostata

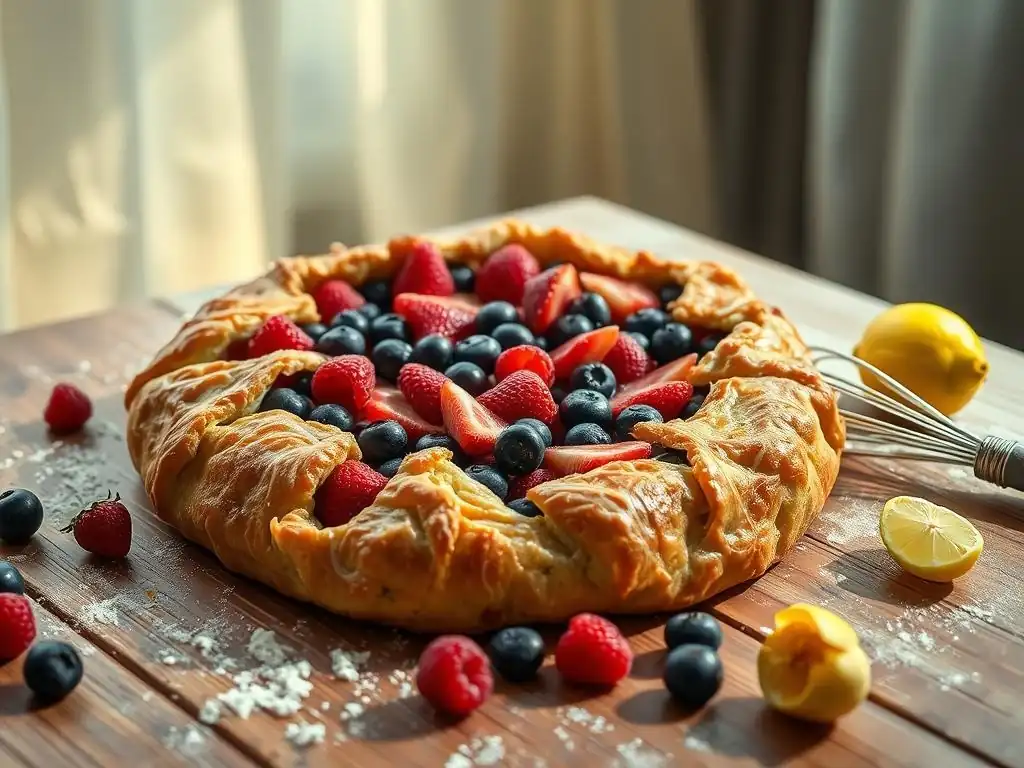
Welcome to BakeWithEase, your kitchen companion for all things baking!
Ready to unlock the secrets to a truly unforgettable dessert? This season, we're diving deep into the delightful world of crostatas, and we're here to share our top flaky spring crostata recipe tips. Discover the simple techniques that will elevate your baking and impress your guests. Intrigued? Keep reading to find out how to achieve that perfect, golden-brown crust, and a filling bursting with fresh, seasonal flavors!
- Mastering the Flaky Spring Crostata: A Comprehensive Guide
- Unveiling the Secrets to a Perfect Crostata
- Understanding the Keys to a Perfectly Flaky Crostata Crust
- Step-by-Step Guide to a Flaky Spring Crostata Crust
- Spring Crostata Filling Ideas and Flavor Combinations
- Assembling and Baking Your Spring Crostata
- Achieving the Perfect Bake: Crostata Baking Tips and Tricks
- Serving and Storing Your Flaky Spring Crostata
- Troubleshooting Common Crostata Baking Problems
- Enjoy Your Homemade Flaky Spring Crostata!
-
Frequently Asked Questions
- What makes a crostata different from a pie?
- What are some key tips for achieving a flaky crust in a spring crostata?
- Can I use frozen fruit for the spring crostata filling?
- What are some spring-themed fruit options I can use for my crostata filling?
- How do I know when my spring crostata is done baking?
- Final Reflection: The Enduring Allure of the Perfect Flaky Crust
- Unleash Your Inner Pastry Chef: Master the Flaky Crust!
Mastering the Flaky Spring Crostata: A Comprehensive Guide
Unveiling the Secrets to a Perfect Crostata
Welcome Spring with a Delicious and Easy Crostata
Spring is a season of renewal and fresh starts, and what better way to celebrate the bounty of the season than with a vibrant, rustic crostata? Unlike a traditional pie that requires precise crimping and a pie dish, a crostata is wonderfully freeform, embracing a charmingly imperfect look. This makes it incredibly approachable for bakers of all skill levels.
Imagine juicy, seasonal fruit wrapped in a tender, flaky spring crostata crust – it's a simple dessert that delivers complex flavors and textures, perfect for brunch, dessert, or even an afternoon treat. Learning the techniques for a truly flaky crust is key to elevating this humble pastry.
Crafting a beautiful and delicious crostata doesn't have to be intimidating. Many home bakers find the crust to be the trickiest part, but with a few fundamental flaky spring crostata recipe tips, you can achieve impressive results. The beauty of the crostata lies in its simplicity; it's essentially a free-form tart where the dough is rolled out, filled, and the edges are folded over the filling.
This rustic approach means less stress about perfection and more focus on flavor and texture. We'll walk you through the essential steps and secrets to ensure your spring crostata boasts that coveted flaky crust every time.
Understanding the Keys to a Perfectly Flaky Crostata Crust
The Science Behind Flaky Pastry Dough
Flakiness in pastry dough, like that used for a flaky spring crostata, is primarily achieved through the interaction of fat (usually butter) and gluten development. When cold butter is cut into the flour, it creates small, distinct pieces coated in flour. As the dough is mixed minimally and then rolled out, these butter pieces are flattened into thin layers between layers of dough. During baking, the water within the butter turns to steam, forcing these layers apart and creating air pockets, resulting in a light, airy, and flaky texture.
Conversely, overworking the dough encourages gluten development. Gluten, a protein network formed when flour and water are mixed and kneaded, provides structure but can also make pastry tough. For a tender, flaky spring crostata crust, the goal is to minimize gluten development. This is why using cold water, handling the dough gently, and chilling it are crucial steps. The cold temperature keeps the butter solid and inhibits the hydration of the flour, limiting gluten formation and preserving those essential layers of butter and dough.
Choosing the Right Flour: All-Purpose vs. Pastry Flour
The type of flour you choose significantly impacts the texture of your flaky spring crostata crust. All-purpose flour is the most common choice for many bakers because it offers a good balance. It typically has a protein content of around 10-12%, which provides enough structure to hold the crostata together without becoming excessively tough, especially when handled correctly. It's versatile and readily available, making it a reliable option for achieving a satisfyingly flaky texture.
Pastry flour, on the other hand, has a lower protein content, usually between 8-9%. This results in a more tender crust, but it can sometimes be too tender for a crostata that needs to hold a substantial amount of juicy fruit filling.
While it contributes to tenderness, it might compromise the structural integrity needed for the folded edges of the crostata. For most home bakers aiming for a balanced flaky spring crostata with good structure, all-purpose flour is generally recommended, perhaps with a small portion of cake flour (even lower protein) for added tenderness if desired, but sticking to 100% all-purpose is a solid flaky spring crostata recipe tip.
The Importance of Cold Ingredients: Butter and Water
Using cold ingredients is arguably the most critical flaky spring crostata recipe tip. Cold butter is essential because it remains in solid pieces when cut into the flour. If the butter is too warm, it will melt into the flour, coating the particles and resulting in a more cookie-like or mealy texture rather than distinct layers that steam apart during baking. Aim for butter that is firm but pliable enough to cut, ideally around 4-7°C (40-45°F). Some bakers even recommend freezing the butter briefly and grating it for maximum coldness and even distribution.
Equally important is using ice-cold water. Just like cold butter, cold water helps keep the fat solid and prevents the flour from hydrating too quickly, which minimizes gluten development. Using ice water ensures that the dough stays cool throughout the mixing process. You can achieve this by adding ice cubes to a cup of water and letting it sit for a few minutes before measuring out the required amount. The less warm your ingredients are, the more control you have over creating those essential fat layers that define a flaky spring crostata crust.
Step-by-Step Guide to a Flaky Spring Crostata Crust
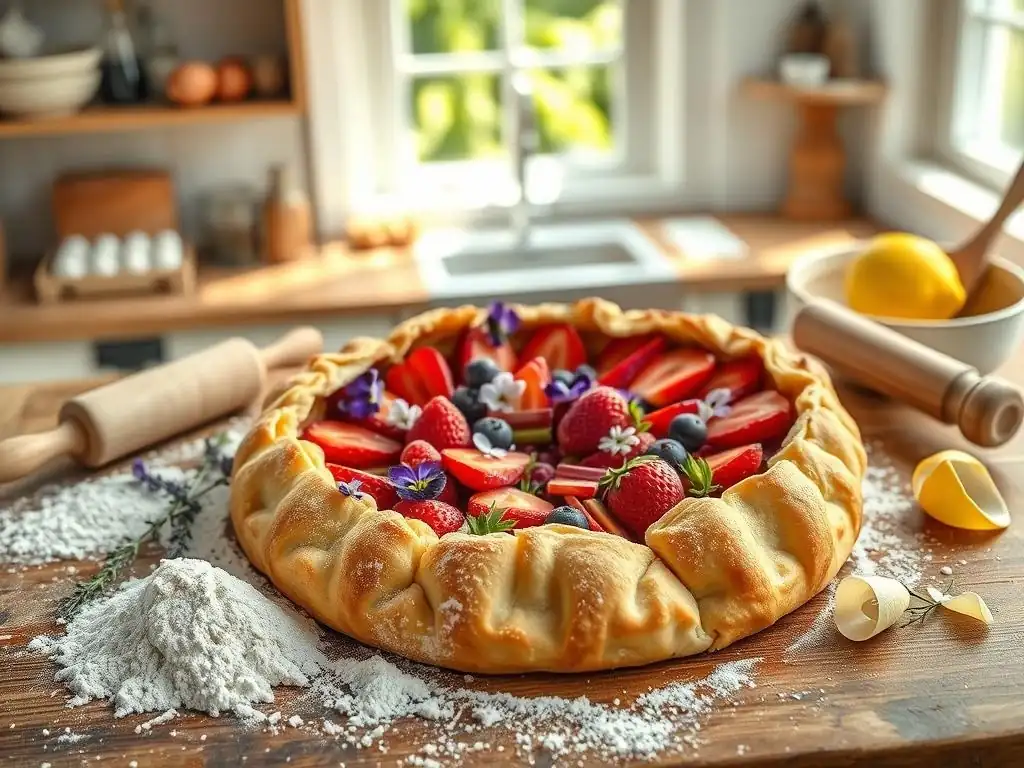
Step 1: Combining Dry Ingredients for the Crostata
Begin by whisking together your dry ingredients: flour, a pinch of salt, and perhaps a tablespoon or two of sugar if you desire a slightly sweeter crust. The salt enhances the flavor of the crust and balances the sweetness of the filling. Sugar, while optional, can also contribute to browning and a slightly more tender crumb. Use a large bowl to give yourself plenty of room to work the butter into the flour mixture in the next step. Ensuring these dry ingredients are well combined provides an even base for incorporating the fat.
For a standard crostata roughly 10-12 inches in diameter, you'll typically need about 1 ½ to 2 cups of all-purpose flour. Combine this with about ½ teaspoon of salt. Whisking ensures that the salt and sugar (if using) are evenly dispersed throughout the flour, preventing pockets of intense saltiness or sweetness. This simple initial step sets the stage for successfully incorporating the cold butter and is a fundamental part of achieving a consistently flaky spring crostata crust.
Step 2: Cutting in the Cold Butter for Flakiness
This step is paramount for developing flakiness. Take your very cold butter (cut into small cubes, perhaps 1/2 inch or 1 cm) and add it to the dry ingredients. Using a pastry blender, a fork, or even your fingertips (working quickly to avoid warming the butter), cut the butter into the flour until it resembles coarse meal with some pea-sized pieces remaining. These larger pieces are crucial for creating layers. Avoid overworking it into a uniform texture.
The goal is to have a mixture where some butter pieces are small, like grains of rice, and others are larger, about the size of small peas or even hazelnuts. These varying sizes contribute to different types of flakiness in the final crust. The smaller pieces create a more tender, crumbly texture, while the larger pieces melt and steam, creating distinct, airy layers. This technique is a cornerstone flaky spring crostata recipe tip and directly impacts the final texture.
Step 3: Adding Ice Water and Forming the Dough
Now it's time to add the ice-cold water, a few tablespoons at a time. Sprinkle the water over the flour-butter mixture and gently toss with a fork or your hands until the dough just comes together. Be conservative with the water; you want the dough to be moist enough to hold together when squeezed but not wet or sticky. The exact amount of water can vary depending on the humidity and the flour, but for 1 ½ to 2 cups of flour, you might need anywhere from 4 to 8 tablespoons (60-120 ml) of water.
Gather the dough into a shaggy ball – it might look dry and crumbly in places, and that's okay. Do not knead it. Overworking at this stage develops gluten and makes the crust tough, defeating the purpose of all the cold butter work. Turn the dough out onto a clean surface, gently press it into a flat disc about 1 inch thick, wrap it tightly in plastic wrap, and refrigerate immediately. This minimal handling is vital for a tender, flaky spring crostata crust.
Step 4: Chilling the Dough: The Crucial Rest Period
Chilling the dough is a non-negotiable step for a flaky spring crostata. The dough needs to rest in the refrigerator for at least 1 hour, but preferably 2 hours or even overnight. This chilling period serves multiple purposes. First, it allows the gluten that did develop to relax, which makes the dough easier to roll out without snapping back. Second, and most importantly, it re-chills the butter pieces, ensuring they are solid and distinct again before rolling.
Cold butter is key to creating those separate layers during rolling and baking. If you try to roll out warm dough, the butter will smear into the flour, resulting in a tough, greasy crust instead of a light, flaky spring crostata. This resting period also allows the moisture to distribute evenly throughout the dough. Don't skip this step; it's one of the most effective flaky spring crostata recipe tips for guaranteed success.
Step 5: Rolling Out the Crostata Dough Like a Pro
When you're ready to roll, take the chilled dough disc out of the refrigerator. If it's very hard, let it sit at room temperature for just 5-10 minutes to make it slightly more pliable, but keep it cold. Lightly flour your work surface and rolling pin. Roll the dough from the center outwards, rotating the dough occasionally and adding minimal flour as needed to prevent sticking. Aim for a circle roughly 12-14 inches in diameter and about 1/8 to 1/4 inch thick.
Keep the dough moving to prevent it from sticking. If it resists rolling or shrinks back, cover it and let it rest in the refrigerator for another 10-15 minutes before trying again – this means the gluten needs to relax further. Rolling to an even thickness is important for uniform baking. A perfectly rolled dough is the foundation for a beautiful and flaky spring crostata, ready to hold its delicious filling.
Spring Crostata Filling Ideas and Flavor Combinations
Seasonal Fruit Options for Your Spring Crostata
Spring offers a delightful array of fruits that are perfect for a crostata filling. Think beyond just berries! Rhubarb is a classic early spring ingredient, offering a tart contrast to sweetness. Strawberries are coming into season, bursting with juicy flavor. Cherries, apricots, and even early peaches or plums can make appearances later in the spring. Mixing and matching these fruits can create complex and exciting flavor profiles for your flaky spring crostata.
Consider the texture and juiciness of the fruit. Softer fruits like strawberries or peaches will release more liquid during baking than firmer fruits like rhubarb or apples (though apples are more of a fall fruit). You might need to adjust the amount of thickener based on the fruit you choose. Aim for roughly 4 to 5 cups of prepared fruit for a standard-sized crostata to get a generous filling without overflow.
Strawberry Rhubarb Crostata: A Classic Combination
The pairing of strawberries and rhubarb is iconic for a reason – the sweetness of ripe strawberries perfectly balances the tartness of rhubarb. To prepare this filling, chop about 2-3 cups of rhubarb into 1/2-inch pieces and combine with 2-3 cups of hulled and quartered strawberries. Toss the fruit with sugar (adjusting the amount based on the sweetness of the strawberries and your preference), a thickener like cornstarch or flour (usually 2-3 tablespoons), and perhaps a squeeze of lemon juice to brighten the flavors.
This combination not only tastes incredible but also looks beautiful with the vibrant red and pink hues. The rhubarb softens but retains some structure, while the strawberries become jammy and sweet. This classic flaky spring crostata filling is a guaranteed crowd-pleaser and truly embodies the essence of spring baking.
Blueberry Lemon Crostata: A Burst of Freshness
Another fantastic spring combination is blueberries and lemon. Blueberries become wonderfully juicy and sweet when baked, and a touch of lemon zest and juice adds a bright, zesty counterpoint that elevates their flavor. For this filling, combine about 4-5 cups of fresh blueberries with sugar (to taste), 2-3 tablespoons of cornstarch or flour, the zest of one lemon, and 1-2 tablespoons of fresh lemon juice.
The lemon not only adds flavor but also helps the pectin in the blueberries thicken the filling slightly. This creates a vibrant, slightly tart, and wonderfully aromatic filling for your flaky spring crostata. The deep purple-blue of the blueberries against the golden crust is visually stunning and promises a burst of fresh flavor with every bite.
Adding a Touch of Sweetness: Sugar and Spices
The amount of sugar needed for your crostata filling depends heavily on the sweetness of the fruit and your personal preference. Start with a guideline, perhaps ¼ to ½ cup for 4-5 cups of fruit, and taste a small piece of fruit to gauge how much sweetness is needed. Remember that the sugar will also help draw out juices, which is why a thickener is necessary.
Spices can add warmth and complexity to spring fruit fillings. A pinch of cinnamon or nutmeg works well with rhubarb and strawberries. A dash of cardamom can complement blueberries. A little vanilla extract or almond extract can also enhance fruit flavors. Don't overpower the fresh fruit taste, but a subtle hint of spice can make your flaky spring crostata even more memorable.
Assembling and Baking Your Spring Crostata
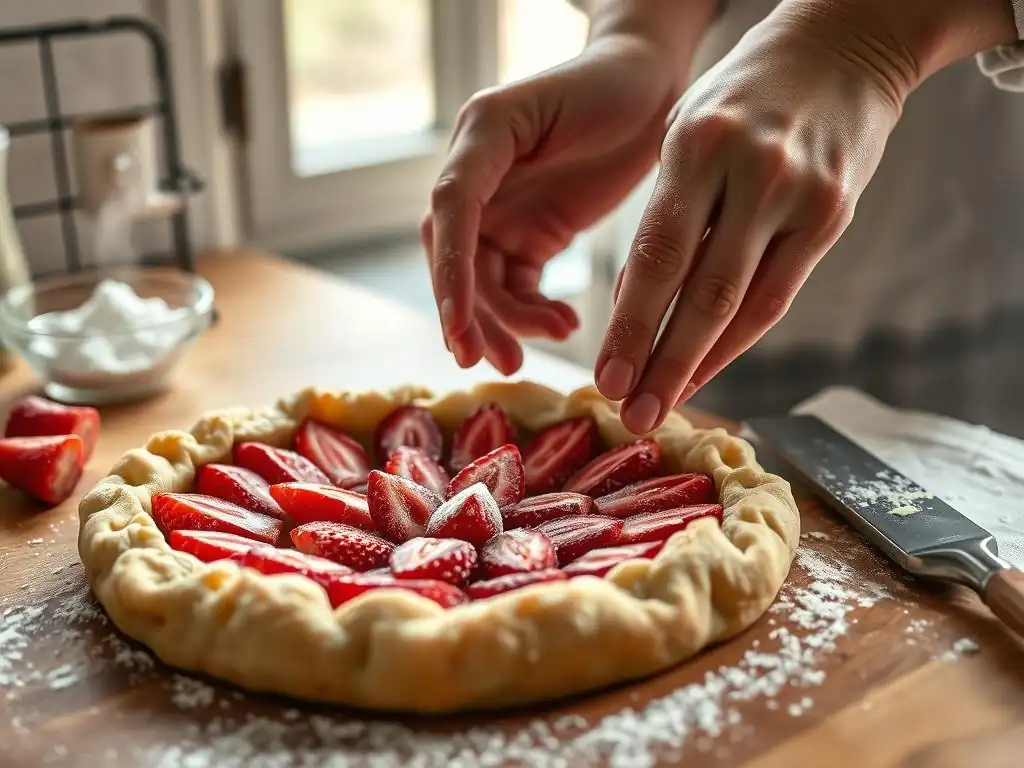
Prepping the Fruit Filling for Optimal Flavor
Once you've chosen your fruit and flavor combination, prepare the filling just before you're ready to assemble the crostata. Hull and chop the fruit as needed. Gently toss the fruit with the sugar, thickener (cornstarch, flour, or tapioca starch are common), and any spices or citrus juice you're using. Letting the fruit sit with the sugar for too long before assembly can draw out excessive moisture, making the filling too runny.
A common ratio is about 2-3 tablespoons of cornstarch or flour per 4-5 cups of fruit, but you might need slightly more for very juicy fruits like berries or peaches, or slightly less for firmer fruits like rhubarb. Tapioca starch is excellent as it thickens at a lower temperature and creates a glossy finish. Ensuring the fruit is evenly coated with the thickener is a simple but effective flaky spring crostata recipe tip to prevent a soggy bottom.
Arranging the Fruit on the Crostata Dough
Carefully transfer your rolled-out dough circle onto a baking sheet lined with parchment paper or a silicone baking mat. This makes cleanup easier and prevents the crostata from sticking. Spoon the prepared fruit filling onto the center of the dough, leaving a border of about 2-3 inches clear around the edge.
Distribute the fruit evenly, creating a slight mound in the center. Try not to pile it too high, as it can become unstable and cause the crust to break during baking. Keeping the fruit centered ensures that when you fold the edges, the filling is contained and the rustic border is well-formed. This step is straightforward but crucial for the final appearance and structural integrity of your flaky spring crostata.
Creating the Rustic Crostata Border
To form the classic crostata shape, gently fold the outer edge of the dough up and over the edge of the fruit filling. Work your way around the circle, pleating the dough as you go. The pleats should overlap slightly, creating a freeform, rustic border that holds the filling in place. Don't worry about making it look perfect; the charm of a crostata is its homemade appearance.
As you fold, press lightly to seal the pleats where they overlap, but avoid pressing too hard, which can compress the layers and reduce flakiness. The border should be high enough to contain the fruit juices as they bubble up during baking, typically around 1-1.5 inches (2.5-4 cm) high. This simple folding technique transforms a flat disc of dough into a beautiful flaky spring crostata ready for the oven.
Baking Temperatures and Times for a Golden-Brown Crust
Baking temperature is key to achieving a golden, crisp, and flaky spring crostata crust. Most crostatas bake well in a hot oven, typically preheated to 190-200°C (375-400°F). The high initial temperature helps set the crust quickly and encourages the butter to steam, creating those desired layers.
The baking time will vary depending on your oven, the thickness of your crust, and the juiciness of your filling, but it generally takes between 35 to 50 minutes. You'll know the crostata is done when the crust is deeply golden brown and the fruit filling is bubbling thickly in the center. Using a baking sheet lined with parchment helps regulate the bottom crust temperature and makes it easier to handle the finished crostata.
Achieving the Perfect Bake: Crostata Baking Tips and Tricks
Monitoring the Crust for Doneness
Keeping a close eye on the crust as it bakes is essential for a perfectly cooked flaky spring crostata. The edges and bottom crust should be golden brown, indicating they are cooked through and crispy. If the edges start browning too quickly before the center crust or filling are done, you can lightly tent the crostata with aluminum foil.
Look for visual cues: the crust should look dry and flaky, not wet or doughy. The fruit filling in the center should be actively bubbling, and the juices should appear thick, not watery. If you can see steam rising from the filling, that's a good sign it's heating through. A digital thermometer inserted into the center of the filling (avoiding fruit pieces) should register around 90-100°C (195-212°F) for thicker fillings to ensure the thickener has activated properly.
Preventing a Soggy Bottom Crust
A common issue with fruit pies and crostatas is a soggy bottom crust. Several flaky spring crostata recipe tips can help prevent this. First, ensure your oven is properly preheated to the correct temperature. A hot oven helps the bottom crust set quickly. Second, use a thickener like cornstarch, flour, or tapioca starch generously enough to absorb the fruit juices.
Third, consider pre-baking the bottom crust slightly before adding the filling, especially if you're using very juicy fruit or a recipe known for being wet. Bake the rolled dough on the baking sheet for about 10-15 minutes until it looks dry and slightly set, then add the filling and fold the edges. Finally, baking the crostata on a hot baking stone or pizza stone placed in the oven while it preheats can transfer heat efficiently to the bottom crust, ensuring it cooks through.
Adding an Egg Wash for Extra Shine and Flavor
For a beautiful, golden, and professional-looking finish on your flaky spring crostata, brush the visible crust with an egg wash before baking. An egg wash is typically made by whisking one egg (or just an egg yolk) with a tablespoon or two of milk or water.
Brushing this mixture lightly over the folded edges of the crostata provides a lovely sheen and helps the crust brown evenly. You can also sprinkle the egg-washed crust with coarse sugar, like turbinado or sanding sugar, for added sparkle and a slight crunch. This simple step enhances both the appearance and the texture of the crust.
Serving and Storing Your Flaky Spring Crostata
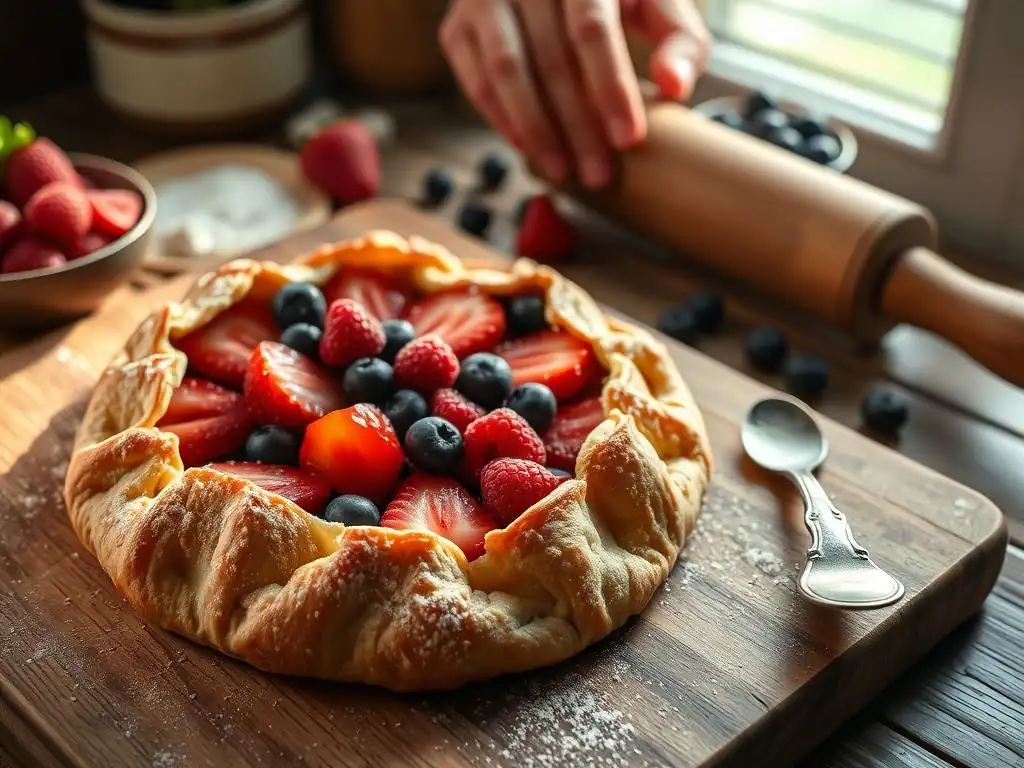
Serving Suggestions: Warm or Cold?
A flaky spring crostata is delightful served warm or at room temperature. Serving it warm allows the aromas of the fruit and spices to fill the air and the crust to have a delicate crispness. It's also the best temperature for serving with accompaniments like a scoop of vanilla ice cream, a dollop of whipped cream, or a drizzle of créme fraîche.
If serving warm, allow the crostata to cool for at least 15-20 minutes after it comes out of the oven so the filling can set slightly; otherwise, it might be too runny. At room temperature, the filling will be fully set, making it easier to slice and serve neat portions. It's equally delicious and allows the subtle flavors of the crust to shine through.
Storing Leftover Crostata for Maximum Freshness
If you have any leftover flaky spring crostata (a rare occurrence! ), store it properly to maintain its quality. Once completely cooled, wrap the crostata loosely in plastic wrap or place it in an airtight container. It can be stored at room temperature for 1-2 days.
For longer storage, you can refrigerate it for up to 3-4 days. The crust may lose some of its crispness in the refrigerator due to moisture migration from the filling. To revive the crust's flakiness, you can briefly reheat slices in a toaster oven or a regular oven at around 150°C (300°F) for 5-10 minutes. Freezing leftover crostata is possible, but the texture of the crust and filling might change slightly upon thawing. Wrap tightly in plastic wrap and then foil before freezing for up to 1-2 months.
Troubleshooting Common Crostata Baking Problems
Why is My Crostata Crust Tough?
A tough crust is usually the result of overworking the dough or using ingredients that aren't cold enough. Excessive mixing or kneading develops gluten, which creates a chewy texture instead of flakiness. When butter isn't cold, it melts into the flour rather than staying in distinct pieces, leading to a less flaky, potentially tougher result.
Flaky spring crostata recipe tips to avoid toughness include:
- Handling the dough as little as possible.
- Using ice-cold butter cut into pieces.
- Using ice-cold water.
- Not adding too much water; the dough should just come together.
- Chilling the dough adequately before rolling.
- Rolling gently and not overworking the dough on the counter.
My Filling is Too Runny: What Can I Do?
A runny filling is a common issue, often caused by insufficient thickener, using very juicy fruit, or not baking the crostata long enough for the thickener to activate. Different fruits release varying amounts of liquid; berries and stone fruits tend to be juicier than apples or rhubarb.
To prevent a runny filling in your flaky spring crostata:
- Ensure you use enough thickener (cornstarch, flour, or tapioca starch) relative to the amount and juiciness of the fruit.
- Make sure the fruit is evenly coated with the thickener.
- Consider pre-cooking very juicy fruit briefly on the stovetop to reduce some of the liquid before filling the crostata.
- Make sure the crostata bakes long enough for the filling to bubble thickly in the center. The temperature needs to reach a certain point (often near boiling) for cornstarch or flour to fully thicken.
The Crust is Burning Before the Filling is Cooked
If your crostata crust is browning too quickly while the filling is still raw or not bubbling, the oven temperature might be too high, or the crostata might be positioned too close to a heating element.
Here are some flaky spring crostata recipe tips to manage browning:
- Reduce the oven temperature slightly if you notice rapid browning.
- Move the crostata to a lower rack in the oven if the top is browning too fast.
- Tent the crostata loosely with aluminum foil once the crust reaches your desired level of golden brown. This protects the crust while allowing the filling to continue cooking and thicken.
- Ensure the fruit pieces aren't too large, as this can prolong the cooking time for the filling.
Enjoy Your Homemade Flaky Spring Crostata!
You've mastered the art of the flaky spring crostata! Now it's time to slice into your beautiful, rustic creation and enjoy the fruits of your labor. Savor the contrast between the tender, juicy spring fruit filling and the crisp, buttery layers of your homemade crust. Whether you followed a classic strawberry rhubarb recipe or experimented with a unique combination, you've created something truly special.
We love seeing what our community bakes! Sharing your culinary successes can inspire others and is a great way to connect with fellow baking enthusiasts. Snap a photo of your flaky spring crostata and share it online. Let us know what filling you chose and how your crust turned out. Celebrating the joy of baking, especially with seasonal treats like a spring crostata, is what BakeWithEase is all about!
Frequently Asked Questions
What makes a crostata different from a pie?
A crostata is a rustic, free-form tart, while a pie is typically baked in a pie dish with a top crust. Crostatas often have a simpler, more casual presentation.
What are some key tips for achieving a flaky crust in a spring crostata?
Using cold ingredients, especially butter, is crucial. Also, avoid overworking the dough to prevent gluten development.
Can I use frozen fruit for the spring crostata filling?
Yes, you can, but be sure to thaw and drain the fruit well before using it. This prevents a soggy crust.
What are some spring-themed fruit options I can use for my crostata filling?
Excellent choices include strawberries, rhubarb, blueberries, or a mix of your favorite spring berries.
How do I know when my spring crostata is done baking?
The crust should be golden brown and the fruit filling should be bubbling and softened.
Final Reflection: The Enduring Allure of the Perfect Flaky Crust
The pursuit of the perfect flaky spring crostata is more than just a culinary quest; it's a reflection of our desire to create something beautiful and delicious from simple ingredients. The techniques explored in this article – from chilling the dough properly to understanding the role of fat – are not merely steps in a recipe, but fundamental principles applicable to countless baking endeavors. Mastering these techniques unlocks a world of possibilities, transforming even the simplest ingredients into something truly extraordinary.
The joy of baking, and particularly the satisfaction of achieving that perfectly flaky crust, transcends the act of creating a single pastry. It's a connection to tradition, a celebration of seasonal ingredients, and a testament to the power of patience and precision. Baking is at once child's play and adult joy. And love, of course.
– This sentiment perfectly captures the emotional resonance of the process, a sentiment I hope you've experienced while following this recipe. The crostata, in its delicate beauty and satisfying crunch, becomes a symbol of this joy.
Now, I invite you to step into your kitchen, armed with the knowledge gained from this article. Don't be afraid to experiment, to adapt, to make this recipe your own. The true secret to a flaky spring crostata isn't just in the precise measurements, but in the love and care you put into the process. Embrace the challenge, savor the experience, and let the aroma of freshly baked pastry fill your home with warmth and the promise of deliciousness. The perfect flaky crust awaits.
Unleash Your Inner Pastry Chef: Master the Flaky Crust!
Thanks for joining us on this delicious journey into the world of crostatas! We hope you've gained the confidence to tackle even the flakiest of crusts. Now it's time to put your newfound knowledge into practice.
- Bake your masterpiece! Try out our recipe today – the results will be incredibly rewarding. Imagine the delight of sharing your perfectly flaky crostata with loved ones.
- Share your creation! Post a picture on social media and tag us – we'd love to see your baking triumphs!
- Explore our other recipes: Discover more exciting baking adventures on our website – you might just find your new favorite dessert!
Ready to transform your kitchen into a pastry paradise? What unique twist will you add to your next crostata?