
Unlock the Power of Yeast: A Baker's Guide to Fermentation

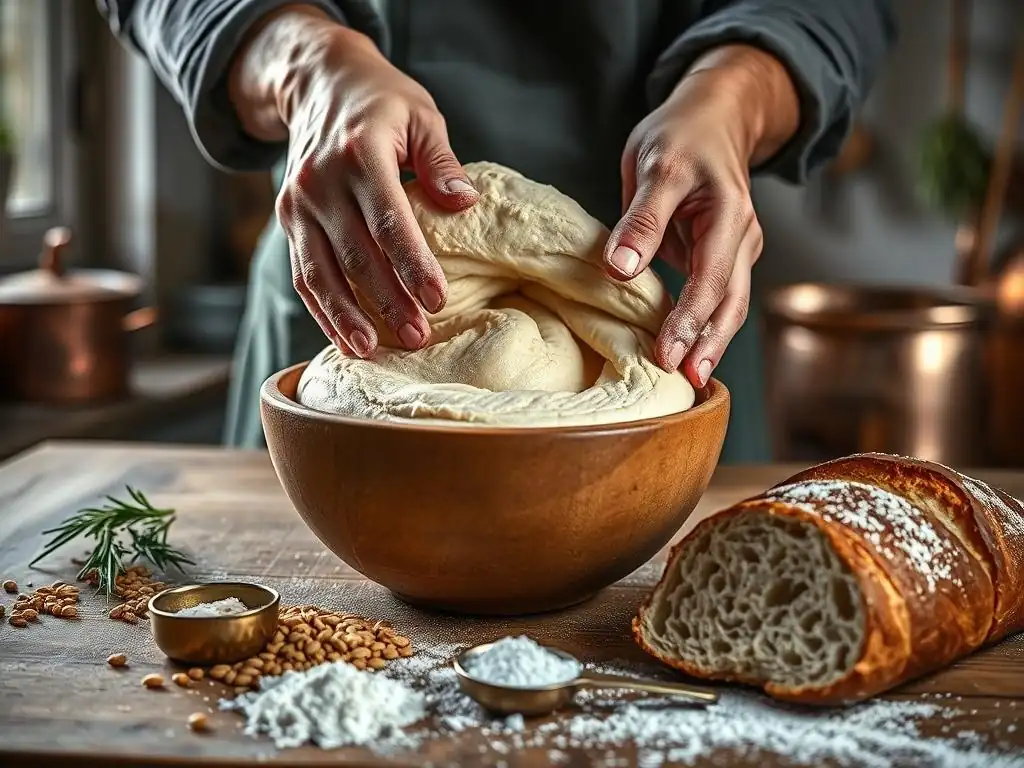
Welcome to BakeWithEase, where your baking dreams take flight!
Ever wondered about the magic behind perfectly risen bread and airy pastries? This week, we're diving deep into the fascinating world of yeast fermentation baking techniques. Understanding this fundamental process is key to unlocking a whole new level of flavor and texture in your baked goods. Intrigued? Let's explore how mastering yeast fermentation can revolutionize your baking!
- Understanding Yeast Fermentation in Baking
- Mastering Yeast Fermentation Baking Techniques
- Key Factors Influencing Yeast Fermentation Baking
- Troubleshooting Common Yeast Fermentation Problems
- Yeast Fermentation Baking Techniques for Different Breads
- Tips and Tricks for Successful Yeast Fermentation Baking
-
Frequently Asked Questions
- What exactly is yeast fermentation in baking?
- Why is yeast fermentation so important in baking, especially for breads?
- What are some common factors that can affect yeast fermentation?
- How can I tell if my yeast is still active and good to use?
- Are there different types of yeast, and how do they affect the fermentation process?
- Final Reflection: The Enduring Magic of Yeast Fermentation
- Unleash Your Inner Baker: Master the Art of Fermentation!
Understanding Yeast Fermentation in Baking
The Science Behind Yeast Fermentation
Yeast, a single-celled microorganism, is the magical leavening agent in many baked goods. Its primary role in yeast fermentation baking techniques is to consume sugars present in the dough and convert them into carbon dioxide (CO2) gas and ethanol. This process, known as anaerobic respiration, is what causes dough to rise, creating the light and airy texture we love in bread and other baked goods. As the yeast consumes sugars, it also produces various organic compounds that contribute significantly to the complex flavors and aromas developed during fermentation and baking.
The production of CO2 gas is crucial for leavening. The gas gets trapped within the elastic network of gluten developed in the dough. As more gas is produced, it expands the dough, causing it to double or even triple in volume during the fermentation stages. Ethanol, the other byproduct, mostly evaporates during the baking process, but it also plays a minor role in flavor development. The rate of this fermentation is heavily influenced by environmental factors, making understanding yeast fermentation baking techniques essential for consistent results.
Different Types of Yeast for Baking
Active Dry Yeast: Reliable and Versatile
Active dry yeast is a popular choice for home bakers due to its reliability and relatively long shelf life when stored correctly (ideally in the refrigerator or freezer). It consists of dormant yeast cells encased in a thick cell wall. Before being added to dry ingredients, active dry yeast typically needs to be rehydrated, or "proofed," in warm liquid (usually water or milk, around 105-115°F or 40-46°C) for about 5-10 minutes. This rehydration step wakes the yeast up and ensures it's active before mixing it into the dough.
Using active dry yeast is a fundamental aspect of many yeast fermentation baking techniques. Once proofed and added to the dough, its fermentation activity is steady and predictable, allowing for controlled rising times. While it might take slightly longer to get going compared to instant yeast, its performance is consistent, making it a staple for everything from simple sandwich bread to enriched doughs.
Instant Yeast: Fast-Acting and Convenient
Instant yeast, also known as rapid-rise or quick-rise yeast, is processed differently than active dry yeast. It has smaller granules and a more porous structure, allowing it to be absorbed by liquid and activated much faster. This means instant yeast can typically be added directly to the dry ingredients without prior proofing, saving a step in the baking process. Its rapid action makes it ideal for recipes where quicker rising times are desired.
The convenience of instant yeast has made it incredibly popular for various yeast fermentation baking techniques. Doughs made with instant yeast often rise about 50% faster than those using active dry yeast. However, some bakers believe that this faster fermentation results in slightly less complex flavor development compared to slower methods or other yeast types. Despite this, for busy schedules or quick recipes, instant yeast is an invaluable tool.
Fresh Yeast: Optimal Flavor Development
Fresh yeast, also called cake yeast or compressed yeast, is the most perishable type but is often favored by professional bakers for its ability to produce superior flavor in baked goods. It comes as a moist, crumbly block and contains live yeast cells without the drying process that active dry or instant yeast undergoes. Fresh yeast should be stored in the refrigerator and used relatively quickly, typically within one to two weeks of purchase.
Working with fresh yeast involves crumbling it directly into the dry ingredients or dissolving it in a small amount of warm liquid (around 80-90°F or 27-32°C) before adding it to the dough. While its shelf life is short, the nuanced flavors it contributes during fermentation are often considered worth the extra effort and storage considerations. Mastering yeast fermentation baking techniques with fresh yeast can elevate the complexity of your final product.
Sourdough Starter: Cultivating Wild Yeast
A sourdough starter is a living culture of wild yeast and lactic acid bacteria, typically cultivated by combining flour and water and allowing natural microorganisms from the environment and the flour to colonize and ferment the mixture. Unlike commercial yeasts, a starter contains a complex ecosystem of microbes, with wild yeast strains primarily responsible for leavening and lactic acid bacteria contributing significant tangy flavor profiles.
Maintaining a sourdough starter requires regular feeding (adding fresh flour and water) to keep the microbes active. Using a starter introduces unique yeast fermentation baking techniques, often involving longer, slower fermentation periods (sometimes 8-12 hours at room temperature or even days in the refrigerator). This extended fermentation allows for deeper flavor development and creates breads with characteristic tang and chewy textures, showcasing a different facet of yeast's power.
Mastering Yeast Fermentation Baking Techniques
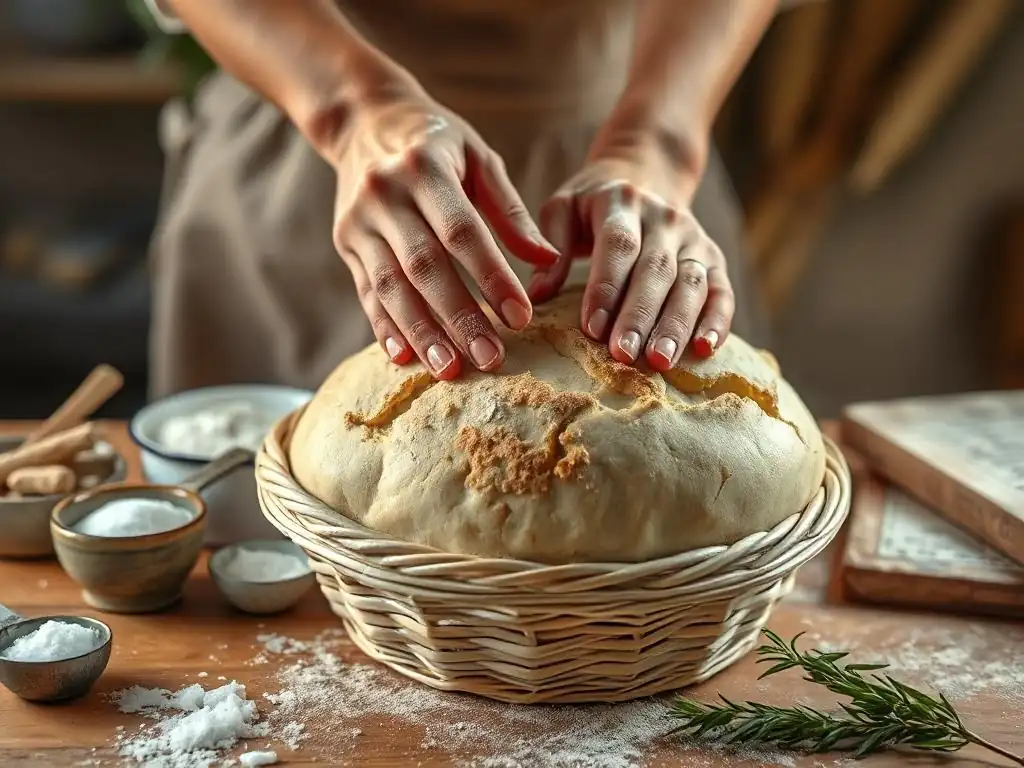
Proofing Yeast: Ensuring Activity and Viability
Proofing yeast is a crucial preliminary step, especially when using active dry yeast, to ensure that the yeast is alive and active before committing it to your dough. This process involves dissolving the yeast in a small amount of warm liquid (usually water or milk, typically between 105°F and 115°F or 40°C and 46°C) along with a pinch of sugar. The sugar provides an immediate food source for the yeast, encouraging it to become active and begin fermentation.
A successful proofing indicates that your yeast is viable and ready to work. After 5 to 10 minutes, the mixture should become foamy or bubbly on the surface. This foamy layer is visible evidence of the yeast producing CO2 gas. If the mixture remains flat and inactive after 10-15 minutes, the yeast is likely dead or inactive, and you should discard it and start with a fresh batch. This simple test is a fundamental part of yeast fermentation baking techniques, saving you the disappointment of a dough that won't rise.
The Sugar Test: A Simple Proofing Method
The "sugar test" is the standard method for proofing active dry yeast. You start by measuring the specified amount of warm liquid (often around 1/4 to 1/2 cup per packet of yeast) into a small bowl. Ensure the temperature is within the optimal range of 105-115°F (40-46°C); water that is too cool won't activate the yeast effectively, while water that is too hot (above 130°F or 54°C) can kill the yeast cells. Stir in the yeast and a pinch (about 1 teaspoon) of sugar.
Let the mixture sit undisturbed for 5-10 minutes. Observe the surface. A healthy, active yeast will begin to consume the sugar and produce CO2, resulting in a visible layer of foam or bubbles across the top. This indicates the yeast is viable and can be used in your recipe. If there's little to no activity, the yeast is likely dead, and you'll need to use a fresh packet. This simple step is vital for successful yeast fermentation baking techniques, preventing wasted ingredients and effort.
Temperature's Role in Yeast Activation
Temperature plays a critical role in activating yeast and controlling the rate of yeast fermentation. For most commercial yeasts (active dry and instant), optimal activation occurs in warm liquids. As mentioned, 105-115°F (40-46°C) is ideal for proofing active dry yeast, while instant yeast activates readily in doughs mixed with liquids in a similar temperature range. Yeast activity slows significantly at temperatures below 50°F (10°C) and virtually stops in the refrigerator (around 40°F or 4°C), which is why cold fermentation is a technique used to slow rising and develop flavor.
Conversely, high temperatures can be detrimental. Yeast cells begin to die at temperatures above 130°F (54°C), and temperatures exceeding 140°F (60°C) will quickly kill most yeast. This is why it's crucial to check the temperature of your liquid when proofing or mixing dough. The ambient temperature of your kitchen also impacts the rate of fermentation during rising periods; a warm kitchen (75-80°F or 24-27°C) will result in faster rising than a cool one (65-70°F or 18-21°C). Understanding and controlling temperature is fundamental to mastering yeast fermentation baking techniques.
Dough Development and Fermentation Stages
First Fermentation (Bulk Fermentation): Developing Flavor and Structure
The first fermentation, often called bulk fermentation or the first rise, begins immediately after the dough is mixed and kneaded. During this stage, the yeast starts actively producing CO2 gas, causing the dough to increase in volume. Simultaneously, enzymes in the flour and yeast break down complex starches into simpler sugars that the yeast can consume, and the gluten network continues to develop, gaining strength and elasticity.
This stage is critical for flavor development. The longer and slower the bulk fermentation, the more complex the flavors that the yeast and bacteria (especially in sourdough) can produce. A typical bulk fermentation at room temperature (around 75°F or 24°C) might take 1 to 2 hours, during which the dough should roughly double in size. However, cold fermentation in the refrigerator can extend this process to 12-48 hours, yielding significantly more nuanced flavors and improving dough handling. Proper management of this stage is key in various yeast fermentation baking techniques.
Degassing the Dough: Releasing CO2
After the first fermentation, the dough is typically "degassed" or "punched down." This involves gently deflating the dough to release some of the accumulated CO2 gas. While it might seem counterintuitive to release the gas that makes the dough rise, degassing serves several important purposes in yeast fermentation baking techniques. It redistributes the yeast cells, sugars, and enzymes throughout the dough, providing fresh access to food sources and promoting more even fermentation in the next stage.
Degassing also helps to equalize the temperature within the dough and strengthens the gluten structure by bringing the gluten strands closer together. It breaks up large air pockets, leading to a finer, more even crumb structure in the final baked bread. The process is usually done by gently folding the dough onto itself or pressing down on it. This step prepares the dough for shaping and the final rise (proofing).
Second Fermentation (Proofing): Achieving Optimal Rise
The second fermentation, commonly referred to as proofing or the final rise, occurs after the dough has been shaped. The shaped loaves or rolls are left to rise again until they reach the desired volume and lightness before baking. This stage is crucial for achieving the final shape and texture of the baked good. Yeast continues to produce CO2, causing the shaped dough to expand further.
Proofing times vary greatly depending on the recipe, the dough's temperature, and the ambient temperature. It can range from 30 minutes to several hours. A well-proofed dough will be significantly increased in volume, feel light and airy, and gently spring back when lightly poked. Over-proofing can lead to the dough collapsing, while under-proofing results in dense, heavy bread. Judging the readiness of the dough during this stage is a critical skill in yeast fermentation baking techniques.
Key Factors Influencing Yeast Fermentation Baking
Temperature Control: The Sweet Spot for Yeast Activity
Temperature is arguably the most significant factor influencing the rate of yeast fermentation. Yeast is most active within a specific temperature range. While optimal dough temperature varies slightly depending on the yeast type and desired fermentation speed, a general sweet spot for many standard doughs during bulk fermentation is between 75°F and 80°F (24°C and 27°C). Within this range, yeast activity is vigorous, leading to efficient gas production and a relatively quick rise.
Temperatures outside this range drastically affect fermentation speed. Cooler temperatures, such as those found in a refrigerator (around 40°F or 4°C), slow yeast activity dramatically. This is intentionally used in cold fermentation methods to extend the rise time, allowing more complex flavors to develop over 12-48 hours or even longer. Conversely, warmer temperatures above 85°F (29°C) can cause yeast to ferment too rapidly, potentially leading to off-flavors (like excessive alcohol) and inconsistent dough structure. Controlling temperature throughout the process is vital for consistent yeast fermentation baking techniques.
Hydration Levels: Balancing Moisture for Optimal Fermentation
The hydration level of dough, which refers to the ratio of water to flour by weight, significantly impacts yeast fermentation and the resulting bread texture. Water is essential for activating yeast and allowing it to move and access sugars within the dough. Higher hydration doughs (e.g., 70% hydration or more, like ciabatta) tend to ferment faster because the yeast has easier access to nutrients in the wetter environment. The increased moisture also makes the dough more extensible, allowing for larger gas bubbles and a more open crumb structure.
However, very high hydration doughs can be challenging to handle and require specific yeast fermentation baking techniques like stretch and folds rather than traditional kneading to develop gluten. Lower hydration doughs (e.g., 55-60% hydration, common in bagels or some lean bread) ferment more slowly because the dough is stiffer and yeast movement is restricted. These doughs typically require more vigorous kneading to develop gluten and produce a tighter crumb structure. Finding the right hydration level is crucial for both successful fermentation and achieving the desired bread characteristics.
Gluten Development: Creating Structure and Texture
Gluten, the protein network formed when flour is mixed with water and kneaded, is indispensable for successful yeast fermentation baking techniques. As yeast produces CO2 gas during fermentation, the elastic and extensible gluten network traps these gas bubbles, causing the dough to rise and maintain its structure. Without sufficient gluten development, the gas would escape, resulting in a flat, dense loaf.
Kneading, whether by hand or mixer, aligns and strengthens the gluten strands, creating a resilient framework capable of holding the expanding gases. The degree of gluten development needed varies by bread type; a light, airy loaf like brioche requires well-developed gluten, while some rustic loaves might intentionally have less development for a chewier texture. The interactions between yeast activity (gas production) and gluten strength (gas retention) are fundamental to achieving optimal volume and crumb structure in baked goods.
Salt's Impact on Yeast Fermentation
Salt, a common ingredient in bread dough, plays a complex and often misunderstood role in yeast fermentation. While primarily added for flavor, salt also has a significant impact on yeast activity. Salt is hygroscopic, meaning it draws moisture out of its surroundings. In dough, this includes drawing moisture out of the yeast cells. This osmotic effect slows down yeast activity, regulating the rate of fermentation.
Adding salt too early or in too high a concentration can inhibit or even kill the yeast. Professional bakers often add salt after the initial mixing of flour and water, or ensure it is evenly distributed throughout the dough, to minimize its direct contact with concentrated pockets of yeast. While salt slows fermentation, this can be beneficial in yeast fermentation baking techniques, allowing for slower, more controlled rises that contribute to better flavor development and a stronger gluten structure by tightening the network. A typical salt percentage in bread dough is around 1.8% to 2% of the flour weight.
Troubleshooting Common Yeast Fermentation Problems
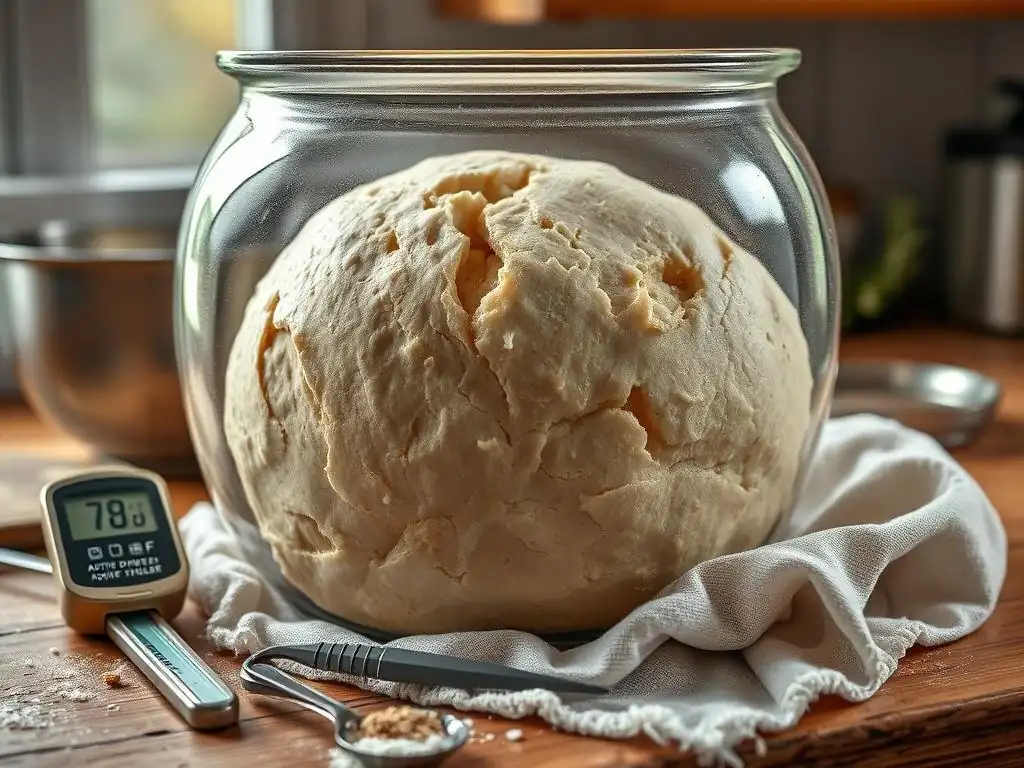
Dough Not Rising: Identifying Potential Issues
One of the most frustrating problems in baking is a dough that simply won't rise. This lack of activity points directly to issues with the yeast or the conditions for yeast fermentation. The primary culprit is often inactive or dead yeast. If your yeast wasn't properly stored (e.g., exposed to air or heat) or is past its expiration date, it may not be viable. An insufficient amount of yeast for the quantity of flour can also lead to very slow or negligible rising.
Other factors inhibiting yeast fermentation include using liquid that is too hot (killing the yeast) or too cold (keeping it dormant) during mixing or proofing. The ambient temperature of your kitchen also matters; a cold environment below 65°F (18°C) will significantly slow down or halt yeast activity. Furthermore, ingredients like salt or sugar, if added in excessive amounts or improperly mixed, can inhibit yeast. Identifying which of these factors is at play is the first step in successful yeast fermentation baking techniques troubleshooting.
Inactive Yeast: Testing and Replacing
If your dough isn't rising, the first thing to suspect is inactive yeast. As discussed in the proofing section, the best way to test active dry yeast is by proofing it in warm water with sugar. If it doesn't become foamy within 5-10 minutes, it's dead and needs to be replaced. For instant yeast, which is often added directly to flour, the lack of rising is the indicator. While you can't pre-test instant yeast as easily, checking its expiration date and storage conditions (should be airtight, cool, and dry) can offer clues.
If you suspect inactive yeast after mixing your dough, unfortunately, there's often no easy fix for that specific batch. The most reliable solution is to discard the dough and start over with fresh, properly proofed yeast. Ensure your new yeast is within its expiration date, has been stored correctly, and that the liquid temperature used for mixing or proofing is within the optimal range (105-115°F for active dry proofing, or generally warm for mixing instant yeast into dough). Learning to identify and avoid inactive yeast is a key aspect of effective yeast fermentation baking techniques.
Temperature Extremes: Adjusting the Environment
Temperature is a double-edged sword for yeast fermentation; it needs warmth to be active, but too much heat kills it, and too little makes it sluggish. If your dough isn't rising, check the ambient temperature of your kitchen. If it's cool (below 65°F or 18°C), try moving the dough to a warmer spot. This could be near a sunny window, in a slightly warmed oven (turned off, perhaps with the light on), or on top of a warm appliance like a refrigerator. Aim for a dough temperature around 75-80°F (24-27°C) for standard rises.
Conversely, if your initial mixing liquid was too hot, you might have killed the yeast. While you can't revive dead yeast, you can prevent this in the future by using a thermometer to check liquid temperature. If you suspect the dough got too hot during fermentation (e.g., left in a hot car), the yeast might be dead. Maintaining consistent, appropriate temperatures throughout the mixing, bulk fermentation, and proofing stages is fundamental to successful yeast fermentation baking techniques.
Salt Inhibition: Measuring Accurately
Salt is essential for flavor and structure, but too much salt can inhibit yeast fermentation. If your recipe calls for salt and your dough isn't rising, double-check your measurements. Using significantly more salt than specified can draw too much moisture from the yeast cells, slowing or stopping their activity. Also, ensure the salt is evenly distributed throughout the dough, rather than concentrated in one area, which could create a localized zone of yeast inhibition.
Standard bread recipes typically use salt at 1.8% to 2% of the flour weight. If you've accidentally used a much higher percentage, it could be the reason for slow or no rise. There isn't an easy way to remove excess salt from dough once it's mixed. For future batches, measure salt accurately and consider adding it slightly after the initial mixing of flour, water, and yeast, or ensure it's thoroughly dispersed in the flour before adding liquids. Understanding the balance between salt and yeast activity is part of mastering yeast fermentation baking techniques.
Over-Proofing: Recognizing and Preventing Collapse
Over-proofing occurs when the dough has risen too much and for too long during the final fermentation (proofing) stage. The yeast consumes all the available sugars, and the gluten structure, stretched to its maximum capacity, begins to weaken and can no longer hold the gas. Visually, an over-proofed dough might look puffy and fragile, and it may start to sag or spread rather than hold its shape. When poked, it might not spring back at all, or it could even deflate slightly.
Baking an over-proofed dough often results in a loaf with poor oven spring (it doesn't rise much in the oven), a pale crust (due to depleted sugars), and a dense, often gummy texture with large, irregular holes or even collapsed areas. To prevent over-proofing, pay close attention to the dough's appearance and feel, rather than relying solely on time, as fermentation speed varies with temperature. The poke test (gently indenting the dough; it should slowly spring back partway) is a reliable indicator.
If you suspect over-proofing, you can sometimes gently reshape the dough and give it a shorter second proof, though this might still result in a slightly less ideal texture. Preventing over-proofing is a key skill in successful yeast fermentation baking techniques.
Under-Proofing: Achieving the Right Dough Volume
Under-proofing is the opposite of over-proofing; the dough has not risen sufficiently during the final fermentation stage before baking. In an under-proofed dough, the yeast hasn't produced enough CO2 gas to create adequate volume, and the gluten structure hasn't fully relaxed. An under-proofed dough will feel dense and firm, and when poked, it will spring back quickly and completely.
Baking under-proofed dough often leads to excessive oven spring, where the crust can rupture in uncontrolled ways (sometimes called "blowouts"), especially if the loaf wasn't scored adequately. The resulting bread typically has a dense, tight crumb structure and a heavy texture. To avoid under-proofing, allow the dough sufficient time to rise in a warm environment. Learn to recognize the signs of a properly proofed dough using visual cues and the poke test. Patience is key; sometimes, simply allowing the dough more time is all that's needed to perfect your yeast fermentation baking techniques.
Yeast Fermentation Baking Techniques for Different Breads
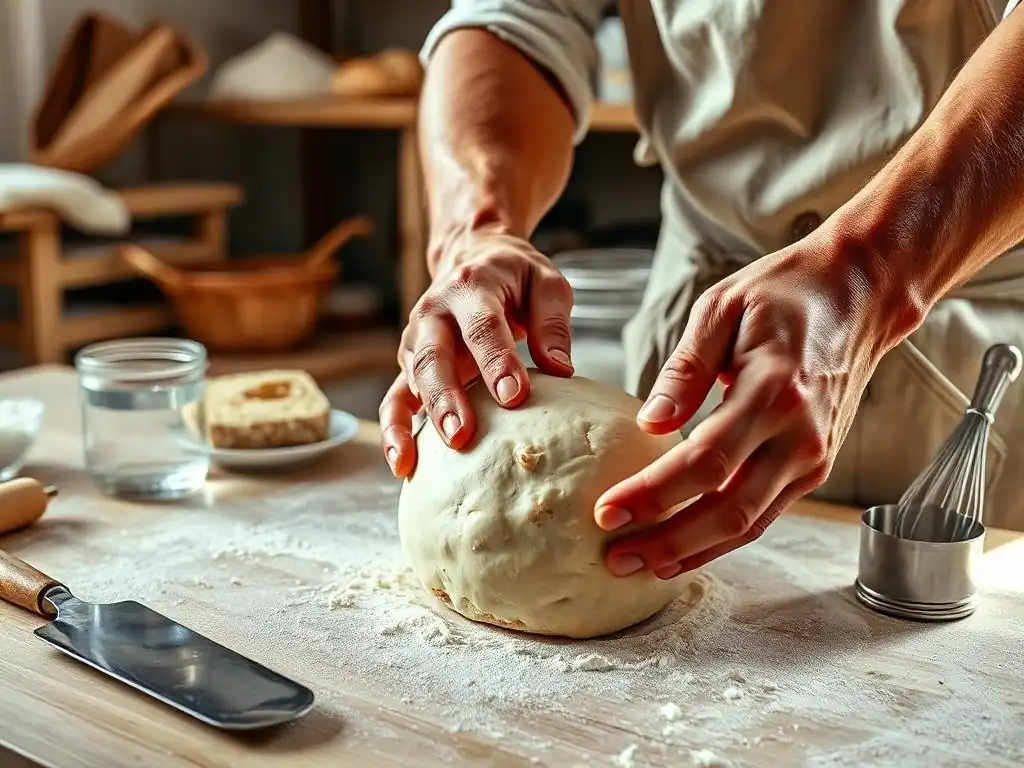
Sourdough Bread: A Long Fermentation Process
Sourdough bread relies on a wild yeast and bacteria starter culture, employing unique yeast fermentation baking techniques characterized by long fermentation times. After mixing the dough (flour, water, salt, and starter), the bulk fermentation often takes several hours at room temperature, frequently including a series of stretch and folds every 30-60 minutes to build strength. This lengthy period allows lactic acid bacteria in the starter to produce organic acids, contributing to the characteristic tangy flavor and improving the dough's structure and keeping quality.
Following bulk fermentation, the dough is shaped and undergoes a long, cool proof in the refrigerator, typically for 8 to 24 hours or even longer. This cold temperature dramatically slows the yeast activity but allows the flavor development from the bacteria to continue. The long, slow fermentation results in complex flavors, an open, airy crumb, and a chewy crust – hallmarks of well-made sourdough. Mastering these extended fermentation times is central to sourdough yeast fermentation baking techniques.
Ciabatta: Achieving Open Crumb Structure
Ciabatta, an Italian bread meaning "slipper," is known for its irregular shape, crisp crust, and large, open crumb structure. Achieving this open crumb is a direct result of specific yeast fermentation baking techniques applied to a very high-hydration dough, often 75% hydration or more. The high water content makes the dough very slack and difficult to handle conventionally, requiring techniques like stretch and folds or using a stand mixer with a dough hook to develop gluten without excessive kneading.
The fermentation process for ciabatta typically involves a long bulk fermentation, often with several sets of stretch and folds performed over 2-3 hours to build strength gently. Because the dough is so wet and the gluten is relaxed by the high hydration, large gas bubbles can form and coalesce during fermentation. The dough is handled minimally after the first rise to preserve these bubbles, often simply divided and gently shaped before a relatively short final proof. These specialized yeast fermentation baking techniques are essential for creating ciabatta's signature texture.
Brioche: Working with Rich Dough
Brioche is a classic French bread known for its rich, tender crumb and golden crust, achieved by incorporating significant amounts of butter, eggs, and sometimes sugar into the dough. Working with such a rich dough requires specific yeast fermentation baking techniques. The fat from the butter and eggs can inhibit gluten development if added too early, so these ingredients are often incorporated gradually after the initial mixing of flour, liquid, and yeast, and after some gluten structure has begun to form.
The high fat and sugar content also affects fermentation speed; sugar provides more food for yeast, but high fat can weigh the dough down and slow the rise. Brioche doughs often undergo a longer bulk fermentation, sometimes including a cold fermentation period in the refrigerator overnight. This chilling not only develops flavor but also solidifies the butter, making the dough easier to handle and shape. The final proof needs careful monitoring, as the richness can mask signs of over-proofing. Adjusting yeast fermentation baking techniques to accommodate these rich ingredients is key to successful brioche.
Pizza Dough: Achieving a Light and Airy Crust
Achieving a light, airy, and flavorful pizza crust requires specific yeast fermentation baking techniques tailored to create a dough that is both extensible for shaping and capable of developing a bubbly structure during high-heat baking. Standard pizza dough often uses a moderate hydration level (around 60-65%) and can be made with active dry or instant yeast. A common approach involves a relatively short bulk fermentation at room temperature (1-2 hours) followed by dividing the dough into individual balls and proofing.
However, many pizzaiolos advocate for a long, cold fermentation in the refrigerator (24-72 hours) for superior flavor and texture. This slow fermentation allows enzymes to break down starches, creating more complex sugars for flavor, and improves dough handling properties. The cold dough is easier to stretch thinly without tearing. During baking in a very hot oven (ideally 500°F+ or 260°C+), the rapid heat causes explosive oven spring, creating characteristic bubbles and a light, airy edge (cornicione). Adapting yeast fermentation baking techniques for high-temperature baking is crucial for great pizza.
Tips and Tricks for Successful Yeast Fermentation Baking
Using a Dough Thermometer: Monitoring Temperature Accurately
One of the most impactful tools for consistent yeast fermentation baking techniques is a simple dough thermometer. Yeast activity is highly dependent on temperature, both the initial liquid temperature and the internal temperature of the dough during fermentation. Using a thermometer eliminates guesswork and ensures your yeast is working in its optimal range.
Measure the temperature of your proofing liquid (105-115°F for active dry) or mixing liquid (generally warm, around 80-90°F for instant yeast or fresh yeast doughs). More advanced bakers also monitor the internal temperature of the dough during bulk fermentation and proofing, aiming for specific targets (e.g., 75-80°F) to control the rate of rise. This precision helps predict fermentation times and achieve consistent results, making a dough thermometer an invaluable aid in mastering yeast fermentation baking techniques.
The Windowpane Test: Assessing Gluten Development
The windowpane test is a classic method used in yeast fermentation baking techniques to assess whether the gluten in your dough has been sufficiently developed through kneading. Gluten strength is crucial for trapping the CO2 gas produced by yeast during fermentation. To perform the test, take a small piece of dough (about the size of a golf ball) and gently stretch and pull it with your fingers.
If the dough is properly kneaded, you should be able to stretch it into a thin, translucent membrane without it tearing. You should be able to see light passing through, much like looking through a windowpane. If the dough tears easily before reaching this stage, it needs more kneading to develop the gluten network. This test is a reliable indicator that your dough has the necessary structure to support the yeast fermentation process and achieve a good rise and crumb structure.
Scoring Bread: Controlling Expansion During Baking
Scoring, or slashing the surface of the shaped dough just before it goes into the oven, is an important step in many yeast fermentation baking techniques. As the dough enters a hot oven, the sudden heat causes a rapid burst of yeast activity and gas expansion known as oven spring. Without scoring, the crust quickly sets, and the expanding gases will find the weakest point to escape, often resulting in uncontrolled cracking or tearing of the crust.
Scoring provides controlled points of expansion, directing the oven spring along the slashes. This allows the loaf to expand fully and evenly, contributing to better volume and shape. The patterns of scoring can also be decorative. Different types of bread require different scoring patterns; a baguette might have diagonal slashes, while a round boule might have a cross or a more intricate design. Proper scoring is essential for achieving the desired shape, volume, and appearance of your baked goods, working in conjunction with effective yeast fermentation baking techniques.
Frequently Asked Questions
What exactly is yeast fermentation in baking?
Yeast fermentation is a biological process where yeast consumes sugars in dough and produces carbon dioxide and alcohol. This process causes the dough to rise and develop flavor.
Why is yeast fermentation so important in baking, especially for breads?
It's crucial because it provides leavening, making bread light and airy. Fermentation also contributes to the unique flavor profile of many baked goods.
What are some common factors that can affect yeast fermentation?
Temperature plays a significant role; too cold slows it down, while too hot can kill the yeast. Also, the amount of sugar and salt in the dough influences the fermentation rate.
How can I tell if my yeast is still active and good to use?
You can perform a simple test: mix the yeast with warm water and a bit of sugar. If it foams and bubbles within a few minutes, it's active and ready to use.
Are there different types of yeast, and how do they affect the fermentation process?
Yes, there are several types, including active dry yeast, instant yeast, and fresh yeast. Each has different activation requirements and can affect the fermentation time and flavor development.
Final Reflection: The Enduring Magic of Yeast Fermentation
The seemingly simple act of harnessing yeast's power remains a cornerstone of baking, a testament to the enduring connection between humanity and nature. Understanding the intricacies of yeast fermentation isn't just about achieving a perfectly risen loaf; it's about unlocking a deeper appreciation for the biological processes that shape our food and culture. This knowledge empowers bakers to create truly exceptional products, moving beyond mere recipes to a deeper understanding of the craft.
The impact of yeast fermentation extends far beyond the kitchen; it's woven into the fabric of our culinary heritage. From the ancient sourdough starters passed down through generations to the innovative techniques employed in modern artisan bakeries, yeast has played a pivotal role in shaping our food traditions. Its influence is a constant reminder of the interconnectedness of nature and human ingenuity. Bread is the staff of life,
a simple phrase that belies the profound history and artistry embedded within each loaf. The careful cultivation of yeast, the patient waiting for fermentation, these are acts that connect us to a long and rich tradition.
Now, consider your own baking journey. What new techniques will you explore? Will you experiment with different yeast strains, meticulously track fermentation temperatures, or perhaps delve into the world of sourdough? The possibilities are endless. Embrace the challenge, the experimentation, and the joy of discovery. The power of yeast fermentation is waiting to be unlocked, not just in your kitchen, but within your own creative spirit. Let this guide be your springboard to a deeper understanding, and may your loaves always rise to the occasion.
Unleash Your Inner Baker: Master the Art of Fermentation!
Thanks for taking the time to explore the fascinating world of yeast and fermentation! We hope you've gained valuable insights to elevate your baking game. Ready to put your new knowledge into practice?
- Try out a new sourdough recipe: Challenge yourself with a recipe you haven't attempted before—the possibilities are endless!
- Share your baking journey: Let us know (and your fellow baking enthusiasts!) how your experiment goes on our social media pages! We love seeing your creations.
- Dive deeper into fermentation techniques: Explore other applications of fermentation beyond bread making—from kimchi to kombucha, the culinary possibilities are vast!
So, what exciting fermented creation will you tackle first?