
The Science Behind Gluten Relaxation and Dough Handling

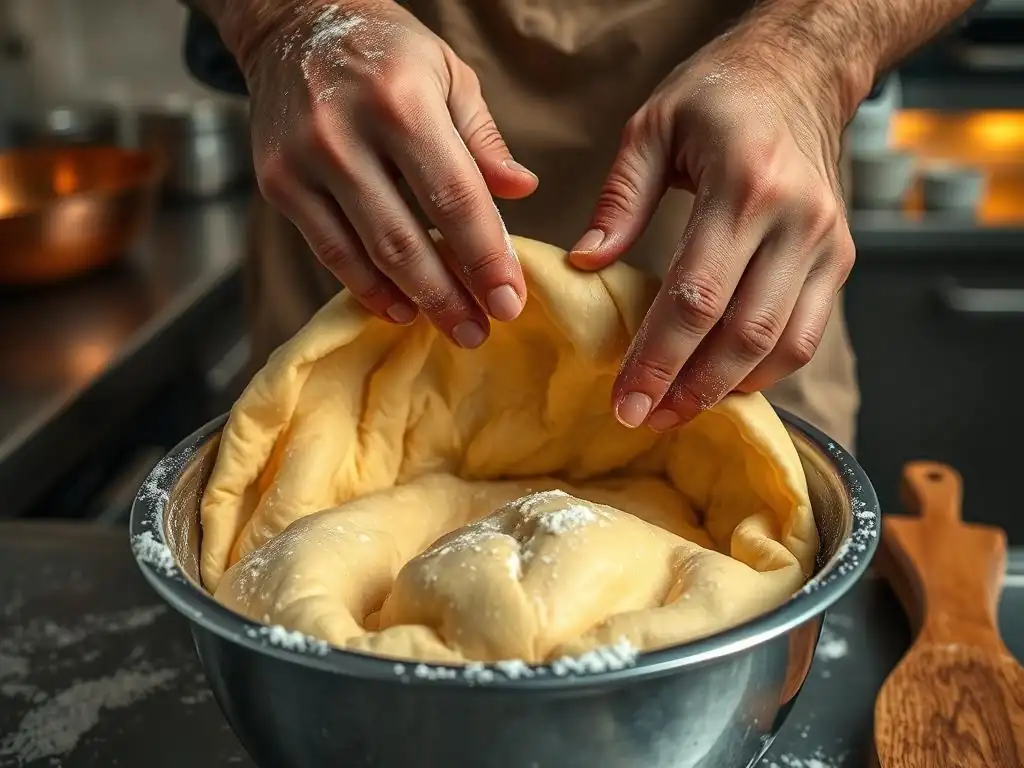
Welcome to BakeWithEase, your sanctuary for all things baking! Ever wondered how to achieve that perfectly pliable, easy-to-work-with dough? This article delves into the fascinating science behind gluten relaxation and offers invaluable dough handling tips that will transform your baking. Get ready to unlock the secrets to superior texture and flavor – the journey to baking bliss starts here!
- Mastering Dough: A Baker's Guide to Gluten Development and Relaxation
- Understanding Gluten: The Foundation of Bread Structure
- Achieving Optimal Dough Consistency: Relaxation Techniques
- Gentle Handling: Preserving Gluten Structure for Baking Perfection
- Key Factors Influencing Gluten Development and Relaxation
- Troubleshooting Dough Issues Related to Gluten
- Advanced Techniques: Enhancing Dough Properties
- Key Takeaways: Mastering Gluten for Home Bakers
-
Frequently Asked Questions
- What is gluten relaxation, and why is it important in baking?
- How does time affect gluten relaxation in dough?
- What are some practical dough handling tips to avoid overworking the gluten?
- What ingredients can promote gluten relaxation in dough?
- What is the difference between dough handling tips for beginners and advanced bakers?
- Final Reflection: Mastering the Art of Gluten Relaxation
- Unlock Your Baking Potential: Master Gluten's Secrets!
Mastering Dough: A Baker's Guide to Gluten Development and Relaxation
Understanding Gluten: The Foundation of Bread Structure
What is Gluten and How Does it Impact Baking?
Gluten is a complex protein network that forms when two proteins found in wheat flour – glutenin and gliadin – combine with water and are agitated through mixing or kneading. Glutenin provides elasticity, allowing the dough to spring back, while gliadin contributes extensibility, the ability to stretch without breaking. Together, they create a cohesive, stretchy matrix capable of trapping gases produced during fermentation. This trapped gas is what causes dough to rise, giving bread its structure and volume.
The development of this gluten network is fundamental to the texture of baked goods, particularly breads. A well-developed gluten structure provides the necessary strength to hold the dough's shape through rising and baking, resulting in an open, airy crumb. Without adequate gluten development, dough would collapse, leading to dense, flat loaves. Understanding how gluten forms and behaves is the first step in mastering gluten relaxation dough handling tips for better baking results.
Hydration's Crucial Role in Gluten Development and Dough Texture
Water is the essential catalyst for gluten formation. Without sufficient hydration, the glutenin and gliadin proteins remain dormant. The amount of water relative to the flour, known as the hydration percentage, significantly impacts how the gluten network develops and the dough's handling characteristics. Higher hydration (more water, often 70% or more relative to flour weight) leads to a looser, stickier dough that requires different handling techniques but can result in a more open crumb structure.
Conversely, lower hydration levels (typically 55-65%) result in a stiffer, easier-to-handle dough that requires more mechanical work to develop gluten fully. While easier to shape, lower hydration doughs tend to produce a tighter crumb. The correct hydration level isn't just about the recipe; it also depends on the flour's absorption capabilities. Mastering the balance of hydration and its effect on gluten development is key to applying effective gluten relaxation dough handling tips.
Mixing Techniques: Developing Strength and Elasticity
Mechanical action, whether through hand kneading, a stand mixer, or even the gentle action of stretch and folds in no-knead methods, provides the energy needed to encourage glutenin and gliadin to bond and align into a strong network. Kneading stretches and folds the dough, physically connecting the protein chains and building elasticity and strength. For example, traditional hand kneading a standard bread dough might take 10-15 minutes to reach adequate development, while a stand mixer could achieve this in 5-8 minutes on a medium speed.
Knowing when the gluten is sufficiently developed is crucial. A common test is the "windowpane test," where a small piece of dough can be gently stretched thin enough to see light through it without tearing. Under-mixing results in a weak, fragile dough that won't hold its shape or rise well. Over-mixing, however, can cause the gluten structure to become excessively tight or even break down, leading to a dough that tears easily and lacks oven spring. Finding the right mixing duration is vital before moving on to gluten relaxation dough handling tips.
Achieving Optimal Dough Consistency: Relaxation Techniques
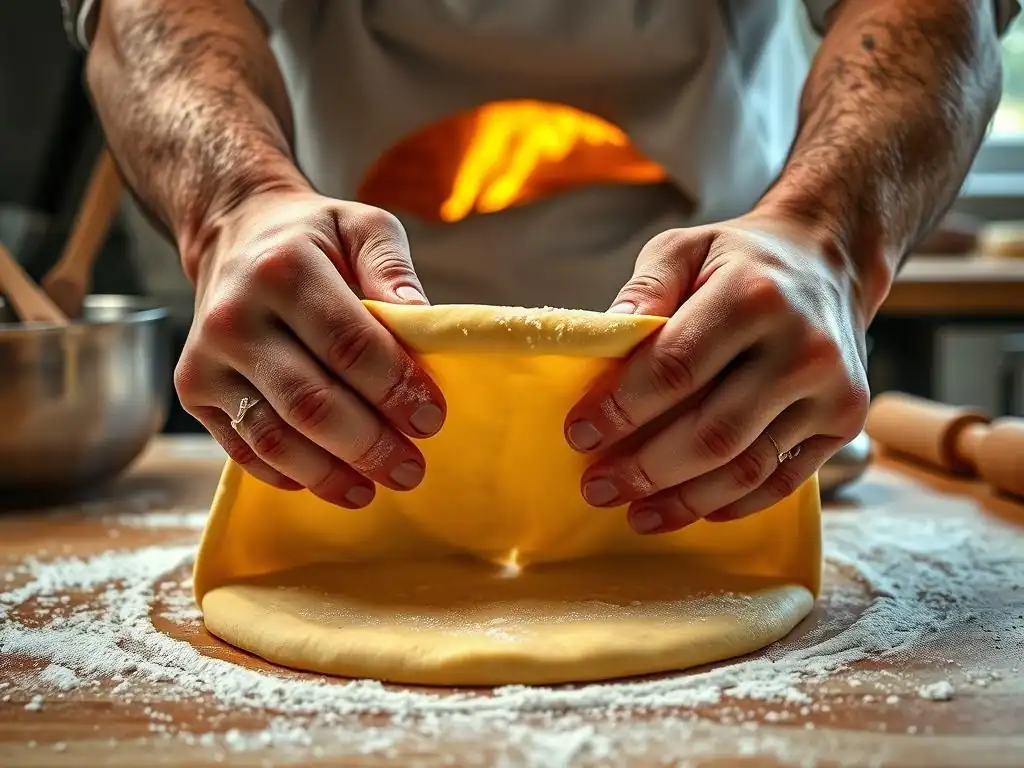
Autolyse: Enhancing Dough Hydration and Extensibility
Autolyse is a simple but powerful technique involving mixing just the flour and water from a recipe and letting it rest for a period, typically 20 minutes to several hours, before adding other ingredients like salt and yeast. During this rest, the flour fully hydrates, and naturally present enzymes (proteases and amylases) begin to break down starches and some proteins. This enzymatic action starts the process of gluten relaxation.
The benefits of autolyse are significant: the dough becomes much more extensible and less sticky, making subsequent mixing or kneading easier and shorter. It allows for more uniform hydration and can improve the dough's ability to expand during fermentation and baking. By allowing some initial gluten relaxation enzymatically, autolyse prepares the dough for more efficient development and sets the stage for later gluten relaxation dough handling tips.
Fermentation: The Natural Process of Gluten Relaxation
Fermentation, driven by yeast or a sourdough starter, is not just about producing carbon dioxide for rise; it's also a critical period for gluten relaxation. As the yeast consumes sugars, it produces organic acids (especially in sourdough) and enzymes. These acids and enzymes, particularly proteases, work over time to gently break down some of the protein bonds in the gluten network.
This gradual breakdown leads to a more relaxed, extensible dough. The longer the fermentation, especially cold fermentation in the refrigerator (e.g., 12-48 hours at 35-40°F or 2-4°C), the more significant this enzymatic relaxation. This extended period allows the dough to become very pliable, easier to shape, and capable of achieving a better oven spring and crumb structure. Effective gluten relaxation dough handling tips are often centered around leveraging the power of fermentation.
Utilizing Enzymes for Improved Dough Characteristics
While some commercial bakeries use added enzymes, home bakers primarily rely on the natural enzymes present in flour and those produced by yeast and bacteria during fermentation. Protease enzymes are particularly important for gluten relaxation as they break down peptide bonds within the protein chains. Amylase enzymes break down starches into simpler sugars, providing food for the yeast.
Controlled enzymatic activity leads to dough that is less elastic (less springy rebound) and more extensible (stretches further before tearing). This balance of strength and extensibility is ideal for shaping and allows the dough to expand without undue resistance during the final proof and oven spring. However, excessive enzymatic activity, often due to overly long or warm fermentation of certain flours, can weaken the gluten too much, leading to a gummy texture or dough that collapses. Managing these natural enzymes is part of advanced gluten relaxation dough handling tips.
Gentle Handling: Preserving Gluten Structure for Baking Perfection
Minimal Kneading: Avoiding Over-Development
Once the initial gluten development is achieved during mixing, subsequent handling should focus on preserving the network and encouraging relaxation rather than further aggressive kneading. Excessive kneading after the gluten is already developed can actually tighten the network excessively or even begin to break it down, making the dough stiff and difficult to work with.
Techniques like "stretch and folds" during bulk fermentation are preferred over traditional kneading at this stage. Performing 3-4 sets of stretch and folds at intervals (e.g., every 30-60 minutes) gently strengthens the dough and helps align the gluten strands without creating excessive tension. The rest periods between folds allow the gluten to relax, contributing to overall dough extensibility and making this a core component of effective gluten relaxation dough handling tips.
Resting and Proofing: Allowing Time for Relaxation
Rest periods are crucial throughout the baking process to allow the gluten network, which tightens with each handling step (mixing, shaping), to relax. Even a short 15-30 minute rest after initial kneading or pre-shaping makes a significant difference in how easily the dough can be handled in the next step. This relaxation makes the dough more pliable and less resistant to stretching.
The final proof, the period after shaping and before baking, is essentially an extended rest period where the dough continues to relax while accumulating gas. A properly proofed dough feels airy and relaxed; it has expanded significantly but still has some structure. Insufficient proofing means the gluten hasn't relaxed enough, leading to a dense crumb and potential tearing during oven spring. Adequate rest and proofing are fundamental gluten relaxation dough handling tips.
Shaping Methods: Minimizing Stress on the Dough
Shaping is the final step before proofing and baking, where the dough is formed into its intended shape (loaf, roll, etc.). The goal is to create surface tension for structure while handling the dough gently to avoid tearing the delicate, relaxed gluten network. Using minimal flour on the work surface is important; excessive flour can prevent the dough from adhering to itself, making it difficult to create tension, and can dry out the surface.
Techniques vary by shape, but they generally involve folding the dough onto itself and using the friction of the work surface to create a taut exterior skin. For example, shaping a round loaf (boule) involves folding the edges towards the center and then rotating the dough against the surface to round and tighten it. Rough handling, pressing too hard, or stretching aggressively will tighten the gluten again, undoing the relaxation achieved during fermentation and rest, highlighting the importance of gentle gluten relaxation dough handling tips during this stage.
Key Factors Influencing Gluten Development and Relaxation
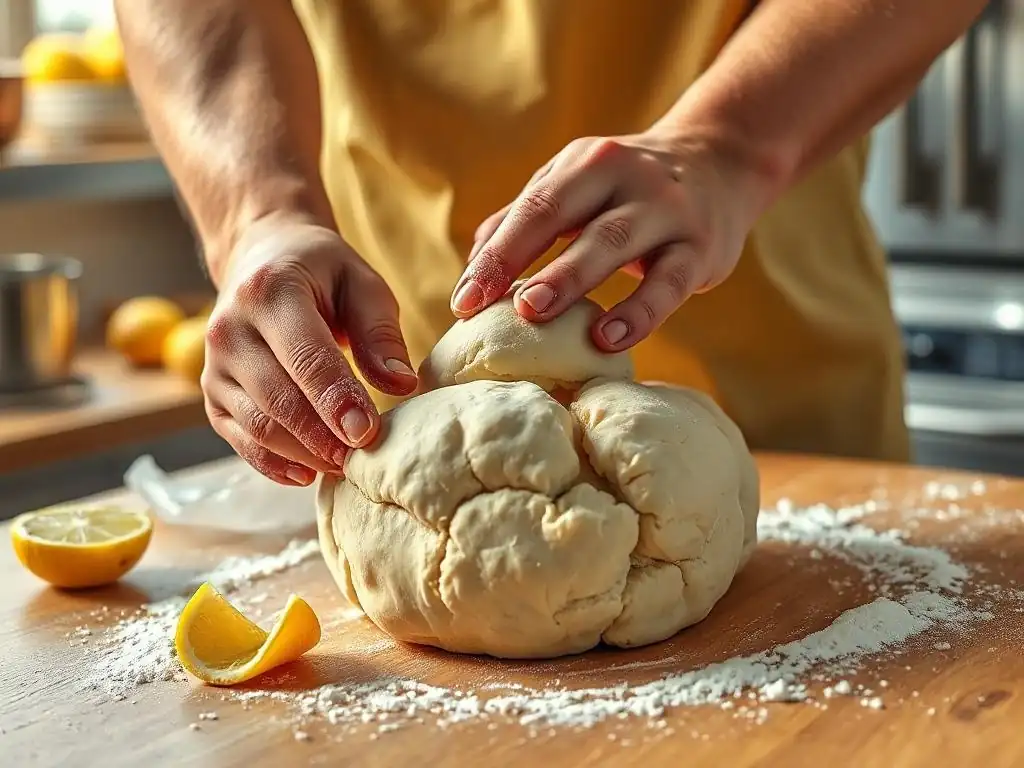
Flour Selection: Protein Content and its Impact
The type of flour used is perhaps the most significant factor influencing gluten development potential. Different flours have varying protein contents, primarily glutenin and gliadin. Bread flour, with its higher protein content (typically 12-14%), is designed to form a strong, elastic gluten network, ideal for chewy, structured breads. All-purpose flour (around 10-12% protein) is more versatile but develops slightly less strength. Cake or pastry flour (7-9% protein) is low in gluten-forming proteins, resulting in tender baked goods where minimal gluten development is desired.
The protein content also affects water absorption; higher protein flours generally absorb more water. Understanding your flour's protein level helps predict how much hydration it can handle and how much mixing or kneading it will require to develop gluten sufficiently. Selecting the right flour is the first step in managing gluten development and applying appropriate gluten relaxation dough handling tips.
Temperature Control: Optimizing Gluten Activity
Temperature profoundly impacts both fermentation speed and enzyme activity, thereby influencing gluten development and relaxation. Warmer dough temperatures (e.g., 75-80°F or 24-27°C) accelerate yeast activity and enzyme function, leading to faster development and relaxation. While this can be useful for quicker baking schedules, it requires careful monitoring to prevent over-fermentation or excessive enzymatic breakdown.
Conversely, colder temperatures, particularly during bulk fermentation in the refrigerator (35-40°F or 2-4°C), significantly slow down yeast activity. However, enzymes continue to work slowly. This extended, cool period allows for significant gluten relaxation, resulting in a very extensible dough that is easy to handle, especially when cold. Cold fermentation also allows for the development of more complex flavors. Controlling temperature is a powerful tool in your gluten relaxation dough handling tips arsenal.
Impact of Ingredients: Salt, Fat, and Sugar on Gluten
Other ingredients in your dough also play a role in gluten development and relaxation. Salt, typically added at 1.8-2% of the flour weight, strengthens the gluten network, making it tighter and more elastic. It helps control the dough's extensibility, preventing it from spreading too quickly. Salt is often withheld during an initial autolyse period because it can inhibit the beneficial enzymatic activity that promotes early relaxation.
Fat (like butter or oil) and sugar have a tenderizing effect on dough. Fat coats the flour particles and gluten strands, inhibiting the formation of a strong, continuous network. This is why recipes rich in butter or oil, like brioche or challah, have a soft, tender crumb. Sugar competes with flour for water and can also interfere with gluten development at high concentrations. Adjusting mixing times and hydration is often necessary when working with enriched doughs, impacting the application of gluten relaxation dough handling tips.
Stiff Dough: Causes and Corrective Actions
Stiff dough is characterized by its resistance to stretching; it feels tight and snaps back readily. Common causes include insufficient hydration (not enough water for the flour), over-kneading (creating excessive tension), or the dough being too cold. A stiff dough is difficult to shape and will struggle to expand properly during proofing and baking, resulting in a dense loaf.
To correct stiff dough due to low hydration, you can carefully knead in small amounts of additional water until the dough becomes more pliable. If the stiffness is from over-kneading or handling, the best solution is rest. Allowing the dough to rest for 30-60 minutes, or even longer, gives the gluten network time to relax. Warming the dough slightly (if it's cold) can also help enzymes become more active and promote relaxation. These are essential gluten relaxation dough handling tips for rectifying stiffness.
Sticky Dough: Addressing Hydration and Gluten Strength
While some stickiness is normal, especially with high hydration doughs, excessively sticky dough that is difficult to handle can be frustrating. This is often due to hydration being too high for the flour's absorption capacity or the baker's handling skill, or because the gluten network is under-developed and not strong enough to support the amount of water.
If the dough is under-developed, gentle stretch and folds can help build strength and make it less sticky over time. For all sticky doughs, using minimal flour on your hands and work surface is key. Employing a bench scraper can aid in handling. For future batches, slightly reducing the hydration percentage or ensuring adequate mixing time to build gluten strength can prevent this issue. Mastering gluten relaxation dough handling tips helps manage the challenges of sticky doughs.
Tearing Dough: Strengthening and Relaxing Techniques
Dough that tears easily when gently stretched indicates an issue with the gluten network's balance of strength and extensibility. This can happen if the dough is under-developed (weak network), over-developed (stressed or broken network), or hasn't had sufficient time to relax after handling. Low hydration can also make dough prone to tearing rather than stretching.
If under-development is the cause, incorporating a few gentle stretch and folds can help build strength. If the dough feels tight and is tearing from lack of relaxation, a longer rest period is necessary. For dough that seems over-developed, extended rest is also recommended to allow the network to recover. If hydration is low, carefully kneading in a small amount of water can improve extensibility. Identifying the root cause is key to applying the correct gluten relaxation dough handling tips to prevent tearing.
Advanced Techniques: Enhancing Dough Properties
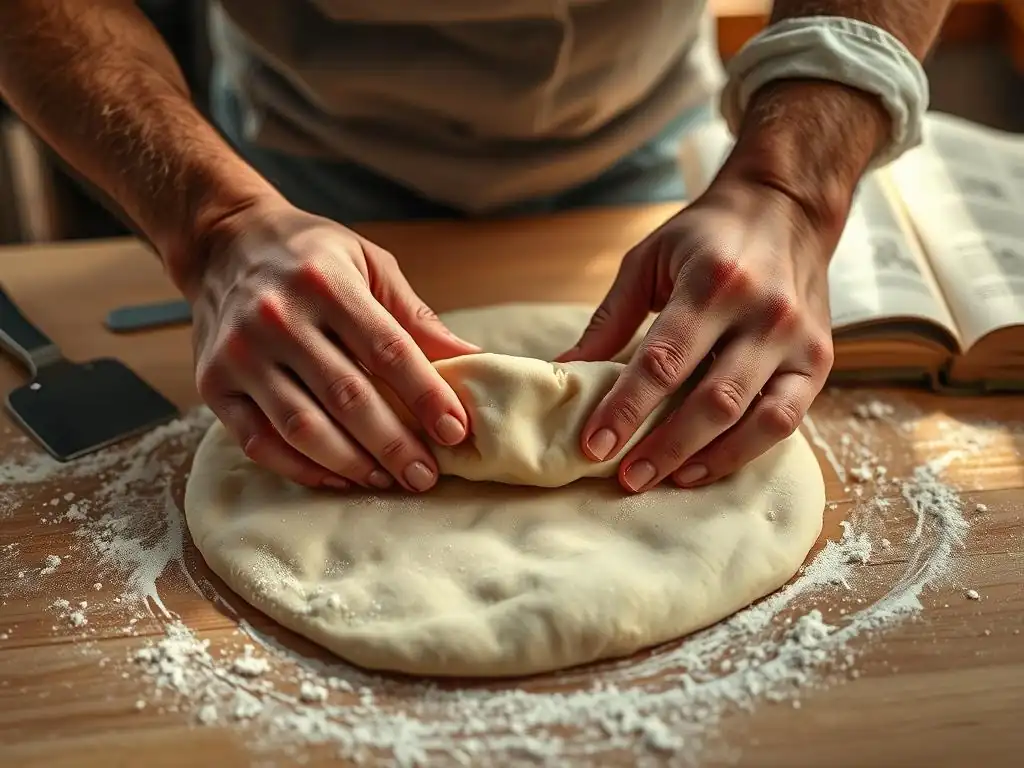
Lamination: Creating Layers in Viennoiserie
Lamination is a technique used in pastries like croissants and puff pastry to create distinct, flaky layers. It involves enclosing a block of cold butter within dough and then repeatedly folding and rolling the dough (known as "turns"). Each turn creates multiple alternating layers of dough and butter. During baking, the water in the butter turns to steam, which pushes the dough layers apart, resulting in the characteristic flaky structure.
Successful lamination requires dough that is both strong enough to withstand repeated rolling without breaking and exceptionally extensible and relaxed to stretch thinly without tearing. The cold temperature maintained throughout the process is crucial; it keeps the butter solid in distinct layers and helps keep the gluten relaxed and manageable between turns. Lamination is a prime example of how precise control over gluten development and gluten relaxation dough handling tips is essential for complex pastries.
Cold Fermentation: Flavor Development and Dough Strength
Cold fermentation, typically done in a refrigerator at temperatures around 35-40°F (2-4°C), is a technique where dough rises slowly over an extended period, often 12 to 48 hours or more. While the cold significantly slows yeast activity, it allows enzymes naturally present in the flour and produced by fermentation to work over a longer duration.
This slow enzymatic activity leads to significant gluten relaxation, making the dough very extensible and easy to handle when cold. The long, cool fermentation also allows for the development of complex flavors that don't occur in faster, warmer rises, contributing to the characteristic taste of artisan breads. Cold fermentation is a cornerstone technique for achieving both superior flavor and dough properties through controlled gluten relaxation. It's a fundamental technique among advanced gluten relaxation dough handling tips.
Sourdough Bread: A Deep Dive into Fermentation and Gluten
Sourdough baking utilizes a starter culture containing a symbiotic community of wild yeasts and lactic acid bacteria (LAB). This unique fermentation process profoundly impacts gluten structure. The LAB produce organic acids, primarily lactic and acetic acids, which lower the dough's pH. This acidic environment, along with enzymes produced by both the wild yeast and bacteria, contributes significantly to the natural breakdown and relaxation of the gluten network over the typically longer fermentation times associated with sourdough.
Sourdough doughs are often higher in hydration than commercial yeast doughs and undergo extended bulk fermentation, sometimes at cooler temperatures. The enzymatic and acidic activity results in a dough that is often very extensible and manageable, even at high hydration. Understanding the interplay of the starter's activity and the dough's temperature and hydration is key to mastering gluten relaxation dough handling tips in sourdough baking.
Key Takeaways: Mastering Gluten for Home Bakers
Integrating Gluten Management into Your Baking Process
Mastering dough is a journey that involves understanding and managing the dynamic properties of gluten. It's about balancing gluten development for strength and structure with gluten relaxation for extensibility and optimal rise. This means paying attention to hydration levels, choosing appropriate mixing techniques, incorporating strategic rest periods like autolyse and bulk fermentation, and handling the dough gently during shaping.
Think of gluten management as a core component of your baking process, not just an afterthought. By consciously applying gluten relaxation dough handling tips at each stage – from mixing to proofing – you empower yourself to troubleshoot issues and achieve more consistent, high-quality results in your homemade breads and pastries.
Continuous Practice: Refining Your Dough Handling Skills
Becoming proficient in dough handling and understanding gluten development and relaxation is a skill that develops with practice. Don't be discouraged if your first few attempts aren't perfect. Each batch of dough you make offers a valuable learning experience, teaching you how different variables like flour type, hydration, temperature, and time affect the dough's feel and behavior.
Experiment with small changes in familiar recipes – try slightly higher hydration, incorporate an autolyse, or experiment with a longer, cooler fermentation. Pay close attention to how the dough feels in your hands throughout the process. This hands-on exploration is the most effective way to internalize the principles of gluten relaxation dough handling tips and build confidence in your baking abilities.
Frequently Asked Questions
What is gluten relaxation, and why is it important in baking?
Gluten relaxation refers to the loosening and softening of the gluten strands in dough over time. This process is crucial for achieving a tender and extensible dough, leading to better texture in baked goods.
How does time affect gluten relaxation in dough?
Time allows the gluten proteins to unwind and align, becoming more pliable. Longer proofing or resting periods generally result in more relaxed gluten, making the dough easier to handle and shape.
What are some practical dough handling tips to avoid overworking the gluten?
Gentle techniques like folding and stretching are preferable to vigorous kneading after initial gluten development. Avoid excessive handling and let the dough rest to prevent a tough final product.
What ingredients can promote gluten relaxation in dough?
Ingredients like fats (butter, oil) and acids (lemon juice, vinegar) can interfere with gluten development, leading to a more tender crumb. These ingredients can help relax the gluten strands.
What is the difference between dough handling tips for beginners and advanced bakers?
Beginners should focus on basic kneading and proofing techniques to develop gluten strength. Advanced bakers might experiment with autolysing, prefermenting, and hydration levels for precise gluten control.
Final Reflection: Mastering the Art of Gluten Relaxation
The science of gluten relaxation isn't just about perfect bread; it's about understanding the fundamental principles of baking and unlocking its creative potential. Mastering this process allows bakers of all levels to achieve consistent, predictable results, transforming frustrating experiences into moments of culinary triumph. The seemingly simple act of kneading becomes a precise dance between science and artistry.
The impact of understanding gluten relaxation extends far beyond the kitchen. It's a testament to the power of observation and patience, qualities that translate to many aspects of life. The subtle changes in dough texture, the gradual yielding of the gluten network – these are microcosms of larger processes of growth and transformation. The best bread is made with love and patience,
a wise baker once said, and this sentiment perfectly encapsulates the essence of mastering gluten relaxation. It's a journey of understanding, not just a recipe to follow.
Now, consider your own baking journey. What techniques have you found most effective in managing gluten relaxation? What adjustments have you made based on your flour type or desired outcome? I encourage you to continue experimenting, to embrace the imperfections, and to find joy in the process. The more you understand the science behind gluten relaxation, the more confident and creative you will become in the kitchen. The perfect loaf awaits – go forth and bake!
Unlock Your Baking Potential: Master Gluten's Secrets!
Thanks for diving into the science of gluten and dough handling! We hope you gained valuable insights into creating perfectly textured baked goods. Ready to put your new knowledge to the test?
- Bake your best loaf yet! Try a new recipe, focusing on the techniques you just learned about gluten development and manipulation. Pay close attention to kneading and resting times.
- Share your baking journey! Post a picture of your creation on social media and tag us – we'd love to see your results!
- Explore our other articles on advanced baking techniques to further refine your skills.
What unexpected discovery about gluten will you make in your next baking adventure?