
BeginnerFriendly Simple Pineapple Upside Down Cake


Welcome to BakeWithEase! Ever dreamed of creating a show-stopping dessert with minimal fuss? You've come to the right place. Discover the secrets to baking a perfect, golden-brown treat, starting with our surprisingly easy pineapple upside down cake – a recipe so simple, even a complete beginner can master it. Intrigued? Let's unlock the baking magic together!
- Beginner-Friendly Simple Pineapple Upside Down Cake: Bake With Ease
- Introduction to Easy Pineapple Upside Down Cake
- What Makes This Pineapple Upside Down Cake Recipe So Easy?
- Ingredients for Your Simple Pineapple Upside Down Cake
- Step-by-Step Guide: Baking Your Easy Pineapple Upside Down Cake
- Tips for a Perfect Pineapple Upside Down Cake
- Variations and Customizations for Your Pineapple Cake
- Storing and Serving Your Easy Pineapple Upside Down Cake
- Troubleshooting Common Pineapple Upside Down Cake Problems
-
Frequently Asked Questions
- What makes this pineapple upside down cake recipe "beginner-friendly"?
- Can I substitute the canned pineapple with fresh pineapple?
- What's the best way to prevent the cake from sticking to the pan?
- How do I know when the pineapple upside down cake is done baking?
- Can I add other fruits to the pineapple upside down cake?
- Final Reflection: The Sweet Simplicity of Sharing
- Unlock Your Inner Baker: Flip into Deliciousness!
Beginner-Friendly Simple Pineapple Upside Down Cake: Bake With Ease
Introduction to Easy Pineapple Upside Down Cake
Why This Pineapple Upside Down Cake Recipe is Perfect for Beginners
Embarking on your baking journey can feel daunting, but some recipes are designed to build confidence right from the start. This easy pineapple upside down cake is a prime example. Its forgiving nature makes it ideal for those just starting out in the kitchen. Unlike delicate pastries or complex layered cakes, the structure and method of an easy pineapple upside down cake are remarkably straightforward. You start with the 'topping' at the bottom, which simplifies the assembly process significantly. The ingredients are typically pantry staples, readily available at any grocery store, eliminating the need for specialty items.
Furthermore, the visual appeal of a finished pineapple upside down cake is incredibly rewarding, offering a sense of accomplishment that encourages beginners to keep baking. Even minor imperfections in the cake itself are often hidden by the vibrant fruit and glossy caramel once inverted. This particular easy pineapple upside down cake recipe focuses on minimal steps and reliable outcomes, ensuring that your first attempt is likely to be a delicious success. We break down each part of the process into manageable chunks, making it feel less like a challenge and more like a fun, achievable project.
BakeWithEase's Guide to a Foolproof Pineapple Cake
At BakeWithEase, our goal is to demystify baking and make it accessible to everyone. This guide to baking a foolproof pineapple cake is crafted with the absolute beginner in mind. We focus on simple techniques that yield consistent results, reducing the common frustrations associated with early baking attempts. Our method emphasizes accurate measuring, understanding your oven, and recognizing key visual cues throughout the baking process.
We provide clear, step-by-step instructions, from preparing your pan correctly – a crucial step often overlooked by beginners – to knowing exactly when your cake is done. Our tips are designed to prevent common pitfalls, such as the cake sticking to the pan or ending up dry. By following this guide, you'll learn the fundamental skills needed for many other simple cake recipes, building a solid foundation for future baking adventures. This easy pineapple upside down cake is more than just a dessert; it's a stepping stone to becoming a more confident and capable baker.
What Makes This Pineapple Upside Down Cake Recipe So Easy?
Simple Ingredients for a Delicious Cake
One of the primary reasons this recipe is classified as an easy pineapple upside down cake is its reliance on simple, readily available ingredients. You won't need to hunt for exotic flours or specialty extracts. The base of the cake uses standard all-purpose flour, granulated sugar, eggs, butter, and milk – items commonly found in most kitchens. For the signature topping, canned pineapple rings are the star, offering convenience and consistent sweetness year-round. Maraschino cherries add that classic pop of color and a touch of extra sweetness.
The caramel layer, which creates the beautiful glossy top when inverted, is made from just butter and brown sugar, melting together to form a rich, simple syrup. This minimal ingredient list means less time spent at the grocery store and a lower overall cost, making this easy pineapple upside down cake an economical choice for a delicious treat. The straightforward nature of these components contributes significantly to the recipe's beginner-friendly status.
Step-by-Step Instructions for Baking Beginners
This easy pineapple upside down cake recipe is broken down into a sequence of simple, logical steps designed specifically for those new to baking. We start with the pan preparation, detailing exactly how to grease and line it to prevent sticking – a common fear for beginners. Next, we guide you through creating the simple caramel topping directly in the pan. Arranging the fruit is presented as a fun, easy task.
The cake batter instructions are equally straightforward, often involving a simple creaming method or even a melt-and-mix approach depending on the specific recipe variation. We emphasize mixing until just combined, helping beginners avoid the pitfall of overmixing, which can lead to tough cakes. Each step is explained clearly, often with visual cues to look for, such as the color of the caramel or the texture of the batter. This methodical approach ensures that even someone who has never baked before can follow along with confidence and achieve a successful easy pineapple upside down cake.
Time-Saving Techniques for a Quick Dessert
Beyond simple ingredients and clear steps, this easy pineapple upside down cake incorporates techniques that minimize prep and baking time, making it a perfect choice when you need a delicious dessert relatively quickly. Using canned pineapple rings is a significant time-saver compared to peeling and slicing a fresh pineapple. The caramel topping is made directly in the cake pan, eliminating the need for a separate saucepan and reducing cleanup.
Many easy pineapple upside down cake recipes feature a simple batter that comes together in minutes, sometimes even a one-bowl method. The baking time itself is typically around 35-45 minutes in a standard oven, which is shorter than many elaborate cakes. From start to finish, you can often have this cake ready to cool and serve within an hour and a half, including prep time. This efficiency makes it an ideal dessert for busy weeknights or spontaneous gatherings.
Ingredients for Your Simple Pineapple Upside Down Cake
Cake Batter Ingredients List
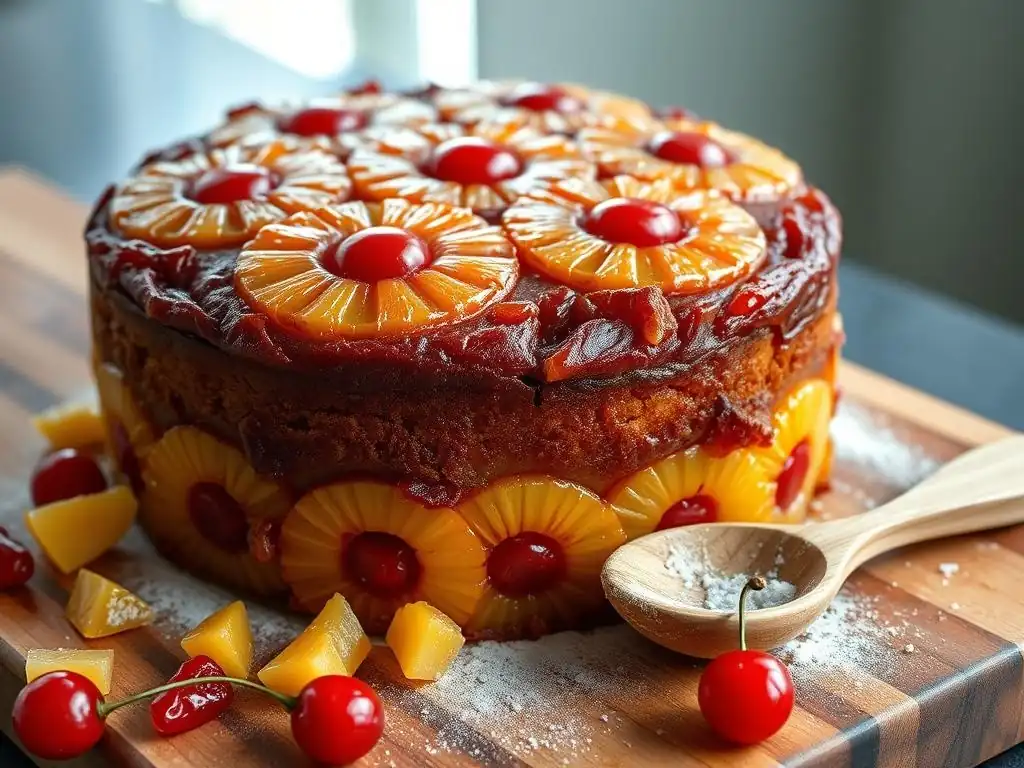
To make the moist and tender cake batter for your easy pineapple upside down cake, you will need a few basic items. This list assumes a standard 8 or 9-inch round cake pan recipe. You'll typically require about 1 and 1/2 cups of all-purpose flour, measured correctly by spooning it into your measuring cup and leveling off. You'll also need approximately 1 teaspoon of baking powder and 1/4 teaspoon of salt to provide leavening and balance the sweetness.
For the wet ingredients, expect to use around 1/2 cup (one stick) of unsalted butter, softened to room temperature, and about 1 cup of granulated sugar. Two large eggs, also at room temperature, will bind the ingredients together. Finally, approximately 1/2 cup of milk (whole or 2%) or even some of the reserved pineapple juice will provide the necessary moisture for a tender crumb in your easy pineapple upside down cake.
Caramel Topping Ingredients List
The luscious, sticky caramel topping for your easy pineapple upside down cake requires just two main ingredients, plus the fruit. You'll need about 1/2 cup (one stick) of unsalted butter. Using unsalted butter gives you more control over the final saltiness, though salted butter can be used if that's all you have, perhaps omitting any added salt in the cake batter.
The sweetener for the caramel is typically 1 cup of light or dark brown sugar. Light brown sugar will yield a lighter colored, milder caramel, while dark brown sugar will give a richer, deeper flavor and color. For the fruit, you'll need one standard 20-ounce can of pineapple rings, drained, reserving the juice if your cake recipe calls for it. Finally, a small jar (around 3.5 ounces) of maraschino cherries, drained, provides the classic red accents placed in the center of each pineapple ring.
Essential Baking Tools You'll Need
Having the right tools makes baking this easy pineapple upside down cake even simpler. You don't need a lot of fancy equipment, but a few basics are essential. A standard 8 or 9-inch round cake pan is necessary; a sturdy metal one is recommended for even heat distribution, crucial for baking the caramel layer correctly. You'll also need parchment paper to line the bottom of the pan, which is vital for easy removal of the finished cake.
For measuring, a set of dry measuring cups and spoons, along with a liquid measuring cup, are indispensable for accuracy. Two mixing bowls – one for dry ingredients and one for wet, or one large bowl for a simpler method – will be needed. A whisk or an electric mixer (either hand-held or stand) will make combining the batter much easier. Finally, a rubber spatula for scraping down the sides of the bowl and a cooling rack for cooling the finished easy pineapple upside down cake are important for success.
Step-by-Step Guide: Baking Your Easy Pineapple Upside Down Cake
Preparing the Pan and Caramel Topping
Arranging the Pineapple Rings and Cherries
The first step in creating your easy pineapple upside down cake is preparing the pan and arranging the fruit. Begin by thoroughly greasing the inside of your 8 or 9-inch round cake pan with butter or baking spray. This is a critical step to prevent sticking. Then, cut a circle of parchment paper to fit the bottom of the pan and place it in the bottom. Grease the parchment paper as well. This double layer of protection is a beginner's best friend when making an easy pineapple upside down cake.
Once the pan is prepped, you'll arrange the drained pineapple rings directly on the parchment paper. Typically, a standard 9-inch pan will fit about 7-9 pineapple rings neatly across the bottom. Arrange them in a single layer, slightly overlapping if necessary to cover the bottom. Place a drained maraschino cherry in the center of each pineapple ring for that classic look. This fruit layer will become the top of your easy pineapple upside down cake after baking and inverting.
Making the Simple Caramel Sauce
With the fruit in place, it's time to create the simple caramel sauce that will coat the fruit and become the delicious, sticky topping. This is done directly in the prepared pan, over the arranged fruit. Melt the 1/2 cup (one stick) of butter evenly over the fruit layer. You can do this gently on a stovetop burner on low heat, or often, you can simply melt the butter in the pan first and then arrange the fruit on top of the melted butter.
Once the butter is melted, sprinkle the 1 cup of brown sugar evenly over the melted butter and the fruit. The brown sugar will absorb the butter and the residual moisture from the fruit, creating a thick, syrupy mixture as it bakes. This simple method avoids the complexities of traditional stovetop caramel making, making this an even easier pineapple upside down cake to tackle for beginners. Ensure the sugar is spread as evenly as possible to get a consistent caramel layer.
Mixing the Cake Batter: An Easy Baking Process
Combining Dry and Wet Ingredients
Mixing the cake batter for this easy pineapple upside down cake is designed to be straightforward. In a medium bowl, whisk together your dry ingredients: the 1 and 1/2 cups of all-purpose flour, 1 teaspoon of baking powder, and 1/4 teaspoon of salt. This helps to distribute the leavening evenly. In a separate larger bowl, cream together the softened 1/2 cup of butter and 1 cup of granulated sugar until light and fluffy, typically for about 2-3 minutes using an electric mixer.
Beat in the two large eggs one at a time, ensuring each is fully incorporated before adding the next. In a small bowl or jug, combine the 1/2 cup of milk (and any reserved pineapple juice if using). Now, you will alternately add the dry ingredients and the milk mixture to the butter/sugar/egg mixture, starting and ending with the dry ingredients. For example, add about a third of the dry ingredients, mix until just combined, then add about half of the milk, mix, and repeat until all ingredients are incorporated.
Achieving the Perfect Cake Batter Consistency
The goal when mixing the batter for your easy pineapple upside down cake is to achieve a smooth, uniform consistency without overmixing. After adding the dry and wet ingredients alternately, mix on low speed or by hand until just combined. There might be a few small lumps, which is perfectly fine. Overmixing develops the gluten in the flour too much, resulting in a tough or dense cake.
The batter should have a pourable but slightly thick consistency, similar to pancake batter but a bit thicker. It should not be watery or overly stiff. If using an electric mixer, stop as soon as you no longer see streaks of dry flour. A rubber spatula is excellent for a final gentle fold to ensure everything from the bottom and sides of the bowl is incorporated. This simple batter comes together quickly, keeping the process for this easy pineapple upside down cake hassle-free.
Baking Your Pineapple Upside Down Cake to Perfection
Oven Temperature and Baking Time
Proper oven temperature and baking time are key to a perfectly baked easy pineapple upside down cake. Preheat your oven to a standard baking temperature, typically 350°F (175°C). It's important that the oven is fully preheated before you place the cake inside to ensure even baking from the start. Place the cake pan on a middle rack in the oven.
The baking time for an easy pineapple upside down cake of this size (8 or 9-inch round) is usually between 35 and 45 minutes. However, baking times can vary depending on your specific oven. It's helpful to start checking around the 35-minute mark. Look for visual cues: the cake should appear golden brown around the edges and set in the center.
Checking for Doneness: The Toothpick Test
The most reliable way to check if your easy pineapple upside down cake is done is the classic toothpick test. After the initial baking time has passed (around 35-40 minutes), carefully open the oven door and insert a clean toothpick or a thin skewer into the center of the cake. Be sure to insert it into the cake batter portion, avoiding the pineapple rings below.
If the toothpick comes out clean, with no wet batter attached, your cake is ready. If there are wet crumbs or batter on the toothpick, the cake needs more time. Continue baking and check again every 3-5 minutes. Once the toothpick comes out clean, remove the easy pineapple upside down cake from the oven. It's crucial not to overbake, as this can lead to a dry cake, which is a common issue beginners face.
Tips for a Perfect Pineapple Upside Down Cake
Preventing a Soggy Cake Bottom
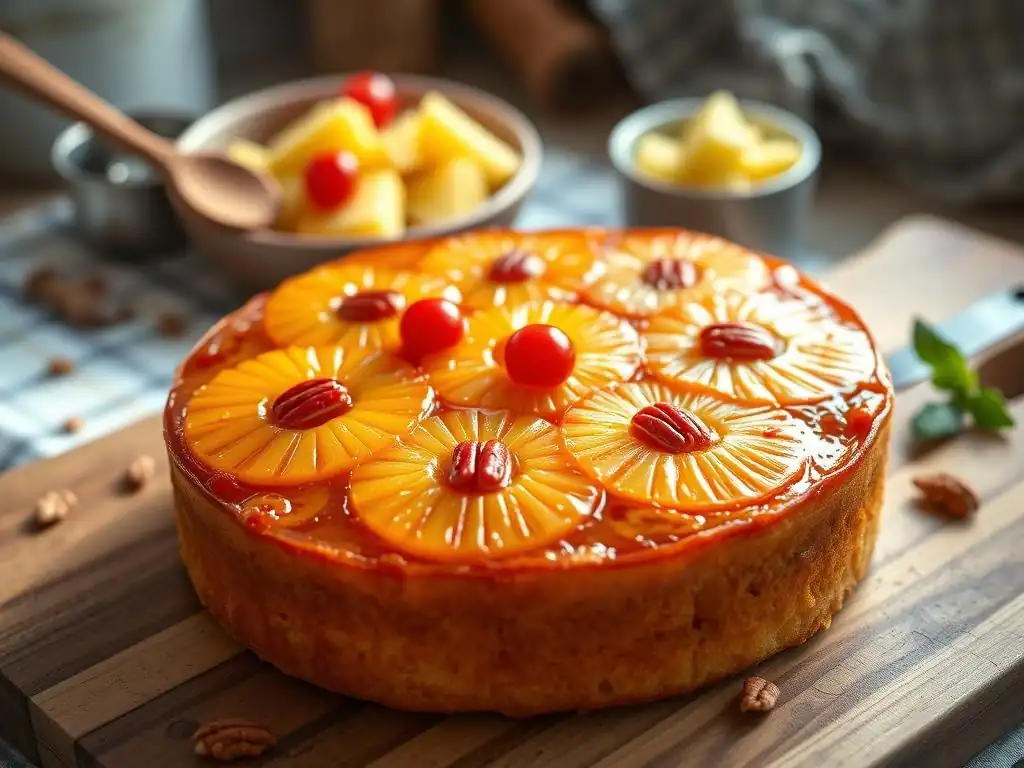
A common issue with pineapple upside down cake is a soggy bottom, where the cake layer right above the fruit becomes damp or heavy. This often happens if too much liquid is present in the caramel layer or if the cake isn't baked thoroughly. To prevent this with your easy pineapple upside down cake, ensure your pineapple rings are well-drained. You can even pat them gently with paper towels to remove excess juice before arranging them in the pan.
Another tip is to ensure your oven temperature is accurate and that you bake the cake fully until a toothpick inserted into the center comes out clean. An underbaked cake will absorb moisture from the topping as it cools. Some recipes also suggest adding a thin layer of dry cake mix or flour directly over the brown sugar and butter layer before adding the batter, which can help absorb excess moisture, resulting in a firmer, less soggy cake bottom.
Achieving a Golden-Brown Caramel Topping
The beautiful golden-brown caramel topping is a signature of a successful easy pineapple upside down cake. To achieve this, start with the correct ratio of butter to brown sugar, typically 1 part butter to 2 parts brown sugar by volume (e.g., 1/2 cup butter to 1 cup brown sugar). Ensure the brown sugar is spread evenly over the melted butter and fruit in the pan.
As the cake bakes, the brown sugar and butter will bubble and caramelize. The heat from the oven transforms the sugar into a rich, syrupy sauce. Baking at the recommended temperature (350°F) for the correct amount of time allows the caramel to bubble and thicken without burning. You can sometimes peek through the oven door towards the end of baking to see the color of the caramel around the edges; it should be a deep amber, not dark brown or black, which indicates burning.
Tips to easily remove the cake from the pan.
Successfully inverting and removing your easy pineapple upside down cake from the pan is perhaps the most nerve-wracking step for beginners. The key is timing and preparation. First, ensure you greased the pan thoroughly and used parchment paper on the bottom, greasing the paper as well. This creates a non-stick surface.
Once the cake is out of the oven, let it cool in the pan for only about 5-10 minutes. This short cooling time allows the cake to set slightly but keeps the caramel warm and fluid. If you let it cool too long in the pan, the caramel can harden and act like glue, causing the cake to stick. While it's still warm, place a serving plate or cake stand upside down over the cake pan.
Holding the pan and plate together firmly with oven mitts, quickly and confidently flip them over. Lift the pan off slowly. If any fruit sticks, gently place it back onto the cake. The parchment paper should ideally stay attached to the pan or lift off easily from the cake bottom.
Variations and Customizations for Your Pineapple Cake
Adding Nuts for Extra Flavor and Texture
Adding nuts is a simple yet effective way to introduce extra flavor and a delightful crunch to your easy pineapple upside down cake. Chopped pecans or walnuts are classic choices that pair wonderfully with pineapple and caramel flavors. You can sprinkle about 1/2 cup of finely chopped nuts over the brown sugar layer in the bottom of the pan before adding the cake batter.
The nuts will toast slightly as the cake bakes, enhancing their flavor. They also absorb some of the caramel, becoming wonderfully sticky and delicious. This variation adds another dimension to the easy pineapple upside down cake, elevating it from a simple dessert to something with more complexity, while still keeping the process beginner-friendly.
Using Different Fruits for a Unique Twist
While pineapple is traditional, the 'upside down' technique works beautifully with various fruits, allowing you to create unique variations of your easy pineapple upside down cake concept. Sliced peaches, pears, or apples are excellent alternatives. Use canned fruits packed in juice or light syrup for simplicity, draining them well, or thinly slice fresh fruit.
Arrange the fruit slices in a decorative pattern over the caramel layer, just as you would the pineapple. Berries like raspberries or blueberries can also be scattered over the caramel. Each fruit will lend its own flavor profile to the cake and caramel, offering a fresh take on the easy pineapple upside down cake structure. This encourages experimentation and creativity in the kitchen.
Gluten-Free Pineapple Upside Down Cake Option
For those with dietary restrictions, adapting this easy pineapple upside down cake recipe to be gluten-free is quite feasible. The simplest approach is to substitute the standard all-purpose flour with a good quality gluten-free all-purpose flour blend. Look for a blend that is designed for baking and ideally contains xanthan gum, which helps provide structure in the absence of gluten.
Follow the rest of the recipe as written, keeping in mind that gluten-free batters can sometimes be slightly different in consistency. The baking time might also vary slightly, so rely on the toothpick test for doneness. This modification allows individuals following a gluten-free diet to enjoy a delicious and easy pineapple upside down cake, proving that simple baking is accessible to many.
Storing and Serving Your Easy Pineapple Upside Down Cake
Keeping Your Cake Fresh
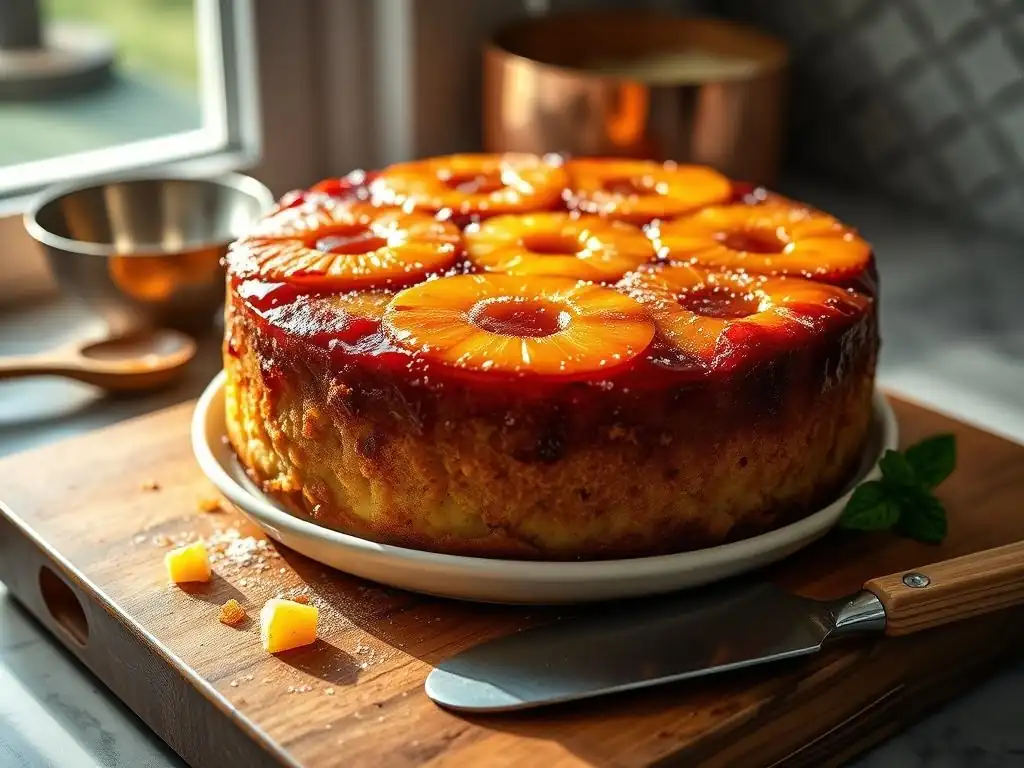
Once your easy pineapple upside down cake has cooled completely, proper storage is essential to maintain its freshness and moisture. The best way to store it is at room temperature for the first day or two, provided your kitchen isn't excessively warm. Cover the cake loosely with plastic wrap or aluminum foil, or store it in an airtight cake keeper.
If you need to store it longer, or if your kitchen is warm, refrigerating the cake is advisable. Wrap it tightly to prevent it from drying out or absorbing odors from other foods. Stored properly in the refrigerator, an easy pineapple upside down cake will typically stay fresh for 3-4 days. For longer storage, individual slices or the whole cake can be wrapped tightly and frozen for up to 2-3 months. Thaw in the refrigerator before serving.
Serving Suggestions and Pairing Ideas
Your delicious easy pineapple upside down cake is wonderful served slightly warm or at room temperature. The classic way to enjoy it is on its own, allowing the sweet cake, tangy pineapple, and rich caramel to shine. The contrast of textures and flavors is often all you need.
For a more indulgent dessert, serve a slice with a dollop of freshly whipped cream. The lightness of the cream provides a lovely counterpoint to the dense, moist cake. A scoop of vanilla ice cream is another popular pairing, creating a warm and cold sensation that is incredibly satisfying. A sprinkle of toasted coconut flakes or a drizzle of extra caramel sauce can also enhance the presentation and flavor of your easy pineapple upside down cake.
Troubleshooting Common Pineapple Upside Down Cake Problems
Cake Sticking to the Pan
Cake sticking to the pan is a frustrating issue, especially after the exciting moment of inverting your easy pineapple upside down cake. The primary cause is inadequate pan preparation. To prevent this, ensure you grease the pan very generously with butter or baking spray, getting into all the corners and up the sides. Crucially, always use parchment paper cut to fit the bottom of the pan and grease the parchment paper as well.
If your cake does stick slightly upon inversion, don't panic. Gently try loosening the edges with a knife or spatula. If a pineapple ring or a bit of caramel remains stuck in the pan, carefully lift it out with a spatula and place it back onto the cake in its correct spot. The moistness of the caramel and fruit usually helps the pieces adhere back to the cake. Patience and thorough greasing are your best defense against a stuck easy pineapple upside down cake.
Cake Being Too Dry
A dry cake can result from several factors, but the most common are overmixing the batter and overbaking. To avoid a dry easy pineapple upside down cake, mix your cake batter only until the ingredients are just combined. Stop as soon as you no longer see streaks of dry flour; a few small lumps are preferable to a smooth, overmixed batter.
Secondly, be precise with your baking time and rely on the toothpick test to check for doneness. Baking even a few minutes too long after the cake is done can dry it out significantly. Ensure your oven temperature is accurate (an oven thermometer can help). If your easy pineapple upside down cake does turn out a little dry, serving it with whipped cream, ice cream, or a simple syrup drizzled over the top can help add back some moisture and make it more enjoyable.
Caramel Topping Burning
Burning the caramel topping is another potential pitfall, resulting in a bitter, unpleasant flavor. This usually occurs if the oven temperature is too high or if the cake is baked for too long, causing the sugar to overheat and burn. While the caramel should bubble and brown, it should reach a rich amber color, not a dark, almost black hue.
To prevent the caramel from burning on your easy pineapple upside down cake, ensure your oven temperature is accurate and not running too hot. Baking at the recommended 350°F (175°C) is generally safe. Keep an eye on the cake towards the end of the baking time. If you notice the caramel around the edges is getting very dark before the cake is done, you can loosely tent the pan with aluminum foil for the remaining baking time. This shields the top (which will be the bottom caramel layer) from direct heat while allowing the cake to finish baking.
Frequently Asked Questions
What makes this pineapple upside down cake recipe "beginner-friendly"?
This recipe is beginner-friendly because it utilizes simple ingredients, provides clear step-by-step instructions, and avoids complex baking techniques. We focus on ensuring success for even the most novice bakers.
Can I substitute the canned pineapple with fresh pineapple?
Yes, you can! Just ensure the fresh pineapple is drained well before placing it in the pan to avoid a soggy cake. Consider grilling or caramelizing the fresh pineapple slices for added flavor.
What's the best way to prevent the cake from sticking to the pan?
Thoroughly grease and flour the pan, or use parchment paper. Ensuring the caramel is evenly distributed also helps create a non-stick barrier.
How do I know when the pineapple upside down cake is done baking?
A toothpick inserted into the center should come out clean or with a few moist crumbs. The cake should also be golden brown and pulling away slightly from the sides of the pan.
Can I add other fruits to the pineapple upside down cake?
Absolutely! Cherries are a classic addition, but you can also experiment with other fruits like mandarin oranges or even berries for a unique twist. Just be mindful of the moisture content.
Final Reflection: The Sweet Simplicity of Sharing
The ease of baking a perfect pineapple upside-down cake transcends mere culinary skill; it's a testament to the joy of simple pleasures and the power of shared experiences. This recipe, designed for even the most novice baker, proves that creating something delicious and beautiful doesn't require years of experience or complicated techniques. The sweet aroma filling your kitchen, the satisfying golden-brown crust, and the burst of juicy pineapple – these are the rewards of embracing simplicity.
The enduring appeal of the pineapple upside-down cake lies not just in its taste, but in its ability to connect us to cherished memories and traditions. It's a recipe passed down through generations, a comforting presence at family gatherings, and a symbol of warmth and hospitality. Baking is at once child's play and adult joy. And love, of course.
– This sentiment perfectly encapsulates the heart of this classic dessert, reminding us that the process itself is as rewarding as the final product.
Now, I invite you to take this simple recipe and make it your own. Experiment with different spices, add a sprinkle of nuts, or perhaps even try a different fruit altogether. Most importantly, share this joy with others. Bake a cake for a friend, a neighbor, or simply for yourself as a small act of self-care. Let the sweet simplicity of this recipe inspire you to embrace the joy of creating and sharing something delicious, and remember the power of a simple, perfectly baked cake to brighten even the dreariest of days.
Unlock Your Inner Baker: Flip into Deliciousness!
Thanks for joining us on this sweet journey to pineapple upside-down cake perfection! We hope you gained the confidence to tackle this classic recipe. Now it's time to put your new skills to the test!
- Bake your own masterpiece: Grab your ingredients and follow the recipe – you'll be surprised how easy it is! Remember to adjust the sweetness to your preference.
- Share your creation: Show off your beautiful bake on social media using #BakeWithEasePineapple – let's inspire each other!
- Explore more easy recipes: Head over to our website, BakeWithEase.com (this is a placeholder for the website, no actual link is provided) and discover a world of simple, delicious treats.
Ready to flip your baking game upside down? What unique twist will you add to your pineapple upside-down cake?