
Avoiding Soggy Bottoms in Pies & Tarts

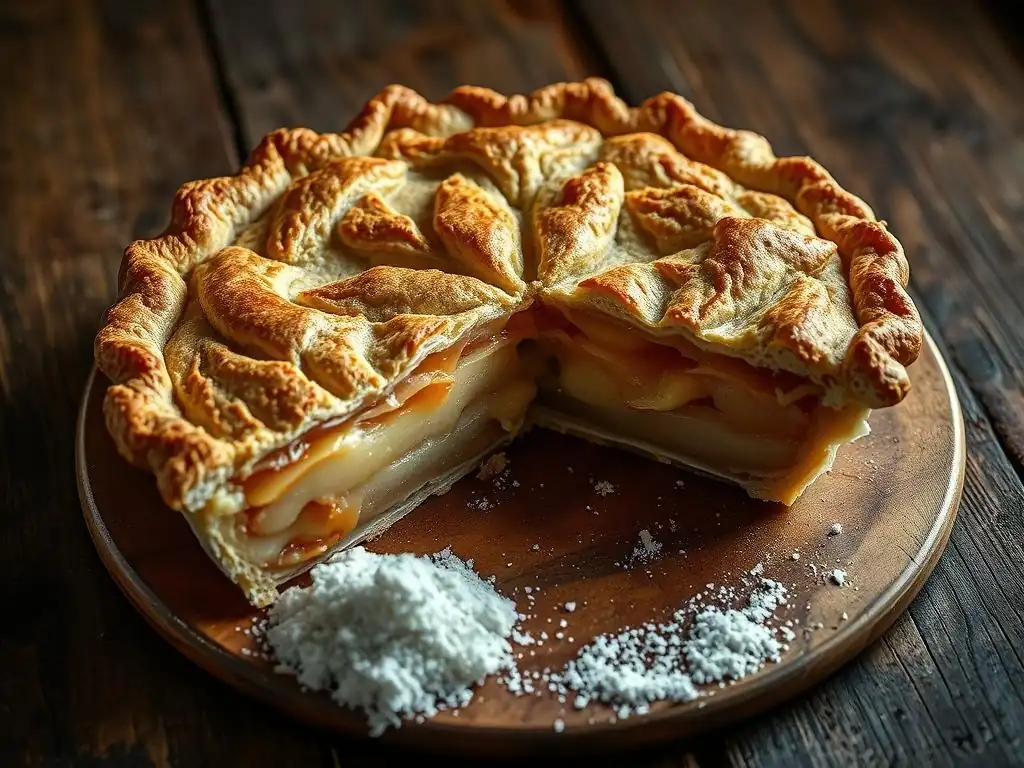
Welcome to BakeWithEase, your ultimate guide to baking bliss! Are you tired of that dreaded soggy pie crust ruining your perfectly crafted pies? Fear not! We're diving deep into secrets that will transform your pie-making game. Get ready to discover simple yet effective soggy pie crust tips that will leave your creations crisp, golden, and utterly irresistible. Intrigued? Let's get started!
- Understanding Soggy Pie Crusts: Causes and Common Problems
- Essential Soggy Pie Crust Tips for Beginners
- Preparing the Pie Crust to Avoid a Soggy Bottom
- Filling Preparation Strategies to Minimize Pie Bottom Sogginess
- Baking Tips and Techniques for a Crisp Pie and Tart Bottom
- Advanced Soggy Pie Crust Tips: Ingredients and Tools
- Troubleshooting Common Issues: Fixing a Soggy Pie Bottom After Baking
- Summary of Top Soggy Pie Crust Tips for Consistently Crispy Pies and Tarts
-
Frequently Asked Questions
- What causes a soggy pie crust, and how can I prevent it?
- What is "blind baking," and when is it necessary?
- Are there specific types of pie fillings that are more likely to cause a soggy crust?
- Does the type of pie dish I use affect the crust's sogginess?
- Can I salvage a pie with a slightly soggy crust?
- Final Reflection: The Quest for a Perfectly Crisp Crust
- Unlock Perfectly Crisp Pie Crusts: Your Baking Journey Starts Now!
Understanding Soggy Pie Crusts: Causes and Common Problems
Why Do Pie Crusts Get Soggy? Key Factors Behind Moisture Issues
Soggy pie crusts are a common frustration for home bakers, often transforming a potentially perfect dessert into a less enjoyable experience. The primary culprit is moisture. When the wet filling comes into contact with the uncooked bottom crust, especially during the early stages of baking, the dough absorbs this liquid instead of crisping up. This is particularly prevalent in pies with high-moisture fillings, such as fruit pies or quiches. The starch in the flour absorbs water, causing the gluten structure to become weak and pasty rather than forming the desired flaky layers.
Another significant factor is the temperature of the oven and the baking time. If the oven is not hot enough, or if the pie isn't baked for long enough, the bottom crust won't reach a high enough temperature to fully cook and dry out before the filling's moisture has a chance to penetrate it.
Fat in the dough also plays a role; while fat creates flakiness by separating layers of gluten, if the fat melts too quickly or unevenly, it can leave gaps where moisture can seep in. Understanding these fundamental issues is the first step toward implementing effective soggy pie crust tips.
How Filling Moisture and Baking Techniques Affect Pie Bottom Texture
The type and preparation of your filling dramatically impact the moisture level and, consequently, the texture of your pie bottom. Fruit fillings, for instance, release a considerable amount of juice as they cook. If this juice isn't managed, it pools at the bottom, guaranteeing a soggy result. Similarly, custard or quiche fillings contain a lot of liquid (milk, cream, eggs) that can soak into the crust if not properly sealed or protected. Using very wet ingredients without pre-cooking or thickening is a direct path to a disappointing, soggy base.
Beyond the filling, your baking technique is crucial. Uneven oven heat, placing the pie on a low rack where heat circulation is poor, or covering the pie top too early can all contribute to a soggy bottom. The bottom crust needs direct, consistent heat to cook through and crisp up.
If the top browns too quickly and you cover it with foil, you might inadvertently trap steam inside the pie, which then condenses and makes the crust wet. Mastering the interplay between filling preparation and baking methods is key to achieving a perfectly crisp pie crust, making these essential soggy pie crust tips valuable for any baker.
Essential Soggy Pie Crust Tips for Beginners
Choosing the Right Pie Dough: Flaky vs. Pre-Made and Their Impact on Crispness
Selecting the appropriate dough is one of the foundational soggy pie crust tips. A homemade flaky pie dough, typically made with cold butter or shortening cut into flour, offers the best potential for a crisp bottom. The cold fat melts during baking, creating steam that separates layers of dough, resulting in a light, flaky texture that is less prone to becoming dense and soggy.
Ensuring the fat pieces are visible, about the size of peas or small beans, is key to achieving this flakiness. Overworking the dough develops too much gluten, leading to a tough, dense crust that absorbs moisture readily.
Pre-made pie crusts can be convenient, but their composition varies. Some are made with oil or hydrogenated fats which may not produce the same level of flakiness as butter-based doughs. While they can work, they often require extra steps, like blind baking, to ensure a crisp base. Always check the ingredients and reviews if possible. Regardless of whether you choose homemade or store-bought, keeping the dough cold until it goes into the oven is critical for preventing the fat from melting prematurely and compromising the crust's structure and its ability to resist moisture absorption.
Importance of Proper Dough Thickness and Handling to Prevent Sogginess
The thickness of your rolled-out pie dough significantly impacts its ability to withstand moisture. A dough rolled too thin, say less than 1/8 inch, will cook too quickly and become fragile, making it highly susceptible to soaking up liquid from the filling. It also lacks the structure needed to support a heavy filling. Conversely, dough rolled too thick, perhaps over 1/4 inch, might not cook through properly at the bottom, leaving a doughy, uncooked layer.
Aim for a consistent thickness, generally around 1/8 to 3/16 inch, across the entire bottom crust. This allows the dough to cook through evenly and develop a robust enough structure to resist moisture penetration. When handling the dough, work quickly and use as little flour as possible to prevent it from becoming tough.
Transferring the dough carefully into the pie plate without stretching it is also important; stretching can cause the dough to shrink during baking and potentially tear, creating weak spots where the filling can leak and cause sogginess. Gentle handling and even thickness are vital soggy pie crust tips.
Preparing the Pie Crust to Avoid a Soggy Bottom
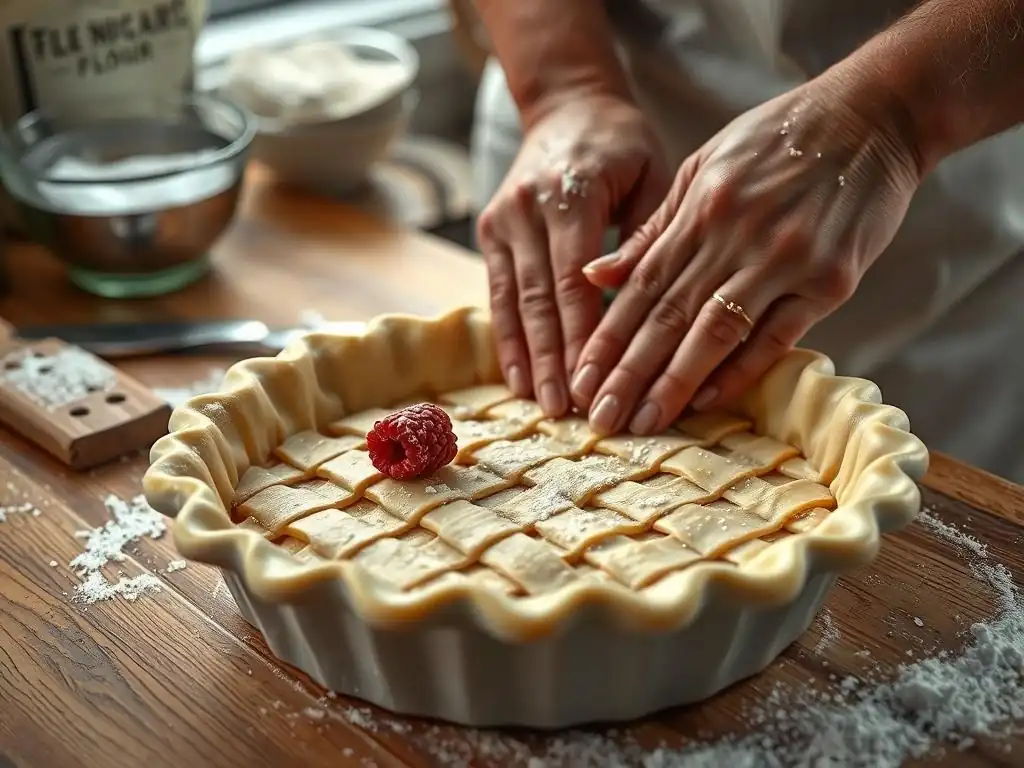
How to Blind Bake a Pie Crust for a Crisp Base
Blind baking, or pre-baking, the pie crust before adding the filling is one of the most effective soggy pie crust tips, especially for wet fillings like quiches, custards, or fruit pies where the filling isn't cooked before assembly. This process gives the bottom crust a head start, allowing it to firm up and partially cook before the moist filling is introduced. To blind bake, line your pie plate with the dough, crimp the edges, and then chill it thoroughly for at least 30 minutes. Chilling helps the fat solidify and prevents the crust from shrinking excessively during baking.
After chilling, line the chilled crust with parchment paper or foil and fill it with pie weights, dried beans, or rice. These weights hold the crust shape and prevent it from puffing up. Bake in a preheated oven, typically at 375°F to 400°F (190°C to 200°C), for about 15-20 minutes, or until the edges are set and lightly golden.
Remove the weights and parchment/foil, then continue baking for another 5-10 minutes until the bottom is pale gold and looks dry. For fully cooked crusts (needed for no-bake fillings), bake until the bottom is golden brown, usually another 10-15 minutes. This pre-cooking step significantly reduces the chance of a soggy bottom.
Using Pie Weights and Their Role in Preventing Moisture Build-up
Pie weights are essential tools when blind baking a crust and are key soggy pie crust tips. They serve a dual purpose: first, they prevent the bottom and sides of the crust from puffing up unevenly as steam is released from the dough's moisture and melting fat. Without weights, the crust could bubble up in the center, making it difficult to fill evenly and creating thin spots prone to sogginess. Second, the weights help press the dough firmly against the pie plate, ensuring good contact for even heat transfer from the pan to the crust.
When using pie weights (ceramic beads, metal weights, dried beans, or rice), fill the lined crust right up to the edges. This ensures the sides of the crust are also held in place and cook evenly, preventing them from slumping down. After the initial bake with weights, removing them allows the bottom surface of the crust to be exposed directly to the oven's heat, promoting browning and drying out.
Remember to discard dried beans or rice used as weights, as they become too dry to cook properly afterward. Using weights correctly is a simple yet powerful technique among soggy pie crust tips.
The Role of Docking the Dough to Reduce Air Pockets and Moisture
Docking refers to pricking the bottom and sides of the pie dough with a fork before baking. This is another helpful technique in the arsenal of soggy pie crust tips, particularly when blind baking or using a filling that goes into an uncooked crust. The small holes created by docking allow steam to escape from beneath the crust during baking. Without these vents, the steam can build up, causing large bubbles or uneven puffing that lift the crust away from the pan, hindering even cooking and potentially leading to a soggy spot where heat couldn't reach.
While docking helps release steam and prevent puffing, it's crucial not to overdo it, especially for pies with very wet fillings. Too many holes can actually allow the filling to seep through the crust, counteracting the goal of preventing sogginess. A few pricks every inch or two across the bottom and lightly on the sides are usually sufficient when blind baking.
For a single-crust pie baked with the filling, docking is often done only if the filling is relatively dry, like certain nut pies, or sometimes skipped entirely if blind baking is performed. Docking is a fine balance – enough to vent steam, but not so much that you create leaks.
Filling Preparation Strategies to Minimize Pie Bottom Sogginess
Adjusting Fruit and Vegetable Fillings to Reduce Excess Liquid
Excess moisture from fillings is a primary cause of soggy pie bottoms, so managing it is a critical set of soggy pie crust tips. For fruit fillings, this often involves pre-cooking the fruit slightly to release some of its juices before baking in the pie. Gently simmering sliced apples, berries, or peaches with sugar and thickener for a few minutes can help reduce the liquid volume.
Alternatively, let prepared fruit sit with sugar and thickener for 15-30 minutes, then drain off any excess liquid before spooning the fruit into the crust. You can reduce this drained juice on the stovetop to make a glaze to pour over the baked pie, ensuring intense flavor without the excess moisture in the crust.
For vegetable fillings, such as those for quiches or savory pies, ensure vegetables like spinach, mushrooms, or onions are thoroughly cooked to remove as much water as possible before adding them to the pie. Squeeze cooked spinach dry, sauté mushrooms until their liquid evaporates, and caramelize onions to reduce their moisture content. These simple steps drastically reduce the amount of liquid that can leach into the bottom crust during baking, contributing significantly to a crisp result.
Best Practices for Thickening Fillings with Thickeners and Absorbents
Using the right thickener in the correct amount is essential among soggy pie crust tips for wet fillings. Common thickeners include flour, cornstarch, tapioca starch, and pectin. Each has slightly different properties: flour provides a cloudy finish and requires longer cooking to lose its raw taste; cornstarch yields a clear, glossy finish and thickens quickly but can break down if overcooked or frozen; tapioca starch is good for fruit pies as it creates a clear gel and holds up well to freezing; pectin is naturally present in some fruits and can be enhanced with added pectin.
As a general guideline, you might use 2-4 tablespoons of flour or 1-2 tablespoons of cornstarch or tapioca per cup of fruit or liquid in your filling, adjusting based on the fruit's juiciness. Mix the thickener thoroughly with the sugar before adding it to the fruit to prevent lumps. Some bakers also add a layer of dry absorbent material on the bottom crust before adding the filling.
Options include a thin sprinkle of dry breadcrumbs, cake crumbs, crushed cookies (like graham crackers or vanilla wafers), or even a dusting of flour mixed with sugar. These absorb the initial burst of moisture released by the filling during the start of baking, providing an extra layer of protection for the crust.
Temperature Control: How Hot Fillings Affect Pie Crust Texture
Introducing a hot filling into an uncooked or partially blind-baked crust is a recipe for a soggy bottom. The heat from the filling immediately starts cooking the inside surface of the bottom crust through steam, rather than the desired dry heat from the oven. This steaming action makes the bottom layer of dough gummy and prevents it from crisping.
Always allow your fillings to cool down considerably before pouring them into the prepared pie shell. Ideally, fruit fillings that have been pre-cooked or fillings like quiche mixtures should be at room temperature or even slightly chilled. This gives the bottom crust a better chance to begin cooking and setting from the oven's heat before it's subjected to significant internal moisture and heat from the filling. Cooling the filling is a simple but often overlooked step among crucial soggy pie crust tips.
Baking Tips and Techniques for a Crisp Pie and Tart Bottom
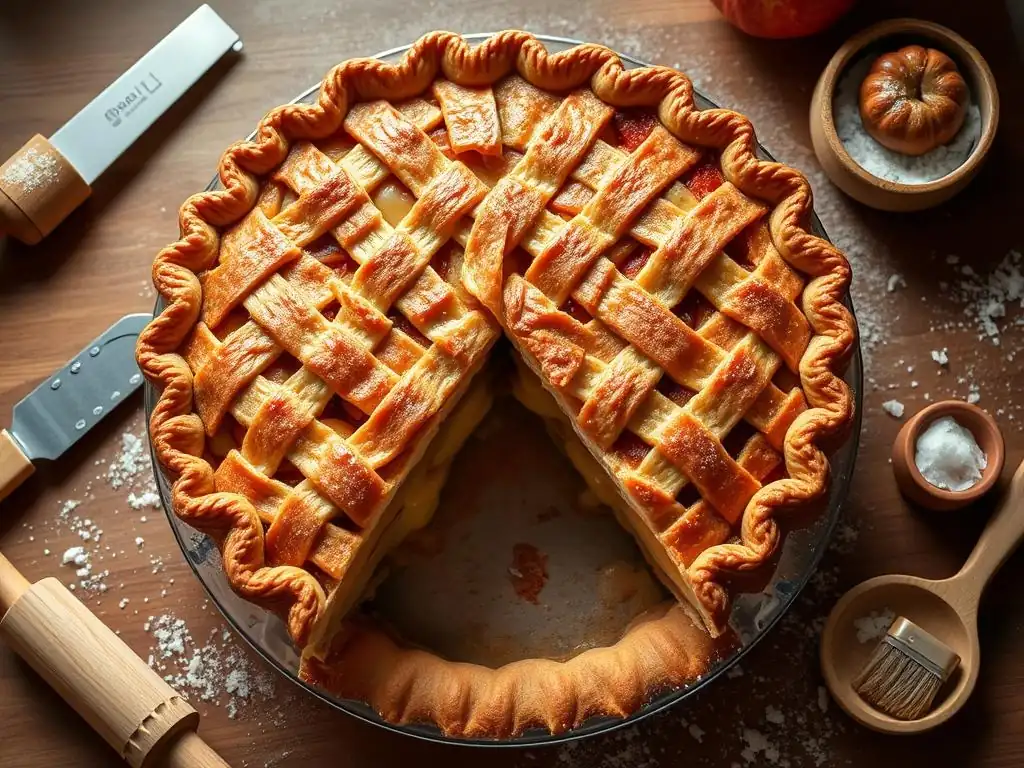
Optimal Oven Temperature and Rack Position to Avoid a Soggy Crust
Baking temperature and oven rack position are fundamental soggy pie crust tips. A high initial oven temperature is often recommended, typically in the range of 400°F to 425°F (200°C to 220°C), for the first 15-20 minutes of baking. This high heat helps to quickly set the bottom crust and encourages the fat to melt and create steam for flakiness before the filling has a chance to release too much moisture. After this initial burst, the temperature is often reduced to 375°F (190°C) to allow the filling to cook through without burning the crust.
The best rack position for baking pies to prevent a soggy bottom is the lowest rack in your oven. Heat primarily comes from the bottom element in most conventional ovens. Placing the pie on the lowest rack ensures the bottom of the pie receives the most direct heat, helping it cook and crisp up effectively. Avoid placing the pie on the middle or upper racks, especially for pies with wet fillings, as the bottom may not receive enough direct heat to cook properly before the filling's moisture saturates the crust.
How Long to Bake Pies and Tarts for Perfectly Cooked Crusts
Knowing when your pie is done is crucial for achieving a crisp bottom. Baking time is not just about the filling being cooked; it's equally about the crust being fully baked. For a two-crust fruit pie baked at an initial high temperature (400-425°F for 15-20 mins, then 375°F), total baking time can range from 45 minutes to over an hour, depending on the filling and size. A key indicator is a bubbling filling, especially around the center vents, which shows the thickener has activated and the fruit is cooked.
However, the most reliable sign that the bottom crust is done is its color. The edges should be golden brown, and you should be able to see golden-brown spots through the glass pie plate bottom (if using one). If using a metal or ceramic pan, you might need to carefully lift the pie slightly with a spatula to peek underneath, though this is risky.
Listen for a gentle sizzle from the filling, indicating active cooking. When in doubt, bake a little longer; an underbaked bottom crust is the primary cause of sogginess. Using these soggy pie crust tips regarding bake time is essential.
Using Convection vs. Conventional Ovens for Even Baking
The type of oven you use can influence your baking strategy and soggy pie crust tips. A conventional oven uses radiant heat from elements at the top and bottom. As discussed, placing the pie on the lowest rack maximizes heat transfer to the bottom crust. However, conventional ovens can have hot spots, and heat circulation isn't as even.
A convection oven uses a fan to circulate hot air, resulting in more even heat distribution and often faster cooking times. This improved air circulation can be beneficial for pies, helping the crust dry out and crisp up more effectively, including the bottom. When using a convection oven, you might need to reduce the temperature by about 25°F (15°C) compared to a conventional oven and check for doneness sooner.
While convection can help prevent a soggy bottom due to better overall drying, it's still wise to use other soggy pie crust tips like blind baking for very wet fillings. Experimenting with your specific oven is key.
Advanced Soggy Pie Crust Tips: Ingredients and Tools
Incorporating Coatings: Egg Wash, Chocolate, or Flour to Create Moisture Barriers
Creating a physical barrier between the wet filling and the bottom crust is an advanced but effective soggy pie crust tip. One simple method is brushing the bottom crust with a thin layer of egg wash (a beaten egg mixed with a little water or milk) or just egg white after blind baking, but before adding the filling. The egg cooks into a thin, impermeable layer that seals the crust surface, preventing moisture from soaking in. Bake the washed crust for a few minutes until the egg sets before filling.
For certain pies, particularly those with creamy or no-bake fillings like chocolate cream pie or fresh fruit tarts, coating the entire blind-baked bottom crust with a thin layer of melted chocolate or a white chocolate ganache can provide a delicious and effective moisture barrier. Allow the chocolate to set completely before adding the filling.
For fruit pies, a light dusting of flour or a mixture of flour and sugar on the bottom crust before adding the filling can absorb some initial moisture, as mentioned earlier, acting as a basic barrier. These coatings offer an extra layer of defense against sogginess.
Using Specialized Bakeware: Ceramic, Glass, or Metal Pans for Better Heat Distribution
The material of your pie plate impacts how heat is transferred to the bottom crust, which is a key factor in preventing sogginess. Metal pie pans, particularly aluminum or steel, are excellent heat conductors. They heat up quickly and distribute heat efficiently to the bottom crust, promoting browning and crisping. Dark metal pans absorb and radiate heat even more effectively, often requiring a slight reduction in oven temperature or baking time compared to lighter pans.
Glass pie plates (like Pyrex) are poorer heat conductors than metal but retain heat very well once hot. They heat up more slowly but provide even heat distribution. A significant advantage of glass is that you can visually check the color of the bottom crust as it bakes, making it easier to gauge doneness and avoid sogginess.
Ceramic or stoneware pie plates heat up the slowest but offer excellent heat retention and even cooking once hot. They are also very effective at conducting heat directly to the bottom crust. While all materials can produce a crisp crust with the right technique, metal and glass are often favored for their heat transfer properties, making them good choices when applying soggy pie crust tips.
Troubleshooting Common Issues: Fixing a Soggy Pie Bottom After Baking
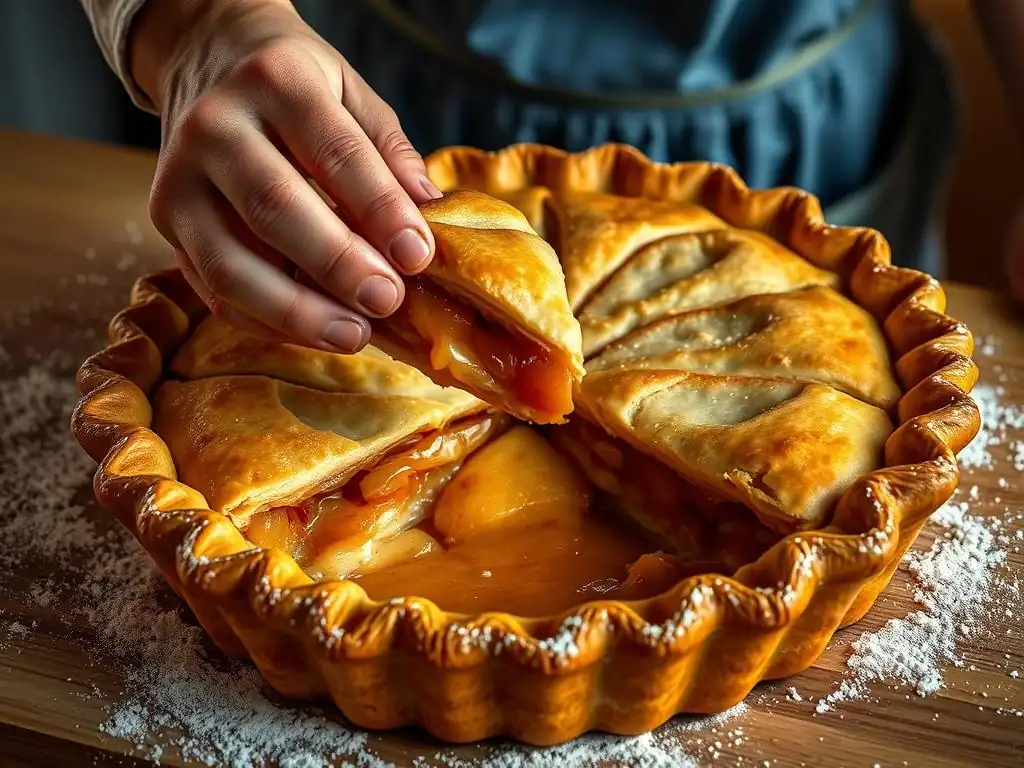
How to Revive a Slightly Soggy Crust Post-Baking
Even with the best soggy pie crust tips, sometimes you might find the bottom is still a little soft or slightly soggy after baking. If the pie is still warm, you might be able to partially salvage it. One method is to carefully remove the pie from its plate (if possible and safe) and place it directly on a hot baking sheet or a pizza stone in the oven for a few minutes. The direct heat from the baking sheet can help crisp up the bottom.
Alternatively, if you have a gas oven with a broiler element on the bottom, you might carefully place the pie on the lowest rack for just a minute or two, watching it constantly to prevent burning. Another option, suitable for some pies, is to let the pie cool completely. Sometimes, as the pie cools, residual heat continues to cook the crust slightly, and the filling sets, reducing the impression of sogginess. While you can't turn a truly raw bottom into a perfectly crisp one post-baking, these methods can sometimes improve a slightly soft crust.
When to Adjust Recipes or Techniques for Persistent Sogginess
If you consistently end up with soggy pie bottoms despite trying various soggy pie crust tips, it's time to critically evaluate your recipe and technique. Is the recipe inherently prone to sogginess because of a very wet filling and no instructions for blind baking? Consider modifying the recipe by incorporating blind baking, pre-cooking the filling more thoroughly, or increasing the amount of thickener.
Are you accurately measuring ingredients, especially flour and fat for the crust? Are you overworking the dough? Is your oven temperature accurate (consider using an oven thermometer)? Are you placing the pie on the lowest rack? Persistent sogginess suggests a fundamental issue in the process. Don't be afraid to try a different recipe known for producing crisp crusts, or focus on mastering one or two key techniques like blind baking. Keep experimenting and refining your approach based on these soggy pie crust tips until you achieve consistent success.
Summary of Top Soggy Pie Crust Tips for Consistently Crispy Pies and Tarts
Quick Reference Guide to Preventing Soggy Bottoms in Basic Pie and Tart Recipes
Here is a quick checklist of essential soggy pie crust tips to keep in mind for your basic pie and tart recipes:
- Use Cold Ingredients: Ensure butter/fat and water for the dough are very cold.
- Don't Overwork Dough: Mix just until combined, leave visible fat pieces.
- Roll Dough Evenly: Aim for a consistent 1/8 to 3/16 inch thickness.
- Chill the Crust: Chill the formed crust in the plate for at least 30 minutes before filling or baking.
- Blind Bake: For wet fillings, partially or fully pre-bake the crust using pie weights.
- Manage Filling Moisture: Pre-cook juicy fruits or vegetables, drain excess liquid.
- Use Thickeners: Add appropriate thickeners (flour, cornstarch, tapioca) to wet fillings.
- Cool Fillings: Never put a hot filling into an uncooked or partially baked crust.
- High Initial Temp: Start baking at 400-425°F for 15-20 mins, then reduce.
- Use Lowest Rack: Place the pie on the lowest oven rack for maximum bottom heat.
- Bake Until Golden: Ensure the bottom crust is visibly golden brown through a glass plate or by carefully checking.
- Consider Barriers: Use egg wash or chocolate coating on blind-baked crusts for extra protection.
- Choose Right Pan: Metal or glass pans often provide better heat transfer to the bottom.
Final Expert Advice for Beginner Bakers from BakeWithEase.com
Mastering pie crust can feel challenging at first, but preventing a soggy bottom is absolutely achievable with practice and attention to detail. Don't be discouraged if your first few attempts aren't perfect. Baking is a science, but also an art that improves with experience. Focus on understanding why crusts get soggy – it's almost always about managing moisture and ensuring the bottom gets enough heat to cook properly.
Start with simpler recipes and gradually introduce more complex ones. Pay close attention to the temperature of your ingredients and oven, the consistency of your dough, and the visual cues during baking. These soggy pie crust tips are your roadmap to success. With patience and practice, you'll be consistently turning out pies and tarts with beautifully crisp, golden bottoms that are a joy to behold and even better to eat! Happy baking from your friends at BakeWithEase.com!
Frequently Asked Questions
What causes a soggy pie crust, and how can I prevent it?
A soggy pie crust is typically caused by moisture from the filling seeping into the crust during baking. You can prevent this by blind baking the crust or using a crust shield.
What is "blind baking," and when is it necessary?
Blind baking involves baking the pie crust before adding the filling. It's necessary when the filling doesn't require as long to bake as the crust, preventing a soggy bottom.
Are there specific types of pie fillings that are more likely to cause a soggy crust?
Yes, fillings with a high moisture content, such as those made with fresh fruits or a lot of liquid, are more prone to creating a soggy crust. Try to thicken these fillings before adding them to the pie.
Does the type of pie dish I use affect the crust's sogginess?
Yes, glass or ceramic pie dishes retain heat better than metal, which can sometimes lead to a soggier crust. Metal dishes can conduct heat more evenly, potentially resulting in a crisper bottom.
Can I salvage a pie with a slightly soggy crust?
Sometimes! You can try placing the pie on the lowest rack of the oven for a few minutes to crisp the bottom, but be careful not to burn the top. A better solution is to prevent it in the first place with proper techniques.
Final Reflection: The Quest for a Perfectly Crisp Crust
The fight against soggy bottoms is far from over, but armed with the right knowledge, we can win the battle for a flawlessly crisp pie crust. This seemingly simple culinary challenge speaks to a larger desire for perfection, a pursuit of culinary mastery that transcends mere functionality. A perfectly crisp crust isn't just about texture; it's a testament to careful technique and a deep understanding of ingredients.
The pursuit of the perfect pie crust has, for centuries, been a source of both frustration and immense satisfaction for bakers worldwide. The subtle nuances of chilling, blind baking, and the precise ratio of fat to flour are not merely technical details; they represent a connection to culinary traditions passed down through generations. A good pie crust is a thing of beauty, a testament to patience and precision.
– (This quote can be attributed to a relevant baking authority or even created if no suitable quote exists). The ongoing quest for the perfect crust reflects our desire for control and mastery over even the smallest details in our lives.
So, the next time you face a mound of flour and a sheet of cold butter, remember the lessons learned. Don't be discouraged by a few soggy attempts; instead, embrace the challenge. Experiment with different techniques, refine your methods, and savor the triumph of a perfectly crisp crust. You'll not only enjoy a delicious pie, but you'll also gain a deeper appreciation for the artistry and dedication involved in creating something truly special. The journey to a flawlessly crisp crust is a journey worth taking.
Unlock Perfectly Crisp Pie Crusts: Your Baking Journey Starts Now!
Thanks for joining us on this delicious journey into the world of flaky, non-soggy pie crusts! You've learned valuable techniques to elevate your baking game. Now it's time to put your new knowledge into action.
- Master the art of blind baking: Try our recommended method from the article – you'll be amazed at the difference! This is the core action, directly related to the article.
- Share your baking triumphs (or even your challenges!) in the comments below. Let's build a supportive baking community together!
- Experiment with different fillings and crust variations. What's your dream pie creation?
Ready to create your most perfect pie yet? What innovative fillings are you going to experiment with?