
Bake With Ease: Your Guide to Spring Berry Cobblers

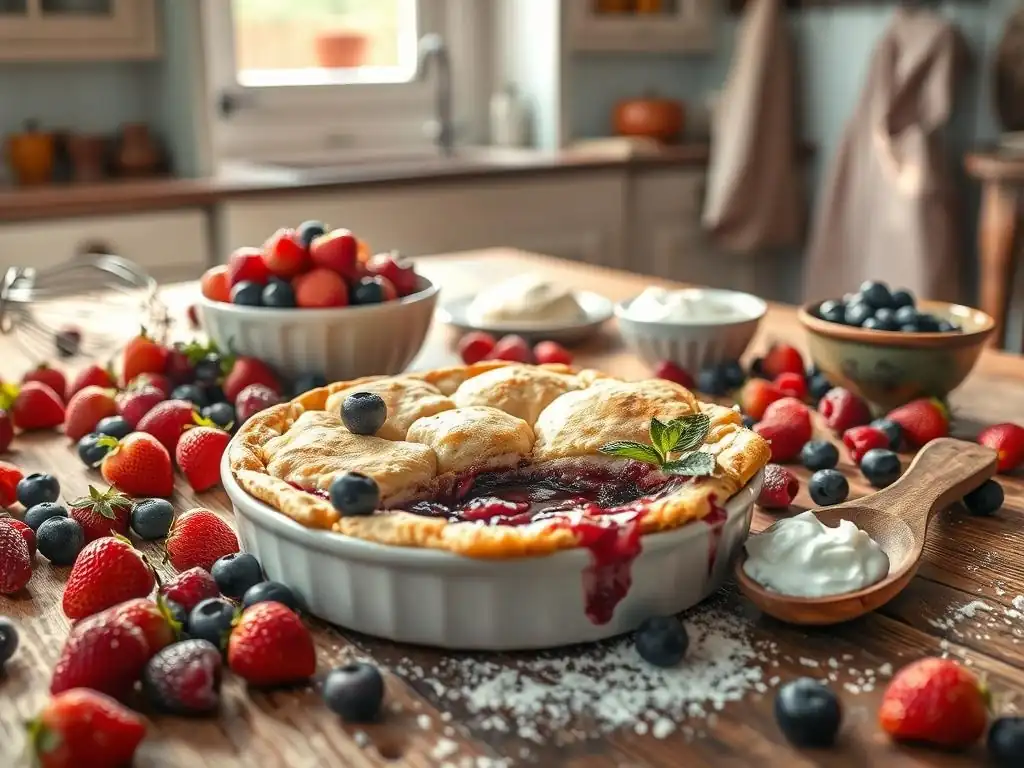
Welcome to BakeWithEase, your haven for all things baking! Ever dream of effortlessly creating a mouthwatering dessert that captures the essence of spring? Dive in and discover our easy spring berry cobbler recipe, designed to guide you through each step, ensuring a delightful baking experience and a truly unforgettable treat. Prepare to unlock the secrets to perfect cobblers and embark on a delicious journey!
- Discover the Joy of Easy Spring Berry Cobblers
- Why Spring Berries Make the Best Cobblers
- Easy Spring Berry Cobbler Recipe: A Step-by-Step Guide
- Variations on the Classic Spring Berry Cobbler Recipe
- Tips and Tricks for the Best Spring Berry Cobbler
- Mastering the Art of the Easy Berry Cobbler: Conclusion
-
Frequently Asked Questions
- What makes this spring berry cobbler recipe considered "easy"?
- Can I substitute the berries listed in the recipe with other types of fruit?
- What's the best way to store leftover berry cobbler?
- My cobbler topping turned out too dry. What could I have done wrong?
- Can I make this cobbler recipe ahead of time?
- Final Reflection: The Sweet Simplicity of Spring Baking
- Unleash Your Inner Baker: Create Your Perfect Spring Cobbler!
Discover the Joy of Easy Spring Berry Cobblers
Spring arrives with a burst of fresh flavors, and for bakers, that means the return of vibrant, juicy berries. There's something uniquely comforting and delightful about a warm cobbler bubbling with seasonal fruit, topped with a tender, slightly crisp biscuit or crumble topping. Making an easy spring berry cobbler recipe is not only a simple pleasure but also a fantastic way to celebrate the season's bounty. It's a dessert that feels both rustic and elegant, perfect for a casual weeknight treat or a gathering with friends and family.
Beyond its delicious taste, a spring berry cobbler is remarkably forgiving, making it an ideal project for bakers of all skill levels. Unlike complex pastries, the charm of a cobbler lies in its simplicity and imperfect beauty. You don't need special equipment or advanced techniques to achieve a fantastic result.
Just fresh berries, a few pantry staples, and a little love are enough to create a dessert that will fill your home with an irresistible aroma and your table with a smile. Let's dive into why spring berries are perfect for this classic dessert and how you can whip up your own easy spring berry cobbler recipe.
Why Spring Berries Make the Best Cobblers
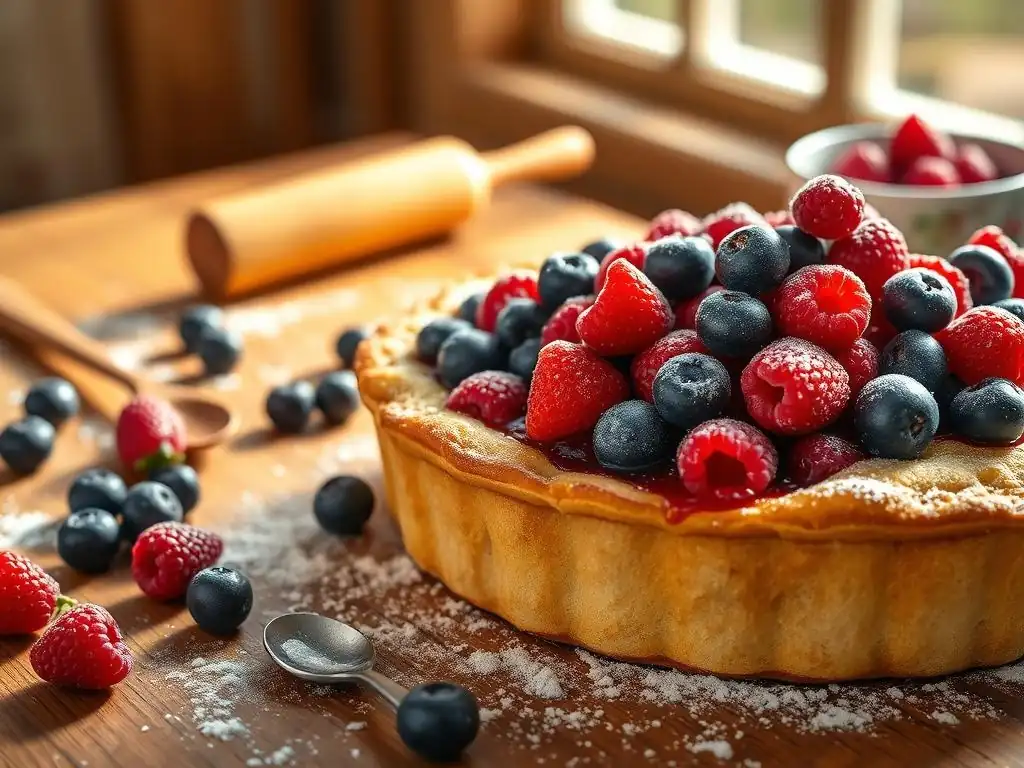
The Allure of Fresh, Seasonal Berries in Baking
Spring is synonymous with the first harvest of sweet, sun-kissed berries, offering unparalleled freshness and flavor that store-bought berries simply can't match later in the year. Berries picked at their peak in spring have a natural sweetness and vibrant acidity that creates a perfect balance in baked goods. When used in an easy spring berry cobbler recipe, these berries soften beautifully as they bake, releasing their juices to form a luscious, syrupy filling that is naturally flavorful and requires less added sugar.
Using seasonal produce also means you're likely getting berries that have traveled shorter distances, preserving their delicate texture and maximizing their nutrient content. The vibrant colors of spring berries – from the deep red of strawberries to the rich purple of blueberries – also contribute to the visual appeal of your cobbler, making it as pleasing to the eye as it is to the palate. Embracing seasonal ingredients like spring berries elevates a simple dessert into a true celebration of nature's cycle.
Selecting the Perfect Berries for Your Cobbler
Choosing the right berries is crucial for a truly spectacular easy spring berry cobbler recipe. While many berries work well, focusing on freshness and ripeness will yield the best results. Look for berries that are plump, firm, and brightly colored, without any signs of mold or bruising. Gently handling the berries is also important to prevent damage. A mix of different berries can add complexity to the flavor profile, combining different levels of sweetness and tanginess.
Consider visiting local farmers' markets in the spring; this is often where you'll find the freshest, most flavorful berries straight from the farm. If using store-bought, check the packaging date and inspect the berries carefully before purchasing. Remember that berries don't ripen much after being picked, so selecting perfectly ripe fruit from the start is key to a delicious and easy spring berry cobbler.
Choosing Ripe and Flavorful Strawberries
- Look for vibrant red color all over, avoiding white or green spots near the stem.
- The green caps (calyxes) should be fresh and green, not wilted.
- Strawberries should be plump and firm, not soft or mushy.
- A sweet aroma is a good indicator of ripeness.
The Tangy Delight of Fresh Raspberries
- Raspberries should be bright red and plump.
- Check that they are not crushed or moldy in the container.
- They should separate easily from their core when picked.
Adding Blueberries for a Burst of Sweetness
- Choose blueberries that are plump, firm, and have a dusty, grayish-white coating (bloom).
- Avoid berries that are reddish, which indicates they are not fully ripe.
- They should roll easily and not be sticky or clumped together.
Considering Blackberries for a Deeper Flavor
- Blackberries should be deep black and shiny.
- They should be plump and firm, not red or hard, which means they are unripe.
- Like raspberries, check for mold and avoid crushed berries.
Easy Spring Berry Cobbler Recipe: A Step-by-Step Guide
Creating a delicious berry cobbler doesn't require complex techniques. This easy spring berry cobbler recipe focuses on simple steps and readily available ingredients, perfect for beginners and experienced bakers alike. The beauty of a cobbler lies in its straightforward assembly: a sweet, bubbling fruit base topped with a simple batter or biscuit topping that bakes into a golden crust.
Follow this guide, and you'll have a warm, inviting dessert ready in just over an hour, most of which is hands-off baking time. This easy berry cobbler is incredibly versatile and can be adapted to your favorite spring berries. The key is fresh ingredients and following the basic ratios for a perfectly balanced dessert.
Ingredients for Your Simple Berry Cobbler
Gathering your ingredients is the first step to making this easy spring berry cobbler recipe. You'll need fresh berries, sugar, a thickener for the filling, and standard pantry staples for the topping. The exact quantities can be adjusted slightly based on the sweetness of your berries and your personal preference, but these proportions provide a great starting point for a reliable and delicious outcome.
Using fresh, high-quality ingredients will make a noticeable difference in the final taste of your simple berry cobbler. Ensure your butter is cold for the topping, as this is key to achieving a tender, flaky texture. Check your baking powder and baking soda to make sure they are fresh for proper leavening.
Berry Mixture Ingredients and Proportions
- 4-6 cups mixed spring berries (such as strawberries, raspberries, blueberries, blackberries)
- 1/4 - 1/2 cup granulated sugar (adjust based on berry sweetness)
- 2 tablespoons cornstarch or all-purpose flour (for thickening)
- 1 tablespoon fresh lemon juice (optional, enhances brightness)
- Pinch of salt
Cobbler Topping Ingredients: The Key to Crispy Perfection
- 1 1/2 cups all-purpose flour
- 1/2 cup granulated sugar (or 1/4 cup granulated + 1/4 cup brown sugar)
- 2 teaspoons baking powder
- 1/4 teaspoon salt
- 1/2 cup cold unsalted butter, cut into small cubes
- 1/2 cup milk or buttermilk
- 1 large egg
- 1 teaspoon vanilla extract
- Optional: 1 tablespoon coarse sugar for sprinkling on top
Preparing the Delicious Berry Filling
The berry filling is the heart of your easy spring berry cobbler recipe. Preparing it is incredibly simple – just combine your chosen berries with sugar, a thickener, and optional lemon juice and salt. The sugar helps draw out the juices from the berries and adds sweetness, while the cornstarch or flour thickens the released liquid into a lovely, syrupy consistency as it bakes.
Ensure the berries are gently mixed to avoid crushing them too much, especially softer berries like raspberries. Let the mixture sit for a few minutes while you prepare the topping; this allows the sugar to start dissolving and the berries to release some of their juice, which helps the thickener work more effectively during baking. This simple step ensures your easy berry cobbler has a perfectly saucy, not watery, filling.
Combining Berries and Sweeteners for Optimal Flavor
- Gently wash and hull/prepare your berries.
- In a large bowl, combine the berries, sugar, cornstarch or flour, lemon juice (if using), and salt.
- Toss gently to coat the berries evenly.
- Let sit for 5-10 minutes before transferring to the baking dish.
Crafting the Perfect Cobbler Topping
The topping is the crowning glory of an easy spring berry cobbler. This recipe uses a simple batter-style topping that bakes up light and fluffy with a golden, slightly crisp exterior. The key to success lies in properly combining the dry and wet ingredients and ensuring the butter is cold when incorporated.
Using cold butter cut into small pieces helps create pockets within the dough that melt during baking, producing steam and contributing to a tender texture. Overmixing the batter can result in a tough topping, so mix just until the ingredients are combined. This simple method guarantees a delightful contrast to the soft, warm berry filling.
Mixing Dry Ingredients for a Flaky Crust
- In a medium bowl, whisk together the flour, sugar(s), baking powder, and salt. Ensure there are no lumps.
Incorporating Butter for a Tender Texture
- Cut the cold butter into the dry ingredients using a pastry blender, fork, or your fingers until the mixture resembles coarse crumbs, with some pea-sized pieces of butter remaining.
- In a separate small bowl, whisk together the milk, egg, and vanilla extract.
- Pour the wet ingredients into the dry ingredients and stir gently with a spoon or spatula just until combined. Do not overmix; a few lumps are fine.
Assembling and Baking Your Spring Berry Cobbler
With the filling and topping ready, assembling your easy spring berry cobbler is the final step before baking. Choose a suitable baking dish, such as an 8x8 inch square pan or a 9-inch pie dish. A shallow dish allows more of the topping to crisp up, while a deeper dish results in more saucy filling.
Baking time and temperature are crucial for achieving a bubbly filling and a golden-brown topping. Typically, a cobbler bakes at a moderate temperature, allowing the berries to cook through and the topping to set without burning. Keep an eye on it during the last 10-15 minutes to ensure it reaches that perfect golden hue.
Layering the Berries and Topping
- Preheat your oven to 375°F (190°C).
- Pour the prepared berry mixture into your chosen baking dish.
- Drop spoonfuls of the cobbler topping over the berry filling, leaving some gaps for the berries to peek through and bubble up.
- Optional: Sprinkle the top with coarse sugar for extra sparkle and crunch.
Baking Time and Temperature for a Golden Crust
- Place the dish on a baking sheet (to catch any drips) and bake in the preheated oven for 35-45 minutes.
- The cobbler is ready when the berry filling is bubbly around the edges and the topping is golden brown and cooked through.
- If the topping browns too quickly, you can loosely tent the cobbler with foil for the last 10-15 minutes of baking.
- Let the cobbler cool slightly for at least 10-15 minutes before serving; this allows the filling to thicken.
Variations on the Classic Spring Berry Cobbler Recipe
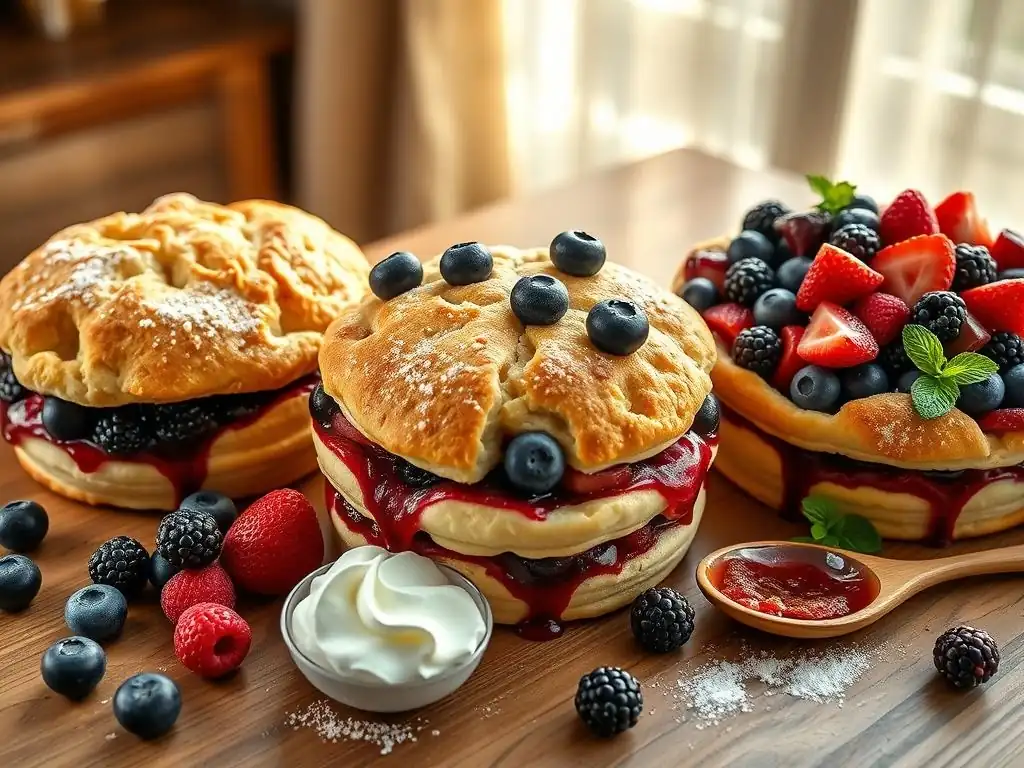
While the classic easy spring berry cobbler recipe is delightful on its own, experimenting with variations can introduce exciting new flavors and textures. Adding citrus zest, warm spices, or combining different fruits can elevate this simple dessert to new heights. These variations keep the core simplicity of an easy berry cobbler while offering creative twists.
Exploring different fruit combinations is a fantastic way to utilize the diverse bounty of spring and early summer. Don't be afraid to mix and match berries or even introduce other seasonal fruits like rhubarb or peaches as they become available. These simple modifications ensure your easy berry cobbler never gets boring.
Adding Zest and Spice for Enhanced Flavor
Introducing aromatics like citrus zest or warm spices can significantly enhance the flavor profile of your berry cobbler filling. These additions complement the sweetness and tartness of the berries, adding layers of complexity without complicating the easy spring berry cobbler recipe itself.
Just a small amount of zest or spice can make a big difference. Ensure you're using fresh zest, as dried zest lacks the same vibrant oils. Spices like cinnamon or nutmeg should be relatively fresh for maximum potency.
Lemon Zest for a Citrusy Twist
- Add the zest of one small lemon to the berry mixture along with the lemon juice (if using). The citrus oils brighten the berry flavors beautifully.
A Hint of Cinnamon or Nutmeg for Warmth
- Stir 1/4 to 1/2 teaspoon of ground cinnamon or nutmeg into the berry mixture before baking. This adds a warm, comforting undertone that pairs wonderfully with berries.
Exploring Different Berry Combinations
One of the joys of an easy spring berry cobbler recipe is the flexibility to use whatever berries are in season and readily available. While a single-berry cobbler is delicious, combining different berries often results in a more complex and balanced flavor profile, blending different levels of sweetness, tartness, and texture.
Popular combinations like strawberry-rhubarb or a mix of all four common berries (strawberries, raspberries, blueberries, blackberries) offer delightful contrasts. Consider the properties of each fruit – for example, rhubarb adds significant tartness that balances sweet strawberries, while blueberries provide pockets of intense sweetness.
Strawberry-Rhubarb Cobbler: A Tart and Sweet Delight
- Use a mixture of 3 cups sliced strawberries and 3 cups chopped rhubarb. Increase the sugar slightly in the filling to balance the rhubarb's tartness (e.g., 1/2 to 2/3 cup sugar). This is a classic spring pairing that makes for a fantastic easy berry cobbler variation.
Mixed Berry Cobbler: A Symphony of Flavors
- Combine equal parts or varying ratios of strawberries, raspberries, blueberries, and blackberries for a rich and varied flavor experience. This mix provides different textures and sweetness levels in every bite of your easy berry cobbler.
Gluten-Free and Vegan Spring Berry Cobbler Options
Making an easy spring berry cobbler recipe accessible to those with dietary restrictions is simple with a few ingredient swaps. Both gluten-free and vegan versions can be just as delicious as the traditional recipe, allowing everyone to enjoy this delightful spring dessert.
These adaptations typically involve substituting flour and butter/milk with plant-based or gluten-free alternatives. The core process of creating the berry filling and topping remains largely the same, maintaining the simplicity of the easy berry cobbler concept.
Gluten-Free Flour Blends for a Delicious Cobbler
- Substitute the all-purpose flour in the topping with an equal amount of a good quality gluten-free all-purpose baking blend. Look for blends that contain xanthan gum for structure. Ensure the blend is suitable for baking.
Vegan Butter Substitutes for a Plant-Based Treat
- Replace the cold butter with a firm vegan butter substitute (stick form works best for cutting into the flour).
- Substitute the milk with a plant-based milk alternative like almond milk, soy milk, or oat milk.
- Omit the egg or use an egg substitute suitable for baking (like a flax egg or commercial egg replacer) if needed for structure, though often the topping works well without it if using a good flour blend and vegan butter.
Tips and Tricks for the Best Spring Berry Cobbler
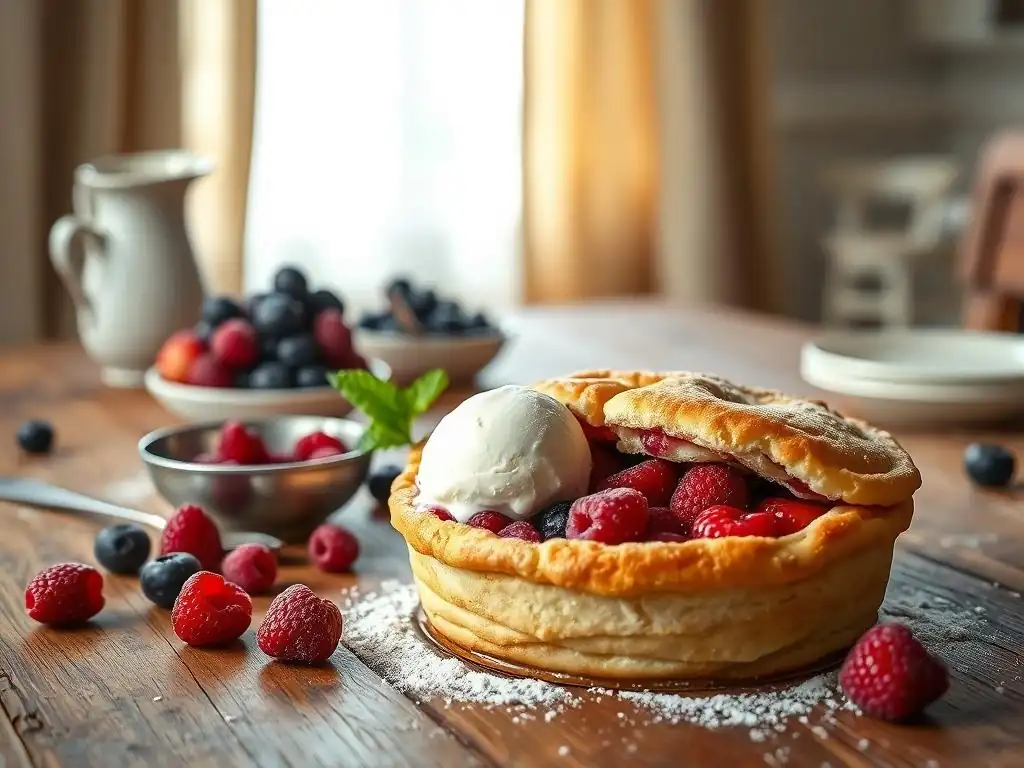
Even with an easy spring berry cobbler recipe, a few simple tips can help you achieve consistently fantastic results. Addressing common issues like a soggy bottom or ensuring a perfectly golden topping can elevate your homemade cobbler from good to truly great.
These small adjustments and techniques are easy to incorporate and make a significant difference in the texture and overall success of your easy berry cobbler. Pay attention to the baking process and adjust as needed based on your oven and the specific berries you're using.
Preventing a Soggy Cobbler Bottom
A common issue with fruit cobblers is a bottom crust or topping layer that becomes soggy from the fruit juices. While the filling is meant to be saucy, you want the topping to maintain its texture. Several factors contribute to this, including too much liquid in the filling or insufficient baking time/temperature.
Ensuring the berries are properly thickened and the oven is hot enough helps set the bottom of the topping quickly, preventing it from absorbing too much liquid. This guarantees a pleasant contrast between the bubbly fruit and the tender topping in your easy spring berry cobbler recipe.
Using the Right Amount of Liquid
- Ensure you use the specified amount of thickener (cornstarch or flour) relative to the volume of berries. Too little thickener means the juices won't set properly.
- Avoid adding extra liquid to the berry mixture unless the recipe specifically calls for it. The berries release plenty of their own juice.
Ensuring Proper Baking Temperature
- Make sure your oven is accurately preheated to 375°F (190°C). A hot oven helps the topping start baking immediately.
- Bake until the filling is actively bubbling not just in the center, but around the edges as well. This indicates the thickener has activated and the juices are setting.
Achieving a Golden Brown and Crispy Topping
The visual appeal and texture of the topping are key to a perfect easy spring berry cobbler. A beautiful golden-brown color indicates that the topping is cooked through and has developed a lovely, slightly crispy exterior that contrasts with the soft interior and fruit filling.
Several simple techniques can help ensure your topping achieves this desirable color and texture. These finishing touches make your easy berry cobbler look as good as it tastes.
Brushing with Milk or Egg Wash
- For an extra golden and slightly shiny finish, brush the top of the cobbler topping lightly with milk or a whisked egg mixed with a tablespoon of water before baking.
Adjusting Baking Time as Needed
- Ovens can vary, so watch your cobbler during the last 10-15 minutes. If the topping is browning too quickly but the filling isn't bubbling, loosely tent the dish with aluminum foil. If the topping isn't browning after 40-45 minutes and the filling is bubbling, you can increase the temperature slightly for the last few minutes, watching carefully.
Serving and Storing Your Homemade Berry Cobbler
Once your easy spring berry cobbler is out of the oven, the hardest part is waiting for it to cool slightly before serving! Serving it warm is traditional and allows the aromas and flavors to truly shine. Proper storage ensures you can enjoy leftovers while maintaining their quality.
A warm cobbler paired with a cold topping creates a delightful sensory experience. Storing it correctly helps preserve the texture of the topping and the freshness of the fruit filling.
Serving Warm with Ice Cream or Whipped Cream
- Let the cobbler cool for at least 15-20 minutes before serving. This allows the filling to thicken slightly and prevents burns.
- Serve warm scoops of cobbler in bowls.
- Top generously with a scoop of vanilla ice cream (the classic pairing!) or a dollop of freshly whipped cream.
Proper Storage for Optimal Freshness
- Allow the cobbler to cool completely at room temperature.
- Cover the dish tightly with plastic wrap or aluminum foil, or transfer leftovers to an airtight container.
- Store in the refrigerator for up to 3-4 days.
- Reheat individual portions gently in the microwave or oven (at a low temperature like 300°F/150°C) until warm through. The topping may lose some crispness upon refrigeration but will still be delicious.
Mastering the Art of the Easy Berry Cobbler: Conclusion
Creating an easy spring berry cobbler recipe is a rewarding experience that yields a truly comforting and delicious dessert. By using fresh, seasonal berries and following these simple steps, you can bake a cobbler that's bursting with flavor and has a perfect balance of tender fruit filling and golden topping. It's a testament to the fact that some of the best desserts are also the most straightforward to make.
Whether you stick to the classic recipe or experiment with variations, the joy of a warm, homemade berry cobbler is undeniable. It's the perfect way to celebrate the arrival of spring and share the season's sweetness with those you love. So gather your berries, preheat your oven, and get ready to bake something truly special with this easy berry cobbler guide.
Enjoying the Fruits (and Berries!) of Your Labor
There's immense satisfaction in pulling a bubbling, golden-brown easy spring berry cobbler from the oven. The aroma alone is enough to make your mouth water. Taking that first bite, with the warm, sweet-tart berries mingling with the soft, cake-like topping, is pure bliss. This simple dessert is a reminder of the beauty and deliciousness that comes from using fresh, seasonal ingredients.
Don't hesitate to make this easy berry cobbler a regular part of your spring baking repertoire. It's quick enough for a weeknight treat and impressive enough for casual entertaining. Share it warm with friends and family, perhaps with a scoop of melting ice cream, and savor the simple joy of a homemade dessert made with ease and love. The smiles it brings are the best reward for your baking efforts.
Frequently Asked Questions
What makes this spring berry cobbler recipe considered "easy"?
This recipe prioritizes simple steps and readily available ingredients, making it accessible for bakers of all skill levels. No fancy equipment or techniques are required!
Can I substitute the berries listed in the recipe with other types of fruit?
Yes, absolutely! Feel free to use your favorite seasonal fruits, such as peaches, plums, or even rhubarb. Just ensure the total fruit quantity remains consistent.
What's the best way to store leftover berry cobbler?
Store leftover cobbler in an airtight container in the refrigerator for up to three days. Reheat gently in the oven or microwave before serving.
My cobbler topping turned out too dry. What could I have done wrong?
This is often due to over-mixing the dough or not adding enough liquid. Be sure to mix the topping ingredients only until just combined.
Can I make this cobbler recipe ahead of time?
You can prepare the berry mixture ahead and store it in the refrigerator. However, it's best to make the cobbler topping fresh just before baking for optimal texture.
Final Reflection: The Sweet Simplicity of Spring Baking
The art of baking a delicious spring berry cobbler shouldn't be a daunting task; it should be a joyful celebration of fresh, seasonal ingredients and the simple pleasures of life. This guide aimed to demystify the process, providing you with an easy-to-follow recipe and tips to ensure your cobbler turns out perfectly every time. The ease of this recipe, we hope, has opened up a world of delicious possibilities for even the most novice bakers.
The enduring appeal of baking, particularly with seasonal fruits like berries, lies in its ability to connect us to nature's rhythms and to foster a sense of comfort and community. Baking a cobbler isn't just about the final product; it's about the process itself – the gentle mixing, the fragrant aroma filling the kitchen, and the satisfaction of sharing the fruits (quite literally!) of your labor. Baking is at once child's play and adult joy. And love, of course.
– Joanne Harris. This quote perfectly encapsulates the magic of baking, a sentiment we hope this article has helped you experience.
Now, we invite you to roll up your sleeves, gather your favorite spring berries, and embark on your own cobbler-baking adventure. Don't be afraid to experiment with different berry combinations, add a sprinkle of your favorite spice, or even try a unique topping. Remember, the most important ingredient is your own creativity and the joy you find in the process. Let the sweet simplicity of spring baking fill your kitchen with warmth and deliciousness, and share the love (and the cobbler!) with those you cherish.
Unleash Your Inner Baker: Create Your Perfect Spring Cobbler!
Thanks for joining us on this delicious journey into the world of spring berry cobblers! We hope you've gained some valuable tips and inspiration to elevate your baking game. Ready to get started?
- Bake your own masterpiece: Grab those berries and follow our recipe – the results will be incredibly rewarding! Remember to experiment with different berry combinations for unique flavor profiles.
- Share your cobbler creation: Tag us on social media and show off your baking skills! We love seeing your culinary adventures.
- Explore other seasonal recipes: Dive into our website for more delicious spring baking inspiration – you might discover your next favorite dessert!
So, what berry combination will you try first to bring a little sunshine into your kitchen?