
Simple Guide to Homemade Pie Dough: Easier Than You Think!

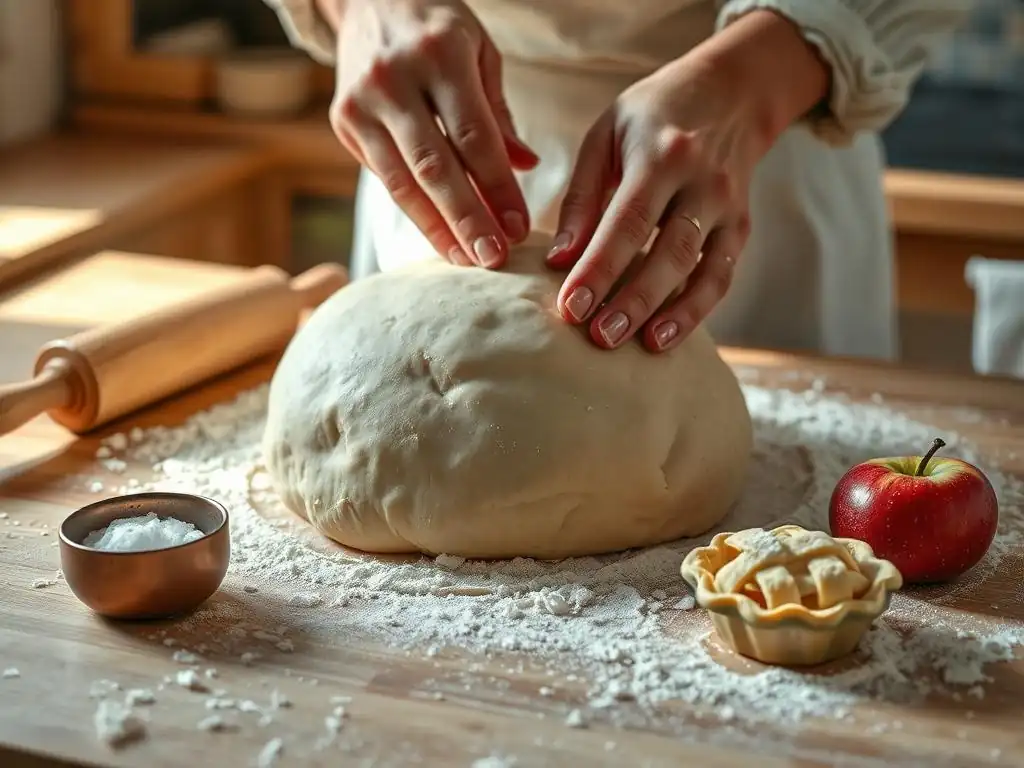
Welcome to BakeWithEase, your sanctuary for all things baking! Ever dreamt of creating a perfectly flaky pie crust that melts in your mouth? You're in the right place. This week, we're demystifying the art of pastry with our easy homemade pie dough recipe, a surprisingly simple method that will revolutionize your baking. Intrigued? Let's unlock the secrets to a pie crust so good, you'll never buy store-bought again!
- Bake Delicious Pies with Our Easy Homemade Pie Dough Recipe
- Why Make Your Own Pie Dough? The Benefits of Homemade
- Ingredients for Pie Dough
- Step-by-Step: Mastering Pie Dough
- Rolling Out Pie Dough: Tips and Tricks
- Blind Baking Your Pie Crust
- Troubleshooting Common Pie Dough Problems
- Pie Dough Recipe Variations
- Storing Pie Dough
- Perfect Pies Start with Homemade Pie Dough.
- Frequently Asked Questions
- Final Reflection: The Sweet Simplicity of Homemade
- Unlock Your Inner Pie Baker!
Bake Delicious Pies with Our Easy Homemade Pie Dough Recipe
Embarking on the journey of baking a homemade pie can feel daunting, especially when it comes to the crust. Many home bakers shy away from making their own pie dough from scratch, opting for store-bought versions. However, mastering an easy homemade pie dough recipe is a culinary skill that is much more achievable than you might imagine, and the rewards in terms of flavor and texture are immense. This guide will walk you through every step, demystifying the process and empowering you to create flaky, tender pie crusts right in your own kitchen.
Creating your own simple pie dough recipe allows for incredible versatility. Whether you're dreaming of a classic apple pie, a savory quiche, or delicate tartlets, having a reliable, easy homemade pie dough recipe in your repertoire is the foundation for countless delicious possibilities. Forget the notion that it's complicated; with a few key ingredients and simple techniques, you'll be rolling out perfect pie crusts in no time.
Why Make Your Own Pie Dough? The Benefits of Homemade
Choosing to make your own pie dough offers significant advantages over using pre-made options. Beyond the satisfaction of baking from scratch, homemade dough provides superior quality and control, elevating your finished pies from good to truly spectacular. It's a fundamental skill that unlocks a new level of baking proficiency.
The process of making an easy homemade pie dough recipe is also a rewarding one. It connects you more intimately with the ingredients and the baking process, fostering a deeper appreciation for the craft. Once you experience the difference a homemade crust makes, you'll understand why many bakers consider it an essential step.
Superior Flavor and Texture
Homemade pie dough delivers a richness and depth of flavor that store-bought versions simply cannot replicate. This is primarily due to the quality of the fats used, typically real butter and/or shortening, which contribute significantly to the overall taste. When these fats are properly incorporated and baked, they create a flaky, tender texture that shatters beautifully with every bite. The subtle sweetness or saltiness can also be perfectly balanced to complement your filling.
The magic of a flaky crust lies in the layers created by cold fat pockets melting during baking. As the water in the dough turns to steam, it forces these layers apart, resulting in that desirable airy, crisp texture. Achieving this level of flakiness is far easier and more consistent with a carefully made homemade dough compared to the often dense or brittle texture of commercial alternatives.
Control Over Ingredients
Making your own easy homemade pie dough recipe gives you complete control over what goes into it. You can select high-quality flours, choose the best butter, and avoid artificial preservatives, hydrogenated oils, or stabilizers often found in store-bought crusts. This is particularly important for those with dietary restrictions or preferences, allowing you to tailor ingredients as needed.
For example, you can opt for organic ingredients, use a specific type of fat like lard for extra flakiness, or adjust the salt and sugar levels to better suit your pie filling. Having this level of customization ensures that your pie crust is not only delicious but also aligns with your personal health and quality standards, making your easy homemade pie dough recipe truly your own.
Surprisingly Simple
Despite its reputation, making an easy homemade pie dough recipe is surprisingly straightforward and requires only a few basic ingredients and techniques. The process primarily involves combining dry ingredients, cutting in cold fat, and adding just enough ice water to bring it together. There's no complex kneading or lengthy fermentation required.
The key is often in technique and temperature management – keeping ingredients cold and handling the dough minimally. Once you understand these core principles, the steps become intuitive. Many first-time bakers are amazed at how quickly they can produce a beautiful, functional dough, proving that an easy homemade pie dough recipe is well within reach for anyone.
Ingredients for Pie Dough
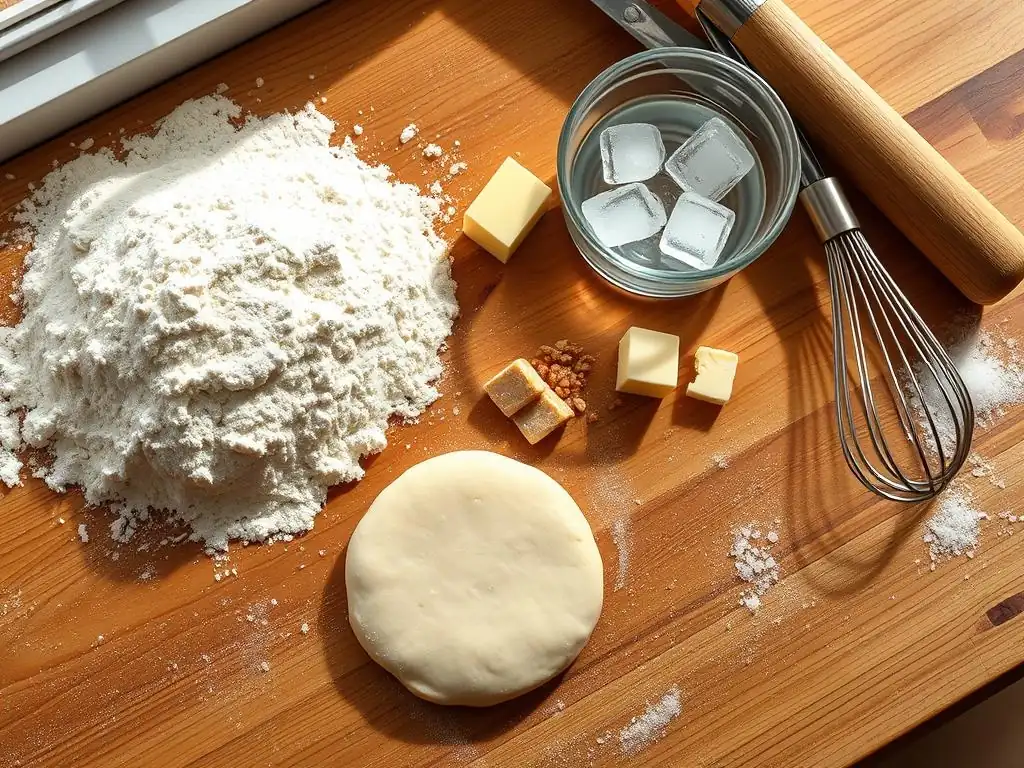
Creating a perfect, easy homemade pie dough recipe relies on a few fundamental ingredients. Each plays a crucial role in developing the desired texture and flavor. Understanding the purpose of each component is key to mastering the process and troubleshooting potential issues.
While the ingredient list is short, the quality and condition of these items are paramount. Using cold fat and ice water are non-negotiable steps that significantly impact the flakiness of your final crust.
Flour: All-Purpose or Pastry Flour
All-purpose flour is the standard choice for many easy homemade pie dough recipes due to its balanced protein content (around 10-12%). This provides enough structure to hold the dough together without making it excessively tough, provided it's not overworked. It's widely available and reliable for consistent results.
Pastry flour, with a lower protein content (around 8-9%), can yield an even more tender crust. However, it provides less structure, so it might be slightly trickier to handle. For an easy homemade pie dough recipe, all-purpose flour is generally recommended as it offers a good balance of tenderness and ease of handling for beginners.
Fat: Butter and Shortening
Fats are essential for creating flakiness and flavor in pie dough. Cold butter is prized for its rich flavor and the beautiful golden color it imparts upon baking. As it melts, the water content in butter turns to steam, creating those desirable flaky layers. Using unsalted butter allows you to control the salt level in your dough.
Shortening, particularly vegetable shortening, contains 100% fat (unlike butter, which is about 80% fat and 20% water). This higher fat content leads to an incredibly tender and flaky crust. While it lacks the flavor of butter, it excels at creating structure and flakiness. Many easy homemade pie dough recipes benefit from a combination of butter and shortening, leveraging the flavor of butter and the flakiness of shortening. A common ratio might be half butter, half shortening by weight or volume.
Ice-Cold Water
Water is the binding agent in pie dough, bringing the dry ingredients and fat together to form a cohesive mass. However, the amount used is critical – too much water develops too much gluten, leading to a tough crust. The water must also be ice-cold. Using ice water keeps the fat solid in small pieces, which is essential for creating flaky layers during baking.
Typically, an easy homemade pie dough recipe calls for a relatively small amount of ice water, added gradually. You might need anywhere from 1/4 cup to 1/2 cup (60-120 ml) for a double-crust recipe using about 2.5 cups (300g) of flour. It's crucial to add just enough water for the dough to barely come together, as described later in the steps.
Salt
Salt plays a vital role in enhancing the overall flavor of your pie dough. It helps to balance the richness of the fat and the potential sweetness of the filling, preventing the crust from tasting bland. Even in a sweet pie, a pinch of salt is necessary to bring out the best flavor.
The amount of salt is usually about 1 teaspoon per double-crust recipe. It should be whisked into the dry ingredients (flour) before the fat is added to ensure even distribution throughout the dough.
Step-by-Step: Mastering Pie Dough
Follow these steps closely to create a perfect, easy homemade pie dough recipe. The process is simple, but precision in technique, especially regarding temperature, makes all the difference.
Let's break down the journey from simple ingredients to a pliable dough ready for your favorite pie filling.
Step 1: Combining Dry Ingredients
Begin by measuring your flour and salt accurately. Whisk them together in a large mixing bowl. This step ensures the salt is evenly distributed throughout the flour, which is important for consistent flavor in your easy homemade pie dough recipe.
- Measure flour and salt.
- Combine in a bowl.
- Whisk briefly to mix.
Using a whisk also helps to aerate the flour slightly, which can contribute to a more tender crust. Some recipes might call for a pinch of sugar at this stage, especially for sweet pies, but the primary dry ingredients are flour and salt.
Step 2: Cutting in the Fat
This is perhaps the most crucial step for achieving flakiness. You need to incorporate the cold, cubed fat (butter and/or shortening) into the dry ingredients until it resembles coarse crumbs with some pea-sized pieces of fat remaining. These larger pieces are what create those desirable flaky layers.
- Cut cold butter/shortening into small cubes.
- Add fat to the flour mixture.
- Use a pastry blender, fork, or your fingertips to cut in the fat.
- Mix until mixture resembles coarse crumbs with some pea-sized pieces.
Avoid overworking the mixture; the goal isn't a uniform texture like sand, but distinct pieces of fat coated in flour. This process can be done by hand with a pastry blender or fork, or quickly using a food processor (pulse only a few times). Using your hands is fine, but work quickly to prevent the fat from warming up.
Step 3: Adding Ice Water
Now, it's time to bring the dough together. Measure out your ice-cold water. Add it to the flour and fat mixture, usually a tablespoon at a time, and gently mix with a fork or your hands until the dough just begins to come together.
- Measure ice water.
- Add 1-2 tablespoons at a time.
- Mix gently with a fork or hands.
- Continue adding water, a tablespoon at a time, mixing until dough just clumps together.
The exact amount of water needed can vary depending on humidity and flour type, so it's essential to add it gradually. The dough should look shaggy and dry in places, but when you squeeze a handful, it should hold together without being sticky. Do not add too much water, as this will develop too much gluten and result in a tough crust.
Step 4: Forming the Dough
Once the dough has just come together, turn it out onto a lightly floured surface. Gather the dough gently and divide it into two equal portions if making a double-crust pie (or one if making a single crust).
- Turn dough onto a floured surface.
- Gather gently.
- Divide into portions (usually two).
- Form each portion into a flat disc.
Shape each portion into a flat disc, about 1 inch thick. Avoid kneading the dough at this stage; you want to handle it as little as possible to keep the fat cold and prevent gluten development. The disc shape makes rolling out much easier later on. Wrap each disc tightly in plastic wrap.
Step 5: Chilling the Dough
Chilling the dough is a critical step that should not be skipped in any easy homemade pie dough recipe. Refrigerating the dough for at least 30 minutes (preferably 1-2 hours) allows the fat to firm up again and the gluten to relax.
- Wrap dough discs tightly in plastic wrap.
- Refrigerate for at least 30 minutes (up to 2 days).
This chilling period makes the dough much easier to roll out without sticking and helps maintain the flaky texture. It also prevents the dough from shrinking excessively during baking. You can even make the dough a day or two in advance and keep it chilled.
Rolling Out Pie Dough: Tips and Tricks
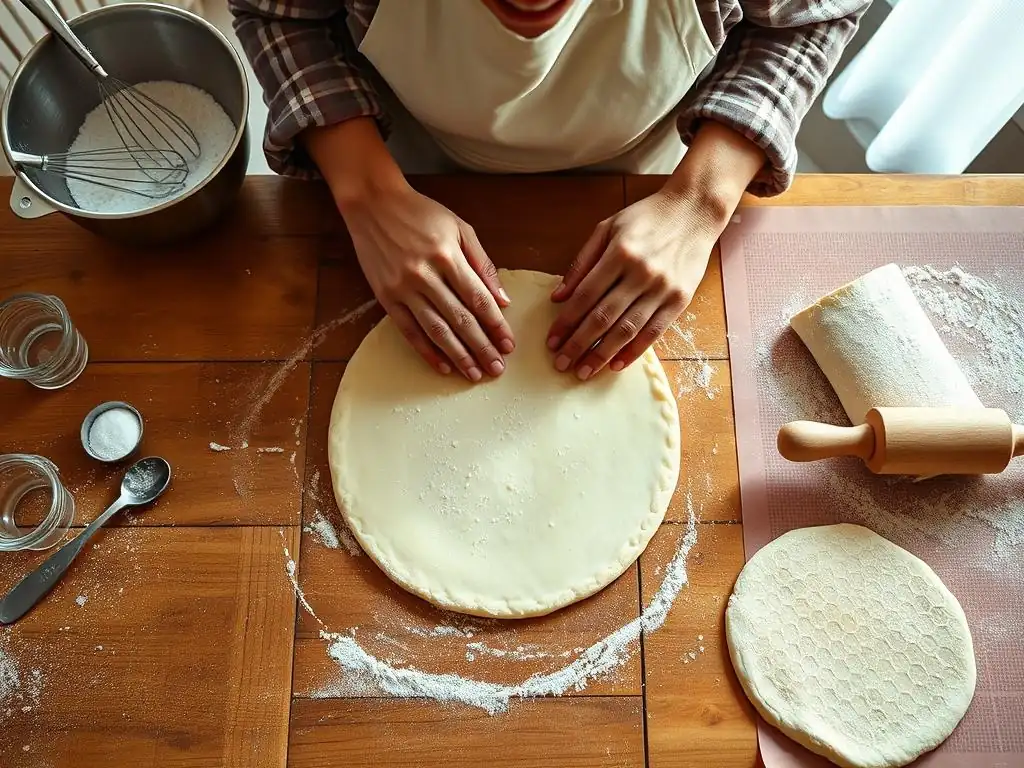
Rolling out your chilled, easy homemade pie dough recipe is the next step towards a beautiful pie. With a few simple techniques, you can achieve a perfectly sized and shaped crust ready for your filling.
Patience and a light touch are key here. Don't rush this process, and keep your work surface and rolling pin lightly floured.
Preparing Your Work Surface
Before you start rolling, ensure your work surface is clean and dry. Lightly flour the surface – using too much flour can make the dough dry and tough, so a thin dusting is sufficient. You can use a large pastry board, a clean countertop, or even a large silicone mat designed for baking.
- Clean and dry work surface.
- Lightly dust with flour.
- Ensure rolling pin is also lightly floured.
Having enough space is also helpful. You'll need room to roll out a circle significantly larger than your pie plate. Some bakers prefer to roll the dough between two sheets of plastic wrap or parchment paper, which can minimize the need for extra flour and reduce sticking.
Rolling Technique
Take one disc of chilled dough from the refrigerator. If it's very firm, let it sit at room temperature for just 5-10 minutes to soften slightly, but keep it cold. Place the disc on your lightly floured surface. Start rolling from the center outwards, turning the dough occasionally and lifting it to ensure it's not sticking (add more flour underneath if needed, but sparingly).
- Place chilled dough disc on floured surface.
- Roll from the center outwards.
- Turn dough frequently (about a quarter turn).
- Lift dough occasionally to check for sticking, adding minimal flour if necessary.
- Roll to desired size (usually 12-13 inches for a 9-inch pie plate).
Roll the dough into a circle about 1/8 inch thick and roughly 2-3 inches larger in diameter than your pie plate. This extra size allows for fitting into the plate and creating the crust edge. Roll evenly to maintain a consistent thickness.
Transferring to the Pie Plate
Once your dough is rolled out, it needs to be carefully transferred to the pie plate. There are a couple of common methods. The simplest is to gently roll the dough circle around your rolling pin, then unroll it over the pie plate.
- Gently roll dough around rolling pin.
- Position rolling pin over pie plate.
- Unroll dough over the plate.
- Alternatively, fold the dough circle in half or quarters, lift, and unfold into the plate.
Ease the dough into the bottom and sides of the plate without stretching it, which can cause shrinkage during baking. Trim any excess dough, leaving about a 1-inch overhang, which can then be crimped or fluted to create a decorative edge.
Blind Baking Your Pie Crust
Blind baking, or pre-baking, the pie crust is often necessary for pies with wet fillings (like quiches or fruit pies with high moisture content) or for pies with fillings that don't require baking (like cream or pudding pies). This step prevents the bottom crust from becoming soggy.
It adds a little extra time to your easy homemade pie dough recipe process, but it's essential for certain types of pies.
Why Blind Bake?
Blind baking sets the structure of the pie crust before the filling is added. For custard pies or quiches, it ensures the bottom crust is fully cooked and firm enough to support the filling. For fruit pies, it gives the bottom crust a head start, preventing the dreaded "soggy bottom" when the juicy fruit filling is added.
It also helps to create a crispier crust overall. By partially or fully baking the crust on its own, you achieve a better texture throughout the finished pie, making your easy homemade pie dough recipe efforts worthwhile.
Preparing the Pie Crust
After fitting the rolled-out dough into your pie plate and crimping the edges, the crust needs to be prepared for blind baking. The most important step is to prevent the crust from puffing up or shrinking down the sides of the plate during baking. This is done by weighing it down.
- Fit dough into pie plate and crimp edges.
- Prick the bottom of the crust all over with a fork (this helps prevent bubbling).
- Line the crust with parchment paper or aluminum foil, pressing it into the sides.
The parchment paper or foil serves as a barrier between the crust and the weights, making cleanup easy and preventing the weights from sticking to the dough. Ensure the lining covers the edges to protect them from burning.
Baking with Pie Weights
Fill the lined pie crust with pie weights. These can be ceramic or metal pie weights, dried beans, uncooked rice, or even sugar. Fill the crust right up to the crimped edge to provide adequate support.
- Fill the lined crust with pie weights (ceramic weights, dried beans, rice, etc. ).
- Ensure weights fill the crust up to the edge.
- Bake in a preheated oven (typically 375-400°F or 190-200°C) for 15-20 minutes.
Bake the crust until the edges are set and lightly golden. Carefully remove the weights and the lining. If the recipe calls for a fully baked crust, return the crust to the oven for another 5-10 minutes until the bottom is golden brown and looks dry. If only partially baking, remove it once the edges are set.
Cooling
Allow the blind-baked crust to cool slightly in the pie plate on a wire rack before adding your filling. This helps the crust maintain its crispness.
- Remove blind-baked crust from oven.
- Place pie plate on a wire rack.
- Allow crust to cool before adding filling.
Adding a filling to a hot crust can make it soggy. Cooling allows the structure to set completely.
Troubleshooting Common Pie Dough Problems
Even with an easy homemade pie dough recipe, you might encounter a few common issues. Knowing how to identify and fix them will build your confidence and improve your results.
Don't get discouraged if your first attempt isn't perfect. Baking is a learning process!
Dough Too Dry
If your dough is crumbly and won't come together after adding the recommended amount of ice water, it's too dry. This can happen if your flour is particularly dry, or if you live in a low-humidity environment.
- Problem: Dough is crumbly and won't form a cohesive mass.
- Cause: Not enough liquid was added.
- Solution: Add more ice water, 1 teaspoon at a time, mixing gently until the dough just holds together when squeezed. Be careful not to add too much.
Adding water gradually is key. A little extra liquid can save a dry dough, but too much will make it tough.
Dough Too Wet
If your dough is sticky and difficult to handle, you likely added too much water. This is a common mistake and can lead to a tough crust because excess water encourages gluten development.
- Problem: Dough is sticky and hard to work with.
- Cause: Too much liquid was added.
- Solution: Add a tablespoon or two of flour and very gently work it into the dough until it's no longer sticky.
Adding flour should be done minimally and gently. Overworking the dough to incorporate the extra flour will still lead to toughness. If the dough is very wet, chilling it for a longer period can sometimes help make it more manageable.
Dough Shrinking
Does your pie crust shrink significantly after baking, pulling away from the edges of the plate? This is often caused by insufficient chilling or overworking the dough. Overworking develops gluten, which then contracts when heated.
- Problem: Baked crust shrinks from the pie plate edges.
- Cause: Insufficient chilling, overworking the dough, or stretching the dough when fitting it into the plate.
- Solution: Ensure dough is well-chilled (at least 1-2 hours) before rolling. Handle the dough minimally during mixing and shaping. Do not stretch the dough when fitting it into the pie plate; ease it in gently.
Proper chilling relaxes the gluten and firms the fat, both of which help the dough hold its shape during baking.
Tough Pie Crust
A tough crust is usually the result of overworking the dough or adding too much water. Both actions develop excess gluten, which creates a chewy rather than flaky texture.
- Problem: Crust is hard and chewy instead of tender and flaky.
- Cause: Overworking the dough (excessive mixing/kneading) or adding too much water.
- Solution: Handle the dough as little as possible at every stage. Mix until just combined. Add only enough water for the dough to barely come together. Cut in the fat properly, leaving pea-sized pieces.
Remember, an easy homemade pie dough recipe thrives on minimal handling and cold ingredients. Focus on these two points, and you'll significantly reduce the risk of a tough crust.
Pie Dough Recipe Variations
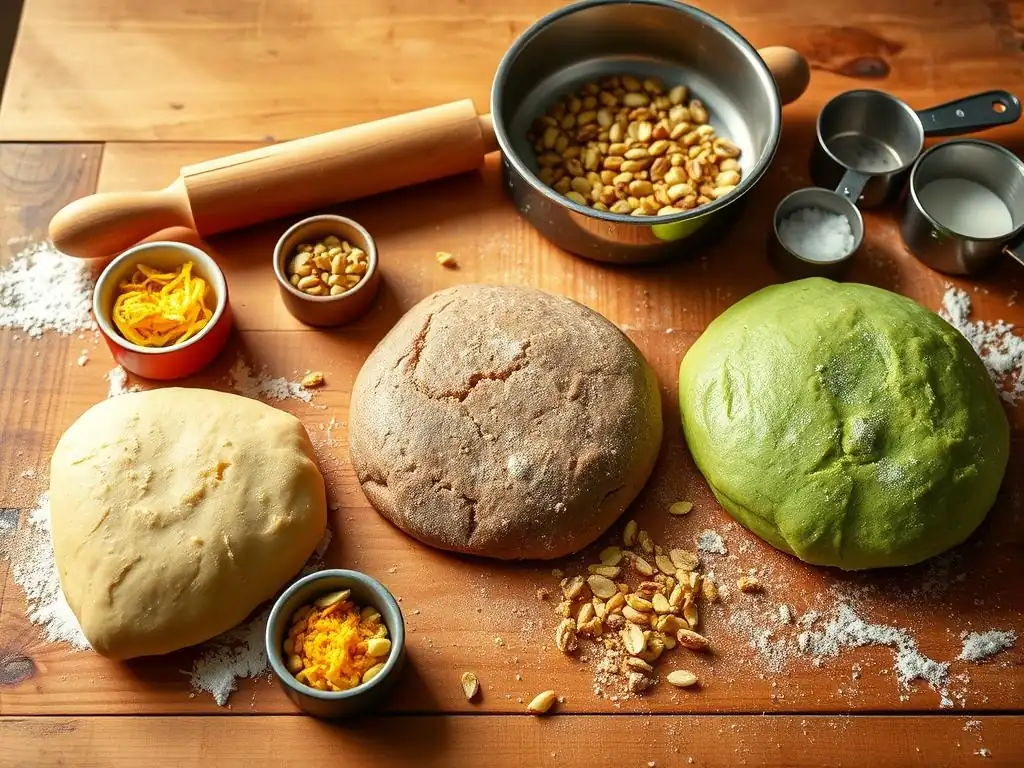
Once you've mastered the basic easy homemade pie dough recipe, you can explore variations to suit different types of pies and dietary needs.
Tweaking the basic formula allows for incredible versatility, from sweet dessert pies to savory main courses.
Sweet Pie Dough
A sweet pie dough is specifically designed for dessert pies. It typically includes a small amount of sugar, usually 1 to 3 tablespoons per double-crust recipe, added to the dry ingredients.
- Includes sugar (1-3 tbsp per double crust).
- Sugar adds a touch of sweetness and promotes browning.
The sugar adds a subtle sweetness to the crust itself, complementing sweet fillings like fruit or custard. It also aids in browning, giving the crust a beautiful golden hue during baking.
Savory Pie Dough
For savory applications like quiches, pot pies, or tarts, a savory pie dough is preferred. This variation omits the sugar and may include a slightly larger amount of salt or even herbs and spices mixed into the dry ingredients.
- Omits sugar.
- May include slightly more salt or additions like herbs (e.g., dried thyme, black pepper).
A savory dough provides a neutral or complementary base for fillings like cheese, vegetables, or meat. Adding dried herbs like rosemary or thyme, or a pinch of black pepper, can further enhance the savory profile.
Gluten-Free Pie Dough
Creating an easy homemade pie dough recipe that is also gluten-free requires substituting wheat flour with a blend of gluten-free flours. These blends often include a mix of rice flour, tapioca starch, and potato starch, and may require a binder like xanthan gum to provide structure.
- Uses a blend of gluten-free flours (rice, tapioca, potato).
- Often requires a binder like xanthan gum.
- Technique remains similar (cold fat, minimal handling), but hydration might vary slightly.
The technique of cutting in cold fat and adding ice water remains similar, but the hydration needs can sometimes differ slightly depending on the specific flour blend used. Look for a reliable gluten-free pie dough recipe specifically designed for flakiness, as achieving the same texture as traditional dough can be challenging but is definitely possible with the right approach.
Storing Pie Dough
Knowing how to properly store your easy homemade pie dough recipe means you can make it ahead of time, saving valuable minutes when you're ready to bake. Proper storage also helps the dough maintain its quality and prevents it from drying out.
Whether you plan to use it tomorrow or next month, there's a storage method that works.
Refrigerating Pie Dough
Freshly made pie dough can be stored in the refrigerator for a few days. Ensure the discs are tightly wrapped in plastic wrap to prevent them from drying out or absorbing odors from the fridge.
- Wrap dough discs tightly in plastic wrap.
- Store in the refrigerator for up to 2-3 days.
When you're ready to use the refrigerated dough, let it sit at room temperature for 10-20 minutes before rolling, just until it's pliable enough to work with but still cold.
Freezing Pie Dough
For longer storage, pie dough freezes exceptionally well. Wrap the discs tightly in plastic wrap, then place them in a freezer-safe bag or wrap them again in aluminum foil to prevent freezer burn.
- Wrap wrapped dough discs tightly in plastic wrap and then aluminum foil or place in a freezer bag.
- Freeze for up to 3-4 months.
To use frozen dough, transfer it to the refrigerator to thaw overnight. Then, let it sit at room temperature for 10-20 minutes before rolling, just as you would for refrigerated dough.
Perfect Pies Start with Homemade Pie Dough.
Frequently Asked Questions
What makes this pie dough recipe "easy"?
This recipe focuses on simple ingredients and a straightforward method, minimizing steps and potential errors for even beginner bakers. It avoids complex techniques often found in traditional recipes.
What are the key ingredients needed for this pie dough recipe?
You'll primarily need all-purpose flour, cold unsalted butter, ice water, and a pinch of salt. The recipe emphasizes using cold butter for optimal flakiness.
How important is keeping the butter cold in this recipe?
Keeping the butter extremely cold is crucial. Cold butter creates layers of fat within the dough, which melt during baking, resulting in a flaky crust.
Can I use a food processor instead of cutting the butter by hand?
Yes, a food processor can speed up the process. However, be careful not to over-process, as this can lead to a tough dough. Pulse until the mixture resembles coarse crumbs.
What are some common mistakes to avoid when making pie dough?
Overworking the dough is a common mistake. Also, using warm butter or not chilling the dough sufficiently before baking can lead to a less flaky and harder crust.
Final Reflection: The Sweet Simplicity of Homemade
The pursuit of the perfect pie crust, once a daunting culinary challenge, is now within everyone's reach. This simple guide has demystified the process, proving that creating flaky, tender pie dough at home is far easier than many believe. The accessibility of this skill empowers home bakers to elevate their desserts and create truly personalized culinary experiences.
The joy of crafting something from scratch, the satisfying aroma of butter and flour, the pride in presenting a homemade pie – these are the intangible rewards that extend far beyond the delicious final product. The act of making pie dough connects us to a rich culinary heritage, a tradition passed down through generations. As Julia Child wisely said, Find something you're passionate about and keep tremendously interested in it.
And for many, that passion lies in the simple, yet deeply satisfying, act of baking.
Now, it's your turn. Don't be intimidated by the seemingly complex world of pie crusts. Gather your ingredients, follow the steps outlined in this guide, and experience the magic of creating something delicious and beautiful with your own two hands. The next time you crave a slice of homemade pie, remember the simplicity and satisfaction that awaits you in your own kitchen. Embrace the challenge, and savor the reward.
Unlock Your Inner Pie Baker!
Thanks for taking the time to explore the world of homemade pie dough with us! We hope you now feel confident you can create flaky, delicious crusts from scratch. Ready to get baking?
- Bake your masterpiece! Use this newfound knowledge to make your favorite pie recipe (or try a new one!). Don't be afraid to experiment!
- Share your success! Post a picture of your delicious pie creation on social media and tag us – we'd love to see it!
- Challenge a friend: Encourage a friend or family member to join you in this baking adventure. Who will make the best pie?
What unique flavor combination will you try in your next homemade pie?