
From Mixing Bowl to Oven: Tracking the Full Fermentation Journey

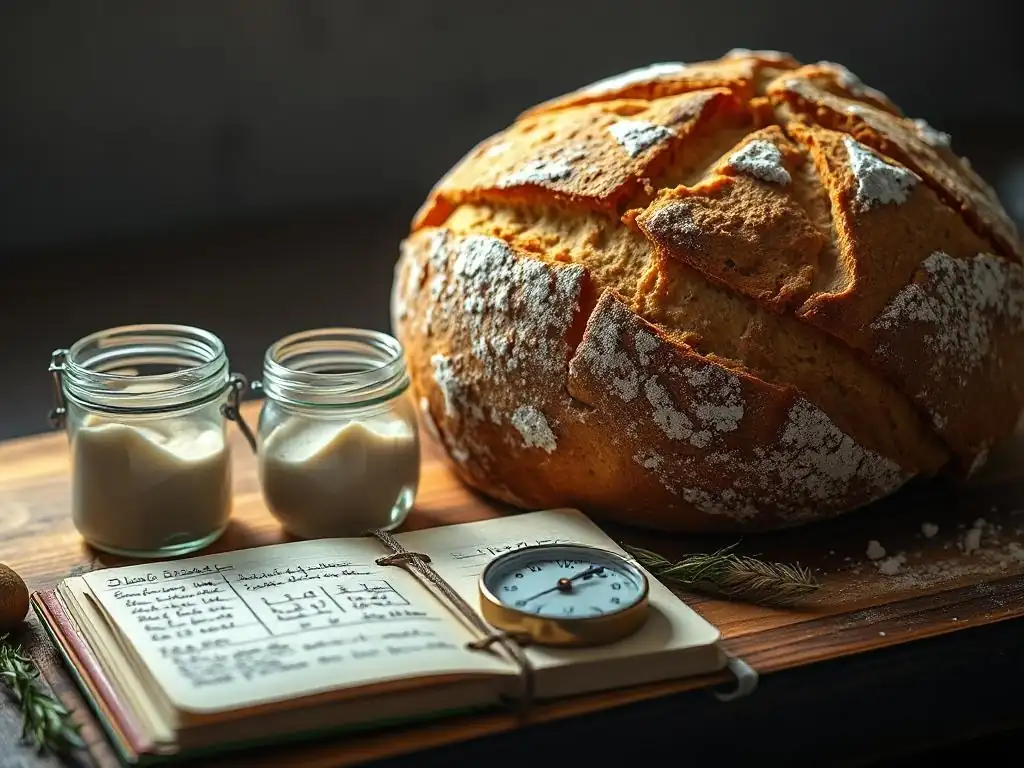
Welcome to BakeWithEase, your trusted companion in the delightful world of baking! Ever wondered if you're really nailing that sourdough loaf? Our Sourdough Fermentation Time Guide unlocks the secrets to perfect timing, transforming your dough from a simple mix to a bubbling, flavorful masterpiece. Curious about the science behind the rise? Dive in and discover how to achieve consistent, exceptional results, every single time. Let the journey begin!
- Understanding Sourdough Fermentation: A Comprehensive Guide for Bakers
- The Sourdough Fermentation Timeline: Key Stages & Visual Cues
- Mastering Sourdough Fermentation Time: A Practical Guide
- Visual Guide to Sourdough Fermentation Stages: Pictures and Examples
- Baking with Ease: Achieving the Perfect Sourdough Ferment
- The Importance of Observation: Your Ultimate Sourdough Fermentation Time Guide
- Frequently Asked Questions
- Final Reflection: The Timeless Art of Sourdough and the Patience it Demands
- Unleash Your Baking Potential Today!
Understanding Sourdough Fermentation: A Comprehensive Guide for Bakers
Sourdough fermentation is a magical transformation, turning simple flour and water into a living, breathing dough capable of producing incredible bread. At its core, this process relies on a symbiotic relationship between wild yeasts and lactic acid bacteria present in a sourdough starter. These microorganisms consume the sugars in the flour, producing carbon dioxide gas which causes the dough to rise, and organic acids (primarily lactic and acetic) which develop complex flavors and aromas. Mastering this delicate balance is key to achieving that signature sourdough crumb and tangy taste.
Think of fermentation as the engine driving your sourdough bread. It's not just about making the dough bigger; it's about developing strength, structure, and a deep, nuanced flavor profile. The time this process takes, the sourdough fermentation time guide, is influenced by a multitude of factors, from the temperature of your kitchen to the hydration level of your dough and the vigor of your starter. Learning to read your dough and understand these variables is far more effective than simply following a strict clock, though understanding typical timelines provides an essential framework.
The Sourdough Fermentation Timeline: Key Stages & Visual Cues
Stage 1: Initial Mixing and Autolyse - Setting the Fermentation Foundation
The journey begins with the initial mixing, often followed by a period called autolyse. Autolyse involves mixing just the flour and water together and letting it rest, typically for 20 minutes to an hour. This allows the flour to fully hydrate and enzymes naturally present in the flour, like proteases, to begin breaking down proteins, which helps gluten development. While fermentation hasn't fully kicked off yet, this stage prepares the dough structure, making subsequent steps easier and more effective.
After autolyse, the sourdough starter and salt are added. This is where the active fermentation process truly begins. The starter, brimming with active cultures, is now incorporated throughout the dough, and the microorganisms start their work. The initial mixing ensures an even distribution of the starter, providing the seeds for fermentation throughout the entire mass. This foundational stage is crucial for setting up the dough for successful gas production and acid development in the later stages.
Stage 2: Bulk Fermentation - The Heart of Sourdough Development
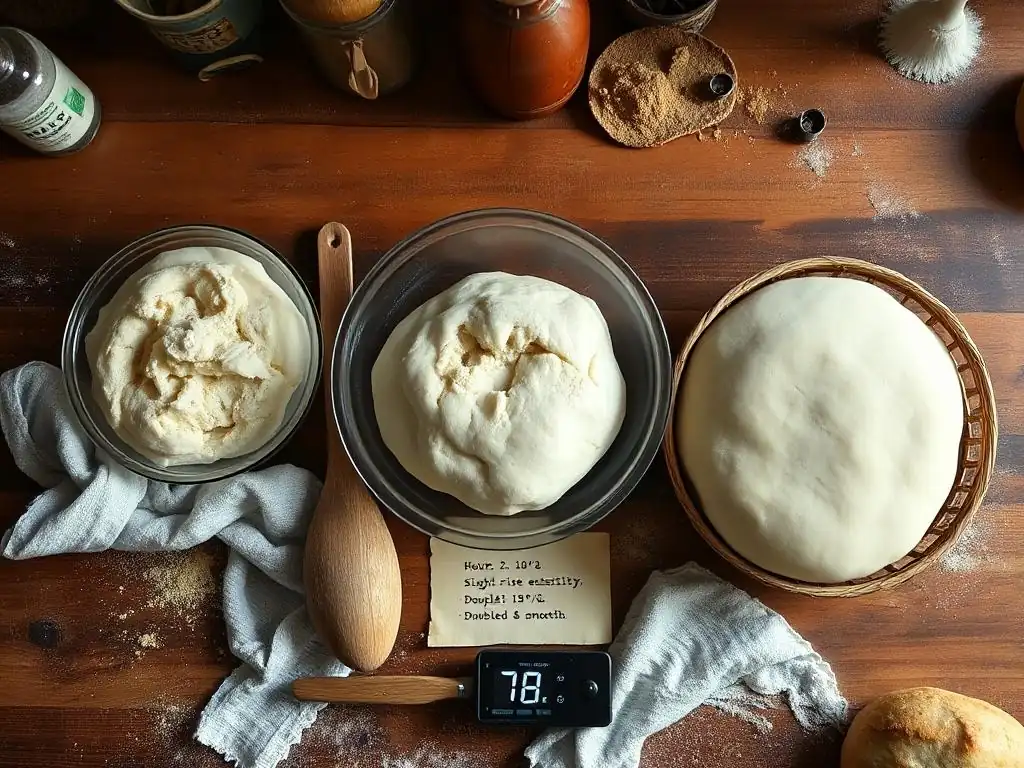
Bulk fermentation, also known as the first rise, is the period from when the starter is fully mixed into the dough until the dough is shaped. This is arguably the most critical phase for developing both structure and flavor. During this time, the wild yeasts are actively producing carbon dioxide, causing the dough to increase significantly in volume, while the lactic acid bacteria are generating organic acids that contribute to the characteristic sourdough tang. The dough transitions from a shaggy, loose mass to a smooth, aerated structure.
Monitoring sourdough fermentation time during this stage is paramount. Visual indicators are your best friend here. Look for a significant increase in volume, typically a 50% to 100% rise depending on the recipe and desired outcome. The surface of the dough should show visible bubbles, and the edges where the dough meets the container might start to pull away slightly. The dough should also feel lighter and more airy when handled. A typical bulk fermentation at a comfortable room temperature (around 75°F or 24°C) might last anywhere from 3 to 6 hours, but this can vary wildly.
Monitoring Bulk Fermentation Time: Visual Indicators of Activity
Observing your dough is the most reliable sourdough fermentation time guide during the bulk phase. As fermentation progresses, you'll notice the dough beginning to swell. Initially, the bubbles might be small and internal, but as activity increases, larger bubbles will start to appear on the surface and along the sides of your container. A great sign of sufficient development is when the dough has visibly increased in size by at least half, and often doubled.
Beyond volume, pay attention to the texture and feel. A well-fermented dough will feel jiggly and airy, almost like a large bubble. When you gently stretch or fold it, it should show good extensibility but also have enough strength to hold its shape. The aroma also changes; it will develop a pleasant, slightly acidic smell, a hallmark of the organic acids being produced. Don't rely solely on the clock; learn to trust these visual and tactile cues.
Factors Affecting Bulk Fermentation: Temperature, Hydration, and Flour Type
Temperature is perhaps the most significant factor influencing sourdough fermentation time. Warmer temperatures accelerate microbial activity, leading to faster fermentation, while cooler temperatures slow it down. For example, bulk fermentation at 80°F (27°C) might take 3-4 hours, while the same dough at 65°F (18°C) could take 8-12 hours or even longer. Maintaining a consistent dough temperature is key for predictable results.
Hydration level also plays a role. Higher hydration doughs (like those at 80% hydration or more) tend to ferment faster because the microorganisms have easier access to the starches. Flour type matters too; whole wheat and rye flours ferment more quickly than refined white flours due to higher enzyme activity and nutrient content. The strength and activity of your sourdough starter are equally crucial; a vigorous, recently fed starter will kickstart fermentation much faster than a sluggish one.
Bulk Fermentation Techniques: Stretch and Folds, Coil Folds
During bulk fermentation, bakers often perform a series of folds to build strength and structure in the dough without kneading. Stretch and folds involve wetting your hands, grabbing one side of the dough, stretching it upwards, and folding it over the rest of the dough. You repeat this process 3-4 times around the dough, usually every 30-60 minutes for the first 2-3 hours of bulk fermentation. This technique gently aligns the gluten strands and helps distribute the gas produced by fermentation.
Coil folds are another popular technique, particularly for higher hydration doughs. The dough is gently lifted from the center using wet hands, allowing the edges to tuck underneath, creating tension. This is repeated from all four sides. Both stretch and folds and coil folds contribute to a stronger dough structure, enabling it to hold onto the gas produced during fermentation, which is essential for a good oven spring. These techniques are integrated within the overall sourdough fermentation time and help manage the dough's development.
Stage 3: Proofing - Final Rise Before Baking
Proofing, or the second rise, is the final fermentation stage after the dough has been shaped. The shaped loaves are placed in proofing baskets (bannetons) or on baking sheets to rise one last time before hitting the oven. The goal here is to allow the dough to increase in volume and develop its final structure and flavor complexity. This stage is crucial for achieving a well-risen loaf with an open crumb.
Proofing can occur at room temperature or in the refrigerator (cold proofing). Room temperature proofing is much faster, typically taking 1-4 hours, depending heavily on the dough's temperature and how long it bulk fermented. Cold proofing, which occurs in the refrigerator (around 38-40°F or 3-4°C), significantly slows down fermentation, often taking 8-24 hours or even longer. Cold proofing develops more complex flavors due to the prolonged activity of lactic acid bacteria and is a key technique in many sourdough fermentation time guide protocols.
Proofing Time and Temperature: Finding the Sweet Spot
The ideal proofing time is highly dependent on temperature and how active your dough was during bulk fermentation. At warmer room temperatures (75°F/24°C), proofing might only take 1-2 hours after a vigorous bulk ferment. At cooler room temperatures (68°F/20°C), it could take 3-4 hours. The dough should look visibly increased in size, though not necessarily doubled, as too much proofing can lead to over-proofing.
Cold proofing in the refrigerator provides a much wider window, making the sourdough fermentation time guide more flexible. A cold proof for 12-18 hours is common and allows for convenient baking schedules. The low temperature slows yeast activity but allows acid development to continue, enhancing flavor. Knowing the typical proofing times for different temperatures is vital for timing your bake correctly.
The Poke Test: Assessing Readiness for Baking
The poke test is a classic method for determining if your shaped dough is ready to bake. Gently but firmly poke the side of the dough with a floured finger. If the indentation springs back immediately, the dough is under-proofed and needs more time. If the indentation stays completely, the dough is likely over-proofed.
The sweet spot for the poke test is when the indentation slowly springs back about halfway. This indicates that the gluten structure has relaxed enough to allow expansion in the oven (oven spring) but still has enough strength to hold its shape. This simple test is an invaluable part of any visual sourdough fermentation time guide.
Over-Proofing vs. Under-Proofing: Identifying and Correcting Issues
Under-proofed dough will have a very strong oven spring, often bursting at the seams or showing uneven tearing. The crumb might be dense, tight, and gummy because the yeast didn't produce enough gas to create an open structure. The flavor might be less developed. If you realize dough is under-proofed before baking, you can try giving it a little more time at room temperature, but be cautious not to overdo it.
Over-proofed dough, on the other hand, will collapse when scored or transferred, have minimal or no oven spring, and result in a flat, dense loaf. The crumb might be very even and cake-like, lacking the characteristic open structure. The flavor might be excessively sour or alcoholic. Unfortunately, it's difficult to fully rescue significantly over-proofed dough, though sometimes reshaping and giving it a very short, final proof can help slightly, but it's often best to treat it as a learning experience for your next bake.
Mastering Sourdough Fermentation Time: A Practical Guide
Achieving consistent sourdough results requires understanding and controlling the fermentation process. This isn't just about following a recipe; it's about becoming attuned to the living dough. A good sourdough fermentation time guide empowers you to make adjustments based on real-time observations rather than rigid schedules. Practical mastery comes from experience, careful observation, and understanding the key variables at play.
Developing a strong relationship with your sourdough starter, controlling dough temperature, and learning to adjust based on environmental factors are the cornerstones of mastering sourdough fermentation time. It's a skill that improves with every bake, teaching you to read the subtle cues your dough provides throughout its journey from mixing bowl to oven.
Developing Your Sourdough Starter: A Crucial First Step
The health and activity of your sourdough starter (often called the levain) are foundational to predictable fermentation. A starter that is regularly fed and active, meaning it reliably doubles or triples in volume within 4-8 hours after feeding at room temperature, provides the necessary microbial power to ferment your dough efficiently. A sluggish starter will lead to slow or stalled fermentation, making any sourdough fermentation time guide unreliable.
Maintaining a feeding schedule that keeps your starter vigorous is key. For a regularly used starter, daily feeding at a ratio like 1 part starter, 2 parts water, 2 parts flour (1:2:2 ratio) is common. If you bake less frequently, storing your starter in the refrigerator and feeding it less often (e.g., once a week) is fine, but you'll need to revive it with a few feedings at room temperature before using it in a bake to ensure it's active enough.
Sourdough Dough Temperature: The Key to Predictable Fermentation
Controlling the temperature of your dough is perhaps the single most effective way to manage sourdough fermentation time. Microorganisms in the starter thrive within specific temperature ranges. Yeast activity is optimal between 75°F and 85°F (24°C to 30°C), while lactic acid bacteria activity is also strong in this range, with some strains favoring slightly cooler temperatures for more acetic acid production. Aiming for a consistent dough temperature throughout fermentation helps make your process predictable.
You can influence dough temperature by adjusting the water temperature used in mixing. For instance, if your kitchen is cool (say, 68°F/20°C) and your flour and starter are also cool, using warmer water (perhaps 85-90°F/29-32°C) can help bring the final dough temperature up to a desirable range like 75-78°F (24-26°C). Conversely, if your kitchen is warm, using cooler water can help prevent the dough from overheating and fermenting too quickly. Measuring your dough temperature with a thermometer is a helpful habit.
Adjusting Sourdough Fermentation Time Based on Recipe and Environment
No single sourdough fermentation time guide fits all recipes or environments. A dough with a higher percentage of whole wheat flour will ferment faster than a pure white flour dough. A higher hydration dough generally ferments faster than a lower hydration one. If your kitchen is consistently warmer than the temperature assumed by a recipe, your fermentation times will be shorter. If it's cooler, they will be longer.
This is where learning to read your dough becomes essential. Instead of blindly following a recipe's time, use it as a starting point. Observe the dough's volume increase, bubble formation, and texture. If it's progressing faster than expected due to a warm kitchen, you might shorten the bulk ferment or proofing time. If it's slow, you might extend the time or find a warmer spot for the dough. This flexibility is key to consistent success.
Sourdough Fermentation Time Guide: Common Problems and Solutions
Troubleshooting fermentation issues is a common part of the sourdough journey. The two main problems are fermentation that is too slow or too fast. Understanding the root causes helps you implement the correct solutions and refine your sourdough fermentation time guide approach. Patience and observation are your greatest tools when things don't go exactly as planned.
Keeping a baking journal where you note dough temperatures, room temperature, starter activity, and fermentation times can be incredibly helpful in identifying patterns and understanding why certain bakes were successful and others weren't. This log becomes your personalized sourdough fermentation time guide.
Troubleshooting Slow Fermentation: Inactive Starter, Low Temperature, Insufficient Hydration
If your dough isn't showing much activity after several hours, the most common culprit is an inactive starter. Ensure your starter is vigorous and peaking before using it in your dough. Feed it and wait until it has at least doubled before mixing. Another major factor is low dough temperature. If your kitchen is cold, try placing the dough in a warmer spot, like inside a microwave (turned off) with the light on, or in an oven with just the light on, which can raise the temperature by 5-10°F (3-6°C).
Insufficient hydration can also slow fermentation slightly, as the yeast and bacteria have less access to the flour's starches. While you can't easily increase hydration after mixing, ensuring you use the correct amount of water specified in the recipe is important. Sometimes, simply giving the dough more time is the solution; fermentation might just be progressing slowly due to cooler conditions.
Troubleshooting Fast Fermentation: High Temperature, Overactive Starter, Excessive Hydration
Conversely, if your dough is exploding with activity much faster than anticipated, high dough temperature is usually the reason. If your kitchen is very warm, try using cooler water in your mix to bring the initial dough temperature down. You can also place the dough in a slightly cooler spot, like a basement or a cooler room in the house. Using an overly active starter right at its peak, especially in a warm environment, can also lead to rapid fermentation.
Excessive hydration can also contribute to faster fermentation. If you accidentally added too much water, the dough will ferment more quickly. If you're consistently experiencing over-proofing, consider reducing the bulk fermentation time or proofing time, or switching to a cold proof in the refrigerator to slow things down dramatically. Learning to recognize the signs of rapid fermentation early allows you to adjust your schedule or temperature control methods.
Visual Guide to Sourdough Fermentation Stages: Pictures and Examples
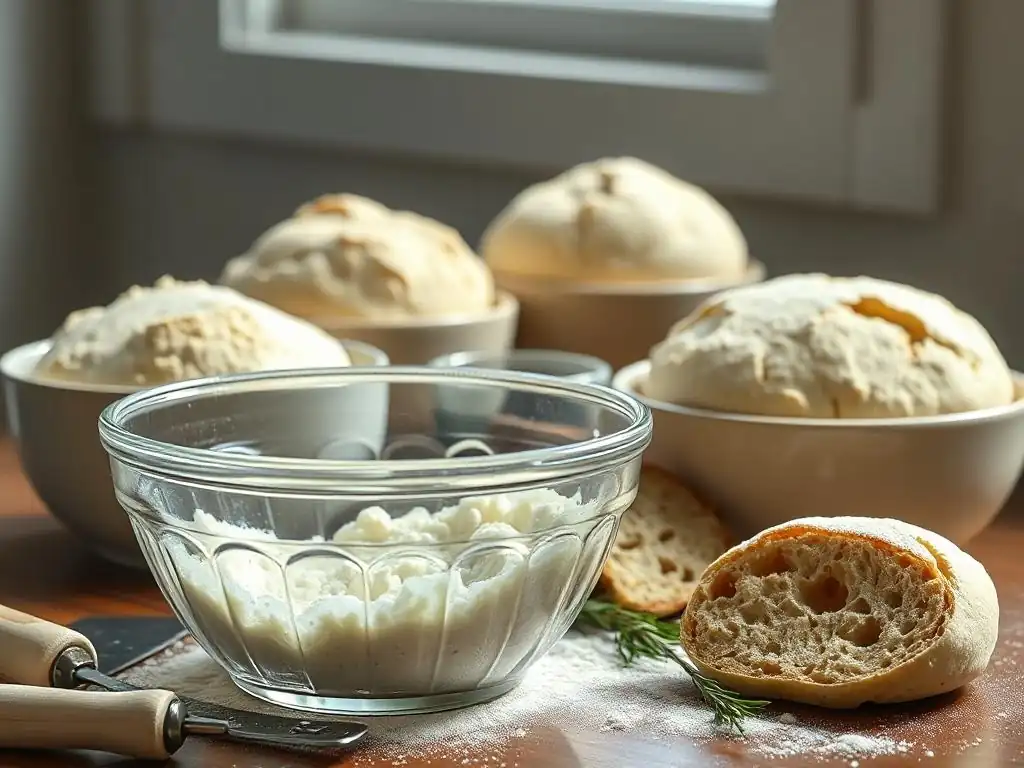
While we can't include actual images here, let's describe what you should look for at each stage. Visual cues are paramount in sourdough baking and form the basis of any effective sourdough fermentation time guide. Learning to "read" your dough is more reliable than any timer.
Understanding these visual milestones helps you gauge progress regardless of the clock. Many online resources and books offer excellent visual guides alongside their sourdough fermentation time guide sections.
Recognizing the Signs of Active Fermentation: Bubbles, Volume Increase, and Aroma
During bulk fermentation, active dough will show visible signs of life. Small bubbles will start to appear on the surface and along the sides of the container. As fermentation progresses, these bubbles will become larger and more numerous. The dough itself will increase in volume, often doubling from its initial size. This expansion is due to the trapped carbon dioxide gas. A dough that hasn't increased in volume or shows no bubbles after several hours is likely inactive.
The aroma is another key indicator. Initially, the dough might smell simply like wet flour. As fermentation proceeds, it will develop a pleasant, slightly sweet, and tangy smell. An over-fermented dough might smell strongly alcoholic or excessively sour. A dough that smells yeasty but not tangy indicates primary yeast activity but perhaps less bacterial activity, or a very young fermentation.
Sourdough Fermentation Time Lapse: Witnessing the Transformation
Imagine watching a time-lapse video of your sourdough dough during bulk fermentation. Over several hours, you would see the dough slowly, steadily expand. You'd notice tiny bubbles forming and growing, eventually becoming large pockets of air visible through the side of a clear container. The surface would become smoother and more domed.
This visual transformation highlights the dynamic nature of fermentation. Seeing the dough literally change and grow reinforces the idea that it's a living process, not just a chemical reaction. A sourdough fermentation time guide often uses descriptions like "doubled in size" or "surface shows significant bubbling" precisely because these visual benchmarks are more reliable than a fixed time.
Baking with Ease: Achieving the Perfect Sourdough Ferment
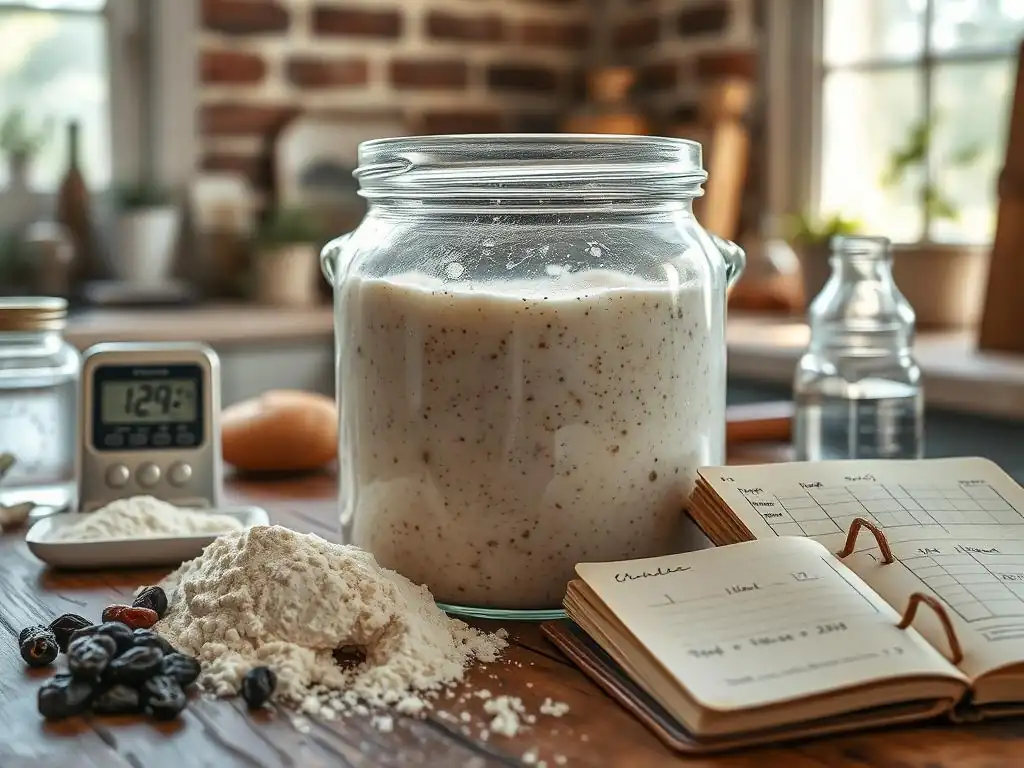
Achieving the perfect sourdough ferment consistently comes down to understanding the science, practicing good technique, and most importantly, learning to observe your dough. It's a skill that develops over time, turning you from a recipe-follower into a dough-whisperer. By focusing on the process and the dough's cues, you make baking with sourdough truly easy and rewarding.
While recipes provide a starting point, your personal sourdough fermentation time guide will evolve with experience. Don't be discouraged by early bakes that might not be perfect; each loaf teaches you something new about managing fermentation in your specific environment with your unique starter.
Tips for Consistent Sourdough Fermentation Results
- Use an active starter: Ensure your starter is vigorous and recently fed before mixing your dough.
- Control dough temperature: Aim for a consistent dough temperature, ideally between 75-80°F (24-27°C), by adjusting water temperature or finding a warm spot.
- Measure ingredients accurately: Hydration affects fermentation speed; precise measurements help ensure predictability.
- Learn your environment: Pay attention to your kitchen temperature and how it affects your typical fermentation times.
- Observe your dough: Rely more on visual cues (volume increase, bubbles, texture) than strictly on the clock.
- Keep a log: Document your process, temperatures, and results to build your personal sourdough fermentation time guide.
[ ] Ensure starter is active before mixing
[ ] Measure final dough temperature
[ ] Observe dough volume and bubble formation during bulk ferment
[ ] Perform the poke test before baking
[ ] Adjust proofing time based on dough activity
[ ] Record observations in baking journal
Advanced Sourdough Fermentation Techniques: Retardation, Levain Build
Once you're comfortable with basic sourdough fermentation, you can explore advanced techniques like cold retardation and varying your levain build. Cold retardation, or cold proofing in the refrigerator, is a common method to slow down fermentation significantly, allowing for longer acid development (enhanced flavor) and providing a flexible baking schedule. A cold proof can last anywhere from 8 to 48 hours.
Adjusting your levain build involves altering the ratio of starter, water, and flour, or the temperature at which it's fermented. A smaller inoculation of starter relative to the amount of flour and water (e.g., 1:5:5 ratio) or a cooler fermentation temperature for the levain will result in a slower, potentially tangier levain. Conversely, a larger inoculation (e.g., 1:1:1) or warmer temperature yields a faster, milder levain. These techniques allow fine-tuning of your sourdough fermentation time guide and flavor profile.
The Importance of Observation: Your Ultimate Sourdough Fermentation Time Guide
Ultimately, the best sourdough fermentation time guide isn't found in a book or online; it's developed through your own observation and experience. While recipes and guides provide excellent starting points and principles, every batch of dough is unique, influenced by subtle variations in ingredients, environment, and starter activity. Becoming proficient in sourdough is about learning to interpret the language of your dough.
Paying close attention to the dough's texture, elasticity, temperature, and visual changes throughout the process will tell you far more about its readiness than simply sticking to a prescribed timeline. This intuitive understanding, built upon foundational knowledge, is what truly unlocks consistent sourdough success.
Learning to Read Your Dough: Beyond the Clock
Reading your dough means understanding what different visual and tactile cues signify. A dough that feels dense and heavy needs more time. One that feels light, airy, and jiggly is well on its way. A sticky dough might need more strength development through folds, while a slack dough might be over-fermenting. The speed at which bubbles form and the rate of volume increase are direct indicators of fermentation activity.
This skill transcends specific recipes or timelines. Once you can read your dough, you can adapt any sourdough recipe to your environment and schedule. Your hands and eyes become the most sophisticated tools in your sourdough fermentation time guide arsenal, allowing you to make informed decisions about when to move to the next stage.
Sourdough Fermentation Log: Tracking Your Baking Journey for Success
Keeping a detailed log of your sourdough bakes is an incredibly valuable practice. Note down the date, recipe used, flour types and hydration, starter ratio and activity (how long it took to peak), room temperature, dough temperature, bulk fermentation start and end times, proofing time and temperature, and the outcome (oven spring, crumb structure, flavor).
Over time, this log will reveal patterns. You'll see how different temperatures affected your sourdough fermentation time guide, how varying proofing times impacted the final loaf, and what conditions lead to your best results. This personal data becomes your most accurate and relevant guide for future bakes, helping you refine your process and achieve consistent, delicious sourdough bread.
Frequently Asked Questions
What is the ideal sourdough fermentation time for best results?
The ideal fermentation time varies greatly depending on factors like temperature, starter activity, and desired flavor profile. Generally, a bulk fermentation of 3-6 hours at room temperature is a good starting point.
How does temperature affect the sourdough fermentation process?
Higher temperatures accelerate fermentation, while lower temperatures slow it down. Keep this in mind to avoid over- or under-fermentation.
What are some signs that my sourdough has properly fermented?
Visible bubbles throughout the dough, an increase in volume (typically 20-50%), and a slightly tangy aroma are all good indicators of successful fermentation.
What happens if I over-ferment my sourdough?
Over-fermented dough can become sour, weak, and difficult to shape. It may also collapse during baking, resulting in a flat and dense loaf.
Can I retard the fermentation process to fit my schedule?
Yes, you can slow down fermentation by placing the dough in the refrigerator. This allows for longer fermentation times and can enhance the flavor of your sourdough.
Final Reflection: The Timeless Art of Sourdough and the Patience it Demands
The precise timing of sourdough fermentation remains a crucial, yet often elusive, element in baking success. Mastering this process isn't just about following a recipe; it's about understanding the living, breathing nature of the sourdough starter and its dynamic response to its environment. This journey, from initial mixing to the final oven spring, is a testament to the power of patience and observation.
The influence of sourdough extends far beyond the kitchen; it represents a connection to a slower, more mindful way of life, a stark contrast to the instant gratification of modern society. It's a reminder of the ancient traditions passed down through generations, a living legacy we actively participate in with each bake. Bread is the staff of life,
they say, and in the case of sourdough, it's a staff forged through time, care, and a deep understanding of natural processes. This understanding, this connection to the natural world through baking, is something I find deeply enriching and profoundly satisfying.
Now, consider your own relationship with time. Are you willing to embrace the unpredictable nature of sourdough fermentation? I invite you to experiment, to observe, to learn from each rise and fall, each bubble and burst. Don't be discouraged by setbacks; instead, view them as opportunities to deepen your understanding of this fascinating process. The reward—a loaf of bread imbued with unique flavor and character—is well worth the wait. Embrace the journey, and discover the magic within the mixing bowl and beyond.
Unleash Your Baking Potential Today!
Thank you for diving into the fascinating world of fermentation with us! By exploring the full journey from mixing bowl to oven, you’ve gained valuable insights into the art of baking that can elevate your skills to new heights. Now, it's time to put that knowledge into action!
- Start your own fermentation adventure: Gather your ingredients and initiate your first bake today! Experiment with different types of dough or recipes to see how fermentation transforms your creations.
- Share your baking journey: Snap photos of your fermentation process and finished products, and share them with fellow baking enthusiasts. Inspire others and discover new ideas by connecting with the BakeWithEase community.
- Join a local baking class: Find local workshops or virtual classes where you can learn hands-on techniques and meet like-minded bakers who are passionate about the fermentation process.
As you gear up for your next baking project, we invite you to ponder: What unique flavor combinations will you explore in your baking this week?