
Bake Classic Hot Cross Buns with Our Easy Recipe

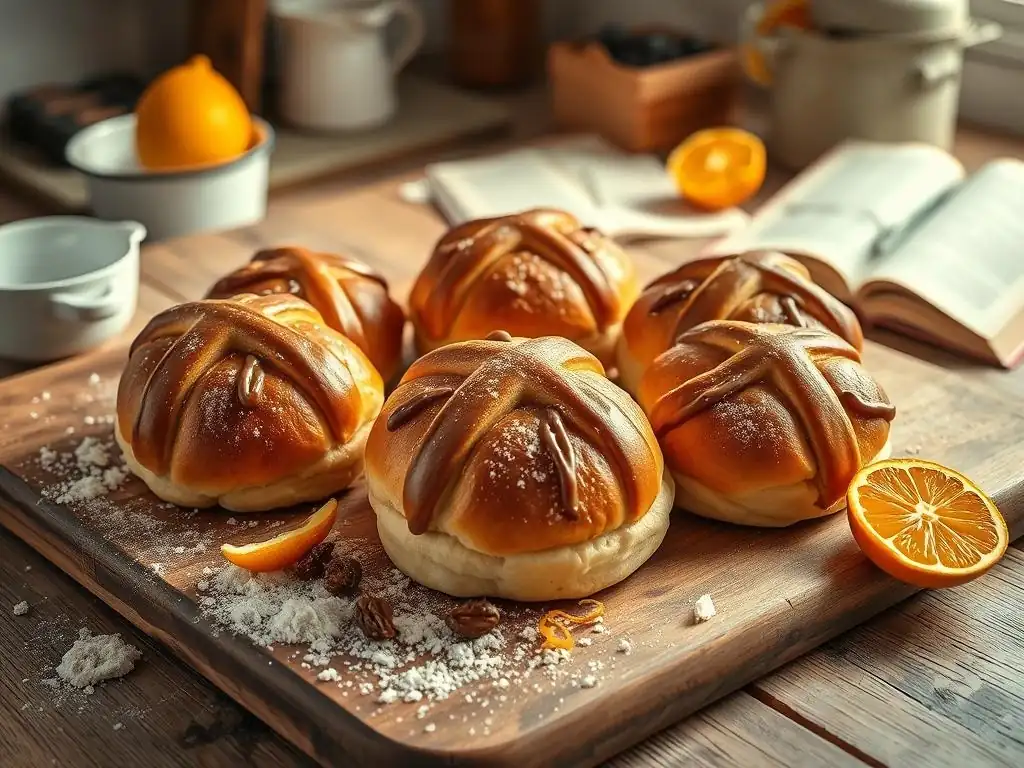
Welcome to BakeWithEase, your haven for all things baking! Are you ready to fill your kitchen with the irresistible aroma of freshly baked goodness? This week, we're diving into a classic Easter treat.
Discover our easy hot cross bun recipe, a surprisingly simple method for creating these spiced, sweet delights. But what's the secret to achieving that perfect texture and flavor? Read on to unlock the secrets and embark on your baking adventure in our Pastry and Desserts section.
- Bake Classic Hot Cross Buns - Our Easy Recipe
- Introduction: Welcome Spring with Homemade Hot Cross Buns
- Mastering the Art of Hot Cross Buns: A Recipe for Everyone
- Step-by-Step Guide to Baking the Best Hot Cross Buns
- Glazing and Serving Your Delicious Hot Cross Buns
- Tips and Tricks for Baking Perfect Hot Cross Buns Every Time
- Conclusion: Enjoy the Taste of Spring with Your Hot Cross Bun Recipe.
- Frequently Asked Questions
- Final Reflection: The Enduring Magic of a Simple Hot Cross Bun
- Unleash Your Inner Baker: Craft the Perfect Hot Cross Buns!
Bake Classic Hot Cross Buns - Our Easy Recipe
Introduction: Welcome Spring with Homemade Hot Cross Buns
As the days grow longer and the first signs of spring appear, the aroma of freshly baked goods often fills the air. Few treats capture the spirit of this season quite like classic hot cross buns. These sweet, spiced, fruit-filled buns, traditionally marked with a cross, are a staple of Easter celebrations around the world. While they might seem intimidating to bake from scratch, our goal at BakeWithEase is to show you just how simple and rewarding making them at home can be. Forget store-bought; the rich flavor and soft texture of homemade hot cross buns are unparalleled.
This article is designed to guide you through creating delightful hot cross buns right in your own kitchen. We'll walk you through each step, from activating the yeast to achieving that perfect golden-brown finish. Whether you're a seasoned baker or trying your hand at enriched dough for the first time, this easy hot cross bun recipe is tailored for success. Get ready to impress your family and friends with a batch of these iconic pastries, perfect for breakfast, tea time, or sharing during your Easter festivities.
Our Easy Recipe Presents: The Perfect Hot Cross Bun Recipe
Developing a truly easy hot cross bun recipe was a priority for us, focusing on clear instructions and readily available ingredients. Our version simplifies some of the traditional steps without compromising on flavor or texture. We’ve tested various ratios and techniques to ensure that even beginners can achieve beautifully risen, soft, and fragrant buns. This recipe yields approximately 12-15 buns, making it ideal for a standard baking sheet and enough to share (or not! ).
What makes this hot cross bun recipe stand out is its reliability and the delicious results it consistently produces. We emphasize techniques like proper kneading and proofing, which are crucial for developing the gluten structure needed for light and airy buns. The ingredient list is straightforward, likely containing items already in your pantry, like flour, sugar, yeast, milk, butter, and common spices. We also include tips for variations, allowing you to customize your buns to your preference, perhaps adding a different mix of dried fruits or a touch of citrus zest.
Why You'll Love This Hot Cross Bun Recipe
You'll absolutely love this hot cross bun recipe because it demystifies what many perceive as a complex baking project. It breaks down the process into manageable steps, making it approachable for anyone eager to try their hand at enriched dough. The sense of accomplishment you'll feel pulling a tray of warm, perfectly crossed buns from the oven is incredibly satisfying. Plus, the aroma that fills your home while they bake is simply irresistible – a true sign that spring has arrived.
Beyond the ease of preparation, the taste is the primary reason this will become your go-to recipe. The combination of soft, slightly sweet dough, warm spices like cinnamon and nutmeg, and plump, juicy dried fruits creates a flavor profile that is comforting and celebratory. Serving these warm, perhaps split and buttered, is an experience that elevates any spring gathering. This easy hot cross bun recipe is not just about baking; it's about creating delicious memories and enjoying a timeless tradition.
Mastering the Art of Hot Cross Buns: A Recipe for Everyone
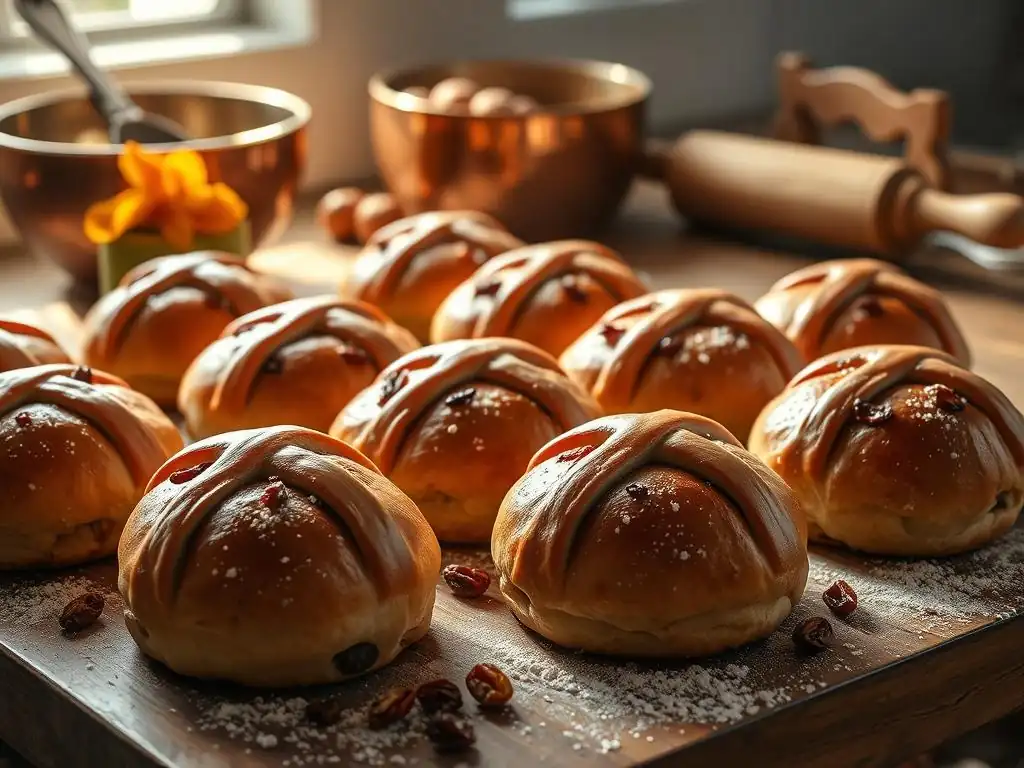
Baking hot cross buns involves working with an enriched dough, meaning it contains fat (butter), sugar, and often eggs or milk, which contribute to its softness and richness. Understanding how these ingredients interact is key to a successful bake. Our easy hot cross bun recipe simplifies the process, focusing on fundamental techniques that ensure a well-risen, flavorful bun. The journey from simple flour and yeast to a tray of perfectly baked buns is a rewarding one, accessible to bakers of all skill levels.
Successfully mastering this hot cross bun recipe hinges on paying attention to a few critical stages: activating the yeast correctly, kneading the dough until it's smooth and elastic, and allowing sufficient time for proofing (rising). Unlike lean doughs used for crusty breads, enriched doughs rise more slowly due to the added fats and sugars. Patience during the proofing stages is paramount for achieving that coveted light and fluffy texture. By following our detailed steps, you'll build confidence and produce results that rival any professional bakery.
Understanding the Ingredients for Delicious Hot Cross Buns
Crafting delicious hot cross buns begins with selecting quality ingredients. Each component plays a specific role in the final taste, texture, and appearance of the buns. Our easy hot cross bun recipe relies on common pantry staples, making it accessible, but understanding the nuances of each ingredient can significantly enhance your results.
For example, using fresh yeast versus dry active yeast requires slightly different handling, particularly regarding activation temperature. Similarly, the type of dried fruit you choose can impact the sweetness and chewiness of the buns. Paying attention to these details, as outlined in the following sections, will help you achieve consistent success with your homemade hot cross buns.
Flour Power: Choosing the Right Flour
For the best results with an easy hot cross bun recipe, plain all-purpose flour is typically recommended. It has a moderate protein content (around 10-12%) which allows for good gluten development, providing structure to the dough without making it tough. Using bread flour (higher protein, 12-14%) is also an option, which can yield a slightly chewier bun, while cake flour (lower protein, 7-9%) would result in a very tender, almost cake-like texture, which isn't ideal for a bun that needs to hold its shape and rise.
When measuring flour, accuracy is important. Using a kitchen scale is the most precise method; for this recipe, you might need approximately 500 grams of all-purpose flour. If measuring by volume, gently spoon the flour into your measuring cup and level it off with a straight edge, avoiding packing it down. Too much flour can lead to dry, dense buns, while too little might make the dough too sticky and difficult to handle.
Spice Up Your Buns: Essential Spices
The signature flavor of hot cross buns comes from a warm blend of spices. The most common spices include ground cinnamon, nutmeg, and sometimes mixed spice or allspice. A typical recipe might call for 1-2 teaspoons of cinnamon, 1/2 teaspoon of nutmeg, and a pinch of ground cloves or ginger for extra warmth.
Ensure your spices are fresh for the most potent flavor. Spices lose their potency over time, so using a jar that's been sitting in the cupboard for years might result in buns lacking that characteristic aromatic punch. You can also add the zest of an orange or lemon (about 1 teaspoon) to the dough for a bright, citrusy note that complements the spices and fruit beautifully.
Sweetness Matters: Selecting the Best Sugar
Granulated sugar is the standard choice for an easy hot cross bun recipe, providing sweetness and aiding in the browning of the crust. About 75-100 grams of granulated sugar is usually sufficient to give the buns a pleasant sweetness without being overly sugary.
Some recipes might incorporate brown sugar for a slightly deeper, more caramel-like flavor, or a touch of honey or maple syrup, which can also affect the moisture content and texture of the dough. The sugar also feeds the yeast, helping it to activate and produce carbon dioxide, which makes the dough rise.
Yeast Basics: Activating Yeast
Yeast is the leavening agent that makes your hot cross buns light and airy. Most easy hot cross bun recipes use active dry yeast or instant yeast. Active dry yeast needs to be activated in warm liquid (usually milk or water, around 105-115°F or 40-46°C) with a pinch of sugar for about 5-10 minutes until it becomes frothy.
Instant yeast can often be mixed directly with the dry ingredients, but checking its viability by dissolving it in warm liquid first is always a good practice, especially if you're unsure how old it is. A standard packet of active dry yeast (about 7 grams or 2 1/4 teaspoons) is typically enough to leaven a batch of 12-15 buns. If your yeast doesn't foam after activation, it's likely dead and you'll need a new packet.
Dried Fruits: Adding Texture and Flavor
Dried fruits are a quintessential addition to hot cross buns, providing bursts of sweetness and chewiness. Raisins, currants, and sultanas are the most traditional choices. A total of 100-150 grams of mixed dried fruit is usually a good amount for a batch.
For plumper, juicier fruits, you can soak them in warm water, tea, or even a little rum or orange juice for about 15-30 minutes before adding them to the dough. Remember to drain them thoroughly and pat them dry before incorporating them, as excess moisture can affect the dough's consistency.
Liquid Gold: The Role of Milk
Milk is typically used as the liquid base in hot cross buns, contributing to the dough's richness and softness. Whole milk is often preferred for its higher fat content, which results in a more tender crumb. You'll need about 200-250 ml of warm milk for this recipe.
The temperature of the milk is crucial, especially when activating yeast. It should be warm to the touch (around 105-115°F or 40-46°C) but not hot, as excessive heat can kill the yeast. Milk also contains lactose, a sugar that doesn't ferment, which contributes to the final sweetness and browning of the crust during baking.
Step-by-Step Guide to Baking the Best Hot Cross Buns
Baking perfect hot cross buns involves a series of steps, each contributing to the final delicious result. From preparing the dough to shaping and baking, following a clear process ensures success. Our easy hot cross bun recipe breaks down these steps into manageable stages, making the entire baking process enjoyable and rewarding.
Paying attention to details like dough consistency and proofing times is key. While baking can sometimes feel intimidating, especially when working with yeast, our guide is designed to build your confidence. We'll walk you through the visual cues and textures you should look for at each stage, ensuring you know exactly what to expect as your dough transforms from a sticky mass into beautiful, risen buns.
Preparing the Dough
The foundation of great hot cross buns is a well-prepared dough. This initial stage involves activating the yeast, combining the dry and wet ingredients, and kneading the dough until it develops elasticity. Taking the time to do these steps properly will result in a dough that rises beautifully and produces light, fluffy buns.
Proper kneading, whether by hand or with a stand mixer, is essential for developing gluten. Gluten networks trap the carbon dioxide produced by the yeast, allowing the dough to rise and create that desirable airy texture. Don't rush this process; it's a critical part of achieving the perfect crumb in your homemade hot cross buns.
Step 1: Activating the Yeast
Begin by warming your milk to the correct temperature, around 105-115°F (40-46°C). If it's too hot, it will kill the yeast; too cool, and the yeast won't activate properly. Pour the warm milk into a small bowl and stir in a pinch of sugar. Sprinkle the active dry yeast over the milk. Let it stand for 5-10 minutes. You should see a foamy layer form on the surface, which indicates the yeast is alive and active. If no foam appears, your yeast may be old or the milk temperature was incorrect; discard and start again with fresh yeast.
Step 2: Combining the Dry Ingredients
In a large mixing bowl, whisk together the all-purpose flour, sugar, salt, and spices (cinnamon, nutmeg, etc.). Adding salt directly to the yeast can inhibit its activity, so it's best to mix it with the flour first. Make a well in the center of the dry ingredients.
Step 3: Mixing the Dough to Perfection
Pour the activated yeast mixture and melted butter (cooled slightly) into the well in the dry ingredients. If your recipe includes an egg, whisk it into the yeast mixture before adding. Use a wooden spoon or a stand mixer with a dough hook attachment to mix everything together until a shaggy dough forms.
Once the ingredients are combined, turn the dough out onto a lightly floured surface (if kneading by hand) or continue mixing with the dough hook. Knead for about 8-10 minutes by hand, or 5-7 minutes in a stand mixer on medium speed, until the dough is smooth, elastic, and no longer sticky. It should pass the windowpane test – you should be able to stretch a small piece of dough thin enough to see light through it without tearing.
Step 4: First Proofing
Lightly grease a large bowl with oil or melted butter. Place the kneaded dough in the bowl, turning it to coat all sides. Cover the bowl tightly with plastic wrap or a clean kitchen towel. Place the bowl in a warm, draft-free place to rise. An oven with the light on is a good option. Let the dough proof for 1 to 1.5 hours, or until it has doubled in size. The exact time will depend on the warmth of your environment.
Shaping and Baking Your Homemade Hot Cross Buns
Once the dough has completed its first proof, it's time to incorporate the fruit, shape the buns, and prepare them for baking. This stage is where your homemade hot cross buns truly start to take their iconic form. Patience during the second proofing is just as important as the first.
Proper shaping ensures that the buns bake evenly and have a pleasant, uniform appearance. The traditional cross is applied just before baking, creating that distinctive mark. Baking at the correct temperature is crucial for achieving a golden-brown crust and a fully cooked, soft interior.
Step 5: Adding the Dried Fruit and Spices
After the first proof, gently punch down the dough to deflate it. Turn the dough out onto a lightly floured surface. Scatter the soaked and drained dried fruits and any additional spices (like extra cinnamon or citrus zest) over the dough. Gently knead the dough for just 1-2 minutes to evenly distribute the fruit throughout. Be careful not to over-knead at this stage, as it can break down the gluten structure you've worked to develop.
Step 6: Shaping the Buns
Divide the dough into equal portions. For 12 buns, each piece will be roughly 80-90 grams. The easiest way to get uniform buns is to weigh the dough. Shape each portion into a smooth, round ball. The best technique is to pull the edges of the dough underneath the ball, creating tension on the surface, then cup your hand around the ball and roll it gently against the counter in a circular motion.
Arrange the shaped buns on a baking sheet lined with parchment paper, leaving about 1-2 inches of space between them. They will expand during the second proof and baking.
Step 7: Second Proofing
Cover the baking sheet loosely with plastic wrap or a clean kitchen towel. Return the buns to a warm, draft-free place for their second proofing. This usually takes about 30-45 minutes, or until the buns have increased in size by about 50-75% and look visibly puffy. They should be touching slightly or just about touching, as this helps them stay moist during baking. While they are proofing, preheat your oven and prepare the mixture for the crosses.
Step 8: Making the Crosses
Traditionally, the cross on hot cross buns is made from a paste of flour and water. In a small bowl, mix about 50 grams of plain flour with 3-4 tablespoons of water, adding water gradually until you have a thick, pipeable paste. The consistency should be like toothpaste – not too runny, or it will spread everywhere; not too stiff, or it will be hard to pipe.
Spoon the paste into a piping bag fitted with a small plain nozzle, or use a small zip-top bag and snip off a tiny corner. Gently pipe a cross onto the top of each proofed bun. Pipe one line across, then another intersecting line. Be careful not to press down too hard on the delicate, proofed dough.
Step 9: Baking to Golden Perfection
Preheat your oven to 375°F (190°C) or 350°F (175°C) fan/convection. Once the oven is preheated and the crosses are piped, place the baking sheet in the oven. Bake the hot cross buns for 15-20 minutes, or until they are golden brown on top and sound hollow when tapped on the bottom. The internal temperature should register around 190-200°F (88-93°C) on an instant-read thermometer.
Keep an eye on them during the last few minutes of baking to ensure they don't over-brown. If they are browning too quickly, you can loosely tent the baking sheet with aluminum foil.
Glazing and Serving Your Delicious Hot Cross Buns
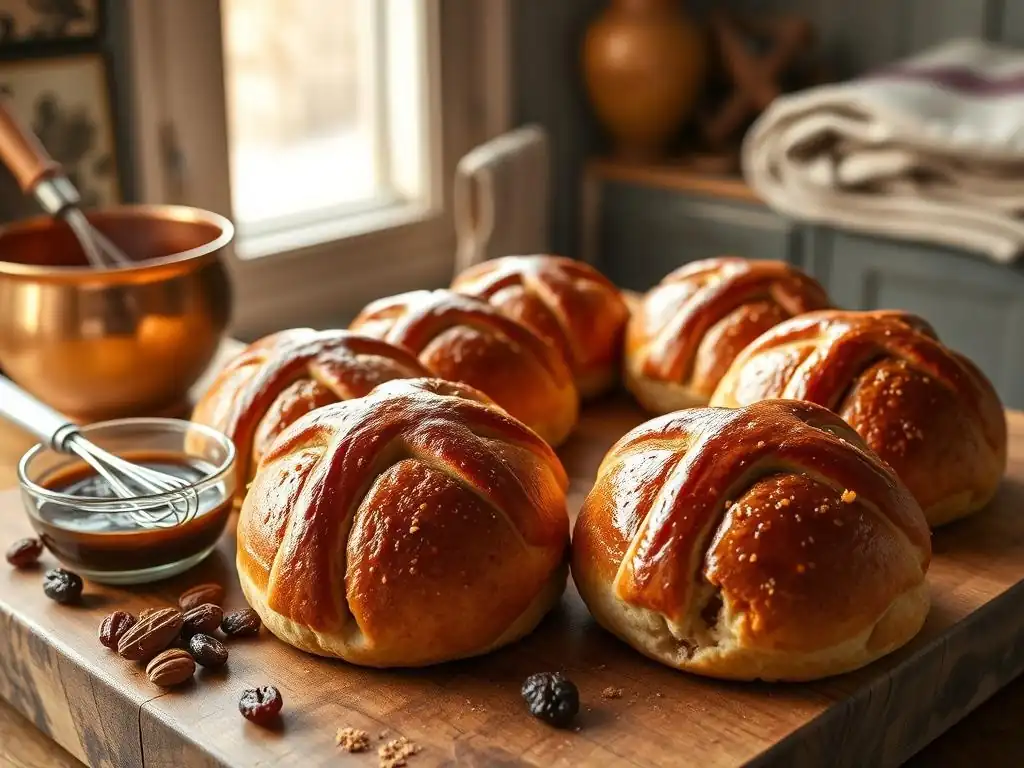
The final touch for classic hot cross buns is a glossy glaze brushed over the tops immediately after baking. This not only adds a touch of sweetness but also gives the buns a beautiful shine and helps keep them moist. Preparing the glaze is simple and takes just a few minutes while the buns are still hot from the oven.
Serving warm hot cross buns is part of the joy of this easy hot cross bun recipe. Whether they're enjoyed simply with butter or as part of a larger spread, their warm spices and soft texture are incredibly comforting. We'll share some traditional and creative ways to enjoy your freshly baked creations and tips for storing any leftovers.
Preparing the Glaze: A Sweet Finishing Touch
A simple glaze is essential for that classic hot cross bun look and taste. This step happens right after the buns come out of the oven, while they are still hot, allowing the glaze to soak in slightly and create a beautiful sheen as it cools.
The most common glaze is made from sugar and a liquid, heated until the sugar dissolves. This creates a sweet syrup that sets into a slightly sticky, shiny coating. It takes minimal effort but makes a significant difference in the final presentation and flavor of your homemade hot cross buns.
Simple Glaze Recipe
While your hot cross buns are baking, prepare a simple sugar glaze. In a small saucepan, combine 50 grams of granulated sugar with 50 ml of water or milk. Heat gently over medium heat, stirring constantly, until the sugar has completely dissolved and the mixture is clear. You can also add a splash of vanilla extract or a little orange juice for extra flavor.
As soon as the buns come out of the oven, while they are still on the hot baking sheet, generously brush the warm glaze over the tops of each bun using a pastry brush. Be sure to get an even coating. The glaze will look quite wet at first but will set as the buns cool, leaving a lovely shine.
Glaze Alternatives
If you prefer a different kind of finish, there are several glaze alternatives. A simple melted apricot jam glaze is very traditional; gently heat about 2-3 tablespoons of apricot jam with a tablespoon of water until runny, then strain it to remove any fruit pieces before brushing onto the hot buns. This gives a slightly more fruity flavor and a beautiful deep shine.
Another option is a simple powdered sugar glaze (icing). Whisk together about 100 grams of powdered sugar with 1-2 tablespoons of milk or water until smooth and drizzle-able. This glaze is typically applied after the buns have cooled slightly, as it doesn't soak in like the hot sugar syrup. It results in a sweeter, opaque finish.
Serving and Enjoying Your Freshly Baked Hot Cross Buns
The best way to enjoy your homemade hot cross buns is warm, straight from the oven or gently reheated. The warmth enhances the aroma of the spices and makes the texture incredibly soft. Allow them to cool slightly on the baking sheet for about 5-10 minutes before transferring them to a wire rack to cool further.
Serving these delightful pastries is part of the tradition. They are perfect for sharing during Easter brunch, serving with afternoon tea, or simply enjoying as a comforting snack. The soft, spiced dough with bursts of sweet fruit makes them satisfying on their own, but they are also wonderful with simple accompaniments.
Serving Suggestions
Serve your warm hot cross buns split in half and generously buttered. The melting butter seeps into the soft crumb, creating a truly indulgent bite. They are also delicious toasted, though be mindful of the glaze which can become sticky when heated.
For a special treat, serve them with cream cheese, clotted cream, or a dollop of jam. Some people even enjoy them with a slice of cheese, a surprising combination of sweet and savory. A pot of tea or coffee is the perfect beverage pairing for these spiced buns.
Storing Your Hot Cross Buns
Hot cross buns are best enjoyed the day they are baked, when their texture is at its peak. However, they can be stored for 2-3 days at room temperature in an airtight container or wrapped well in plastic wrap. Storing them helps prevent them from drying out.
To refresh slightly stale buns, you can warm them gently in a microwave for a few seconds or wrap them in foil and heat in a moderate oven (300°F/150°C) for 5-10 minutes. Baked hot cross buns can also be frozen for up to 2-3 months. Wrap individual buns tightly in plastic wrap, then place them in a freezer bag or container. Thaw at room temperature and warm before serving.
Tips and Tricks for Baking Perfect Hot Cross Buns Every Time
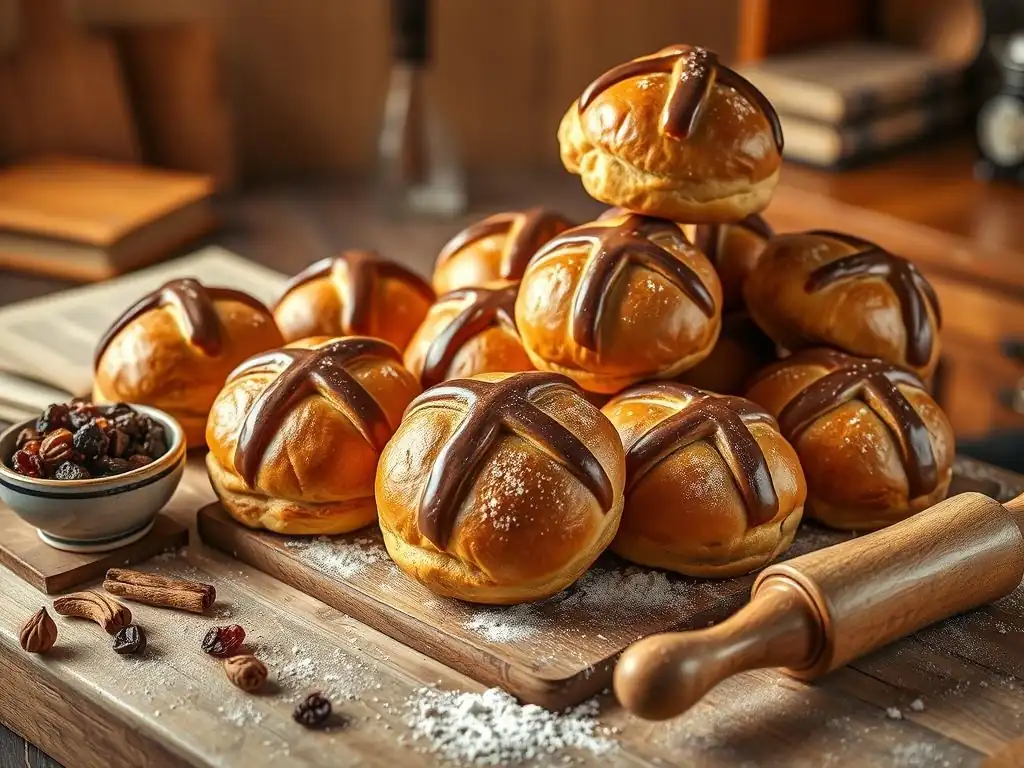
Even with an easy hot cross bun recipe, baking can sometimes present challenges. Understanding common issues and how to troubleshoot them can save you from disappointment and help you achieve perfect results consistently. From dough that won't rise to crosses that vanish during baking, we've got solutions for you.
Beyond troubleshooting, exploring variations allows you to customize your hot cross buns and cater to different tastes or dietary needs. This section provides practical advice to refine your technique and ideas for adapting the classic recipe, ensuring your homemade hot cross buns are always a success.
Troubleshooting Common Hot Cross Bun Problems
Encountering issues during baking is a normal part of the learning process. Yeast doughs, in particular, can be sensitive to temperature and handling. Here are some common problems you might face when using an easy hot cross bun recipe and how to fix them.
Don't be discouraged if your first batch isn't absolutely perfect. Baking is a skill that improves with practice. Identifying the potential cause of an issue, whether it's related to ingredient temperature, kneading time, or proofing environment, is the first step to mastering your hot cross bun recipe.
Dough Not Rising?
If your dough isn't rising, the most common culprit is inactive yeast. This could be because the yeast was old and no longer viable, or the liquid used to activate it was too hot (killing the yeast) or too cold (not activating it). Ensure your yeast is fresh and your liquid is within the recommended temperature range (105-115°F for active dry).
Another reason could be a cold proofing environment. Yeast is more active in warmth. Ensure your dough is in a warm, draft-free spot. If your kitchen is cool, try placing the bowl in a turned-off oven with just the light on, or in a warm (not hot) water bath. Insufficient kneading can also hinder rising, as the gluten structure isn't developed enough to trap gases.
Buns Too Dry?
Dry hot cross buns can result from several factors. Over-measuring the flour is a primary cause; always try to weigh your flour for accuracy. Baking for too long or at too high a temperature will also dry out the buns. Ensure your oven temperature is accurate (an oven thermometer can help) and check for doneness at the minimum recommended baking time.
Using milk with a lower fat content or not enough butter can also lead to a drier crumb compared to using whole milk and the specified amount of fat. Ensuring adequate proofing also contributes to moisture retention; under-proofed buns might bake up dense and dry. Brushing with the glaze immediately after baking helps lock in moisture.
Crosses Disappearing?
If your flour-and-water crosses seem to melt or disappear during baking, the paste was likely too thin. It needs to be thick enough to hold its shape in the heat of the oven. Add a little more flour to the paste mixture until it reaches a consistency similar to thick toothpaste.
Alternatively, some bakers prefer to make the crosses after baking. A simple icing made from powdered sugar and a little milk or water can be piped onto the cooled buns. This results in a bright white, more defined cross, though it's not the traditional method using a flour paste baked onto the bun.
Variations and Adaptations: Customize Your Hot Cross Buns
One of the joys of using an easy hot cross bun recipe is the ability to customize it. While the classic version is delicious, you can easily adapt the ingredients to create new flavor combinations or accommodate dietary restrictions.
Experimenting with different dried fruits, spices, or even adding chocolate can put a unique spin on this traditional treat. For those with dietary needs, there are ways to modify the recipe to make it gluten-free or vegan, ensuring everyone can enjoy homemade hot cross buns.
Chocolate Chip Hot Cross Buns
For a decadent twist, swap out some or all of the traditional dried fruits for chocolate chips. Use about 100-150 grams of good quality chocolate chips (dark, milk, or a mix). Add them to the dough at the same stage you would add the dried fruit (Step 5).
The chocolate will melt slightly during baking, creating pockets of gooey richness within the spiced dough. This variation is particularly popular with children and those who might not be fans of dried fruit.
Gluten-Free Hot Cross Buns
Creating gluten-free hot cross buns requires substituting the wheat flour with a gluten-free flour blend. Look for a blend designed for baking bread or enriched doughs, which often contains a mix of rice flour, tapioca starch, and potato starch, sometimes with added xanthan gum to mimic the elasticity of gluten. You will need approximately the same weight of gluten-free flour blend as the all-purpose flour (around 500 grams).
The dough handling might be slightly different, often stickier and less elastic. Proofing times can also vary. There are many specific gluten-free hot cross bun recipes available online that have been formulated and tested for this adaptation, and following one of those dedicated recipes is often the most reliable approach for successful gluten-free baking.
Vegan Hot Cross Buns
Making your hot cross buns vegan involves substituting the dairy milk and butter, and omitting any eggs. Use a plant-based milk such as almond, soy, or oat milk in place of dairy milk (use the same quantity). For butter, use a vegan butter substitute or margarine designed for baking.
If the recipe includes an egg, you can often omit it in enriched doughs, or use an egg replacer like a flax egg (1 tablespoon ground flaxseed mixed with 3 tablespoons water, let sit for 5-10 minutes until gelled) or a commercial egg substitute according to package directions. Ensure all other ingredients, like the dried fruit and sugar, are also vegan-friendly.
Conclusion: Enjoy the Taste of Spring with Your Hot Cross Bun Recipe.
Baking classic hot cross buns is a wonderful way to embrace the flavors and traditions of spring. Our easy hot cross bun recipe is designed to make this process accessible and enjoyable for bakers of all levels. By understanding the role of each ingredient and following our step-by-step guide, you can create soft, fragrant, and perfectly spiced buns right in your own kitchen.
The satisfaction of pulling a tray of warm, glossy, homemade hot cross buns from the oven is immense. Whether you stick to the classic version or experiment with variations like chocolate chips or a different glaze, these buns are sure to bring joy. So gather your ingredients, set aside some time, and embark on the rewarding journey of baking hot cross buns. Happy baking, and enjoy the delicious taste of spring!
Frequently Asked Questions
What makes this hot cross bun recipe "easy"?
This recipe focuses on simplified steps and readily available ingredients, making it perfect for beginner bakers. We've eliminated complex techniques often found in traditional recipes.
How long does it take to make these hot cross buns from start to finish?
The entire process, including proofing, takes approximately 3-4 hours. However, the active baking time is significantly less, around 1 hour.
Can I use different spices in my hot cross buns?
Absolutely! While the recipe suggests classic spices, feel free to experiment with nutmeg, allspice, or cardamom. Adjust the quantities to your preference.
What's the best way to store leftover hot cross buns?
Store them in an airtight container at room temperature for up to 2 days, or in the freezer for longer storage. Reheat gently before serving for the best fresh-baked taste.
Can I make these hot cross buns vegan?
Yes, you can! Substitute the butter with a plant-based butter, and the milk with plant-based milk. Also, ensure the cross paste is made with a vegan alternative to eggs.
Final Reflection: The Enduring Magic of a Simple Hot Cross Bun
The humble hot cross bun, a symbol of spring and new beginnings, remains surprisingly relevant in our fast-paced world. Its simple ingredients and comforting aroma offer a potent antidote to the stresses of modern life, reminding us of the power of tradition and the joy of shared experiences. More than just a delicious treat, baking hot cross buns connects us to generations past and fosters a sense of mindful creation in the present.
The enduring appeal of this seemingly simple recipe lies in its ability to transcend cultural boundaries and unite people through a shared culinary experience. It’s a recipe passed down through families, a tradition carried across continents, a testament to the power of food to connect us. Baking is at once child's play and adult joy. And love, of course.
– This sentiment perfectly captures the essence of creating these buns, transforming simple ingredients into something deeply meaningful.
Now, I invite you to consider the possibilities. Don't just bake these buns; experience them. Share the process with loved ones, savor the aroma filling your kitchen, and relish the taste of a tradition renewed. Let the simple act of baking hot cross buns be a reminder to slow down, appreciate the small things, and connect with the comforting rituals that enrich our lives. The recipe is just the beginning; the real magic lies in the making and the sharing.
Unleash Your Inner Baker: Craft the Perfect Hot Cross Buns!
Thanks for joining us on this baking adventure! We hope you gained some delicious inspiration and newfound confidence in tackling classic hot cross buns. Ready to take your baking skills to the next level?
- Bake a batch today! Use our recipe to create your own warm, spiced buns – the aroma alone is worth it! Don't forget to share a photo on social media and tag us!
- Experiment with variations: Try adding dried cranberries, chocolate chips, or even a citrus glaze to put your own unique spin on this recipe.
- Join our baking community: Share your baking experience and tips in the comments section below – let's learn from each other!
What creative twist will you add to your perfect hot cross buns?