
Simple Paska Bread Recipe for a Traditional Easter

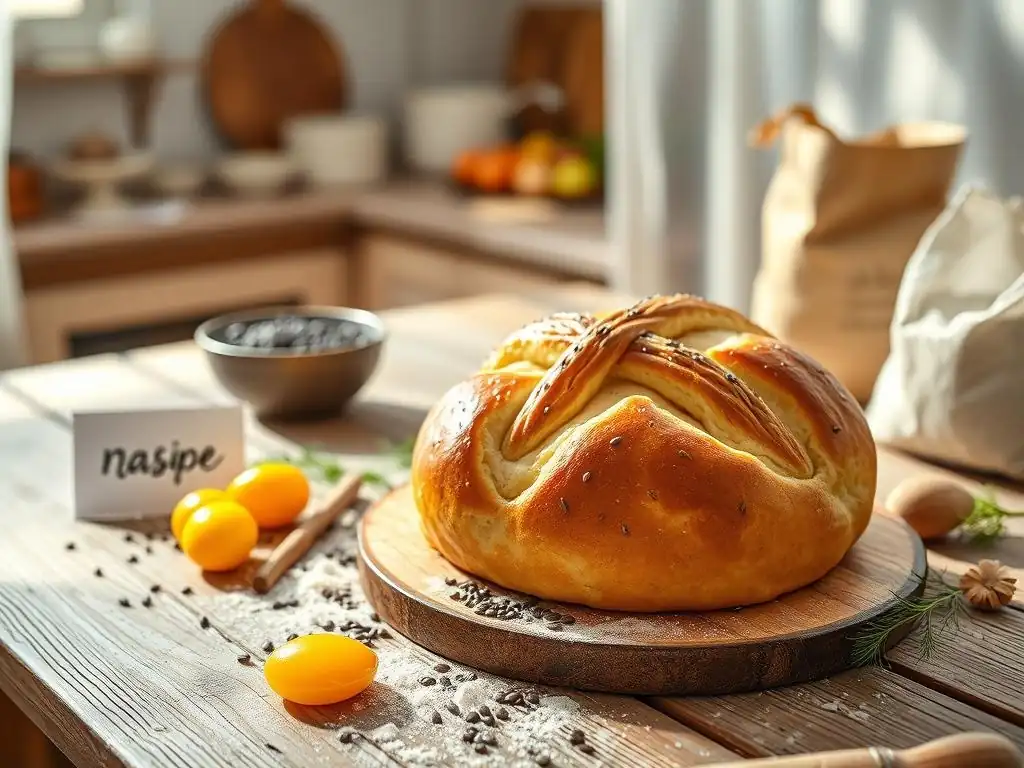
Welcome to BakeWithEase, your guide to delicious baking adventures! Ever dreamt of creating the perfect Easter celebration with a stunning, homemade paska bread? Discover the secrets to baking an easy traditional Easter paska bread recipe that will impress your family and friends, even if you're new to the world of yeast. Keep reading to unlock the simple steps and pro tips that guarantee a delicious and beautiful Easter treat!
- Ukrainian Paska Bread Recipe for Easter
- Introduction to Traditional Easter Paska Bread Baking
- Gathering Ingredients for Authentic Paska Bread
- Step-by-Step Guide: Baking Easter Paska Bread
- Creating the Paska Bread Topping and Decoration
- Tips and Tricks for Perfect Paska Bread
- Variations of Paska Bread Recipes
- Serving and Enjoying Homemade Easter Paska
- Conclusion: Mastering Easter Paska Bread
-
Frequently Asked Questions
- What exactly is Paska bread and why is it traditionally baked for Easter?
- Is this recipe truly "easy" for beginners to follow?
- Can I substitute any of the ingredients in this Paska bread recipe?
- How long does it take to make this Simple Paska Bread from start to finish?
- What is the best way to store leftover Paska bread to keep it fresh?
- Final Reflection: The Enduring Legacy of Paska
- Unleash Your Inner Baker: Make This Easter Unforgettable!
Ukrainian Paska Bread Recipe for Easter
Introduction to Traditional Easter Paska Bread Baking
What is Paska Bread and Its Significance for Easter?
Paska bread holds a deeply rooted significance in Eastern European culture, particularly as a central element of Easter celebrations. This rich, slightly sweet bread is much more than just a food item; it is a symbolic centerpiece, representing Christ's resurrection and blessing for the household.
Traditionally baked in a tall, round shape, paska is often decorated with symbolic dough ornaments like braids, crosses, and flowers, each carrying spiritual meaning. The process of baking paska is itself a cherished ritual, often involving prayers and a sense of reverence, making it a truly special part of the Easter tradition for many families.
The anticipation of baking and sharing easy traditional Easter paska bread is a highlight of the Lenten season. Families gather to prepare this special loaf, passing down techniques and stories through generations. On Easter Sunday, the paska is typically taken to church to be blessed as part of the Easter basket, which also includes other symbolic foods like pysanky (decorated eggs), ham, and cheese.
Sharing blessed paska with family and friends is a gesture of goodwill and a way to partake in the joy of the holiday. Its soft crumb and slightly sweet flavor make it a comforting and delicious part of the Easter feast.
A Simplified Paska Bread Recipe: Perfect for Home Bakers
Embarking on the journey of baking traditional Easter paska bread might seem daunting at first glance, given its rich history and intricate potential decorations. However, creating a beautiful and delicious paska at home is absolutely achievable, even for those new to enriched doughs. This simplified paska bread recipe focuses on clear steps and accessible techniques, breaking down the process into manageable stages from activating the yeast to achieving that signature golden-brown crust. Our aim is to provide a reliable guide that empowers home bakers to successfully create this meaningful Easter treat.
This easy paska bread recipe is designed with the home kitchen in mind, requiring standard baking equipment and readily available ingredients. We've streamlined some of the more complex traditional methods while retaining the essential characteristics that define a classic paska: a tender crumb, a subtle sweetness, and that distinctive aroma that fills the house as it bakes. By following this step-by-step guide, you can bring the warmth and tradition of homemade Easter paska to your own table, celebrating the holiday with a loaf baked with ease and love.
Gathering Ingredients for Authentic Paska Bread
Ingredients List for Homemade Easter Paska
To bake a wonderful homemade Easter paska, you'll need a selection of standard baking ingredients, along with a few that contribute to its rich flavor and texture. Below is a typical list for an easy traditional Easter paska bread:
- Active dry yeast or instant yeast (e.g., 2 ¼ teaspoons)
- Warm milk (around 105-115°F or 40-46°C, e.g., 1 ½ cups)
- Granulated sugar (e.g., ½ cup, plus a pinch for yeast)
- Large eggs (e.g., 3-4, plus 1 for egg wash)
- Unsalted butter, softened (e.g., ½ cup or 1 stick)
- Vanilla extract (e.g., 1 teaspoon)
- All-purpose flour (e.g., 4-5 cups, plus more for dusting)
- Salt (e.g., 1 teaspoon)
- Optional additions: Raisins, dried cranberries, lemon zest, orange zest (e.g., ½ cup total)
- For the glaze/topping: Powdered sugar, milk or lemon juice
Having all your ingredients measured and ready before you begin is a crucial step in ensuring a smooth baking process for your simple paska bread recipe. Enriched doughs like paska require precise ratios, and having everything laid out prevents last-minute scrambling. Pay attention to ingredient temperatures, especially the milk for activating the yeast and the softened butter, as these significantly impact the dough's development. Using room temperature eggs also helps them incorporate more evenly into the batter.
Understanding Ingredient Roles in Paska Bread
Each ingredient in an easy traditional Easter paska bread recipe plays a specific role in creating its unique characteristics. Flour provides the structure through gluten development; using all-purpose flour is common and accessible for home bakers. The milk, warmed, activates the yeast, which is the leavening agent responsible for the bread's rise and airy texture. Yeast consumes sugar and produces carbon dioxide, causing the dough to expand.
Eggs and butter are key to making paska an enriched dough. Eggs add richness, flavor, and help tenderize the crumb, while butter contributes to tenderness, moisture, and a beautiful golden crust. Sugar not only sweetens the bread but also feeds the yeast and helps with browning. Salt is vital for enhancing flavor and controlling yeast activity. Optional additions like raisins or citrus zest infuse the bread with extra flavor and aroma, making each bite of your homemade paska a delightful experience.
Sourcing Quality Ingredients for Paska
The quality of your ingredients directly impacts the final taste and texture of your simple paska bread. While you don't need specialty items for a great result, using fresh ingredients is recommended. Ensure your yeast is active – you can test it by dissolving it in warm milk with a pinch of sugar; it should become foamy within 5-10 minutes. Using fresh, good-quality butter will enhance the richness and flavor significantly compared to lower-quality or older butter.
When selecting flour for your easy paska bread, all-purpose is standard, but ensure it hasn't been sitting in your pantry for years; fresh flour yields better results. If adding dried fruits like raisins, plump them first in warm water or rum for about 15-20 minutes, then drain thoroughly. This prevents them from drawing moisture out of the dough during baking, resulting in a more tender loaf. Sourcing fresh lemons or oranges for zest will provide a more vibrant, fragrant aroma than dried zest.
Step-by-Step Guide: Baking Easter Paska Bread
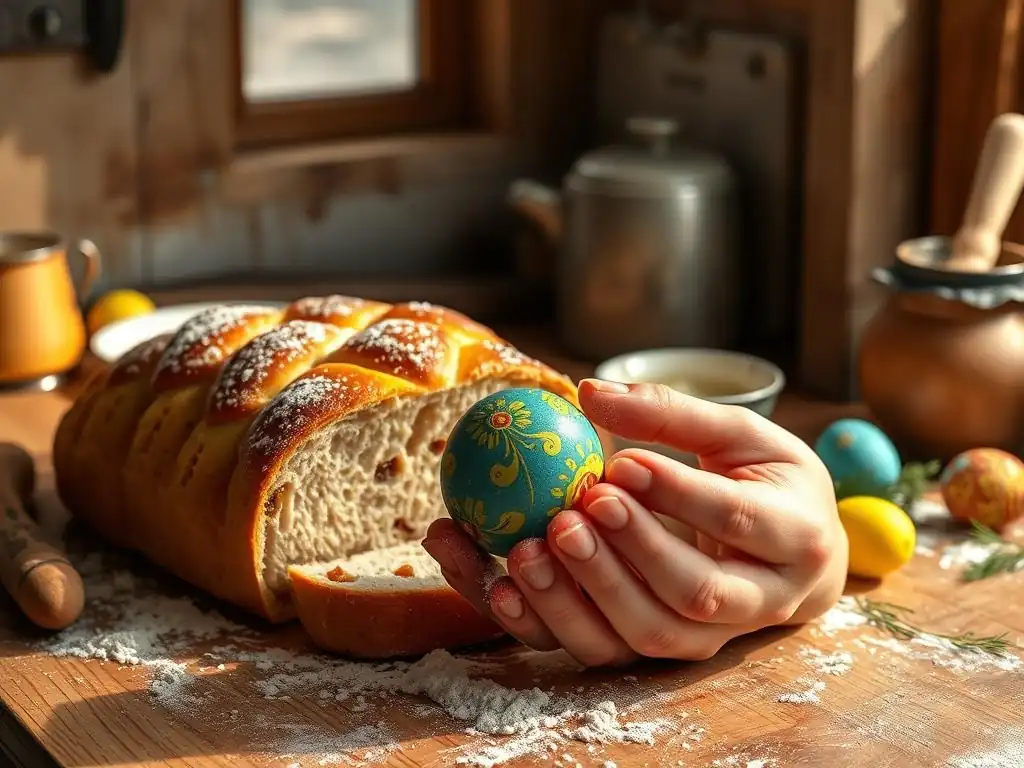
Preparing the Dough: A Paska Bread Dough Recipe
Making the dough is the foundation of a successful easy traditional Easter paska bread. Start by activating the yeast: in a large bowl, combine the warm milk, a pinch of sugar, and the yeast. Stir gently and let it sit for about 5-10 minutes until it is foamy, indicating the yeast is alive and ready. If it doesn't foam, your yeast may be old or the milk temperature was incorrect, and you should start this step over with fresh yeast.
In a separate bowl, whisk together the remaining sugar, softened butter, eggs, vanilla extract, and salt until well combined. Pour this mixture into the foamy yeast mixture. Gradually add the flour, about a cup at a time, mixing with a wooden spoon or a stand mixer fitted with a dough hook. Once the dough becomes too stiff to stir, turn it out onto a lightly floured surface and knead for about 8-10 minutes, or use a stand mixer on medium speed for about 6-8 minutes.
The dough should become smooth, elastic, and slightly sticky. If adding dried fruits or zest, knead them in during the last few minutes. This paska bread dough recipe yields a rich, manageable dough perfect for a tender loaf.
First Rise: Developing Flavor
The first rise, or bulk fermentation, is a crucial step where the dough develops flavor and texture. Lightly grease a large bowl with oil or melted butter. Place the kneaded paska dough in the bowl, turning it to coat all sides. Cover the bowl tightly with plastic wrap or a clean kitchen towel. Place the bowl in a warm, draft-free place. An oven with the light on (but the oven off) is an ideal spot, maintaining a temperature around 75-80°F (24-27°C).
Allow the dough to rise until it has doubled in size. This typically takes anywhere from 1 to 2 hours, depending on the temperature of your environment and the activity of your yeast. During this time, the yeast produces carbon dioxide, which expands the dough, and also creates beneficial acids and alcohols that contribute to the complex flavor profile of your homemade Easter paska. Don't rush this step; a proper first rise is essential for a light and airy final product.
Shaping the Paska: Traditional Designs
Once the dough has doubled, gently punch it down to release the air. Turn the dough out onto a lightly floured surface. Divide the dough into portions for the main loaf and any decorative elements. For a traditional round paska, you'll typically form the main portion into a smooth ball. Place this ball into a prepared baking pan – a round cake pan or a specially shaped paska pan are common.
Traditional paska decorations are usually made from a small portion of the dough (sometimes a simpler flour-and-water dough, but using the main dough is easier for a simple paska bread recipe). Common shapes include braids around the edge, crosses placed on top, or simple dough flowers and birds. Roll ropes of dough for braids, flatten and cut strips for crosses, or shape small pieces into petals for flowers.
Moisten the back of the decorations slightly with water before carefully placing them on top of the shaped dough in the pan. The specific designs can vary regionally, but the cross is a very common symbol on traditional Easter paska bread.
Second Rise: Ensuring a Light Texture
After shaping and decorating your easy paska bread, it needs a second rise, also known as proofing. This rise is shorter than the first but equally important for achieving a light and tender texture. Cover the shaped paska loosely with plastic wrap or a clean towel and place it back in a warm, draft-free spot.
Allow the paska to rise until it is visibly puffy and has increased in size by about 50-75%. This usually takes around 45 minutes to 1 hour. Be careful not to let it overproof, as this can cause the dough to collapse during baking. The dough should look airy and feel soft to the touch; gently pressing it should leave a slight indentation that slowly springs back. This second rise prepares the dough for its final expansion in the oven, known as oven spring.
Baking the Paska: Achieving a Golden Crust
Preheat your oven to the correct temperature for baking your easy traditional Easter paska bread, typically around 350°F (175°C). Baking time will depend on the size and shape of your loaf, but a standard-sized paska often takes between 35 and 50 minutes. To prevent the top decorations from browning too quickly, you may loosely tent the paska with aluminum foil partway through baking, perhaps after the first 15-20 minutes.
Bake the paska until it is deep golden brown on top and sounds hollow when tapped on the bottom. The internal temperature, checked with an instant-read thermometer inserted into the center of the loaf, should reach around 190-200°F (88-93°C). This ensures the bread is fully cooked through. Carefully remove the baked paska from the oven and immediately transfer it from the pan to a wire rack to cool completely. Allowing it to cool on a rack prevents the bottom from becoming soggy and ensures an even texture throughout your homemade Easter paska.
Creating the Paska Bread Topping and Decoration
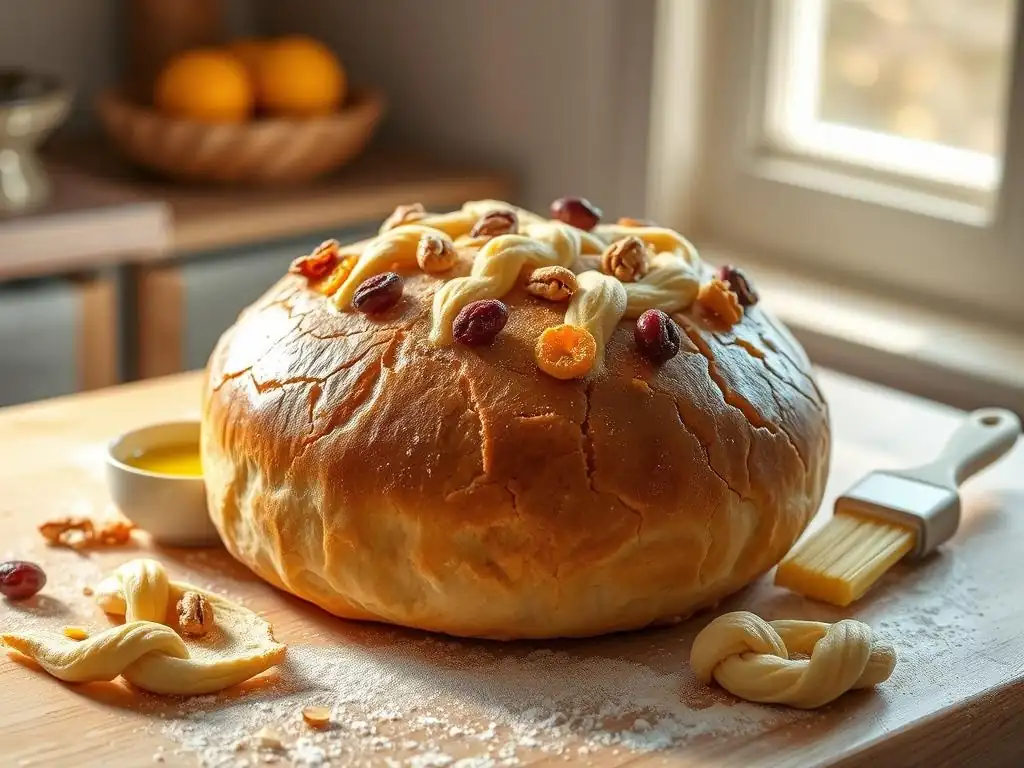
Preparing the Egg Wash for a Shiny Finish
An egg wash is a simple yet effective way to give your easy paska bread a beautiful, shiny, golden crust. Just before the shaped paska goes into the oven for baking, gently brush the entire surface, including any dough decorations, with an egg wash. A common egg wash consists of one large egg whisked with a tablespoon or two of milk or water.
The protein in the egg helps the crust brown beautifully, while the liquid helps to spread the wash evenly and contributes to the shine. Be careful not to let the egg wash pool in crevices, as this can create uneven patches. Apply a thin, even layer using a pastry brush. This step is essential for achieving the classic glossy finish seen on many traditional Easter paska loaves.
Making the White Icing for Paska
While some paska loaves are simply egg-washed, many are adorned with a simple white icing after baking and cooling. This icing adds a touch of sweetness and provides a canvas for sprinkles or other edible decorations. A basic paska icing is made by whisking together powdered sugar and a small amount of liquid.
Start with about 1 cup of powdered sugar in a bowl. Gradually add liquid, one teaspoon at a time, while whisking until you achieve a thick yet pourable consistency. The liquid can be milk, lemon juice, or even a clear spirit like rum or vodka (which evaporates). Lemon juice adds a pleasant tang that complements the sweet bread. You want the icing to be thick enough to coat the back of a spoon but thin enough to drizzle or spread smoothly over the cooled paska.
Decorating Your Paska: Traditional Symbols
Decorating the cooled paska with white icing and other elements is the final touch that makes it special for Easter. Once the paska is completely cool, drizzle or spread the prepared white icing over the top. You can let it drip down the sides for a rustic look or spread it neatly.
Traditional decorations often involve edible sprinkles, often colored sugar or nonpareils. Sometimes, more elaborate designs are created using candied fruits, nuts, or even small meringue kisses. If you used dough ornaments before baking, the icing and sprinkles can highlight these features. The act of decorating your homemade Easter paska can be a fun activity for the whole family, adding a personal touch to this meaningful holiday bread.
Tips and Tricks for Perfect Paska Bread
Troubleshooting Common Paska Baking Problems
Baking enriched dough like easy traditional Easter paska bread can sometimes present challenges, but most common issues are easily fixable or preventable. One frequent problem is dough that doesn't rise. This is usually due to inactive yeast (check the expiration date and test it first), milk that is too hot (which kills the yeast) or too cold (which inhibits it), or a cold environment for rising. Ensure your milk is warm (around 105-115°F) and your rising spot is warm and draft-free.
Another issue can be a dense or heavy paska. This is often caused by not kneading the dough enough (gluten needs to develop for structure) or not allowing the dough to rise sufficiently during both the first and second rises. Make sure you knead until the dough is smooth and elastic and let it double in size during the first rise. If the crust browns too quickly before the inside is cooked, tent the loaf loosely with foil during baking.
Achieving the Perfect Crust and Texture
A perfect easy paska bread should have a beautiful golden-brown crust and a soft, tender, slightly rich interior crumb. To achieve the golden crust, don't skip the egg wash before baking. Baking at the correct temperature is also key; if the oven is too hot, the crust can burn before the inside is cooked, and if it's too cool, the crust might be pale.
For the ideal tender texture, ensure your dough is properly kneaded to develop gluten, but not overworked. The enrichment from eggs and butter naturally makes the crumb soft. Allowing sufficient rising time is also critical; well-risen dough will produce a lighter loaf. Avoid adding too much flour during kneading, as this can result in a dry, tough bread. The dough should be slightly sticky but manageable after kneading.
Storing Your Paska Bread to Maintain Freshness
Proper storage is essential to keep your delicious homemade Easter paska fresh and moist. Once the paska has cooled completely on a wire rack, wrap it tightly in plastic wrap, then place it in a large zip-top bag or an airtight container. This prevents it from drying out.
Stored at room temperature, paska will typically stay fresh for 2-3 days. For longer storage, you can freeze paska. Slice the cooled loaf (or freeze it whole if preferred), wrap the slices (or loaf) tightly in plastic wrap, and then wrap again in aluminum foil or place in a freezer-safe bag. Frozen paska can last for several months. Thaw slices at room temperature or pop them directly into a toaster. Thaw a whole loaf wrapped at room temperature for several hours.
Variations of Paska Bread Recipes
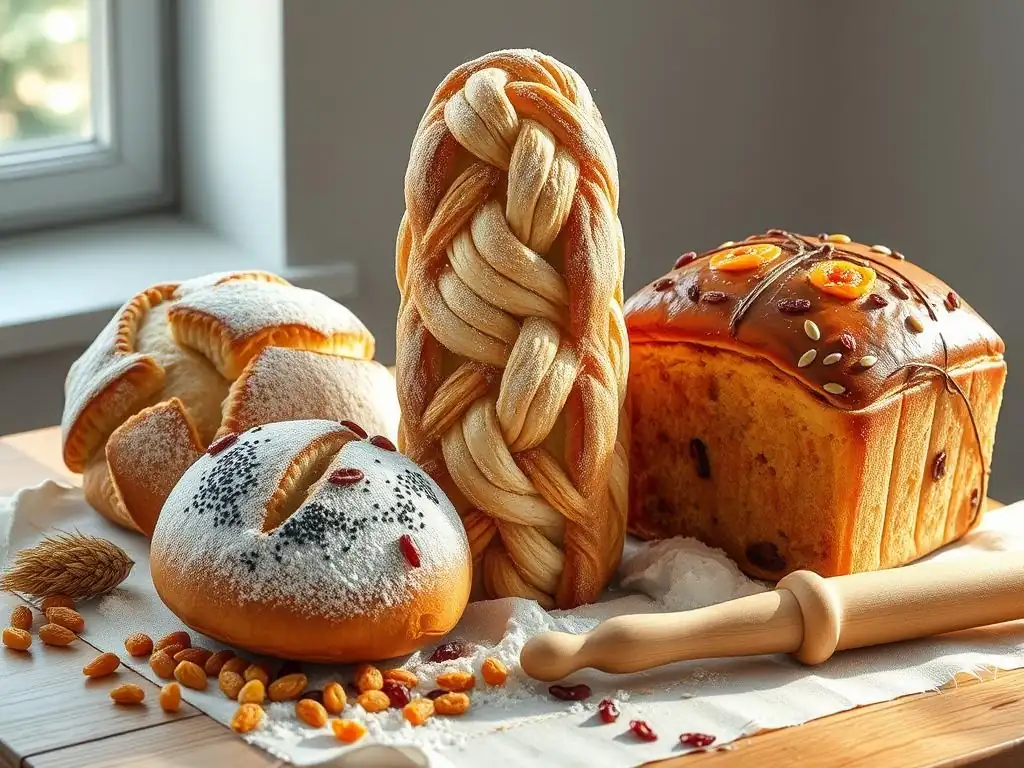
Exploring Different Paska Bread Flavors [Raisins, Saffron]
While a simple paska bread recipe is delicious on its own, traditional variations often include additions that enhance its flavor and aroma. Raisins or dried cranberries are perhaps the most common additions, folded into the dough during the final stages of kneading. For about a standard loaf, ½ to 1 cup of plumped raisins or cranberries works well.
Another traditional flavoring, particularly in certain regions, is saffron. A small pinch of saffron threads, steeped in warm milk or water before being added to the dough, imparts a beautiful golden hue and a subtle, unique floral flavor. Other additions can include citrus zest (lemon or orange), vanilla bean seeds, or even a splash of rum or brandy. These variations allow you to customize your easy traditional Easter paska bread to your personal taste preferences.
Adapting the Recipe for Dietary Needs
While traditional easy paska bread recipes are rich with eggs, dairy, and wheat, it is possible to adapt them for certain dietary needs, although the texture and flavor may differ from the classic version. For a dairy-free paska, you can substitute the milk with a plant-based milk alternative like almond or soy milk and use a plant-based butter substitute.
Creating a gluten-free paska is more challenging, as gluten is crucial for the structure of this type of enriched bread. It would require using a blend of gluten-free flours and possibly additional binders like xanthan gum. Egg allergies are also difficult to substitute in such an egg-rich dough, but egg replacers might be explored for simpler versions. Keep in mind that significant substitutions will result in a bread that is structurally and texturally different from a traditional Easter paska.
Regional Variations of Easter Paska
The concept of a special Easter bread is widespread across Eastern Europe, and while "paska" is the common name in Ukraine, similar breads exist with regional variations. For instance, in Poland, a similar bread is called babka wielkanocna, which can be taller and often baked in a fluted pan. Russian Easter bread, kulich, is also very similar to paska, typically cylindrical and often topped with thick white icing and colorful sprinkles.
Moldovan and Romanian Easter bread, pasca, is distinct as it often features a sweet cheese filling in the center, sometimes flavored with raisins or rum, and is baked in a round shape with dough decorations. Greek Easter bread, tsoureki, is a braided bread often flavored with mahleb and mastic, and traditionally includes red-dyed eggs baked into the braids. Exploring these regional variations highlights the diverse culinary traditions centered around celebrating Easter with a special, symbolic loaf, each offering its own take on easy traditional Easter paska bread.
Serving and Enjoying Homemade Easter Paska
Traditional Ways to Serve Paska Bread
Traditionally, easy paska bread is served as part of the Easter breakfast or brunch, following the midnight liturgy or morning service. It is often the first food eaten after the Lenten fast. The loaf that was blessed at church is brought home and placed on the table, often alongside other blessed foods from the Easter basket.
Serving paska is simple – it is typically sliced and enjoyed as is, appreciating its soft texture and slightly sweet flavor. It can be eaten plain, or sometimes spread with butter. In some traditions, a slice of paska might be eaten with a piece of cheese or meat from the Easter basket. The act of sharing the blessed paska with family members is a significant part of the ritual, symbolizing unity and the breaking of the fast together.
Pairing Suggestions: What to Eat with Paska
Beyond being eaten plain, homemade Easter paska pairs wonderfully with a variety of foods commonly found on the Easter table. For breakfast or brunch, it's delicious alongside scrambled eggs, ham, sausages, or smoked fish. Its slight sweetness complements savory items nicely.
Paska also works well with dairy products like butter, cream cheese, or various types of farmer's cheese. A slice with butter and perhaps a sprinkle of salt is a simple yet satisfying combination. For a sweeter take, it can be served with jam, honey, or even a smear of sweetened ricotta cheese. Don't hesitate to enjoy your easy paska bread with coffee or tea – it's a perfect accompaniment to your morning or afternoon beverage during the holiday.
Sharing homemade Easter paska is a central part of the holiday's spirit of generosity and community. Baking multiple loaves to give to family, friends, and neighbors is a common practice. A loaf of easy traditional Easter paska bread makes a thoughtful and meaningful gift, representing good wishes and a share in the Easter joy.
In many communities, particularly those with strong Eastern European roots, families will exchange paska loaves. This sharing reinforces bonds and celebrates the collective joy of the resurrection. Bringing your beautifully baked and decorated paska to a family gathering or a potluck is a wonderful way to contribute to the festive table and share the fruits of your labor and tradition.
Conclusion: Mastering Easter Paska Bread
Celebrate Easter with a Paska Recipe
Baking an easy traditional Easter paska bread is a rewarding experience that connects you to a rich cultural and spiritual heritage. Following a simple paska bread recipe allows home bakers of all skill levels to create this symbolic loaf, bringing its warmth, aroma, and meaning into their homes. From gathering the ingredients to the final decorative touches, each step is an opportunity to engage with a cherished tradition and create something truly special for the holiday.
Successfully baking your first homemade Easter paska is a wonderful achievement. It's a tangible way to celebrate the holiday, share with loved ones, and perhaps even start a new family tradition. Don't be discouraged if your first attempt isn't perfect; like any baking skill, mastering paska takes practice. The joy is in the process and the sharing of this meaningful bread.
Further Baking Adventures: Explore More Easter Recipes
Having mastered the art of making easy paska bread, you might feel inspired to explore other traditional Easter and spring baking recipes. Many cultures have special treats for this time of year, ranging from simple cookies and cakes to more elaborate pastries.
Consider trying your hand at baking hot cross buns, often enjoyed on Good Friday, or perhaps a delicate lemon loaf or poppy seed roll that fits the spring theme. Exploring regional variations of paska itself, like kulich or babka, can also expand your baking repertoire. The world of Easter baking is vast and full of delicious possibilities, offering plenty of ways to continue your baking adventures beyond this traditional Easter paska bread.
Frequently Asked Questions
What exactly is Paska bread and why is it traditionally baked for Easter?
Paska bread is a sweet, enriched bread traditionally baked for Easter in Eastern European countries. It symbolizes the resurrection of Jesus and the abundance of life after the Lenten season.
Is this recipe truly "easy" for beginners to follow?
Yes! BakeWithEase prides itself on simplified instructions and readily available ingredients. The recipe breaks down each step to ensure even novice bakers can create a delicious Paska.
Can I substitute any of the ingredients in this Paska bread recipe?
While following the recipe closely is recommended, some substitutions are possible. For example, you could use different dried fruits or vary the citrus zest. However, be mindful of how changes affect the final texture and flavor.
How long does it take to make this Simple Paska Bread from start to finish?
The entire process, including prep time, proofing, baking, and cooling, will take approximately 4-5 hours. Most of this time is passive, allowing the dough to rise.
What is the best way to store leftover Paska bread to keep it fresh?
Wrap the cooled Paska bread tightly in plastic wrap or place it in an airtight container. It can be stored at room temperature for 2-3 days or frozen for longer storage.
Final Reflection: The Enduring Legacy of Paska
The simple act of baking Paska bread transcends mere culinary creation; it's a powerful connection to heritage, a celebration of tradition, and a testament to the enduring spirit of Easter. This recipe, designed for ease of access and execution, aims to bring the joy of this beautiful bread to a wider audience, ensuring that the rich symbolism and delicious taste of Paska remain a vibrant part of our celebrations.
The enduring appeal of Paska lies not just in its fluffy texture and sweet flavor, but in the generations of families who have passed down the recipe and the ritual of its making. It's a tangible link to our ancestors, a shared experience that binds us across time and distance. Food is symbolic of love when words are inadequate.
- Alan D. Wolfelt. This sentiment perfectly encapsulates the emotional weight and significance carried within each loaf of Paska, a silent testament to the love and care invested in its creation.
This Easter, I invite you to embrace the tradition. Don't be intimidated by the seemingly complex process; this recipe proves that creating a beautiful and meaningful Paska is achievable for everyone. Gather your family, roll up your sleeves, and experience the joy of baking this symbolic bread. Let the aroma fill your home, and let the sharing of this delicious treat strengthen the bonds of love and community. The legacy of Paska awaits you.
Unleash Your Inner Baker: Make This Easter Unforgettable!
Thanks for joining us on this delicious journey into the world of Paska bread! We hope you've gained valuable insights and inspiration for creating a truly special Easter celebration. Now it's time to put your newfound knowledge into action.
- Bake your own Paska: This is your chance to create a beautiful and flavorful Paska that will impress your family and friends. Follow the recipe closely, and don't be afraid to experiment with your own touches!
- Share your baking journey: Snap a picture of your Paska masterpiece and share it on social media using #BakeWithEasePaska – let's inspire each other!
- Explore other Easter recipes: Dive into our extensive recipe collection and discover more traditional and innovative treats to make your Easter feast truly unforgettable.
What unique twist will you add to your Paska recipe this year to make it truly your own?