
The Best Easy Recipe for Spring Cherry Pie

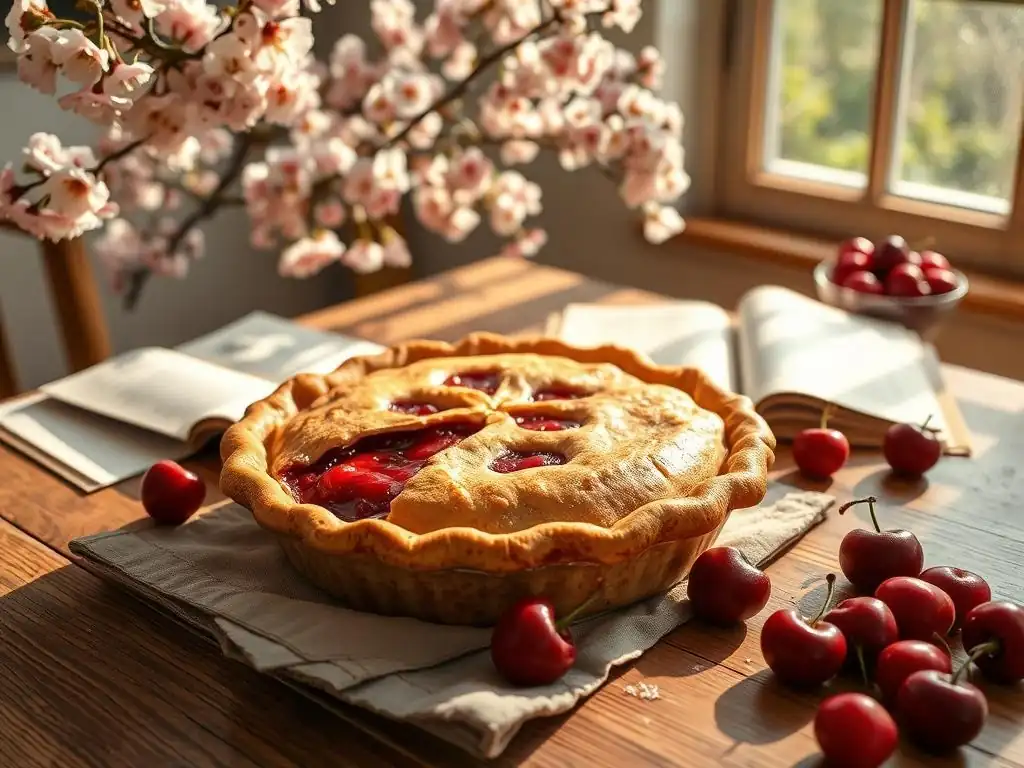
Welcome to BakeWithEase, your kitchen companion for all things baking! Ever dreamt of creating a show-stopping dessert with minimal fuss? Get ready to transform your kitchen into a spring paradise with our guide to crafting an Easy Spring Cherry Pie. But what makes our recipe truly effortless and bursting with flavor? Dive in to discover the secrets and bake your best pie yet!
- Introduction to Easy Cherry Pie Baking with BakeWithEase
- Gathering Your Ingredients for the Easiest Cherry Pie
- Step-by-Step Guide: Making Your Easy Cherry Pie
- Tips and Tricks for the Perfect Easy Cherry Pie
- Serving and Storing Your Spring Cherry Pie
- Troubleshooting Your Easy Cherry Pie
- More Spring Baking Recipes from BakeWithEase
- Frequently Asked Questions
- Final Reflection: A Slice of Spring, A Taste of Connection
- Unlock Your Inner Baker: Make This Spring Cherry Pie Today!
Introduction to Easy Cherry Pie Baking with BakeWithEase
Welcome Spring with a Simple Cherry Pie Recipe
As the days grow longer and the first blossoms appear, there's a natural urge to bring the freshness of spring into our kitchens. Few things capture this spirit quite like a vibrant, juicy cherry pie. Forget complicated techniques; this guide from BakeWithEase is designed to make baking a delicious easy spring cherry pie accessible and enjoyable for everyone, regardless of your experience level. We'll walk you through each step, ensuring you end up with a beautiful and utterly satisfying dessert that tastes like sunshine.
This particular recipe focuses on simplicity without sacrificing flavor or texture. We've streamlined the process to minimize fuss, making it the perfect project for a lazy spring afternoon or a quick treat for an impromptu gathering. Our goal is to demystify pie baking, proving that you don't need to be a pastry chef to create something truly wonderful right in your own home.
Why This Easy Cherry Pie is Perfect for Spring Baking
Spring is a season of renewal, and this easy cherry pie embodies that perfectly. It uses simple, readily available ingredients and requires minimal effort, allowing you more time to enjoy the blooming season. Unlike complex pastries that demand hours of chilling and intricate shaping, this recipe gets you from mixing bowl to warm pie relatively quickly. It's an ideal introduction to fruit pies for beginners, building confidence with a forgiving and delightful result.
Moreover, the bright, tart flavor of cherries is wonderfully refreshing after a long winter. While fresh cherries are fantastic when in season later in spring, this recipe is adaptable enough to use frozen or even canned cherries, making it a versatile easy spring baking project you can tackle anytime the craving strikes. Its cheerful red filling and golden crust make it a visually appealing centerpiece for any spring celebration, from Easter brunch to a simple backyard picnic.
Gathering Your Ingredients for the Easiest Cherry Pie
Choosing the Best Cherries: Freshness and Type
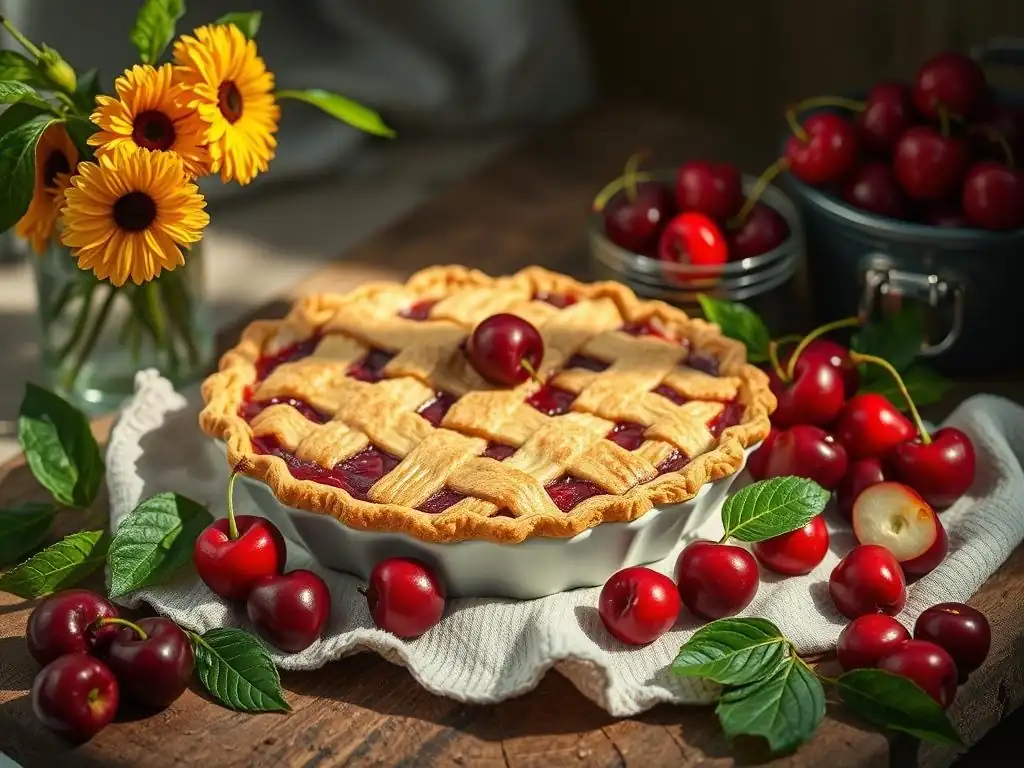
The heart of any cherry pie is, of course, the cherries! For a truly outstanding easy spring cherry pie, the type of cherry matters. Sour cherries, like Montmorency or Morello, are traditionally favored for pies because their tartness provides a perfect balance to the sugar. If using fresh sour cherries, you'll likely need about 6-7 cups (approximately 2-2.5 pounds) once pitted, which yields roughly 4-5 cups of prepared fruit. Sweet cherries, such as Bing or Rainier, can also be used, but you might need to slightly reduce the sugar in the filling to compensate for their natural sweetness.
If fresh sour cherries aren't readily available or in season yet, frozen sour cherries are an excellent substitute. Look for unsweetened varieties. You'll need a similar quantity, about 2-2.5 pounds (or 6-7 cups). It's generally recommended to thaw frozen cherries and drain off excess liquid before using them in the filling to prevent a watery pie. Canned sour cherries, packed in water or juice (not syrup), can also work in a pinch, but be sure to drain them very well and adjust sugar as needed.
The Perfect Pie Crust: Homemade vs. Store-Bought for Ease
For an easy spring cherry pie, the crust is where you can truly control the "easy" factor. While a homemade all-butter or shortening crust offers unparalleled flavor and flakiness, it requires time for chilling and careful handling. A basic homemade crust typically uses about 2.5 cups of flour, 1 cup of cold fat (butter, shortening, or a mix), and about 1/2 cup of ice water, making enough for a double-crust pie. The key is keeping ingredients cold and not overworking the dough.
However, for maximum ease, high-quality store-bought pie crusts are a perfectly acceptable and widely used option for an easy cherry pie. They save significant time and effort. You'll need two crusts for a standard double-crust pie (one for the bottom, one for the top). Look for brands that use simple ingredients and have good reviews for flakiness. Using a pre-made crust is a fantastic way to focus on mastering the filling first, making the entire process much less intimidating for a beginner baker tackling this easy spring cherry pie recipe.
Key Ingredients for a Delicious Cherry Pie Filling
Beyond the cherries, a few essential ingredients transform the fruit into that classic, glossy pie filling. Sugar is crucial for balancing the tartness of sour cherries; for 6-7 cups of sour cherries, you'll likely need somewhere between 1/2 cup and 1 cup of granulated sugar, depending on your preference and the cherries' tartness. A touch of almond extract (about 1/2 teaspoon) is a classic complement to cherries, enhancing their flavor profile beautifully.
To thicken the filling and prevent it from being too runny, you'll need a starch. Cornstarch, flour, or tapioca starch are common options. For approximately 6-7 cups of fruit, you might use 3-4 tablespoons of cornstarch or 4-5 tablespoons of all-purpose flour. Tapioca starch, often preferred by experienced pie bakers, can be used in similar quantities to cornstarch and tends to create a clearer, more glossy filling. A pinch of salt (about 1/4 teaspoon) helps to bring out all the flavors.
Step-by-Step Guide: Making Your Easy Cherry Pie
Preparing the Cherry Pie Filling: A Simple Method
Let's get started on this easy spring cherry pie! First, if using fresh or thawed frozen cherries, ensure they are well-drained. You can place them in a colander set over a bowl for about 15-30 minutes. This step is crucial for preventing a watery filling. Once drained, transfer the cherries to a large mixing bowl.
In the bowl with the cherries, add your chosen amount of sugar (starting with 3/4 cup is a good midpoint for sour cherries), your chosen thickener (like 3.5 tablespoons of cornstarch), the pinch of salt, and the 1/2 teaspoon of almond extract. Gently toss everything together with a spoon or spatula until the cherries are evenly coated. Let the mixture sit for about 10-15 minutes while you prepare your pie crust; this allows the sugar to start drawing out some juice from the cherries, which will then interact with the thickener.
Assembling the Cherry Pie: Crust and Filling Perfection
Preheat your oven to 375°F (190°C). If using a store-bought crust, unroll one crust and gently fit it into a standard 9-inch pie plate. Press it into the bottom and up the sides. If using homemade dough, roll out half of the dough into a circle large enough to fit the pie plate. Trim any excess dough, leaving about a 1-inch overhang.
Pour the prepared cherry filling evenly into the crust-lined pie plate. Dot the top of the filling with small pieces of butter (about 1-2 tablespoons total, cut into small cubes) – this adds richness and helps create a bubbly filling. For the top crust, you can use the second store-bought crust or roll out the remaining homemade dough. Options include laying the full circle over the top (cutting vents for steam), cutting strips for a lattice pattern (a classic look for an easy spring cherry pie!
), or using cookie cutters to create shapes. If using a full top crust, trim and crimp the edges to seal, then cut several vents (at least 4-5) in the top with a knife. If doing a lattice, arrange the strips and crimp the edges.
Baking Your Cherry Pie to Golden Perfection: Time and Temperature
To bake your easy spring cherry pie, place it on a baking sheet (this catches any drips and makes transport easier). Bake in the preheated oven at 375°F (190°C) for approximately 45-55 minutes. The exact time can vary based on your oven and the type of crust used.
You'll know your pie is done when the crust is a beautiful golden brown, and the filling is bubbling visibly through the vents or lattice openings. The bubbling indicates that the thickener has activated and the filling is cooked. If the crust edges start browning too quickly, you can loosely tent the pie with foil for the remaining baking time.
Once baked, carefully remove the pie from the oven and place it on a wire rack to cool completely. This cooling time, often 2-3 hours, is essential for the filling to set properly. Slicing too early can result in a runny pie.
Tips and Tricks for the Perfect Easy Cherry Pie
Preventing a Soggy Bottom Crust: Baking Techniques
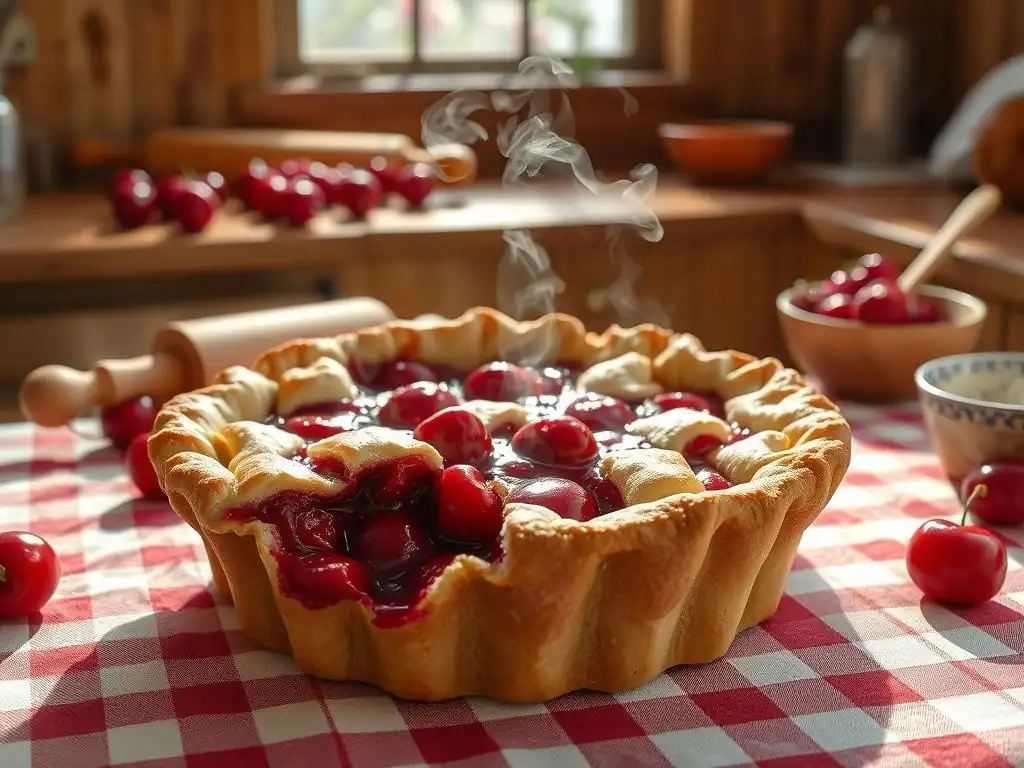
A soggy bottom crust is a common pie problem, but it's preventable, even in an easy spring cherry pie. One effective technique is called par-baking or blind baking the bottom crust. This involves partially baking the bottom crust before adding the filling. Fit the crust into the pie plate, prick the bottom all over with a fork, line it with parchment paper, and fill it with pie weights, dried beans, or rice.
Bake at 375°F (190°C) for about 15-20 minutes until the edges are set and slightly golden. Remove the weights and parchment, then bake for another 5-10 minutes until the bottom is lightly golden. Let it cool slightly before adding the filling.
Another simple tip is to brush the bottom crust with a thin layer of egg white or melted butter before adding the filling. This creates a barrier that helps seal the crust and prevent it from absorbing too much moisture from the cherries. Baking the pie on a preheated baking sheet or pizza stone can also help, as it provides direct heat to the bottom of the pie, encouraging it to crisp up quickly.
Achieving a Beautiful Golden-Brown Crust: Glazes and Toppings
A visually appealing, golden crust is the crowning glory of an easy spring cherry pie. Before baking, you can brush the top crust with an egg wash (one egg beaten with a tablespoon of water or milk) for a rich, glossy finish. This also helps lattice strips adhere better. For a simpler shine, a brush of milk or cream works well.
Sprinkling a little granulated sugar or coarse sugar (like turbinado or sanding sugar) over the top crust after applying the wash adds sparkle and a delightful crunch. This is especially effective on a lattice top or a full crust with vents. Some bakers also like to add a crumb topping instead of a full top crust; a simple mix of flour, sugar, butter, and perhaps some oats or nuts can be crumbled over the filling for a different texture and look.
Adding a Unique Twist: Variations on the Classic Cherry Pie
While the classic easy spring cherry pie is wonderful on its own, you can easily introduce variations to make it uniquely yours.
- Spice it up: Add a pinch of cinnamon, nutmeg, or even a tiny bit of cardamom to the cherry filling for warmth and complexity. About 1/4 teaspoon of cinnamon is a good starting point.
- Citrus brightness: A tablespoon of fresh lemon juice or a teaspoon of lemon zest added to the filling can brighten the cherry flavor beautifully, cutting through the sweetness.
- Nutty pairing: Incorporate finely chopped almonds or pecans into the filling or sprinkle them on top of the lattice before baking.
- Flavor boost: A splash of kirsch (cherry brandy) or a teaspoon of vanilla extract can deepen the flavor profile of the cherries.
These simple additions can take your easy spring cherry pie from great to unforgettable with minimal extra effort.
Serving and Storing Your Spring Cherry Pie
Serving Suggestions: Complementing Your Rhubarb Pie
A warm slice of easy spring cherry pie is delightful on its own, but pairing it with a complementary topping elevates the experience. The most classic accompaniment is a scoop of vanilla ice cream, which melts into the warm filling creating a heavenly contrast of temperatures and textures.
Other wonderful serving suggestions include a dollop of freshly whipped cream (sweetened or unsweetened) or a drizzle of custard sauce (crème anglaise). For something a little different, consider a scoop of almond or even pistachio ice cream, which pairs surprisingly well with cherry. A sprig of fresh mint or a few fresh cherries on the side can add a lovely visual touch and a burst of freshness. Remember, the pie needs to cool for several hours to set, so plan your serving time accordingly for the best texture.
Storing Leftover Cherry Pie: Maintaining Freshness
Proper storage is key to keeping your easy spring cherry pie delicious for as long as possible. Once cooled completely, cover the pie loosely with plastic wrap or aluminum foil. If storing at room temperature, it's generally best consumed within 1-2 days. Room temperature storage is fine due to the high sugar content, but keep it away from direct sunlight or heat sources.
For longer storage, or if your kitchen is warm, refrigerating the pie is advisable. Cover it tightly and store in the refrigerator for up to 3-4 days. The crust may soften slightly in the fridge.
To reheat a slice, you can warm it gently in a microwave for 20-30 seconds, or for a crispier crust, warm it in a toaster oven or conventional oven at about 300°F (150°C) for 10-15 minutes. Freezing a baked cherry pie is also possible; wrap it tightly in plastic wrap and then foil, and it can last for up to 3-4 months. Thaw overnight in the refrigerator and reheat as desired.
Troubleshooting Your Easy Cherry Pie
Common Cherry Pie Problems and How to Fix Them
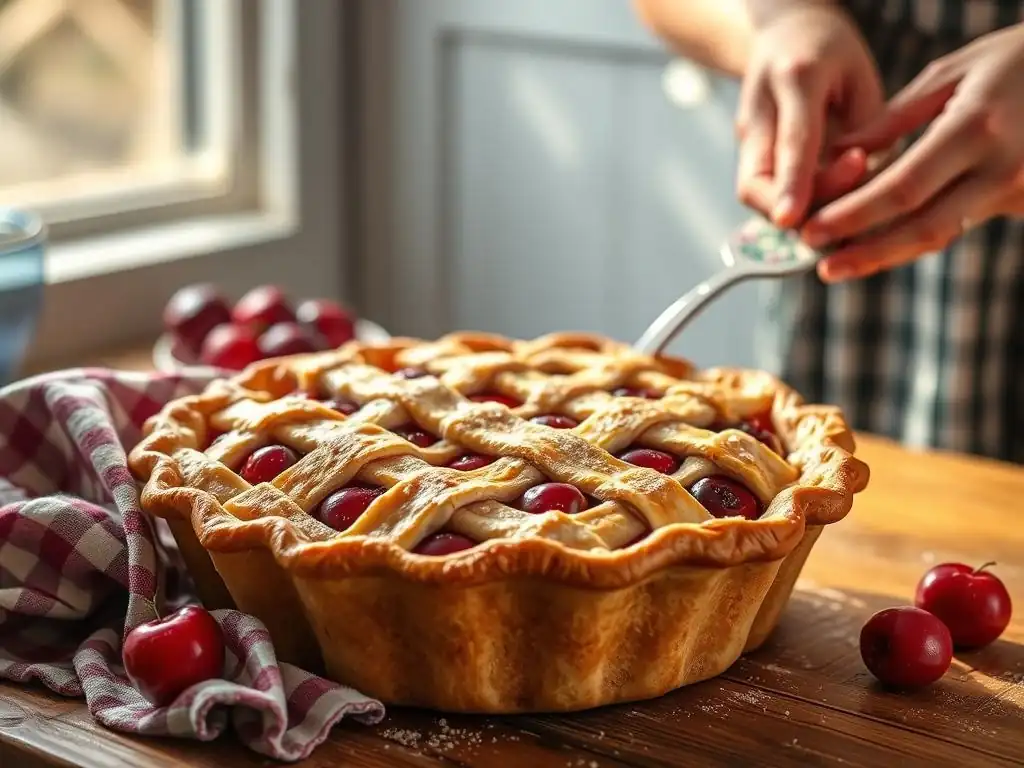
Even with an easy spring cherry pie recipe, baking can sometimes present challenges. Don't be discouraged! Here are a few common issues and simple fixes.
- Filling overflowing: This often happens if the pie is overfilled or not properly vented. Ensure you use the correct amount of filling for your pie plate size and cut ample steam vents in the top crust. Baking on a baking sheet catches drips.
- Uneven browning: Ovens can have hot spots. If one side is browning faster, rotate the pie halfway through the baking time. If the edges are browning too quickly, cover them with pie shields or strips of foil.
- Crust is pale: This could be due to insufficient baking time or temperature. Ensure your oven is calibrated correctly (an oven thermometer is helpful) and bake until the crust is truly golden brown, not just set. Using an egg wash also helps with browning.
Runny Filling: Solutions for a Perfect Consistency
A runny filling is perhaps the most common frustration with fruit pies, including an easy spring cherry pie. The primary culprit is usually insufficient thickener or not cooking the pie long enough for the thickener to activate. Ensure you measure your thickener accurately and use the correct amount for the quantity of cherries.
Another cause can be not properly draining fresh or thawed frozen cherries; excess liquid dilutes the filling. Make sure to let them drain well. Also, resist the urge to slice the pie while it's still hot or warm. The filling needs several hours of cooling time on a wire rack to set properly.
If sliced too early, even a perfectly thickened filling will seem runny. If your pie is still slightly runny after cooling, don't despair – it will still taste delicious, especially with ice cream! For future pies, slightly increase the thickener (e.g., use 4 tablespoons cornstarch instead of 3.5) or par-bake the bottom crust.
More Spring Baking Recipes from BakeWithEase
Easy Strawberry Shortcake Recipe
If you enjoyed making this easy spring cherry pie, you'll love exploring other simple springtime delights! Our Easy Strawberry Shortcake recipe is another perfect example of effortless baking that celebrates seasonal fruit. It features tender, slightly sweet biscuits baked from scratch (don't worry, they're surprisingly simple! ), piled high with macerated fresh strawberries and topped with a dollop of fluffy whipped cream.
This recipe uses common pantry staples like flour, sugar, butter, and milk, and comes together quickly. The biscuits bake in about 12-15 minutes, making it a fantastic last-minute dessert option. It's a versatile recipe too; you can swap strawberries for other berries or stone fruits as they come into season. It truly embodies the fresh, light flavors of spring and is a must-try after mastering your easy spring cherry pie.
Explore BakeWithEase for More Baking Inspiration
Ready to expand your baking repertoire beyond this delightful easy spring cherry pie? BakeWithEase.com is packed with simple, reliable recipes designed for bakers of all skill levels. Whether you're craving cookies, cakes, breads, or more pies, our extensive collection is here to inspire you.
We break down complex techniques into manageable steps, offer helpful tips and tricks, and provide ingredient guidance to ensure your baking success. From classic chocolate chip cookies to easy no-knead bread and seasonal treats like lemon bars and blueberry muffins, you'll find plenty of delicious projects to keep your oven warm. Visit BakeWithEase.com and discover your next favorite recipe!
Frequently Asked Questions
What makes this cherry pie recipe "easy"?
This recipe focuses on simple steps and readily available ingredients, avoiding complicated techniques. We prioritize ease of execution for bakers of all skill levels.
Can I use frozen cherries instead of fresh ones?
Yes, you can! Just be sure to thaw and drain them thoroughly before using. This prevents a soggy pie crust and ensures a better consistency.
What kind of pie crust is best for this recipe?
Our recipe is designed for store-bought pie crust for convenience. However, a homemade crust works beautifully too, if you prefer a more rustic touch.
How do I prevent the pie crust from burning?
Use a pie shield or strips of foil to cover the edges of the crust during baking. This will prevent over-browning while the filling cooks through.
How long should I let the cherry pie cool before slicing?
Allow the pie to cool for at least 2-3 hours before slicing. This allows the filling to set properly and prevents it from being runny when cut.
Final Reflection: A Slice of Spring, A Taste of Connection
The simple act of baking a cherry pie, especially one as easy as the recipe detailed above, transcends mere culinary creation; it becomes a potent symbol of springtime renewal and the enduring power of shared moments. In a world increasingly dominated by fast-paced living and digital distractions, the deliberate process of preparing this pie offers a welcome respite, a chance to reconnect with the natural rhythms of the season and the simple joys of creating something delicious with your own hands.
The influence of seasonal baking, and the specific joy of a perfectly ripe cherry pie, resonates deeply within our cultural landscape. It speaks to a fundamental human need for connection – whether that's the connection to nature through the use of fresh, seasonal ingredients, or the connection to loved ones through the sharing of a homemade treat. Food is symbolic of love when words are inadequate.
– Alan D. Wolfelt. This sentiment rings especially true when considering the comforting warmth and shared experience that a pie, baked with care, can bring.
Now, I invite you to consider this: What simple act of creation, like baking this spring cherry pie, could you incorporate into your own life to foster a deeper connection with yourself, your loved ones, or the natural world around you? Perhaps it's tending a small herb garden, painting a picture, or simply taking the time to savor a quiet moment in nature. Embrace the opportunity to find your own slice of spring, your own moment of connection, and let the simple act of creation nourish your soul as much as it nourishes your body.
Unlock Your Inner Baker: Make This Spring Cherry Pie Today!
Thanks for joining us on this delicious journey into spring baking! We hope you've gained some confidence and inspiration to create something truly special. Now, it's time to get those hands messy!
- Bake your own masterpiece! Gather your ingredients and follow the recipe – you'll be amazed at how simple it is. This is your chance to shine!
- Share your creation: Tag us on social media with a picture of your stunning cherry pie. We'd love to see your baking success!
- Explore other spring recipes: Discover more delightful recipes on our site – from vibrant cakes to refreshing cookies, there's something for every taste bud.
Ready to experience the joy of homemade cherry pie? What's your favorite spring baking ingredient? Let's chat in the comments!