
Essential Tools for Baking Beginner Quick Breads

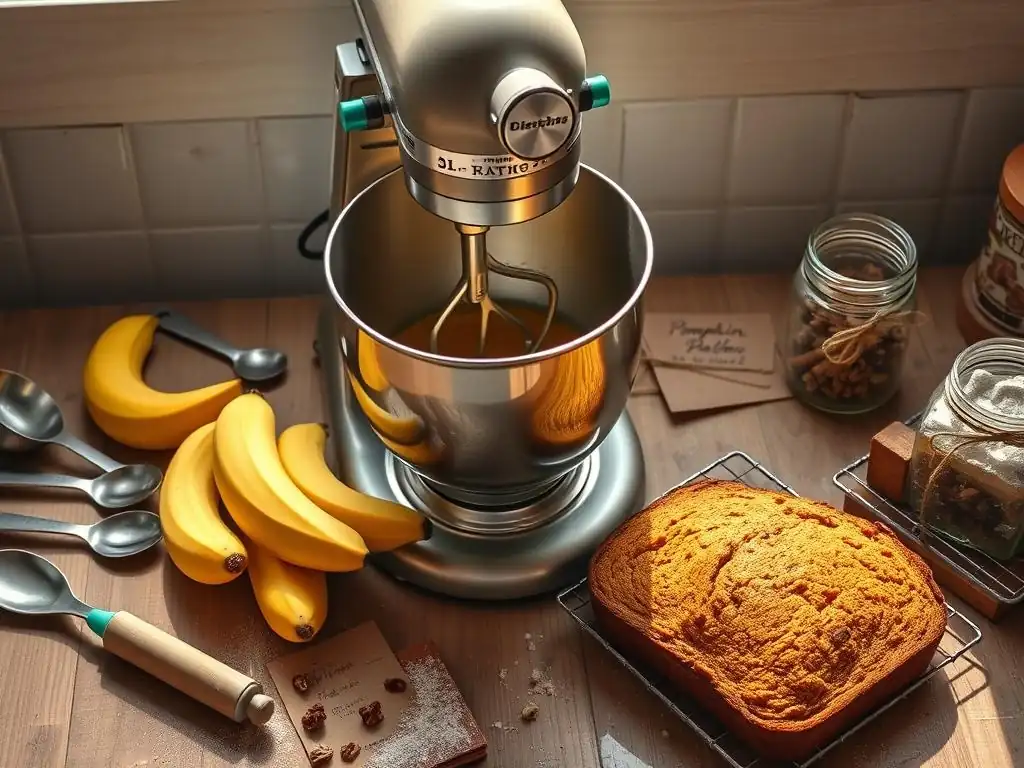
Welcome to BakeWithEase, your kitchen companion for confident baking! Ever wondered which baking tools are truly essential when starting out with beginner quick breads? We'll cut through the clutter and reveal the must-haves that will set you up for baking success, all while keeping things simple and delicious. Ready to unlock the secrets to effortless quick bread baking? Let's get started!
- Essential Baking Tools for Beginner Quick Breads
- Bake Quick Breads with Ease: Your Essential Tools Checklist
- Must-Have Mixing Bowls for Quick Bread Baking
- Measuring Cups and Spoons: Precision for Perfect Quick Breads
- Whisks and Spatulas: Essential Mixing Utensils for Quick Bread
- Baking Pans: Choosing the Right Pan for Your Quick Breads
- Oven Mitts or Pot Holders: Safety First in the Kitchen
- Cooling Rack: Preventing Soggy Bottoms
- Optional but Helpful Tools for Beginner Quick Bread Bakers
- Quick Bread Baking Tips for Beginners
- Mastering Quick Breads: Investing in Your Baking Journey
-
Frequently Asked Questions
- What are the most essential baking tools for a beginner starting with quick breads?
- Why is accurate measurement so important when baking quick breads?
- Can I substitute different types of flour when making quick breads?
- What is the best way to prevent quick breads from becoming dry?
- Are there any specific tips for preventing quick breads from sticking to the loaf pan?
- Final Reflection: The Sweet Simplicity of Baking's First Steps
- Unlock Your Inner Baker: Start Baking Today!
Essential Baking Tools for Beginner Quick Breads
Bake Quick Breads with Ease: Your Essential Tools Checklist
Embarking on the journey of baking quick breads is a fantastic way to build confidence in the kitchen. Unlike yeast breads that require kneading and rising time, quick breads rely on chemical leaveners like baking soda and baking powder, making them much faster and more forgiving. To set yourself up for success, having the right set of essential baking tools for beginner quick breads is key. Think of these tools as your allies in creating delicious muffins, loaves, scones, and more.
Having a well-equipped kitchen doesn't mean you need every gadget under the sun. For beginner quick bread baking, a few fundamental items will make a significant difference in the ease and outcome of your recipes. We'll walk through the absolute must-haves and some helpful additions that will elevate your quick bread game from the very first attempt. Let's gather our essential baking tools for beginner quick breads!
Must-Have Mixing Bowls for Quick Bread Baking
Mixing bowls are the heart of your quick bread operation – it's where all the magic happens as ingredients come together. Having the right size and material can make mixing easier, cleaner, and more efficient, which is crucial when you're starting out with baking tools beginner quick breads.
Choosing the Right Size Mixing Bowl for Beginner Bakers
Selecting the correctly sized mixing bowl prevents spills and provides adequate space to incorporate all ingredients thoroughly without overmixing, which is detrimental to quick bread texture. For most standard quick bread recipes, like a 9x5 inch loaf or a batch of 12 muffins, you'll likely need at least two bowls: one for dry ingredients and one for wet. A medium-sized bowl, roughly 2 to 3 quarts, is usually sufficient for whisking together dry components like flour, leavening, and salt.
For combining the wet ingredients and then mixing everything together, a larger bowl is essential. A 4-quart or even a 6-quart bowl offers ample room to mix the batter without it slopping over the sides. This extra space is particularly helpful when you're gently folding wet into dry ingredients, a common technique in quick bread recipes, ensuring everything is just combined. Using a bowl that's too small can lead to a messy process and potentially result in overmixing as you struggle to incorporate everything.
Material Matters: Selecting Your Quick Bread Mixing Bowls
Mixing bowls come in various materials, each with its own advantages for baking tools beginner quick breads. Stainless steel bowls are lightweight, durable, non-reactive, and easy to clean. They don't retain odors or colors, and their relatively non-porous surface makes them hygienic. However, they don't offer visibility into the mixing process from the sides.
Glass bowls, on the other hand, are heavier but offer excellent stability and allow you to see how well ingredients are being incorporated. They are also non-reactive, making them suitable for all ingredients, including acidic ones like buttermilk or citrus juice often found in quick breads. While durable, they are susceptible to breaking if dropped.
Plastic bowls are typically the most affordable and lightweight option, but they can sometimes retain odors or stains and may scratch over time. For a beginner, a set that includes a mix of sizes in stainless steel or glass is a solid investment for their essential baking tools for beginner quick breads.
Measuring Cups and Spoons: Precision for Perfect Quick Breads
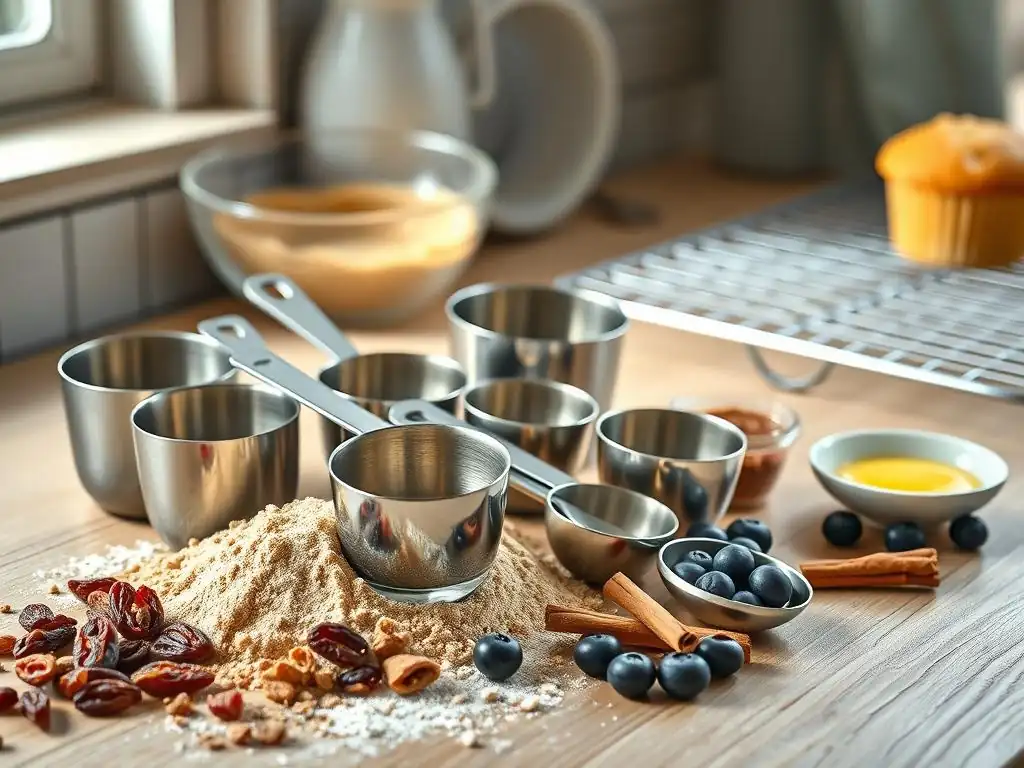
Accuracy is paramount in baking, and quick breads are no exception. While forgiving compared to some pastries, getting the measurements right ensures the proper balance of leavening, moisture, and structure. This makes precise measuring cups and spoons indispensable baking tools beginner quick breads.
Dry Ingredient Measuring Tools: Achieving Accuracy
Measuring dry ingredients correctly is a common stumbling block for beginners. Standard dry measuring cups come in sets, typically including 1/4 cup, 1/3 cup, 1/2 cup, and 1 cup. To measure flour accurately using volume cups, it's best to gently spoon the flour into the cup until it's overflowing, then level it off with a straight edge like the back of a knife or a bench scraper (more on that later). Packing flour into the cup can result in significantly more flour than needed, leading to a dense, dry quick bread.
Measuring other dry ingredients like sugar, baking powder, and baking soda also requires care. Granulated sugar can usually be scooped and leveled. Brown sugar should be packed firmly into the cup. For leavening agents like baking powder and baking soda, use the appropriately sized measuring spoon and level it off precisely; using too much or too little will directly impact the rise and texture of your quick bread. Standard measuring spoon sets usually include 1/4 teaspoon, 1/2 teaspoon, 1 teaspoon, and 1 tablespoon.
Liquid Ingredient Measuring Tools: Avoiding Spills and Mistakes
Liquid measuring cups are designed differently than dry ones – they have a spout for pouring and markings along the side, often with a little extra space above the highest measurement line to prevent spills when carrying. Common sizes are 1 cup, 2 cup, and 4 cup capacities. To measure liquids accurately, place the cup on a flat surface and bend down so your eye is level with the desired measurement line. Pour the liquid until the bottom of the meniscus (the curve of the liquid surface) reaches the line.
This eye-level method helps avoid errors that can occur if you hold the cup in your hand while measuring. For smaller amounts of liquid ingredients like vanilla extract or oil, you will use your measuring spoons, leveling off the liquid carefully to avoid drips and ensure the correct amount is added. Having a clear glass or plastic liquid measuring cup with easily readable markings is a fundamental part of your baking tools beginner quick breads collection.
Whisks and Spatulas: Essential Mixing Utensils for Quick Bread
Once your ingredients are measured, you need the right tools to bring them together. Whisks and spatulas are your primary mixing utensils for quick breads, each serving a distinct but vital purpose in creating the perfect batter. These are truly essential baking tools for beginner quick breads.
The Importance of a Good Whisk for Smooth Batters
A whisk is invaluable for incorporating dry ingredients evenly and for whisking together wet ingredients like eggs, milk, and oil until they are well combined. A standard balloon whisk, with its many wires, is effective at breaking up clumps in dry ingredients like flour or cocoa powder before they are added to the wet mixture. It's also excellent for lightly aerating eggs or ensuring that liquids like melted butter are fully emulsified with other wet ingredients.
When combining wet and dry ingredients, a whisk can be used initially to start bringing the batter together, but it's important not to overmix. A few quick strokes to roughly combine is often all that's needed before switching to a spatula, as overdeveloping the gluten in the flour will lead to a tough quick bread. A medium-sized whisk, about 10-12 inches long, is versatile enough for most quick bread recipes and is a must-have in your set of baking tools beginner quick breads.
Spatula Selection: Folding and Scraping Made Easy
Spatulas, particularly those made of rubber or silicone, are essential for finishing the mixing process and ensuring you don't waste any batter. A flexible spatula is perfect for gently folding the wet and dry ingredients together until just combined – this delicate action is key to a tender quick bread. Scraping down the sides and bottom of your mixing bowl periodically with a spatula ensures that no pockets of unmixed ingredients are left behind.
Beyond mixing, spatulas are also used for transferring batter into your prepared baking pan, smoothing the top, and scraping every last bit of delicious batter out of the bowl. Silicone spatulas are heat-resistant, non-reactive, and easy to clean, making them a superior choice over older rubber versions. Having a couple of different sizes, perhaps a smaller one for scraping jars and a larger one for bowl mixing, is highly recommended among your baking tools beginner quick breads.
Baking Pans: Choosing the Right Pan for Your Quick Breads
The pan you use is just as important as the ingredients you put in it. It dictates the shape, affects the baking time, and contributes to the crust and texture of your quick bread. Selecting the correct pan is a fundamental step when gathering your baking tools beginner quick breads.
Loaf Pans: The Go-To for Classic Quick Breads
The standard loaf pan is perhaps the most iconic pan for quick breads. A 9x5 inch (approximately 23x13 cm) loaf pan is the size called for in the vast majority of quick bread loaf recipes, from banana bread to zucchini bread. This size ensures that the batter fills the pan appropriately, allowing the bread to rise correctly and bake through evenly within the specified time. Using a pan that is too large will result in a flat, dry loaf, while a pan that is too small can cause the batter to overflow and result in a dense, underbaked center.
Metal loaf pans, particularly those made of aluminum or steel, are excellent conductors of heat, promoting even browning of the crust. Non-stick coatings are a popular feature, making it easier to remove the finished bread, although properly greasing and flouring (or lining with parchment paper) any pan is always a good practice. A sturdy, light-colored metal loaf pan is a core piece of equipment in your collection of baking tools beginner quick breads.
Muffin Tins: Perfect for Individual Quick Bread Portions
Muffin tins are incredibly versatile for quick breads, allowing you to bake individual portions like muffins, cupcakes, or even mini loaves if you have the right insert or pan type. A standard muffin tin has 12 cups, each holding about 1/3 to 1/2 cup of batter. This is ideal for quick grab-and-go treats or for controlling portion sizes. Muffin tins heat up relatively quickly due to their smaller size, resulting in shorter baking times compared to a full loaf.
Like loaf pans, muffin tins are typically made of metal, often with a non-stick coating. Using paper liners is common when baking muffins or cupcakes, which aids in removal and cleanup, though you can also grease and flour the cups directly. Ensuring your muffin tin is in good condition – not warped or heavily scratched – will contribute to evenly baked muffins, making it a valuable addition to your baking tools beginner quick breads.
Other Pan Options: Bundt Pans and More
While loaf pans and muffin tins are the most common, quick breads can be adapted to other pan types. Mini loaf pans, often baking several smaller loaves at once, are great for gifting or freezing individual portions. A standard mini loaf pan might have cavities around 3x5 inches. Bundt pans, with their decorative fluted shapes, can also be used for denser quick breads, though baking times may need adjustment.
Even square or round cake pans can sometimes be used for quick bread batters, resulting in a flatter, cake-like quick bread. For instance, some cornbread recipes call for an 8x8 inch square pan or a cast-iron skillet. As you become more comfortable with your essential baking tools for beginner quick breads, you might explore these other pan options to vary the shape and style of your baked goods. Always consult the specific recipe for the recommended pan size and type.
Oven Mitts or Pot Holders: Safety First in the Kitchen
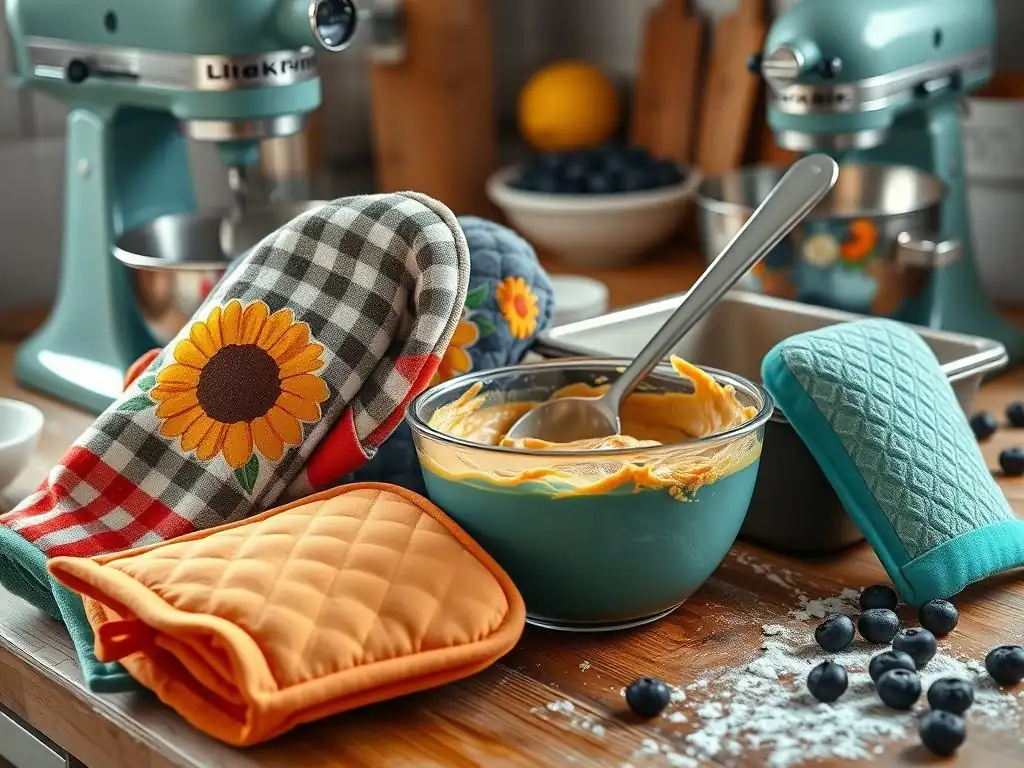
Safety should always be the top priority when working in the kitchen, especially when dealing with hot ovens and pans. Investing in reliable oven mitts or pot holders is non-negotiable and a fundamental part of your baking tools beginner quick breads, protecting you from painful burns.
Protecting Yourself from Burns While Baking Quick Breads
Quick breads are baked in a hot oven, typically between 325°F and 400°F (160°C to 200°C). Removing a hot loaf pan or muffin tin from this environment requires adequate protection for your hands and forearms. Oven mitts or pot holders create a thermal barrier between your skin and the hot surface of the pan or oven rack. Without them, even a brief touch can result in a severe burn that can sideline your baking activities for days or weeks.
It's also important to remember that steam escaping from the oven when you open the door can cause burns, as can accidentally brushing against the hot interior walls or racks. Using long oven mitts that cover part of your forearm offers extra protection against these common kitchen hazards. Always have your oven mitts ready and easily accessible before you open the oven door to check on or remove your quick bread.
Choosing Heat-Resistant Oven Mitts or Pot Holders
When selecting oven mitts or pot holders as part of your baking tools beginner quick breads, look for materials specifically designed for high heat resistance. Silicone mitts are popular because they offer excellent heat protection, are often waterproof (protecting against steam), and are easy to clean. Many silicone mitts are rated to withstand temperatures up to 500°F (260°C).
Fabric oven mitts, often made of thick cotton quilting or specialized heat-resistant fibers, are another option. Ensure they are thick enough and have multiple layers of insulation. Check the product specifications for the maximum temperature they can safely handle. Pot holders are generally smaller and used for gripping hot handles or placing hot pans on surfaces, while mitts offer more comprehensive protection for your hands and fingers. Having at least two good quality mitts or a combination of mitts and pot holders is essential for safe quick bread baking.
Cooling Rack: Preventing Soggy Bottoms
You've successfully baked your quick bread – it's golden brown and smells amazing! The next crucial step, often overlooked by beginners, is proper cooling. A cooling rack is a simple yet vital tool in your baking tools beginner quick breads collection that makes a significant difference in the final texture of your baked goods.
Why a Cooling Rack is Crucial for Quick Bread Texture
When a hot quick bread comes out of the oven, it's still retaining a lot of heat. If left in the pan, or placed directly on a solid surface like a countertop or cutting board, the bottom and sides can become steamy and soggy as condensation forms. This is because air cannot circulate around the bread to allow the heat and moisture to dissipate evenly.
Transferring your quick bread to a wire cooling rack allows air to circulate freely around the entire surface of the bread. This rapid cooling process stops the residual cooking from the retained heat in the pan and allows steam to escape, preventing that undesirable soggy bottom and promoting an even texture throughout the loaf or muffins. Cooling on a rack is essential for achieving the best possible crust and crumb for your quick breads.
Selecting the Best Cooling Rack for Your Baked Goods
Cooling racks come in various sizes and materials. Look for a sturdy wire rack, often made of chrome-plated steel or stainless steel. The grid pattern is important – ensure the wires are close enough together that your quick bread won't fall through, but wide enough to allow ample airflow. A common and versatile size for a cooling rack is around 10x16 inches, which can accommodate a standard loaf or a batch of muffins.
Some cooling racks have feet to elevate them higher off the counter, increasing airflow, which is beneficial. Others are flat grids. Consider getting a rack that is oven-safe if you ever want to use it for tasks like baking bacon or roasting vegetables, adding to its utility beyond just cooling quick breads. A reliable cooling rack is a simple but impactful addition to your essential baking tools for beginner quick breads.
Optional but Helpful Tools for Beginner Quick Bread Bakers
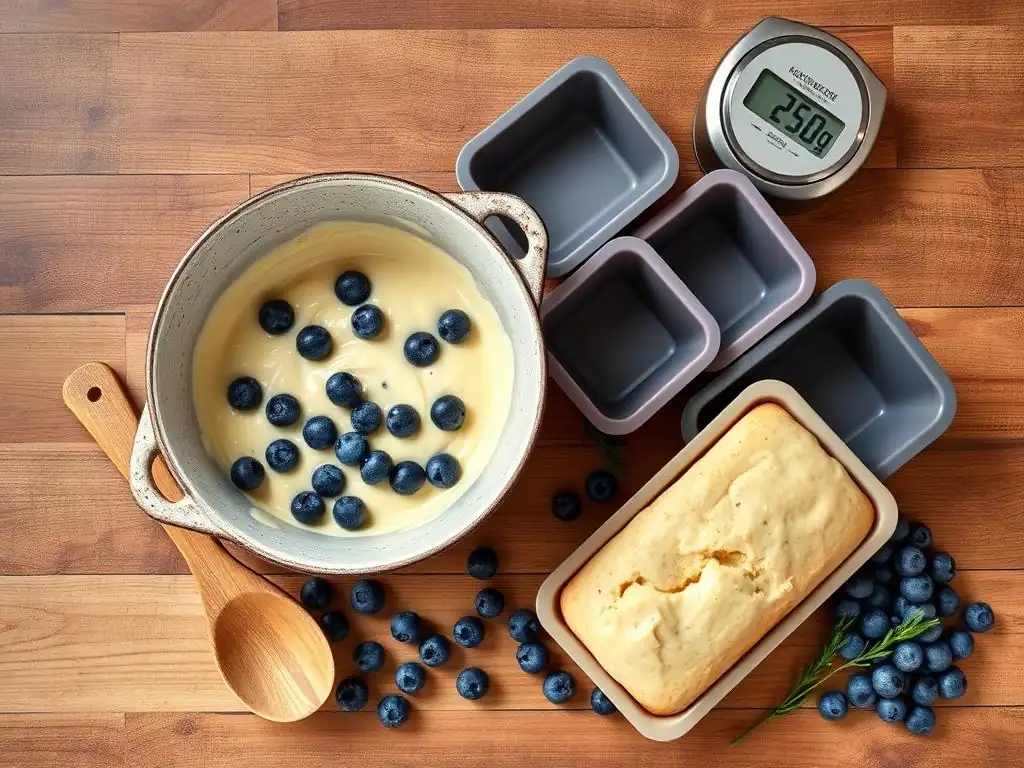
While the tools mentioned so far are truly essential, a few other items can make the quick bread baking process even smoother and potentially improve results. These aren't strictly necessary to get started, but they are valuable additions to your baking tools beginner quick breads as you become more comfortable.
Bench Scraper: Dividing Dough and Keeping Surfaces Clean
A bench scraper, also known as a bench knife or dough scraper, is a flat, rectangular piece of metal or plastic with a handle. While quick breads are typically batters rather than kneadable doughs, a bench scraper is incredibly useful for cleaning up flour or batter spills from your countertop. You can use it to scrape up any mess quickly and efficiently into a trash can or compost bin.
Additionally, if you ever venture into recipes that involve firmer quick bread doughs, like some scones or biscuits, a bench scraper is invaluable for dividing the dough cleanly into portions without squishing it. It's also great for lifting sticky dough or batter from a work surface. A simple metal bench scraper is durable and easy to clean, making it a surprisingly handy tool for any baker, adding to the versatility of your baking tools beginner quick breads.
Sifter: Achieving Light and Airy Quick Breads
A sifter is a tool used to aerate dry ingredients like flour, powdered sugar, or cocoa powder and remove any lumps. While many modern flours are pre-sifted, sifting your dry ingredients before adding them to your quick bread batter can lead to a lighter, more tender crumb. It helps distribute the leavening agents and salt more evenly throughout the flour.
Sifters come in various forms, from old-fashioned crank-style sifters to mesh sieves. A fine-mesh sieve can double as a sifter; simply place it over your bowl and tap the side or use a spoon to push the dry ingredients through. While not strictly necessary for all quick bread recipes, especially those that are meant to be dense, a sifter or sieve is a useful tool for those aiming for the lightest possible texture, enhancing your set of baking tools beginner quick breads.
Kitchen Scale: Precise Ingredient Measurement for Consistent Results
For the highest level of accuracy in baking, especially as you progress, a digital kitchen scale is invaluable. While volume measurements (cups and spoons) are common in many beginner recipes, weighing ingredients provides the most consistent results. The weight of a cup of flour can vary depending on how it's scooped, typically ranging from 120 grams to 150 grams. Weighing ensures you use the exact amount specified in the recipe every time.
Many professional bakers and serious home bakers rely on scales for this precision. Recipes that list ingredients by weight (grams or ounces) are often more reliable. A basic digital kitchen scale is relatively inexpensive and can measure both dry and liquid ingredients by weight, offering superior accuracy compared to volume measuring tools. For beginners looking to achieve consistently perfect quick breads, adding a scale to their baking tools beginner quick breads is a wise step.
Quick Bread Baking Tips for Beginners
Having the right baking tools beginner quick breads is a great start, but knowing how to use and care for them is equally important. A few simple practices can make your baking experience smoother and ensure your tools last for years.
Preparing Your Baking Tools Before You Start
Before you even begin mixing, take a moment to prepare your tools. This includes gathering all the necessary measuring cups, spoons, bowls, and spatulas. If your recipe calls for a specific pan size, make sure you have it ready. For most quick breads, you'll need to grease and flour your pan or line it with parchment paper to prevent sticking. Do this before you start mixing the batter, as quick bread batter often contains leavening agents that begin reacting as soon as wet and dry ingredients meet, and you want to get it into the oven relatively quickly.
Also, preheating your oven is crucial. Use an oven thermometer to verify your oven's temperature is accurate; many ovens run hotter or cooler than the setting indicates. Having the oven at the correct temperature from the start ensures your quick bread bakes evenly and rises properly. Prepping your baking tools beginner quick breads in advance helps streamline the process and reduces the chance of errors or rushing.
Cleaning and Maintaining Your Baking Tools for Longevity
Proper care of your baking tools beginner quick breads ensures they remain in good condition and are ready for your next baking adventure. Wash measuring cups and spoons promptly after use to prevent ingredients from hardening and becoming difficult to remove. Most stainless steel, glass, and silicone tools are dishwasher safe, but check the manufacturer's instructions.
Baking pans, especially those with non-stick coatings, often benefit from hand washing with warm, soapy water and a soft sponge to preserve the coating. Avoid using abrasive scrubbers that can scratch the surface. Dry all tools thoroughly before storing them to prevent rust or mildew. Storing items like measuring cups and spoons together in a drawer or on hooks keeps them organized and easy to find, making your next quick bread baking session even easier.
Mastering Quick Breads: Investing in Your Baking Journey
Building your collection of essential baking tools for beginner quick breads is an investment in your culinary skills and enjoyment. Starting with the basics – mixing bowls, measuring tools, spatulas, whisks, a loaf pan, muffin tin, oven mitts, and a cooling rack – provides a solid foundation. Adding helpful extras like a bench scraper, sifter, or kitchen scale can further enhance your results and confidence.
Remember, baking is a journey, and quick breads are a wonderfully accessible starting point. With the right tools and a little practice, you'll be whipping up delicious, moist, and perfectly textured quick breads in no time. Enjoy the process, learn from each bake, and savor the delicious results of your efforts with your trusty baking tools beginner quick breads by your side!
Frequently Asked Questions
What are the most essential baking tools for a beginner starting with quick breads?
The most essential tools are a mixing bowl, measuring cups and spoons, a whisk or spatula, and a loaf pan. These allow you to accurately measure ingredients and properly mix your batter for a successful quick bread.
Why is accurate measurement so important when baking quick breads?
Accurate measurement is crucial because quick breads rely on chemical reactions for leavening, not yeast. Precise ingredient ratios ensure the proper rise and texture in your final baked product.
Can I substitute different types of flour when making quick breads?
While some substitutions are possible, using the recommended flour is generally best for beginners. Different flours have varying gluten content, which can significantly impact the texture and structure of the quick bread.
What is the best way to prevent quick breads from becoming dry?
Avoid over-baking the quick bread. Use a toothpick or cake tester to check for doneness; it should come out with just a few moist crumbs attached. Also, proper storage after baking is important.
Are there any specific tips for preventing quick breads from sticking to the loaf pan?
Grease and flour the loaf pan thoroughly before pouring in the batter, or use baking paper. Alternatively, use a non-stick loaf pan. This will ensure that the bread easily releases after baking, preventing damage and making cleanup easier.
Final Reflection: The Sweet Simplicity of Baking's First Steps
Mastering the art of baking quick breads isn't about owning a professional-grade kitchen; it's about understanding the essential tools and embracing the process. The joy lies in the simplicity of transforming basic ingredients into comforting, delicious loaves, and this journey begins with the right equipment. This article highlighted the core tools needed, demystifying the process for aspiring bakers.
The impact of accessible baking knowledge is profound. It fosters creativity, connects us to culinary traditions, and provides a tangible sense of accomplishment. Baking is at once child's play and adult joy. And love, of course.
This quote perfectly encapsulates the experience of baking quick breads – a seemingly simple act that yields immense satisfaction. The ease of making these breads, armed with the right tools, opens up a world of culinary exploration for everyone, regardless of experience.
Now, it's your turn. Don't let the perceived complexity of baking hold you back. Gather your mixing bowls, measuring cups, and a whisk – the essential tools we've discussed – and embark on your own baking adventure. Experiment with different flavors, share your creations with loved ones, and savor the sweet rewards of your efforts. The journey of a thousand loaves begins with a single, perfectly risen quick bread.
Unlock Your Inner Baker: Start Baking Today!
Thanks for joining us on this baking adventure! We hope you've gained the confidence to tackle delicious quick breads with ease. Now it's time to put your newfound knowledge into practice.
- Dive into your first quick bread recipe: Grab your ingredients and bake something amazing! We recommend starting with the classic banana bread – it's foolproof and utterly delicious.
- Share your baking journey: Post a picture of your creation on social media and tag us @BakeWithEase! We'd love to see what you bake.
- Explore more quick bread recipes on BakeWithEase: Discover exciting variations and flavor combinations to expand your baking repertoire. Try something unexpected – maybe a savory herb quick bread?
What delicious quick bread will you conquer first?