
How to Bake DairyFree Bagels: StepbyStep with Oat Flour

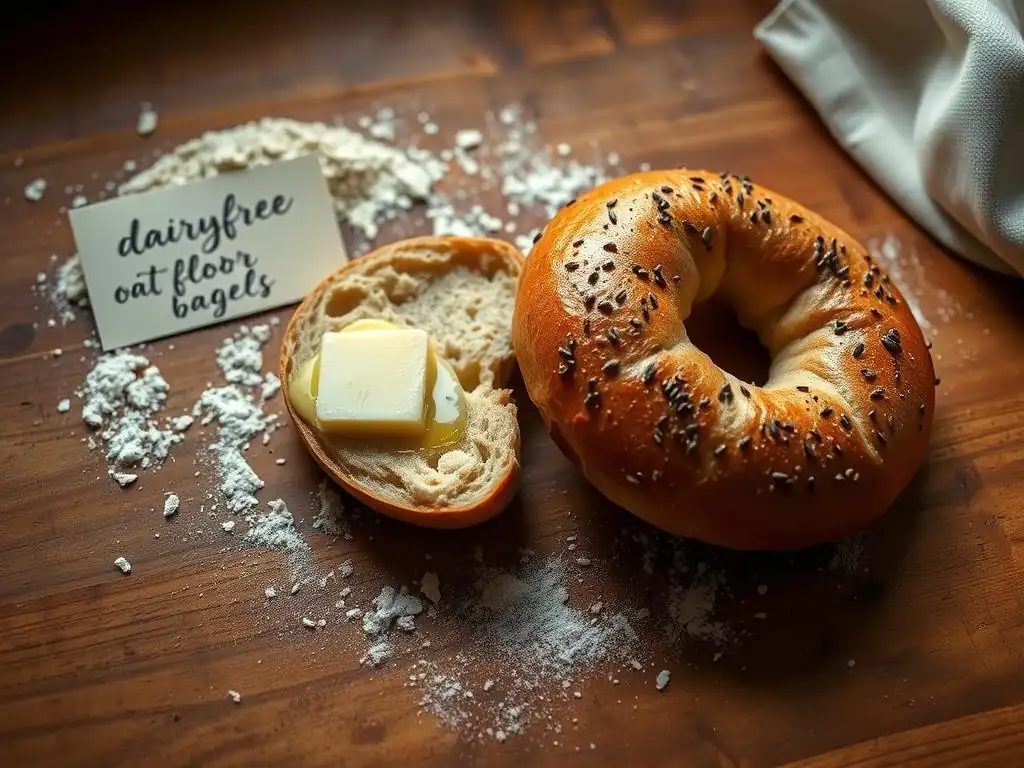
Welcome to BakeWithEase, your trusted guide to baking bliss! Ever dreamt of sinking your teeth into a perfectly chewy bagel, completely dairy-free? In this article, we unravel the secrets to baking delicious dairy-free oat flour bagels from scratch. Curious how to achieve that classic bagel texture using oat flour? Keep reading to discover our step-by-step recipe and unlock a whole new world of allergen-friendly baking!
- How to Bake Delicious Dairy-Free Oat Flour Bagels: A Step-by-Step Guide
- Introduction to Dairy-Free Baking with Oat Flour Bagels
- Gathering Your Ingredients for Dairy-Free Oat Flour Bagels
- Step-by-Step Guide to Baking Dairy-Free Oat Flour Bagels
- Tips and Tricks for Baking the Best Dairy-Free Oat Flour Bagels
- Dairy-Free Bagel Variations: Exploring Flavors and Add-ins
- Conclusion: Mastering Dairy-Free Oat Flour Bagel Baking
-
Frequently Asked Questions
- How does using oat flour affect the texture of dairy-free bagels compared to traditional wheat flour bagels?
- Can I substitute other non-dairy milks for the one recommended in the "DairyFree Oat Flour Bagels" recipe?
- What are some common pitfalls to avoid when making dairy-free oat flour bagels?
- How long do dairy-free oat flour bagels typically stay fresh, and what's the best way to store them?
- What are some dairy-free topping ideas for oat flour bagels besides the traditional sesame or poppy seeds?
- Final Reflection: The Unexpected Joy of Dairy-Free Baking
- Unleash Your Inner Baker: Dairy-Free Bagel Bliss Awaits!
How to Bake Delicious Dairy-Free Oat Flour Bagels: A Step-by-Step Guide
Introduction to Dairy-Free Baking with Oat Flour Bagels
Why Choose Dairy-Free Bagels? Benefits and Considerations
Choosing to bake dairy-free bagels opens up a world of possibilities for those with lactose intolerance, dairy allergies, or simply those opting for a plant-based lifestyle. Approximately 68% of the world's population has some degree of lactose malabsorption, making traditional dairy-based baked goods challenging for many. By using dairy-free alternatives, you ensure that more people can enjoy delicious, freshly baked bagels without discomfort or health risks. This inclusivity is a significant benefit, allowing friends and family with dietary restrictions to partake in the joy of homemade baking.
Beyond dietary needs, opting for dairy-free ingredients can sometimes offer different textural or flavor profiles. For instance, certain dairy-free milks, like oat milk or almond milk, can lend a subtle nutty or creamy undertone to the dough. Using plant-based butters can also impact the richness and tenderness of the final bagel. While the primary goal is to eliminate dairy, experimenting with various substitutes can lead to unique and delightful results in your dairy-free oat flour bagels. It's about creating equally delicious, just different, versions of classic baked goods.
Exploring the Versatility of Oat Flour in Baking
Oat flour, simply ground oats, is a fantastic grain to incorporate into your dairy-free baking repertoire, especially when making bagels. It offers a slightly sweet, nutty flavor and contributes to a tender crumb structure. Unlike wheat flour, oat flour contains no gluten, which means it behaves differently in doughs, particularly those requiring significant structure like bagels. While a pure oat flour bagel might be very dense, combining it with other flours (like bread flour or a gluten-free blend if needed) can yield a lighter, more traditional texture while still leveraging the benefits of oats.
The nutritional profile of oat flour is another compelling reason for its use. It's a good source of fiber, particularly beta-glucan, which is known for its heart health benefits. It also contains protein, vitamins, and minerals. When baking dairy-free oat flour bagels, you're not just making a delicious treat; you're adding a bit more nutritional value compared to bagels made solely with refined wheat flour. Its ability to absorb liquid also helps keep baked goods moist, which is a valuable characteristic in doughs that undergo both boiling and baking.
Gathering Your Ingredients for Dairy-Free Oat Flour Bagels
Essential Ingredients List for Perfect Oat Flour Bagels
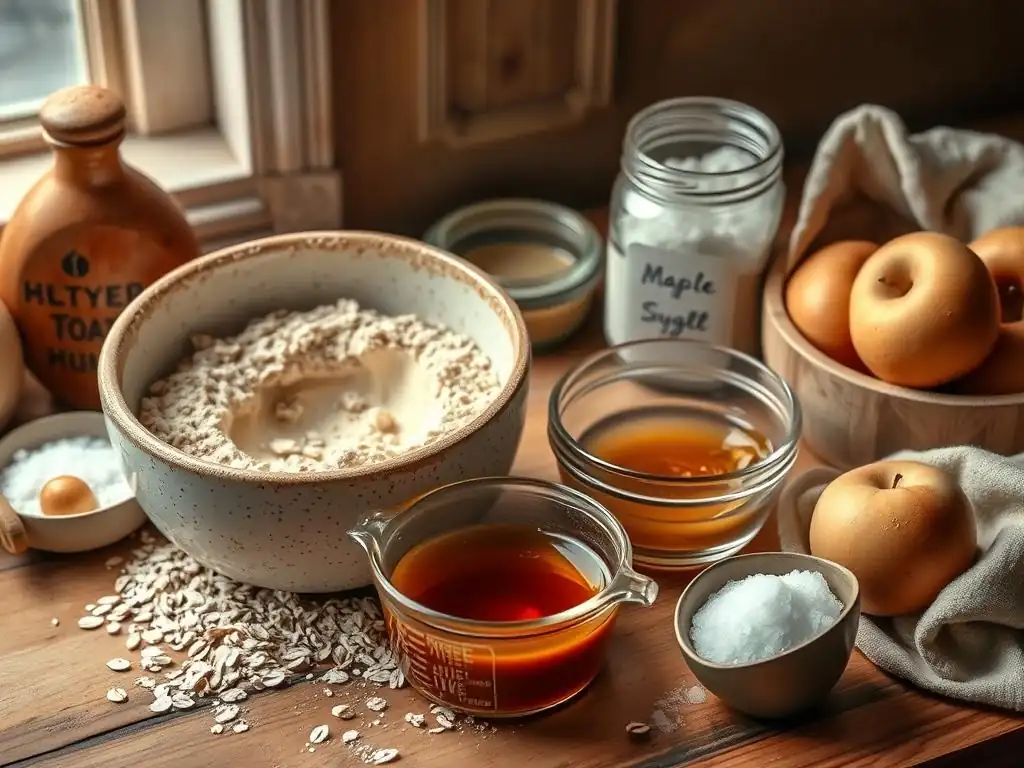
To bake truly excellent dairy-free oat flour bagels, you'll need a few key components. The foundation is, of course, oat flour, ideally fine-ground for the best texture. You'll also need a significant amount of bread flour or a suitable gluten-free blend to provide structure, as oat flour alone doesn't have the gluten network necessary for a chewy bagel. Instant or active dry yeast is crucial for leavening, giving the bagels their rise. Salt is essential for flavor and controlling yeast activity.
Sweetener is also important; maple syrup, agave nectar, or sugar can be used, typically just a tablespoon or two, to feed the yeast and add a touch of sweetness. Water is the primary liquid, needed to hydrate the flours and activate the yeast. For the boiling step, you'll need a large pot of water and often a touch of sweetener like barley malt syrup, honey (if not strictly vegan), or sugar, and sometimes baking soda, which helps create that classic chewy exterior. These simple ingredients, combined correctly, form the basis for your delicious dairy-free oat flour bagels.
Dairy-Free Alternatives: Milk and Butter Substitutions
While many bagel recipes primarily use water, some call for milk to enrich the dough slightly. For dairy-free oat flour bagels, unsweetened plant-based milks are perfect substitutes. Oat milk is a natural fit, complementing the oat flour flavor profile, but almond milk, soy milk, or cashew milk also work well. Choose unsweetened varieties to control the sugar level in the dough. Typically, you can substitute dairy milk with a 1:1 ratio of your chosen plant-based milk.
Butter is less common in traditional bagel doughs but is often used as a topping or in enriched dough variations. If your recipe includes butter or you plan to serve them with a spread, opt for a high-quality dairy-free butter substitute.
Look for plant-based butters designed for baking, as they have a fat content and consistency similar to dairy butter, usually around 80% fat. Coconut oil or a neutral-flavored vegetable oil can also be used in smaller quantities if a liquid fat is needed, but for spreadable texture, dairy-free butter is the best choice for your dairy-free oat flour bagels.
Where to Find Quality Oat Flour for Baking
Finding quality oat flour for your dairy-free oat flour bagels is relatively easy today. Most major supermarkets carry it in the baking aisle, often alongside other alternative flours. Look for fine-ground varieties for a smoother texture in your bagels. Brands specializing in gluten-free products are also good sources, as they ensure their oat flour is certified gluten-free, which is important if you have celiac disease or a gluten sensitivity.
Alternatively, you can easily make your own oat flour at home. Simply purchase rolled oats (old-fashioned oats) or quick oats and process them in a high-powered blender, food processor, or clean coffee grinder until they reach a fine, flour-like consistency. One cup of rolled oats typically yields slightly less than one cup of oat flour, so measure accordingly. Ensure the oats are plain and not flavored or instant varieties. Making your own can be cost-effective and guarantees freshness for your dairy-free oat flour bagels.
Step-by-Step Guide to Baking Dairy-Free Oat Flour Bagels
Step 1: Preparing the Oat Flour Bagel Dough
Mixing the Dry Ingredients: Oat Flour, Yeast, and Salt
Begin by accurately measuring your dry ingredients. In a large mixing bowl, combine the specified amount of bread flour (or gluten-free blend) with the fine oat flour. Whisk them together to ensure even distribution. Then, add your yeast. If using instant yeast, you can mix it directly with the flours and salt.
If using active dry yeast, you might need to proof it first in warm water with a pinch of sugar, as described in your yeast package instructions. Finally, add the salt. It's important not to place the salt directly on top of the yeast initially, as salt can inhibit yeast activity. Give the dry ingredients another quick whisk.
Incorporating Wet Ingredients: Water and Maple Syrup
Once your dry ingredients are combined, it's time to add the wet components. Measure out the warm water. The ideal temperature for activating yeast is typically between 105°F and 115°F (40°C to 46°C). Water that is too hot can kill the yeast, while water that is too cold will slow it down significantly. Add the maple syrup or other chosen sweetener to the warm water and stir to dissolve. Pour the warm water mixture into the bowl with the dry ingredients.
Achieving the Right Dough Consistency for Dairy-Free Bagels
Using a sturdy spoon or a stand mixer with a dough hook, begin mixing the ingredients. Initially, the mixture will be shaggy and sticky. Continue mixing until all the flour is hydrated and the dough starts to come together. Because oat flour doesn't develop gluten like wheat flour, the dough might feel slightly different – perhaps a little softer or less elastic initially if using a high proportion of oat flour.
Add more flour, a tablespoon at a time, only if the dough is excessively sticky and not coming away from the sides of the bowl after several minutes of mixing. Conversely, if the dough seems too dry and isn't forming a cohesive ball, add a teaspoon of warm water at a time. The goal is a relatively stiff but still pliable dough that can be kneaded.
Step 2: Kneading and Proofing the Dairy-Free Oat Flour Dough
Techniques for Kneading Oat Flour Dough Effectively
Kneading is crucial for developing the gluten structure in the bread flour component of your dairy-free oat flour bagels, which provides chewiness. If using a stand mixer, knead on medium speed for about 8-10 minutes. The dough should become smoother, more elastic, and pull away cleanly from the sides of the bowl. If kneading by hand, turn the dough out onto a lightly floured surface.
Knead by pushing the dough away from you with the heels of your hands, folding it back over, and rotating it. Continue kneading for 10-15 minutes until the dough is smooth and springs back slowly when gently poked. Oat flour dough might feel less stretchy than pure wheat dough, but it should still develop some elasticity.
First Proofing: Allowing the Dough to Rise
After kneading, the dough needs time to rise, or proof. Lightly grease a clean bowl with a small amount of dairy-free butter or oil. Place the dough ball in the bowl, turning it to coat all sides. Cover the bowl tightly with plastic wrap or a damp kitchen towel to prevent the dough from drying out.
Place the bowl in a warm, draft-free spot. The ideal temperature for proofing is typically around 75-80°F (24-27°C). Allow the dough to rise until it has roughly doubled in size. This usually takes about 60-90 minutes, but timing can vary significantly depending on the room temperature and the activity of your yeast.
Step 3: Shaping and Boiling the Bagels
Dividing the Dough and Forming Bagel Shapes
Once the dough has doubled, gently punch it down to release the air. Turn the dough out onto a lightly floured surface. Divide the dough into equal portions. For standard-sized bagels, aim for pieces weighing around 3-4 ounces (85-115 grams) each, which typically yields 8-10 bagels from a standard recipe.
To shape, roll each portion into a smooth ball. There are two common methods to form the bagel shape: either poke a hole in the center of the ball and gently stretch the dough outwards until the hole is about 1.5-2 inches in diameter, or roll the dough into a rope about 8-10 inches long and connect the ends, overlapping them slightly and pressing firmly to seal. Place the shaped bagels on a baking sheet lined with parchment paper that has been lightly dusted with cornmeal or semolina to prevent sticking.
The Importance of Boiling Bagels Before Baking
Boiling is a crucial step in achieving the characteristic chewy texture of bagels, including dairy-free oat flour bagels. This process gelatinizes the starches on the surface of the dough, which helps create a firm crust during baking and limits oven spring (the final rise in the oven). Bring a large pot of water to a rolling boil. You can add a tablespoon or two of sweetener (like maple syrup or sugar) or baking soda to the water; baking soda helps create a darker, chewier crust.
Gently drop 2-3 bagels into the boiling water at a time, ensuring they aren't crowded. Boil for 30-60 seconds per side. Boiling for a shorter time results in a softer bagel, while boiling longer (up to 2 minutes per side) yields a chewier one.
Adding Toppings: Seeds, Spices, and More
Immediately after boiling, carefully remove the bagels from the water using a slotted spoon or spider and place them back on the prepared baking sheet. While they are still warm and slightly tacky from the boiling, it's the perfect time to add toppings. Popular choices for dairy-free oat flour bagels include sesame seeds, poppy seeds, everything bagel seasoning (ensure it's dairy-free), dried minced garlic, dried minced onion, or coarse sea salt. Gently press the toppings onto the surface of the bagel so they adhere well. If you prefer a plain bagel, you can skip this step.
Step 4: Baking Your Dairy-Free Oat Flour Bagels
Oven Temperature and Baking Time for Perfect Bagels
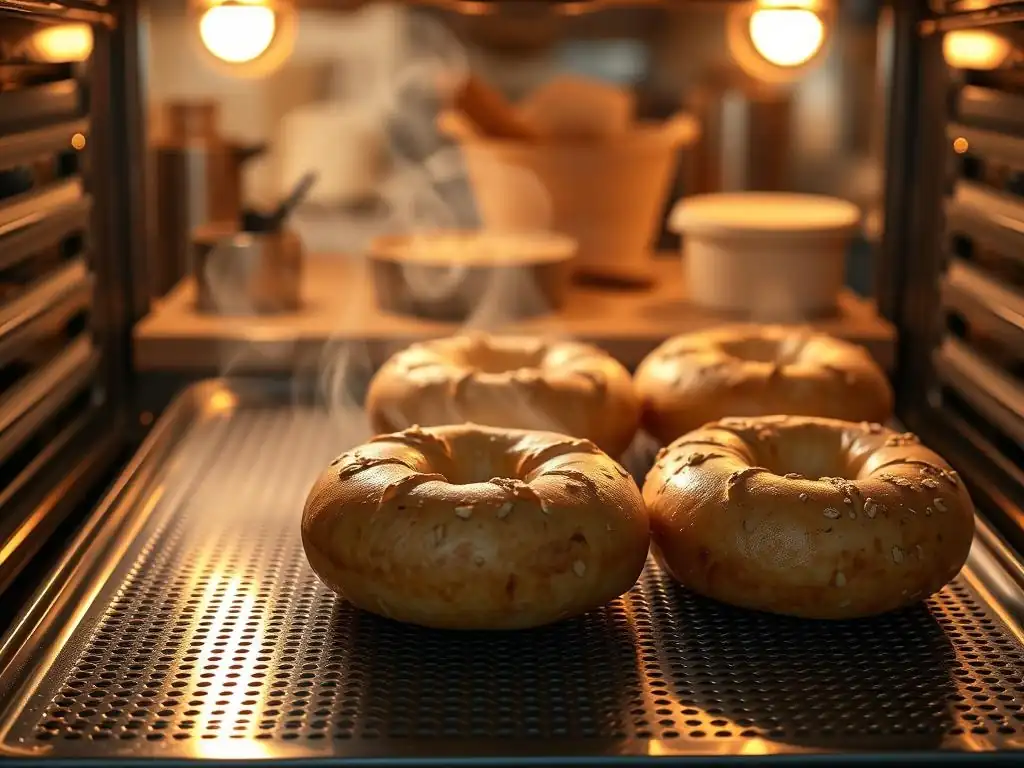
Preheat your oven to a relatively high temperature, typically between 400°F and 425°F (200°C to 220°C). The high heat helps the bagels develop a good crust. If you have a baking stone or steel, place it in the oven while it preheats for even better results. Carefully transfer the bagels on their parchment paper to the hot baking surface (or place the baking sheet directly on the oven rack).
Bake the dairy-free oat flour bagels for approximately 18-25 minutes. The exact baking time will depend on your oven and the size of your bagels.
Achieving a Golden-Brown Crust
During the baking process, keep an eye on the bagels. They should puff up slightly and develop a beautiful golden-brown crust. About halfway through the baking time (around 10-12 minutes), you may want to rotate the baking sheet for even browning. If one side is browning faster than the other, you can also flip the individual bagels carefully. The bagels are done when they are deep golden brown and sound hollow when tapped on the bottom. Don't underbake them, as this will result in a doughy interior.
Step 5: Cooling and Enjoying Your Freshly Baked Bagels
Proper Cooling Techniques for Optimal Texture
Once the dairy-free oat flour bagels are baked to perfection, remove them from the oven. It's crucial to let them cool properly on a wire rack. Placing them directly on a solid surface can trap steam, making the bottom soggy. Allow the bagels to cool for at least 20-30 minutes, preferably longer. Cooling allows the internal structure to set and the crust to firm up, which is essential for the characteristic bagel texture. Cutting into a hot bagel can result in a gummy interior. Patience is key for achieving the best texture in your homemade dairy-free oat flour bagels.
Serving Suggestions: Dairy-Free Cream Cheese, Avocado, and More
Now comes the best part – enjoying your freshly baked dairy-free oat flour bagels! Slice them horizontally and prepare your favorite dairy-free toppings. A classic pairing is dairy-free cream cheese; there are many excellent plant-based options available made from cashews, almonds, soy, or oats. For a savory twist, try mashed avocado with salt and pepper, or add smoked salmon (if not vegan) or sliced tomatoes and red onion. Sweet options include jam, jelly, or a drizzle of maple syrup. These bagels are versatile and can be enjoyed in countless ways, proving that dairy-free baking can be incredibly satisfying.
Tips and Tricks for Baking the Best Dairy-Free Oat Flour Bagels
Troubleshooting Common Issues with Oat Flour Dough
Working with oat flour in a traditional bagel recipe can present unique challenges compared to using only wheat flour. One common issue is dough stickiness; oat flour absorbs liquid differently. If your dough is too sticky after initial mixing, resist the urge to add excessive amounts of flour immediately. Knead for the recommended time first; sometimes, the dough becomes less sticky as gluten develops.
If it remains unmanageably sticky, add flour a tablespoon at a time. Conversely, if the dough seems too dry and crumbly, add water a teaspoon at a time during kneading until it becomes pliable. Another potential issue is less rise during proofing; ensure your yeast is active and the proofing environment is warm enough, ideally between 75-80°F (24-27°C). Using a small amount of sugar or maple syrup in the dough helps feed the yeast.
Adjusting the Recipe for Different Oat Flour Brands
Not all oat flour is created equal. The grind consistency can vary between brands, as can the moisture content. If you are using a very fine oat flour, it might absorb slightly more liquid than a coarser grind. If you're making your own, the texture can also differ depending on how long you process the oats.
When using a new brand or homemade oat flour for your dairy-free oat flour bagels, be prepared to make minor adjustments to the liquid or flour quantities. Start with the recipe's specified amount of water, but observe the dough during the mixing and kneading phases. If it seems too dry, add a little more water; if too wet, add a little more bread flour or oat flour until the dough reaches the desired consistency—stiff but pliable. Keeping a baker's journal can help you note these adjustments for future batches.
Storing Your Dairy-Free Bagels for Maximum Freshness
Proper storage is key to keeping your dairy-free oat flour bagels tasting fresh. Once they are completely cooled, store them in an airtight container or a resealable plastic bag at room temperature for 1-2 days. For longer storage, freezing is the best option. Slice the cooled bagels in half first, if desired, then place them in a freezer-safe bag or wrap them tightly in plastic wrap followed by aluminum foil.
They can be frozen for up to 3 months. To reheat from frozen, you can simply toast them directly from the freezer or let them thaw at room temperature for a bit before toasting. Storing them correctly ensures you can enjoy the delicious results of your dairy-free oat flour bagel baking effort for days or weeks to come.
Dairy-Free Bagel Variations: Exploring Flavors and Add-ins
Sweet Dairy-Free Bagel Recipes: Cinnamon Raisin, Blueberry
Expanding beyond the classic plain or seeded dairy-free oat flour bagels allows for exciting flavor experimentation. For a sweet treat, consider cinnamon raisin bagels. Incorporate 1-2 teaspoons of ground cinnamon and about 1/2 cup of raisins (plumped in warm water if dry) into the dough during the final stages of kneading. Ensure the raisins are evenly distributed.
Another popular sweet variation is blueberry bagels. Gently fold in about 1/2 cup of fresh or frozen blueberries (do not thaw if frozen) during the last minute of kneading. Be careful not to overmix once the blueberries are added to avoid staining the dough excessively. These sweet variations are delightful toasted with dairy-free cream cheese or simply enjoyed on their own.
Savory Dairy-Free Bagel Recipes: Everything Bagel, Rosemary Garlic
Savory variations offer a different but equally satisfying experience. The "Everything Bagel" is perhaps the most famous savory option for dairy-free oat flour bagels. While the classic topping blend of poppy seeds, sesame seeds, dried minced garlic, dried minced onion, and salt is added after boiling, you can also incorporate some of these flavors into the dough itself for a more intense taste. For example, add a teaspoon each of garlic powder and onion powder to the dry ingredients.
Another delicious savory choice is rosemary garlic. Add 1-2 teaspoons of finely minced fresh rosemary and 1-2 cloves of minced fresh garlic (or 1 teaspoon garlic powder) to the dough during kneading. These savory bagels are fantastic with dairy-free butter, avocado, or as the base for a sandwich.
Experimenting with Different Toppings and Fillings
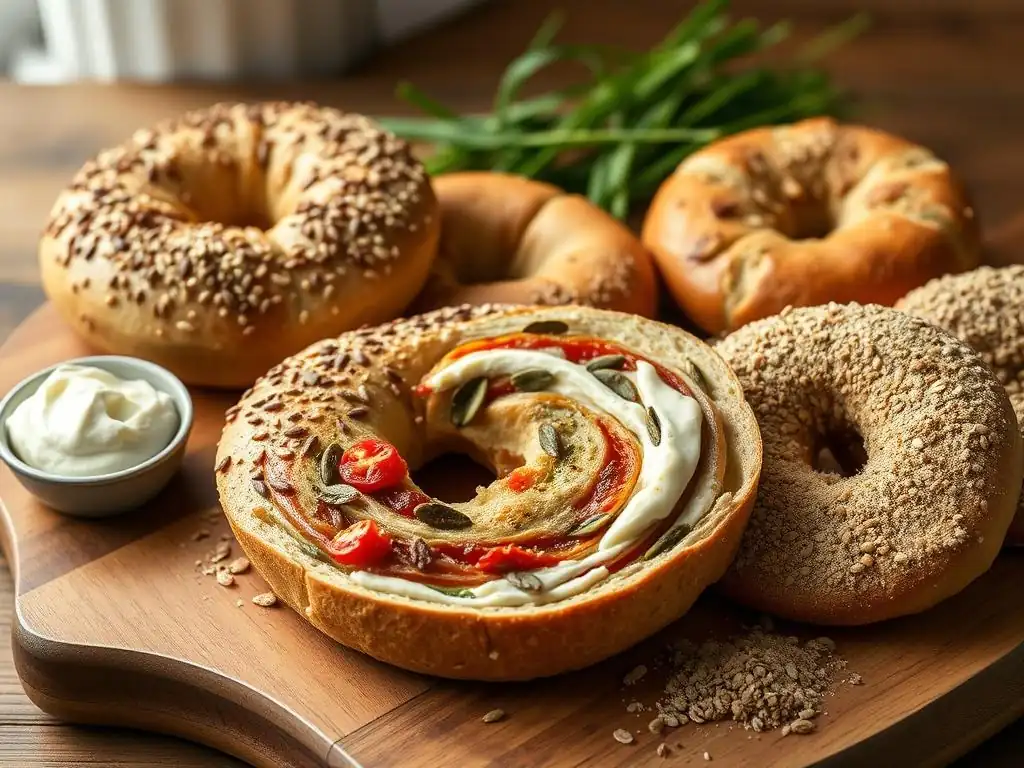
The world of bagel toppings and fillings for dairy-free oat flour bagels is vast. After boiling, before baking, experiment with various seeds beyond sesame and poppy – try pumpkin seeds, sunflower seeds, or flax seeds. For a spicy kick, add red pepper flakes.
Consider using different types of salt, like flaky sea salt or smoked salt, for unique flavors. Inside the bagel, possibilities range from the simple dairy-free cream cheese or avocado to more elaborate fillings like roasted vegetables, dairy-free cheese slices, or plant-based deli meats. The robust texture and subtle flavor of dairy-free oat flour bagels make them a versatile canvas for both sweet and savory combinations, encouraging creativity in the kitchen.
Conclusion: Mastering Dairy-Free Oat Flour Bagel Baking
Celebrate Your Baking Success
You've done it! You've successfully navigated the steps to bake delicious dairy-free oat flour bagels right in your own kitchen. From understanding the role of oat flour and dairy-free substitutes to mastering the precise techniques of kneading, boiling, and baking, you've gained valuable skills. Take a moment to appreciate your accomplishment. The aroma of freshly baked bagels filling your home is a reward in itself, a testament to your effort and growing baking expertise. Each perfectly golden, chewy bagel is a small victory, proving that dietary needs don't mean sacrificing flavor or the joy of homemade goods.
Baking is often a labor of love meant to be shared. Now that you've mastered the art of making dairy-free oat flour bagels, spread the joy! Share your freshly baked batch with friends, family, or neighbors, especially those who might appreciate a delicious dairy-free option. Explain your process, discuss the ingredients you used, and perhaps inspire others to try dairy-free baking themselves. Sharing not only brings happiness to others but also allows you to receive feedback and continue refining your skills. Your delicious dairy-free oat flour bagels are ready to be enjoyed and celebrated by all.
Frequently Asked Questions
How does using oat flour affect the texture of dairy-free bagels compared to traditional wheat flour bagels?
Oat flour creates a softer and slightly denser bagel. The texture is different because oat flour lacks gluten, which is crucial for chewy gluten development typical in wheat-based bagels.
Can I substitute other non-dairy milks for the one recommended in the "DairyFree Oat Flour Bagels" recipe?
Yes, you can usually substitute other non-dairy milks like almond or soy milk. However, be mindful that different milks have varying consistencies and sweetness levels, which might slightly affect the overall taste and texture.
What are some common pitfalls to avoid when making dairy-free oat flour bagels?
A common mistake is overmixing the dough, leading to a tough bagel. Also, ensure your oat flour is finely ground; coarse flour can result in a grainy texture.
How long do dairy-free oat flour bagels typically stay fresh, and what's the best way to store them?
They generally stay fresh for 2-3 days at room temperature. For longer storage, freezing is recommended. Wrap them tightly to prevent freezer burn and thaw before enjoying.
What are some dairy-free topping ideas for oat flour bagels besides the traditional sesame or poppy seeds?
Consider using everything bagel seasoning, chopped nuts, dried herbs, or even a sprinkle of cinnamon sugar for a sweet and dairy-free twist. You can also explore dairy-free cream cheese alternatives!
Final Reflection: The Unexpected Joy of Dairy-Free Baking
The rise of dairy-free diets isn't just a trend; it's a testament to the growing awareness of dietary needs and preferences. Mastering dairy-free baking, once considered a daunting task, is now more accessible than ever, opening up a world of delicious possibilities for those with allergies, intolerances, or simply a desire for alternative ingredients. This accessibility empowers individuals to take control of their health and culinary experiences.
The journey of creating these dairy-free oat flour bagels highlighted for me the surprising versatility of oat flour and the potential for deliciousness even without traditional dairy. It's a testament to the power of experimentation and adaptation in the kitchen. The best way to find yourself is to lose yourself in the service of others.
– Mahatma Gandhi. While not directly about baking, this quote speaks to the broader theme of embracing new challenges and finding unexpected rewards in the process, much like mastering a new baking technique.
Now, I invite you to step into your kitchen, armed with this knowledge and a spirit of culinary adventure. Don't be afraid to experiment with different flours, flavors, and toppings. The process of baking, whether it's these dairy-free oat flour bagels or something entirely new, is a journey of self-discovery and creative expression. Embrace the challenge, savor the results, and share the joy of baking with those you love. The perfect dairy-free bagel awaits!
Unleash Your Inner Baker: Dairy-Free Bagel Bliss Awaits!
Thanks for joining us on this dairy-free bagel baking adventure! We hope you now feel confident and equipped to create delicious, chewy bagels without any dairy. Ready to take your newfound skills to the next level?
- Bake a batch today! Use the recipe you just learned to make your own incredible dairy-free bagels. Experiment with different toppings – everything bagel seasoning, poppy seeds, sesame seeds – the possibilities are endless!
- Share your creations! Post a picture of your bagels on social media and tag us – we'd love to see your baking triumphs!
- Explore other dairy-free recipes on BakeWithEase.com (we have many more delicious surprises waiting for you! ).
What unique topping will you create for your next batch of amazing dairy-free bagels?