
Perfect Rolls Every Time: Essential Baking Tips

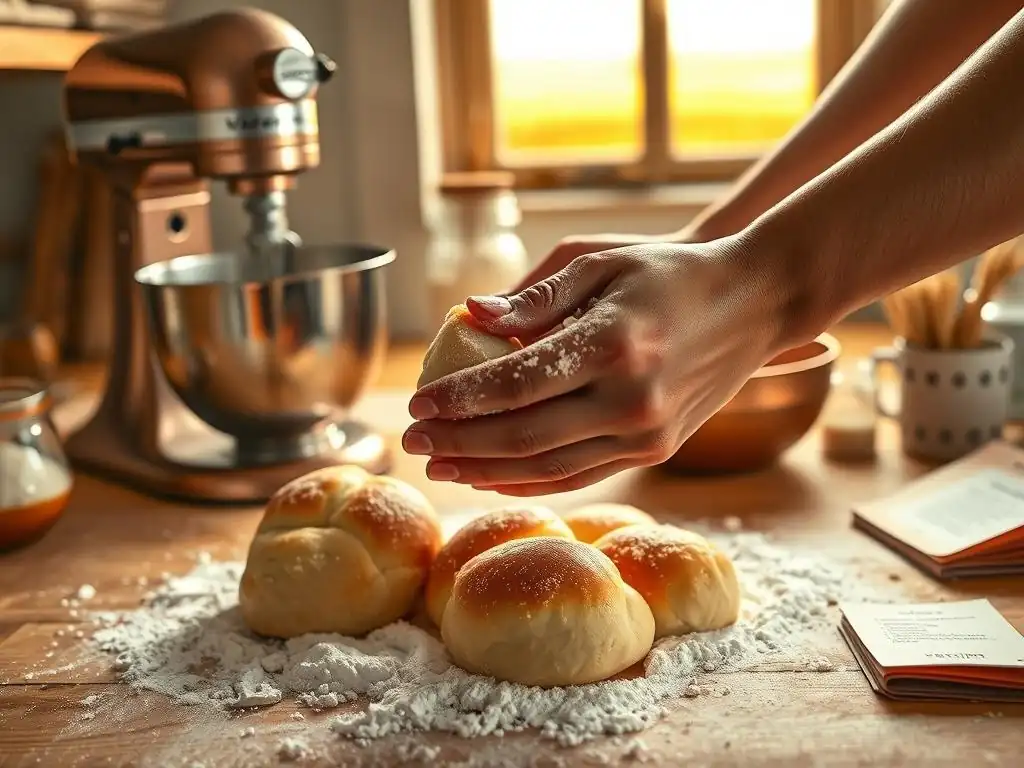
Welcome to BakeWithEase, your companion on the delicious journey of baking! Are you ready to finally achieve those perfectly fluffy, golden-brown rolls you've always dreamed of? Get ready to unlock the secrets with our guide to easy rolls baking techniques, where we demystify the process and empower you to create bakery-worthy results from the comfort of your own kitchen. Curious about the key to a light and airy crumb? Read on to discover essential tips and tricks that will transform your bread baking game!
- Perfect Rolls Every Time: Essential Baking Tips from BakeWithEase
- Introduction to Easy Rolls Baking Techniques
- Essential Ingredients for Easy and Delicious Rolls
- Step-by-Step Guide to Baking Fluffy Rolls
- Pro Tips for Baking the Best Homemade Rolls
- Easy Roll Baking Techniques: Variations and Flavor Enhancements
- Storing and Reheating Your Baked Rolls
- Conclusion: Mastering Easy Rolls Baking Techniques with BakeWithEase
-
Frequently Asked Questions
- What are the most important factors for achieving perfectly risen rolls?
- What's the secret to making rolls extra soft and fluffy?
- How can I prevent my rolls from becoming dry and hard after baking?
- What's the best way to ensure my rolls have a uniform shape and size?
- Can I freeze rolls, and if so, what's the best method to maintain their quality?
- Final Reflection: The Joy of Perfectly Baked Rolls
- Unlock Your Inner Baker: Perfect Rolls Await!
Perfect Rolls Every Time: Essential Baking Tips from BakeWithEase
Introduction to Easy Rolls Baking Techniques
Why Homemade Rolls? The Joy of Baking Fresh Rolls
There's a unique satisfaction that comes with baking a batch of fresh rolls right in your own kitchen. The aroma filling your home is simply unbeatable, a warm invitation that store-bought options can rarely replicate. Beyond the delightful smell, homemade rolls offer unparalleled texture and flavor, allowing you to control every ingredient and tailor them exactly to your preference, whether you love them soft and fluffy or slightly chewy. It’s an accessible entry point into the world of bread making, providing a tangible reward for relatively straightforward effort.
Moreover, mastering easy rolls baking techniques builds fundamental skills applicable to other bread recipes. It teaches you about dough handling, the importance of yeast activity, and the nuances of proofing and baking. Many bakers find that success with rolls gives them the confidence to tackle more complex loaves. It’s a rewarding process that yields delicious results, perfect for sharing with family and friends, or simply enjoying warm with butter.
BakeWithEase's Guide to Mastering the Art of Roll Making
At BakeWithEase, we believe that baking delicious rolls shouldn't be complicated. Our goal is to demystify the process, offering clear, step-by-step guidance that makes achieving bakery-quality rolls at home entirely possible, even for beginners. We focus on fundamental easy rolls baking techniques that yield consistent, delightful results. This guide covers everything from selecting the best ingredients to understanding the crucial stages of dough development and baking.
We'll walk you through the science behind soft, fluffy rolls and share practical tips honed through countless baking sessions. You'll learn how to troubleshoot common issues and adapt basic recipes to create a variety of flavors. By following our straightforward methods and paying attention to key details, you'll soon be turning out perfect rolls every time, impressing yourself and everyone lucky enough to try them.
Essential Ingredients for Easy and Delicious Rolls
Flour Power: Choosing the Right Flour for Perfect Rolls
The type of flour you choose significantly impacts the final texture of your rolls. All-Purpose flour is a versatile choice, containing about 10-12% protein, which provides enough gluten structure for a good rise while keeping the rolls relatively tender. It's readily available and works well for many basic roll recipes, making it a great starting point for easy rolls baking techniques. For a chewier roll with a more developed structure, bread flour, with its higher protein content (typically 12-14%), is an excellent option as it develops more gluten during kneading.
Using the correct flour also affects absorption rates. Different flours require slightly different amounts of liquid. Pay attention to the dough consistency described in your recipe, as it's often a better indicator than strictly adhering to the liquid amount. Measuring flour correctly, preferably by weight (using a kitchen scale) rather than volume, is crucial for consistency. A cup of flour can vary in weight depending on how packed it is, leading to inconsistent results. Aiming for about 120-130 grams per cup when measuring by weight is a good rule of thumb if your recipe provides only volume measurements.
Yeast 101: Understanding and Activating Yeast for Baking
Yeast is the magical leavening agent that makes rolls light and airy. For most easy rolls baking techniques, active dry yeast or instant yeast are commonly used. Active dry yeast typically needs to be dissolved in warm liquid (around 105-115°F or 40-46°C) with a pinch of sugar for about 5-10 minutes until it becomes foamy. This "proofing" step confirms the yeast is alive and active before you add it to the rest of your ingredients. If it doesn't foam, your yeast may be dead, and you'll need a new packet.
Instant yeast, on the other hand, can often be mixed directly into the dry ingredients without proofing, as it's processed differently to be more readily activated by the liquid in the dough. It also tends to rise slightly faster than active dry yeast. While instant yeast offers convenience for easy rolls baking techniques, active dry yeast is also very reliable. Always check the expiration date on your yeast package and store it properly (often in the refrigerator or freezer after opening) to maintain its viability.
Sweeteners and Fats: Adding Flavor and Texture to Your Rolls
Sweeteners like sugar, honey, or maple syrup don't just add a touch of sweetness; they also serve as food for the yeast, helping it to activate and produce carbon dioxide gas for rising. Sugar also contributes to browning during baking, giving the crust a lovely golden hue. The amount of sugar can be adjusted slightly depending on how sweet you want your rolls, but a small amount is generally necessary for optimal yeast activity and flavor development. Typically, recipes use anywhere from a tablespoon to a quarter cup of sugar per standard batch of rolls.
Fats such as butter, oil, or shortening contribute to the tenderness and richness of the rolls. Butter adds a wonderful flavor and helps create a soft crumb. Oil, like vegetable or olive oil, keeps the dough very pliable and results in a moist texture. Shortening can also be used for tenderness. Fats interfere with gluten development to some extent, which is why adding them after some initial mixing or kneading is sometimes recommended to allow gluten to form first. A common amount of fat is around 1/4 to 1/2 cup per recipe yielding 12-16 rolls.
Step-by-Step Guide to Baking Fluffy Rolls
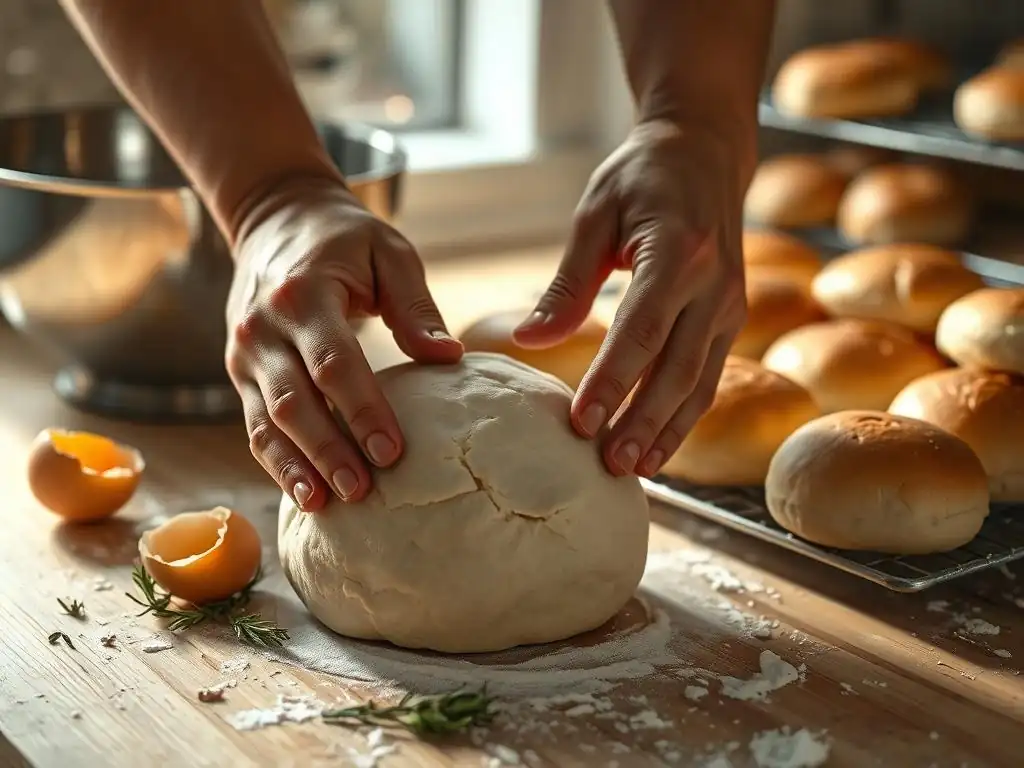
Preparing the Dough: Mixing and Kneading for Optimal Texture
The first step in many easy rolls baking techniques is combining your wet and dry ingredients. Start by activating your yeast (if using active dry) in warm liquid with sugar. Then, combine the flour, salt, and any remaining dry ingredients in a large bowl. Add the activated yeast mixture, any other liquids, and fats. Mix everything together until a shaggy dough forms. At this point, the dough will likely be sticky.
Kneading is crucial for developing the gluten structure that gives rolls their shape and texture. Turn the dough out onto a lightly floured surface or use a stand mixer with a dough hook. Knead by hand for about 8-10 minutes, or by mixer for 5-7 minutes, until the dough is smooth, elastic, and no longer excessively sticky.
You should be able to stretch a small piece of dough thinly enough to see light through it without it tearing easily – this is called the "windowpane test" and indicates sufficient gluten development. Avoid adding too much extra flour during kneading, as this can result in dry, tough rolls.
First Rise: Creating the Perfect Environment for Proofing
After kneading, the dough needs time to rise – this is the first proofing stage. Shape the dough into a smooth ball and place it in a lightly greased bowl, turning to coat the surface. Cover the bowl tightly with plastic wrap or a damp kitchen towel to prevent a skin from forming. The ideal temperature for proofing is warm and draft-free, typically between 75-85°F (24-30°C). A slightly warm oven that's been turned off (or with just the light on) works well.
The duration of the first rise varies depending on the recipe, yeast type, room temperature, and dough temperature, but it usually takes 1 to 1.5 hours. The dough should roughly double in size. This rise allows the yeast to produce carbon dioxide, creating air pockets and developing flavor. Don't rush this step; sufficient proofing is vital for light and airy rolls. Gently pressing two fingers into the dough should leave an indentation that slowly springs back halfway if it's ready.
Shaping the Rolls: Techniques for Uniform and Appealing Rolls
Once the dough has doubled in size, gently punch it down to deflate it. This redistributes the yeast and evens out the temperature. Turn the dough out onto a lightly floured surface and divide it into equal portions. For consistently sized rolls, using a kitchen scale to weigh each portion is highly recommended; a typical roll size might be around 50-70 grams.
There are several easy rolls baking techniques for shaping. The simplest is to cup your hand over a piece of dough and gently roll it against the counter in a circular motion, applying slight downward pressure, until a smooth ball forms. Another method is to flatten the dough portion slightly, pull the edges into the center, pinch them closed, and then flip it over and roll it smooth. Arrange the shaped rolls on a baking sheet lined with parchment paper, leaving space between them as they will expand during the second rise and baking.
Second Rise: Achieving the Ideal Volume Before Baking
After shaping, the rolls need a second, shorter rise. Cover the shaped rolls loosely with plastic wrap or a light cloth to prevent them from drying out. Place the baking sheet in a warm, draft-free location, similar to the first rise environment. This second proofing is crucial for achieving light and fluffy rolls.
The second rise usually takes about 30-45 minutes, or until the rolls look puffy and have increased significantly in size, but not necessarily doubled. They should look soft and airy. A good test is to gently poke a roll; if the indentation slowly springs back most of the way, they are ready. If it springs back immediately, they need more time. If it stays indented completely, they might be slightly over-proofed. Proper proofing ensures the rolls rise beautifully in the oven without collapsing.
Baking Time and Temperature: Ensuring Golden-Brown Perfection
Preheating your oven correctly is essential for successful baking. For most rolls, a temperature between 375°F and 400°F (190°C to 200°C) is ideal. This hot temperature helps the rolls rise quickly and develop a golden crust. Place the baking sheet with the proofed rolls in the preheated oven.
Baking time will vary depending on the size of your rolls and your oven, but typically ranges from 15 to 25 minutes. The rolls are done when they are golden brown on top and sound hollow when tapped on the bottom. An internal temperature of around 190-200°F (88-93°C) is also a reliable indicator of doneness. Baking them long enough ensures they are cooked through and have a sturdy structure, preventing them from collapsing after cooling.
Pro Tips for Baking the Best Homemade Rolls
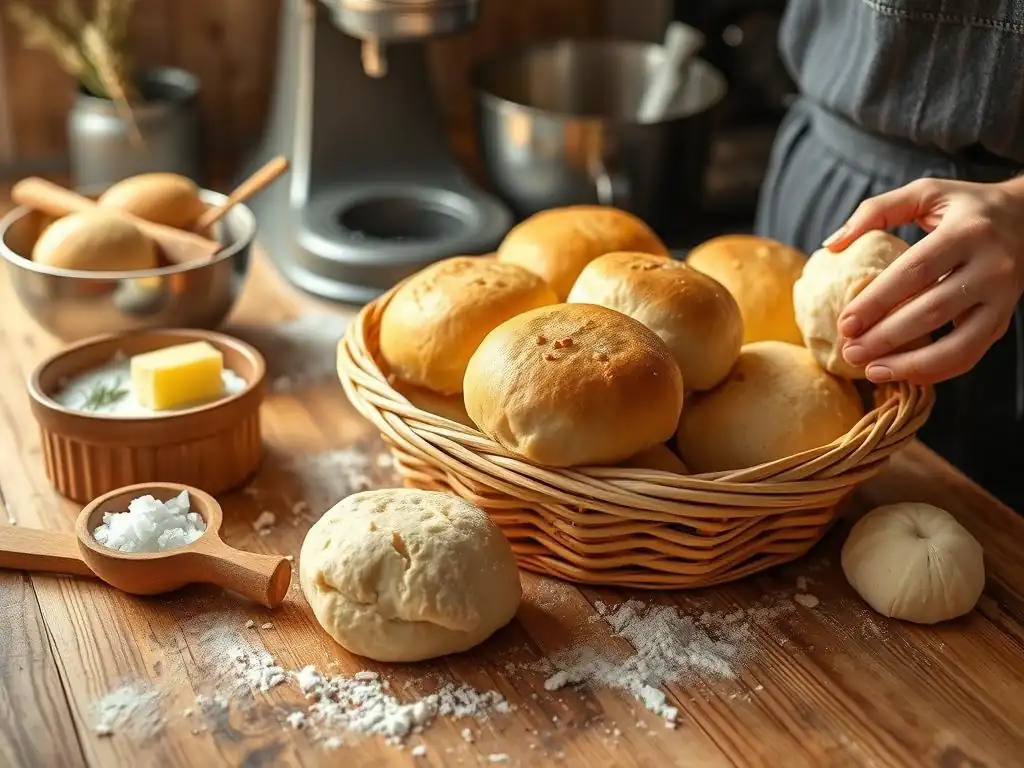
The Importance of Dough Temperature in Roll Baking
Controlling your dough temperature is a key, yet often overlooked, aspect of mastering easy rolls baking techniques. The ideal temperature range for dough throughout the mixing and first rise is typically between 75-80°F (24-27°C). Dough that is too cold will rise very slowly, while dough that is too warm can rise too quickly, potentially leading to less flavor development and a coarser crumb structure.
You can influence dough temperature by adjusting the temperature of your liquid ingredients. If your kitchen is cold, use warmer water or milk (but not hot enough to kill the yeast, remember 105-115°F or 40-46°C for active dry yeast). If your kitchen is warm, use cooler liquid. You can even use a thermometer to check the dough temperature after mixing and kneading. Maintaining this optimal temperature range helps ensure consistent and predictable proofing times and contributes to a better final texture in your baked rolls.
Achieving a Soft Crust: Secret Techniques Revealed
A soft crust is a hallmark of delicious, fluffy rolls. One of the simplest easy rolls baking techniques to achieve this is incorporating fat (like butter or oil) and sometimes milk or eggs into the dough recipe, as these ingredients tenderize the crumb and crust. Using milk instead of water can also contribute to a softer crust and richer flavor due to the milk fats and sugars.
Additionally, creating a humid environment during baking can help keep the crust soft. Some bakers place a pan of hot water on the bottom rack of the oven while the rolls bake. Another technique is to brush the tops of the rolls with melted butter or milk immediately after they come out of the oven. The steam from the hot rolls combined with the added fat or liquid helps soften the crust as they cool. Covering the hot rolls with a clean kitchen towel for the first 10-15 minutes of cooling also traps steam and promotes a softer exterior.
Preventing Rolls from Drying Out: Hydration is Key
Proper hydration is fundamental to preventing your rolls from becoming dry or stale quickly. The water content in the dough plays a significant role in maintaining moisture in the final baked product. Ensuring your dough is adequately hydrated during mixing and kneading is the first step; it should be slightly tacky but manageable. Avoid adding excessive flour during kneading or shaping, as this lowers the dough's overall hydration percentage.
During proofing, always cover your dough and shaped rolls well with plastic wrap or a damp cloth to prevent the surface from drying out and forming a skin, which can inhibit rise and lead to a dry crust. After baking, allowing the rolls to cool completely on a wire rack before storing is important. Storing warm rolls traps steam, which can make them soggy, but once cool, storing them correctly in an airtight container (as discussed later) is crucial for maintaining their moisture level and freshness for as long as possible.
Troubleshooting Common Roll Baking Problems
Even with the best easy rolls baking techniques, occasional issues can arise. If your rolls didn't rise, the most likely culprits are inactive yeast (check the expiration date and proofing temperature), cold dough/environment, or using too much salt which can inhibit yeast activity. Dough that is too tough might be due to over-kneading, adding too much flour, or insufficient hydration.
If your rolls spread out rather than rising upwards during baking, they might be over-proofed or not have enough gluten development. If they have a hard crust, revisit the tips on achieving a soft crust, potentially adding more fat/milk to the recipe or using steam in the oven. Understanding the role of each ingredient and step helps diagnose problems. Often, small adjustments to temperature, timing, or technique are all that's needed to get back on track to perfect rolls.
Easy Roll Baking Techniques: Variations and Flavor Enhancements
Sweet Rolls: Cinnamon, Chocolate, and More
The basic dough used for dinner rolls is incredibly versatile and can be easily adapted for sweet variations. One of the most popular easy rolls baking techniques for sweet rolls involves rolling out the dough after the first rise, spreading it with a filling, and then cutting and shaping. A classic cinnamon sugar filling (butter, brown sugar, cinnamon) is a perennial favorite.
Other delicious sweet fillings include chocolate chips or swirls of melted chocolate, fruit fillings (like apple or berry), or even a simple streusel topping added before baking. After baking, sweet rolls are often finished with a glaze or icing made from powdered sugar and milk or cream cheese. These variations showcase how mastering a basic roll dough opens up a world of sweet possibilities.
Savory Rolls: Herbs, Cheese, and Garlic
Just as easily as they can be sweetened, rolls can be transformed into savory delights. Incorporating finely chopped fresh or dried herbs like rosemary, thyme, or chives directly into the dough during mixing adds wonderful flavor. Cheese, such as shredded cheddar, Parmesan, or Gruyere, can also be mixed into the dough or sprinkled on top before baking for a cheesy crust.
Another simple yet effective savory enhancement is brushing the baked rolls with garlic butter while they are still warm. This infuses them with aromatic flavor. Olives, sun-dried tomatoes, or roasted garlic cloves can also be kneaded into the dough. These easy rolls baking techniques for savory variations are perfect for serving with soups, stews, or as a flavorful side dish.
Gluten-Free Rolls: Adapting the Recipe for Dietary Needs
While traditional rolls rely on wheat gluten for structure, it is possible to make delicious gluten-free rolls by adapting easy rolls baking techniques. These recipes typically use a blend of gluten-free flours (like rice flour, tapioca starch, and potato starch) combined with binders such as xanthan gum, psyllium husk powder, or eggs to mimic the structure provided by gluten.
Gluten-free doughs often require different handling – they can be stickier or more like a batter than traditional wheat dough. They may also have different proofing times and characteristics. While the exact techniques differ, the principles of warm liquids, active leavening (yeast or baking powder/soda), adequate rising time, and proper baking temperature remain important for successful gluten-free roll baking. Many dedicated gluten-free recipes are available that provide specific instructions for these unique doughs.
Storing and Reheating Your Baked Rolls
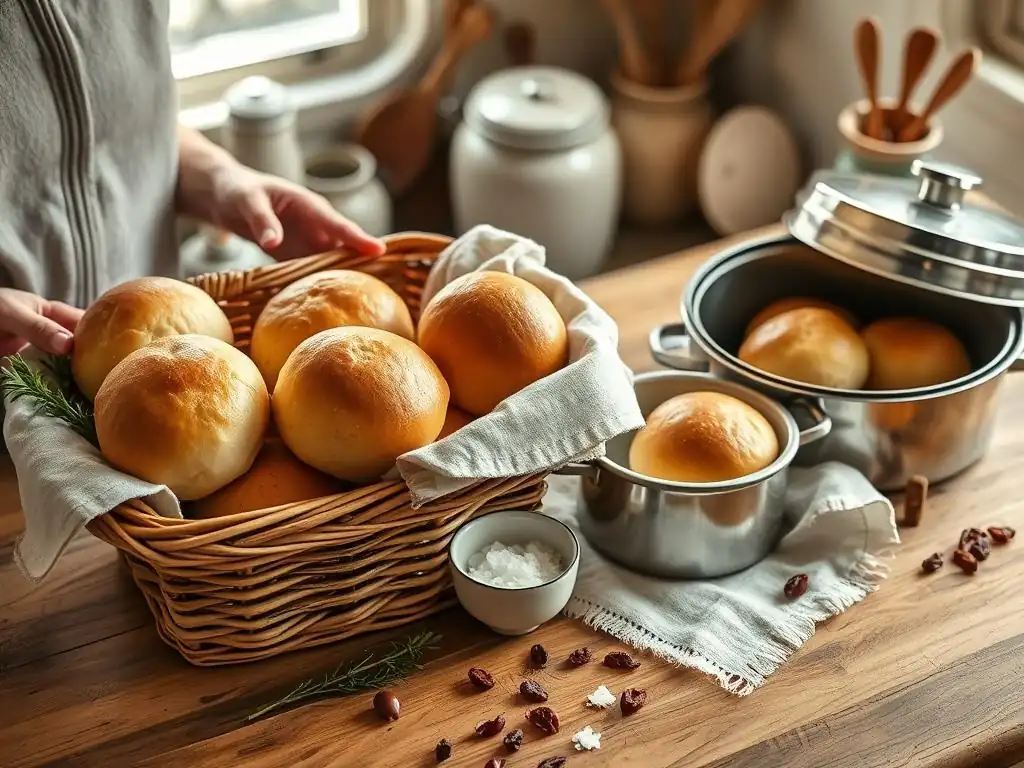
Keeping Rolls Fresh: Proper Storage Methods
Once your beautiful homemade rolls have cooled completely on a wire rack, proper storage is key to maintaining their freshness and soft texture. The best way to store rolls is in an airtight container or a resealable plastic bag at room temperature. Ensure they are fully cooled before storing, as trapping residual heat will create condensation and make the rolls soggy.
Stored correctly at room temperature, most homemade rolls will stay fresh for 2-3 days. For longer storage, rolls can be frozen. Wrap individual rolls tightly in plastic wrap, then place them in a freezer-safe bag or container. Frozen rolls can last for up to 2-3 months. Thaw frozen rolls overnight in the refrigerator or at room temperature before reheating.
Reheating Techniques: Restoring Warmth and Softness
There's nothing quite like a warm roll. Fortunately, reheating is an easy rolls baking technique to bring back that fresh-baked feel. For a single roll or a few rolls, a microwave can quickly warm them up, but be careful not to overheat, as this can make them tough; 15-30 seconds is often sufficient.
To reheat a larger batch or achieve a better texture, the oven is ideal. Preheat your oven to a moderate temperature, around 300-325°F (150-160°C). Place the rolls on a baking sheet (you can lightly tent them with foil if you're worried about the tops getting too dark, especially if they were previously frozen). Bake for 5-10 minutes, or until heated through. This method warms the rolls gently and helps restore a soft interior while slightly refreshing the crust.
Conclusion: Mastering Easy Rolls Baking Techniques with BakeWithEase
Enjoy the Fruits (or Rolls!) of Your Labor
You've done it! By following these easy rolls baking techniques, you've created warm, delicious homemade rolls. Take a moment to appreciate the wonderful aroma and the soft texture you've achieved. Baking rolls is a rewarding process that culminates in a truly satisfying result. Share them warm with butter, serve them alongside your favorite meal, or simply enjoy them on their own. Each bite is a testament to your efforts and the simple pleasure of baking from scratch.
Remember that practice makes perfect. Don't be discouraged if your first batch isn't absolutely flawless. Every baking attempt teaches you something new about dough, yeast, and your oven. The more you bake, the more intuitive these easy rolls baking techniques will become, and the more consistently you'll achieve outstanding results.
Further Resources for Bread Baking Enthusiasts at BakeWithEase
Mastering easy rolls baking techniques is just the beginning of your bread baking journey! BakeWithEase offers a wealth of resources to help you explore further. Our website features a wide variety of bread recipes, from simple no-knead loaves to challenging sourdoughs. You'll find detailed guides on different types of flour, yeast, and starters, as well as tutorials on shaping techniques for various breads and rolls.
We also cover essential equipment, troubleshooting tips for common bread baking issues, and ideas for incorporating different flavors and ingredients. Whether you're interested in mastering sandwich bread, crafting artisanal loaves, or experimenting with enriched doughs, BakeWithEase is here to support your passion for baking with practical advice and inspiring recipes. Keep exploring, keep baking, and enjoy the wonderful world of homemade bread!
Frequently Asked Questions
What are the most important factors for achieving perfectly risen rolls?
The key factors are using fresh yeast, ensuring the dough temperature is optimal for proofing, and allowing sufficient rising time in a warm environment.
What's the secret to making rolls extra soft and fluffy?
Using milk or buttermilk in the dough adds moisture and richness. Also, incorporating a tangzhong or water roux can significantly improve the roll's texture.
How can I prevent my rolls from becoming dry and hard after baking?
Avoid overbaking them! Monitor the internal temperature and remove them from the oven when they reach the recommended temperature. Also, brushing with melted butter after baking helps retain moisture.
What's the best way to ensure my rolls have a uniform shape and size?
Use a kitchen scale to divide the dough into equal portions. Then, practice consistent shaping techniques to create uniform rolls.
Can I freeze rolls, and if so, what's the best method to maintain their quality?
Yes, you can! Freeze unbaked rolls after shaping or baked rolls once cooled. Wrap them tightly in plastic wrap and then foil for best results and thaw completely before baking or reheating.
Final Reflection: The Joy of Perfectly Baked Rolls
The pursuit of the perfect roll transcends mere culinary skill; it's a testament to the power of precision and the enduring satisfaction of homemade goodness. In a world increasingly dominated by convenience, taking the time to craft something as seemingly simple as a roll offers a profound connection to both tradition and personal accomplishment. This article explored essential techniques, from ingredient selection to baking nuances, all aimed at achieving that coveted, fluffy, golden-brown perfection. But the impact extends far beyond the kitchen.
The act of baking, and specifically the focused effort required to produce consistently perfect rolls, has a surprisingly meditative quality. It's a process that demands attention to detail, fostering a sense of mindfulness often lost in the rush of daily life. The best things in life are homemade,
a sentiment often repeated, rings particularly true when considering the warmth and comfort a perfectly baked roll brings to the table. This simple act of baking connects us to generations past, to the comforting rituals of family meals, and to the simple pleasure of creating something beautiful and delicious with our own hands.
Now, I invite you to consider your own baking journey. Perhaps you've already mastered the art of the perfect roll, or maybe this article has provided you with the inspiration and knowledge to embark on that journey. Regardless, remember that the true reward lies not just in the final product, but in the process itself. So, gather your ingredients, preheat your oven, and embrace the joy of creating something truly special – one perfect roll at a time.
Unlock Your Inner Baker: Perfect Rolls Await!
Thanks for joining us on this baking journey! We hope you've gained valuable insights into crafting those perfect, fluffy rolls. Now it's time to put your newfound knowledge into practice.
- Bake a batch of rolls today! Use your favorite recipe (or try a new one inspired by the tips above!) and experience the satisfaction of perfectly risen dough.
- Share your baking triumphs (or challenges!) with us on social media. Use #BakeWithEase and let's build a community of passionate bakers.
- Consider experimenting with different flours or techniques to further refine your roll-making skills. What exciting flavor combinations will you try next?
Ready to transform your baking game? What’s your favorite roll recipe, or what unique twist will you add to yours?