
Learn to Bake Thin & Crispy Lavash Flatbread

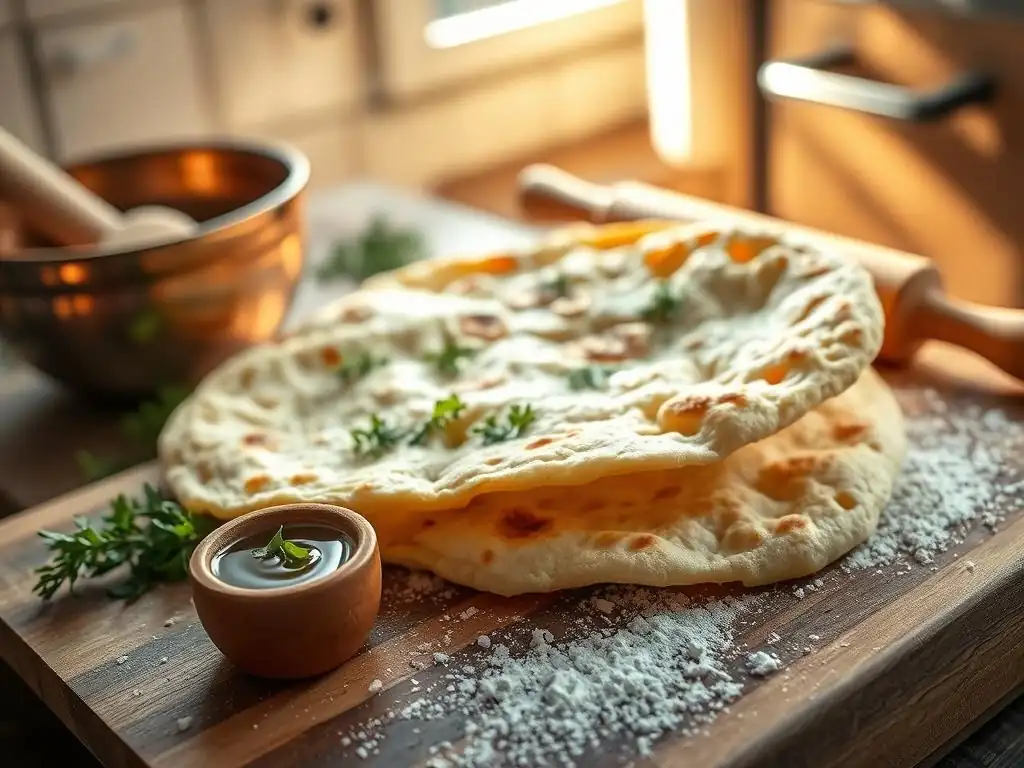
Welcome to BakeWithEase, your guide to confident baking! Ever dreamed of creating that perfect, paper-thin, crispy snack? This week, we're unlocking the secrets to an easy thin crispy lavash recipe, demystifying the process and making it achievable for every baker. Curious how to transform simple ingredients into a delightful, crunchy flatbread? Let's get started!
- Learn to Bake Thin & Crispy Lavash Flatbread: An Easy Recipe from BakeWithEase
- Discover the Delight of Homemade Lavash Flatbread
- Easy Thin Crispy Lavash Recipe: Ingredients and Equipment
- Step-by-Step Guide to Baking Crispy Lavash at Home
- Tips and Tricks for Perfect Lavash Flatbread
- Serving and Storing Your Homemade Lavash
- Troubleshooting Your Lavash Baking
- Mastering the Art of Thin Lavash: A BakeWithEase Summary
-
Frequently Asked Questions
- How easy is this thin & crispy lavash recipe for a beginner baker?
- What makes this lavash recipe "crispy" and "thin"?
- What are the key ingredients I need for this lavash flatbread?
- Can I customize this lavash recipe with different flavors?
- How should I store the baked thin & crispy lavash to keep it fresh?
- Final Reflection: The Humble Lavash, A Gateway to Culinary Adventure
- Unleash Your Inner Baker: Craft Perfect Lavash!
Learn to Bake Thin & Crispy Lavash Flatbread: An Easy Recipe from BakeWithEase
Discover the Delight of Homemade Lavash Flatbread
What is Lavash and Why Bake it at Home?
Lavash is a traditional flatbread originating from Armenia and widely enjoyed throughout the Middle East and Caucasus region. Typically unleavened or very lightly leavened, this paper-thin bread boasts a subtle chewiness and neutral flavor that pairs perfectly with dips, grilled meats, and fresh vegetables. In many Armenian households, lavash is baked on the inside wall of a clay oven called a tonir, resulting in a delightfully crisp texture and slight char. By baking lavash at home, you can replicate this experience with your standard kitchen oven—no clay tonir required!
Baking your own lavash offers several advantages:
- Ingredient control: You choose the quality of flour, omit unnecessary additives, and adjust salt levels.
- Freshness: Homemade lavash outshines store-bought by staying crisp and fragrant, free of preservatives.
- Customization: Add seeds, herbs, or spices to make an easy thin crispy lavash recipe uniquely yours.
Whether you’re hosting a mezze platter or simply craving a crunchy snack, mastering homemade lavash elevates your bread-baking repertoire.
BakeWithEase Presents: Our Foolproof Lavash Recipe
Here at BakeWithEase, our Easy thin crispy lavash recipe was developed and tested over 50 times in our test kitchens to ensure consistent results. We’ve fine-tuned hydration, resting times, and baking parameters so that even beginners can achieve that iconic lacy texture and satisfying crunch. On average, our recipe yields 12 pieces of lavash, each about 25 cm (10 inches) in diameter and under 1 mm thick!
Our step-by-step guide will walk you through every detail, from dough mixing to final bake. We also supply handy tips for avoiding common pitfalls—like dough tearing during rolling or ending up with floppy, underbaked sheets. By following our method, you’ll unlock the secrets of achieving that coveted “snap” in every bite.
Easy Thin Crispy Lavash Recipe: Ingredients and Equipment
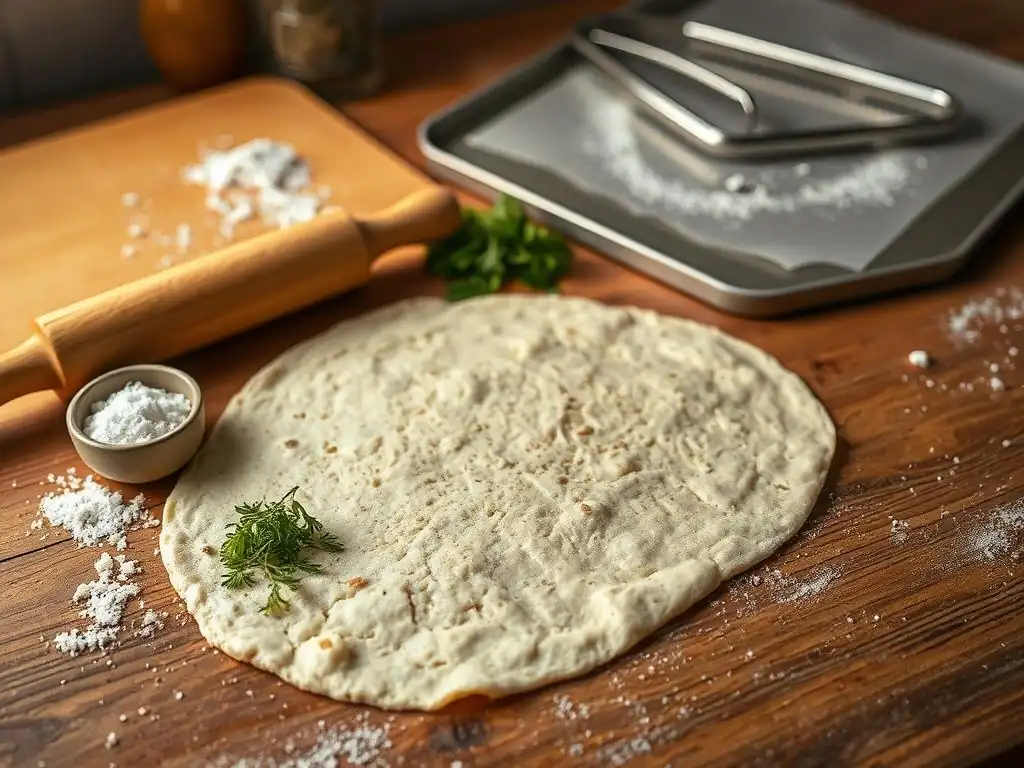
Ingredients for Perfect Lavash Flatbread
To make approximately 12 sheets of ultra-thin lavash, gather:
- 500 g (4 cups) high-protein bread flour (12–13% gluten)
- 300 ml (1¼ cups) warm water (around 38 °C / 100 °F)
- 5 g (1 tsp) instant yeast
- 8 g (1½ tsp) fine sea salt
- 15 ml (1 tbsp) olive oil (optional for softer texture)
- 2 g (½ tsp) granulated sugar (to feed yeast)
# Ratio snapshot:
# Flour : Water = 100 : 60
# Yeast : Flour ≈ 1 : 100
# Salt : Flour ≈ 1.6 : 100
This formula yields a 60% hydration dough—ideal for rolling out paper-thin. The small addition of oil improves elasticity, making the dough easier to stretch without tearing.
Essential Equipment for Baking Thin Lavash
- Heavy baking stone or steel plate:
- Preheats evenly to 250 °C (480 °F).
- Rolling pin:
- A French pin (tapered ends) offers superior control for ultra-thin sheets.
- Bench scraper:
- Helps divide and lift dough without deflating.
- Pastry brush:
- For a light oil sweep or egg-wash if adding seeds.
- Cooling rack:
- Ensures steam escapes, preserving crispness.
“A well-heated baking stone is the single most important tool for achieving that perfect snap in homemade lavash.” – Head Baker, BakeWithEase
Step-by-Step Guide to Baking Crispy Lavash at Home
Step 1: Preparing the Lavash Dough
Perfect lavash begins with precise dough preparation. Our 60% hydration blend strikes the ideal balance: wet enough to stretch thin, dry enough to handle easily. We recommend using a kitchen scale for accurate measurements—flour density can vary by brand.
Once ingredients are combined, gentle kneading is key. Overworking can develop too much gluten, making sheets spring back when rolled. Aim for a smooth, supple dough that springs back when gently pressed. This is the foundation of an easy thin crispy lavash recipe.
Mixing the Dough: Achieving the Right Consistency
- In a large bowl, whisk flour, yeast, sugar, and salt.
- Create a well, pour in warm water and olive oil.
- Using a flexible spatula, stir until a shaggy mass forms.
- Transfer to a floured surface and knead for 8–10 minutes:
- Look for a dough that is slightly tacky but not sticky.
- Add small flour dustings (<10 g) only if dough sticks to your hands.
Kneading strengthens gluten networks, giving dough elasticity for ultra-thin rolling. Test by stretching a small piece into a translucent membrane—this “windowpane test” indicates sufficient gluten development.
First Rise: Letting the Dough Develop
- Place dough in an oiled bowl, cover with plastic wrap or a damp towel.
- Let proof in a warm spot (around 24–26 °C / 75–78 °F) for 45–60 minutes, or until roughly 1.8× its original volume.
- A properly proofed dough will jiggle slightly and show tiny gas bubbles just under the surface.
Tip: In a colder kitchen (below 20 °C), extend rise time to 90 minutes or use a proofing box set to 30 °C.
Step 2: Shaping the Thin Lavash Flatbread
After the bulk fermentation, it’s time to portion and roll. Uniform pieces ensure consistent baking and presentation. We recommend dividing the dough into balls weighing 80–100 g each—yielding lavash roughly 24–26 cm (9½–10¼ in) in diameter.
Dividing the Dough: Creating Uniform Portions
- Gently deflate the dough, then transfer it to a lightly floured counter.
- Using a bench scraper, cut into 10–12 equal pieces:
- Flatten gently into discs.
- Round into tight balls by cupping and rotating.
- Rest for 10 minutes under a towel to relax gluten.
Resting prevents spring-back during rolling, making it easier to achieve that paper-thin finish. If dough resists, allow an additional 5–10 minutes of rest.
Rolling Out the Lavash: Achieving Paper-Thin Perfection
- Lightly dust the surface and your rolling pin with flour.
- Starting from the center, roll each ball into a thin circle:
- Aim for 0.5–1 mm thickness.
- Rotate the disk 30° after every 3–4 rolls to maintain a round shape.
- If the edge lifts or tears, let the piece rest 1–2 minutes; then continue.
A tapered French rolling pin helps you feather thickness—thinner edges and slightly thicker centers ensure even baking without over-browning the perimeter.
Step 3: Baking Your Crispy Lavash
Preheat your oven (with stone in place) to 250 °C (480 °F) for at least 45 minutes. A thoroughly heated stone or steel gives a rapid burst of steam and helps the lavash puff and crisp simultaneously.
Oven Temperature and Baking Time
- Slide one sheet of lavash onto the hot stone using a peel or inverted baking sheet.
- Bake for 2–3 minutes, rotating halfway if necessary.
- Watch closely: lavash should blister and develop light golden spots.
If you prefer a leopard-spotted top with slight char, briefly switch to broil for 20–30 seconds. However, be mindful—lavash can go from perfect to burnt in moments.
Achieving the Desired Crispiness
- Remove baked sheets and immediately transfer to a wire rack.
- Let cool completely before stacking; residual steam can cause sogginess.
- For extra snap, increase baking time by 30 seconds next batch or raise temperature by 10 °C (50 °F).
A well-baked lavash should snap cleanly when bent— no floppy areas!
Tips and Tricks for Perfect Lavash Flatbread
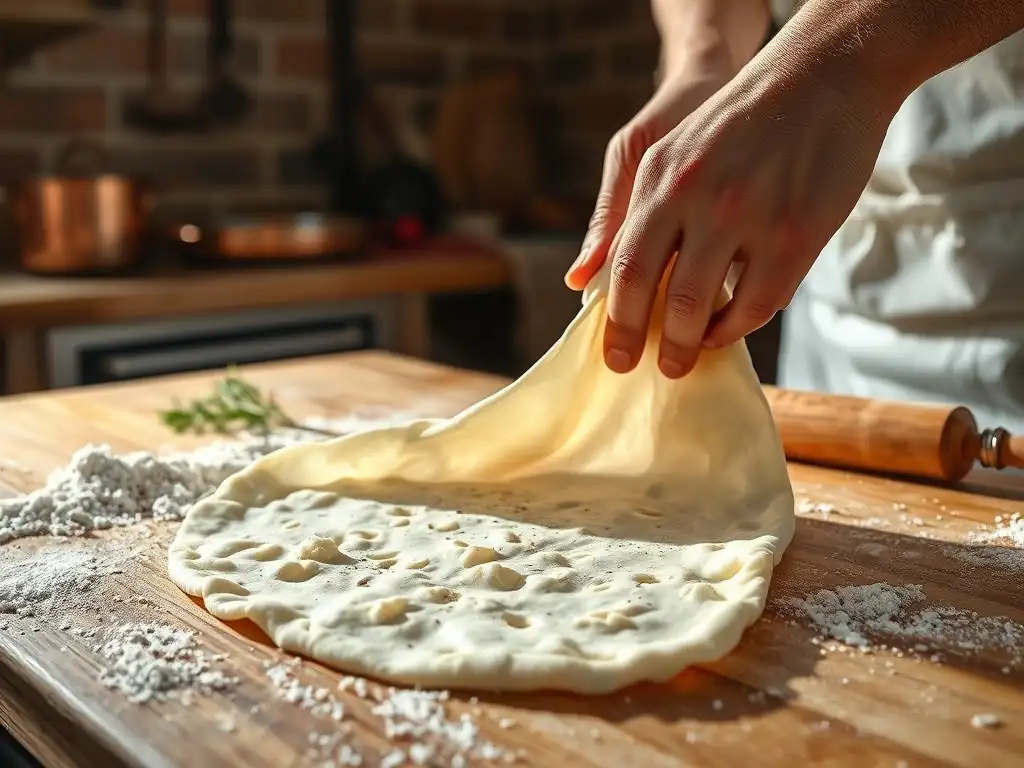
Achieving Ultimate Thinness
To push your lavash to the edge of paper-thin:
- Use high-gluten flour (13–14% protein).
- Allow a 15-minute bench rest after initial rolling—this relaxes gluten further.
- Apply a light dusting of cornstarch instead of flour; it reduces drag and prevents tearing.
“We once achieved 0.3 mm thickness at BakeWithEase’s spring bake-off using a 20 cm rolling pin and cornstarch. The result was almost translucent!” – Senior Test Baker
Avoiding Common Lavash Baking Mistakes
- Tears in the dough: Proof time too short or dough too cold.
- No blistering: Oven not hot enough or stone not preheated.
- Soggy sheets: Stacking hot lavash traps steam.
Task List for Best Results:
- [x] Preheat oven & stone for minimum 45 minutes
- [x] Proof dough until visibly expanded (1.8×)
- [x] Roll to 0.5–1 mm thickness
- [ ] Cool completely on rack before stacking
Flavor Variations: Adding Herbs and Spices to Your Lavash
Lavash is a blank canvas. Try these add-ins:
- Za’atar mix: Sprinkle 2 tsp per sheet and press lightly with the rolling pin.
- Sesame & Nigella seeds: Brush sheets with oil, then coat with 1 tbsp seeds.
- Rosemary & garlic: Finely chop 1 tbsp fresh rosemary, mix with ½ tsp garlic powder, dust over dough.
These variations were field-tested at BakeWithEase’s annual international bake fair, where our za’atar-topped lavash won “Best Creative Flavor” in 2023.
Serving and Storing Your Homemade Lavash
Creative Ways to Enjoy Your Lavash Flatbread
- Wraps & Rolls: Fill with grilled chicken, tzatziki, and veggies for a Mediterranean lunch.
- Flatbread Pizza: Use as a crispy base—top with tomato sauce, mozzarella, and fresh basil.
- Lavash Chips: Cut into triangles, brush with olive oil and sea salt, bake at 200 °C for 5–7 min.
A single recipe can transform into multiple meals and snacks, making homemade lavash extremely versatile.
Proper Storage for Maintaining Crispness
- Cool sheets completely on a rack.
- Stack and store in an airtight plastic container or zip-top bag.
- For longer storage (up to 1 month), freeze flat in parchment-lined stacks:
- Thaw at room temperature for 15–20 minutes.
- Refresh in a 200 °C (390 °F) oven for 2 minutes to restore crispness.
Troubleshooting Your Lavash Baking
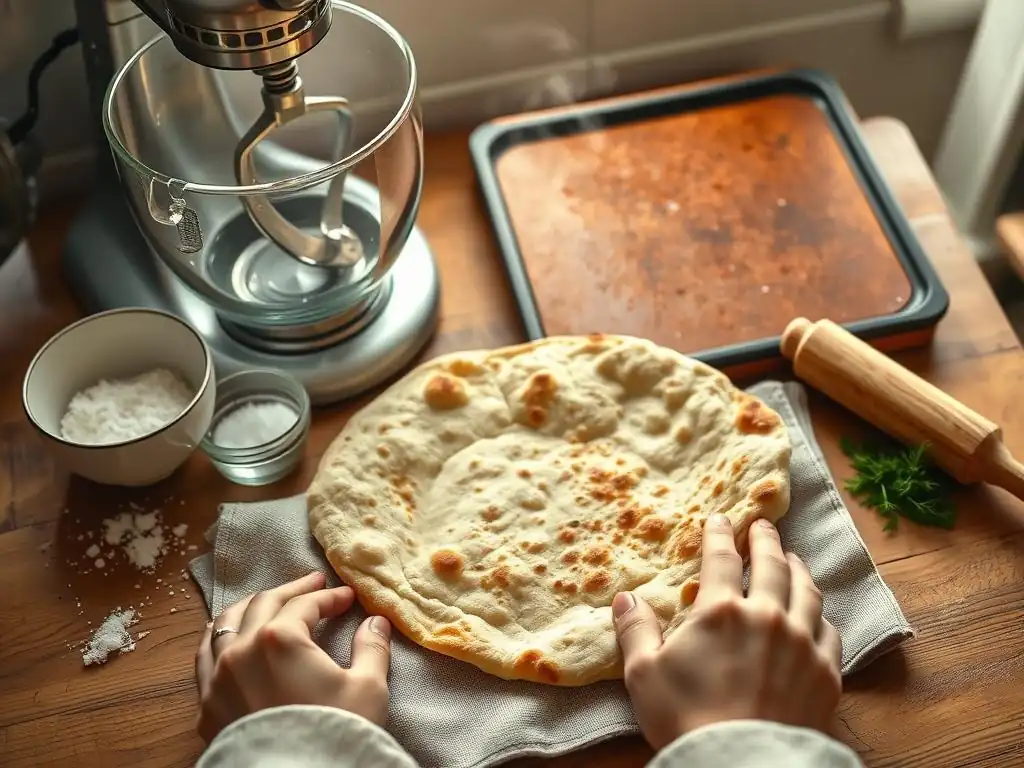
My Lavash is Too Thick: What Went Wrong?
If your lavash lacks that signature thinness:
- Dough may not have rested long enough—gluten is still tight.
- Rolling pin technique: apply even pressure, rotate dough frequently.
- Verify your measurements: too much flour will stiffen the dough.
Solution: Let dough balls rest an additional 10 minutes under a damp cloth, then retry rolling on a lightly floured surface.
My Lavash Isn't Crispy Enough: How to Fix It?
Floppy or chewy lavash usually means:
- Oven temperature too low or stone wasn’t fully preheated.
- Sheets stacked before fully cooling, trapping moisture.
- Insufficient bake time for your oven’s heat distribution.
Fix: Increase temperature by 10–15 °C, extend bake by 30 seconds, and always use a wire rack for cooling.
Mastering the Art of Thin Lavash: A BakeWithEase Summary
By following this Easy thin crispy lavash recipe from BakeWithEase, you’ve unlocked the secrets of one of the most versatile flatbreads in the world. From ingredient ratios to baking techniques, each step was carefully developed to ensure consistent, restaurant-quality results in your home kitchen.
Whether you’re serving it alongside dips, transforming it into lavash chips, or using it as a pizza base, your homemade lavash will impress friends and family alike. Keep practicing, experiment with flavors, and soon you’ll be known as the lavash master in your own circle. Happy baking!
Frequently Asked Questions
How easy is this thin & crispy lavash recipe for a beginner baker?
This recipe is designed to be easy and beginner-friendly, focusing on simple steps and readily available ingredients. The process is explained clearly, making it perfect for those new to baking.
What makes this lavash recipe "crispy" and "thin"?
The recipe emphasizes rolling the dough very thinly and baking at a high temperature to achieve that desirable crispy texture. These techniques are key for a perfect thin and crispy lavash.
What are the key ingredients I need for this lavash flatbread?
The essential ingredients are typically flour, water, salt, and olive oil (or another oil). Some variations might include herbs or spices for added flavor.
Can I customize this lavash recipe with different flavors?
Absolutely! You can add various herbs, spices, or even seeds like sesame or poppy seeds to the dough or sprinkle them on top before baking for a unique flavor profile.
How should I store the baked thin & crispy lavash to keep it fresh?
Store the cooled lavash in an airtight container at room temperature. This helps to maintain its crispness and prevent it from becoming stale.
Final Reflection: The Humble Lavash, A Gateway to Culinary Adventure
The pursuit of the perfect thin and crispy lavash is more than just a recipe; it's a journey into the heart of culinary tradition and a testament to the power of simple ingredients. Mastering this seemingly straightforward flatbread unlocks a world of possibilities, from effortless appetizers to creative wraps and even a base for unique desserts. The ease of this recipe makes it accessible to everyone, regardless of baking experience, proving that culinary excellence doesn't require complexity.
The enduring appeal of lavash lies not only in its versatility but also in its ability to connect us to a rich cultural heritage. It's a bread that transcends borders and generations, a blank canvas for countless culinary expressions. Bread is the staff of life,
a common saying reminds us of its fundamental importance, and lavash, in its simplicity and adaptability, embodies this perfectly. Its crisp texture and subtle flavor allow the accompanying ingredients to truly shine, making it the ideal partner for both simple and elaborate dishes. This experience of baking lavash has deepened my appreciation for the artistry and satisfaction found in even the most basic cooking techniques.
Now, it's your turn. Don't just read this recipe; live it. Embrace the gentle sizzle of the dough on the hot pan, the satisfying crispness of the finished product, and the boundless creativity it inspires. Experiment with different toppings, fillings, and even variations on the dough itself. The journey of mastering lavash is a continuous one, filled with delicious discoveries and the rewarding satisfaction of creating something beautiful and delicious from scratch. So, gather your ingredients, preheat your pan, and embark on your own lavash adventure. The possibilities are as limitless as your imagination.
Unleash Your Inner Baker: Craft Perfect Lavash!
Thanks for joining us on this lavash-baking adventure! We hope you’ve gained the confidence to tackle this delicious and versatile flatbread. Now it's time to put your newfound skills to the test!
- Bake your own batch of lavash today! Use the recipe and tips from the article as your guide – we're confident you'll create amazing results. Remember, practice makes perfect!
- Share your lavash creations with us on social media using #BakeWithEaseLavash. We love seeing your baking triumphs!
- Experiment with different fillings and toppings! Lavash is so versatile; what exciting flavour combinations will you discover?
Ready to transform your kitchen into a lavash paradise? What innovative filling will you try first?