
Tough Bread? It Might Be Your Kneading Technique

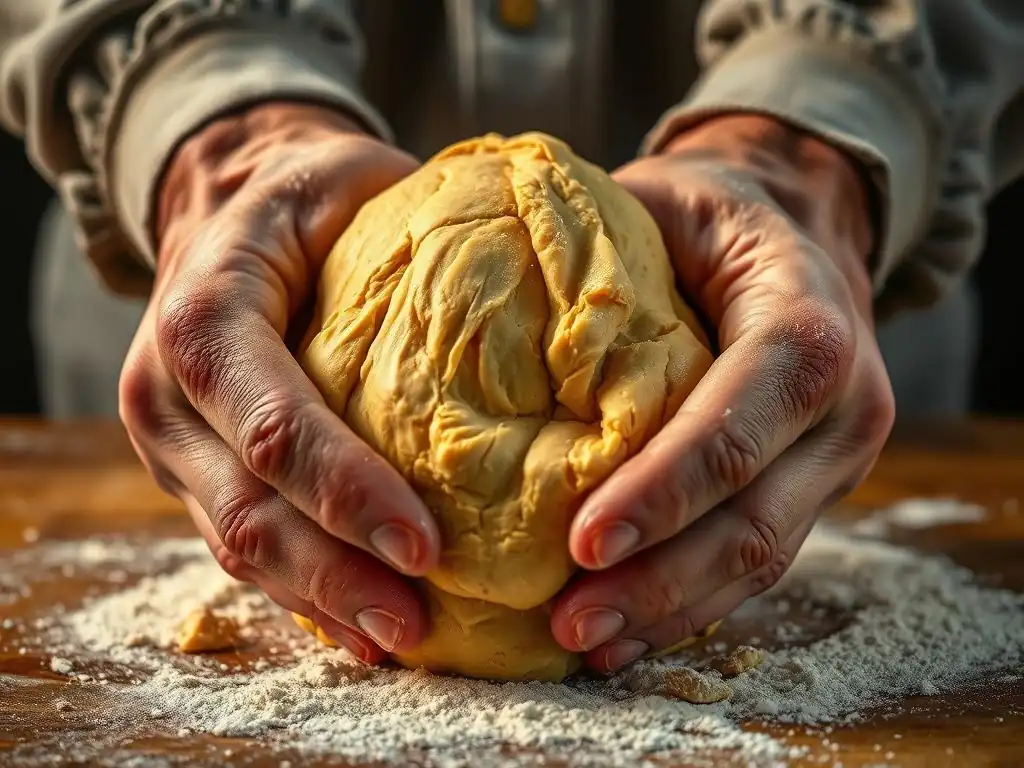
Welcome to BakeWithEase, your haven for all things baking!
Ever wondered why your homemade bread just isn't quite right? It might be simpler than you think. Dive into our guide and unlock the secrets to the proper bread kneading technique tips that will transform your loaves from tough to tender. Prepare to revolutionize your bread baking journey!
- Achieving Perfect Bread: Mastering the Kneading Technique
- Why Tough Bread? Understanding the Kneading Connection
- The Science of Effective Kneading
- Step-by-Step Guide to Proper Kneading
- Avoiding Common Kneading Mistakes
- Kneading Methods for Different Bread Types
- Testing Dough Readiness: The Windowpane Test
- Troubleshooting Kneading Problems
- Kneading's Role in Perfect Bread Texture
- Advanced Kneading Techniques
- Conclusion: Kneading Your Way to Perfect Bread
-
Frequently Asked Questions
- What is the most common mistake people make when kneading bread dough?
- How long should I typically knead bread dough for optimal results?
- What are some signs that my bread dough is properly kneaded?
- What are some tips for kneading bread dough by hand effectively?
- Can over-kneading bread dough also cause problems?
- Final Reflection: The Art and Science of Kneading – A Journey to Perfect Bread
- Unlock Your Perfect Loaf: Master the Art of Kneading!
Achieving Perfect Bread: Mastering the Kneading Technique
Why Tough Bread? Understanding the Kneading Connection
Have you ever baked a loaf of bread, only to find it dense, heavy, and tough instead of light and airy? This common frustration often points back to one crucial step in the process: kneading. Kneading is the physical act of working dough by hand or machine to develop gluten, the protein network that gives bread its structure and elasticity. Without proper kneading, the gluten doesn't form correctly, leading to a weak structure that can't trap the gases produced by yeast during fermentation.
The result of insufficient or incorrect kneading is a loaf that fails to rise adequately and has a tight, unpleasant texture. Conversely, kneading too much can also damage the gluten network, making the dough stiff and difficult to work with, ultimately resulting in a tough crumb. Understanding the delicate balance of mastering the proper bread kneading technique is fundamental to achieving that coveted soft, chewy interior and satisfying crust. It's not just about mixing ingredients; it's about developing the dough's potential.
Identifying Over-Kneaded Dough
Over-kneading occurs when the gluten structure is developed past its optimal point, often to the point of breaking down. Visually, over-kneaded dough might appear very tight and resistant, lacking elasticity. When you try to stretch a piece, it tends to tear almost immediately rather than stretching smoothly.
Tactile signs include the dough feeling very stiff and potentially greasy. The surface might look very smooth initially, but as you continue, it can become less pliable. This overdevelopment makes the dough difficult to shape and leads to a bread with a dense, often rubbery texture because the overworked gluten strands can't expand properly during proofing and baking. Recognizing these signs is one of the important proper bread kneading technique tips.
Recognizing Under-Kneaded Dough
Under-kneaded dough, on the other hand, hasn't had its gluten sufficiently developed. It will feel slack, sticky, and potentially shaggy, even after the initial mixing. When you try to stretch a piece, it will likely tear very easily without offering much resistance or showing any sign of forming a thin membrane.
A common indicator is a rough or uneven surface that doesn't become smooth even after several minutes of kneading. Bread made from under-kneaded dough will typically be dense and heavy, with a coarse, irregular crumb structure. It won't have the characteristic chewiness and open texture of well-developed bread. Learning to identify under-kneaded dough is crucial for improving your bread baking.
The Science of Effective Kneading
Kneading is essentially the process of activating and developing gluten, which is a protein network formed when two proteins found in wheat flour, gliadin and glutenin, come into contact with water and are manipulated. This manipulation, or kneading, causes these proteins to link together, forming long, elastic strands.
As you knead, these strands become stronger and more organized, creating a flexible, stretchy network throughout the dough. This network acts like a net, capable of trapping the carbon dioxide gas produced by yeast during fermentation. A well-developed gluten network allows the dough to rise significantly, creating a light, airy texture in the final loaf. Mastering this process is key to proper bread kneading technique.
Gluten Development: Key to Texture
Gluten development is the cornerstone of achieving desirable bread texture. When flour and water are combined, the gliadin and glutenin proteins begin to hydrate. Kneading then provides the physical energy needed to align these hydrated proteins and encourage them to bond into the complex, three-dimensional gluten network. Think of it like tiny threads that start tangled and become organized into a strong fabric.
The strength and elasticity of this gluten network directly influence the bread's volume, crumb structure, and chewiness. A well-developed gluten network is strong enough to hold its shape during proofing and baking but also elastic enough to allow for significant expansion. This balance is what produces a loaf that is both sturdy and tender, with a pleasant, open crumb. Without proper gluten development through effective kneading, achieving this texture is impossible.
Kneading's Impact on Gluten Strands
The mechanical action of kneading stretches and folds the dough, which in turn stretches and aligns the developing gluten strands. As you push, pull, and fold the dough, you are essentially building strength and organization into the protein structure. This process transforms a sticky, formless mass into a smooth, elastic ball that can hold its shape.
Each fold and stretch helps to lengthen the gluten chains and bond them more tightly together, increasing the dough's elasticity and extensibility. The goal is to create a network that is strong enough to support the dough's rise but also flexible enough to expand without tearing. The correct kneading methods ensure that these gluten strands are optimally developed for the specific type of bread being made.
Step-by-Step Guide to Proper Kneading
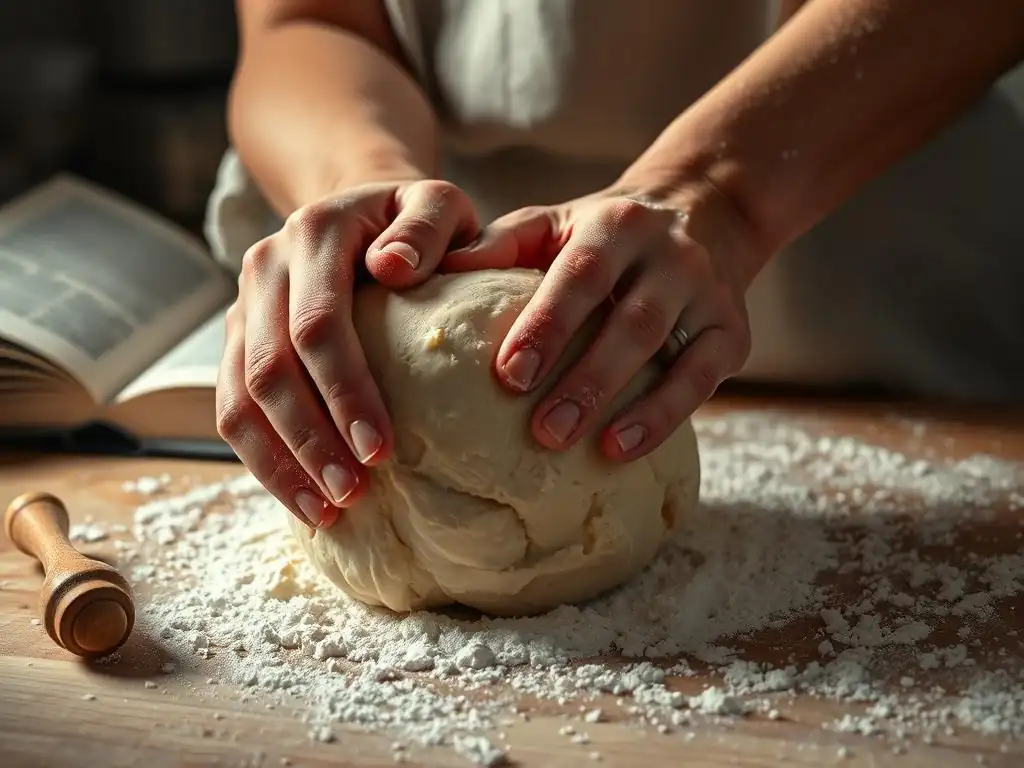
Manual kneading is a fundamental skill in bread baking and a classic way to practice proper bread kneading technique. It typically starts with a shaggy dough formed by mixing flour, water, yeast, and salt. Once the ingredients are roughly combined, the dough is transferred to a clean surface, often lightly floured. The initial stage might feel sticky, but as you knead, the dough will become smoother and less adherent.
Before beginning vigorous kneading, some recipes benefit from a short rest period (5-20 minutes). This allows the flour to fully hydrate, making the dough easier to work and kickstarting a little gluten development passively. This resting phase, sometimes called autolyse (though that's a more specific technique), is one of the helpful proper bread kneading technique tips, especially for beginners, as it makes the dough less sticky from the start.
Preparing the Dough: Resting and Hydration
Proper hydration is crucial before you even start kneading. The ratio of water to flour significantly impacts the dough's consistency and how easily gluten develops. Too little water results in a dry, stiff dough that is hard to knead and won't develop gluten well. Too much water results in a very wet, sticky dough that is challenging for manual kneading, though excellent for developing an open crumb if managed correctly (often with stretch and folds).
A brief rest period after initial mixing allows the flour to absorb the water fully, leading to a more cohesive dough. For example, a dough with 65% hydration might rest for 15 minutes before manual kneading begins. This rest lets enzymes start breaking down proteins, which aids gluten development, and makes the dough more extensible, requiring less effort to knead effectively.
The Kneading Process: Push, Fold, Turn
The most common manual kneading method involves a push, fold, and turn action. Start by placing the dough on a lightly floured surface. Using the heel of one hand (or both), push the dough away from you, stretching it slightly. Then, fold the stretched portion back over the rest of the dough. Give the dough a quarter turn and repeat the push, fold, and turn motion.
Continue this rhythmic process for 10-15 minutes, or until the dough becomes smooth, elastic, and passes the windowpane test. Avoid adding excessive flour to your surface or hands, as this can alter the hydration of the dough and result in a dry loaf. A little stickiness is normal, especially with higher hydration doughs; resist the urge to add cup after cup of flour.
Maintaining Dough Consistency
Maintaining the correct dough consistency throughout the kneading process is vital for successful gluten development. The dough should start out potentially shaggy but quickly come together into a cohesive mass. As you knead, it should transform from sticky and formless to smooth, elastic, and only slightly tacky. If the dough feels too dry and stiff, you might need to add a tiny splash of water, a teaspoon at a time, integrating it fully before adding more.
Conversely, if the dough is excessively sticky and difficult to handle, you can add a small amount of flour, perhaps a tablespoon at a time, kneading it in completely before deciding if more is needed. The goal is to reach a point where the dough is pliable and stretches without tearing excessively, indicating proper gluten development. Consistent practice with different doughs helps you recognize the ideal feel.
Avoiding Common Kneading Mistakes
One of the most frequent errors bakers make is either under-kneading or over-kneading their dough. Under-kneading is often due to impatience or not understanding the signs of proper gluten development. The dough might look smooth on the outside but lack the internal structure needed for a good rise. This results in dense, heavy bread.
Over-kneading, while less common with manual methods unless done for an extremely long time, can happen quickly with powerful stand mixers. The gluten network is stretched too far and begins to break down, leading to a stiff dough that tears easily and produces tough bread. Recognizing the signs discussed earlier is crucial for avoiding these pitfalls and implementing proper bread kneading technique tips.
Preventing and Fixing Overworking
Preventing overworking primarily involves knowing when to stop kneading. For manual kneading, this is usually when the dough is smooth, elastic, and passes the windowpane test, typically after 10-15 minutes of continuous effort for a standard loaf. With a stand mixer, overworking can happen much faster, sometimes in as little as 5-8 minutes on medium speed, depending on the mixer and dough. Watch the dough carefully; it will pull cleanly away from the sides of the bowl and form a smooth ball.
If you suspect you've slightly over-kneaded, especially with a stand mixer, you might be able to rest the dough for 20-30 minutes. This rest can sometimes allow the gluten strands to relax a bit. However, severely over-kneaded dough is difficult to rescue and may result in a less-than-ideal loaf no matter what you do. Prevention is the best strategy here.
Ensuring Adequate Gluten Development
To ensure adequate gluten development, pay attention to the dough's texture and elasticity throughout the kneading process. It should gradually become smoother, less sticky, and more resistant to tearing as you work it. The windowpane test (discussed later) is the most reliable indicator that sufficient gluten has been developed.
If your dough consistently seems weak or tears easily even after the recommended kneading time, consider factors like the type of flour used (bread flour has higher protein than all-purpose) or the hydration level (very dry doughs are harder to knead effectively). Sometimes, letting the dough rest for 10-20 minutes mid-kneading can also help relax the gluten and make it easier to finish the process.
Flour Usage: Finding the Right Balance
Using the right amount of flour during kneading is a critical aspect of proper bread kneading technique. While a lightly floured surface prevents sticking, adding too much extra flour incorporates it into the dough, altering the hydration level of the original recipe. This can make the dough too stiff, hindering proper gluten development and resulting in a dry, dense loaf.
Instead of adding more flour when the dough is sticky, try scraping your surface clean, lightly flouring your hands, or using a bench scraper to handle the dough. A dough that is slightly tacky is often ideal for developing a good crumb structure. Aim for a surface that is just dry enough to prevent the dough from welding itself down, but not so heavily floured that the dough picks up significant extra flour.
Kneading Methods for Different Bread Types
Not all bread doughs are kneaded in the same way. The ideal method often depends on the dough's hydration level and the desired final texture of the bread. Traditional, lower-hydration doughs (like for a classic sandwich loaf, perhaps 60-65% hydration) benefit well from vigorous manual kneading or stand mixer kneading, as the structured dough can handle the force.
Higher hydration doughs (like many ciabattas or artisan loaves, perhaps 70-80%+ hydration) are often too wet to knead effectively using the traditional push-fold method. These doughs benefit more from gentler techniques like stretch and folds or coil folds performed periodically during the bulk fermentation phase. These methods build strength more gradually without requiring excessive flour or making a sticky mess.
Sourdough Kneading Techniques
Sourdough doughs, which often have moderate to high hydration and a longer fermentation time, frequently utilize gentler kneading methods. Stretch and folds are a popular technique: wet hands are used to lift one side of the dough from the bowl, stretch it upwards, and fold it back over the rest of the dough. This is repeated for all four sides of the dough, usually every 30-60 minutes during the first few hours of bulk fermentation.
Coil folds are another gentle method for very wet doughs, where you lift the dough from the center with wet hands, allowing the ends to fold underneath themselves as you lift, then gently place it back in the container. These techniques build strength and tension gradually, which is ideal for the slower, more nuanced fermentation of sourdough. They are effective proper bread kneading technique tips for tangy loaves.
No-Knead Bread Options
For bakers seeking minimal effort, no-knead bread recipes offer a revolutionary approach. These recipes typically use a high hydration level (often 75-80% or higher) and a very long, slow fermentation period (12-18 hours or more). The extensive time allows the gluten to develop passively through a process called autolysis and enzymatic activity, without any physical kneading required from the baker.
The dough starts very wet and shaggy. Over many hours, the proteins hydrate and align themselves. While the texture might differ slightly from vigorously kneaded bread, no-knead methods can produce loaves with excellent open crumb structures and crispy crusts, proving that sometimes, time is just as effective as elbow grease in developing gluten.
Stand Mixer Kneading: Tips and Tricks
Using a stand mixer with a dough hook is a convenient way to knead dough, especially for larger batches or stiffer doughs. Start on a low speed (speed 1 or 2) until the ingredients are just combined into a shaggy mass, typically 1-2 minutes. Then, increase the speed to medium (speed 3 or 4) and let the mixer do the work.
Keep a close eye on the dough. It should start to pull cleanly away from the sides of the bowl and eventually form a smooth ball that wraps around the dough hook. Kneading time in a stand mixer is significantly shorter than manual kneading, often ranging from 5 to 10 minutes total. Over-mixing is a real risk here, so stop as soon as the dough looks smooth and elastic and passes the windowpane test.
Testing Dough Readiness: The Windowpane Test
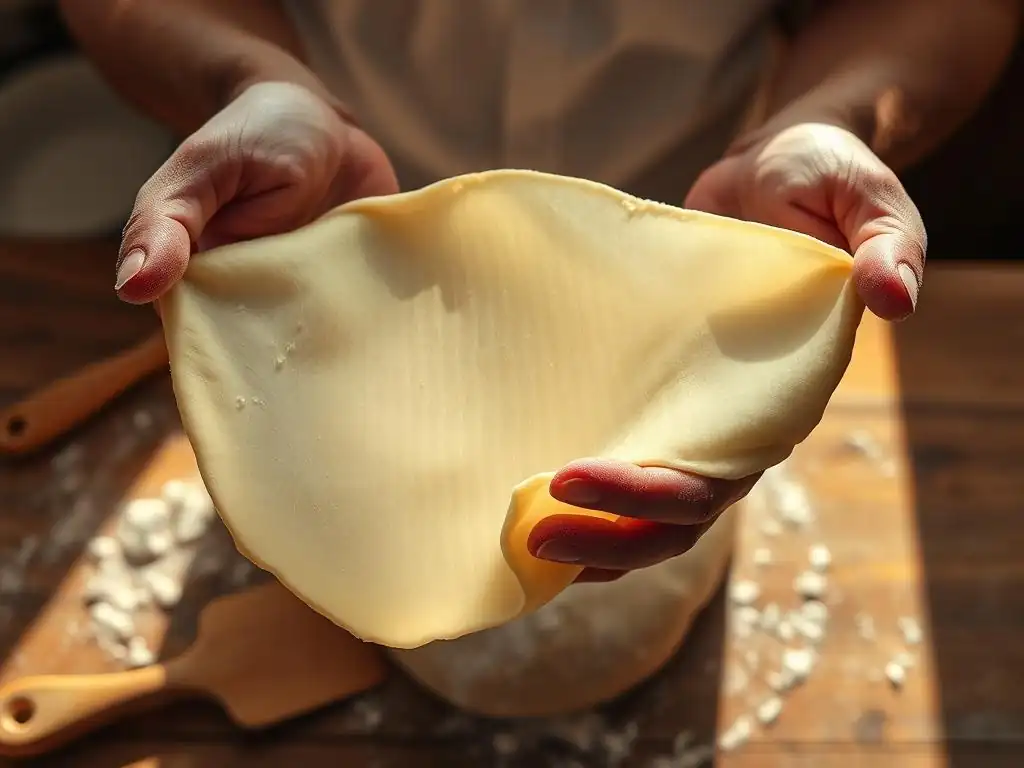
The windowpane test is a classic and reliable method for determining if your dough has been kneaded sufficiently and the gluten network is properly developed. It's a visual confirmation that the gluten strands are strong and elastic enough to support the bread's structure. Mastering this test is one of the essential proper bread kneading technique tips.
Performing the test involves taking a small piece of dough and gently stretching it. If the gluten is well-developed, you should be able to stretch the dough thinly enough to see light through it without it tearing. It should resemble a thin membrane or a "windowpane."
Performing the Windowpane Test
To perform the windowpane test, lightly flour your hands to prevent sticking. Pinch off a small piece of dough, roughly the size of a golf ball. Gently begin stretching and pulling the dough outwards from the center, using your fingers. Rotate the dough as you stretch, working outwards from the middle.
The goal is to stretch the dough until it is paper-thin and translucent, allowing light to pass through. If you can achieve this without the dough tearing, your gluten is well-developed, and the dough is ready for the next step (usually bulk fermentation). If it tears quickly or remains thick and opaque, it needs more kneading.
Addressing a Failed Windowpane Test
If your dough fails the windowpane test, it means the gluten network hasn't been sufficiently developed yet. The dough needs more kneading. Simply return the piece of dough to the main mass and continue kneading for a few more minutes.
After a few more minutes of kneading (either manually or in a mixer), perform the windowpane test again with a new piece of dough. Repeat this process until the dough passes the test. Be mindful not to over-knead in your effort to pass the test; stop as soon as the dough becomes smooth and elastic and passes the windowpane test successfully.
Troubleshooting Kneading Problems
Even with diligent effort, you might encounter issues during the kneading process. One common problem is dough that remains excessively sticky despite kneading. This could be due to high hydration, insufficient initial mixing time, or not resting the dough. Adding too much flour to combat stickiness is a common mistake that leads to dry bread.
Another issue is dough that feels stiff and tears easily, indicating potential over-kneading or insufficient hydration. Recognizing these problems early allows you to attempt corrections before the dough is too far along. Understanding how to fix these issues is part of mastering proper bread kneading technique.
Managing Sticky Dough
Sticky dough is often a sign of high hydration, which isn't necessarily a problem, but it requires different handling. Instead of adding lots of flour, try wetting your hands slightly or using a bench scraper to manipulate the dough. Work on a clean, lightly floured surface.
If the dough is still unmanageably sticky after a reasonable kneading time (and it's not a very high hydration dough meant to be sticky), you might add a tiny bit more flour, a tablespoon at a time, kneading it in completely before adding more. Alternatively, a short rest period (10-15 minutes) can sometimes make sticky dough easier to handle as the flour fully hydrates.
Addressing Dough Development Issues
If your dough feels weak and doesn't develop elasticity after the expected kneading time, several factors could be at play. The type of flour matters; using lower protein flour (like cake flour) won't yield strong gluten. Ensure you're using bread flour or at least all-purpose flour with a sufficient protein content (around 10-12% for AP, 12-14% for bread flour).
Ensure your water temperature wasn't too hot, which can harm yeast and affect dough structure. Also, make sure you are kneading with sufficient vigor (for manual kneading) or for adequate time (for mixer kneading), checking the windowpane test periodically. Sometimes, simply continuing to knead for a few more minutes is all that's needed.
Dry Dough That Won't Cooperate
Dry, stiff dough that resists kneading and tears easily is often a result of insufficient hydration or adding too much flour during the initial mixing or kneading process. If your dough feels too dry from the start, try adding water gradually, a teaspoon at a time, kneading it in completely before adding more.
If the dough became dry because too much flour was added during kneading, it's harder to fix, but you can try incorporating tiny amounts of water by wetting your hands and working the moisture into the dough, or by kneading in a very small amount of oil or softened butter if the recipe allows for fat. Prevention is key here: measure ingredients accurately and use flour sparingly during kneading.
Kneading's Role in Perfect Bread Texture
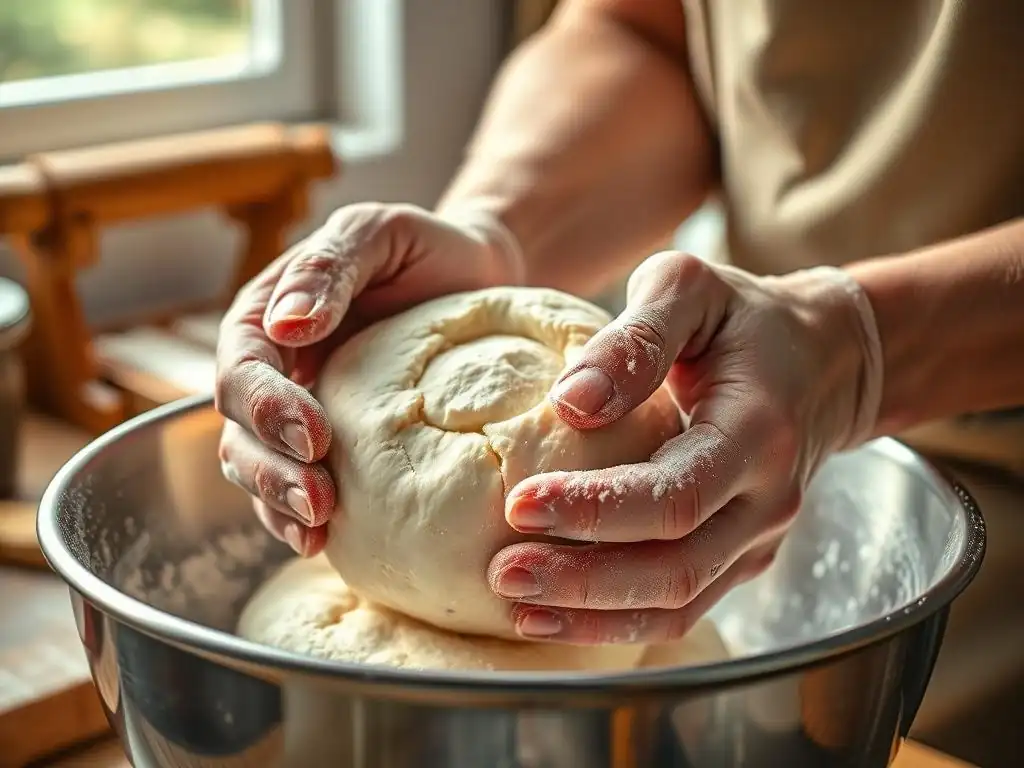
Kneading is just one piece of the bread baking puzzle, but it's a foundational one that sets the stage for success in later steps. The strength and elasticity developed during kneading directly impact how well the dough can rise during proofing (fermentation) and oven spring (the final rise in the hot oven).
A properly kneaded dough with a strong gluten network can hold onto the gases produced by yeast, allowing the dough to expand significantly. This results in a loaf with good volume and an open, airy crumb structure. Conversely, under-kneaded dough won't hold gas well, leading to a dense loaf, while over-kneaded dough might tear during proofing or baking, also resulting in poor structure. Mastering the proper bread kneading technique is essential for overall bread quality.
Kneading, Proofing, and Baking Relationships
The relationship between kneading, proofing, and baking is synergistic. Effective kneading creates the framework (the gluten network) that allows the dough to capture gases. Proofing is the period where yeast produces these gases, causing the dough to expand within that framework. If the kneading wasn't sufficient, the framework is weak, and the dough won't hold the gas, resulting in a poor rise during proofing and baking.
Baking provides the heat that causes the gases to expand rapidly (oven spring) and sets the gluten structure, creating the final crumb. If the gluten wasn't developed properly through kneading, the dough won't have good oven spring, and the crumb will be tight and dense. Each step relies on the success of the previous one, starting with the quality of the kneaded dough.
Impact of Oven Temperature and Humidity
While kneading primarily impacts the dough's structure before it hits the oven, oven temperature and humidity play a crucial role in the final texture and appearance, working in conjunction with the properly kneaded dough. High initial oven temperatures cause rapid gas expansion (oven spring), which requires a strong, elastic gluten network developed through effective kneading to contain it without tearing.
Steam in the oven during the initial baking phase keeps the surface of the dough moist and pliable, allowing it to expand fully before the crust sets. Without sufficient steam, the crust can harden too quickly, restricting the final rise, regardless of how well the dough was kneaded. Thus, while proper bread kneading technique builds the potential for a great loaf, optimal baking conditions help realize that potential.
Advanced Kneading Techniques
For those looking to refine their proper bread kneading technique further, several advanced concepts and methods can enhance dough development and the final bread quality. These techniques often focus on optimizing hydration, leveraging time for passive gluten development, or using specific folding methods tailored to very wet doughs.
Exploring techniques like autolyse or understanding baker's percentages can provide deeper insights into how ingredients interact and how to manipulate the dough for desired results. These methods build upon the foundational principles of kneading, offering ways to achieve even better texture and handling properties.
Autolyse for Enhanced Gluten Development
Autolyse is a technique where flour and water are mixed together and allowed to rest for 20 minutes to several hours before adding the yeast and salt and beginning the main kneading. This rest period allows the flour to fully hydrate and enzymes within the flour to begin breaking down proteins, which helps kickstart gluten development passively.
The result is a dough that is less sticky and more extensible, meaning it stretches more easily and tears less during subsequent kneading. This can shorten the required active kneading time and lead to a smoother, more pliable dough, ultimately contributing to a better crumb structure. It's a valuable tip for proper bread kneading technique, especially with higher hydration doughs.
Baker's Percentage and Hydration Levels
Understanding baker's percentage is fundamental to precisely controlling hydration, which in turn impacts how dough needs to be kneaded. Baker's percentage expresses each ingredient's weight as a percentage of the flour's weight. For example, if you use 500g flour and 325g water, the hydration is (325g / 500g) \* 100% = 65%.
Doughs with lower hydration (e.g., 55-65%) are stiffer and typically require more vigorous kneading to develop gluten. Higher hydration doughs (e.g., 70-85%+) are wetter and stickier, often benefiting from gentler stretch and folds rather than intense traditional kneading. Knowing your dough's hydration level helps you choose the most effective kneading method.
Conclusion: Kneading Your Way to Perfect Bread
Mastering the art of kneading is a cornerstone of successful bread baking. It's the process that transforms a simple mixture of flour and water into a dynamic, elastic dough capable of becoming a beautifully risen, light, and airy loaf. We've explored why kneading is essential, how to recognize properly kneaded dough, and common pitfalls to avoid.
From manual push-fold techniques to stand mixer efficiency and the gentle methods for sourdough, understanding the different approaches to proper bread kneading technique allows you to tackle a wide range of recipes with confidence. The windowpane test serves as your reliable guide, ensuring your gluten is just right before moving on.
Recap of Kneading Tips
Here's a quick recap of essential proper bread kneading technique tips:
- Know the signs of under- and over-kneaded dough (stickiness/tearing vs. tightness/tearing).
- Understand that kneading develops gluten, the foundation of bread structure.
- Use the push, fold, and turn method for manual kneading, or the dough hook for mixers.
- Avoid adding excessive flour during kneading; manage stickiness with wet hands or a bench scraper.
- Perform the windowpane test to check for sufficient gluten development.
- Choose kneading methods appropriate for the dough's hydration (vigorous for lower hydration, gentle folds for higher hydration).
- Be patient; kneading takes time and practice.
Resources for Further Bread Baking Education
To continue your journey in mastering bread baking and refining your proper bread kneading technique, explore various resources. Cookbooks dedicated to bread offer detailed instructions and recipes. Online baking communities and forums provide opportunities to ask questions and learn from experienced bakers.
Many baking websites and blogs feature step-by-step guides, videos demonstrating techniques like kneading and the windowpane test, and troubleshooting tips for common bread issues. Practice is key, and the more you bake and knead, the better you'll become at recognizing the feel of perfectly developed dough. Happy baking!
Frequently Asked Questions
What is the most common mistake people make when kneading bread dough?
The most common mistake is under-kneading the dough. This prevents proper gluten development, resulting in a tough or dense bread.
How long should I typically knead bread dough for optimal results?
Kneading time varies, but generally, aim for 8-10 minutes using a stand mixer or 10-12 minutes by hand. This ensures sufficient gluten development for a good crumb structure.
What are some signs that my bread dough is properly kneaded?
Properly kneaded dough will be smooth and elastic. It should also pass the "windowpane test," where you can stretch a small piece thin enough to see light through it without tearing.
What are some tips for kneading bread dough by hand effectively?
Use a firm, rhythmic motion, pushing the dough away from you with the heel of your hand, then folding it back. Make sure to incorporate all the ingredients evenly throughout the kneading process.
Can over-kneading bread dough also cause problems?
Yes, over-kneading can damage the gluten structure, resulting in a sticky or slack dough. Watch the dough's texture carefully and stop kneading when it reaches the proper consistency.
Final Reflection: The Art and Science of Kneading – A Journey to Perfect Bread
The perfect loaf isn't just about the recipe; it's about the mindful process of kneading. Mastering this seemingly simple step unlocks a world of flavour, texture, and satisfaction, directly impacting the quality of your bread and your baking experience. Ignoring proper technique can lead to dense, disappointing results, highlighting the crucial role of this often-overlooked step.
The impact of proper kneading extends beyond the individual baker; it connects us to a long tradition of bread-making, a practice passed down through generations. The satisfying feel of the dough yielding to your hands, the subtle changes in texture as the gluten develops – these are tactile experiences that ground us in a process older than recorded history. Bread is the staff of life,
they say, and I believe that the act of kneading, with its careful attention and physical engagement, is a vital part of that life-giving process.
Now, consider your own baking journey. What have you learned about the importance of patience and precision in achieving your goals? Take a moment to reflect on the connection between the physical act of kneading and the metaphorical kneading required in other aspects of your life – the persistent effort, the attention to detail, the satisfaction of seeing your efforts bear fruit. Embrace the process, experiment with different techniques, and discover the joy of creating truly exceptional bread, one knead at a time.
Unlock Your Perfect Loaf: Master the Art of Kneading!
Thanks for taking the time to explore the world of bread making with us! We hope you now feel more confident in tackling even the toughest doughs. Ready to put your new kneading skills to the test?
- Bake a show-stopping sourdough: This is your chance to put everything you've learned into practice. Try a recipe you've always wanted to conquer.
- Share your baking journey: Tag us on social media with your bread creations – we'd love to see your results! Use #BakeWithEaseKneadMaster.
- Experiment with different flours: Discover how different flour types impact your kneading technique and the final texture of your bread.
What unique flour will you experiment with next, and what kind of bread masterpiece will you create?