
Discover Tibetan Tsampa Bread: A Unique Roasted Barley Dough

Welcome to BakeWithEase!
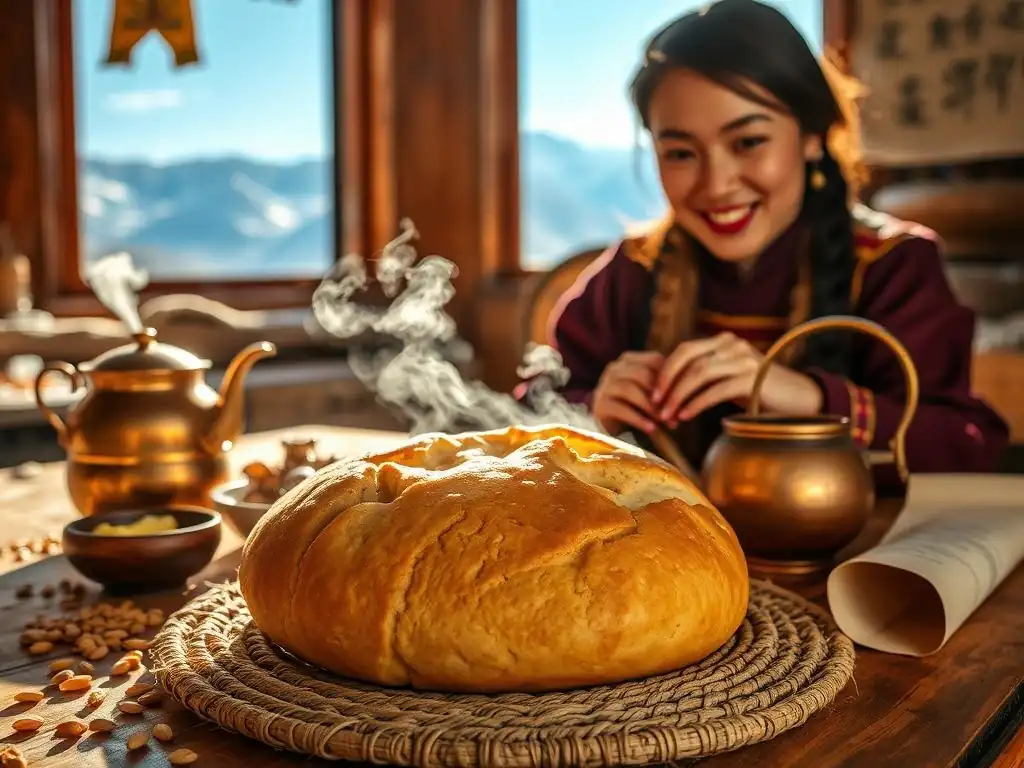
Ever wondered about the secrets behind the hearty, nourishing bread of the Himalayas? You've come to the right place. In this article, we're unwrapping the mystery of Tibetan Tsampa Bread, a unique roasted barley dough that's surprisingly simple to make. Prepare to discover a delicious and culturally rich baking experience that will expand your bread-making horizons. Ready to embark on this culinary journey? Let's get baking!
- Discover Khambir: A Traditional Ladakhi Bread
- Introduction to Khambir: Ladakhi Staple Bread
- Understanding the Key Ingredients: Wheat Flour and Yeast
- Easy Ladakhi Khambir Recipe: A Simple Guide
- Tips for Perfecting Your Ladakhi Khambir Bread
- Serving Suggestions for Ladakhi Khambir Bread
- Nutritional Information of Khambir Bread
- Troubleshooting Your Khambir Bread
- Beyond the Basic Recipe: Exploring Khambir Variations
- Conclusion: Embrace the Flavor of Ladakhi Khambir Bread
-
Frequently Asked Questions
- What is tsampa bread and what makes it unique?
- Is the Tibetan tsampa bread recipe easy to follow for beginners?
- What are the key ingredients needed for this Tibetan tsampa bread recipe?
- Where can I find tsampa flour if it's not available in my local store?
- Can I customize the Tibetan tsampa bread recipe to my liking?
- Final Reflection: The Enduring Power of Tsampa
- Unleash Your Inner Baker: Craft Your Own Tsampa Bread!
Discover Khambir: A Traditional Ladakhi Bread
Introduction to Khambir: Ladakhi Staple Bread
What is Khambir and its Cultural Significance?
Khambir is a traditional leavened pan-shaped bread that holds a central place in the daily diet of the people of Ladakh, a high-altitude region in the northernmost part of India. Unlike many conventional breads, Khambir has a distinct texture and flavor, often described as hearty and slightly dense, yet wonderfully satisfying. It is typically made from whole wheat flour, water, and yeast, and traditionally baked over a fire or in a tandoor-like oven.
Its simplicity reflects the resourcefulness and traditional lifestyle of the Ladakhi people, where staple foods are often derived from locally available grains like wheat and barley. Khambir isn't just food; it's woven into the fabric of Ladakhi culture, served at almost every meal and social gathering.
The cultural significance of Khambir extends beyond its role as a staple food. It symbolizes hospitality and community. Sharing Khambir is a common practice, and it's often served with butter tea (gur gur cha) or various local stews and vegetable dishes. Its robust nature makes it an ideal bread for the challenging climate and active lifestyle of Ladakh.
Historically, it provided essential carbohydrates and energy for people living and working in the harsh, high-altitude environment. Learning to make Khambir is often passed down through generations, preserving traditional knowledge and culinary heritage. This easy Khambir bread, simple in its components but profound in its cultural role, is a testament to the enduring culinary traditions of the region.
The History of Khambir in Ladakhi Cuisine
The history of Khambir is deeply intertwined with the agricultural practices and lifestyle of Ladakh. Wheat cultivation has been practiced in the fertile valleys of Ladakh for centuries, providing the primary grain for daily sustenance. Khambir likely evolved as a practical and efficient way to utilize this staple grain.
Traditional baking methods, often involving simple mud ovens or cooking over open flames, shaped the characteristic dense texture and rustic appearance of this bread. Historical accounts and local folklore often mention Khambir as the backbone of travelers' provisions and farmers' meals, highlighting its role in sustaining the local population through long winters and demanding work cycles.
Over time, while the core ingredients and method of making Khambir have remained largely unchanged, slight variations might exist from one village or family to another. The tradition of making Khambir bread has been preserved despite modernization, largely due to its cultural importance and the preference for traditional foods. Even today, in many parts of Ladakh, the aroma of freshly baked Khambir is a familiar and comforting smell.
This enduring popularity speaks to the timeless appeal of simple, wholesome foods that are deeply connected to the land and its people. Mastering this Ladakhi Khambir recipe allows one to connect with this rich culinary history.
Understanding the Key Ingredients: Wheat Flour and Yeast
Sourcing Quality Whole Wheat Flour for Khambir Bread
The foundation of authentic Khambir bread is good quality whole wheat flour. While any whole wheat flour will work, the traditional Khambir often uses flour milled from local wheat varieties grown in Ladakh. This flour can sometimes have a slightly different texture or protein content compared to commercially available flours in other regions.
For home bakers outside Ladakh, sourcing stone-ground whole wheat flour can often yield results closer to the traditional texture. Stone-ground flour typically retains more of the wheat berry's components, including the germ and bran, resulting in a more nutritious and flavorful bread. Look for flour that feels slightly coarse and has a rich, nutty aroma.
When selecting your whole wheat flour for this easy Khambir bread recipe, consider its protein content. A higher protein content (around 13-14%) will develop more gluten, leading to a bread with more structure, which can be beneficial for whole wheat loaves. However, Khambir is not known for being extremely airy; its charm lies in its density and chewiness.
So, standard whole wheat flour widely available in supermarkets, usually with a protein content of 11-12%, will also work perfectly well and is easier to handle for beginners. The key is to use fresh flour, as stale flour can negatively impact both the rise and the flavor of your Khambir dough. Storing your flour in an airtight container in a cool, dark place is recommended.
Understanding the Role of Yeast in Khambir
Yeast is the leavening agent that gives Khambir its rise and characteristic texture. Traditionally, wild yeast or a small amount of saved dough from a previous batch (similar to a starter, though not always maintained long-term like sourdough) might have been used. However, modern Khambir recipes, especially those designed for home bakers, typically use commercial yeast, either active dry yeast or instant yeast, for reliable results.
Yeast is a living microorganism that, when activated with moisture and warmth, consumes sugars in the flour and produces carbon dioxide gas and alcohol. The gas gets trapped in the gluten network of the dough, causing it to expand and rise.
The type of yeast used can slightly influence the process of making Khambir dough. Active dry yeast usually requires proofing in warm water before being added to the dry ingredients, confirming its vitality and giving it a head start. Instant yeast, on the other hand, can often be mixed directly with the dry ingredients, simplifying the process.
For this easy Khambir bread recipe, using instant yeast is often preferred for its convenience and speed. Yeast also contributes to the flavor of the bread through the metabolic byproducts it creates during fermentation. Proper fermentation is crucial for developing the slightly tangy, complex flavor profile of well-made Khambir.
Easy Ladakhi Khambir Recipe: A Simple Guide
Ingredients for Authentic Khambir Bread
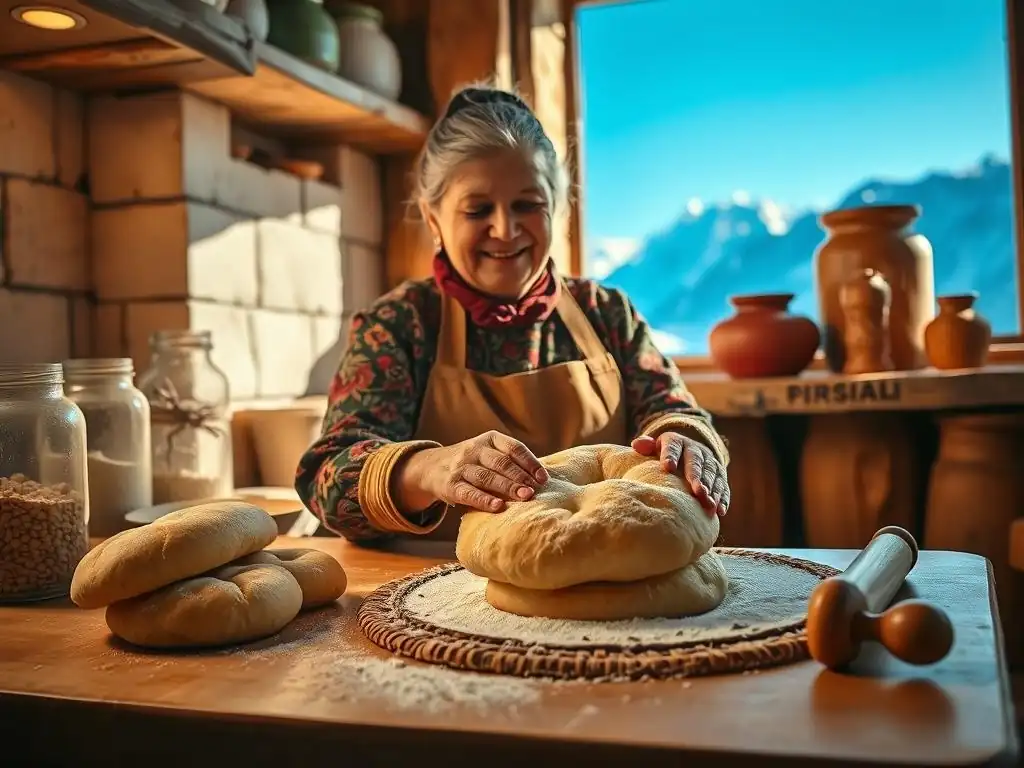
To make traditional Ladakhi Khambir bread, you'll need just a few basic ingredients. The simplicity is part of its appeal and makes it an accessible bread for bakers of all levels.
- About 3 cups (approximately 360-400g) of whole wheat flour
- 1.5 teaspoons of instant yeast
- 1 teaspoon of salt
- About 1.5 cups (approximately 350ml) of warm water (around 105-115°F or 40-46°C)
- A pinch of sugar (optional, helps activate yeast faster)
- A little oil or butter for the pan (optional)
These quantities will typically yield two medium-sized Khambir loaves. The exact amount of water needed can vary slightly depending on the type and hydration of your whole wheat flour, so it's best to add it gradually. Using warm water is important as it helps activate the yeast, which is crucial for the dough to rise properly. The salt adds flavor and helps control the yeast activity. While sugar is optional, a small amount can give the yeast a quick source of food, particularly if your flour isn't very rich in simple sugars.
Step-by-Step Guide to Making Khambir Dough
Making the dough for this easy Khambir bread recipe is straightforward. It involves combining the ingredients, kneading, and allowing the dough to rise.
Proofing the Yeast
If using active dry yeast instead of instant yeast, you would first proof it. In a small bowl, combine the warm water (ensure it's not too hot, as this can kill the yeast) and the pinch of sugar (if using). Sprinkle the active dry yeast over the water. Let it sit for about 5-10 minutes.
You should see foam or bubbles forming on the surface, indicating the yeast is active and ready to use. If nothing happens, your yeast might be old or the water temperature was off, and you should start with new yeast. Since this recipe suggests instant yeast, this step is often skipped, and the yeast is added directly to the flour.
Mixing the Flour, Water, and Yeast
In a large mixing bowl, combine the whole wheat flour, salt, and instant yeast (if using instant yeast, mix it directly into the dry ingredients). Make a well in the center of the dry ingredients. Gradually pour in the warm water while stirring with a wooden spoon or your hands. Mix until a shaggy dough forms and most of the flour is incorporated. It will likely be quite sticky, which is typical for whole wheat doughs, especially for Khambir which often has a relatively high hydration. Ensure there are no pockets of dry flour remaining in the bowl.
Kneading the Dough for Elasticity
Turn the shaggy dough out onto a lightly floured surface. Knead the dough for about 8-10 minutes. Whole wheat flour develops gluten differently than white flour, and the dough might feel less elastic initially. Kneading helps to develop the gluten structure, which is necessary to trap the gas produced by the yeast, giving the bread its texture.
You can use a stand mixer with a dough hook on low speed for about 6-8 minutes as an alternative to hand kneading. The dough should become smoother and slightly less sticky, though it will remain softer than a white bread dough. It should pass the windowpane test to some extent, where a small piece can be stretched thinly without tearing easily.
First Rise: Allowing the Dough to Ferment
After kneading, shape the dough into a rough ball. Lightly grease a clean bowl with oil. Place the dough in the bowl, turning it to coat all sides with the oil. Cover the bowl tightly with plastic wrap or a damp cloth. Place the bowl in a warm place to rise.
The ideal temperature is around 75-80°F (24-27°C). The dough should double in size in about 1 to 1.5 hours. The exact time will depend on the temperature of your room and the activity of your yeast. This first rise, or bulk fermentation, is crucial for developing flavor and texture in the Khambir dough.
Shaping the Khambir Loaves
Once the dough has doubled, gently punch it down to release the gases. Turn the dough out onto a lightly floured surface. Divide the dough into two equal portions. Gently shape each portion into a round, flattened disk, about 1-1.5 inches thick and 6-8 inches in diameter. Khambir is traditionally a relatively flat, round bread, so don't aim for a tall loaf shape. You can gently tuck the edges under to create a smooth top surface. Place the shaped loaves onto a baking sheet lined with parchment paper or lightly greased.
Second Rise: Preparing the Loaves for Baking
Cover the shaped Khambir loaves loosely with plastic wrap or a clean kitchen towel. Let them rest and rise for a second time in a warm place for about 30-45 minutes. The loaves should puff up slightly but not double in size like the first rise. This second rise, or proofing, helps to lighten the texture of the bread before baking. While the loaves are proofing, preheat your oven according to the baking instructions. The surface of the loaves might develop small bubbles; this is normal and indicates active fermentation.
Baking Khambir Bread: Temperature and Time
Baking Khambir bread requires a relatively hot oven to achieve the desired crust and cooked interior.
Baking Khambir in a Conventional Oven
Preheat your conventional oven to 400°F (200°C). If you have a baking stone or steel, place it in the oven while it preheats for best results, as this helps create a crispier bottom crust, similar to traditional methods. Carefully transfer the proofed Khambir loaves (on their parchment paper) onto the hot baking stone or steel, or directly onto the preheated baking sheet.
Bake for 20-30 minutes, or until the loaves are golden brown and sound hollow when tapped on the bottom. The internal temperature of the bread should reach around 200-210°F (93-99°C) when fully baked. Allow the Khambir bread to cool on a wire rack before slicing.
Tips for Perfecting Your Ladakhi Khambir Bread
Achieving the Right Dough Hydration
Dough hydration, the ratio of water to flour by weight, is crucial for the texture of your Khambir dough. Whole wheat flour absorbs more water than white flour due to the presence of bran and germ. A typical hydration for whole wheat bread might range from 70% to 85%.
For this easy Khambir bread recipe, the suggested water amount aims for a hydration of around 85-90%, which results in a very soft, slightly sticky dough. This high hydration contributes to a moist crumb in the final bread. However, the exact amount of water needed can vary based on the flour's absorption rate, which differs between brands and even batches.
If your dough feels too dry and stiff after mixing, add a tablespoon or two more warm water at a time, mixing until it is incorporated and the dough feels softer. If the dough is excessively sticky and difficult to handle even after kneading, you might add a tablespoon or two of flour. Resist the urge to add too much extra flour, as this will make the bread dense and dry.
A slightly sticky dough is desirable for Khambir. Practicing this Ladakhi Khambir recipe a couple of times will help you understand the feel of the dough and adjust hydration appropriately.
Using Different Types of Flour in Khambir
While traditional Khambir is made with whole wheat flour, you can experiment with different flour types. Using a blend of whole wheat and white bread flour (e.g., 70% whole wheat, 30% white) will result in a lighter, less dense crumb and might be easier to handle, especially for beginners. The gluten in white bread flour is typically stronger and develops more readily than whole wheat gluten. This blend can still give you a hearty bread with some of the nutritional benefits and flavor of whole wheat.
You could also try using a portion of barley flour, as barley is another grain historically significant in Ladakh. Substituting about 10-20% of the whole wheat flour with barley flour will impart a distinct, slightly sweet, nutty flavor and a different texture. Keep in mind that non-wheat flours like barley contain less gluten, so substituting too much will result in a much denser bread that doesn't rise as much. Always ensure any flour you use is fresh and stored properly to maintain its quality and performance in this easy Khambir bread.
Storing Khambir Bread to Maintain Freshness
Freshly baked Khambir bread is best enjoyed warm, shortly after baking. However, if you have leftovers, proper storage is key to maintaining its freshness. Once completely cooled, store Khambir bread in an airtight container or wrap it tightly in plastic wrap or beeswax wraps. Stored at room temperature, it will typically stay fresh for 2-3 days. The density of Khambir helps it retain moisture better than some lighter breads.
For longer storage, Khambir freezes exceptionally well. Wrap the cooled loaves tightly in plastic wrap, then in aluminum foil or place them in a freezer-safe bag. Frozen Khambir can last for up to 2-3 months. To reheat, thaw the bread at room temperature, then warm it in a toaster, oven, or pan. Warming helps restore some of the crust's crispness and the crumb's softness, making it almost like freshly baked. This makes it convenient to enjoy your homemade easy Khambir bread whenever you like.
Serving Suggestions for Ladakhi Khambir Bread
Traditional Ladakhi Pairings for Khambir
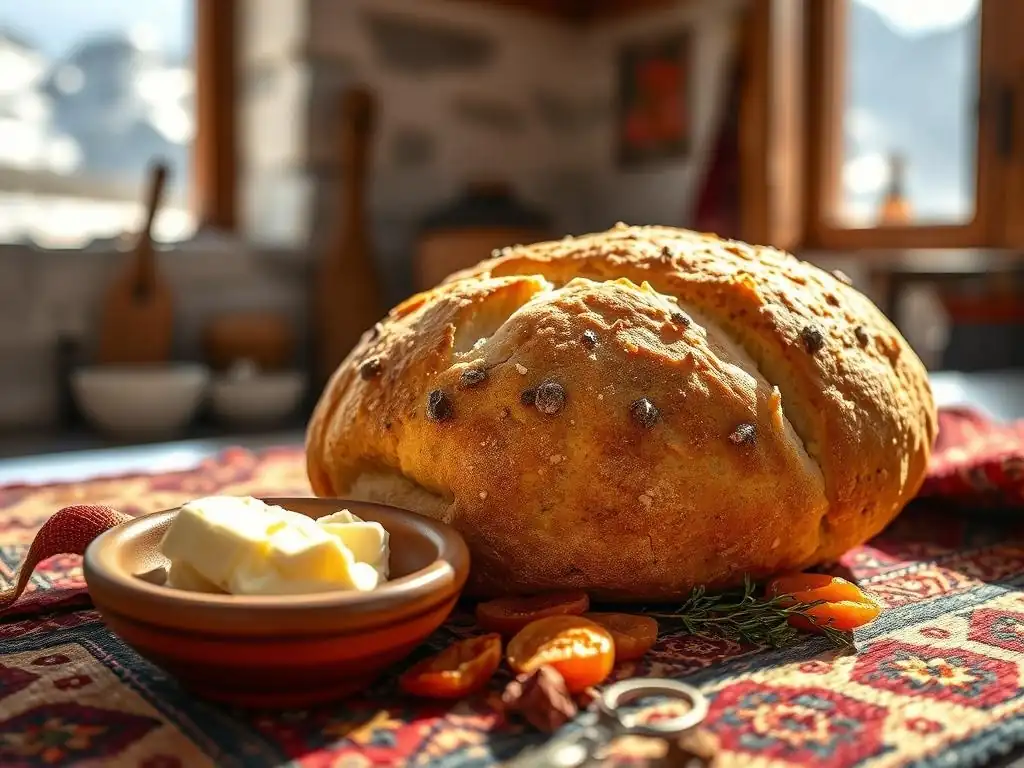
In Ladakh, Khambir is most famously paired with Gur Gur Cha, the traditional butter tea. The slightly salty, rich tea complements the hearty texture and mild flavor of the bread beautifully. Khambir is often broken into pieces and dipped into the tea, similar to how some cultures dunk biscuits or rusks. This combination provides warmth and energy, essential in the cold climate.
Beyond butter tea, Khambir is served alongside various Ladakhi dishes. It acts as a staple carbohydrate, much like rice or roti in other parts of India. Common pairings include Thukpa (noodle soup), Skyu (a hearty pasta-like stew with vegetables and sometimes meat), and different lentil or vegetable curries. The bread is used to scoop up the flavorful stews and sauces. A simple yet popular way to enjoy Khambir is with local apricot jam or honey, highlighting its natural sweetness derived from the whole wheat. Trying these traditional pairings enhances the experience of making this Ladakhi Khambir recipe.
Modern Ways to Enjoy Khambir Bread
While traditional pairings are wonderful, Khambir's versatility allows it to be enjoyed in numerous modern ways. Its sturdy nature makes it an excellent base for open-faced sandwiches or toasts. Try topping slices with avocado and egg, smoked salmon and cream cheese, or simply butter and a sprinkle of herbs. Its hearty texture holds up well to toppings and doesn't become soggy easily.
Khambir can also be used for dipping into soups or stews from other cuisines, such as a lentil soup, a hearty vegetable stew, or even a French onion soup. Cut into cubes, it can be lightly toasted and added to salads for crunch or used in bread puddings, though its density might require adjustments to liquid ratios. Its simple flavor profile makes it a great canvas for both sweet and savory applications, inviting creativity in the kitchen beyond the traditional easy Khambir bread recipe.
Nutritional Information of Khambir Bread
Nutritional Value of Whole Wheat Flour
Khambir, being primarily made from whole wheat flour, offers significant nutritional benefits compared to breads made with refined white flour. Whole wheat flour includes the entire wheat kernel – the bran, germ, and endosperm. The bran provides dietary fiber, which is crucial for digestive health and helps regulate blood sugar levels. The germ is packed with vitamins (especially B vitamins and Vitamin E), minerals (like magnesium, zinc, and selenium), and healthy fats. The endosperm primarily contains carbohydrates and protein.
A single cup of whole wheat flour (about 120g) contains roughly 15-16 grams of protein and 12-14 grams of dietary fiber. It's also a good source of iron, providing around 2-3 mg. While specific nutrient levels can vary slightly depending on the wheat variety and milling process, whole wheat flour is undeniably nutrient-dense. Incorporating breads like Khambir into your diet is an effective way to increase your intake of fiber, vitamins, and minerals compared to opting for white bread.
Khambir as a Source of Carbohydrates and Fiber
As a bread, Khambir is primarily a source of complex carbohydrates, which provide the body with sustained energy. Complex carbohydrates are broken down slowly, preventing rapid spikes in blood sugar. A typical serving of Khambir (perhaps a quarter of a loaf, weighing around 100-120g) would provide approximately 50-60 grams of carbohydrates. This makes it an excellent energy source, particularly relevant given its origin in a region where physical activity is often high.
Furthermore, thanks to the whole wheat flour, Khambir is a good source of dietary fiber. That same serving might contain 5-7 grams of fiber. This fiber content contributes to feelings of fullness, aids in regular bowel movements, and has been linked to a reduced risk of chronic diseases like heart disease and type 2 diabetes. Making this easy Khambir bread recipe not only connects you to a cultural tradition but also adds a nutritious whole-grain option to your diet.
Troubleshooting Your Khambir Bread
Common Mistakes and How to Avoid Them
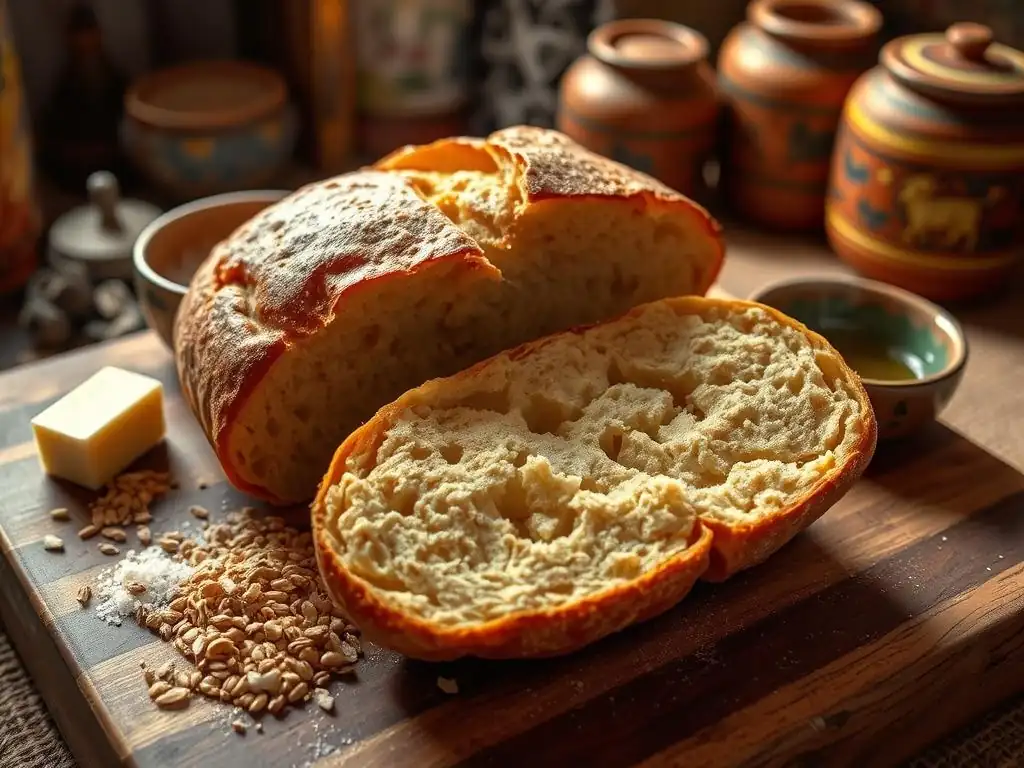
One common mistake when making Khambir dough is using water that is too hot, which can kill the yeast, or too cold, which makes the yeast sluggish. Ensure your water is warm to the touch, ideally between 105-115°F (40-46°C) for active dry yeast or slightly cooler for instant yeast mixed directly with flour. Another error is not kneading enough; while Khambir is dense, sufficient kneading is needed to develop some gluten structure for a good rise and texture. Knead until the dough is smoother and passes a gentle windowpane test.
Over-proofing the dough is also a possibility, especially in a very warm environment. If the dough rises too much and then collapses, it's over-proofed. This can result in a dense bread with poor flavor. Watch the dough, not just the clock; it's ready for shaping when it has roughly doubled in size during the first rise.
Finally, ensure your oven is properly preheated before baking. Baking in an oven that isn't hot enough can lead to flat, dense loaves. Using an oven thermometer can help verify the temperature. Following the steps carefully in this Ladakhi Khambir recipe minimizes these risks.
What to Do if Your Khambir Dough Doesn't Rise
If your Khambir dough fails to rise, the most likely culprit is inactive yeast. This could be because the yeast was old and expired, the water temperature was wrong (too hot or too cold), or the environment was too cold for fermentation. First, check your yeast's expiration date. If it's past its prime, it might not be viable. If using active dry yeast, always proof it first to ensure it's alive before adding it to the flour.
If you suspect the temperature was the issue, try moving the dough to a warmer spot. You can create a warm environment by placing the covered bowl in a turned-off oven with the light on, or near a sunny window. If the dough still shows no signs of life after an hour or two in a warm place, the yeast is likely dead.
In this case, unfortunately, you may need to discard the dough and start over with fresh yeast and correctly tempered water. Don't give up; baking sometimes involves trial and error, and mastering Khambir dough is part of the journey.
Beyond the Basic Recipe: Exploring Khambir Variations
Adding Seeds and Herbs to Khambir
While the traditional Khambir is plain, adding seeds or herbs can introduce new flavors and textures. Incorporating a tablespoon or two of seeds like toasted sesame seeds, flax seeds, or sunflower seeds into the dough during the kneading stage adds crunch and nutty flavor. You can also sprinkle seeds on top of the shaped loaves just before the second rise. For herbs, try adding a teaspoon of dried herbs like rosemary or thyme, or a tablespoon of finely chopped fresh herbs, also during kneading.
Another variation involves adding spices. A pinch of cumin or coriander powder can complement the whole wheat flavor. These additions not only enhance the taste but can also boost the nutritional profile of your easy Khambir bread. Experimenting with small quantities first will help you find your preferred combinations. Just be mindful that adding significant amounts of extra ingredients can slightly affect the dough's hydration and rise time.
Making Khambir with Sourdough Starter
For a more traditional leavening method and a tangier flavor, you can adapt this Ladakhi Khambir recipe to use a sourdough starter instead of commercial yeast. This requires an active and bubbly sourdough starter. The process will be slower, as sourdough fermentation takes longer than commercial yeast fermentation, particularly with whole wheat flour. You would replace the commercial yeast and warm water with a significant amount of mature sourdough starter (often equal parts flour and water by weight).
A common ratio might involve using about 150-200 grams of active sourdough starter and reducing the amount of flour and water in the main dough accordingly. The bulk fermentation (first rise) could take anywhere from 4 to 12 hours, depending on the starter's activity and ambient temperature. The second rise will also be slower. Sourdough Khambir will have a more complex, slightly sour flavor and a chewier texture, offering a fascinating contrast to the yeast-leavened version while still honoring the spirit of this traditional bread.
Conclusion: Embrace the Flavor of Ladakhi Khambir Bread
Making Khambir bread is a rewarding experience, connecting you to the culinary heritage of Ladakh. This easy Khambir bread recipe provides a simple pathway to baking a hearty, nutritious, and culturally significant loaf right in your own kitchen. From understanding the role of whole wheat flour and yeast to mastering the kneading and baking process, each step brings you closer to enjoying this unique bread.
Whether you enjoy your homemade Khambir with traditional butter tea, a hearty stew, or simply with butter, its robust flavor and satisfying texture are sure to impress. Don't be afraid to experiment with variations once you've mastered the basic Ladakhi Khambir recipe. Embrace the simple ingredients and straightforward method, and savor the taste of this authentic Ladakhi staple. Happy baking!
Frequently Asked Questions
What is tsampa bread and what makes it unique?
Tsampa bread is a traditional Tibetan staple made primarily from roasted barley flour called tsampa. Its uniqueness lies in its simplicity and the nutty, earthy flavor derived from the roasted barley.
Is the Tibetan tsampa bread recipe easy to follow for beginners?
Yes, this recipe is designed to be easy! BakeWithEase focuses on providing simple and straightforward instructions, making it accessible even for beginner bakers.
What are the key ingredients needed for this Tibetan tsampa bread recipe?
The main ingredients are tsampa (roasted barley flour), water, and sometimes a little salt. Some variations may include butter or cheese for added richness and flavor.
Where can I find tsampa flour if it's not available in my local store?
Tsampa flour can often be found in Asian grocery stores or online retailers specializing in Tibetan or Himalayan ingredients. Look for roasted barley flour as a substitute.
Can I customize the Tibetan tsampa bread recipe to my liking?
Absolutely! Feel free to experiment with adding ingredients like dried fruits, nuts, or different types of fats. The base recipe is a great starting point for personalizing your bread.
Final Reflection: The Enduring Power of Tsampa
The simple act of making tsampa bread connects us to a rich culinary history and a resilient culture. This seemingly humble recipe, passed down through generations, offers a window into the ingenuity and resourcefulness of the Tibetan people. Its enduring popularity speaks volumes about its adaptability and deliciousness, making it relevant not only to those with Tibetan heritage but also to anyone seeking unique and flavorful culinary experiences.
Learning about tsampa's preparation and its place within Tibetan culture has profoundly impacted my understanding of food as more than just sustenance. It's a testament to the power of tradition and the importance of preserving cultural heritage. Food is symbolic of love when words are inadequate.
– Alan D. Wolfelt. This quote perfectly encapsulates the emotional connection embedded in the preparation and sharing of tsampa, a connection that transcends geographical boundaries.
Now, I invite you to go beyond simply reading this recipe. Try making your own tsampa bread! Embrace the process, savor the aroma of the roasted barley, and appreciate the simple pleasure of creating something delicious and meaningful. Let this experience be a small step towards understanding and appreciating the diverse culinary traditions of the world, and perhaps even a deeper connection to the rich history and culture behind this unique bread.
Unleash Your Inner Baker: Craft Your Own Tsampa Bread!
Thanks for exploring the world of Tibetan Tsampa bread with us! We hope you now have a deeper appreciation for this unique and nutritious baked good. Ready to put your newfound knowledge into practice?
- Bake a batch of Tsampa bread today! Experiment with different additions and flavors to find your perfect recipe. The possibilities are endless!
- Share your baking journey! Post pictures of your creations on social media and tag us – we’d love to see your results.
- Explore other unique grain-based recipes on BakeWithEase.com (This one would be replaced with a suitable internal link if needed).
What unexpected ingredient will you add to your next Tsampa bread creation?