
Mastering the Proof: Key to Perfect European Regional Breads

Welcome to BakeWithEase, your guide to transforming simple ingredients into extraordinary baked creations! Ever wondered what separates a decent loaf from a perfect European bread? The secret often lies in the perfect European bread proofing time. Unlock the secrets of dough development and create truly authentic flavors. Intrigued? Let's dive in and discover how to master the proof, ensuring every loaf is a masterpiece.
- Mastering Bread Proofing: Key to Artisan Loaves
- Introduction to Bread Baking and Proofing
- Deciphering Perfect Bread Proofing Time
- Understanding the Science Behind Bread Proofing
- Mastering the Art of Visual Proofing
- Proofing Techniques for Different Bread Types
- Bread-Specific Proofing Secrets
- Troubleshooting Common Proofing Problems
- Tools and Equipment for Successful Proofing
- Achieving Consistent Results: Best Practices for Proofing
- Advanced Proofing Techniques
- Conclusion: Elevating Your Bread Baking with Perfect Proofing
-
Frequently Asked Questions
- What exactly is bread proofing, and why is it so important for European regional breads?
- What factors affect the ideal proofing time for European breads like sourdough or rye?
- How can I tell if my European bread dough is over-proofed?
- What's the difference between proofing at room temperature versus proofing in the refrigerator for European breads?
- What are some common mistakes bakers make when proofing European breads, and how can I avoid them?
- Final Reflection: The Timeless Art of Proofing, Perfectly
- Unlock Your Inner Baker: Craft Authentic European Breads
Mastering Bread Proofing: Key to Artisan Loaves
Introduction to Bread Baking and Proofing
Why Proofing is Crucial for Artisan Bread
Proofing, often called the second rise, allows yeast to ferment sugars in the dough, producing carbon dioxide and alcohol. In a typical French baguette, for example, a 75-minute proof at 24 °C yields an airy crumb with 5–7 mm alveoli. Without adequate proofing, gas pockets remain underdeveloped, resulting in a dense, gummy interior rather than the signature light, open structure of artisan loaves.
Beyond texture, proofing develops flavor: yeast and lactic acid bacteria generate organic acids and esters that create subtle tang and complexity. In a classic Italian ciabatta, a 1.5- to 2-hour proof produces a mildly sour note, whereas under-proofed dough tastes dull and lacks character.
Understanding the Role of Proofing in Bread Texture and Flavor
Proofing time directly affects gluten structure. As dough rests, gluten strands relax, allowing them to stretch and trap gas more effectively. A German rye boule proofed for 2 hours at 22 °C often shows a tight crumb with small irregular holes, while over-proofing (beyond 3 hours) collapses the network, flattening the loaf.
Flavor intensity also hinges on proofing. A properly proofed Polish sourdough benefits from a 4-hour cold proof in the fridge, enhancing acetic acid production and creating a pronounced tang. Conversely, rushing proofing time yields bland bread lacking that distinctive regional profile.
Deciphering Perfect Bread Proofing Time
The Importance of Optimal Proofing Duration
Finding the “sweet spot” for Perfect European bread proofing time—typically between 60–120 minutes at 24 °C—ensures maximum oven spring and depth of flavor. Under-proofed dough may only rise 30–40% in volume instead of the ideal 50–60%, producing a tight, doughy crumb. Over-proofed dough, swelling beyond 80%, risks deflating under its own weight when transferred to the oven.
Failing to hit that optimal window also impacts crust development. A loaf proofed precisely for 90 minutes often achieves a 5 mm thick, crackly crust. Extend proofing by even 30 minutes, and the crust thins out, becoming overly brittle or collapsing in the oven.
Factors Influencing Bread Proofing Time: A Comprehensive Guide
- Yeast concentration and activity
- A standard 2% instant yeast dosage at 25 °C yields a 90-minute proof. Bump yeast to 3%, and proofing time may drop by 20 minutes.
- Dough hydration
- High-hydration doughs (75–80% water) ferment up to 30% faster than 60% hydration doughs due to improved enzyme mobility.
- Salt and sugar content
- Every 1% salt slows yeast activity by roughly 5–7 minutes in a 1 kg dough; 5% sugar can accelerate proofing by 10%.
- Flour type
- Whole-grain flours contain more bran, which can cut fermentation speed by 10–15% versus all-purpose flour.
Understanding the Science Behind Bread Proofing

Yeast Activity and Fermentation Explained
Yeast cells consume available sugars—glucose, fructose, maltose—producing CO₂ and ethanol in an anaerobic process. In a 1 kg dough with 2% instant yeast, the yeast population can quintuple during a 90-minute proof, generating approximately 3 g of CO₂ that inflates the dough by up to 60%.
Beyond rising, fermentation impacts dough acidity. Lactic acid bacteria co-ferment during the proofing of sourdough, producing lactic and acetic acids. A well-developed levain can lower dough pH from 5.8 to 4.5 over a 4-hour proof, contributing to the characteristic sour flavor.
How Temperature Affects Proofing Time
Every 10 °C increase in proofing temperature nearly doubles yeast activity (Q10 effect). For instance:
- 20 °C proof: 120 min for a 50% volume rise
- 30 °C proof: 60 min for the same rise
However, warmer proofing can weaken gluten, leading to slack dough and flattened loaves if not monitored carefully.
Maintaining 24 °C is often the sweet spot for balanced fermentation and gluten strength. In professional bakeries, proofing rooms are set between 24–26 °C to optimize both speed and quality.
The Impact of Humidity on Bread Proofing
Relative humidity (RH) influences the dough’s surface moisture. A 70% RH environment prevents crust formation during proof, allowing maximum expansion. At RH below 55%, dough surfaces can dry out within 30 minutes, forming a film that restricts gas release and results in irregular crumb.
Many artisan bakers prefer 75–80% RH for final proofing, especially for enriched doughs like brioche or challah, to maintain elasticity. Professional proofing cabinets often regulate RH within ±5% to ensure consistency.
Mastering the Art of Visual Proofing
Identifying Over-Proofed Dough
- Dough volume increase beyond 80%
- Surface wrinkles and deflation when gently pressed
- Loss of elasticity; dough tears rather than springs back
Over-proofed loaves tend to produce large, uneven holes in the crumb and a thin, fragile crust prone to tearing. A typical sign is a “flat” top after baking, especially in free-form loaves like bâtards.
Spotting Under-Proofed Dough
- Dough feels tight and immutable when poked
- Press test: indent springs back fully within 3 seconds
- Lack of visible gas bubbles on the surface
Under-proofed bread often bursts irregularly in the oven, creating tears in the crust and a dense, gummy core. A loaf under-proofed by 15 minutes may only expand 30% instead of the targeted 50%.
Achieving the Ideal Proof: Visual Cues and Indicators
- Finger Dent Test: Press 2 cm into dough; a slow, partial spring-back (5 seconds) signals readiness.
- Surface Bubble Network: Look for small, even bubbles covering 30–40% of the dough surface.
- Volume Gauge: Mark dough height with a piece of tape on the bowl; aim for a 50–60% rise.
“Perfect proofing is recognizing the subtle give in the dough before it reaches its peak.”
—Paul Hollywood
Proofing Techniques for Different Bread Types
Proofing Sourdough Breads: A Detailed Approach
Understanding Levain Activity
Levain, a portion of mature sourdough starter, carries both yeast and lactic acid bacteria. A 100% hydration levain fed 1:1:1 (starter:flour:water) at 25 °C peaks in 6–8 hours, doubling in volume. Monitoring levain maturity ensures predictable fermentation during final proof.
Long Fermentation vs. Short Fermentation for Sourdough
- Long (cold) proof: 12–18 hours at 4 °C yields strong acidity, complex flavor, and improved keeping qualities.
- Short (warm) proof: 3–4 hours at 24 °C favors milder taste and faster turnaround, common in busy artisan shops.
Proofing Yeasted Breads: Traditional Methods
Bulk Fermentation Techniques
Bulk fermentation in a covered container for 60–90 minutes allows initial gas generation. Bakers often perform 2–3 stretch-and-folds at 30-minute intervals to strengthen gluten. A typical 1 kg dough sees 45% volume gain after the first 30 minutes, reaching 90% by the end of bulk.
Proofing in a Banneton Basket
Bannetons support dough shape and wick excess moisture, promoting even oven spring. A standard proof with a banneton (75% RH, 24 °C) lasts 60–80 minutes for a 500 g loaf. Lightly dusting the basket with rice flour prevents sticking while preserving surface tension.
Bread-Specific Proofing Secrets
Proofing Techniques for High-Hydration Doughs
Ciabatta Proofing: Achieving Open Crumb Structure
- Bulk at 28 °C for 60 minutes
- 3 sets of gentle folds at 20-minute intervals
- Final proof on couche linen: 45 minutes, covered to maintain 80% RH
Achieves 10–12 mm alveoli typical of authentic ciabatta, with a crisp crust and moist, springy crumb.
Focaccia Proofing: Optimizing for Flavor and Texture
- First proof: 90 minutes in a tray at 26 °C
- Docking and oiling, then second proof: 30 minutes for final rise
- Results in a 2–3 mm glossy crust with 15–20 mm dimples
Proofing Techniques for Enriched Doughs
Brioche Proofing: Enriching Dough for a Tender Crumb
- Bulk proof: 2 hours at 24 °C; incorporate 500 g butter into 1 kg dough gradually
- Final proof: 1 hour in greased tins at 27 °C, 75% RH
- Outcome: ultra-soft, buttery crumb with uniform fine holes
Challah Proofing: Developing Flavor and Structure
- Bulk proof: 75 minutes at 25 °C with 2 stretch-and-folds
- Braiding and final proof: 45 minutes in bannetons dusted with semolina
- Yields glossy crust and tender interior, ideal for French toast and bread pudding
Proofing Techniques for Whole Wheat Breads
Understanding Whole Wheat Fermentation
Whole wheat’s bran and germ absorb more water, slowing fermentation by ~15%. A 1:1 whole wheat to white flour ratio typically requires 120 minutes proof versus 90 minutes for white dough, at 24 °C.
Autolyse and its Effect on Proofing
A 30–40 minute autolyse (flour + water, no yeast/salt) enhances gluten development, reducing proofing time by up to 10%. It also improves dough extensibility, critical for even gas cell distribution in whole-grain loaves.
Troubleshooting Common Proofing Problems
Over-Proofing Solutions
Rescuing Over-Proofed Dough: Techniques and Tips
- Punch down gently to expel excess gas.
- Re-shape and allow a shorter final proof (30–40 minutes) at 26 °C.
- Use steam injection in the oven to boost crust strength.
Under-Proofing Solutions
Addressing Under-Proofed Dough: Adjustments and Considerations
- Increase proofing temperature by 2–3 °C to accelerate yeast.
- Apply a light sugar spray on dough surface to feed yeast.
- Extend proofing time in 10-minute increments while monitoring spring-back.
Dealing with Inconsistent Proofing
- Keep a proofing log: record time, temperature, RH, dough weight.
- Implement step-feeding of yeast to even out fermentation rates.
- Rotate dough positions in the proofing cabinet to eliminate cold spots.
Tools and Equipment for Successful Proofing
Choosing the Right Proofing Container
- Plastic tubs with airtight lids and 2 L capacity accommodate 1–2 kg dough comfortably.
- Linen-lined bannetons for free-form loaves wick moisture, creating a taut skin.
Temperature and Humidity Control: Essential Tools
- Digital hygrometer–thermometer: accuracy ±0.5 °C, ±2% RH.
- Ultrasonic humidifier: injects fine mist, raising RH by up to 15% in proofing boxes.
Investing in a Proofing Box or Dedicated Space
A dedicated proofing box maintains stable conditions (24 °C, 75% RH). Small countertop models (30 × 30 × 30 cm) suit home bakers; commercial rooms (2–3 m³) serve artisan bakeries producing 100+ loaves daily.
Achieving Consistent Results: Best Practices for Proofing
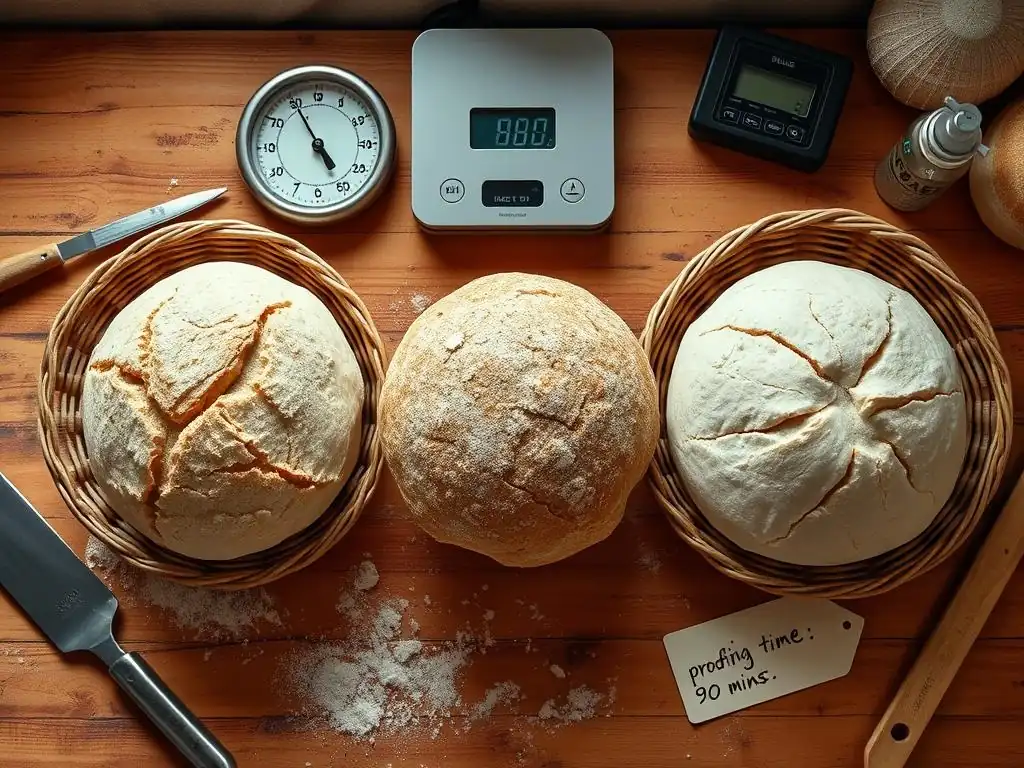
Maintaining a Consistent Temperature
- Calibrate thermostats quarterly.
- Pre-heat proofing box to target temperature 30 minutes before use.
- Avoid opening proofing chamber frequently; each door opening can drop temperature by 2–3 °C.
Controlling Humidity Levels
- Place a shallow tray of water in proofing cabinet.
- Use baked salt blocks to stabilize RH fluctuations.
- Monitor with a digital hygrometer, aiming for 70–80% RH.
Keeping Accurate Proofing Records
- Track:
- [ ] Dough weight
- [ ] Proof start/end times
- [ ] Temperature & RH
- [ ] Volume increase (%)
- Review logs weekly to spot patterns and adjust protocols.
Advanced Proofing Techniques
Cold Proofing: Developing Complex Flavors
Refrigerate shaped loaves at 4 °C for 8–18 hours. This slow fermentation intensifies acidity (pH drops to ~4.3) and extends shelf life by 1–2 days. Many Parisian boulangeries swear by a 12-hour cold proof for their bâtards.
Retarding Dough for Schedule Flexibility
Retarding after bulk fermentation halts yeast activity temporarily. Place dough in the fridge at 6 °C for up to 24 hours. Before final proof, allow dough to warm to 20 °C for 45 minutes. This method enables bakers to stagger production for morning and evening shifts.
Using a Proofer for Precise Control
A commercial proofer offers ±1 °C and ±2% RH accuracy. Program multi-stage profiles:
- Stage 1: 30 min @ 27 °C, 75% RH
- Stage 2: 60 min @ 24 °C, 80% RH
- Stage 3: 15 min rest @ 20 °C, 70% RH
This precision is essential when scaling recipes or training new staff.
Conclusion: Elevating Your Bread Baking with Perfect Proofing
Mastering the Perfect European bread proofing time unlocks consistent artisan quality, from a crisp ciabatta crust to a tender brioche crumb. By understanding fermentation science, observing visual cues, and leveraging the right tools, home bakers and professionals alike can achieve loaves that rival bakery standards. Implement these practices—precise temperature, humidity control, and diligent record-keeping—to transform each proof into a stepping stone toward baking excellence.
Frequently Asked Questions
What exactly is bread proofing, and why is it so important for European regional breads?
Proofing is the final rise of the dough before baking. It allows the yeast to produce gases, resulting in a light and airy texture, crucial for many European breads.
What factors affect the ideal proofing time for European breads like sourdough or rye?
Several factors influence proofing, including dough hydration, ambient temperature, and the amount of yeast used. Higher hydration and warmer temperatures typically speed up proofing.
How can I tell if my European bread dough is over-proofed?
Over-proofed dough will often collapse easily when touched, have a sour or alcoholic smell, and may bake into a flat, dense loaf.
What's the difference between proofing at room temperature versus proofing in the refrigerator for European breads?
Room temperature proofing is faster, while retarding (refrigerating) the dough slows down fermentation, developing more complex flavors and often a better crust.
What are some common mistakes bakers make when proofing European breads, and how can I avoid them?
Common mistakes include under-proofing (dense bread) and over-proofing (collapsed bread). Monitor the dough's volume and texture closely, and adjust proofing time as needed based on environmental conditions.
Final Reflection: The Timeless Art of Proofing, Perfectly
Mastering the proof is not merely a technical skill; it's the cornerstone of achieving truly perfect European regional breads. The subtle nuances in proofing time, temperature, and environment directly translate to the final texture, flavor, and overall character of the loaf. This seemingly simple step holds the key to unlocking the authentic taste and satisfying crumb structure that defines these beloved breads.
The impact of proper proofing extends far beyond the individual baker's kitchen. It's a thread woven into the cultural tapestry of Europe, connecting generations through shared culinary traditions. The precise timing and techniques passed down through families and across regions represent more than just recipes; they're a testament to the enduring power of tradition and the artistry of breadmaking. Bread is the staff of life,
a simple phrase, yet it encapsulates the profound significance of this staple food and the care taken in its creation. The meticulous attention to proofing reflects this deep-seated respect for the process and the product.
Now, consider your own baking journey. What have you learned about the subtle art of proofing? Perhaps you've discovered the magic of a slightly warmer environment, or the impact of a longer, slower rise. Take this knowledge and apply it to your next loaf. Experiment, observe, and refine your technique. Remember, the pursuit of the perfect proof is a journey of continuous learning and discovery, one that rewards patience and attention to detail with the unparalleled satisfaction of a truly exceptional loaf of bread.
Unlock Your Inner Baker: Craft Authentic European Breads
Thanks for joining us on this delicious journey into the world of European regional breads! You've learned the secrets to achieving that perfect crust and airy crumb – now it's time to put your newfound knowledge into practice.
Here’s how to take the next step:
- Bake your first loaf! Choose a recipe from the article that excites you and get baking. Don't be afraid to experiment—that's part of the fun!
- Share your baking triumph! Post a picture of your masterpiece on social media and tag us @BakeWithEase – we'd love to see it!
- Try a new flour or ingredient. Which regional variation will you explore next?
What unique ingredient will you use to elevate your next European bread creation?