
Simple Rustic Bread Recipe for Beginners

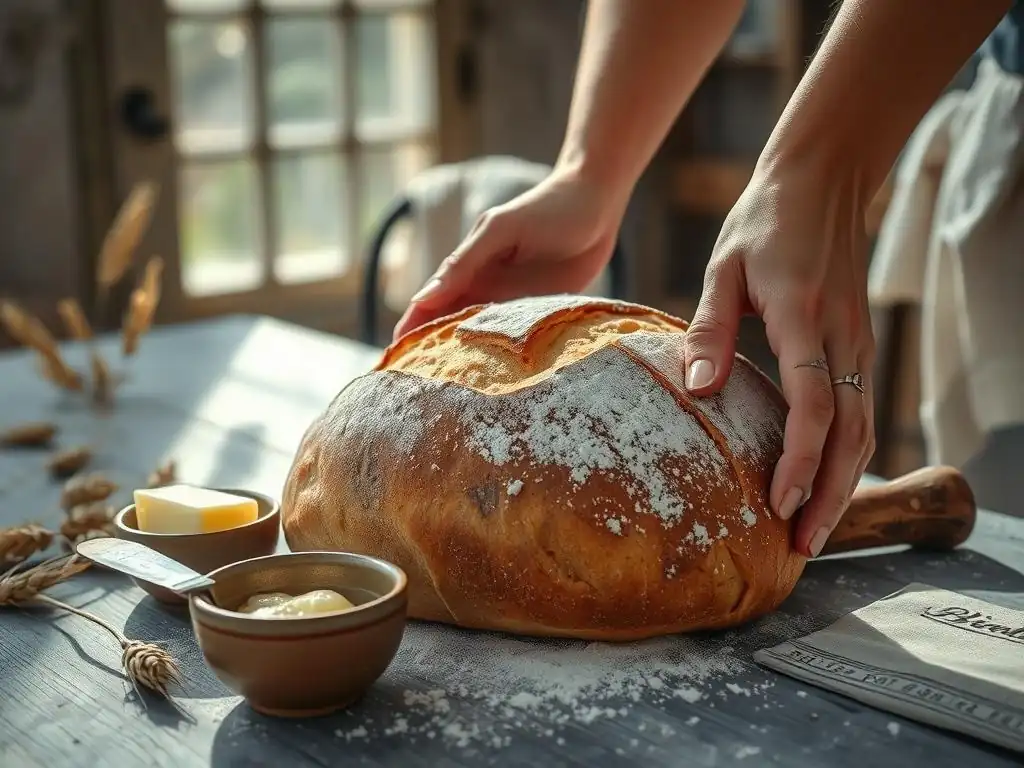
Welcome to BakeWithEase, your kitchen companion for all things baking!
Ready to conquer the world of bread baking but intimidated by complex recipes? You've come to the right place. Dive into our Easy Rustic Bread Recipe, designed to demystify the process and deliver a satisfying loaf with minimal effort. Discover the secrets to a perfectly crusty exterior and a delightfully chewy interior, and unlock the joy of homemade bread today! What are you waiting for, let's bake with ease!
- Simple Rustic Bread Recipe for Beginners: BakeWithEase.com
- Introduction to Easy Rustic Bread Baking
- Gather Your Ingredients: Rustic Bread Essentials
- Step-by-Step Guide to Baking Simple Rustic Bread
- Tips and Tricks for Perfect Rustic Bread
- Variations and Add-ins for Your Rustic Bread Recipe
- Storing Your Homemade Rustic Bread
- Conclusion: Enjoy the Simple Pleasure of Homemade Rustic Bread
-
Frequently Asked Questions
- What makes this rustic bread recipe "easy"?
- How long does it take to make this Simple Rustic Bread Recipe for Beginners?
- Can I substitute any ingredients in the easy rustic bread recipe?
- What kind of flour is best for this Simple Rustic Bread Recipe for Beginners?
- What is the best way to store leftover rustic bread?
- Final Reflection: The Enduring Appeal of Simple Bread
- Unleash Your Inner Baker: Knead to Know More?
Simple Rustic Bread Recipe for Beginners: BakeWithEase.com
Introduction to Easy Rustic Bread Baking
Why Bake Rustic Bread at Home?
Baking rustic bread at home is a profoundly rewarding experience that goes far beyond simply putting food on the table. One of the most compelling reasons is the unparalleled flavor and aroma. While a loaf from a local bakery might cost $5-$8, making a similar loaf at home typically costs only $1-$2 in ingredients, primarily flour, water, yeast, and salt.
This significant cost saving is appealing, but the true value lies in the sensory experience. Imagine the smell of warm, crusty bread filling your kitchen – it's an aroma that store-bought bread simply cannot replicate. The satisfaction of pulling a golden-brown loaf from your oven, knowing you created it from basic ingredients, is immense.
Furthermore, baking your own easy rustic bread gives you complete control over the ingredients. You can choose organic flours, use filtered water, and avoid preservatives or additives often found in commercial breads. This not only results in a healthier loaf but also allows you to experiment with different flour types, like a mix of bread flour and a small percentage of whole wheat or rye, to personalize the flavor profile.
The texture of homemade rustic bread, with its chewy interior and crackling crust, is also a distinct advantage. It's a simple pleasure that enhances any meal, from a humble soup to a gourmet cheese board.
This Easy Rustic Bread Recipe is Perfect for Beginners
Embarking on your bread-baking journey can feel daunting, but this easy rustic bread recipe is specifically designed to be approachable and successful for newcomers. Unlike complex recipes requiring intricate kneading techniques or precise temperature control, this method simplifies the process significantly. It often involves a no-knead or minimal-knead approach, drastically reducing the physical effort and technical skill required. The ingredient list is short and common, meaning you likely have everything you need in your pantry right now.
The beauty of this easy rustic bread recipe lies in its forgiving nature. Small variations in measurements or timing are less likely to ruin the final product compared to more delicate breads. We'll guide you through each step clearly, from mixing the dough to achieving that coveted crispy crust using simple equipment like a Dutch oven, which helps trap steam for perfect results. Forget complicated processes; this recipe focuses on allowing time and natural fermentation to do the hard work, resulting in a delicious, rustic loaf with minimal fuss – proof that baking incredible bread is within everyone's reach.
Gather Your Ingredients: Rustic Bread Essentials
Simple Ingredients for a Flavorful Loaf
Flour Selection: Bread Flour for Gluten Development
For this easy rustic bread recipe, bread flour is highly recommended. Bread flour typically has a higher protein content, usually around 12-14%, compared to all-purpose flour which is closer to 10-12%. This higher protein content is crucial for developing strong gluten networks during mixing and fermentation. Gluten is what gives bread its structure and chewiness, allowing the dough to trap the carbon dioxide produced by the yeast, resulting in a well-risen loaf with a satisfying texture.
While you can make rustic bread with all-purpose flour, the crumb structure might be less open and the loaf might not hold its shape as well. Using bread flour ensures a more reliable outcome, producing a loaf with a robust structure and that characteristic rustic chewiness. For a standard loaf using this easy rustic bread recipe, you'll typically need around 3 to 3.5 cups (about 400-450 grams) of bread flour.
Water: Importance of Lukewarm Water
Water plays a vital role in activating the yeast and developing the gluten structure in your dough. For this easy rustic bread recipe, using lukewarm water is important, ideally between 95°F and 105°F (35°C and 40°C). Water that is too cold can slow down yeast activity significantly, leading to a very long or incomplete rise. Water that is too hot, above 115°F (46°C), can actually kill the yeast, preventing the dough from rising at all.
Measuring the water accurately is also key, usually around 1.5 to 1.75 cups (350-400 ml) for the amount of flour mentioned. The exact amount can vary slightly depending on the humidity and the flour's absorption rate, but starting with the recommended quantity and adjusting slightly if the dough feels too dry is a good approach. Lukewarm water ensures the yeast becomes active relatively quickly, setting your dough up for a successful rise.
Yeast: Instant Dry Yeast for Ease of Use
Instant dry yeast is the go-to leavening agent for this easy rustic bread recipe because of its convenience and reliability, especially for beginners. Unlike active dry yeast, which needs to be proofed in warm water before being added to the dry ingredients, instant dry yeast can be mixed directly with the flour and salt. This saves a step and reduces the chance of errors. A typical recipe uses about 1 to 1.5 teaspoons (around 3-4 grams) of instant dry yeast.
Instant dry yeast is designed to be fast-acting and consistent, providing a steady rise over the fermentation period. It's also quite stable and has a longer shelf life when stored properly (ideally in an airtight container in the refrigerator or freezer). Using instant yeast simplifies the process, allowing you to focus on mixing and shaping without worrying about whether your yeast is active.
Salt: Role of Salt in Flavor and Gluten Structure
Salt is a crucial, often underestimated, ingredient in bread baking. It doesn't just add flavor; it also plays a significant role in controlling yeast activity and strengthening the gluten structure. Without salt, yeast ferments too quickly, potentially leading to a loaf with a poor structure and a bland taste. Salt slows down the yeast's fermentation rate, allowing for a longer, more controlled rise that develops better flavor and texture in your easy rustic bread.
Furthermore, salt helps tighten the gluten network, making the dough more elastic and easier to handle. It contributes to a finer crumb structure and helps the crust brown nicely during baking. For a loaf using 3-3.5 cups of flour, you'll typically need about 1.5 to 2 teaspoons (around 8-10 grams) of fine sea salt or table salt. Ensure the salt is evenly distributed throughout the flour before adding the water.
Step-by-Step Guide to Baking Simple Rustic Bread
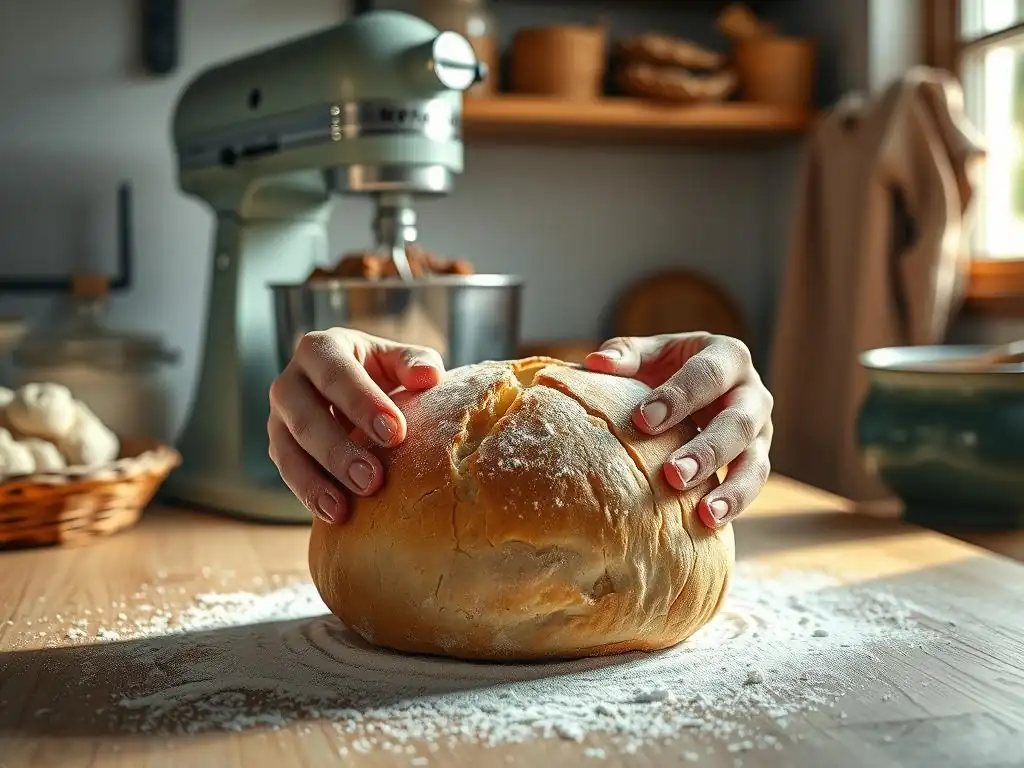
Step 1: Preparing the Dough: Mixing and Initial Kneading
Combining Dry Ingredients: Flour, Yeast, and Salt
The first step in creating your easy rustic bread dough is to accurately measure and combine the dry ingredients. In a large mixing bowl, weigh or measure your bread flour, typically around 400-450 grams (3 to 3.5 cups). Add 1 to 1.5 teaspoons of instant dry yeast and 1.5 to 2 teaspoons of salt. Use a whisk or a spoon to thoroughly mix these dry ingredients together. This ensures the yeast and salt are evenly distributed throughout the flour, which is important for consistent fermentation and flavor development in your dough.
Making sure the ingredients are well combined at this stage prevents pockets of salt that could inhibit yeast activity in certain areas or uneven leavening. A quick stir for 30 seconds to a minute is usually sufficient. This simple initial step sets the foundation for the rest of the process for your delicious easy rustic bread.
Adding Water and Forming a Shaggy Dough
Once your dry ingredients are combined, it's time to add the lukewarm water. Measure out 1.5 to 1.75 cups (350-400 ml) of water, ensuring it's between 95°F and 105°F (35°C and 40°C). Pour the water into the bowl with the dry ingredients. Using a sturdy spoon or a spatula, begin mixing the ingredients together. The mixture will look quite wet and shaggy at first, with no smooth surface yet.
Continue mixing until there are no dry pockets of flour visible in the bowl. The dough will be sticky and irregular, resembling a rough mass. This stage is quick, usually taking just a minute or two. Don't worry about achieving a smooth, elastic dough at this point; the goal is simply to hydrate all the flour and bring the ingredients together into a cohesive mass. This shaggy dough is the starting point for developing gluten through resting or minimal kneading.
Initial Kneading Technique: Stretch and Fold Method
For this easy rustic bread recipe, instead of vigorous traditional kneading, we often use a minimal-knead approach like the stretch and fold method. After mixing the shaggy dough, let it rest in the bowl for 15-20 minutes. This rest period, called autolyse, allows the flour to fully hydrate and gluten development to begin naturally.
After the rest, perform the first set of stretch and folds. With wet hands or a wet spatula, grab one side of the dough, stretch it upwards, and fold it over the center. Rotate the bowl a quarter turn and repeat this process 3-4 times, stretching and folding different sections of the dough.
Repeat this stretch and fold sequence every 30 minutes for a total of 2-3 sets over the next 60-90 minutes. You will notice the dough gradually becoming smoother, more elastic, and easier to handle with each set. This gentle technique develops gluten effectively without the need for intense manual labor, making it perfect for beginners and contributing to the open, airy crumb characteristic of rustic bread.
Step 2: First Proofing: Bulk Fermentation
The Importance of Bulk Fermentation for Rustic Bread
Bulk fermentation is arguably the most critical stage for developing the flavor and texture of your easy rustic bread. This is the period after mixing (and initial folds) where the entire mass of dough is allowed to rise as a whole before being shaped.
During this time, typically 8-18 hours at room temperature (around 70°F/21°C), the yeast actively consumes sugars in the flour, producing carbon dioxide gas which causes the dough to expand. More importantly, enzymes in the flour and yeast break down complex carbohydrates and proteins, developing complex flavors and aromas that are the hallmark of good rustic bread.
A long, slow bulk fermentation also contributes significantly to the dough's structure. The gluten network continues to strengthen and relax, becoming more extensible. This process makes the dough easier to shape later and helps create that desirable open, irregular crumb structure. You'll know bulk fermentation is progressing well when the dough has visibly increased in volume, often doubling or even tripling in size, and appears bubbly on the surface.
How to Create the Ideal Proofing Environment
Creating the right environment for bulk fermentation is simple but effective. After the initial mixing and any stretch and folds, cover the bowl containing the dough tightly. Plastic wrap is commonly used, or you can use a reusable bowl cover or even a damp kitchen towel followed by a plate on top. The goal is to prevent the surface of the dough from drying out, which would inhibit its ability to rise properly.
Place the covered bowl in a warm, draft-free spot in your kitchen. An ideal temperature is typically around 70-75°F (21-24°C). If your kitchen is cooler, you can create a warmer environment by placing the bowl in an oven (turned off) with the light on, or near a warm appliance. Avoid placing it in direct sunlight, which can overheat the dough. Over the next 8-18 hours, observe the dough's progress; it should become significantly larger and bubbly.
Step 3: Shaping the Rustic Loaf
Gently Deflating the Dough
After the bulk fermentation is complete and the dough has significantly increased in volume and looks bubbly, it's time to gently deflate it before shaping. Turn the dough out onto a lightly floured surface. As you turn it out, the dough will naturally deflate a bit as the trapped gases are released. Avoid punching down the dough aggressively, as this can damage the gluten structure you've worked to develop and potentially result in a denser loaf.
The goal is to gently handle the dough to allow it to be shaped while retaining some of the airiness. Using a bench scraper can help you release the dough from the bowl cleanly. Once on the surface, you can lightly pat it down into a rough rectangle or circle, depending on the final shape you intend to create. This gentle handling is crucial for maintaining the light texture of your easy rustic bread.
Shaping Techniques for a Rustic Look
There are two primary shapes for rustic bread that are easy for beginners: the boule (a round loaf) and the batard (an oval loaf). For a boule, gently fold the edges of the dough towards the center, rotating the dough as you go, to create tension on the surface and form a rough ball. Then, flip the dough over so the seam is underneath and use your hands to cup the dough and gently pull it towards you, rotating slightly, to create a tight surface tension on top. Aim for a smooth, taut surface without tearing the dough.
For a batard, gently pat the dough into a rough rectangle. Fold the top edge down to meet the center, and then fold the bottom edge up over the first fold. Seal the seam with your fingers. Then, gently roll the dough back and forth with light pressure from your palms, slightly tapering the ends, to create an oval shape. Again, aim for a taut surface. Don't strive for perfection; the beauty of an easy rustic bread recipe is its imperfect, handmade appearance.
Step 4: Second Proofing: Final Rise
Preparing the Baking Surface
Before the final rise (also known as the proofing stage), you need to prepare the surface your rustic bread will be baked on. The simplest and most effective method, especially when using a Dutch oven, is to use parchment paper. Cut a piece of parchment paper large enough to comfortably hold your shaped loaf and allow you to use it as a sling to transfer the dough into the hot Dutch oven later.
Place the shaped loaf directly onto the center of this parchment paper. This preparation step is crucial because it minimizes handling of the dough right before baking, preserving the delicate structure developed during proofing. It also makes transferring the dough into a very hot pot much safer and easier, a key technique for achieving a great crust on your easy rustic bread.
Monitoring the Final Rise: Poke Test
The final rise is typically shorter than the bulk fermentation, usually lasting 30-60 minutes at room temperature, depending on your kitchen temperature and how active your dough is. Cover the shaped loaf loosely with a light kitchen towel or plastic wrap to prevent it from drying out. During this time, the dough will expand again, though not necessarily doubling in size this time. It should look noticeably puffier and feel airy.
A reliable way to tell if your easy rustic bread is ready for baking is the poke test. Gently flour your finger and lightly press into the side of the loaf about half an inch deep. If the indentation springs back immediately, the dough needs more time. If the indentation springs back slowly, leaving a small mark, it's perfectly proofed and ready to bake. If the indentation stays completely and doesn't spring back at all, it might be slightly over-proofed, but you can usually still bake it successfully.
Step 5: Baking the Rustic Bread
Preheating the Oven and Dutch Oven
Baking your easy rustic bread in a preheated Dutch oven is the secret to achieving a beautiful, crispy crust at home. Place your empty Dutch oven (including the lid) into your oven before you start preheating. Preheat your oven to a high temperature, typically between 450°F and 500°F (230°C and 260°C).
Allow the oven and the Dutch oven to preheat for at least 30-60 minutes after the oven reaches the set temperature. This ensures the pot is scorching hot, which is essential for creating steam and achieving oven spring (the rapid rise of the dough when it first hits the heat).
The Dutch oven mimics the environment of a professional bread oven by trapping steam released by the dough as it bakes. This steam keeps the surface of the dough moist during the initial phase of baking, allowing it to expand fully before the crust sets. Without this steam, the crust would harden too quickly, restricting the loaf's rise.
Scoring the Loaf: Slash with a Sharp Knife
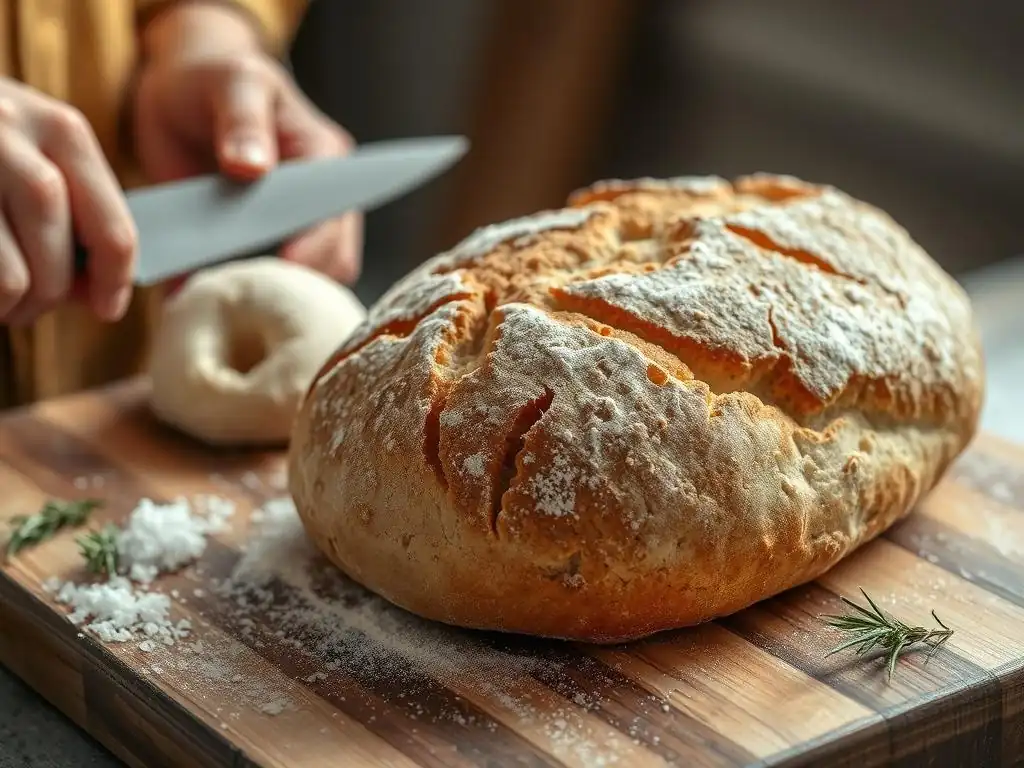
Just before transferring your proofed dough into the hot Dutch oven, you need to score it. Scoring involves making shallow cuts on the surface of the loaf using a very sharp knife, a razor blade (lame), or scissors. These cuts serve two primary purposes for your easy rustic bread. First, they provide weak points on the surface, allowing the dough to expand in a controlled manner during oven spring. Without scoring, the crust would likely burst unpredictably in the weakest spot.
Second, scoring adds a decorative element to your loaf. Simple patterns like a single slash down the center, a cross shape, or multiple parallel slashes are common for rustic bread. The cuts should be about a quarter to half an inch deep. Make the cuts swiftly and confidently. Once scored, carefully lift the dough using the parchment paper as a sling and gently lower it into the preheated Dutch oven.
Baking Time and Temperature: Achieving a Golden Crust
Place the lid back on the Dutch oven immediately after putting the scored loaf inside. Carefully transfer the pot to the preheated oven. Bake the easy rustic bread with the lid on for the first 20-25 minutes. This initial phase is crucial for trapping steam and achieving maximum oven spring, allowing the dough to expand and the crust to develop flexibility.
After 20-25 minutes, carefully remove the lid from the Dutch oven. The loaf should have significantly expanded and look pale but set. Reduce the oven temperature slightly, typically to 425°F or 450°F (220°C or 230°C). Continue baking for another 20-30 minutes with the lid off. This allows the moisture to escape and the crust to brown and crisp up beautifully. The bread is done when the crust is a deep golden brown and the internal temperature reaches 200-210°F (93-99°C).
Step 6: Cooling and Enjoying Your Homemade Rustic Bread
Cooling on a Wire Rack: To Prevent Soggy Bottom
Once your easy rustic bread is baked to a beautiful golden-brown color and sounds hollow when tapped on the bottom, it's crucial to let it cool properly. Immediately transfer the loaf from the Dutch oven to a wire cooling rack. Do not slice into the bread right away, no matter how tempting the aroma is! Slicing hot bread can result in a gummy interior because the internal structure is still setting and moisture is redistributing throughout the loaf.
Allowing the bread to cool completely on a wire rack, usually for at least 1-2 hours for a standard loaf, is essential. A wire rack allows air to circulate all around the loaf, preventing steam from condensing on the bottom crust and making it soggy. This cooling time is part of the baking process; it allows the crumb to firm up and the flavors to fully develop, ensuring you get the best possible texture and taste from your easy rustic bread.
Serving Suggestions for Your Rustic Bread
Once your homemade easy rustic bread is fully cooled, it's ready to be enjoyed in countless ways. Its simple, robust flavor and wonderful texture make it incredibly versatile. Slice it thick and serve alongside a hearty soup or stew – its crusty exterior and chewy interior are perfect for soaking up broth. Toast slices and top with fresh tomatoes and basil for a simple bruschetta, or with avocado and a sprinkle of sea salt for a quick snack.
Rustic bread is also the perfect companion for cheese boards, providing a neutral base that lets the flavors of the cheese shine. Use it to make exceptional sandwiches; the sturdy crust holds up well to fillings. Even a simple piece served with good quality olive oil for dipping is a delightful treat. Don't forget to appreciate the simple pleasure of tearing off a piece and savoring the result of your baking efforts.
Tips and Tricks for Perfect Rustic Bread
Mastering the Art of Kneading
While many easy rustic bread recipes minimize traditional kneading, understanding the basic principle is helpful. Kneading develops the gluten network, essential for the bread's structure. If your recipe involves some kneading, aim for a technique that folds and pushes the dough, creating tension. A simple test for sufficient kneading (if applicable) is the windowpane test: gently stretch a small piece of dough; if you can stretch it thinly enough to see light through it without it tearing, the gluten is well-developed.
For no-knead or minimal-knead methods, the 'stretch and fold' technique described earlier is your primary tool for gluten development. Performing these folds at intervals during the bulk fermentation builds strength in the dough gently over time. Pay attention to the dough's feel – it should become progressively smoother and more elastic. Don't be afraid to handle the dough; practice makes perfect in learning its texture.
Achieving a Crispy Crust: Lid On/Off Dutch Oven Method
The Dutch oven method is the most reliable way for home bakers to achieve a truly crispy crust on their easy rustic bread. The initial baking phase with the lid on is crucial because it traps the steam released by the dough. This high-humidity environment keeps the surface of the dough soft and extensible, allowing it to expand significantly during the first 20-25 minutes in the hot oven. This expansion phase is called "oven spring."
Once the oven spring is complete, removing the lid for the final 20-30 minutes allows the trapped moisture to escape and the dry heat of the oven to reach the loaf. This is when the Maillard reaction and caramelization occur on the surface, creating that deep golden-brown color and the signature crispy, crackling crust of a perfect easy rustic bread. Ensure your oven is fully preheated, including the Dutch oven, before you start baking for the best results.
Troubleshooting Common Rustic Bread Baking Problems
Dough Too Sticky?
If your easy rustic bread dough feels excessively sticky even after the initial mixing and rests, resist the urge to add a lot of extra flour immediately. Stickiness is normal for high-hydration rustic doughs. Try wetting your hands or using a bench scraper dusted with a small amount of flour (maybe a tablespoon at a time) to handle it.
If after a couple of stretch and folds the dough still seems unmanageably wet, you can knead in just a tablespoon or two of additional flour. Remember, a slightly wetter dough often leads to a more open crumb, which is desirable in rustic bread.
Bread Not Rising Enough?
There could be several reasons why your easy rustic bread isn't rising as much as expected. The most common culprits are inactive yeast, a proofing environment that is too cold, or insufficient proofing time. First, check your yeast's expiration date; old yeast loses its potency. Ensure your water temperature was lukewarm (95-105°F / 35-40°C) – too hot kills yeast, too cold slows it down dramatically.
Make sure your proofing spot is warm enough (around 70-75°F / 21-24°C); if not, find a warmer place or use the oven-with-light-on trick. Finally, be patient; bulk fermentation can take 8-18 hours depending on temperature and yeast amount. Give the dough adequate time to double or triple in volume.
Crust Too Dark/Light?
The color of your easy rustic bread crust is primarily controlled by the baking time and temperature, especially after the Dutch oven lid is removed. If your crust is getting too dark too quickly, your oven might be running hot, or the temperature after removing the lid is too high. Try reducing the temperature by 25°F (15°C) for the second half of the bake.
If the crust is too light, it likely needs more time with the lid off to brown. Continue baking for an additional 5-10 minutes until it reaches your desired color, monitoring closely to prevent burning. Ensure you are preheating your oven and Dutch oven sufficiently; insufficient initial heat can also affect final crust color and development.
Variations and Add-ins for Your Rustic Bread Recipe
Adding Herbs and Spices: Rosemary and Thyme (1-2 tsp)
Elevating your easy rustic bread is simple with the addition of herbs and spices. Fresh or dried herbs like rosemary, thyme, or oregano work wonderfully. For a standard loaf using 3-3.5 cups of flour, you can typically add 1 to 2 teaspoons of dried herbs or 1 to 2 tablespoons of finely chopped fresh herbs. Mix them into the dry ingredients along with the flour, yeast, and salt.
A classic combination is rosemary and sea salt; the fragrant rosemary pairs beautifully with the simple bread flavor. You can also add spices like black pepper, garlic powder (about 1/2 tsp), or even a pinch of red pepper flakes for a bit of warmth. Experiment with different combinations to find your favorites, adding a new dimension to your easy rustic bread.
Incorporating Olives, Cheese, or Nuts
Adding ingredients like olives, cheese, or nuts brings extra flavor and texture to your easy rustic bread. For olives, roughly chop about 1/2 cup of pitted olives (like Kalamata or green olives) and gently fold them into the dough during the last set of stretch and folds or just before shaping. Ensure they are relatively dry to avoid adding too much moisture to the dough.
Cheese like grated sharp cheddar, Gruyère, or Parmesan (about 1/2 cup) can also be folded in at the same stage. Nuts such as walnuts or pecans (about 1/3 to 1/2 cup, lightly toasted and chopped) add a lovely crunch and nutty flavor. You can combine these additions, for example, a rosemary and olive easy rustic bread, or a walnut and cheese loaf. Just be mindful not to add too much, as excessive add-ins can sometimes inhibit the dough's rise.
Making a Sourdough Version: Brief Introduction
Once you've mastered this easy rustic bread recipe using commercial yeast, you might be interested in exploring sourdough. Sourdough rustic bread uses a natural leavening agent – a starter, which is a fermented mixture of flour and water containing wild yeasts and bacteria. This process replaces the commercial yeast entirely and typically involves longer fermentation times, often including an overnight rest in the refrigerator, to develop a more complex, tangy flavor profile and a unique crumb structure.
While the general steps (mixing, bulk fermentation, shaping, proofing, baking) are similar, working with sourdough starter requires understanding its activity and adapting to longer timelines. It's a rewarding next step for those who enjoy the process and nuanced flavors of naturally leavened easy rustic bread. Many online resources and books can guide you through creating and maintaining a sourdough starter and converting yeast recipes.
Storing Your Homemade Rustic Bread
Keeping Your Bread Fresh for Longer
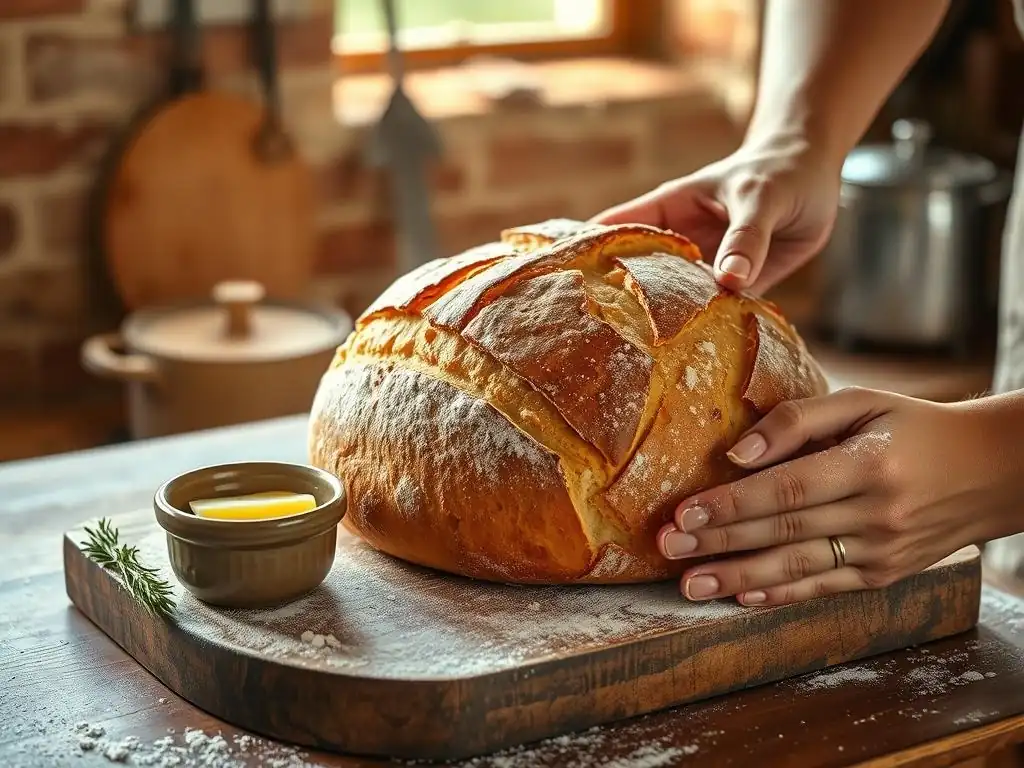
Proper storage is key to enjoying your easy rustic bread for as long as possible. The best way to store rustic bread at room temperature is to let it cool completely, then store it cut-side down on a cutting board. This simple method helps protect the exposed crumb from drying out.
For longer storage, you can wrap the cooled loaf loosely in a linen bread bag or a clean paper bag. Avoid airtight plastic bags or containers at room temperature, as they trap moisture and can make the crust soft and potentially lead to mold growth within a day or two.
A well-baked easy rustic bread should stay fresh and enjoyable at room temperature for 2-3 days. If the crust loses some crispness, you can often refresh it by placing the loaf directly on the oven rack in a preheated 350°F (175°C) oven for 5-10 minutes.
Freezing Rustic Bread for Future Enjoyment
If you won't finish your easy rustic bread within a few days, freezing is an excellent option to preserve its quality. Ensure the loaf is completely cooled. You can freeze the entire loaf or slice it first. For a whole loaf, wrap it tightly in plastic wrap, then wrap it again in aluminum foil or place it in a freezer bag. This double layer helps prevent freezer burn.
If slicing before freezing, place parchment paper between slices to prevent them from sticking together, then wrap the stack tightly as you would a whole loaf. Frozen easy rustic bread can be stored for up to 3 months. To thaw, unwrap the loaf and let it sit at room temperature for several hours. For best results, especially for the crust, you can warm the thawed loaf in a 350°F (175°C) oven for 10-15 minutes. Slices can be toasted directly from frozen.
Conclusion: Enjoy the Simple Pleasure of Homemade Rustic Bread
Embrace the Art of Rustic Bread Baking at Home
You've now successfully navigated the steps to baking your very own easy rustic bread! From understanding the role of each simple ingredient to mastering the no-fuss techniques of mixing, rising, shaping, and baking in a Dutch oven, you have acquired the skills to create a truly satisfying loaf. This easy rustic bread recipe is more than just a set of instructions; it's an invitation to experience the rewarding process of transforming basic pantry staples into something truly wonderful.
Embrace the tactile experience of working with the dough, the patience required during the slow fermentation, and the incredible aroma that will fill your home as your bread bakes. Each loaf you bake will be a little different, a testament to the handmade nature of this craft. Don't worry about achieving bakery-level perfection on your first try; the beauty of rustic bread lies in its charming imperfections. Continue to experiment, perhaps trying some of the suggested variations, and most importantly, enjoy the simple pleasure of sharing and savoring your delicious homemade easy rustic bread.
Frequently Asked Questions
What makes this rustic bread recipe "easy"?
This recipe is considered easy due to its minimal ingredients and straightforward instructions. It avoids complex techniques and uses readily available items.
How long does it take to make this Simple Rustic Bread Recipe for Beginners?
The Simple Rustic Bread Recipe for Beginners requires approximately 3 hours, including rising time. Active baking time is only around 20 minutes.
Can I substitute any ingredients in the easy rustic bread recipe?
While the recipe is designed to be simple, you can experiment. However, substituting key ingredients like flour or yeast may significantly affect the final texture and rise.
What kind of flour is best for this Simple Rustic Bread Recipe for Beginners?
All-purpose flour works well for this recipe, providing a good balance of structure and texture. Bread flour can also be used for a chewier result.
What is the best way to store leftover rustic bread?
Store leftover bread in a bread box or paper bag at room temperature. This helps maintain its crust and prevent it from drying out too quickly.
Final Reflection: The Enduring Appeal of Simple Bread
The humble loaf of rustic bread, once a staple of daily life, continues to hold a powerful allure in our modern world. Its simple ingredients and satisfying process offer a counterpoint to the frenetic pace of modern living, reminding us of the enduring connection between food, craft, and community. More than just a recipe, this rustic bread represents a return to basics, a chance to slow down and connect with something tangible and rewarding.
The act of kneading dough, of watching it rise and transform in the oven, is a deeply meditative experience. It's a tangible reminder of the transformative power of simple actions, a quiet rebellion against the instant gratification of our digital age. Bread making is a metaphor for life: you put in the effort, you wait patiently, and you are rewarded with something beautiful and nourishing.
This quote, though not directly from a baker, perfectly encapsulates the feeling of satisfaction that comes from creating something delicious and wholesome with your own hands.
Now, I invite you to take this recipe and make it your own. Experiment with different flours, add herbs or seeds, and share your creations with loved ones. Don't be afraid to get your hands dirty; the imperfections are part of the charm. This isn't just about baking bread; it's about embracing the simple pleasures, finding joy in the process, and connecting with a culinary tradition that has sustained humanity for millennia. Let the aroma of freshly baked bread fill your home, and let the experience nourish not just your body, but your soul.
Unleash Your Inner Baker: Knead to Know More?
Thanks for taking the time to explore the world of rustic bread baking with us! We hope you gained valuable insights and confidence to tackle this rewarding challenge. Ready to get your hands floury?
- Bake your own loaf: Follow our simple recipe and experience the satisfying aroma and incredible taste of freshly baked bread. This is your chance to truly master the basics.
- Share your baking journey: Snap a picture of your masterpiece and share it on social media using #BakeWithEaseRusticBread – we’d love to see your creations!
- Explore other beginner-friendly recipes: Dive into our collection of easy-to-follow baking recipes on BakeWithEase.com to expand your culinary skills.
What unique twist will you add to your first rustic loaf? Let us know in the comments!