
Troubleshooting Bread Machine Dough Fails

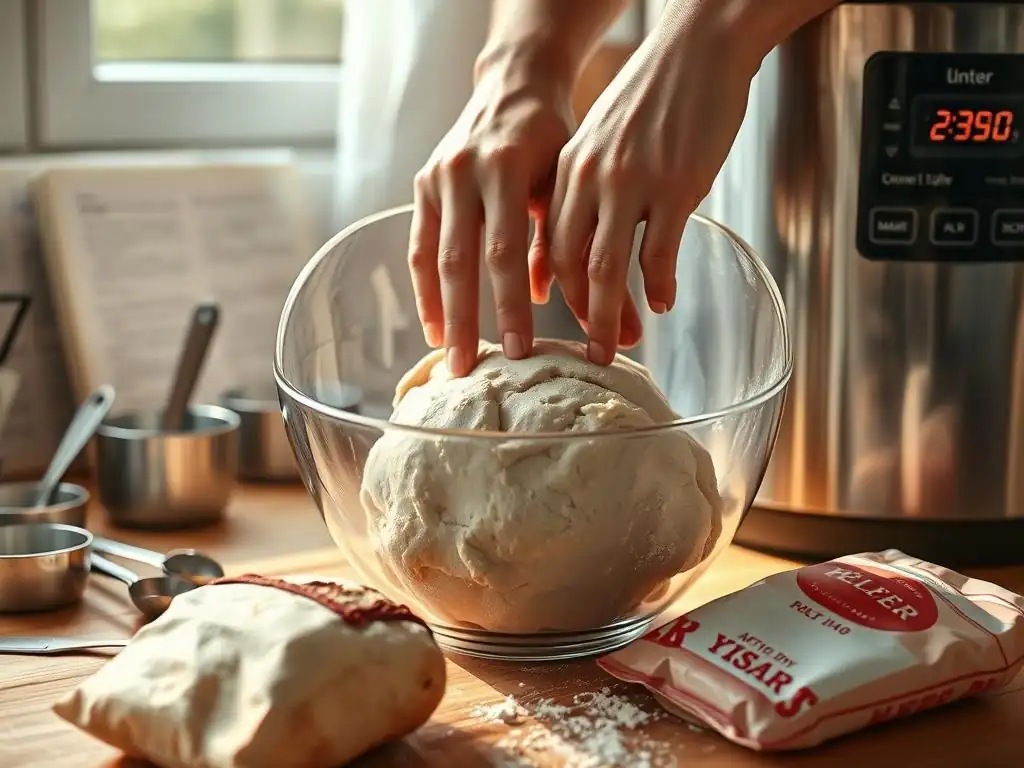
Welcome to BakeWithEase, your trusted companion in the baking world! Ever wondered why your bread machine dough isn't quite behaving? Unlock the secrets to perfect loaves with our guide on Bread machine dough troubleshooting tips. Discover the common pitfalls and simple fixes that will transform your baking experience, turning dough disasters into delicious triumphs. Ready to conquer your bread machine and achieve baking bliss? Let's get started!
- Troubleshooting Bread Machine Dough Fails: Bake Like a Pro
- Understanding Common Bread Machine Dough Problems
- Bread Machine Dough Troubleshooting Tips: A Step-by-Step Guide
- Specific Bread Machine Dough Issues and Solutions
- Preventing Bread Machine Dough Problems: Proactive Measures
- Advanced Bread Machine Dough Troubleshooting
- Mastering Bread Machine Dough: Beyond Troubleshooting
-
Frequently Asked Questions
- What are some common reasons why my bread machine dough isn't rising?
- My dough is too sticky after the kneading cycle. What should I do?
- The dough is too dry and crumbly. How can I fix it?
- My bread machine dough overflowed! What went wrong?
- The dough looks fine, but the baked bread is dense. What could be the issue?
- Final Reflection: The Unexpected Joys (and Triumphs) of Bread Machine Baking
- Unlock Your Inner Baker: Perfect Dough, Every Time!
Troubleshooting Bread Machine Dough Fails: Bake Like a Pro
Bread machines are fantastic tools for effortless baking, but sometimes, even they encounter hiccups. Learning effective bread machine dough troubleshooting tips can turn potential disasters into delicious successes. This guide will walk you through common issues and how to fix them, helping you master your bread machine.
Understanding Common Bread Machine Dough Problems
Before you can troubleshoot, it's helpful to understand the most frequent issues that arise when using your machine's dough cycle. These often relate to the delicate balance required for yeast activity and gluten development. Recognizing the symptoms is the first step in applying effective bread machine dough troubleshooting tips.
Why is My Bread Machine Dough Not Rising?
One of the most common and frustrating bread machine dough fails is dough that simply doesn't rise. This can manifest as a dense, heavy mass at the end of the dough cycle, lacking the airy, expanded volume you expect. The most frequent culprits are inactive yeast, incorrect liquid temperature, or expired ingredients.
For instance, if your yeast is old (past its expiration date, often printed on the packet or jar), it may have lost its leavening power. Similarly, water that is too hot can kill the yeast, while water that is too cold won't activate it properly. A temperature range of 105-115°F (40-46°C) is typically ideal for activating dry active yeast, though instant yeast is more forgiving.
Another factor impacting rise is the overall balance of the recipe and the quality of the flour. Using too much salt or sugar can inhibit yeast activity. Salt competes with yeast for water, slowing down its growth, while excessive sugar can overwhelm the yeast.
Furthermore, if the flour is very low in protein, gluten development might be insufficient to trap the gases produced by the yeast, resulting in poor rise. In a typical white bread recipe using a bread machine, you might use around 3 cups (approximately 360-400g) of all-purpose or bread flour, 1-2 teaspoons of salt, 1-2 tablespoons of sugar, and 2 teaspoons of active dry yeast. Getting these ratios slightly off, especially with the yeast or salt, can significantly impact the dough's ability to rise adequately.
Bread Machine Dough Too Sticky: Causes and Solutions
Dough that is excessively sticky at the end of the kneading cycle is another frequent issue. Instead of a smooth, elastic ball, you might have a wet, clinging mass. This is primarily a hydration issue – there's too much liquid relative to the flour. Different flours absorb liquid differently; whole wheat flour, for example, typically requires more liquid than white all-purpose flour. High humidity in your kitchen can also contribute, as flour absorbs moisture from the air. A recipe designed for a dry climate might result in sticky dough in a humid environment.
To address overly sticky dough during the kneading cycle (usually within the first 5-10 minutes), you can add small amounts of flour, about a tablespoon at a time, allowing the machine to incorporate it before adding more. Observe the dough ball; it should clean the sides of the pan and feel slightly tacky, but not wet or gluey. A common ratio for many bread machine recipes is roughly 3 parts flour to 2 parts liquid by volume, but this varies widely.
For example, a recipe might call for 3 cups of flour and 1.25 to 1.5 cups of water. If your dough is too sticky with 1.5 cups of water, reducing the liquid slightly next time or adding an extra tablespoon or two of flour during the initial mix can help.
Bread Machine Dough Too Dry: How to Fix It
Conversely, dough that is too dry will appear crumbly, stiff, or fail to form a cohesive ball during kneading. It might look shaggy and separate easily. This indicates insufficient liquid for the amount of flour used.
Just like with sticky dough, flour type, measurement accuracy, and environmental factors play a role. Using too much flour, not enough liquid, or very dry flour can lead to this problem. Measuring flour by volume (cups) can be inconsistent; scooping flour directly from the bag can pack it down, resulting in significantly more flour than intended compared to spooning it lightly into a measuring cup.
If you notice your dough is too dry during the kneading phase, add liquid very gradually, about a teaspoon at a time. Water, milk, or the liquid specified in your recipe can be used. Allow the machine to knead after each addition to see if the dough consistency improves.
The goal is for the dough to form a smooth, elastic ball that pulls away from the sides of the pan. For instance, if a recipe calls for 3 cups of flour and 1.25 cups of water, and your dough is dry, you might need to add an extra tablespoon or two of water, especially if you measured the flour by scooping. Using a kitchen scale to weigh flour (e.g., 3 cups of all-purpose flour is roughly 360-400g depending on packing) provides much more consistent results and is a key bread machine dough troubleshooting tip.
Bread Machine Dough Troubleshooting Tips: A Step-by-Step Guide
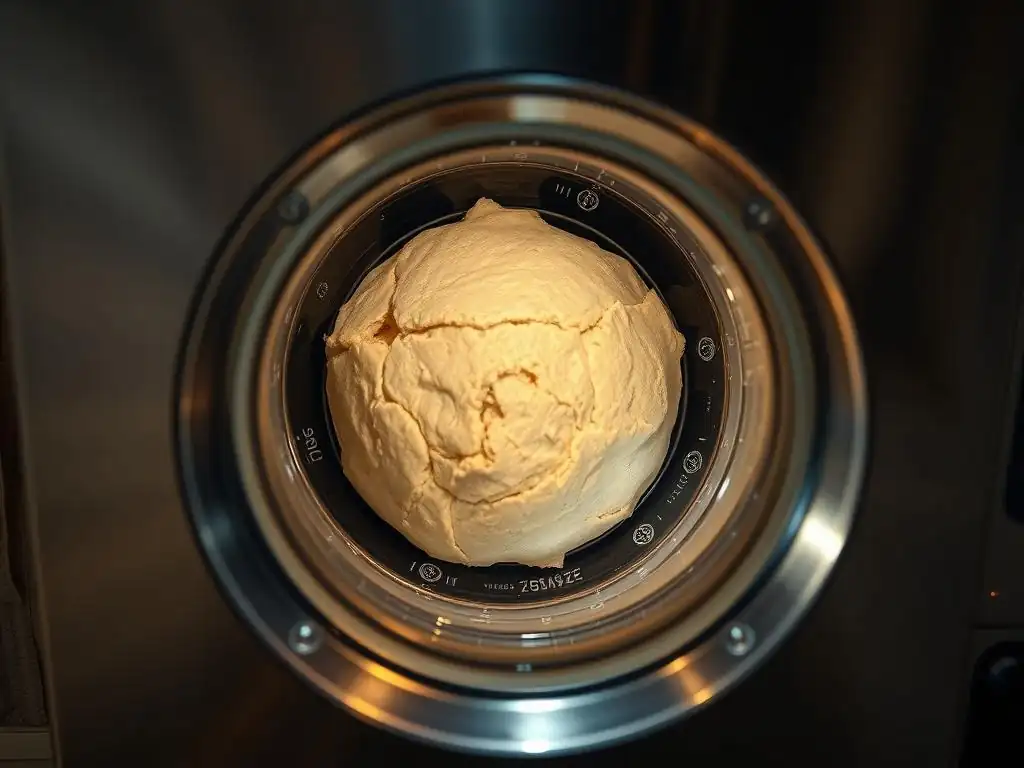
Systematic troubleshooting is key to resolving dough issues. By following a logical process, you can pinpoint the cause of the problem and implement the correct fix. These bread machine dough troubleshooting tips will guide you through the process.
Step 1: Checking Your Ingredients for Bread Machine Success
The quality and accuracy of your ingredients are fundamental to successful bread machine baking. Even small errors here can lead to significant dough problems. It's always wise to start your troubleshooting process by examining the components you're putting into the machine.
Is Your Yeast Active? The Float Test and Beyond
Yeast is a living organism, and its activity is crucial for dough rise. If your yeast is old, stored improperly (heat and moisture degrade it), or expired, it won't produce enough carbon dioxide to leaven the dough. The "float test" is a simple way to check active dry yeast: dissolve 1 teaspoon of sugar in 1/4 cup of warm water (around 105-115°F or 40-46°C), then sprinkle 2.25 teaspoons (one standard packet) of active dry yeast on top. Let it sit for 5-10 minutes.
If it's alive, it will foam up significantly. Instant yeast doesn't require proofing, but checking its expiration date is vital. Using fresh yeast, ideally from a newly opened packet or jar stored correctly in the refrigerator or freezer after opening, is one of the simplest yet most effective bread machine dough troubleshooting tips.
If your yeast doesn't foam during the test, it's dead or inactive, and you'll need a new batch. Even if it shows some activity, weak foaming might indicate it's past its prime and won't perform optimally. Consider buying yeast in smaller quantities if you don't bake frequently, or storing it properly to extend its shelf life. For example, a 1-pound bag of active dry yeast can last several months in the freezer after opening, while a packet might only be reliable until its printed expiration date, especially if stored at room temperature.
Measuring Flour Accurately: Weight vs. Volume
Inconsistent flour measurement is a leading cause of dough texture problems (too sticky or too dry). Measuring by volume (cups) can vary by as much as 20% depending on how the flour is packed into the cup. Scooping directly from the bag can compact the flour, resulting in significantly more flour by weight than lightly spooning it into a cup and leveling it off. For example, one cup of all-purpose flour, lightly spooned and leveled, typically weighs around 120-130 grams, while scooped directly from the bag it might weigh 140-150 grams or more.
Using a kitchen scale to weigh your flour is the most accurate method and a critical step in bread machine dough troubleshooting tips. Most recipes provide weight measurements alongside volume, or you can find standard conversions online (e.g., 1 cup AP flour ≈ 125g). This eliminates variability and ensures you're using the exact amount of flour intended by the recipe developer. This consistency in ingredient amounts is fundamental to replicating recipes successfully and diagnosing issues when they arise.
Water Temperature: The Goldilocks Zone for Yeast Activation
The temperature of the liquid (usually water or milk) used in your bread machine recipe is crucial for yeast activation and activity. As mentioned earlier, water that is too hot (above 130-140°F or 54-60°C) can kill the yeast, while water that is too cold (below 70°F or 21°C) will slow down or prevent its activation and subsequent rise.
The ideal range for activating active dry yeast is typically 105-115°F (40-46°C). Instant yeast is more tolerant and often works well with cooler water, but using water in the 80-90°F (27-32°C) range can still give it a good start, especially in a cooler kitchen.
Using a thermometer to check your liquid temperature is highly recommended, particularly if you're experiencing rise issues. Simply running the tap until the water feels "warm" is often insufficient. Water that feels warm to your hand might be too hot for yeast. Aim for the specific temperature range recommended for your type of yeast. This simple check is an essential bread machine dough troubleshooting tip that can quickly rule out a common cause of dough fails.
Step 2: Assessing Your Bread Machine Settings
Your bread machine offers various cycles and settings designed for different types of bread and dough. Using the incorrect setting can lead to improper kneading, rising, or timing, resulting in dough problems. Understanding what each cycle does is vital for successful bread making.
Selecting the Correct Dough Cycle: Understanding Your Machine's Options
Bread machines come with several pre-programmed cycles. The "Dough" cycle is specifically designed for making dough that will be shaped and baked outside the machine. This cycle typically includes a kneading phase, a rise cycle (or proofing), and sometimes a punch-down phase, but it stops before the baking cycle. Other cycles, like "Basic," "Whole Wheat," or "French," include the full process of kneading, rising, and baking within the machine. Selecting a full baking cycle when you only want dough will result in the machine attempting to bake the dough, which is not what you intended.
Ensure you are selecting the specific "Dough" cycle on your machine. Consult your bread machine's manual to understand the duration and phases of its dough cycle. Some machines might have options for different dough types (e.g., pizza dough, pasta dough), which have varying kneading and rising times. Using the standard "Dough" cycle is appropriate for most bread doughs intended for oven baking, such as sandwich bread, rolls, or pizza crust. Incorrect cycle selection is a straightforward fix among bread machine dough troubleshooting tips.
Understanding Dough Cycle Times and Adjusting for Altitude
A typical bread machine dough cycle lasts between 1 hour 30 minutes and 2 hours 30 minutes, depending on the machine and the specific program. This time includes the initial mix/knead, a rest period, further kneading, and the primary rise (proofing). The machine is programmed to provide the optimal environment (warmth from the motor and pan) and time for yeast activity and gluten development within that period. Observing your dough during the kneading phase (usually the first 10-20 minutes) is important to check its consistency (sticky or dry) and make manual adjustments if necessary.
Altitude can affect baking, including bread machine dough. At higher altitudes, atmospheric pressure is lower, which causes dough to rise faster. While bread machine cycles are fixed, you might find that your dough over-proofs or rises too quickly within the standard cycle time, especially in locations significantly above sea level (e.g., 3,000 feet or roughly 900 meters and higher).
Some high-altitude bakers reduce the amount of yeast slightly (e.g., by 1/4 to 1/2 teaspoon) or slightly increase the salt (which slows yeast activity) to compensate. While most machines don't have specific high-altitude dough settings, being aware of this factor is part of advanced bread machine dough troubleshooting tips.
Step 3: Identifying Environmental Factors Affecting Bread Machine Dough
The temperature and humidity of your kitchen can subtly but significantly impact how your bread machine dough behaves. While the machine provides a relatively controlled environment inside the pan, external conditions still play a role, particularly during the initial mixing and the rise cycle.
Room Temperature's Impact: Adjusting for Summer and Winter
Yeast activity is highly sensitive to temperature. In a warm kitchen (say, 75°F or 24°C and above), yeast will be more active, and the dough may rise faster than expected within the bread machine's cycle. In a cold kitchen (below 68°F or 20°C), yeast activity slows down considerably, leading to a sluggish or incomplete rise. While the bread machine generates some warmth during operation, it may not fully compensate for a very cold environment.
If you consistently experience dough that rises too quickly and collapses (over-proofing) in the summer, try using slightly cooler water or reducing the yeast amount by a tiny fraction (e.g., 1/4 teaspoon). Conversely, in a cold winter kitchen, using water on the warmer end of the recommended range (closer to 115°F or 46°C for active dry yeast) can help kickstart yeast activity. Some experienced bakers even warm their flour slightly in a cold environment, though this is less common for bread machines. Being mindful of ambient temperature is a helpful bread machine dough troubleshooting tip.
Humidity's Influence: Compensating for Moisture Levels
Humidity affects how much moisture the flour absorbs from the air. In high humidity, flour already contains more moisture, meaning you'll likely need less liquid in your recipe. If you use the same liquid amount in a humid environment as you would in a dry one, your dough will likely be too sticky. Conversely, in a very dry climate or during the winter when indoor air is often dry, flour will absorb more liquid, and you might need a little extra water to achieve the correct dough consistency.
While it's hard to give exact measurements without a hygrometer, if you notice your dough is consistently too sticky during humid weather despite accurate weighing, try reducing the liquid amount by a tablespoon or two initially. If it's consistently too dry in arid conditions, add an extra tablespoon or two of liquid. Observing the dough during the first 5-10 minutes of kneading is crucial for making these environmental adjustments in real-time. These subtle adjustments based on your kitchen's climate are advanced bread machine dough troubleshooting tips.
Specific Bread Machine Dough Issues and Solutions
Beyond the general problems of stickiness, dryness, and lack of rise, certain specific issues can arise. Understanding their root causes allows for targeted solutions. Applying focused bread machine dough troubleshooting tips addresses these particular failures.
Troubleshooting Dense or Heavy Dough: Gluten Development and Yeast
Dense or heavy dough, even if it rose slightly, often results from insufficient gluten development or weak yeast activity. Gluten is the protein network in flour that gives dough its structure and elasticity, allowing it to trap gas produced by the yeast. If the flour is low in protein (like some cake flours, which are unsuitable for bread), or if the kneading time was too short, the gluten network won't be strong enough.
Similarly, if the yeast was sluggish or insufficient, it wouldn't produce enough gas to lighten the dough. A typical bread flour has a protein content of 12-14%, while all-purpose flour is usually 10-12%. Using bread flour often results in a lighter, chewier crumb.
Ensure you are using appropriate flour for bread making (bread flour or good quality all-purpose flour). Check that your yeast is active and correctly measured. Sometimes, dense dough can result from too much flour or not enough liquid, leading to a stiff dough that the machine can't knead effectively. Review your measurements, ideally using a scale. If your machine has a specific "knead" cycle or allows longer kneading on the dough cycle, you might experiment with slightly extended kneading time if the dough seems underdeveloped after the standard cycle, though most machines' dough cycles are sufficient with correct ingredients.
Fixing Crumbly Dough: Hydration and Fat Content
Dough that is crumbly and doesn't hold together well is typically a sign of insufficient hydration (too little liquid) or sometimes excessive fat. Fat, like butter or oil, can shorten gluten strands, making the dough less elastic and more crumbly if used in very large quantities, though this is less common in basic bread machine dough recipes. More often, crumbly dough points back to dry ingredients or insufficient liquid relative to the flour.
Re-evaluate your liquid measurements, ensuring they are accurate. If measuring flour by volume, switch to weighing it for better consistency. If the recipe includes fats, ensure they are added at the correct stage (usually with the liquids) and in the specified amount. If you are using a recipe designed for manual kneading, it might require more liquid in a bread machine, as the machine's kneading can generate more heat, which affects hydration. Adding small amounts of liquid during the initial kneading phase is the primary fix for crumbly dough.
Addressing Dough That Overflows: Reducing Yeast and Monitoring
Dough that rises so much it overflows the bread machine pan during the dough cycle is a clear sign of over-proofing. This usually means the yeast was too active or there was too much of it for the amount of flour and the cycle duration. A very warm kitchen can exacerbate this problem. Over-proofed dough often collapses after the cycle or results in a bread with a poor texture if baked.
To prevent overflowing, try slightly reducing the amount of yeast in your recipe. If a recipe calls for 2.25 teaspoons of active dry yeast, try reducing it to 2 teaspoons, especially in warm conditions or high altitudes. Ensure you are not accidentally using instant yeast when the recipe specifies active dry yeast, as instant yeast is more potent and active.
If you consistently have issues, consider monitoring the dough during the rise cycle. If it looks like it's approaching the top of the pan well before the cycle ends, you can manually punch it down briefly (if your machine doesn't have an automatic punch-down) or simply note the issue for adjusting the yeast quantity next time. Adjusting yeast levels is a key bread machine dough troubleshooting tip for overflow issues.
Preventing Bread Machine Dough Problems: Proactive Measures
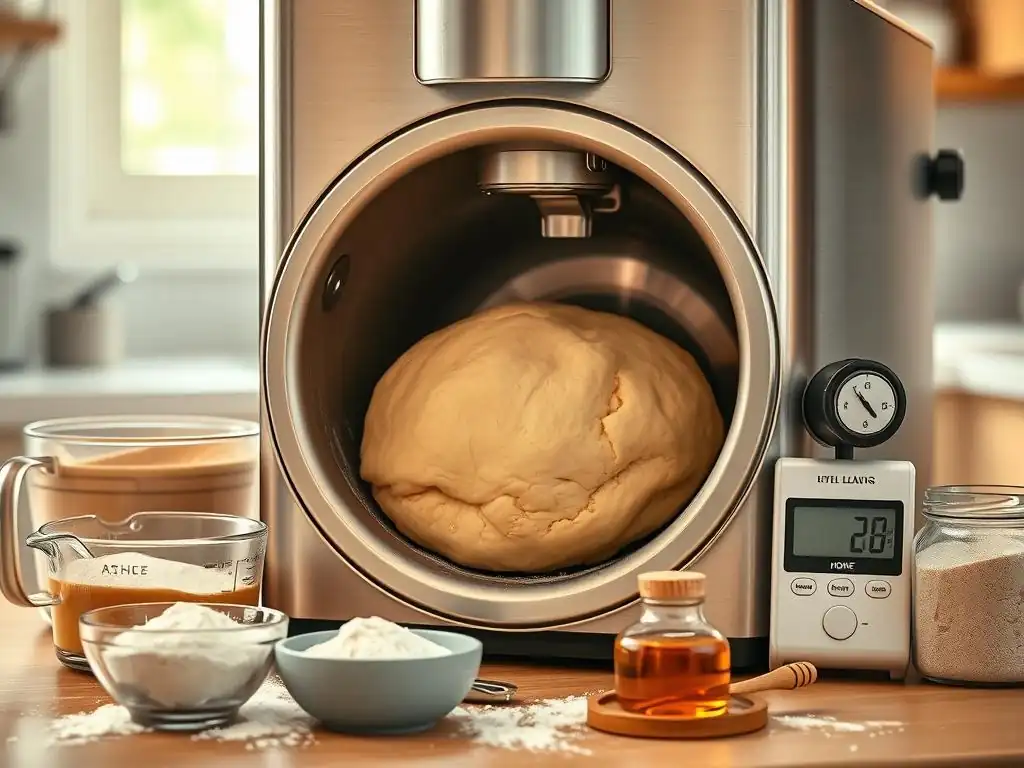
Prevention is often easier than troubleshooting. By taking a few proactive steps, you can minimize the chances of encountering bread machine dough fails in the first place. These measures focus on consistency, maintenance, and recipe selection.
Maintaining Your Bread Machine: Cleaning and Calibration
A well-maintained bread machine performs more consistently. Ensure the bread pan and kneading paddle are clean and free of dried dough residue. Residue can affect the machine's ability to knead properly or heat evenly. Check that the kneading paddle is correctly attached. Over time, the heating element or thermostat could become slightly less accurate, though this is less common with modern machines.
More importantly, ensure the machine is placed on a stable, level surface. Excessive vibration during kneading can affect dough development. While you can't "calibrate" most home bread machines in the traditional sense, keeping it clean and ensuring it's functioning correctly according to the manual (e.g., paddle is turning, heating element is warming) helps rule out machine malfunction as a source of dough problems. Regular cleaning is a simple but effective part of bread machine dough troubleshooting tips.
Choosing the Right Recipe: Matching Recipe to Machine Capacity
Not all bread recipes are created equal, especially when adapted for bread machines. Recipes specifically developed for bread machines account for the machine's kneading action, heating profile, and cycle timings. Using a recipe designed for manual kneading or a stand mixer might require adjustments, particularly in liquid amounts and yeast quantity.
Pay close attention to the total yield or loaf size specified in the recipe and compare it to your bread machine's capacity (e.g., 1-pound, 1.5-pound, or 2-pound loaf). Overfilling the pan with too large a recipe is a common cause of dough overflowing and poor structure. Stick to recipes tailored for your machine size, at least initially. Look for recipes that provide ingredient weights as well as volumes for greater accuracy. Selecting appropriate recipes is a fundamental bread machine dough troubleshooting tip.
Consistent Results: Using a Kitchen Scale and Recording Adjustments
Consistency in your process is the best way to prevent problems and effectively troubleshoot when they occur. As emphasized earlier, using a digital kitchen scale for measuring flour and other dry ingredients by weight is far more accurate than volume measurements. Weighing ensures you add the same amount of flour every time.
Keep a baking journal or simple notes. Record the recipe used, the date, the environmental conditions (approximate room temperature/humidity), and the outcome. If you make any adjustments (e.g., added a tablespoon of water, reduced yeast by 1/4 teaspoon), note those too.
This record-keeping helps you identify patterns in your results based on ingredients, conditions, or adjustments. For example, if you consistently get sticky dough on rainy days with a specific recipe, your notes will quickly point to humidity as the likely factor, guiding you towards reducing liquid next time. This systematic approach is invaluable for mastering bread machine dough troubleshooting tips.
Advanced Bread Machine Dough Troubleshooting
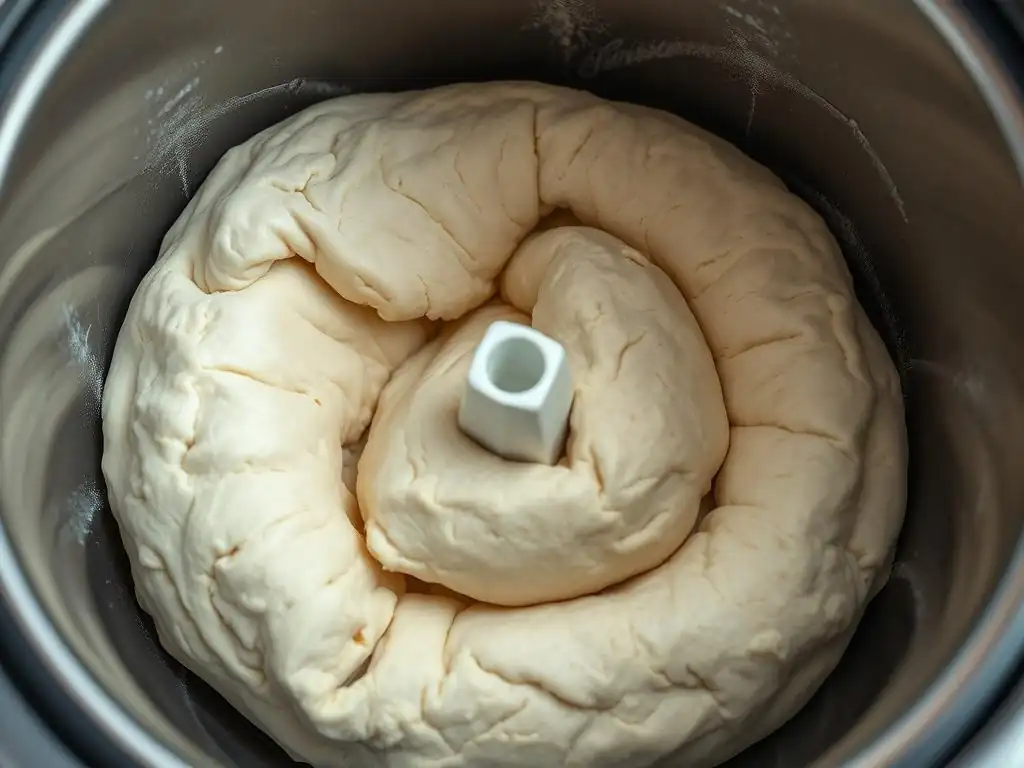
Sometimes, despite your best efforts, the dough isn't quite right during the kneading phase. Learning to make manual adjustments and knowing when to pivot or restart are part of becoming a confident bread machine user. These advanced bread machine dough troubleshooting tips offer solutions for tricky situations.
Manually Adjusting Dough: When to Add Flour or Water
The initial kneading phase (typically the first 5-10 minutes of the dough cycle) is your best opportunity to assess the dough's consistency and make minor adjustments. Open the lid (briefly!) and observe the dough ball. If it's too dry and crumbly, add liquid (water, milk, etc.) a teaspoon at a time. If it's too sticky and clinging heavily to the sides of the pan, add flour a tablespoon at a time.
Allow the machine to knead for 30-60 seconds after each addition before assessing again. The goal is a dough ball that is smooth, elastic, and pulls away from the sides of the pan, leaving it relatively clean, while still being slightly tacky to the touch. Avoid adding too much at once; it's easier to add more than to take away. This manual intervention during the kneading cycle is a practical bread machine dough troubleshooting tip for real-time correction.
Salvaging Failed Dough: Making Pizza Dough or Breadsticks
Even if your dough doesn't look perfect or didn't rise as much as expected, it might still be salvageable for other purposes. A slightly dense or less-than-perfect bread dough can often be repurposed. For example, if the dough is too dense for a loaf but has developed some gluten, it might work well for pizza dough, focaccia, or breadsticks, which are more forgiving of a slightly chewier texture.
Punch down the failed dough, reshape it, and let it rest. For pizza, roll it out thinly. For breadsticks, cut it into strips. These applications often require less significant rise than a loaf of bread. While not ideal, salvaging the dough prevents waste and still results in an edible product. This creative problem-solving is a useful bread machine dough troubleshooting tip for minimizing losses.
Knowing When to Start Over: Recognizing Unrecoverable Dough
Unfortunately, not all dough can be saved. If the dough shows absolutely no signs of yeast activity (no bubbles, no expansion) after the rise cycle, despite confirming your yeast was active, or if the consistency is fundamentally wrong (e.g., you accidentally used salt instead of sugar, or forgot a key ingredient), it might be best to discard it and start fresh.
Dough that smells strongly of yeast or alcohol after the cycle is likely severely over-proofed or had too much yeast, making it difficult to recover a good texture. Dough that is excessively wet and hasn't formed any structure, even after adding extra flour, might indicate a fundamental measurement error or ingredient issue. While it's tough to waste ingredients, attempting to bake truly failed dough will likely result in a disappointing product. Recognizing when the dough is unrecoverable is a practical, albeit sometimes difficult, bread machine dough troubleshooting tip.
Mastering Bread Machine Dough: Beyond Troubleshooting
Once you're comfortable troubleshooting common issues, you can expand your bread machine skills. Experimenting with different ingredients and techniques opens up a world of possibilities beyond basic white bread. These steps take your bread machine dough troubleshooting tips knowledge to the next level.
Experimenting with Flours: Whole Wheat, Rye, and Spelt
Your bread machine isn't limited to white flour. You can make dough using a variety of flours, each offering unique flavors and textures. Whole wheat flour, rye flour, spelt flour, and others can be used, often in combination with all-purpose or bread flour, especially in a machine.
Whole wheat and rye flours absorb more liquid than white flour and have less gluten-forming protein, so recipes using them often require more liquid or specific adjustments. For instance, a 100% whole wheat bread machine recipe might use roughly 1.5 cups of water per 3 cups of whole wheat flour, compared to 1.25-1.4 cups for white flour.
When experimenting, start with recipes specifically designed for bread machines using these flours. Note that dough made with significant amounts of rye or whole wheat might look different (less smooth, denser) than white dough. Pay attention to the hydration during kneading and adjust slightly if needed. Exploring different flours adds variety to your baking repertoire.
Flavor Enhancers: Herbs, Seeds, and Dried Fruit
Once you have a reliable basic dough recipe, you can easily incorporate flavor enhancers. Herbs like rosemary or thyme, seeds like poppy or sesame, dried fruits like raisins or cranberries, or even cheese can be added to the dough. These are typically added at the "add-in" signal on your bread machine, which usually occurs during the second kneading cycle.
Follow recipe recommendations for quantities, as adding too many heavy ingredients like seeds or fruit can affect the dough's rise and structure. A general guideline might be to add no more than 1/2 to 3/4 cup of total add-ins for a 1.5-pound loaf recipe. Adding these ingredients allows you to customize your bread machine dough for specific uses, like herbed dough for focaccia or fruit-filled dough for sweet rolls.
Baking in the Oven: Achieving a Perfect Crust and Shape
While bread machines are convenient, baking your shaped dough in a conventional oven often yields superior results in terms of crust development and shape. The bread machine dough cycle prepares the dough perfectly for this step. After the cycle finishes, turn the dough out onto a lightly floured surface, shape it as desired (loaf, rolls, pizza), allow it to proof for a final time (usually 30-60 minutes, depending on the recipe and temperature), and then bake it in a preheated oven.
Baking temperatures and times vary depending on the dough type and shape (e.g., a standard loaf might bake at 375-400°F or 190-200°C for 30-40 minutes). Baking in the oven allows you to achieve a crispier crust than is possible in most bread machines. This final step leverages your perfectly prepared bread machine dough for artisan-quality results.
Frequently Asked Questions
What are some common reasons why my bread machine dough isn't rising?
Several factors can cause dough to fail. These include using expired yeast, incorrect liquid-to-flour ratios, or the bread machine's temperature being too cold.
My dough is too sticky after the kneading cycle. What should I do?
Too much moisture is likely the culprit. Try adding one tablespoon of flour at a time during the kneading cycle until the dough forms a smooth ball.
The dough is too dry and crumbly. How can I fix it?
This indicates insufficient liquid. Add one teaspoon of water at a time during the kneading cycle until the dough comes together. Be careful not to overhydrate.
My bread machine dough overflowed! What went wrong?
Excessive yeast or too much flour can cause overflow. Ensure you are using accurate measurements and the correct type of flour specified in the recipe.
The dough looks fine, but the baked bread is dense. What could be the issue?
This could be due to insufficient kneading or not allowing the dough to rise long enough. Check the recipe's rising time and ensure your bread machine is functioning correctly.
Final Reflection: The Unexpected Joys (and Triumphs) of Bread Machine Baking
The seemingly simple act of making bread in a machine is, in reality, a microcosm of life itself: filled with unexpected challenges, moments of frustration, and ultimately, the immense satisfaction of a perfectly risen loaf. From inconsistent hydration levels to temperature fluctuations, the troubleshooting process highlighted in this article reveals the delicate balance required for successful bread making. This isn't just about fixing dough; it's about understanding the process and embracing the learning curve.
The journey of perfecting bread machine dough has taught me more than just the technical aspects of baking; it's underscored the importance of patience, observation, and the rewarding feeling of overcoming obstacles. The best bread is made with love, and a little bit of troubleshooting.
– Anonymous (a sentiment I wholeheartedly endorse after countless attempts!). The subtle nuances of dough consistency, the impact of ingredient quality, and even the influence of ambient humidity—these are lessons that extend far beyond the confines of the kitchen. They are reminders that even in seemingly straightforward tasks, there's always something new to learn and appreciate.
Now, it's your turn. Don't be discouraged by a sticky mess or a stubbornly flat loaf. Remember the troubleshooting tips outlined in this article, and more importantly, remember the joy that awaits you when that perfect, golden-brown crust emerges from your bread machine. Embrace the process, learn from your mistakes, and savor the delicious rewards of your efforts. The journey to perfect bread is a journey of self-discovery, and the taste of success is truly unforgettable.
Unlock Your Inner Baker: Perfect Dough, Every Time!
Thanks for taking the time to troubleshoot those pesky bread machine dough fails! You've now got the knowledge to conquer even the most stubborn dough. Ready to put your newfound expertise to the test?
- Bake your dream loaf today! Experiment with a new recipe, focusing on the techniques we discussed.
- Share your baking triumph (or challenge!) with our community on social media using #BakeWithEaseTriumphs. Let's learn from each other!
- Consider exploring different flours to see how they impact your dough’s texture and rise.
What unique ingredient are you excited to try in your next bread-making adventure?