
Dive Into Dutch Oven Baking for European Crusts

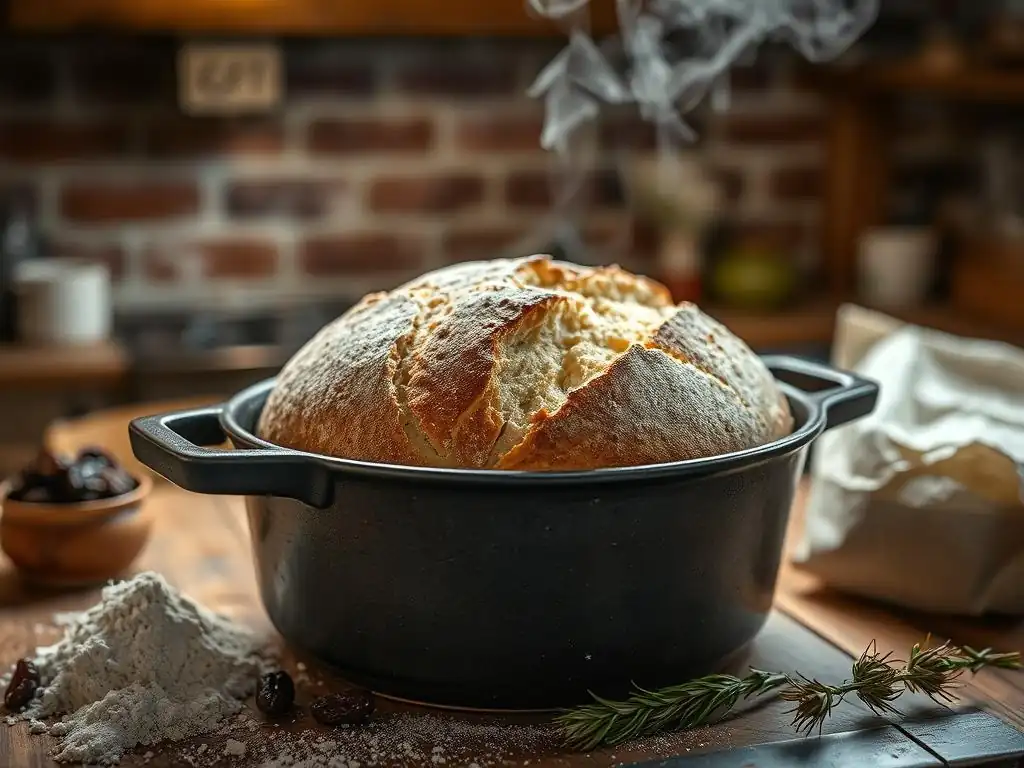
Welcome to BakeWithEase, your culinary companion for all things baking! Ever dreamed of achieving that perfectly crisp, European-style crust at home? Unlock the secrets to a truly exceptional loaf with our guide to the Dutch oven sourdough crust recipe. We'll walk you through the simple steps to baking artisan bread that will impress even the most discerning palates. Ready to transform your kitchen into a European bakery? Let's get started!
- Bake Authentic European Breads: The Dutch Oven Advantage
- Mastering the Dutch Oven Sourdough Crust Recipe
-
Step-by-Step Guide to Dutch Oven Sourdough Crust
- Step 1: Preparing Your Sourdough Starter
- Step 2: Mixing the Dough: The Autolyse Method
- Step 3: Bulk Fermentation: Developing Flavor and Strength
- Step 4: Shaping the Dough: Creating Tension
- Step 5: Proofing the Dough: The Final Rise
- Step 6: Baking in the Dutch Oven: Creating the Perfect Crust
- Step 7: Cooling and Enjoying Your European Sourdough
- Tips and Tricks for Dutch Oven Sourdough Perfection
- Exploring Regional European Bread Crusts with a Dutch Oven
- The Art of Dutch Oven Baking: Elevate Your European Bread
-
Frequently Asked Questions
- What makes baking sourdough in a Dutch oven so special?
- Is a Dutch oven really necessary for a great sourdough crust?
- What kind of Dutch oven is best for sourdough baking?
- Can I use a different type of bread recipe in my Dutch oven, or only sourdough?
- What's the best way to prevent my sourdough from sticking to the Dutch oven?
- Final Reflection: The Enduring Allure of the Dutch Oven Crust
- Unlock the Secrets of European Crusts!
Bake Authentic European Breads: The Dutch Oven Advantage
Achieving that signature, crackling crust found on artisanal European loaves often feels like a challenge for home bakers. Professional ovens use steam injection to create the perfect environment for crust development. Fortunately, you can replicate this crucial element right in your own kitchen using a simple yet incredibly effective piece of cookware: the Dutch oven. This method is particularly transformative when tackling a Dutch oven sourdough crust recipe, turning a good loaf into a truly exceptional one.
Why Choose a Dutch Oven for Crusty European Breads?
A Dutch oven acts like a mini, self-contained steam oven. When you place your dough inside a preheated Dutch oven and cover it with the lid, the moisture evaporating from the dough is trapped within the pot. This humid environment keeps the surface of the dough soft and pliable during the initial phase of baking, allowing it to expand fully and achieve maximum oven spring before the crust begins to set. Without this steam, the crust would set too early, restricting expansion and resulting in a denser loaf with a less dramatic crust.
Furthermore, the cast iron (or other heavy material) of the Dutch oven retains and radiates heat incredibly well. This intense, even heat transfer to the bottom of the loaf helps create a thick, well-developed crust. The combination of trapped steam early on and high radiant heat throughout the bake is the secret sauce for replicating the results of professional bakeries and mastering any Dutch oven sourdough crust recipe. It's this specific environment that produces the deep caramelization and substantial crunch characteristic of classic European breads like pain de campagne or traditional German rye loaves.
Achieving the Perfect Crust: Dutch Oven Baking Explained
The science behind the perfect crust in a Dutch oven hinges on the interaction of heat and moisture. During the first 15-20 minutes of baking with the lid on, the trapped steam gelatinizes the starches on the surface of the dough. This gelatinized layer eventually dries out and hardens as the baking progresses, forming the crisp, glassy structure of the crust. Think of it like creating a thin, edible shell that shatters beautifully when sliced.
Once the lid is removed for the final phase of baking, the direct dry heat of the oven and the Dutch oven's radiant heat work together to brown and further crisp this gelatinized layer. The temperature is typically quite high, often around 450°F (230°C), which promotes rapid browning through the Maillard reaction.
This two-stage baking process – steam-rich with the lid on, dry heat with the lid off – is fundamental to achieving that sought-after, deeply colored, and audibly crunchy crust when baking a Dutch oven sourdough crust recipe. It's a simple technique that yields dramatic results for any European-style loaf.
Mastering the Dutch Oven Sourdough Crust Recipe
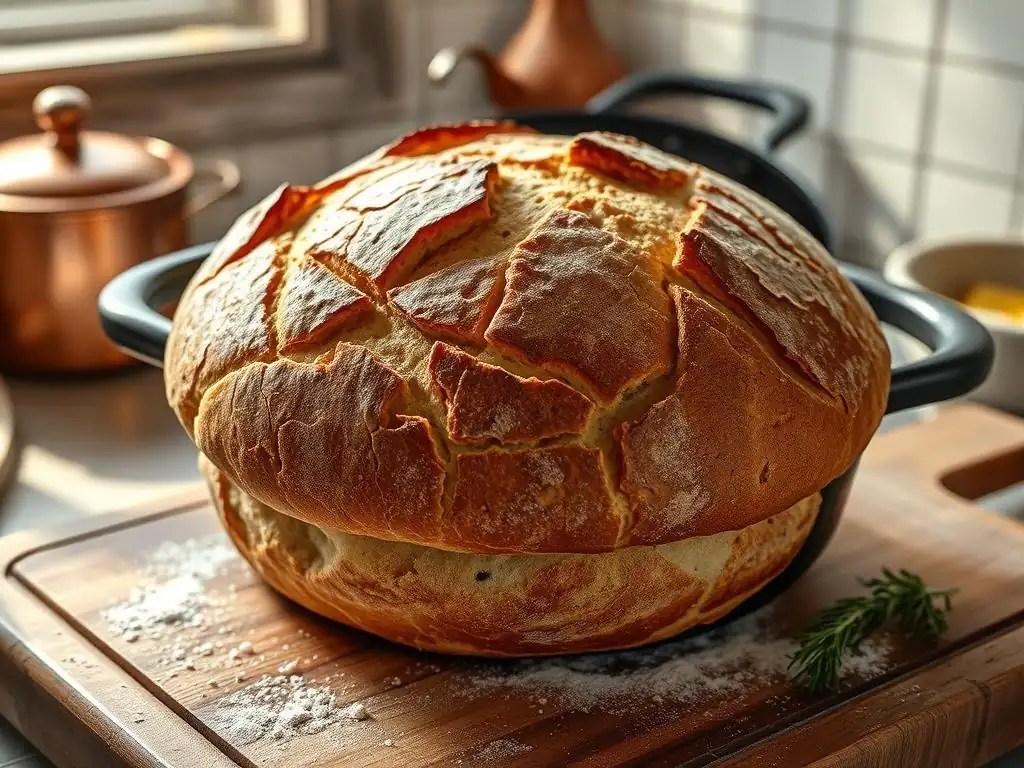
Baking sourdough in a Dutch oven elevates the process, promising a crust that sings when you slice into it. This method is particularly suited to the often higher hydration levels of sourdough doughs, as the trapped steam helps manage the stickiness and promotes better oven spring. Getting the perfect Dutch oven sourdough crust recipe down involves understanding the key components and techniques, from the ingredients you choose to the specific steps of the bake.
The Ultimate Dutch Oven Sourdough Crust Recipe: An Overview
A basic, yet incredibly effective, Dutch oven sourdough crust recipe typically involves just four main ingredients: flour, water, salt, and a lively sourdough starter. The process follows the standard sourdough timeline – mixing, bulk fermentation, shaping, proofing – but culminates in a high-temperature bake inside a preheated Dutch oven. The magic happens during the bake itself, where the controlled environment of the pot ensures maximum rise and optimal crust development.
This approach simplifies achieving a professional-quality crust at home. While variations exist, the core principle remains the same: utilize the Dutch oven to simulate a steam injection oven, allowing the dough to expand fully before the crust sets. This results in a loaf with a beautiful open crumb and that signature, thick, crackling crust that is the hallmark of great European sourdough bread. Mastering this technique opens the door to baking a wide variety of crusty loaves.
Essential Ingredients for a European-Style Sourdough Crust
The quality of your ingredients directly impacts the final texture and flavor of your sourdough crust. For a truly European-style loaf, selecting the right flour, maintaining a vibrant starter, and using precise measurements for water and salt are paramount. These simple components, when combined correctly and baked using a Dutch oven sourdough crust recipe, create complex flavors and textures.
High-Quality Flour: The Key to Flavor and Texture
For a robust European-style crust, using a high-protein bread flour is often recommended. Bread flour, typically containing 12-14% protein, develops strong gluten networks which are essential for trapping the gases produced by the sourdough starter, leading to a well-risen loaf with a chewy interior. Some bakers prefer using a blend, perhaps 90% strong bread flour and 10% whole wheat or rye flour, to add layers of flavor and contribute to a more rustic crust texture.
For example, a French-style boule might use mostly white bread flour, while a German Brot could incorporate significant amounts of rye. The specific type of flour influences hydration needs and fermentation times, so paying attention to its characteristics is key.
Sourdough Starter: Creating a Lively Culture
Your sourdough starter, also known as a levain or natural leaven, is the heart of your bread. A strong, active starter is crucial for proper leavening and flavor development, both of which impact the final crust. A healthy starter, typically fed equal parts flour and water, will double in size within 4-8 hours at room temperature (around 70-75°F or 21-24°C) and have many visible bubbles.
Using a starter at its peak activity ensures it has the power to lift the dough during bulk fermentation and especially during oven spring inside the hot Dutch oven. A weak starter can lead to a dense loaf and a less impressive crust, as it won't have the energy to expand sufficiently before the crust sets.
Water and Salt: Simplicity and Precision
Water hydrates the flour, allowing gluten to develop and the starter to work its magic. The amount of water, expressed as a percentage of the flour weight (hydration), significantly affects the dough's texture and the final crust. Higher hydration doughs (75-85%) are often trickier to handle but typically result in a more open crumb and a thinner, crispier crust when baked correctly in a Dutch oven.
Salt, usually added at 1.8-2.2% of the flour weight, is vital for flavor, controlling fermentation speed, and strengthening the gluten structure. It's typically withheld during the initial mixing (autolyse) but added before bulk fermentation. Precise measurement of both water and salt is essential for consistent results in any Dutch oven sourdough crust recipe.
Equipment You'll Need for Dutch Oven Sourdough Baking
While the ingredients are simple, having the right tools makes the Dutch oven sourdough crust recipe process smoother and more successful. These pieces of equipment are standard in the arsenal of any serious sourdough baker aiming for that perfect European crust.
The Perfect Dutch Oven: Size and Material Matters
The most critical piece of equipment is, naturally, the Dutch oven itself. A heavy cast iron or enameled cast iron Dutch oven is ideal due to its excellent heat retention and even heating properties. A capacity of 5 to 7 quarts (approximately 4.7 to 6.6 liters) is suitable for baking a standard loaf weighing between 800g and 1kg.
Ensure the pot and lid fit together snugly to trap steam effectively. While bare cast iron requires seasoning, enameled cast iron is easier to maintain and doesn't react with acidic sourdough. The weight and material are key to achieving the necessary high temperatures and consistent environment for a stellar crust.
Banneton Baskets: Shaping Your Dough
Banneton baskets, also known as proofing baskets, are used for the final rise (proofing) of shaped dough. Made from wicker or cane, they are typically dusted with rice flour to prevent sticking. The basket supports the dough as it expands, helping it maintain its shape and providing structure.
The spiral pattern from the basket can also impart a beautiful visual design on the finished crust. Using a banneton ensures your loaf holds its shape during the final proof and is ready to be gently transferred into the hot Dutch oven, which is crucial for achieving a round, well-formed loaf with an even crust.
Scoring Lame: Achieving Beautiful Bread Designs
A scoring lame (pronounced "lahm") is a razor blade attached to a handle, used to score or slash the surface of the dough just before baking. Scoring serves several purposes: it controls where the loaf expands during oven spring, prevents the crust from cracking unpredictably, and allows the baker to create beautiful patterns.
For a Dutch oven sourdough crust recipe, scoring is vital as the rapid expansion in the hot, steamy environment requires a path for the gases to escape. A sharp blade is essential for a clean cut that opens up nicely, contributing significantly to the final appearance and structure of the crust.
Step-by-Step Guide to Dutch Oven Sourdough Crust
Follow these steps to bake a beautiful, crusty sourdough loaf using the Dutch oven method. This guide focuses on the core process, leading to that desirable European crust.
Step 1: Preparing Your Sourdough Starter
Ensure your sourdough starter is active and bubbly. Feed it 4-8 hours before you plan to mix your dough, or according to your starter's usual schedule, so it's at its peak when you're ready to bake. A simple way to check readiness is the float test: drop a small piece of starter into water; if it floats, it's ready.
Step 2: Mixing the Dough: The Autolyse Method
Combine your flour and water in a large mixing bowl and mix just until no dry bits of flour remain. This initial mix, without salt or starter, is called the autolyse and typically lasts 30-60 minutes. It allows the flour to fully hydrate and gluten development to begin naturally, making the dough easier to work with later. After the autolyse, add your active starter and salt, then mix and knead until the ingredients are fully incorporated and the dough starts to show some elasticity.
Step 3: Bulk Fermentation: Developing Flavor and Strength
Bulk fermentation is the first rise of the dough before shaping. Place the dough in a lightly oiled container. Over the next 3-6 hours (or longer if cold fermenting), perform a series of 'stretch and folds' every 30-60 minutes during the first 2-3 hours. This builds gluten strength. Allow the dough to ferment until it has increased in volume by about 50-80% and feels airy. The exact time depends heavily on the ambient temperature and the starter's activity. This stage is crucial for flavor development in your Dutch oven sourdough crust recipe.
Step 4: Shaping the Dough: Creating Tension
Turn the dough out onto a lightly floured surface. Gently pre-shape the dough into a rough ball or log and let it rest for 20-30 minutes. This allows the gluten to relax. Then, perform the final shaping, creating tension on the surface of the dough. This tension is vital for achieving good oven spring and a well-formed loaf with a tight "skin" that will become the crust. Shape into a boule (round) for a round Dutch oven or a bâtard (oval) for an oval one.
Step 5: Proofing the Dough: The Final Rise
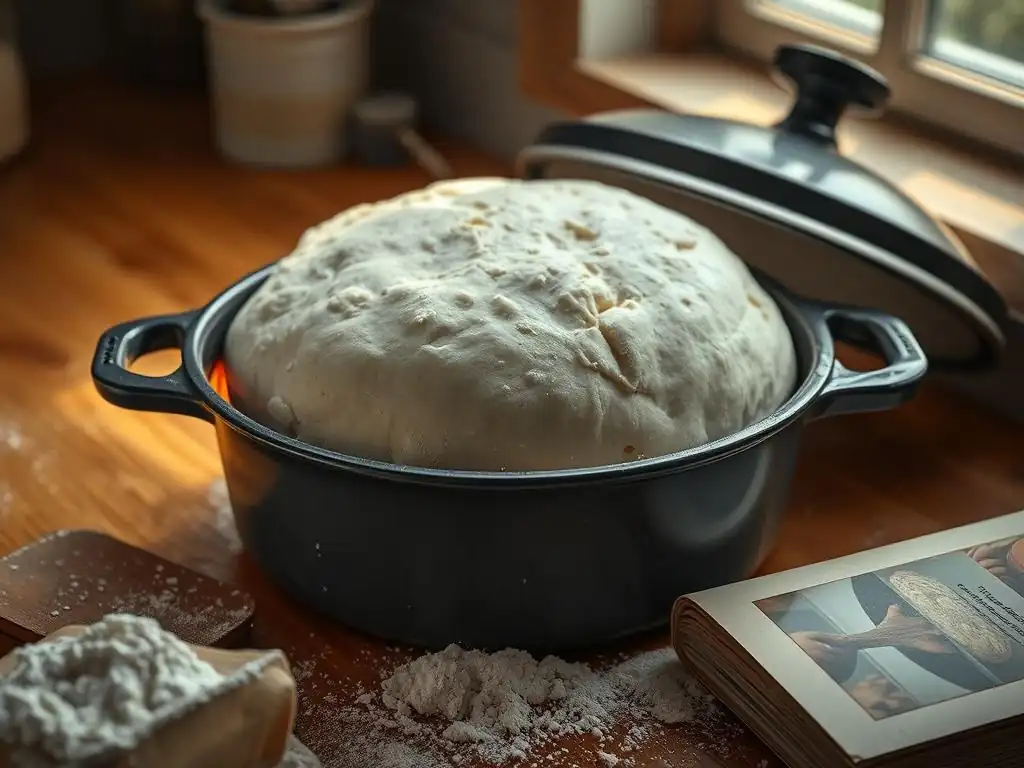
Place the shaped dough seam-side up into a well-floured banneton basket. Cover the basket with a plastic bag or wrap to prevent drying. Proof the dough in the refrigerator for 8-12 hours or up to 24 hours. Cold proofing slows fermentation, develops deeper flavor, and makes the dough easier to score and handle when transferring to the hot Dutch oven. Alternatively, you can proof at room temperature for 1-3 hours, but the cold method is often preferred for handling and crust development in a hot pot.
Step 6: Baking in the Dutch Oven: Creating the Perfect Crust
This is where the magic happens for the Dutch oven sourdough crust recipe. The high heat and trapped steam environment are key.
Preheating Your Dutch Oven: Critical for Success
About 45-60 minutes before you plan to bake, place your empty Dutch oven with its lid in your oven and preheat to a high temperature, typically 450°F to 500°F (230°C to 260°C). Preheating the pot is essential; it provides the initial burst of heat needed for maximum oven spring and creates the necessary environment for the crust to begin developing immediately upon contact.
Scoring the Dough: Unleashing Oven Spring
Carefully remove the hot Dutch oven from the oven (use heavy-duty oven mitts!). Gently invert your proofed dough from the banneton onto a piece of parchment paper (this makes transferring easier and safer). Quickly but confidently score the surface of the dough with your lame. A single deep slash or multiple smaller cuts work well. Scoring allows the dough to expand predictably during the intense heat and steam of the initial bake phase.
Baking with the Lid On: Trapping Steam for a Crispy Crust
Using the parchment paper as handles, carefully lower the scored dough into the hot Dutch oven. Place the lid securely back on the pot. Immediately return the covered Dutch oven to the preheated oven. Bake with the lid on for the first 20-25 minutes. During this time, the trapped steam keeps the surface moist, allowing the dough to expand fully without the crust setting prematurely. This phase is critical for achieving maximum volume and setting the stage for a thin, crispy crust layer.
Baking with the Lid Off: Achieving Deep Color and Texture
After the initial covered bake, carefully remove the lid from the Dutch oven. Reduce the oven temperature slightly if desired (e.g., to 425°F or 220°C). Continue baking uncovered for another 20-30 minutes, or until the crust is a deep golden brown and the internal temperature of the loaf reaches around 205-210°F (96-99°C). This phase allows the steam to escape, the crust to dry out and crisp up, and the loaf to develop its final color and texture. The radiant heat from the pot contributes significantly to the browning of the bottom crust.
Step 7: Cooling and Enjoying Your European Sourdough
Once baked, carefully remove the loaf from the Dutch oven using the parchment paper or by tipping it out. Transfer the loaf to a wire rack to cool completely. Cooling is crucial! As the bread cools, moisture redistributes within the loaf, and the crust continues to crisp. Cutting into a hot loaf can result in a gummy interior. Allow at least 1-2 hours for a standard-sized loaf to cool before slicing and enjoying that magnificent, crackling European crust you achieved with your Dutch oven sourdough crust recipe.
Tips and Tricks for Dutch Oven Sourdough Perfection
Even with a solid Dutch oven sourdough crust recipe, baking can sometimes present challenges. Here are some common issues and ways to address them, along with ideas for variations to keep your baking exciting.
Troubleshooting Common Dutch Oven Baking Issues
[ ] Dough Sticking to the Dutch Oven
[ ] Achieving a Darker, Crispier Crust
[ ] Avoiding a Gummy Interior
Dough Sticking to the Dutch Oven
This is a common frustration! Sticking usually happens if the Dutch oven wasn't sufficiently preheated or if the dough is very high hydration and doesn't have enough surface tension.
- Solution 1: Ensure your Dutch oven is very hot before carefully adding the dough. Preheating for a full hour at a high temperature (like 475-500°F or 245-260°C) is often necessary.
- Solution 2: Use parchment paper. Placing the dough on parchment paper before lowering it into the pot eliminates direct contact with the hot surface and makes removal effortless.
- Solution 3: Lightly dust the bottom of the preheated Dutch oven with cornmeal or rice flour just before adding the dough (be cautious of the heat). This creates a barrier. However, parchment is generally the cleanest and most reliable method.
Achieving a Darker, Crispier Crust
Sometimes the crust turns out pale or soft instead of deep brown and crunchy. This can be due to insufficient baking time, temperature issues, or not enough steam in the initial phase.
- Solution 1: Bake longer during the lid-off phase. An extra 5-10 minutes can make a significant difference in color and crispness. Watch it closely to avoid burning.
- Solution 2: Ensure your oven and Dutch oven are reaching the target temperature. An oven thermometer can confirm this. Baking at 450°F (230°C) or higher during the lid-off phase promotes better browning.
- Solution 3: Make sure the lid-on phase effectively trapped steam. A tight-fitting lid is key. Some bakers add an ice cube or two between the parchment paper and the side of the pot when lowering the dough to boost steam, but be careful not to burn yourself with the escaping steam.
Avoiding a Gummy Interior
A gummy or dense crumb often indicates underbaking, insufficient fermentation, or issues with the starter's activity.
- Solution 1: Bake until the internal temperature reaches 205-210°F (96-99°C). Use an instant-read thermometer inserted into the center of the loaf. Don't rely solely on visual cues.
- Solution 2: Ensure your starter is active and strong. A weak starter won't provide enough lift, leading to a dense crumb.
- Solution 3: Allow sufficient bulk fermentation and proofing time. The dough should show significant signs of activity (increased volume, bubbles) before baking. Be mindful of temperature – cooler conditions require longer times.
- Solution 4: Always cool the loaf completely on a wire rack before slicing. Cutting into hot bread traps steam inside, leading to a gummy texture.
Variations on the Dutch Oven Sourdough Crust Recipe
Once you've mastered the basic Dutch oven sourdough crust recipe, feel free to experiment! These variations can add wonderful complexity to your European-style loaves.
Adding Whole Wheat Flour for a Rustic Flavor
Incorporating 10-30% whole wheat flour into your recipe adds nutty flavor, increases nutritional value, and contributes to a more rustic, slightly thicker crust. Whole wheat flour absorbs more water, so you might need to adjust hydration slightly. A 20% whole wheat blend is a great starting point for adding character without drastically changing the dough handling.
Incorporating Seeds and Grains for Texture
Mixing in seeds like sunflower, pumpkin, sesame, or flax, or cooked grains like oats or farro, adds delightful texture and flavor. Seeds can be added during the initial mix or soaked overnight and folded in later. A common ratio is 10-15% seeds/grains by weight of the flour. This works particularly well for loaves aiming for a heartier, multi-grain European profile, and the Dutch oven method ensures the crust still develops beautifully around these additions.
Creating a Rye Sourdough Crust
Rye flour behaves very differently from wheat flour due to its lower gluten content. Baking a high-percentage rye sourdough (50% or more rye) in a Dutch oven is excellent for achieving a sturdy, flavorful crust characteristic of many Northern and Eastern European breads. These doughs are often stickier and shaped differently, but the Dutch oven still provides the necessary steam for a good rise and a well-formed crust. Start with a blend, perhaps 40% rye and 60% bread flour, to get a feel for working with rye dough in the Dutch oven.
Exploring Regional European Bread Crusts with a Dutch Oven
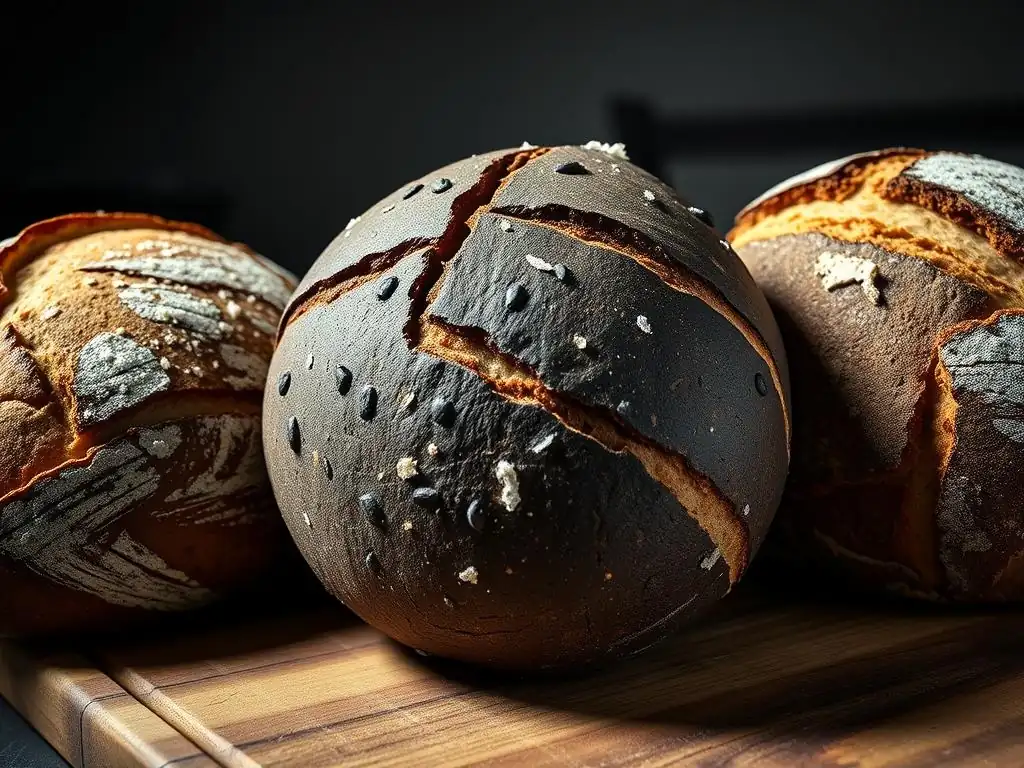
The Dutch oven sourdough crust recipe is a versatile foundation that can be adapted to emulate the crust characteristics of various European regional breads. The controlled environment of the Dutch oven helps achieve the specific textures and colors associated with these classic loaves.
Recreating Crusty French Bread in a Dutch Oven
While traditional French baguettes are baked directly on a stone with massive steam injection, a boule or bâtard version of a French sourdough can be stunningly successful in a Dutch oven. French bread typically uses high-protein white flour (like T55 or bread flour) and is often baked at high temperatures.
Using a high hydration dough (75-80%) in a preheated Dutch oven at 475°F (245°C) for the initial phase, followed by baking uncovered at a slightly lower temperature, helps create that thin, incredibly crisp, almost glassy crust with beautiful blisters (tiny bubbles on the surface) that is the hallmark of a great French loaf. The steam phase allows the surface to remain extensible enough for these blisters to form.
Baking Rustic Italian Crusts with Sourdough
Rustic Italian loaves like Pane di Altamura or Pane Casareccio are known for their thick, chewy crusts and often irregular shapes. These breads frequently use a blend of durum wheat and bread flour and can have moderate to high hydration. Baking these in a Dutch oven, perhaps with a slightly longer lid-off period to encourage a thicker crust development, works wonderfully.
The radiant heat from the pot ensures the bottom crust is robust, while the initial steam helps the loaf achieve good volume despite the potentially lower gluten content of durum wheat. Aiming for a deep golden-brown color during the final uncovered bake is key to capturing the essence of an Italian rustic crust using a Dutch oven sourdough crust recipe.
Achieving the Perfect German Brot Crust in a Dutch Oven
German breads (Brot) are incredibly diverse, often featuring significant amounts of rye, whole wheat, and seeds. Their crusts range from relatively thin and crisp on mixed-wheat loaves to very thick and sturdy on dense rye breads. Baking these in a Dutch oven provides the necessary structure and heat for these heavier doughs.
For a mixed-flour Brot, the Dutch oven helps achieve a well-developed, flavorful crust. For higher-percentage rye loaves, which benefit from slightly lower baking temperatures and longer times, the Dutch oven prevents the crust from setting too quickly, allowing the dense interior to bake through while still developing a characteristic dark, substantial crust. The technique is adaptable to the specific flour composition.
The Art of Dutch Oven Baking: Elevate Your European Bread
Mastering the Dutch oven sourdough crust recipe is more than just following steps; it's about understanding the interaction of heat, steam, and dough. This technique is a powerful tool for any home baker aspiring to replicate the quality of artisanal European loaves, turning simple ingredients into bread with complex flavor and texture.
Beyond the Basics: Experimenting with Dutch Oven Techniques
Once you're comfortable with the standard Dutch oven sourdough crust recipe, you can begin to fine-tune your technique. Experiment with different lid-on/lid-off timing ratios – perhaps a shorter lid-on period for a denser crust or a longer one for maximum spring. Try slightly different preheating temperatures or baking temperatures during the uncovered phase.
Consider baking directly on the bottom of the preheated Dutch oven without parchment paper (if your dough is strong and you're confident it won't stick) for maximum direct heat transfer to the base. The key is to make small adjustments and observe how they impact your final crust and crumb, continuously refining your process.
Dutch Oven Baking: A Journey of Flavor and Texture
Baking sourdough in a Dutch oven is a rewarding journey. Each loaf is an opportunity to learn and improve, resulting in bread with that distinctive European character. The depth of flavor from the long sourdough fermentation, combined with the perfect texture from the Dutch oven method – a light, airy interior encased in a deep, crackling crust – is truly satisfying.
Whether you're baking a simple country loaf or a complex seeded rye, the Dutch oven provides the reliable environment needed to achieve artisanal results at home. Embrace the process, enjoy the aroma filling your kitchen, and savor the incredible crust you can achieve with a well-executed Dutch oven sourdough crust recipe.
Frequently Asked Questions
What makes baking sourdough in a Dutch oven so special?
Baking sourdough in a Dutch oven creates a steam-filled environment that traps moisture, leading to a crispier crust and a better oven spring.
Is a Dutch oven really necessary for a great sourdough crust?
While not strictly necessary, a Dutch oven is highly recommended. It mimics a professional oven, providing consistent heat and the crucial humidity for optimal crust development.
What kind of Dutch oven is best for sourdough baking?
A heavy-bottomed, enameled cast iron Dutch oven is ideal. The size should comfortably fit your dough, typically around 5-6 quarts.
Can I use a different type of bread recipe in my Dutch oven, or only sourdough?
While this article focuses on sourdough, the Dutch oven technique can enhance many bread recipes. The key is adjusting the baking time and temperature to suit the specific dough and desired crust color.
What's the best way to prevent my sourdough from sticking to the Dutch oven?
Use parchment paper to line the bottom of the Dutch oven before placing the dough inside. Alternatively, you can liberally dust the Dutch oven with rice flour or semolina.
Final Reflection: The Enduring Allure of the Dutch Oven Crust
The pursuit of the perfect sourdough crust is a timeless culinary quest, and the Dutch oven has emerged as a powerful ally in this endeavor. Its ability to create a crisp, crackling exterior while maintaining a tender, airy interior has revolutionized home baking, making professional-quality results accessible to everyone. This isn't just a trend; it's a testament to the enduring power of simple techniques and quality ingredients.
The impact of the Dutch oven on the home baking landscape is undeniable. It has democratized the art of bread making, allowing bakers of all skill levels to achieve exceptional results. The internet is brimming with variations on the Dutch oven sourdough technique, a testament to its widespread adoption and adaptability. Bread is the staff of life,
they say, and with the Dutch oven, that staff is now within easier reach for countless home bakers. This accessibility fosters a deeper connection to the process, allowing us to appreciate the artistry and satisfaction inherent in creating something so fundamental and delicious.
Now, consider your own kitchen. Imagine the aroma of freshly baked sourdough filling your home, the satisfying crackle as you slice into its golden-brown crust. This isn't just about a recipe; it's about embracing a process, a tradition, and the joy of creating something beautiful and nourishing.
I encourage you to experiment, to adapt the techniques outlined in this article to your own preferences, and to savor the journey of mastering the art of the Dutch oven sourdough crust. The rewards are far greater than just a delicious loaf; they are a connection to history, a celebration of simple ingredients, and a testament to your own culinary creativity.
Unlock the Secrets of European Crusts!
Thanks for joining us on this baking adventure! We hope you've gained valuable insights into the magic of Dutch oven baking and are ready to elevate your crust game. Now it's time to put your new knowledge to the test!
- Bake a masterpiece: Try out one of the recipes mentioned in the article, focusing on mastering the Dutch oven technique. Don't forget to take pictures – we'd love to see your results!
- Share your experience: Tell us about your baking journey on our BakeWithEase community forum! What challenges did you encounter, and what were your biggest successes?
- Challenge a friend: Nominate a fellow baking enthusiast to try Dutch oven baking and share their experience. Let’s inspire a whole new wave of delicious crusts!
What unique twist will you add to your next Dutch oven creation? Let's hear it in the comments!