
Simple GlutenFree Baguette Recipe

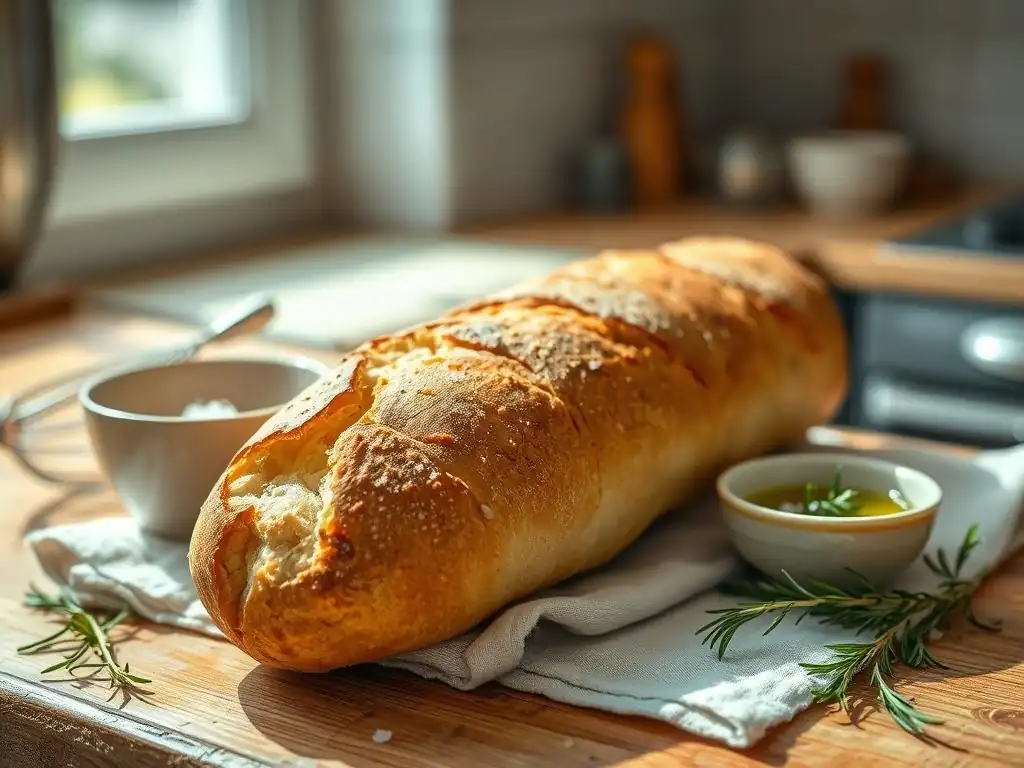
Welcome to BakeWithEase, your haven for baking adventures! Ever dreamt of a perfectly crisp, chewy baguette without the gluten? Prepare to be amazed. Our article dives into a Glutenfree baguette recipe easy enough for anyone to master. Discover the secrets to achieving bakery-quality results in your own kitchen and unlock a whole new world of delicious, gluten-free possibilities. Ready to bake?
- Authentic Gluten-Free Baguette Recipe: The Gluten-Free Baker
- Introduction: Mastering Gluten-Free Baguettes at Home
- The Ultimate Gluten-Free Baguette Recipe: Ingredients and Equipment
- Step-by-Step Guide: Baking Perfect Gluten-Free Baguettes
- Tips and Tricks for Gluten-Free Baguette Baking Success
- Variations and Additions: Elevate Your Gluten-Free Baguettes
- Conclusion: Enjoying Your Homemade Gluten-Free Baguettes
- Frequently Asked Questions
- Final Reflection: The Joy of Gluten-Free Baking, Simply Achieved
- Unleash Your Inner Baker: Craft the Perfect Gluten-Free Baguette!
Authentic Gluten-Free Baguette Recipe: The Gluten-Free Baker
Introduction: Mastering Gluten-Free Baguettes at Home
Why Bake Your Own Gluten-Free Baguettes?
Baking your own gluten-free baguettes offers immense satisfaction and control over ingredients, which is paramount for those with celiac disease or gluten sensitivity. While store-bought options exist, they often lack the fresh, crispy crust and airy interior characteristic of a true baguette. By following a reliable gluten-free baguette recipe easy enough for home bakers, you can enjoy warm, crusty bread straight from your oven, free from cross-contamination worries and questionable additives. It's a rewarding process that opens up a world of culinary possibilities, from delicious sandwiches to serving alongside your favorite soup.
Beyond the health benefits, baking gluten-free baguettes at home allows for customization. You can experiment with different gluten-free flour blends, add seeds or herbs, and adjust the texture to your preference. This simple gluten-free baguette recipe is designed to demystify the process, proving that achieving bakery-quality results is well within reach for anyone, regardless of their baking experience. Embrace the challenge and the delicious reward of mastering this classic bread in its gluten-free form.
The Gluten-Free Baker Presents: An Authentic Gluten-Free Baguette Recipe
Welcome to BakeWithEase, where we believe that delicious bread should be accessible to everyone, including those avoiding gluten. We've developed an authentic gluten-free baguette recipe that simplifies the process without compromising on taste or texture. This recipe focuses on balancing the unique properties of gluten-free ingredients to create a dough that handles well and bakes into beautiful, crusty baguettes. We'll walk you through each step, from selecting the right flours to achieving that perfect golden crust.
This easy gluten-free baguette recipe is the culmination of testing and refinement, ensuring that even novice bakers can achieve success. We've paid close attention to common pitfalls in gluten-free bread making, providing clear instructions and tips to help you navigate them. Get ready to impress yourself and your loved ones with homemade baguettes that rival their gluten-containing counterparts. Let's gather our ingredients and equipment and start baking these delightful, simple gluten-free baguettes!
The Ultimate Gluten-Free Baguette Recipe: Ingredients and Equipment
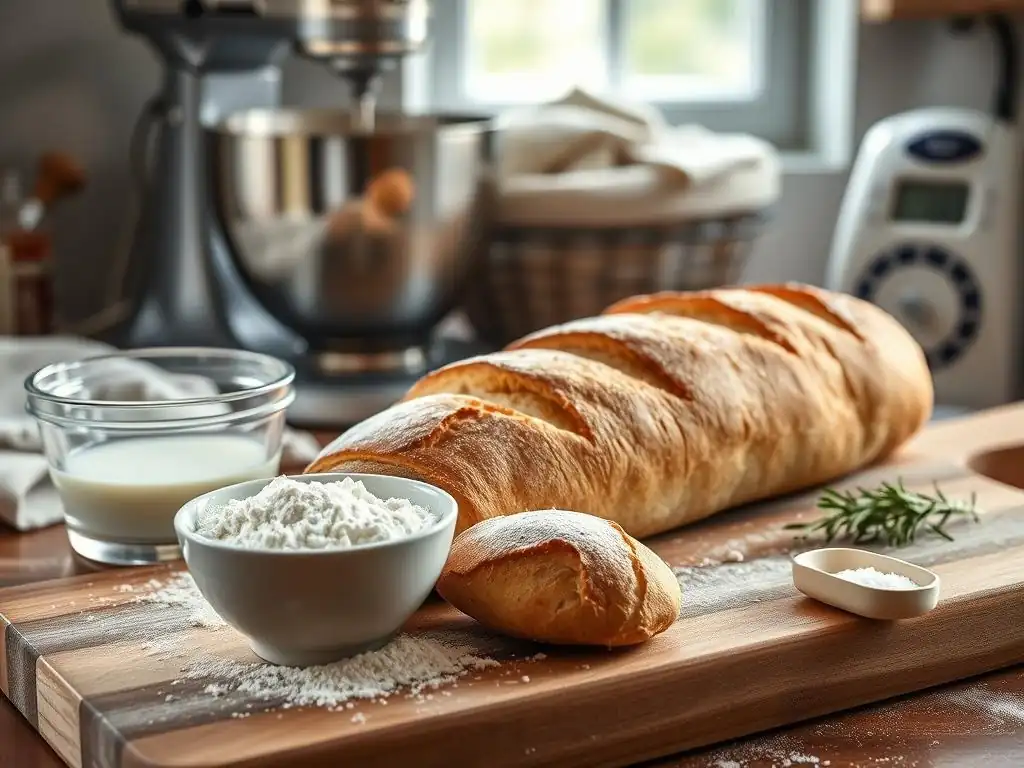
Essential Ingredients for Gluten-Free Baguettes
Gluten-Free Flour Blend Selection: The Key to Success
Choosing the right gluten-free flour blend is perhaps the most critical step in this gluten-free baguette recipe easy to follow. Not all blends are created equal, and their composition significantly impacts the final texture and structure of the bread. A good blend for baguettes typically includes a mix of starchy flours (like tapioca starch, potato starch, or cornstarch) and protein-rich flours (like brown rice flour, sorghum flour, or millet flour).
Some successful blends found commercially contain proportions like 40% brown rice flour, 30% tapioca starch, and 30% sorghum flour, or similar ratios designed for bread baking. Avoid blends that are primarily bean flours, as they can impart a strong flavor and dense texture.
Alternatively, you can create your own blend. A common starting point for gluten-free bread is a mix containing roughly 60% whole grain flours (like brown rice, millet, or sorghum) and 40% starches (tapioca, potato, or cornstarch).
For this specific simple gluten-free baguette recipe, we recommend using a high-quality, all-purpose gluten-free flour blend specifically formulated for bread or yeast baking, as these often contain the necessary balance of flours and starches, plus sometimes binders, to provide structure similar to gluten. Ensure your chosen blend does not already contain xanthan gum or psyllium husk powder if the recipe calls for adding them separately, as doubling up can lead to a gummy texture.
Yeast: Choosing the Right Type for Gluten-Free Baking
Yeast is the leavening agent that gives bread its rise and airy crumb structure. For a gluten-free baguette recipe easy to manage, instant dry yeast is often preferred. Unlike active dry yeast, instant yeast can be mixed directly into the dry ingredients without prior hydration, simplifying the process. It's also generally more reliable and faster-acting. A typical baguette recipe for two medium loaves might use around 7-10 grams (about 2 - 2.5 teaspoons) of instant dry yeast.
While instant yeast is convenient, active dry yeast can also be used. If using active dry yeast, you'll need to activate it first in a small amount of warm water (around 105-115°F or 40-46°C) with a pinch of sugar for 5-10 minutes, until foamy. Ensure your yeast is fresh; expired yeast will result in a flat, dense loaf. Store yeast in an airtight container in the refrigerator or freezer to maintain its potency.
Other Important Ingredients: Xanthan Gum, Psyllium Husk Powder, Apple Cider Vinegar
Beyond flour and yeast, several other ingredients play crucial roles in gluten-free bread structure. Xanthan gum is a common binder in gluten-free baking, mimicking some of the elasticity provided by gluten. It helps hold the dough together and prevents crumbling. A typical ratio for bread is about 1 teaspoon per cup of gluten-free flour blend.
Psyllium husk powder is another excellent binder, often providing a more elastic and less gummy texture than xanthan gum alone, and can significantly improve the crumb structure and moisture retention. Many successful gluten-free bread recipes use a combination of both, or rely heavily on psyllium husk powder (often 1-2 tablespoons per cup of flour blend). Using whole psyllium husks requires soaking them first and using slightly more quantity than powder.
Apple cider vinegar, or another acidic component like lemon juice, is often included in gluten-free bread recipes. It helps activate the yeast and can improve the overall texture and rise of the dough. The acidity also helps tenderize the crumb. A small amount, typically 1-2 teaspoons per recipe, is usually sufficient. Salt is also essential for flavor and helps control yeast activity. Sugar (or honey/maple syrup) provides food for the yeast and contributes to browning. Using warm water (around 110°F or 43°C) is key for activating the yeast properly without killing it.
Equipment Needed for Baking Gluten-Free Baguettes
Essential Baking Tools: Baking Sheet, Parchment Paper, Pizza Stone, Spray Bottle
Having the right tools simplifies the process and improves the outcome of your simple gluten-free baguette recipe. You'll need a sturdy baking sheet, preferably one that is not warped, to support the baguettes during baking. Parchment paper is indispensable for gluten-free dough, which can be sticky. It prevents the dough from sticking to the baking sheet and allows for easy transfer. Cut sheets to fit your baking pan.
A pizza stone or baking steel is highly recommended for achieving a professional-quality crust. Placed in the oven during preheating, it provides intense, even heat from below, promoting a rapid rise and a crispy bottom crust. While not strictly essential, it makes a noticeable difference. A spray bottle filled with water is also crucial. Spritzing the oven walls at the beginning of baking creates steam, which keeps the crust soft initially, allowing the bread to expand fully before the crust hardens. This steam is key to developing a thin, crispy crust and a good oven spring.
Other useful tools include a large mixing bowl, measuring cups and spoons, a kitchen scale for precise ingredient measurement (especially flour and binders), a rubber spatula or wooden spoon for mixing sticky dough, a sharp knife or razor blade (lame) for scoring the baguettes, and cooling rack. A couche (linen cloth) or a baguette-specific baking pan can help maintain the shape of the baguettes during proofing and baking, though parchment paper on a flat baking sheet works perfectly well for this easy gluten-free baguette recipe.
Step-by-Step Guide: Baking Perfect Gluten-Free Baguettes
Step 1: Preparing the Gluten-Free Baguette Dough
Mixing the Dry Ingredients
Begin by accurately measuring your gluten-free flour blend, xanthan gum (if using separately), psyllium husk powder (if using separately), salt, and instant dry yeast into a large mixing bowl. Using a kitchen scale for accuracy, especially for the flour and binders, is highly recommended for consistent results in this simple gluten-free baguette recipe. For instance, using 400 grams of gluten-free flour blend might require 8-10 grams of psyllium husk powder and 4-5 grams of xanthan gum, depending on the blend and recipe specifics.
Whisk these dry ingredients together thoroughly. This ensures that the binders and yeast are evenly distributed throughout the flour blend, which is essential for uniform structure and rising.
Combine the dry ingredients well using a whisk or fork, paying special attention to distributing the xanthan gum and psyllium husk powder evenly. These binders tend to clump, and proper dispersion prevents gummy spots in the final bread. Make sure there are no visible pockets of pure binder powder. This initial step sets the foundation for a well-structured and easy gluten-free baguette.
Activating the Yeast
While instant yeast can be mixed directly with dry ingredients, adding it to the warm liquid first is often preferred in gluten-free baking to ensure it's active and hydrated before encountering the binders, which can absorb moisture quickly. Measure the warm water (around 110°F or 43°C) into a separate bowl or measuring cup. If your recipe calls for sugar or honey, add it to the warm water and stir to dissolve. Then, sprinkle the instant dry yeast over the surface.
Let it sit for 5-10 minutes until a foamy layer appears on top. This indicates the yeast is alive and active. If it doesn't foam, your water might have been too hot or too cold, or the yeast is expired, and you'll need to start this step over with fresh yeast and correctly tempered water.
If using active dry yeast, this activation step is mandatory. Combine the active dry yeast and sugar (if using) with the warm water and wait for the foam to form. This proofing step is a visible confirmation that your leavening agent is ready to work its magic in this simple gluten-free baguette recipe.
Combining Wet and Dry Ingredients: Achieving the Right Consistency
Once the yeast is active (or the instant yeast is mixed into the dry ingredients), it's time to combine everything. Add the wet ingredients (activated yeast mixture, apple cider vinegar, and any oil or melted butter specified in the recipe) to the bowl with the dry ingredients. Begin mixing with a sturdy spoon or a stand mixer fitted with a paddle attachment. Gluten-free dough is typically wetter and stickier than wheat dough, resembling a thick batter or soft cookie dough rather than a kneadable mass.
Mix until all the ingredients are just combined and there are no dry pockets of flour. Avoid overmixing, which can negatively impact the texture when using binders like xanthan gum. The dough should be smooth and cohesive but still quite sticky. The consistency is key for this easy gluten-free baguette recipe; it should hold its shape somewhat but not be stiff.
If it seems too dry, add a tablespoon of warm water at a time until the desired consistency is reached. If too wet, add a tablespoon of your gluten-free flour blend. Remember, gluten-free dough doesn't develop structure through kneading in the same way as wheat dough, so focus on achieving the correct hydration level.
Step 2: First Rise: Letting the Gluten-Free Dough Rest
Creating the Ideal Environment for Rising
After mixing, the gluten-free dough needs time to rise. Transfer the dough to a lightly oiled clean bowl, turning to coat the dough with oil. Cover the bowl tightly with plastic wrap or a damp kitchen towel.
Creating a warm, draft-free environment is crucial for yeast activity. The ideal temperature range for rising is typically between 75°F and 85°F (24°C and 30°C). You can achieve this by placing the covered bowl in a slightly warm oven (turned off, but maybe warmed briefly to 100°F/38°C and then turned off), near a warm appliance, or in a proofing box if you have one.
The purpose of the first rise (bulk fermentation) in this simple gluten-free baguette recipe is to allow the yeast to produce carbon dioxide gas, which leavens the dough and develops flavor. While gluten-free dough doesn't typically double in size as dramatically as wheat dough, it should visibly increase in volume, perhaps by 50-75%. The texture will also become slightly lighter and more airy.
60 Minutes
Allow the dough to rise for approximately 60 minutes. The exact time can vary depending on the ambient temperature and the activity of your yeast. In a warmer environment (around 80°F/27°C), 60 minutes might be sufficient. In a cooler room (around 70°F/21°C), it might take 75-90 minutes. You're looking for a noticeable increase in volume and a slightly puffy appearance. Gently poke the dough; it should hold the indentation slightly if it's ready.
This 60-minute period is a general guideline for this easy gluten-free baguette recipe. It's more important to observe the dough's appearance and feel than to strictly adhere to the clock. If after 60 minutes it hasn't risen much, give it another 15-30 minutes. Patience is key in gluten-free baking, as the binders and starches hydrate and interact differently than gluten proteins.
Step 3: Shaping the Gluten-Free Baguettes
Dividing the Dough
Gluten-free dough is generally stickier and less elastic than traditional dough, making shaping a bit different. Lightly flour your work surface with gluten-free flour or, better yet, use parchment paper. Gently turn the risen dough out onto the prepared surface. The amount of dough from this simple gluten-free baguette recipe should yield two medium-sized baguettes, approximately 12-14 inches long. Use a dough scraper or knife to divide the dough into two equal portions.
Handle the dough gently to avoid deflating it too much. Gluten-free dough relies on the gas produced during the rise, and rough handling can expel it. Work quickly but carefully during the shaping process.
Gently Shaping the Baguettes
Shaping gluten-free baguettes involves coaxing the sticky dough into the desired long, slender form. On your lightly floured or parchment-lined surface, take one portion of dough. Gently pat it into a rough rectangle or oval shape. Then, fold the top edge down towards the center, press lightly to seal, and repeat with the bottom edge, folding it up over the first fold.
This helps build a little tension. Finally, roll the dough log back and forth gently with your hands, starting from the center and moving outwards, applying very light pressure, to elongate it into a baguette shape, about 12-14 inches long. The ends should be tapered.
Since the dough is sticky, resist the urge to add excessive flour, which can make the crust dry. Use just enough to prevent sticking. The goal is to create a relatively uniform thickness along the length of the baguette. Don't worry if they aren't perfectly shaped; homemade bread has character!
Use Wet Hands to Prevent Sticking
A useful trick when handling sticky gluten-free dough during shaping in this easy gluten-free baguette recipe is to lightly wet your hands instead of flouring them heavily. Keep a small bowl of water nearby. Dip your fingers in the water and then handle the dough. The water creates a temporary barrier that prevents the dough from sticking to your skin without incorporating excess dry flour into the loaf.
This technique allows for smoother shaping and helps maintain the dough's hydration level, contributing to a better crumb and crust. Re-wet your hands as needed throughout the shaping process for both baguettes. This simple tip makes working with the often-challenging texture of gluten-free dough much more manageable.
Step 4: Second Rise: Proofing the Baguettes
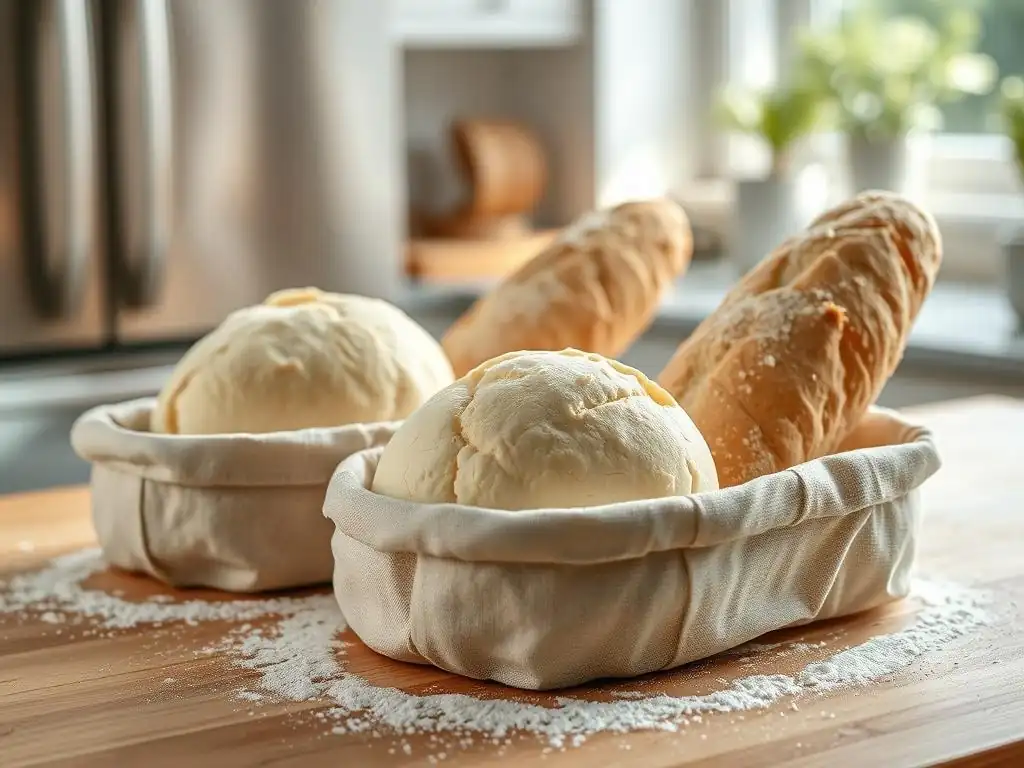
Covering the Baguettes
Once shaped, the baguettes need a second rise, also known as proofing. Carefully transfer the shaped baguettes onto a baking sheet lined with parchment paper. If you are using a baguette pan, place them directly into the pan. If using a flat sheet, you can create temporary supports between the baguettes using folded parchment paper or kitchen towels (like a couche) to help them hold their shape as they rise. Cover the baguettes loosely but completely with plastic wrap or a light kitchen towel to prevent them from drying out.
Proofing allows the yeast to produce more gas, increasing the volume of the baguettes and making them light and airy. It also develops more complex flavors. The covered baguettes should be placed in a warm, draft-free location for this second rise, similar to the first rise environment.
30 Minutes
Allow the shaped gluten-free baguettes to proof for approximately 30 minutes. During this time, they should increase in size by about 25-50% and look visibly puffier. The surface should appear smooth. Be careful not to over-proof gluten-free dough, as it can sometimes collapse in the oven. The dough should feel light and airy when gently touched.
This 30-minute duration is a guideline for this simple gluten-free baguette recipe. Observe the dough's appearance. If your environment is cooler, it might take closer to 40 minutes. If very warm, it could be slightly less than 30 minutes. They should look noticeably larger and feel delicate.
Step 5: Baking the Gluten-Free Baguettes
Preheating the Oven
Proper oven temperature and preheating are critical for achieving a great crust and rise. Preheat your oven to a high temperature, typically 450°F (230°C). If you are using a pizza stone or baking steel, place it on the middle rack before preheating so it heats up thoroughly with the oven.
Allow the oven to preheat for at least 20-30 minutes after it reaches the set temperature to ensure the stone or steel (if used) is sufficiently hot. This high initial heat is essential for oven spring – the final burst of rising that occurs when the dough hits the hot oven.
A properly preheated oven, especially with a baking stone, provides the intense heat needed for the starches in the gluten-free flour blend to gelatinize quickly, setting the crust while the interior continues to expand. Don't rush this step in your easy gluten-free baguette recipe.
Scoring the Baguettes
Just before placing the baguettes in the oven, they need to be scored. Scoring involves making shallow cuts on the surface of the dough. This serves two primary purposes: it allows the dough to expand predictably in the oven, preventing uncontrolled cracking, and it creates beautiful patterns on the final loaf. Use a very sharp knife, razor blade (lame), or even sharp scissors. Make 3-4 diagonal cuts along the length of each baguette, about 1/4 to 1/2 inch deep. Angle the blade at about a 30-degree angle to the surface.
Work quickly and confidently when scoring. The dough is delicate after proofing. If the blade sticks, you can dip it in a little water or flour between cuts. Proper scoring is a key step for achieving the classic baguette look and ensuring a good rise in this simple gluten-free baguette recipe.
Baking Time and Temperature
Once scored, it's time to bake! Carefully transfer the baguettes on their parchment paper onto the preheated pizza stone or baking sheet in the oven. Immediately after placing the bread in, create steam by quickly but carefully spraying water onto the hot oven walls (avoid spraying the light or the bread directly) using your spray bottle. Close the oven door quickly to trap the steam. This initial burst of steam is vital for a crispy crust.
Bake the baguettes at 450°F (230°C) for the first 10-12 minutes, or until they have achieved good oven spring and the crust is starting to set. Reduce the oven temperature to 400°F (200°C) and continue baking for another 15-20 minutes, or until the baguettes are deep golden brown and sound hollow when tapped on the bottom. The total baking time for this easy gluten-free baguette recipe is typically between 25-35 minutes, depending on your oven and the size of your baguettes. An internal temperature of around 200-210°F (93-99°C) indicates they are fully baked.
Step 6: Cooling and Enjoying Your Gluten-Free Baguettes
Allowing the Baguettes to Cool Completely
Once baked, immediately transfer the hot gluten-free baguettes from the oven to a wire cooling rack. It is absolutely crucial to allow them to cool completely before slicing. While it's tempting to cut into a warm baguette, especially one you've just baked from a simple gluten-free baguette recipe, the internal structure is still setting as it cools. Slicing too early can result in a gummy or dense texture inside, even if the crust looks perfect.
Let the baguettes cool for at least 1-2 hours, or until they are no longer warm to the touch. This cooling period allows the moisture within the loaf to redistribute evenly and the starches to set properly, resulting in the desired airy crumb structure. Patience here is rewarded with the best possible texture.
Serving Suggestions: Sandwiches, Bruschetta, Soup Accompaniment
Once your easy gluten-free baguettes are fully cooled, they are ready to be enjoyed in countless ways! Their crispy crust and soft interior make them ideal for classic uses. Slice them horizontally for fantastic sandwiches filled with your favorite ingredients – think grilled vegetables, fresh mozzarella and tomato, or smoked salmon.
Cut the baguettes into diagonal slices, toast them lightly, and top with garlic, tomatoes, and basil for delicious gluten-free bruschetta. They are also the perfect accompaniment to soups, stews, or salads, great for soaking up flavorful broths or dressings. Serve them warm with butter or olive oil. The possibilities are endless for showcasing your successful simple gluten-free baguette recipe!
Tips and Tricks for Gluten-Free Baguette Baking Success
Achieving the Perfect Crust: Tips for a Crispy Exterior
A hallmark of a great baguette is its crispy, crackly crust. Achieving this with a gluten-free baguette recipe easy or complex requires attention to detail, particularly regarding moisture and heat. As mentioned, creating steam in the oven at the beginning of the bake is paramount. The steam keeps the surface of the dough moist, allowing it to expand fully before the crust hardens. Spraying the oven walls with water multiple times in the first few minutes (being quick to close the door) can help.
Using a preheated pizza stone or baking steel is also key, providing intense heat from below that promotes rapid expansion and crust development. Baking at a high initial temperature (450°F/230°C) helps set the crust quickly. For an extra crispy finish, you can turn off the oven and leave the baguettes inside for another 5-10 minutes after they are fully baked, with the oven door slightly ajar, to allow excess moisture to evaporate.
Troubleshooting Common Gluten-Free Baking Issues
Even with a simple gluten-free baguette recipe, you might encounter challenges. Here are some common issues and solutions:
Dough Too Sticky?
If your gluten-free dough is excessively sticky and hard to handle, it likely has too much hydration for your specific flour blend or environment. This can happen if you measure by volume instead of weight or if your flour blend absorbs less liquid. Solution: Add a tablespoon or two more of your gluten-free flour blend or psyllium husk powder (or both) to the dough and mix until it reaches a more manageable, though still sticky, consistency. Ensure you are using wet hands during shaping, not excess flour.
Baguettes Too Dense?
Dense baguettes are a common issue in gluten-free baking and can result from several factors, including inactive yeast, insufficient rising time, or a flour blend that is too heavy or lacks adequate binder. Solution: Double-check your yeast's expiration date and proof it if necessary before adding to the dough. Ensure your rising environment is warm enough (75-85°F / 24-30°C) and allow the dough to rise for the full recommended time, or until visibly increased in volume.
Review your flour blend; a blend with a good balance of starches and lighter flours often yields a less dense result. Ensure you're adding the correct amount of binders like xanthan gum and psyllium husk powder as specified in the easy gluten-free baguette recipe.
Baguettes Not Rising Properly?
Lack of rise can be due to inactive yeast (as mentioned above), a too-cold rising environment, or insufficient proofing time. Solution: Verify your yeast is active. Ensure your rising location is warm and draft-free. Allow the dough the full recommended time for both the first and second rises, observing its volume increase. If your kitchen is cool, consider using a proofing box or a warmed (but off) oven. Also, ensure your liquids weren't too hot, which can kill the yeast. Water temperature should be around 110°F (43°C).
Storing Your Gluten-Free Baguettes
Freshly baked gluten-free baguettes are best enjoyed on the day they are baked for optimal texture. However, you can store them to maintain freshness for a short period. Once completely cooled, store the baguettes in a paper bag at room temperature for up to 1-2 days. Avoid plastic bags, as they trap moisture and will make the crust soft and the interior gummy.
For longer storage, slice the cooled baguettes and freeze the slices in an airtight container or freezer bag for up to 2-3 months. You can reheat frozen slices directly in a toaster or oven. To refresh a whole baguette baked from this simple gluten-free baguette recipe, lightly mist it with water and reheat in a preheated oven at 350°F (175°C) for 5-10 minutes until the crust is crispy again.
Variations and Additions: Elevate Your Gluten-Free Baguettes
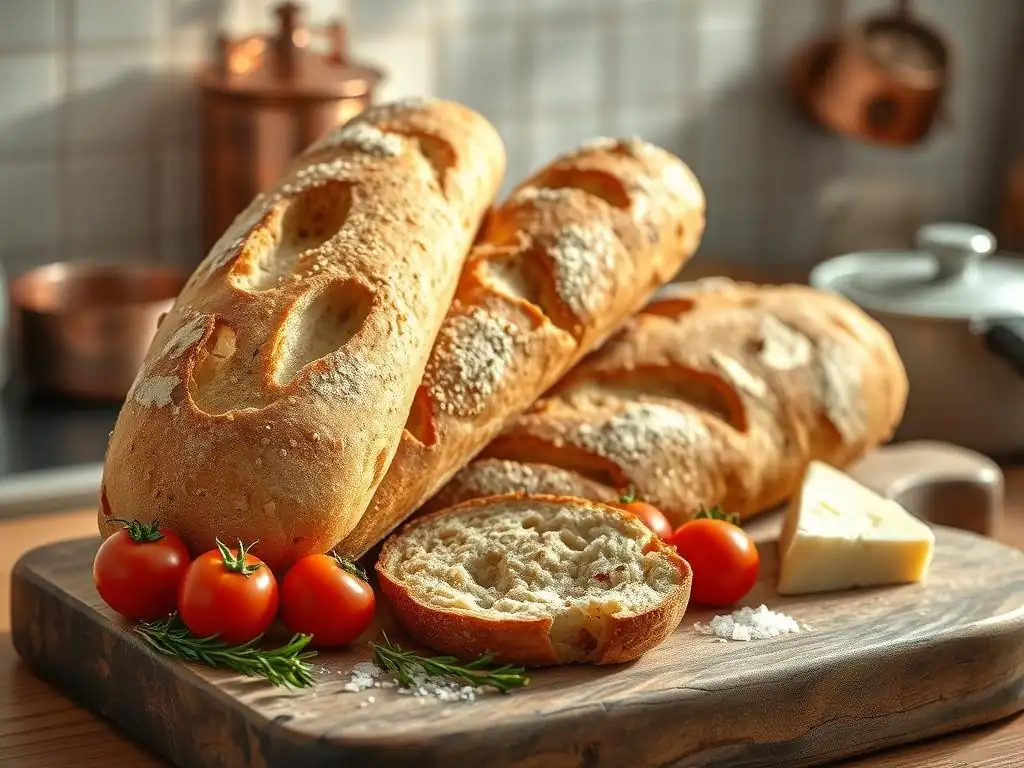
This easy gluten-free baguette recipe serves as a fantastic base for creative variations. Once you've mastered the basic technique, feel free to experiment with additions to customize your loaves.
Adding Herbs and Spices
Incorporating herbs and spices can add wonderful flavor dimensions to your gluten-free baguettes. Dried herbs like rosemary, thyme, or oregano can be mixed into the dry ingredients before adding the wet components. A good starting point is 1-2 tablespoons of dried herbs per recipe. Fresh herbs can also be used, added towards the end of the mixing process. Consider savory spices like black pepper, garlic powder, or onion powder for a different profile.
For example, adding 1 tablespoon of dried rosemary and 1 teaspoon of black pepper to the dry ingredients creates a fragrant, savory baguette perfect with Italian dishes or roasted meats. Ensure herbs and spices are evenly distributed throughout the dough during mixing.
Creating a Gluten-Free Cheese Baguette
Adding cheese transforms a simple gluten-free baguette recipe into a rich, savory treat. Shredded hard cheeses like Parmesan, Gruyère, or sharp cheddar work well. You can fold in about 1/2 to 1 cup of shredded cheese during the final stages of mixing, or sprinkle some on top just before baking.
For a cheese baguette, mix in 1/2 cup of shredded Parmesan cheese with the dry ingredients. The cheese will melt into delicious pockets during baking. You can also sprinkle an additional 1/4 cup of cheese on top of the shaped baguettes just before scoring and baking for a crispy cheese crust.
Gluten-Free Garlic Baguette Variations
Garlic is a classic addition to baguettes, and it works beautifully in this easy gluten-free baguette recipe. You can incorporate garlic in a few ways: mix 1-2 teaspoons of garlic powder into the dry ingredients, or mix 1-2 cloves of finely minced fresh garlic into the wet ingredients.
For a more intense garlic flavor, after the baguettes have cooled slightly (but are still warm), you can brush the tops with melted butter mixed with minced fresh garlic and a pinch of parsley. This creates a delicious garlic butter crust, perfect for serving warm as a side dish. Approximately 2 tablespoons of melted butter mixed with 1-2 cloves of minced garlic and 1 teaspoon of chopped fresh parsley is a good ratio for two baguettes.
Conclusion: Enjoying Your Homemade Gluten-Free Baguettes
The Gluten-Free Baker: Your Guide to Gluten-Free Bread Baking
Baking your own gluten-free baguettes might seem daunting at first, but with this authentic and simple gluten-free baguette recipe, you have all the tools and guidance needed for success. From understanding the crucial role of gluten-free flour blends and binders to mastering shaping and baking techniques, you've taken a significant step in your gluten-free baking journey. The satisfaction of pulling warm, crusty baguettes from your own oven is truly unparalleled.
We encourage you to try this easy gluten-free baguette recipe and experience the joy of homemade bread. Don't be discouraged if your first attempt isn't perfect; baking is a skill that improves with practice. Experiment with the variations suggested and make this recipe your own. BakeWithEase is here to support you every step of the way, proving that delicious, authentic bread is achievable for everyone, regardless of dietary needs. Enjoy your beautiful, homemade gluten-free baguettes!
Frequently Asked Questions
What makes this gluten-free baguette recipe "easy"?
The recipe focuses on simple ingredients and straightforward steps, avoiding complicated techniques often found in gluten-free baking. It is designed for bakers of all skill levels.
Can I substitute ingredients in this gluten-free baguette recipe?
While substitutions are possible, they may affect the texture and rise of the baguette. We recommend sticking to the recipe for best results, especially when first trying it out.
What type of gluten-free flour blend is best for this baguette recipe?
A high-quality all-purpose gluten-free flour blend is recommended. Ensure it contains xanthan gum or add it separately for structure and binding.
How long does it take to bake this gluten-free baguette?
Baking time typically ranges from 25 to 35 minutes, depending on your oven. Look for a golden-brown crust and hollow sound when tapped.
How do I store leftover gluten-free baguette?
Gluten-free bread tends to dry out quickly. Store it in an airtight container at room temperature or freeze it for longer storage, slicing it before freezing for easy thawing.
Final Reflection: The Joy of Gluten-Free Baking, Simply Achieved
The ease of creating delicious gluten-free bread is often underestimated, yet the impact on those with dietary restrictions, or simply those seeking healthier options, is profound. This simple baguette recipe proves that crafting satisfying, authentic-tasting gluten-free bread doesn't require complex techniques or obscure ingredients. It's a testament to the power of accessible recipes in enriching our culinary experiences.
The journey of mastering gluten-free baking, for both the baker and the consumer, is a testament to adaptability and the pursuit of deliciousness despite limitations. It's about embracing alternatives and celebrating the ingenuity of culinary innovation. This recipe, in its simplicity, reflects that spirit. The best things in life are simple,
a sentiment that rings especially true when considering the satisfaction derived from a perfectly crisp, gluten-free baguette.
Now, I invite you to take this recipe and make it your own. Experiment with different herbs, seeds, or even add a touch of sweetness. Don't be afraid to explore the world of gluten-free baking; it's a world brimming with possibilities, waiting to be discovered. The simple act of baking, and sharing the results, can be a powerful act of connection and self-expression. So, gather your ingredients, preheat your oven, and embark on your own gluten-free baking adventure. The delicious results await.
Unleash Your Inner Baker: Craft the Perfect Gluten-Free Baguette!
Thanks for joining us on this gluten-free baking adventure! We hope you now feel confident in tackling this delicious and surprisingly simple recipe. Ready to take your baking skills to the next level?
- Bake your own baguette today! Use the recipe as a jumping-off point – experiment with different herbs, seeds, or even add some cheese into the dough!
- Share your baking journey with us! Snap a picture of your masterpiece and tag us on social media – we'd love to see your creations.
- Explore more gluten-free delights on BakeWithEase.com – we have tons of recipes waiting for you!
So, what incredible flavour combination will you try in your next gluten-free baguette?