
Crafting Authentic Cannoli Shells Simply

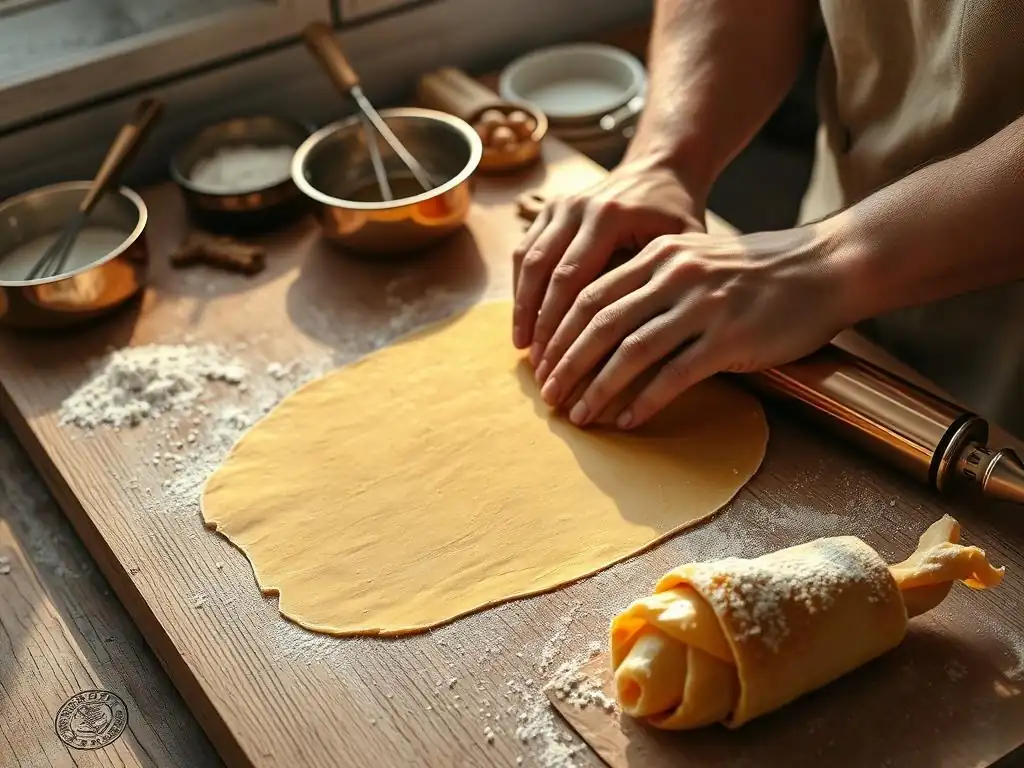
Welcome to BakeWithEase, your guide to unlocking the delightful world of baking! Ever dreamt of creating crisp, authentic cannoli shells from scratch? Imagine biting into that perfect blend of flaky pastry and creamy filling. Today, we're demystifying a beloved Italian treat with our easy authentic cannoli shells recipe. Dive in and discover how surprisingly simple it is to bring a taste of Italy to your own kitchen. Ready to bake?
- Crafting Authentic Cannoli Shells: A Simple Recipe
- Introduction to Homemade Cannoli Shells
- Cannoli Shell Ingredients for Authentic Flavor
- Step-by-Step Guide to Making Cannoli Shell Dough
- Frying Cannoli Shells: Achieving Golden Perfection
- Troubleshooting Cannoli Shell Problems
- Storing Homemade Cannoli Shells for Freshness
- Variations and Creative Cannoli Shell Ideas
- Serving and Enjoying Homemade Cannoli Shells
- Conclusion: Mastering Homemade Cannoli Shells
- Frequently Asked Questions
- Final Reflection: The Sweet Simplicity of Tradition
- Unleash Your Inner Cannoli Master!
Crafting Authentic Cannoli Shells: A Simple Recipe
Introduction to Homemade Cannoli Shells
The Key to Perfect, Crispy Cannoli Shells at Home
Creating truly authentic cannoli shells at home might seem daunting, but the secret lies in understanding a few fundamental techniques and the role of key ingredients. The hallmark of a great cannoli shell is its incredible crispness and the delicate blisters that form during frying, providing that satisfying shatter when bitten into. Achieving this texture requires careful attention to dough consistency, proper resting time, and the right frying method.
Mastering the art of making these crispy shells is a rewarding part of exploring an easy authentic cannoli shells recipe. It allows you to control the quality and freshness, resulting in a superior dessert experience compared to pre-made options. The journey to perfect homemade cannoli shells begins with simple ingredients and a willingness to follow traditional steps.
Why This Recipe is Ideal for Home Bakers
This easy authentic cannoli shells recipe is designed specifically with the home baker in mind, simplifying techniques without sacrificing traditional results. We break down each step, from mixing the dough to frying the shells, making the process approachable even for beginners. You don't need specialized equipment beyond cannoli forms and a pot for frying.
Unlike some complex pastry recipes, the dough for these traditional cannoli shells is relatively forgiving. We'll guide you through common pitfalls, such as dough that's too sticky or shells that become soggy after filling. Our aim is to empower you to create beautiful, delicious, and crispy cannoli shells right in your own kitchen, celebrating a beloved Italian baking tradition with ease.
Cannoli Shell Ingredients for Authentic Flavor
Flour: Foundation for Crispy Texture
The type of flour used is crucial for achieving the desired crispy texture in your easy authentic cannoli shells recipe. All-purpose flour is typically recommended because it provides enough gluten development to create a workable dough that can be rolled thin, but not so much that the shells become tough. A standard all-purpose flour generally has a protein content between 10% and 12%.
When the dough is mixed and rested, the gluten develops, providing elasticity. This elasticity allows the dough to be stretched thin, which is essential for frying. A thin sheet of dough fries quickly and evenly, promoting the formation of those desirable blisters and ensuring a light, crispy shell rather than a dense, bready one.
Sugar: Enhancing Flavor and Browning
Sugar plays a dual role in this easy authentic cannoli shells recipe. Firstly, it adds a subtle sweetness to the shell itself, balancing the richness of the traditional ricotta filling. While not heavily sweetened, the small amount of sugar contributes to the overall flavor profile.
Secondly, sugar aids in the Maillard reaction during frying, which is responsible for the beautiful golden-brown color of the finished shells. The sugar helps the surface caramelize slightly, contributing to both color and a delicate crispness. Using granulated sugar is standard for this recipe.
Lard or Shortening: Achieving the Right Texture
Traditional cannoli recipes often call for lard, and for good reason. Lard, or vegetable shortening, are solid fats that are key to creating the flaky, bubbly texture characteristic of authentic cannoli shells. Unlike butter, which contains water, lard and shortening are pure fat.
When the dough is mixed, the fat coats the flour particles, inhibiting excessive gluten formation. During frying, the fat melts and creates steam, which helps separate layers of dough and contributes to the formation of blisters. Using a solid fat like lard or shortening is far more effective for achieving this specific texture than using oil or butter, which would result in a different outcome.
Wine: Adding Depth and Complexity
Marsala wine is a traditional ingredient in many easy authentic cannoli shells recipes, adding a unique depth of flavor and contributing to the dough's texture. The alcohol in the wine evaporates during frying, leaving behind a subtle flavor note that complements the sweetness of the filling.
Beyond flavor, the acidity in the wine helps to tenderize the dough. This tenderizing effect makes the dough easier to roll out very thin and contributes to the crispness of the final shell. If Marsala is unavailable, a dry white wine like Pinot Grigio or even a splash of white vinegar can be used as a substitute, primarily for the acidic tenderizing effect.
Step-by-Step Guide to Making Cannoli Shell Dough
Mixing: Achieving the Ideal Dough Consistency
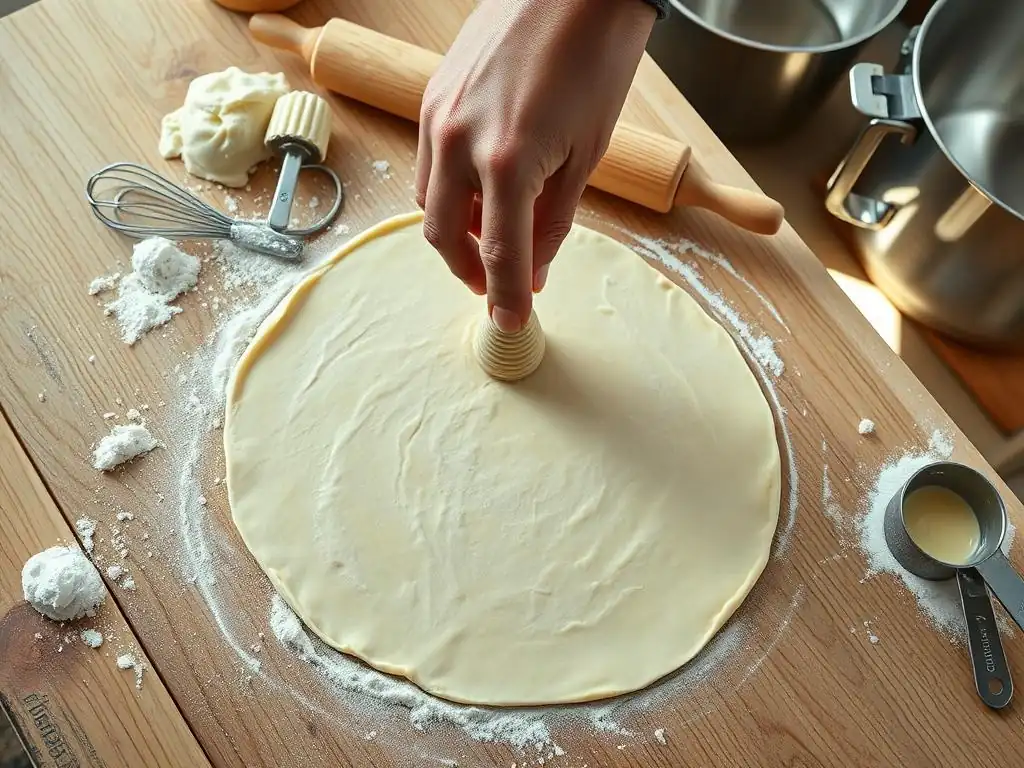
Creating the perfect dough for your easy authentic cannoli shells recipe starts with careful mixing. Combine the dry ingredients (flour, sugar, a pinch of salt) in a bowl. Cut in the solid fat (lard or shortening) until the mixture resembles coarse crumbs – similar to making pie crust dough. This step helps distribute the fat evenly, which is vital for the final texture.
Gradually add the liquid ingredients (wine, and sometimes a small amount of egg yolk for richness) while mixing. The goal is to bring the dough together into a firm, cohesive ball. The dough should not be sticky, but rather smooth and slightly stiff. You may need slightly more or less liquid depending on the humidity and your flour. Knead the dough lightly on a floured surface for just a few minutes, typically 5-10 minutes, until it is smooth and elastic. Over-kneading can result in tough shells.
Resting: Essential for Gluten Development
Resting the dough is a non-negotiable step in creating tender and crispy homemade cannoli shells. After kneading, wrap the dough tightly in plastic wrap and refrigerate it for at least 30 minutes, though 1-2 hours is often better. This resting period allows the gluten structure developed during kneading to relax.
A relaxed dough is much easier to roll out thinly without snapping back. It also helps the fat solidify slightly, which aids in creating layers during frying. Skipping the resting step will make rolling extremely difficult and can result in shells that are less tender and less likely to blister properly.
Rolling and Cutting: Shaping the Shells
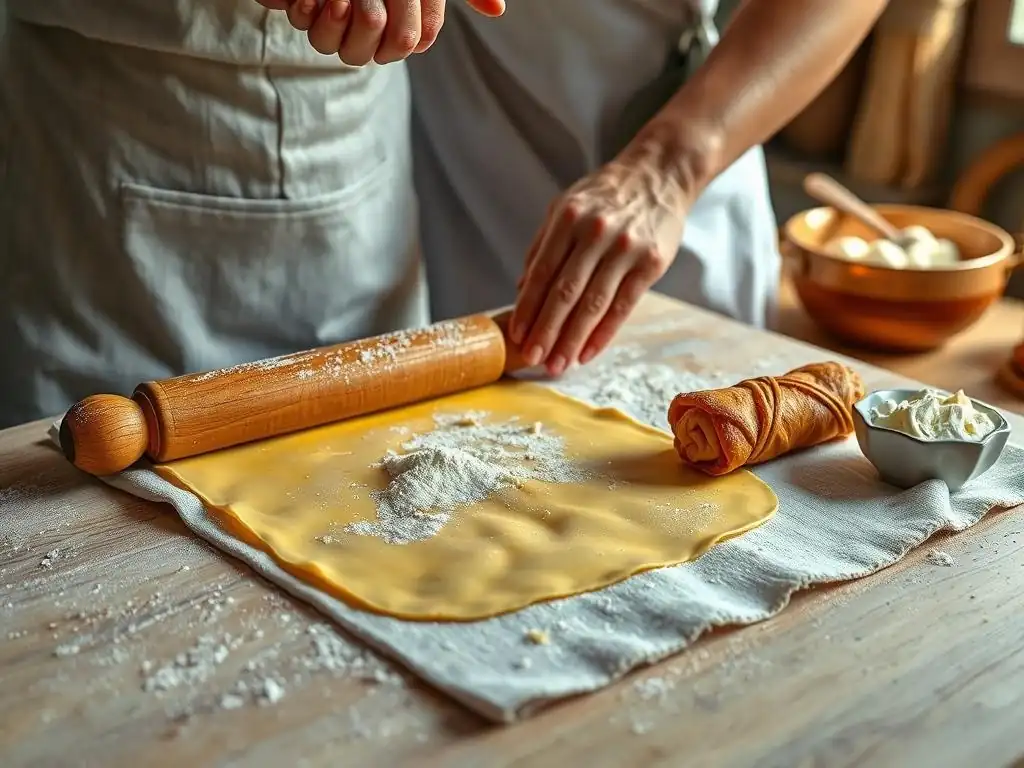
Rolling the dough thinly is critical for achieving crispy shells in your easy authentic cannoli shells recipe. On a lightly floured surface, roll the rested dough out to a thickness of about 1/16 inch (approximately 1.5-2 mm). The thinner you roll it, the crispier your shells will be, but be careful not to roll it so thin that it tears easily.
Use a round or oval cutter, typically 4-5 inches (10-12 cm) in diameter, to cut out shapes from the rolled dough. Reroll scraps gently, resting them briefly if they become too elastic. To shape the shells, wrap each dough circle around a metal cannoli form, sealing the overlapping edges with a dab of egg white or water. Ensure the seal is secure to prevent the shell from opening during frying.
Frying Cannoli Shells: Achieving Golden Perfection
Oil and Temperature: Keys to Successful Frying
Frying is perhaps the most crucial step for achieving crispy, bubbly homemade cannoli shells. Use a neutral oil with a high smoke point, such as vegetable oil, canola oil, or peanut oil. You'll need enough oil to fully submerge the cannoli forms with the dough wrapped around them, typically several inches deep in a heavy-bottomed pot.
Heat the oil to the correct temperature, which is usually between 350°F and 375°F (175°C to 190°C). Maintaining this temperature is vital. If the oil is too cool, the shells will absorb too much oil and become greasy and soggy. If it's too hot, they will brown too quickly on the outside while potentially remaining slightly doughy inside, or they might burn. Using a thermometer is highly recommended to monitor the oil temperature accurately.
Using Cannoli Forms: Shaping and Securing
Metal cannoli forms are essential for giving the shells their iconic shape. Before wrapping the dough around them, ensure the forms are clean and dry. Wrap the cut dough shapes around the forms, sealing the seam firmly with a bit of egg white or water. This seal must be strong to prevent the dough from unraveling in the hot oil.
Carefully slide the forms with the wrapped dough into the hot oil. Fry only a few shells at a time to avoid crowding the pot, which lowers the oil temperature. The forms help the shells maintain their tubular shape as they cook and crisp up in the hot oil.
Achieving Golden-Brown Color: Tips for Even Frying
Fry the cannoli shells for about 1-3 minutes per side, or until they are a beautiful golden-brown color and covered in small blisters. The exact time will depend on your oil temperature and the thickness of your dough. Use tongs or a spider strainer to gently turn the forms to ensure even cooking on all sides.
Keep an eye on the color – they should be uniformly golden, not dark brown or pale. If they are browning too quickly, lower the heat slightly; if they are not browning after a few minutes, increase the heat. The shells should look crispy and slightly bubbly when they are ready to be removed from the oil.
Cooling and Draining: Preventing Soggy Shells
Once the shells are golden and crispy, carefully remove the forms from the hot oil using tongs. Hold them over the pot for a moment to let excess oil drip back. Immediately transfer the fried shells (still on the forms) to a wire rack placed over a baking sheet lined with paper towels.
Allow them to cool for just a minute or two on the forms. As soon as they are cool enough to handle, gently slide the crispy shells off the forms. Let the empty shells cool completely on the wire rack. Draining on a rack allows air circulation, preventing the bottoms from becoming soggy from trapped steam or oil. Paper towels underneath catch drips but don't let the shells sit directly on them for too long.
Troubleshooting Cannoli Shell Problems
Soggy Shells: Identifying and Preventing Moisture
One of the most common issues with homemade cannoli shells is them turning soggy, either after frying or shortly after filling. Soggy shells immediately after frying are usually a result of the oil temperature being too low. When the oil isn't hot enough (below 350°F or 175°C), the dough absorbs excessive oil instead of crisping up quickly. Ensure your oil is at the correct temperature range throughout the frying process, adjusting the heat as needed between batches.
Sogginess after filling is a different issue. Cannoli shells are hygroscopic, meaning they absorb moisture from the filling. The only way to prevent this is to fill the shells just before serving, ideally within an hour or two. Storing unfilled shells properly (see below) also helps maintain their crispness until they are ready to be filled.
Blisters and Bubbles: Achieving a Smooth Surface
Authentic cannoli shells are characterized by small blisters or bubbles on their surface. If your shells are coming out smooth, it could be due to a few factors. Firstly, the dough might not have been rolled thin enough; a slightly thicker dough is less likely to blister. Aim for that 1/16-inch thickness.
Secondly, the type of fat used (lard or shortening) and its proper incorporation are key. These fats create steam pockets during frying that lead to blistering. Ensure the fat is cut into the flour properly. Finally, the temperature of the dough and oil can play a role. Some bakers find that dough that is slightly warmer than straight out of the fridge (letting it sit at room temperature for 10-15 minutes before rolling) can promote blistering, as can maintaining the correct hot oil temperature (350-375°F).
Shells Losing Shape: Ensuring Proper Adhesion
If your cannoli shells are unravelling or losing their tubular shape during frying, the seal where the dough overlaps on the form is likely not secure enough. This is a critical step when wrapping the dough circles around the metal forms.
To ensure a strong seal, brush the overlapping edge of the dough with a little egg white or water before pressing it firmly onto the other side. Make sure the entire seam is sealed tightly along the length of the form. A well-sealed seam will hold the shell together as it expands and crisps in the hot oil, resulting in perfectly shaped homemade cannoli shells.
Storing Homemade Cannoli Shells for Freshness
Best Practices for Storing Unfilled Shells
Proper storage is essential for keeping your easy authentic cannoli shells recipe creations crisp until you're ready to fill and serve them. The key is to protect them from moisture and air. Once the shells have cooled completely on the wire rack, store them in an airtight container.
Layer the shells carefully, using parchment paper between layers if necessary to prevent breakage. Place the container in a cool, dry place at room temperature. Avoid storing them in the refrigerator, as condensation can form and make them soft. Stored correctly, unfilled cannoli shells can remain fresh and crispy for up to two weeks.
Maintaining Crispness: Preventing Softening
The primary enemy of a crispy cannoli shell is humidity, both from the air and the filling. As mentioned earlier, filling the shells just before serving is the best defense against them becoming soft. A typical timeframe is within 1-2 hours of serving.
If you anticipate needing shells over several days, only fry the amount you plan to use in the near future and store the remaining dough wrapped tightly in the refrigerator for up to 2-3 days, or freeze it for longer storage (thaw overnight in the fridge before rolling). Always ensure your storage container for fried shells is truly airtight. Some bakers even add a desiccant packet (like the ones found in food packaging) to the container, though this isn't strictly necessary if the container is airtight and the environment is dry.
Variations and Creative Cannoli Shell Ideas
Adding Flavor Extracts: Lemon or Orange
While a classic easy authentic cannoli shells recipe relies on the subtle flavor of wine, you can easily introduce variations by adding flavor extracts to the dough. A few drops of pure lemon extract or orange extract can brighten the flavor profile and add a hint of citrus that pairs wonderfully with ricotta filling.
Add the extract along with the liquid ingredients (wine/egg). Start with a small amount, perhaps 1/4 to 1/2 teaspoon per batch of dough, as extracts can be potent. This simple addition allows you to personalize your homemade cannoli shells while still maintaining their traditional crispy texture.
Experimenting with Shapes and Sizes
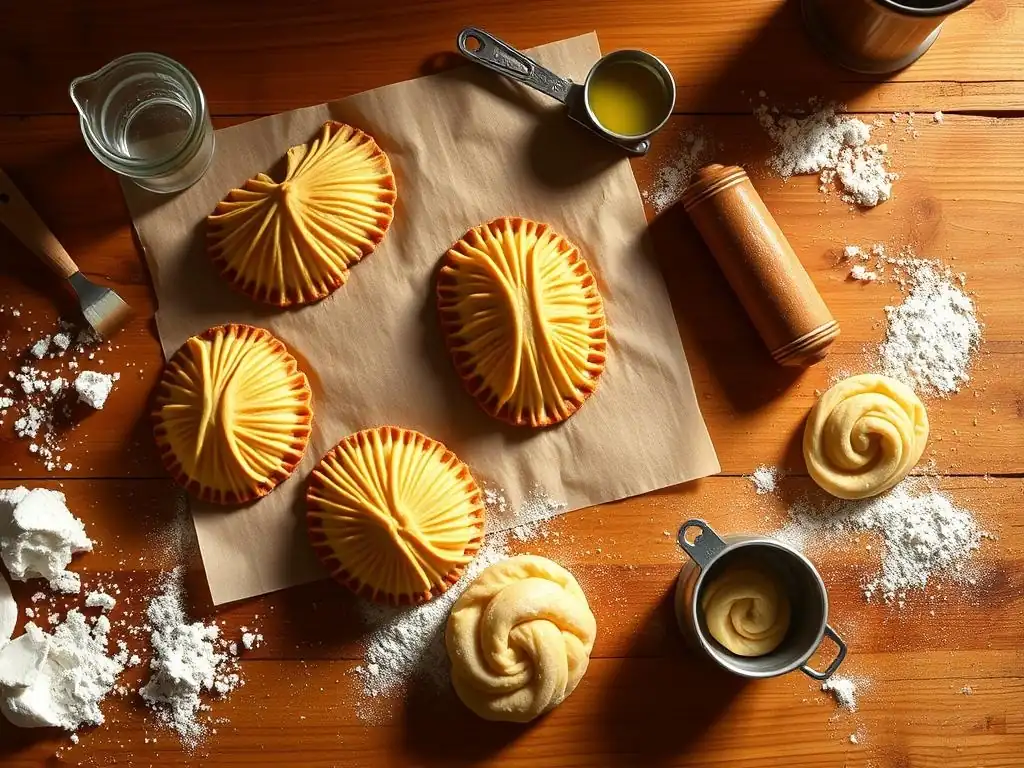
Beyond the classic tube, you can experiment with different shapes and sizes for your traditional cannoli shells. Use smaller cutters for mini cannoli, which are perfect for parties or tasting platters. You can also use larger cutters and longer forms for a more substantial dessert.
Another creative approach is to cut the dough into squares or rectangles and fry them flat or folded over a small form to create 'cannoli chips' or 'tacos.' These can be served with the ricotta filling as a dip, offering a deconstructed take on the classic dessert. Ensure the dough is still rolled thinly regardless of shape for crispness.
Dipping Shells in Chocolate
Elevating the presentation and flavor of your homemade cannoli shells is easy by dipping the ends in melted chocolate. After the shells have cooled completely, melt your favorite chocolate (dark, milk, or white) using a double boiler or microwave.
Dip one or both ends of the crispy shell into the melted chocolate, letting the excess drip off. You can then roll the chocolate-dipped ends in chopped nuts (like pistachios or hazelnuts), mini chocolate chips, or sprinkles before the chocolate sets. Place them on parchment paper to allow the chocolate to harden before storing or filling. This adds an extra layer of texture and flavor that complements the classic ricotta filling beautifully.
Serving and Enjoying Homemade Cannoli Shells
Pairing Suggestions: Complementary Flavors and Drinks
Homemade cannoli shells, filled with creamy ricotta, are a delightful treat on their own, but pairing them thoughtfully can enhance the experience. The classic pairing is with a rich, sweet dessert wine like Marsala (echoing the shell ingredient) or Vin Santo. Coffee, particularly espresso or a strong brewed coffee, also makes an excellent companion, the slight bitterness cutting through the sweetness of the filling.
For non-alcoholic options, a strong cappuccino or even a cold glass of milk can be surprisingly satisfying. Consider serving them after a hearty Italian meal or as the centerpiece of a dessert table. The combination of the crispy shell and the smooth, sweet filling is universally appealing.
Classic Ricotta Filling Recipe
A classic easy authentic cannoli shells recipe wouldn't be complete without mentioning the traditional filling. The most common filling is made from fresh ricotta cheese, ideally sheep's milk ricotta, which is drier and richer than cow's milk ricotta. The key is to drain the ricotta thoroughly, often for several hours or overnight in a fine-mesh sieve lined with cheesecloth, to remove excess moisture.
Once drained, the ricotta is typically combined with confectioners' sugar (powdered sugar) to sweeten it, a pinch of cinnamon, and sometimes finely grated orange or lemon zest. Some recipes include chopped candied fruit or mini chocolate chips mixed into the filling. Whisk or beat the ingredients together until smooth and creamy. Pipe the filling into the shells just before serving using a piping bag fitted with a wide tip, filling from both ends towards the middle.
Conclusion: Mastering Homemade Cannoli Shells
Making homemade cannoli shells from scratch is a rewarding process that brings a taste of authentic Italian baking into your home. By following this easy authentic cannoli shells recipe, paying attention to the details of ingredient selection, dough preparation, and frying technique, you can achieve shells that are wonderfully crispy, beautifully blistered, and full of traditional flavor.
From mixing the simple dough to the crucial step of frying at the right temperature, each stage contributes to the final, perfect shell. Troubleshooting common issues like sogginess or lack of blistering becomes straightforward with a little understanding of the underlying principles.
Celebrate Italian Baking Traditions
Embracing the process of making crispy homemade cannoli shells allows you to connect with a rich Italian culinary heritage. It's a skill that, once mastered, will bring joy to your kitchen and delight to anyone lucky enough to taste your creations. Whether you stick to the classic recipe or explore variations like chocolate-dipped ends, the satisfaction of crafting these iconic pastries by hand is immense.
So, gather your ingredients, prepare your workspace, and dive into making these traditional cannoli shells. The effort is well worth the reward of biting into a fresh, perfectly crispy shell filled with sweet, creamy ricotta. Enjoy the process and the delicious results!
Frequently Asked Questions
What makes this cannoli shell recipe "easy"?
This recipe simplifies the process by using readily available ingredients and providing step-by-step instructions with clear explanations. It focuses on achievable techniques for home bakers.
What does "authentic" mean in the context of this cannoli shell recipe?
"Authentic" refers to the traditional flavor and texture of cannoli shells. This recipe aims to recreate that experience using simpler methods and ingredients accessible to home bakers.
Can I bake the cannoli shells instead of frying them?
While traditionally fried, baking is possible, but the texture will be different. Baked shells will be crispier but less bubbly than fried ones. Adjust baking time and temperature carefully.
What type of wine is recommended for the cannoli shell dough?
A dry white wine, like Marsala or a simple table wine, is generally recommended. The alcohol adds tenderness to the dough and evaporates during cooking.
How do I store the unfilled cannoli shells?
Store completely cooled cannoli shells in an airtight container at room temperature for up to 2-3 days. This prevents them from becoming soggy and losing their crispness.
Final Reflection: The Sweet Simplicity of Tradition
The pursuit of authentic Italian cannoli shells doesn't have to be an intimidating culinary climb. Mastering this seemingly complex pastry is surprisingly accessible, as this article has demonstrated, opening up a world of delicious possibilities for home bakers everywhere. The ease of the process, once demystified, empowers anyone to create a truly special treat.
The enduring appeal of cannoli lies not just in their crispy, sweet shells and creamy fillings, but in the connection they forge to family traditions and cultural heritage. These little tubes of pastry represent more than just a dessert; they're a taste of history, a symbol of shared moments, and a testament to the power of simple ingredients transformed by skilled hands. Food is symbolic of love when words are inadequate.
- Alan D. Wolfelt. This quote perfectly encapsulates the emotional resonance of sharing homemade cannoli, a sentiment amplified by the accessibility of this recipe.
Now, it's your turn. Don't let the perceived complexity of authentic cannoli shells hold you back. Gather your ingredients, embrace the process, and experience the joy of creating something beautiful and delicious from scratch. The satisfaction of biting into a perfectly crisp shell, filled with your favorite creamy mixture, is a reward worth savoring. Share your creations, share your stories, and let the sweet simplicity of tradition enrich your life and the lives of those you share it with.
Unleash Your Inner Cannoli Master!
Thanks for taking the time to explore the art of crafting authentic cannoli shells! We hope you gained valuable insights and feel inspired to create something delicious. Now it's time to put your newfound knowledge into action.
- Master the perfect cannoli shell: Try making a batch this weekend – experiment with different frying techniques and fillings to perfect your signature recipe. Don't forget to share a photo of your creation with us on social media!
- Explore different filling variations: Step outside the traditional ricotta filling and get creative! What unique flavor combinations can you imagine?
- Share your cannoli journey: Leave a comment below and share your experience – what challenges did you face, and what tips can you offer other aspiring cannoli creators?
Ready to transform your kitchen into a little corner of Sicily? Let's hear your cannoli story!